Gear Linkage Change (Page 6)
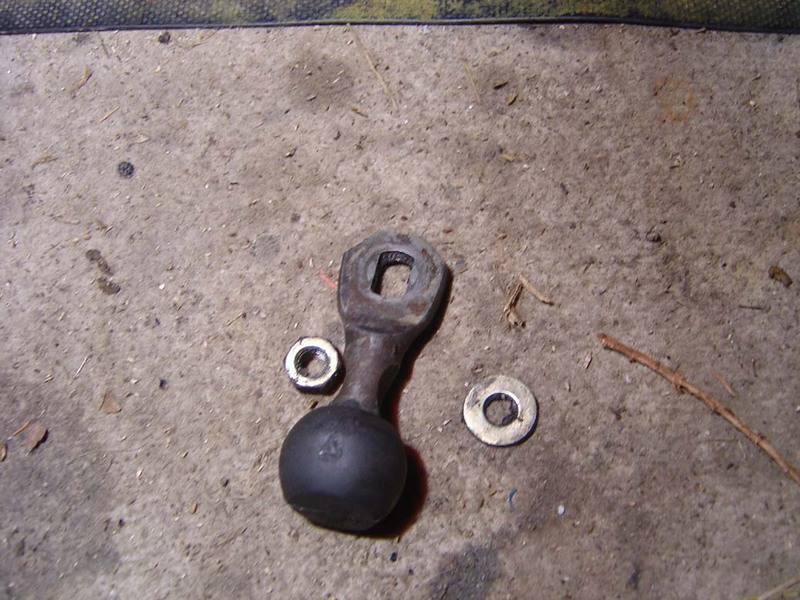
26. Clean up your ball and washer.
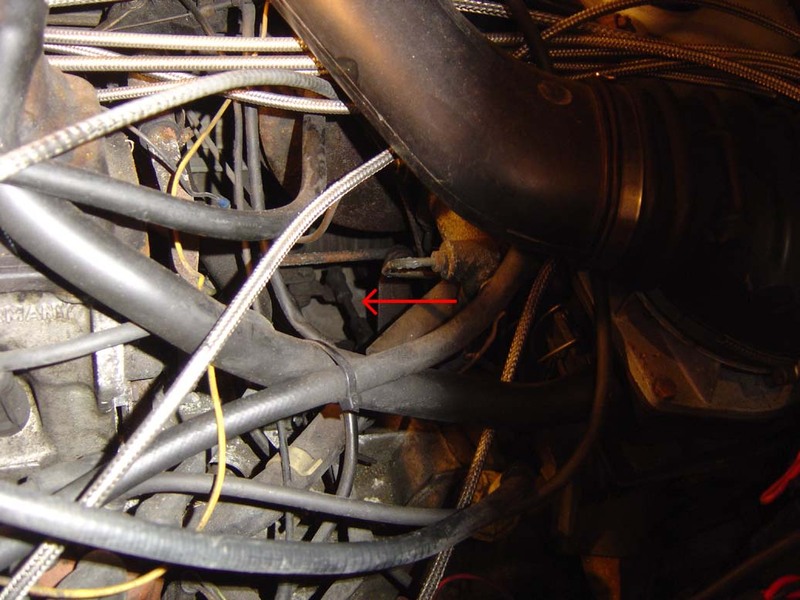
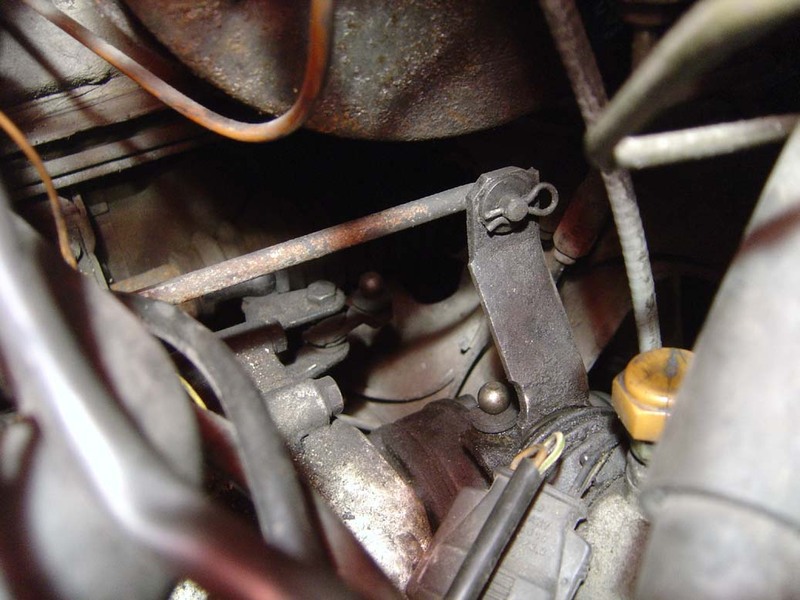
27. Locate the small rod shown in the picture. There are two ball joints at the end and you can either un-clip the plastic at the end of the rod then pull it off or simply pull it off, either works.
28. There is a second, longer arm, attached to the cage that surrounds the ball as mentioned in step 3 and 20. If you remove the cage and disconnect the rod it is easier to fit.
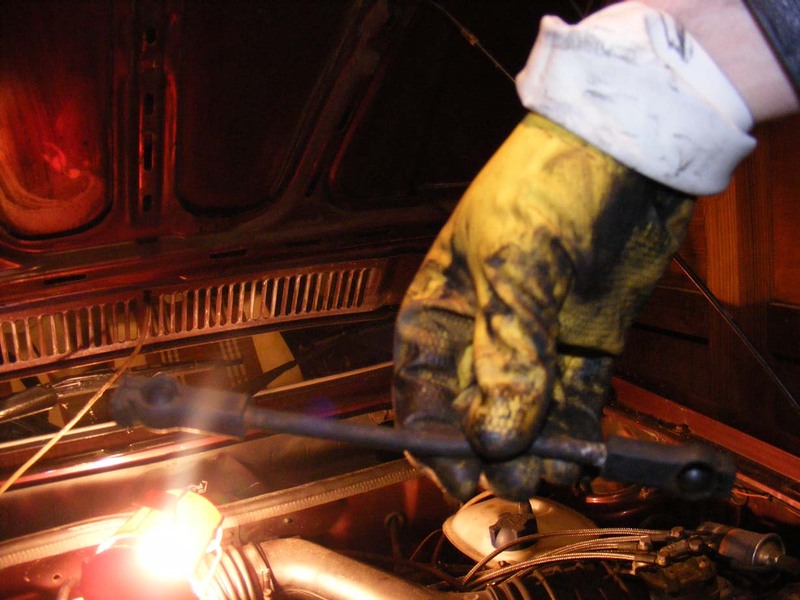
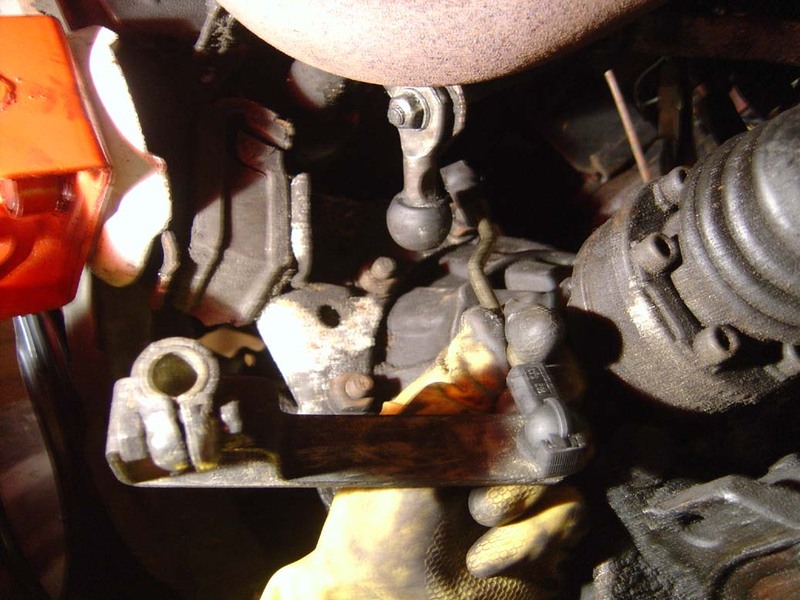
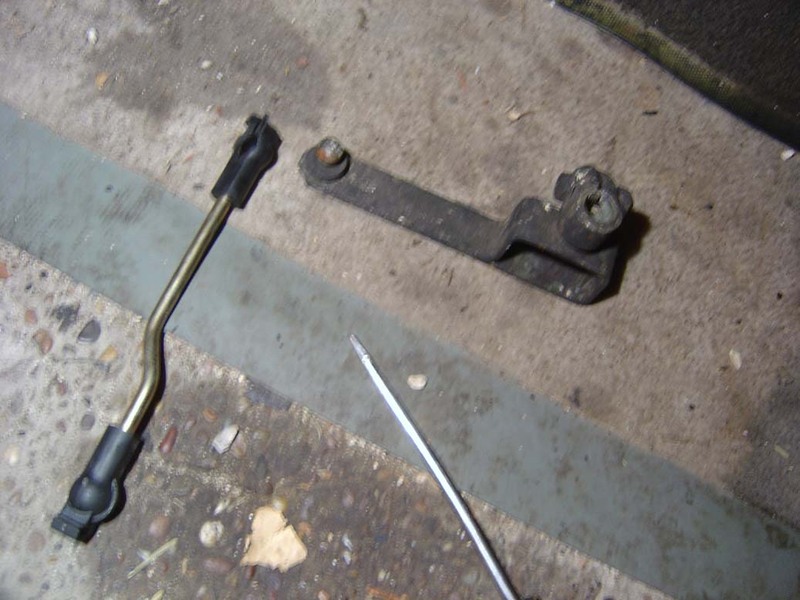
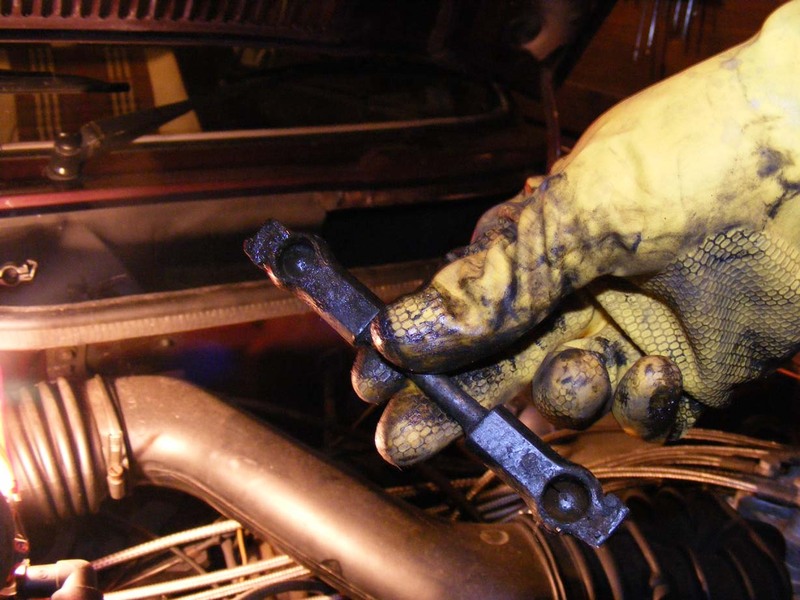
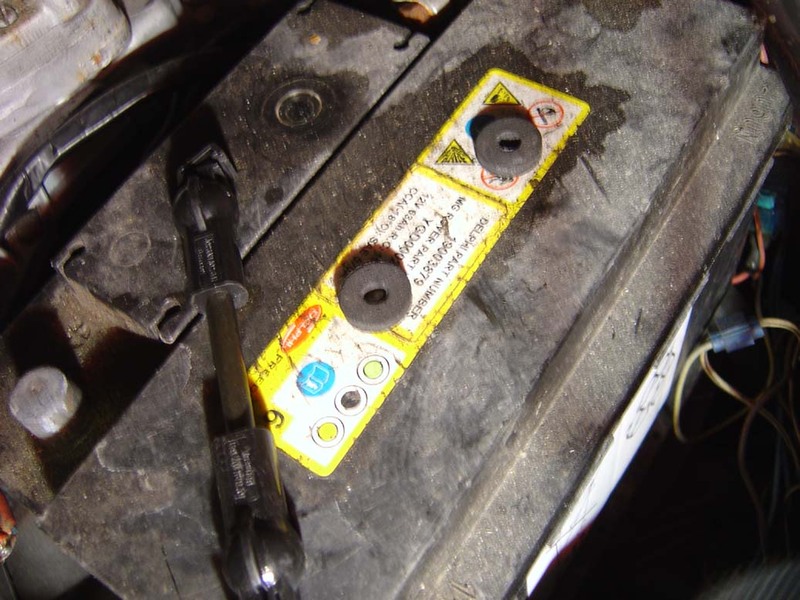
29. Your old joints will probably have soggy deteriorated foam (picture 29a), replace with the new ones in your kit by simply pressing them on over the ball joints with your thumb (obviously remove the old ones first).
The second picture (picture 29b) shows the two balls for the short bar.
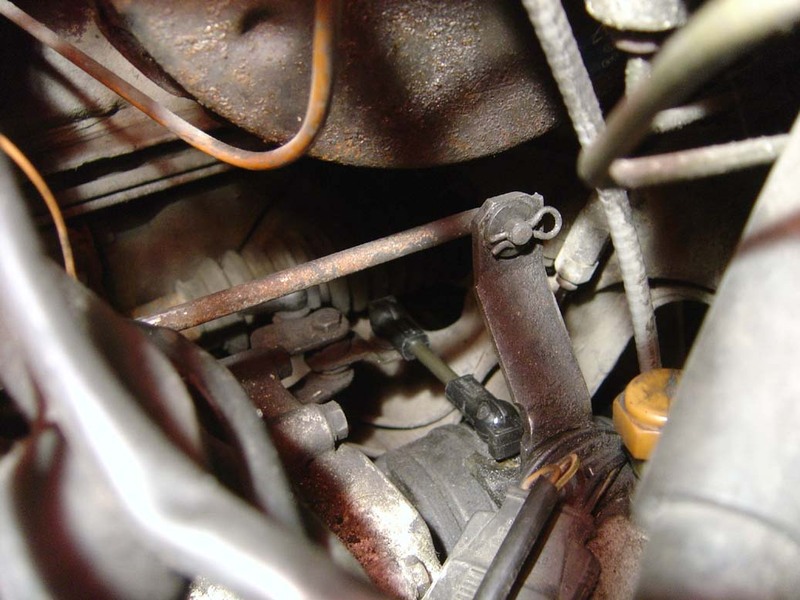
Third picture (picture 29c) is the new bar and foam.
Fourth picture (picture 29d) is the new foam in place and the final picture (picture 29e) is the new bar fitted.
The bars simply push onto the balls and then have a plastic clip on the end that clips shut to hold them in place.
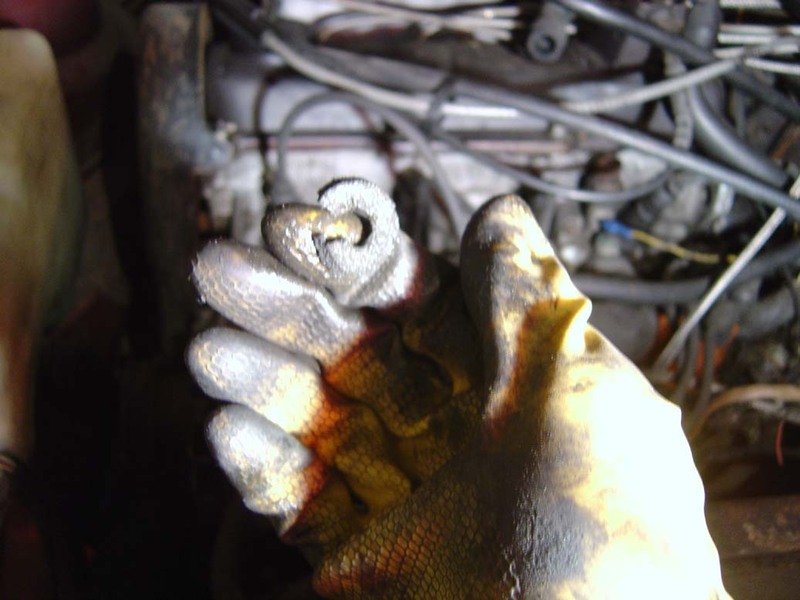
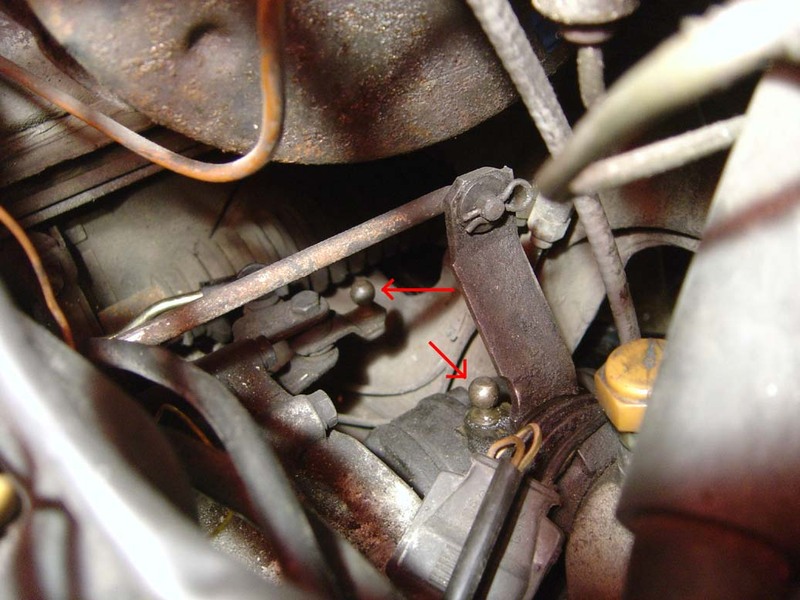
30. The next bush in the linkage is where the two bars in step 29 meet (you'd be better off not fitting them until you change this bush in hindsight so pop off both the arms, change this then fit the new ones).
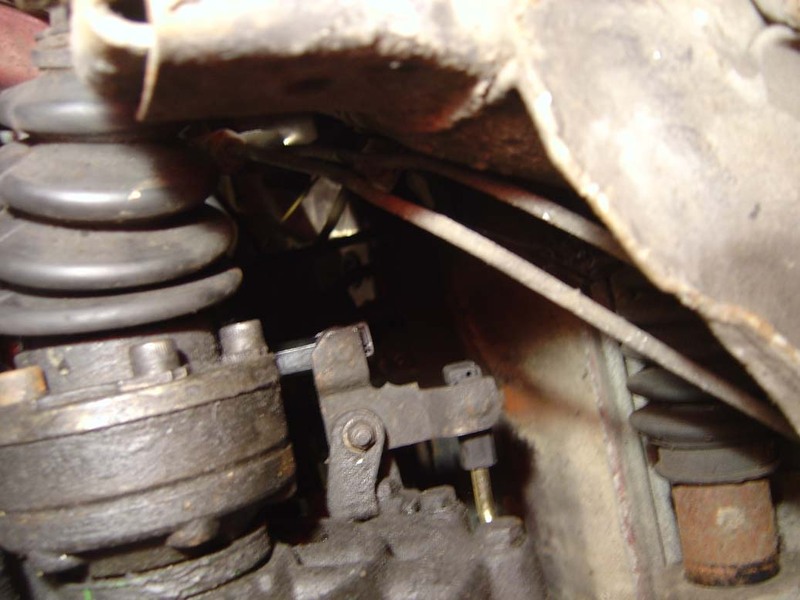
For this you need a 10mm socket on the bottom and a 13mm on the top, if you've got a helper handy then it would make it easier but if not just wedge the ratchet on the top bolt against something and attack the 10mm from below.

27. Locate the small rod shown in the picture. There are two ball joints at the end and you can either un-clip the plastic at the end of the rod then pull it off or simply pull it off, either works.


28. There is a second, longer arm, attached to the cage that surrounds the ball as mentioned in step 3 and 20. If you remove the cage and disconnect the rod it is easier to fit.


29. Your old joints will probably have soggy deteriorated foam (picture 29a), replace with the new ones in your kit by simply pressing them on over the ball joints with your thumb (obviously remove the old ones first).
The second picture (picture 29b) shows the two balls for the short bar.
Third picture (picture 29c) is the new bar and foam.
Fourth picture (picture 29d) is the new foam in place and the final picture (picture 29e) is the new bar fitted.
The bars simply push onto the balls and then have a plastic clip on the end that clips shut to hold them in place.


30. The next bush in the linkage is where the two bars in step 29 meet (you'd be better off not fitting them until you change this bush in hindsight so pop off both the arms, change this then fit the new ones).
For this you need a 10mm socket on the bottom and a 13mm on the top, if you've got a helper handy then it would make it easier but if not just wedge the ratchet on the top bolt against something and attack the 10mm from below.

Child pages:
- Gear Linkage Change (Page 7) (1 child)
There are no posts yet


