Hood Replace (Page 3)
11. Position an open ended 5mm spanner on the rear cable itself to stop the cable twisting! , allowing it to twist will snap the cable, keeping it intact will save a few quid. It`s best to use a 10mm ratchet spanner to undo the nuts on the ends of the cable as access is tight.
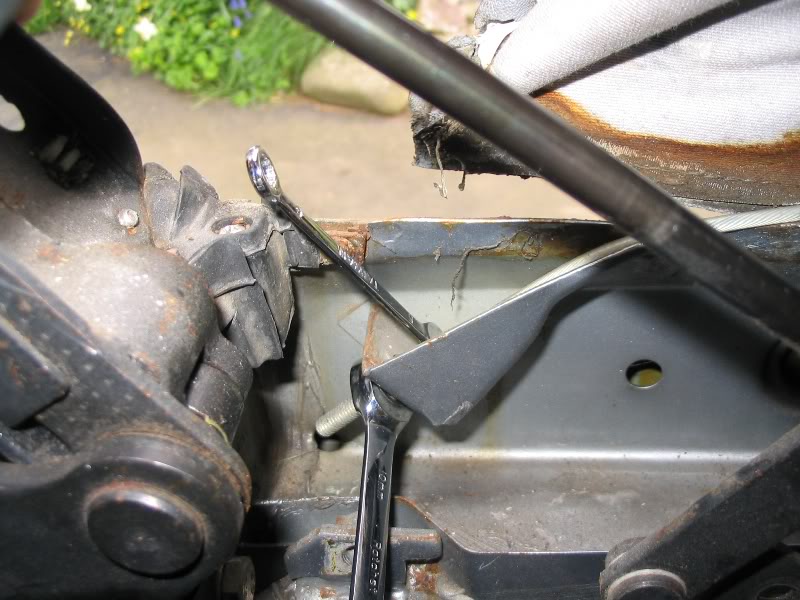
12. Once the nuts are off the ends, pull the cable out and free it from the rear of the car.
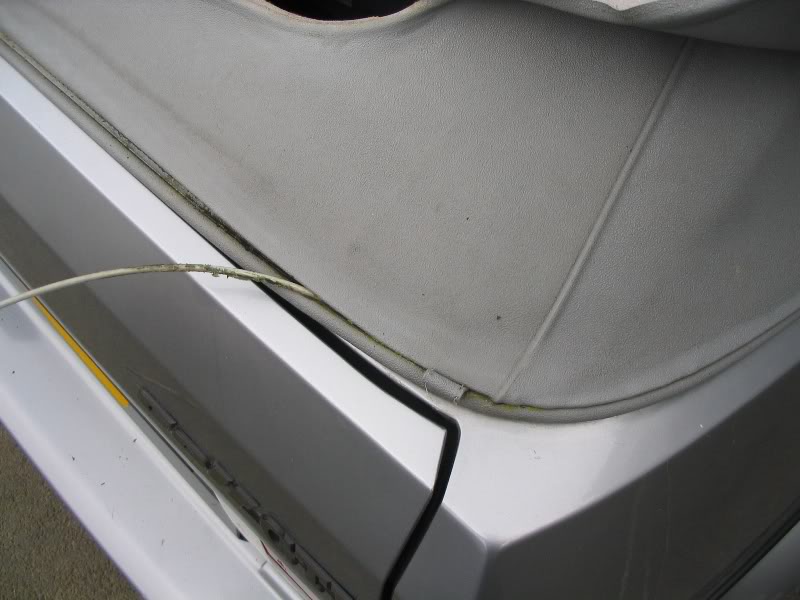
13. The hood should then be free from the car!, Your half way there!. Re-attach the hydraulic strut so you can open the hood for cleaning the frame etc without doing any damage to the strut.
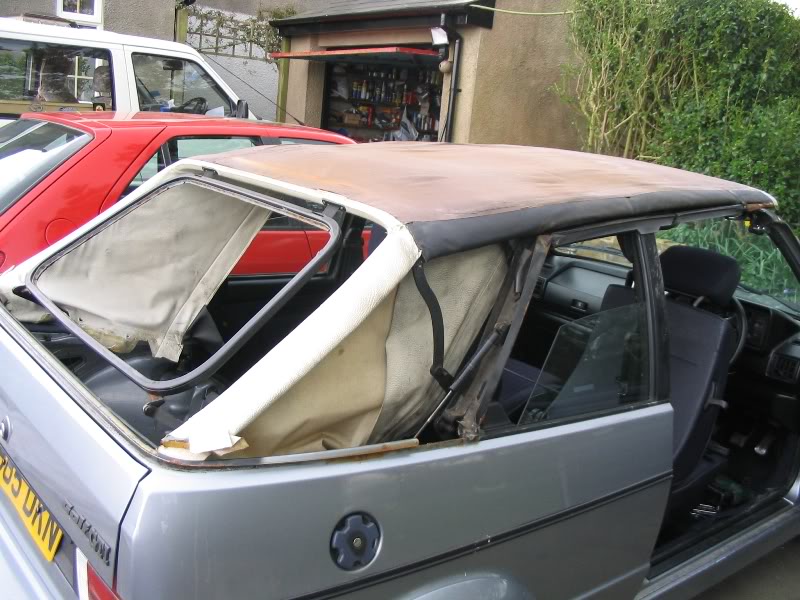
14. Clean up all the seals, rear window, cables, etc. Treat any rust on the hood frame and rear lip of the car`s body, you`ll have to weld in new sections if its really bad as you need quite a bit of strength in it. If the rear window frame is rusty now`s the time to either treat the rust on it or replace it if it`s really bad. I used satin black Hammerite on the hood frame and on the new window frame to give it more protection. On the brand new window frame I fitted, I noticed that the paint had been scratched where excess glue had been scraped off. This is asking for trouble! It would soon start to rust if left untreated.
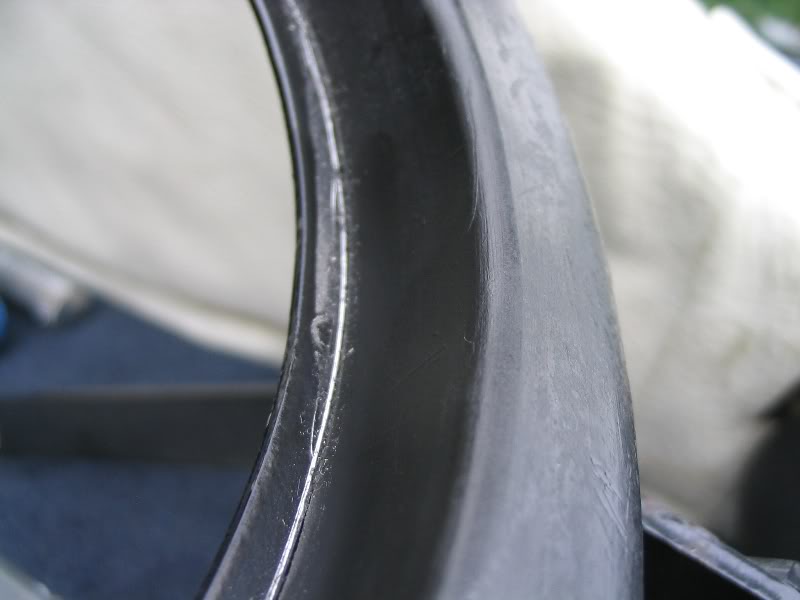
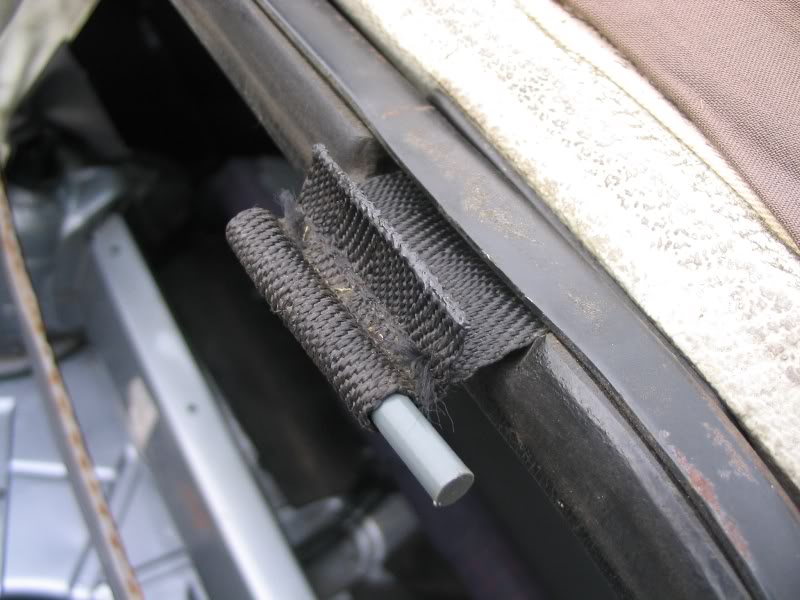
15. To remove the rear window frame, unbolt it at the bottom (try not to shear the bolts!). Then remove the plastic rods from the straps at the top and feed the strap through the frame. Installation is the reverse of removal but make sure it`s lined up ok and not wonky!
16. Close and latch the top. Make any repairs to the insulation layer that maybe needed. Now`s the time to replace the layer and headliner if you need to (not covered here).
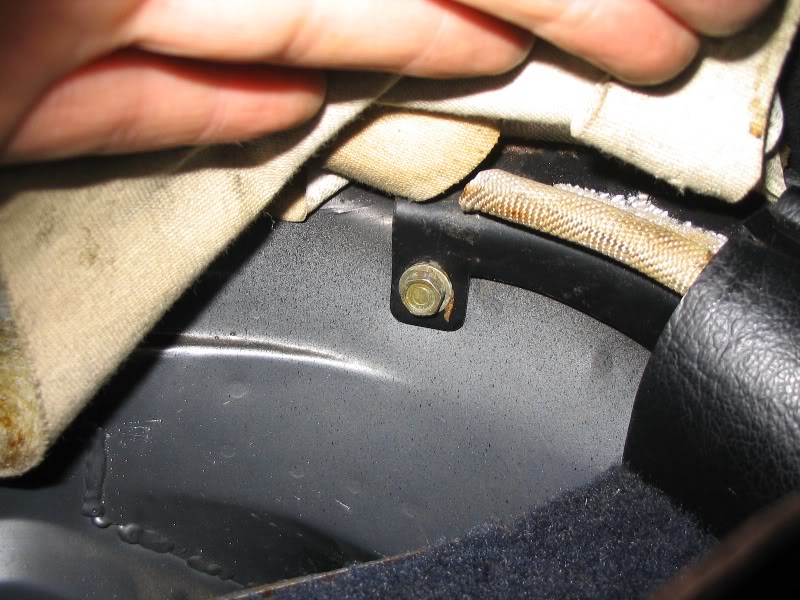
17. Make sure the rear side straps that the rear of the headliner drapes from are nice and tight. If they aren`t it will be impossible to fit the rear window without getting creases around the corners, as the hood won`t sit properly at the back. Adjust the straps by loosening the bolts, pulling the strap tight, and then tightening the bolts again clamping the strap in its correct position.
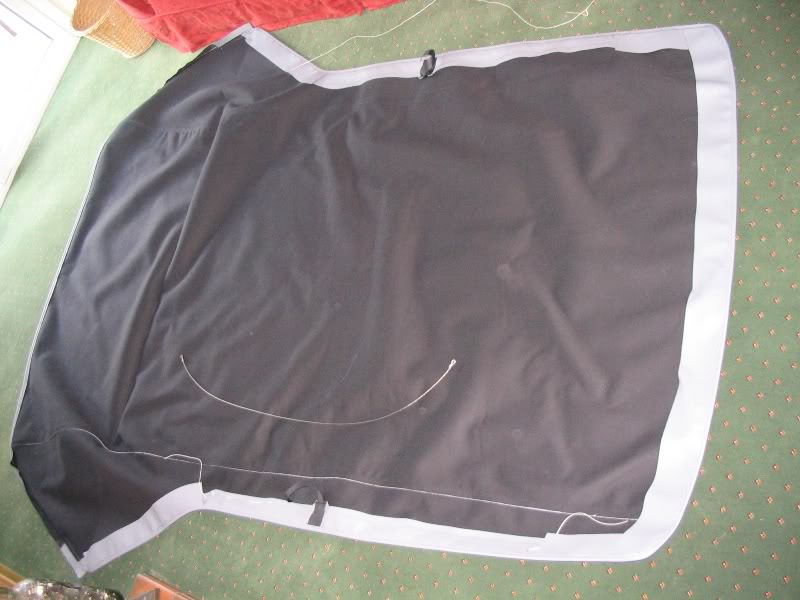
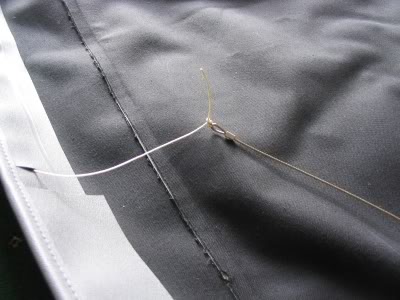
18. Lay out the new hood on the floor and fit the side tension cables. The hoods from www.carhoodwarehouse.co.uk come with cord in the sides where the cables go. This makes fitting the cables very easy. Just attach one end of the cord to the cable and pull the cable through until it just pokes out the other side. Leave the cord attached to the cable for now in case the cable moves about before you attach it to the frame.
19. Some hoods (often mohair) come with excess material on the rear perimeter of the hood that needs trimming off along the line of the beading before fitting. I don`t have any more detail on this.
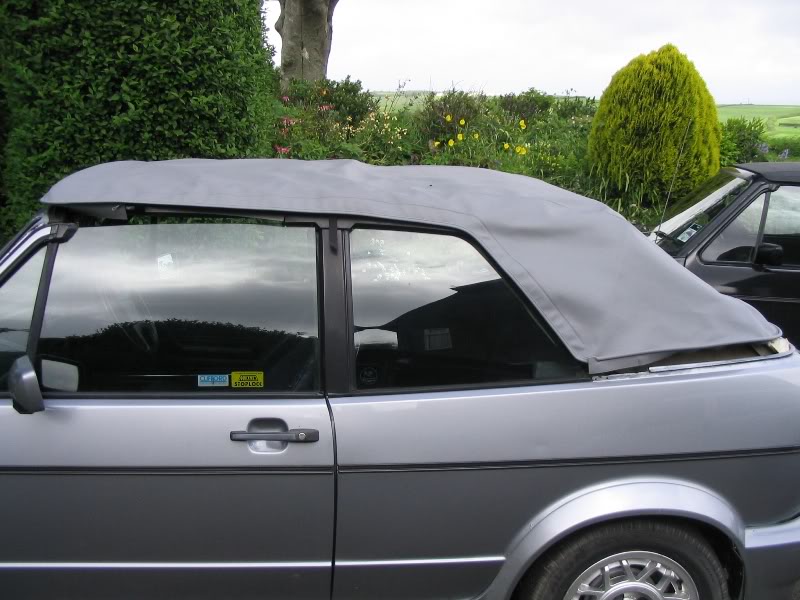
20. Lay the hood over the car.

12. Once the nuts are off the ends, pull the cable out and free it from the rear of the car.

13. The hood should then be free from the car!, Your half way there!. Re-attach the hydraulic strut so you can open the hood for cleaning the frame etc without doing any damage to the strut.

14. Clean up all the seals, rear window, cables, etc. Treat any rust on the hood frame and rear lip of the car`s body, you`ll have to weld in new sections if its really bad as you need quite a bit of strength in it. If the rear window frame is rusty now`s the time to either treat the rust on it or replace it if it`s really bad. I used satin black Hammerite on the hood frame and on the new window frame to give it more protection. On the brand new window frame I fitted, I noticed that the paint had been scratched where excess glue had been scraped off. This is asking for trouble! It would soon start to rust if left untreated.

15. To remove the rear window frame, unbolt it at the bottom (try not to shear the bolts!). Then remove the plastic rods from the straps at the top and feed the strap through the frame. Installation is the reverse of removal but make sure it`s lined up ok and not wonky!

16. Close and latch the top. Make any repairs to the insulation layer that maybe needed. Now`s the time to replace the layer and headliner if you need to (not covered here).
17. Make sure the rear side straps that the rear of the headliner drapes from are nice and tight. If they aren`t it will be impossible to fit the rear window without getting creases around the corners, as the hood won`t sit properly at the back. Adjust the straps by loosening the bolts, pulling the strap tight, and then tightening the bolts again clamping the strap in its correct position.

18. Lay out the new hood on the floor and fit the side tension cables. The hoods from www.carhoodwarehouse.co.uk come with cord in the sides where the cables go. This makes fitting the cables very easy. Just attach one end of the cord to the cable and pull the cable through until it just pokes out the other side. Leave the cord attached to the cable for now in case the cable moves about before you attach it to the frame.


19. Some hoods (often mohair) come with excess material on the rear perimeter of the hood that needs trimming off along the line of the beading before fitting. I don`t have any more detail on this.
20. Lay the hood over the car.

Child pages:
- Hood Replace (Page 4) (1 child)
There are no posts yet


