Hood Replace (Page 5)
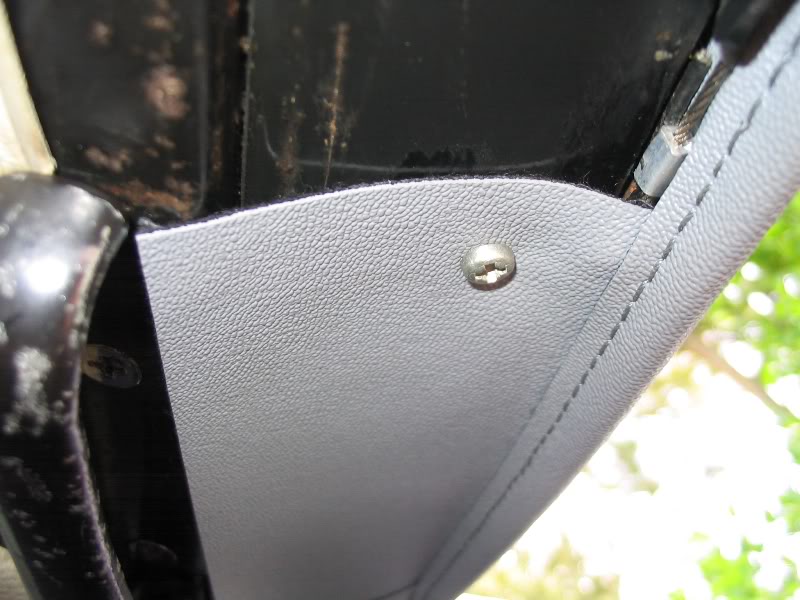
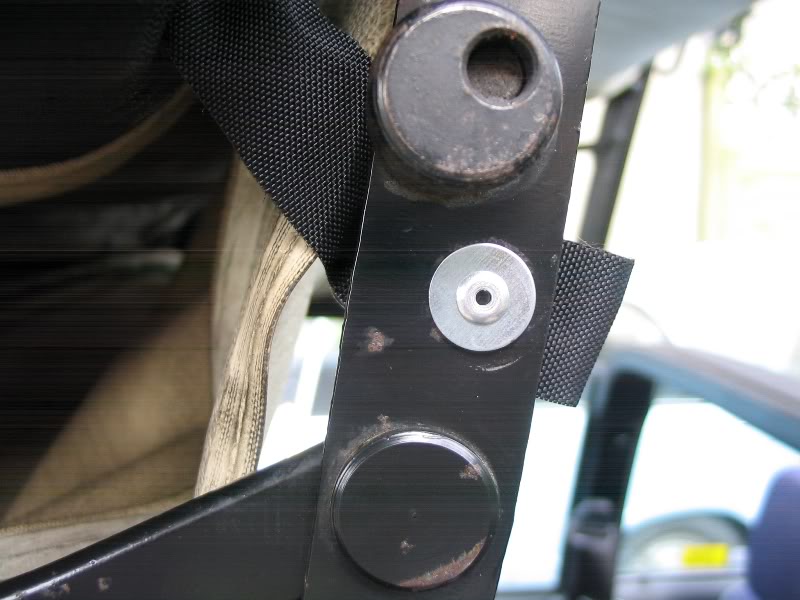
31. A car from new would at some point have rivet added where the screws is in this pic. I used screws temporarily which I later took out. They helped to keep the hood in the right position for the time being before the side flaps are glued. You might feel you don`t need them. There are also holes for rivets at the rear side parts of the frame.
32. Now open the hood again and fit the front rail and the two other bits of metal that clamp the front of the hood to the frame. Make sure the beaded edge of the hood is in align with the front edge of the frame so that when the hood is latched down the beaded edge makes good contact with the header seal. If you don`t get it flush like this you will get nasty wind noise at high speeds. Close the hood to make sure alignment is still correct. Then reopen it!
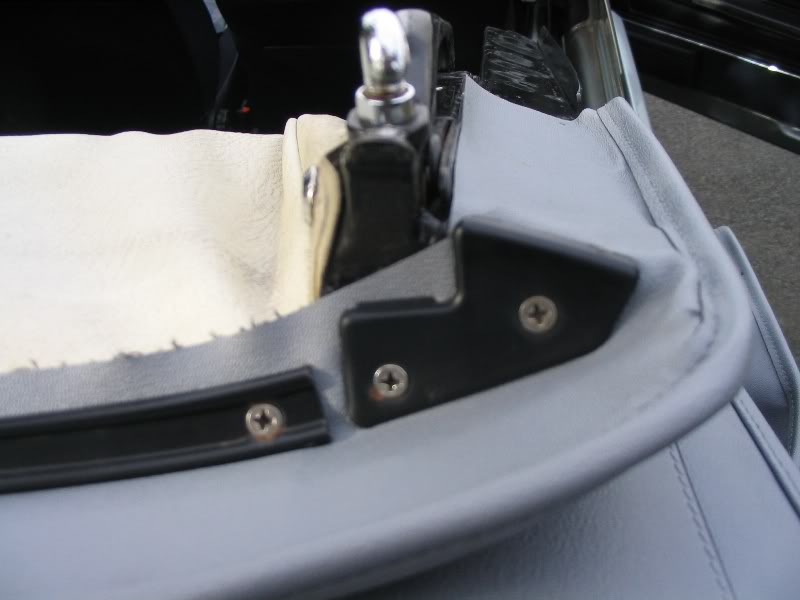
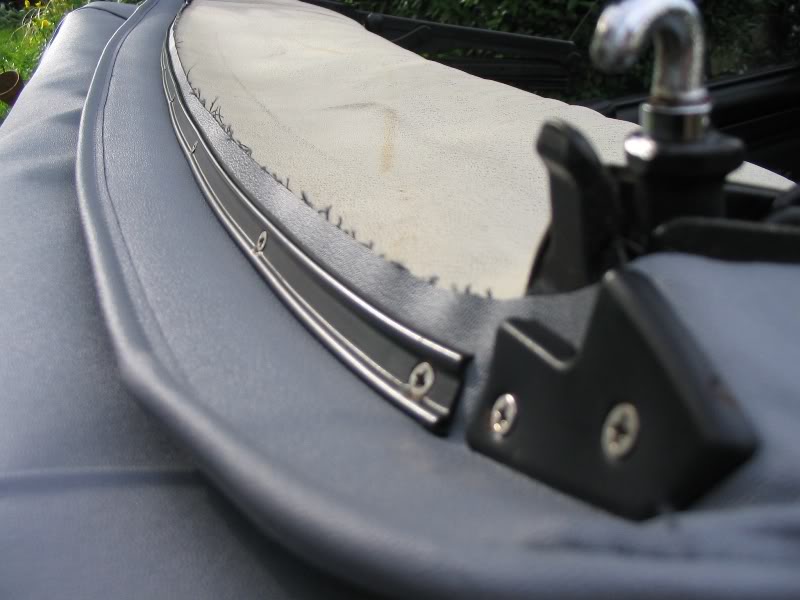
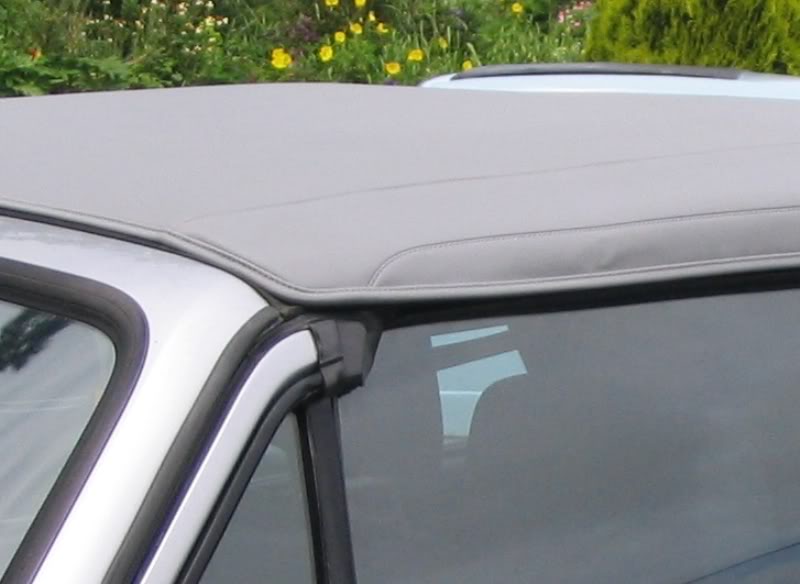
33. Next glue the front side flaps to the frame with contact adhesive. Check the front edge of the front side flaps of the hood is aligned with the corner of the frame and folded to the frame using the beaded edge as a guide.
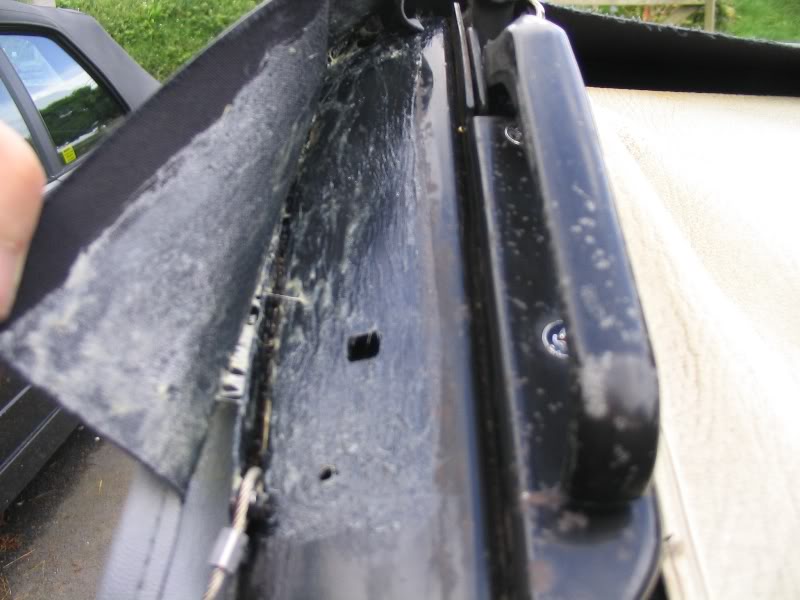
34. Cut square holes in the correct positions in the front side flaps for the screw clips to go in and fit the screw clips.
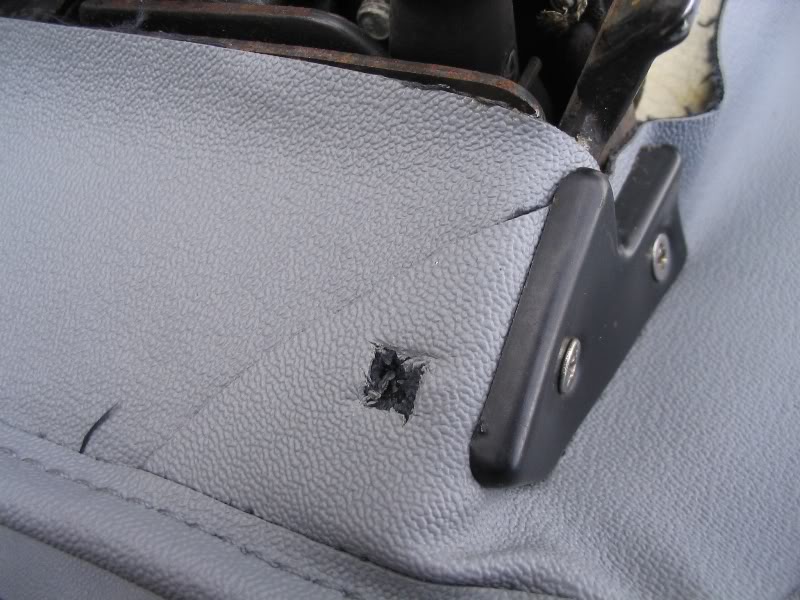
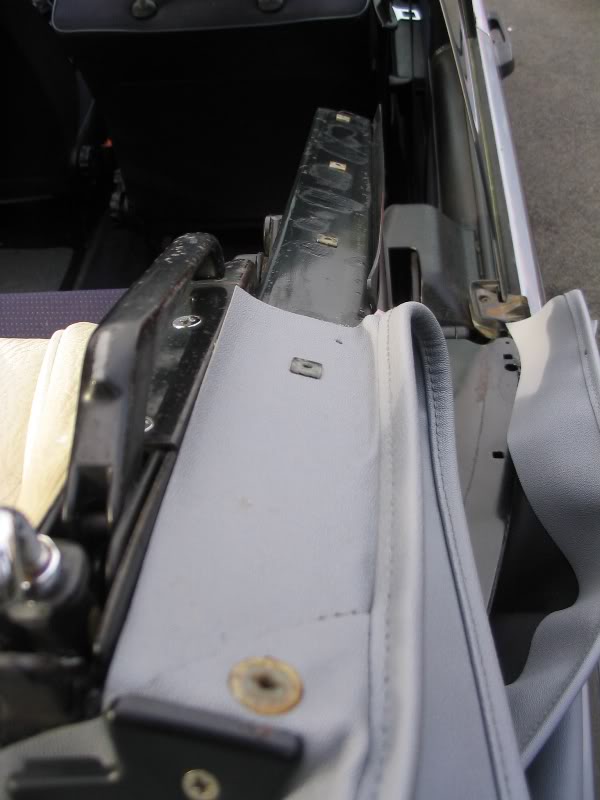
35. Then stick new gaskets to the side seal brackets and refit the brackets to the frame.
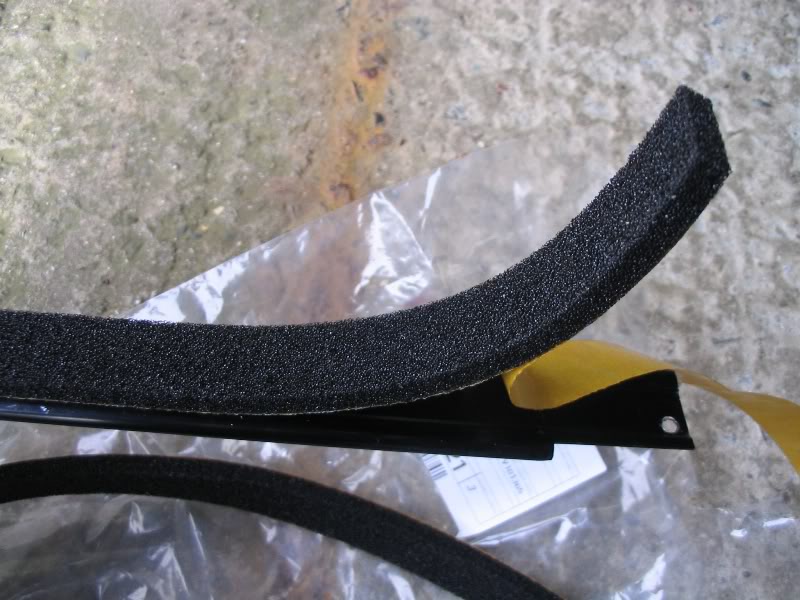
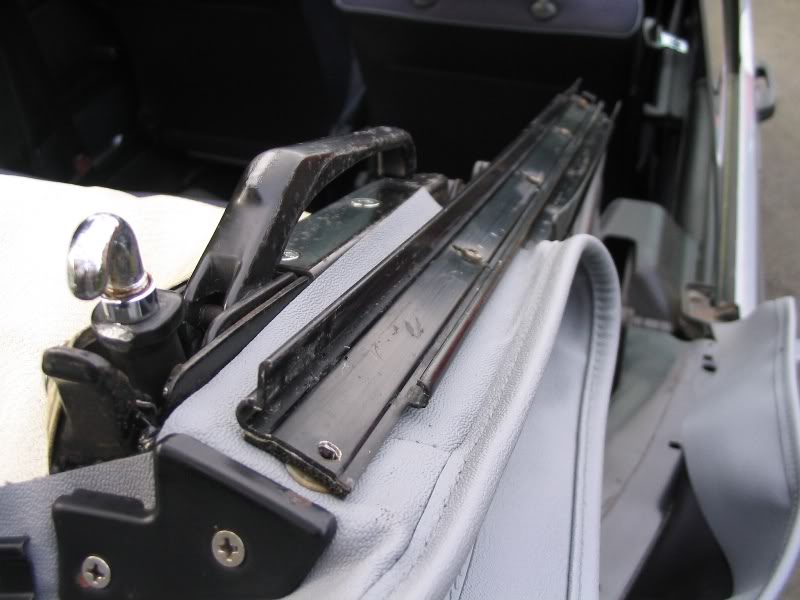
36. Then fit the rubber seals. I found another use for KY jelly! They don`t have to slide in, you can pop them in.
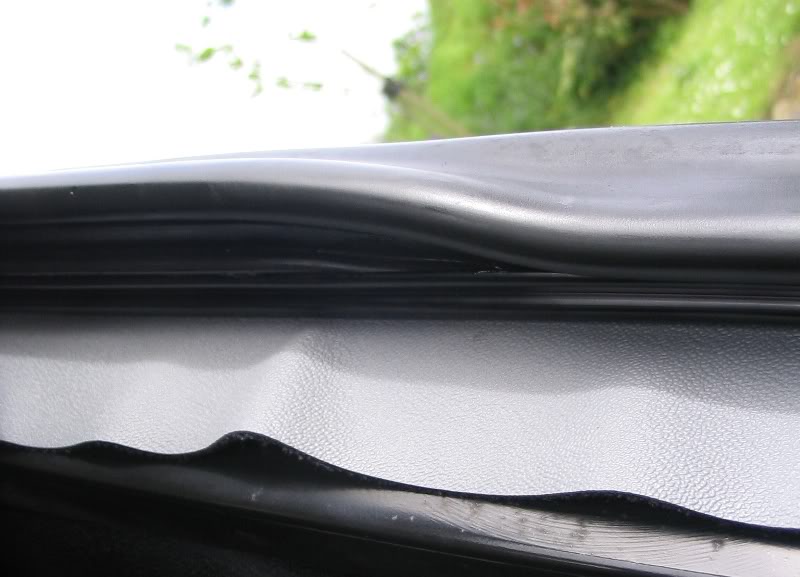
37. Close the hood and do the same to the rear side flaps of the hood and refit the seals. When gluing the rear side flaps, make sure the beaded edge of the hood is aligned nicely with the frame. I glued the rear side flaps on in two goes to get the alignment right (half of the flap with the roof closed, and half of it with it open). Open and close the hood as necessary to get the access required to screw in the screws of the seal brackets.
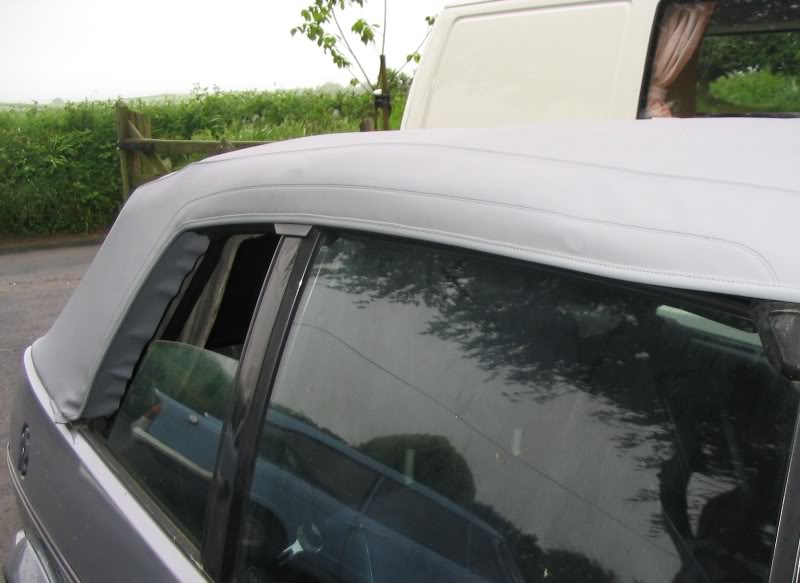
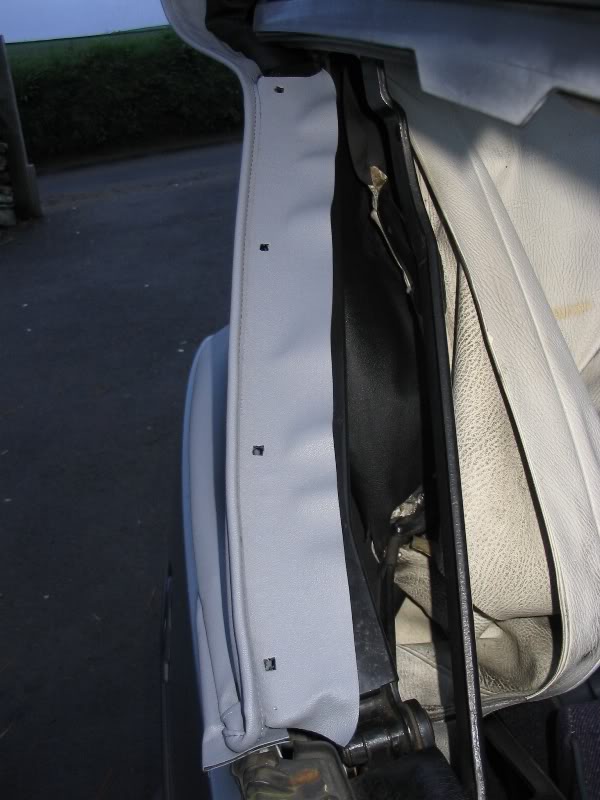
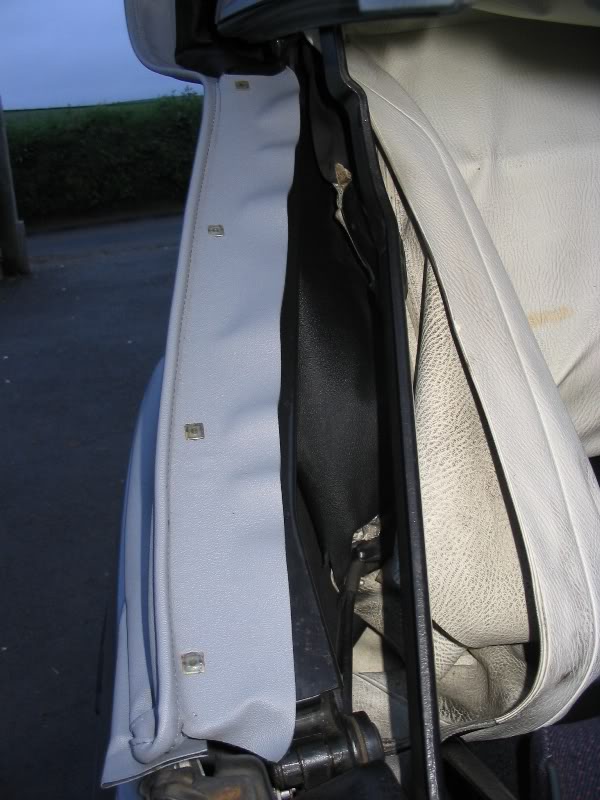
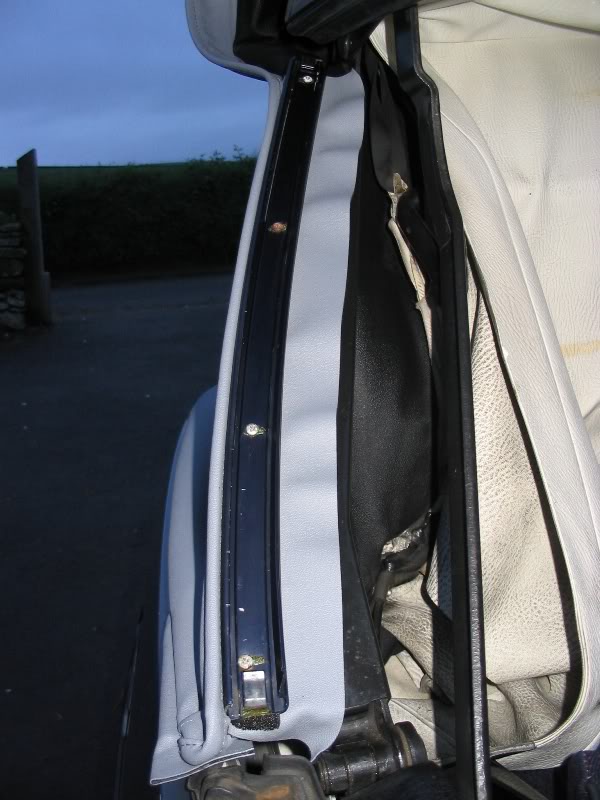
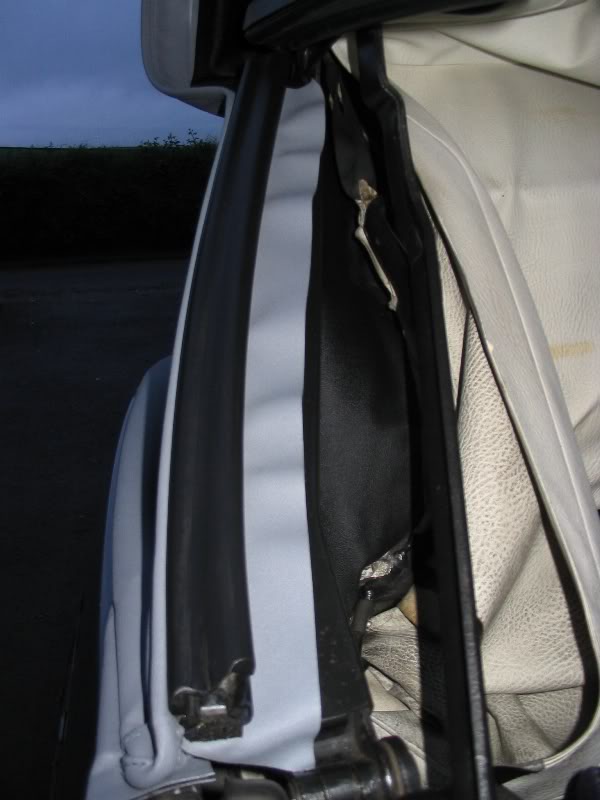
38. Trim all the excess hood fabric from the side seals and at the front of the hood.
39. Raise the hood and reattach the side covers just behind the rear side windows screwing the screw furthest to the rear of the car through the edge of the hood.
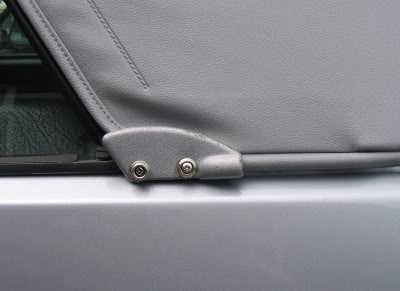
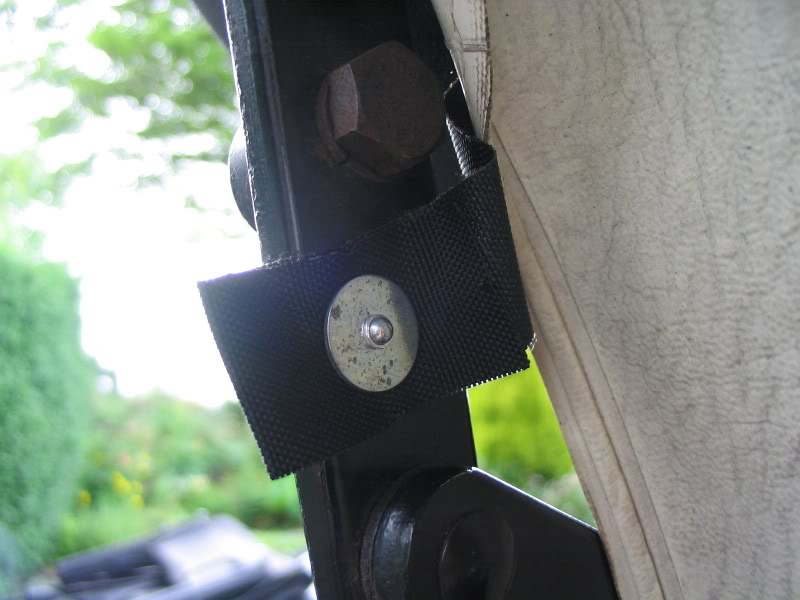
40.Feed the strap in the centre of the hood through the slits in the insulation layer. Double over the strap at the end to give it more strength and push the rivet through the strap then rivet it to the frame. Motorworld do a box of rivets and washers exactly the right size.

32. Now open the hood again and fit the front rail and the two other bits of metal that clamp the front of the hood to the frame. Make sure the beaded edge of the hood is in align with the front edge of the frame so that when the hood is latched down the beaded edge makes good contact with the header seal. If you don`t get it flush like this you will get nasty wind noise at high speeds. Close the hood to make sure alignment is still correct. Then reopen it!


33. Next glue the front side flaps to the frame with contact adhesive. Check the front edge of the front side flaps of the hood is aligned with the corner of the frame and folded to the frame using the beaded edge as a guide.

34. Cut square holes in the correct positions in the front side flaps for the screw clips to go in and fit the screw clips.


35. Then stick new gaskets to the side seal brackets and refit the brackets to the frame.


36. Then fit the rubber seals. I found another use for KY jelly! They don`t have to slide in, you can pop them in.

37. Close the hood and do the same to the rear side flaps of the hood and refit the seals. When gluing the rear side flaps, make sure the beaded edge of the hood is aligned nicely with the frame. I glued the rear side flaps on in two goes to get the alignment right (half of the flap with the roof closed, and half of it with it open). Open and close the hood as necessary to get the access required to screw in the screws of the seal brackets.


38. Trim all the excess hood fabric from the side seals and at the front of the hood.
39. Raise the hood and reattach the side covers just behind the rear side windows screwing the screw furthest to the rear of the car through the edge of the hood.

40.Feed the strap in the centre of the hood through the slits in the insulation layer. Double over the strap at the end to give it more strength and push the rivet through the strap then rivet it to the frame. Motorworld do a box of rivets and washers exactly the right size.


Child pages:
- Hood Replace (Page 6) (empty)
There are no posts yet


