Hood Replace (Page 6)
41.Time to fit the rear window! This is a bit daunting but it`s not that bad really!
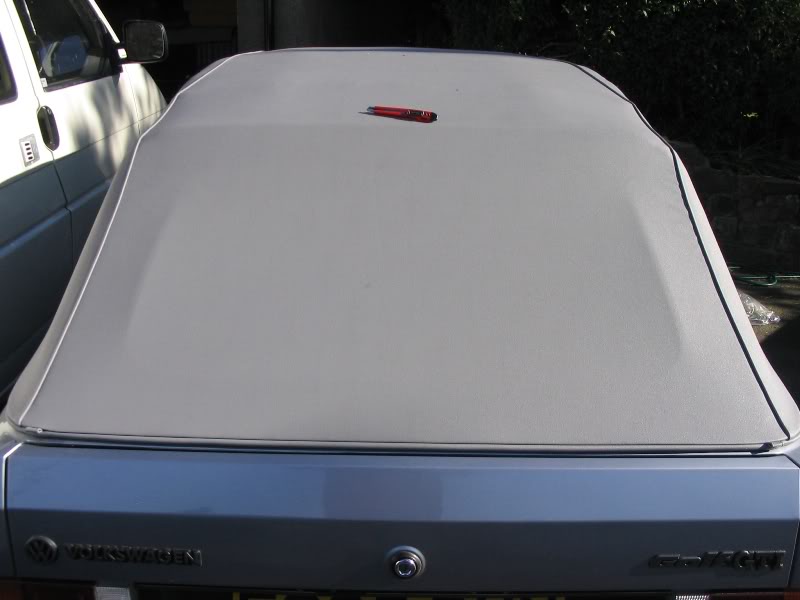
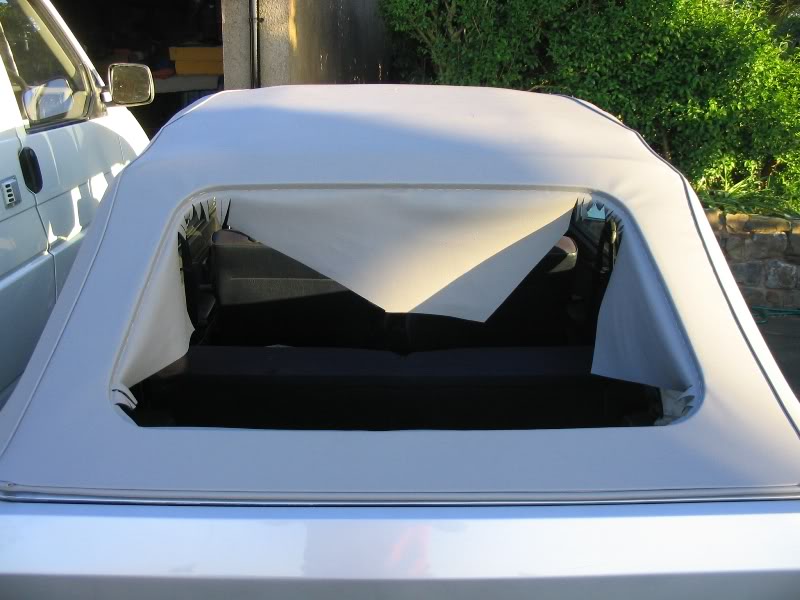
42. Cut an X in the rear window 30mm from the corners if you`ve already made a U shape, make the U into an X!
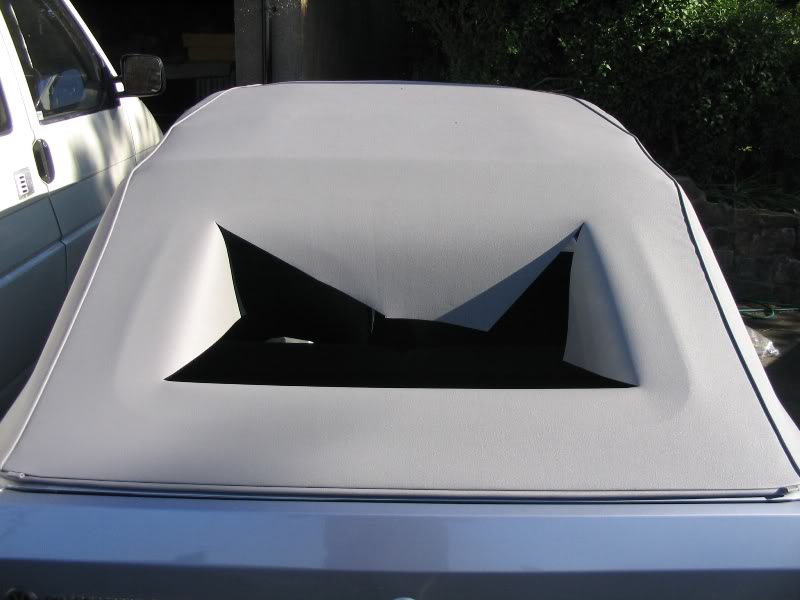
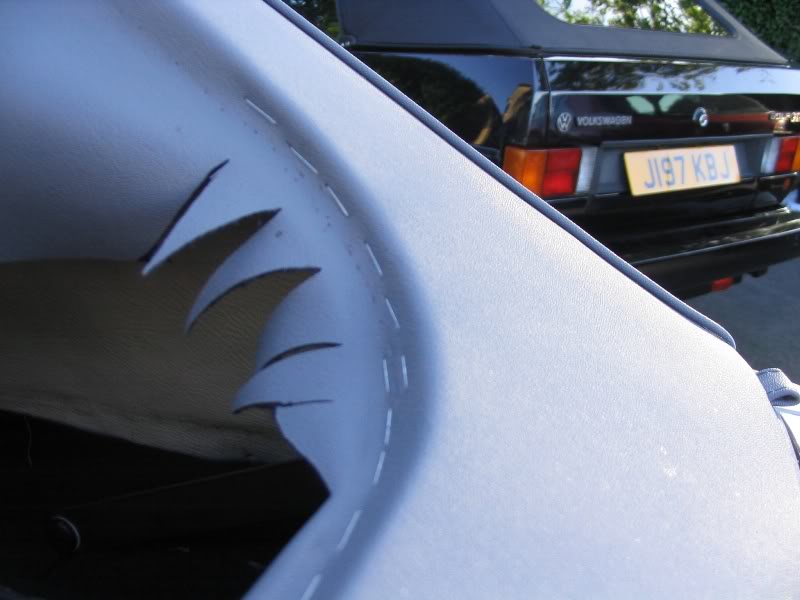
43. Then feather the corners like this, increasing the numbers of cuts when necessary to get the material to stretch up enough to the frame so you can staple it.
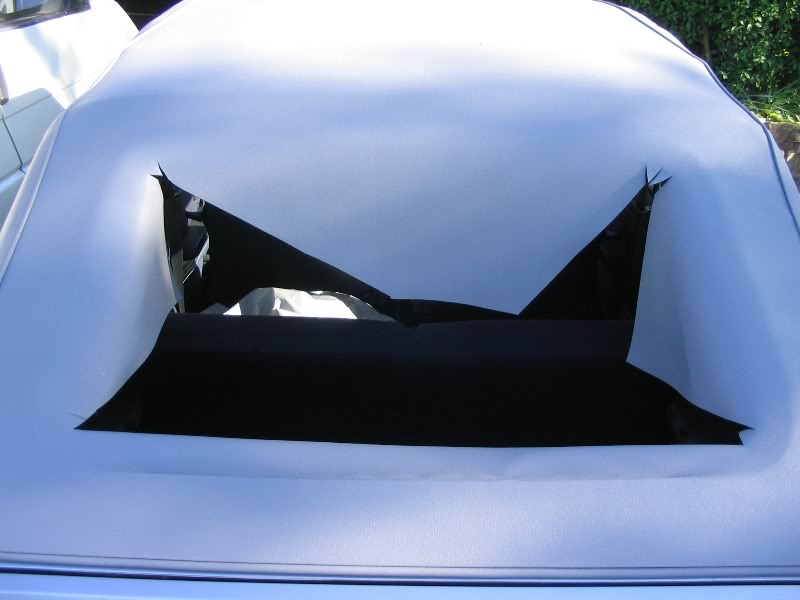
44. Pull the hood towards the centre of the window area stapling from the centre bottom area up each side and finally along the top. Trimming excess material as you go. Make sure you don`t get wrinkles anywhere and if you do just pull out the staples and re-staple that area until you get it right. Just make sure you don`t cut too much material off before you have it in the position you need!
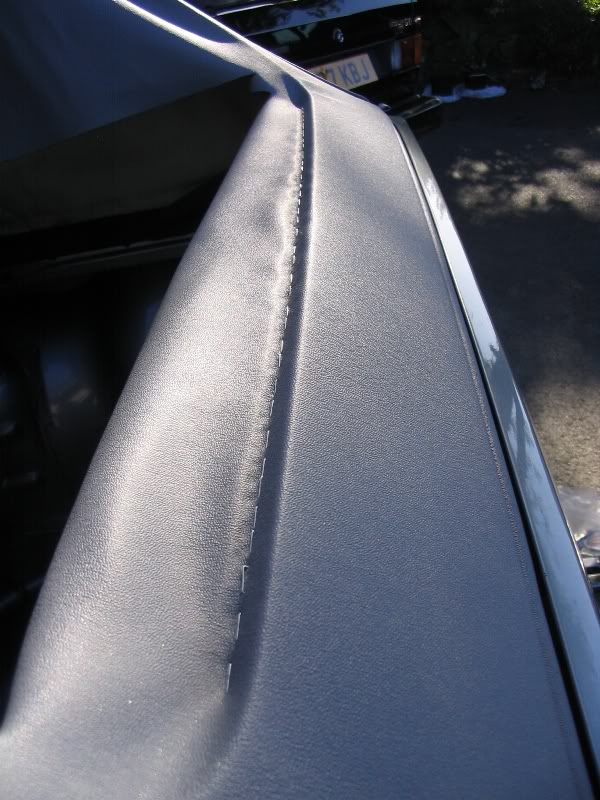
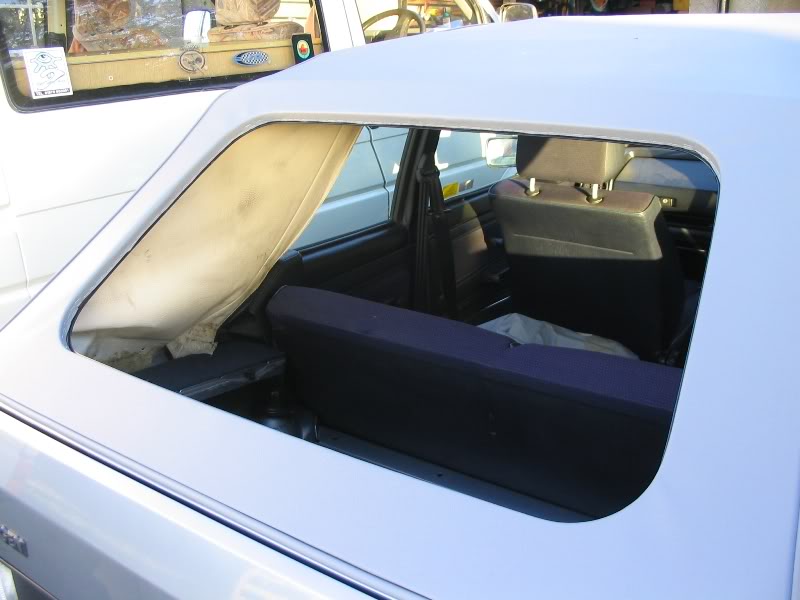
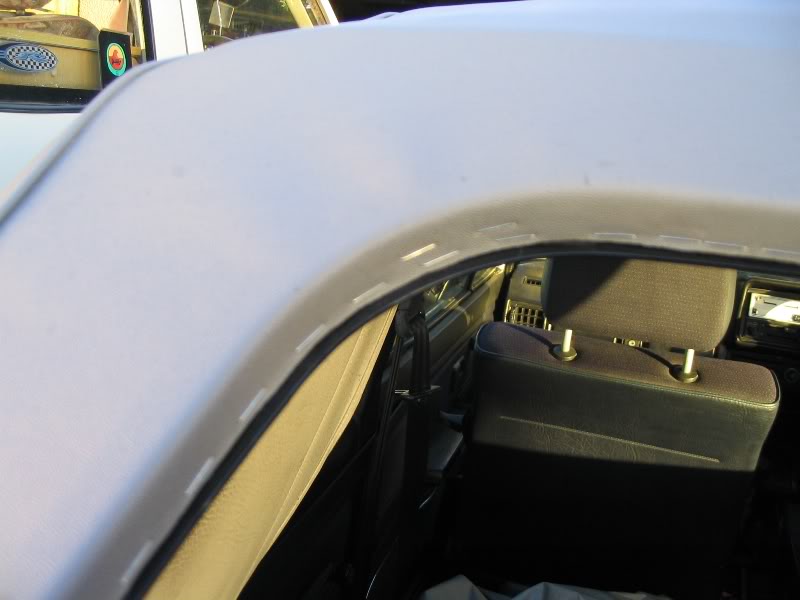
45. Finally trim any excess off you have left over to make sure the window seal will seal well.
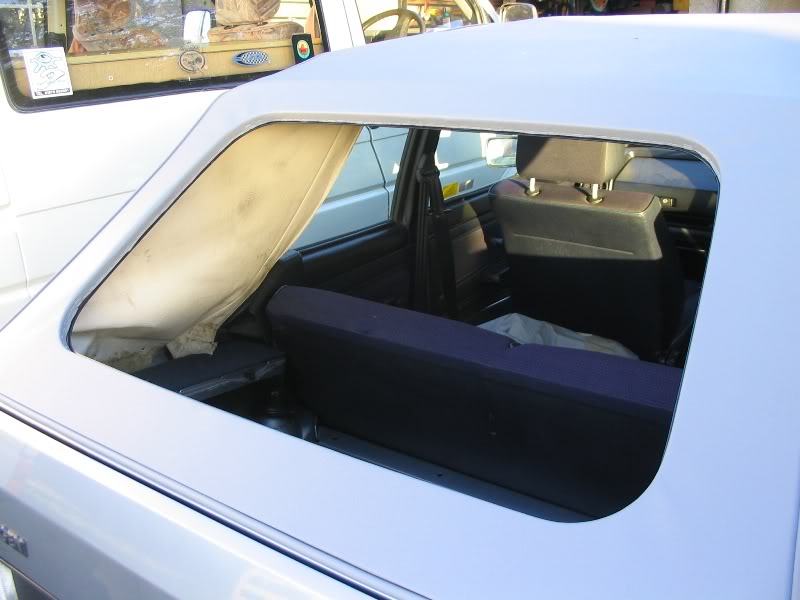
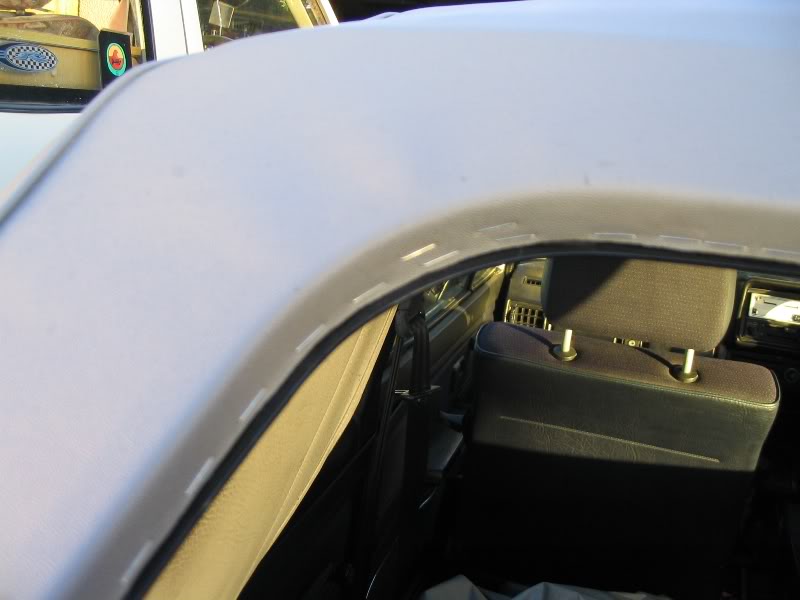
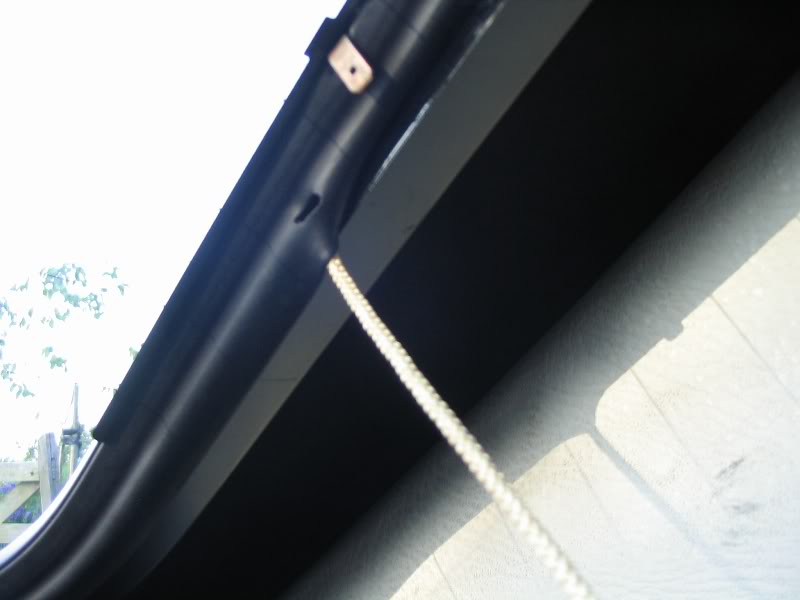
46. Fit the window seal to the rear window and wrap a strong length of cord around the inner lip of the seal. Once round will be enough but cross the ends over a bit. Make sure the cord ends are at one of the bottom corners. Place the window in position like this.
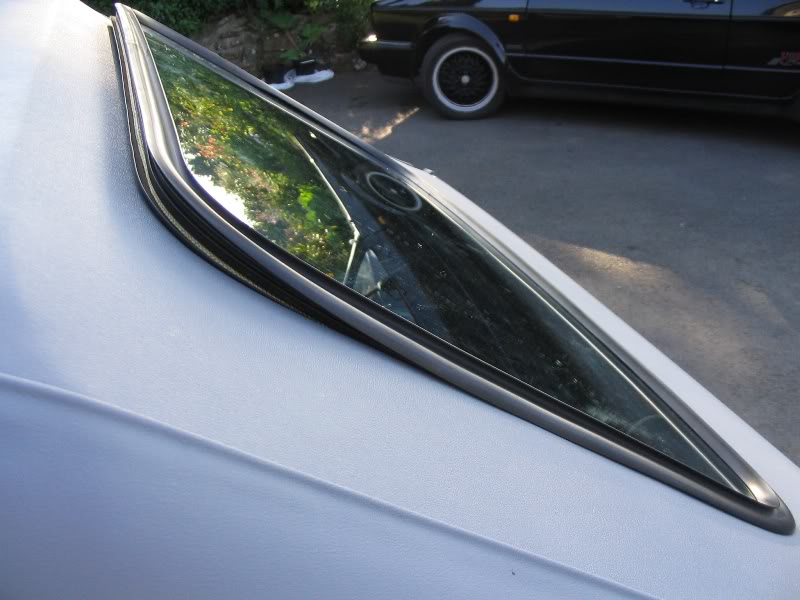
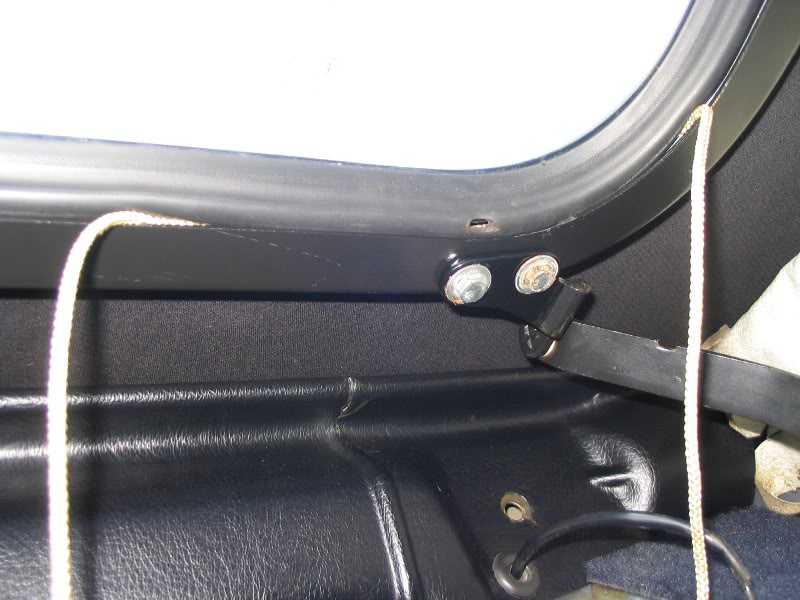
47. Get an assistant to push against the glass from the outside, while you from inside the car, pull the cord so that the lip of the seal gets pulled over the window frame. Go along the bottom of the window, up the sides, and finish at one of the top corners.
48. Then finally run a bead of silicone sealant between the hood and the window seal.
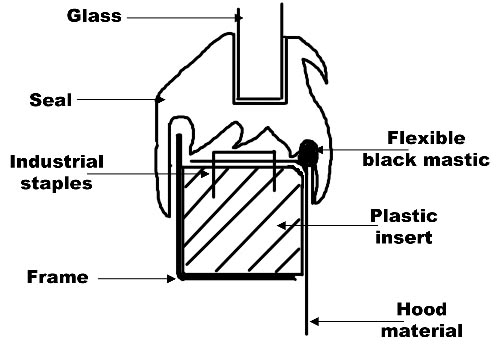
(diagram courtesy of prowler)
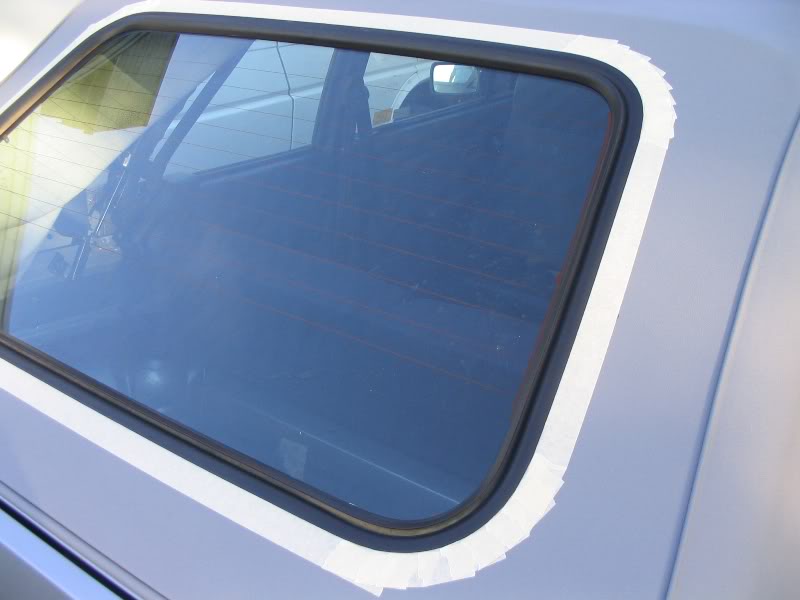
Mask the hood off so that silicone doesn`t go where it shoudn`t.
49. Re connect the heated rear window, reattach the head liner on the spikes and refit the seat and parcel shelf.
50. You`re done!!!

42. Cut an X in the rear window 30mm from the corners if you`ve already made a U shape, make the U into an X!

43. Then feather the corners like this, increasing the numbers of cuts when necessary to get the material to stretch up enough to the frame so you can staple it.

44. Pull the hood towards the centre of the window area stapling from the centre bottom area up each side and finally along the top. Trimming excess material as you go. Make sure you don`t get wrinkles anywhere and if you do just pull out the staples and re-staple that area until you get it right. Just make sure you don`t cut too much material off before you have it in the position you need!


45. Finally trim any excess off you have left over to make sure the window seal will seal well.


46. Fit the window seal to the rear window and wrap a strong length of cord around the inner lip of the seal. Once round will be enough but cross the ends over a bit. Make sure the cord ends are at one of the bottom corners. Place the window in position like this.


47. Get an assistant to push against the glass from the outside, while you from inside the car, pull the cord so that the lip of the seal gets pulled over the window frame. Go along the bottom of the window, up the sides, and finish at one of the top corners.

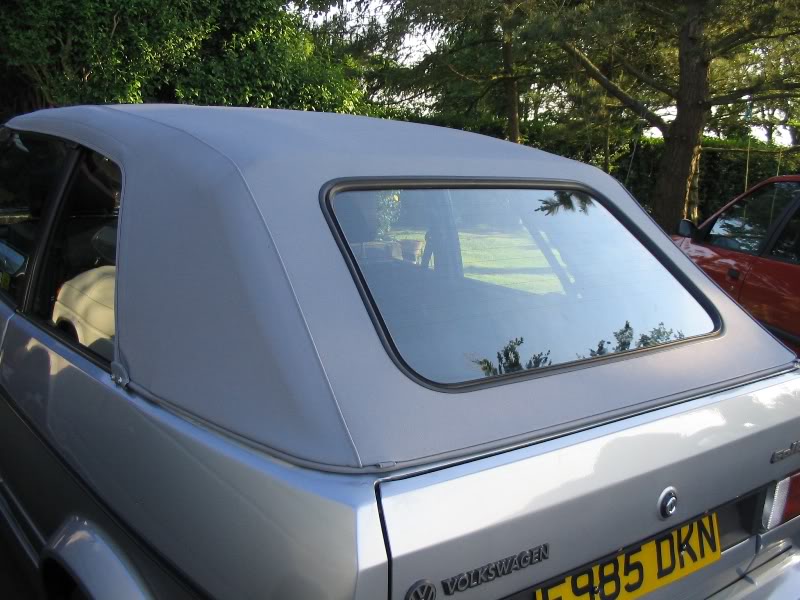
48. Then finally run a bead of silicone sealant between the hood and the window seal.

(diagram courtesy of prowler)

Mask the hood off so that silicone doesn`t go where it shoudn`t.
49. Re connect the heated rear window, reattach the head liner on the spikes and refit the seat and parcel shelf.
50. You`re done!!!

There are no pages beneath this page
There are no posts yet


