Gear Linkage Change (Page 7)
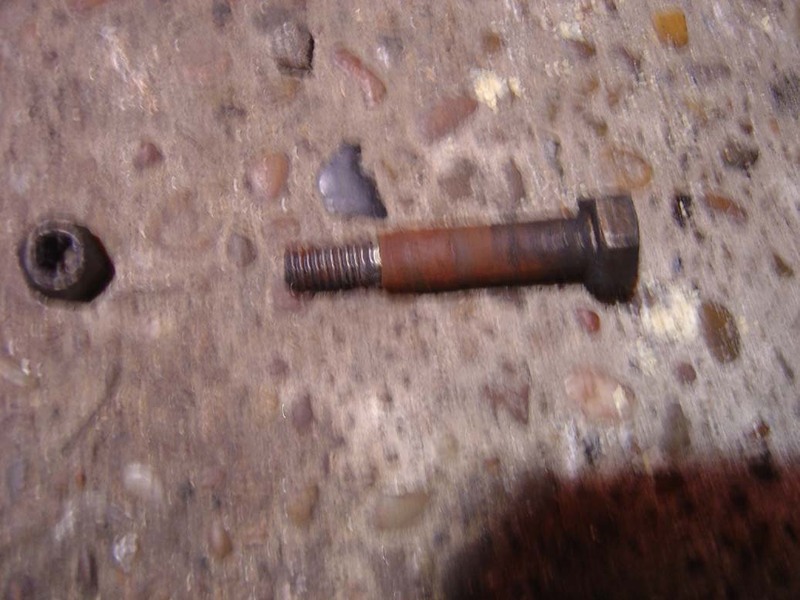
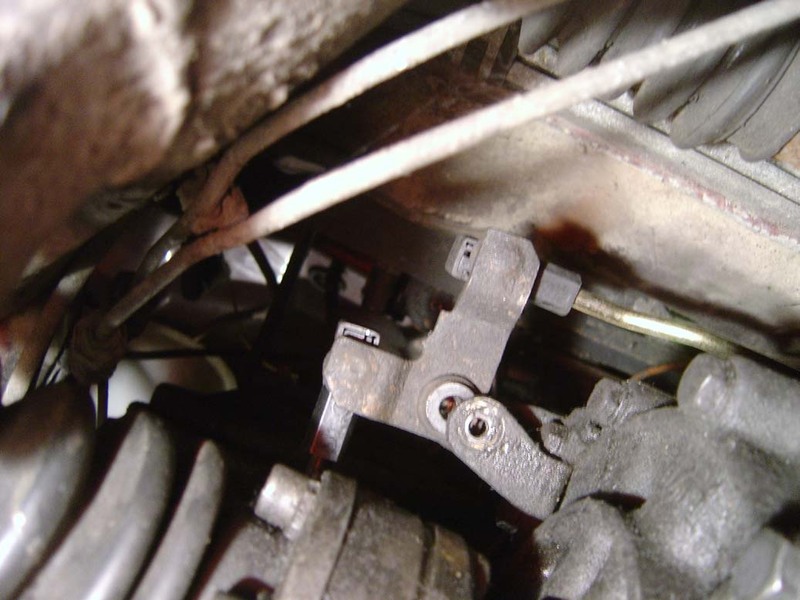
31. With the bolt removed (picture 31a), you will be able to slide the pivot out of the bushes (picture 31b). Simply slide out the 2 top-hat style bushes and refit new ones then pop the nut/bolt back together.
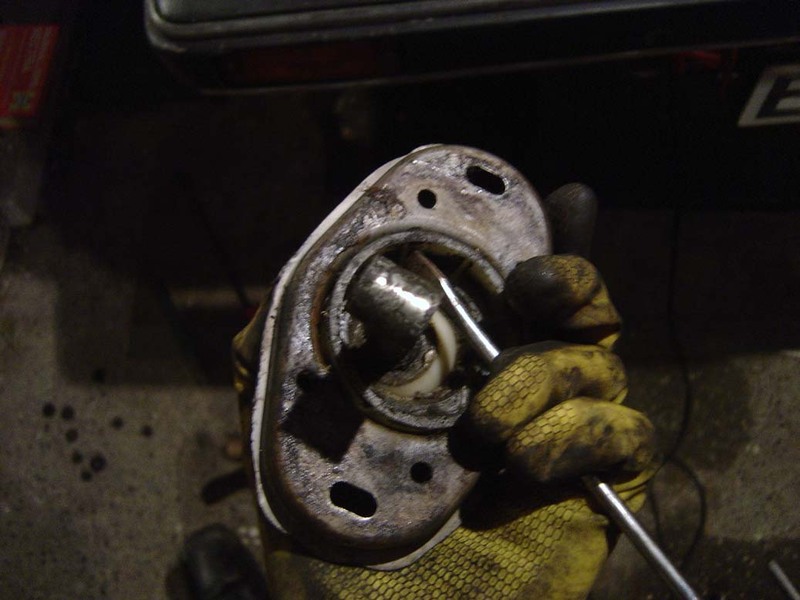
32. Back up the gear stick now, this should simply lift out the car because you've already disconnected the bottom part of the linkage. Turn it upside down and use a flatblade screwdrive to turn the bottom plastic fitting and remove it.
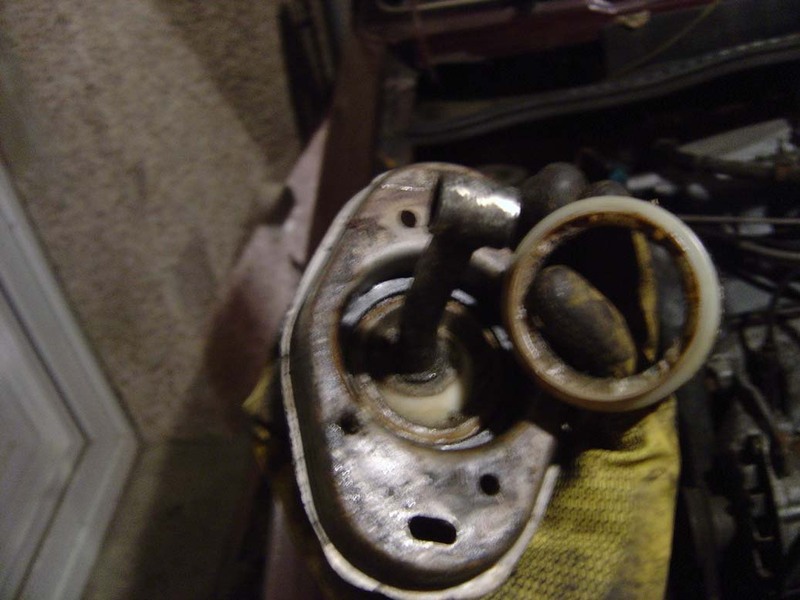
33. Now remove the gearstick by simply sliding it out the base plate.
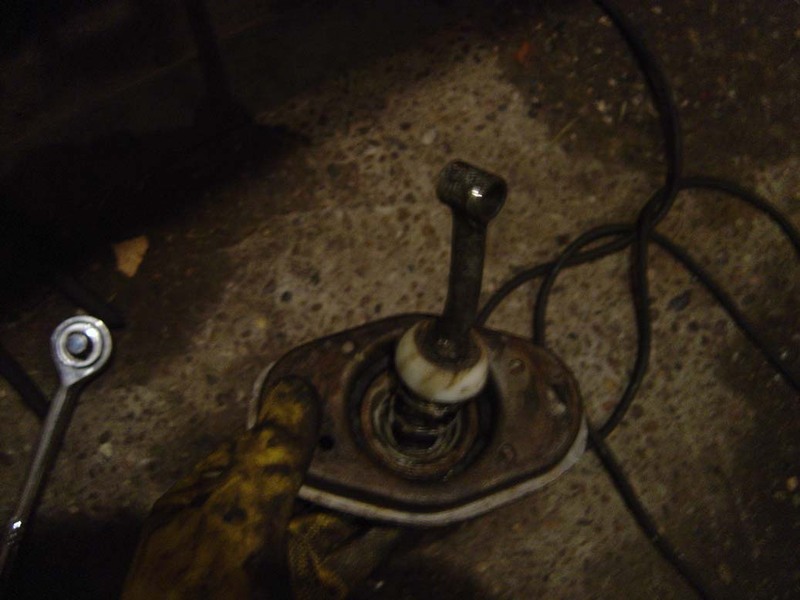
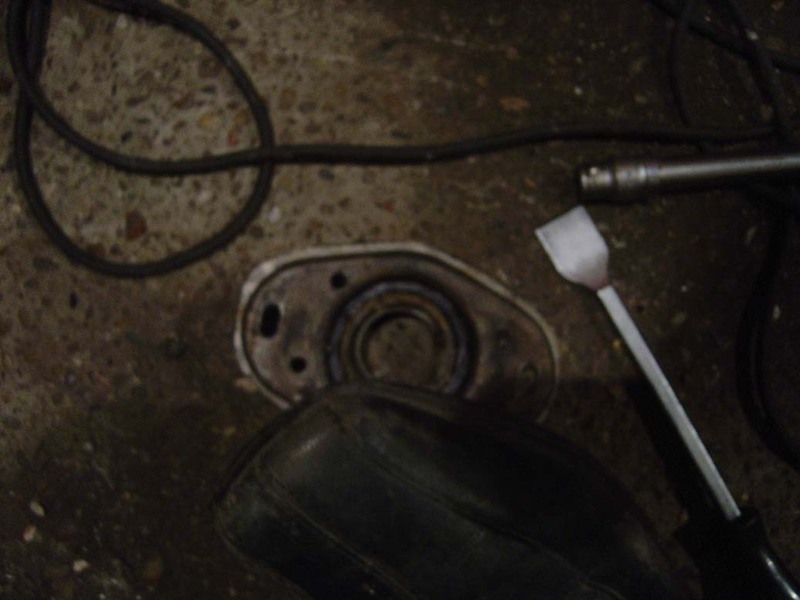
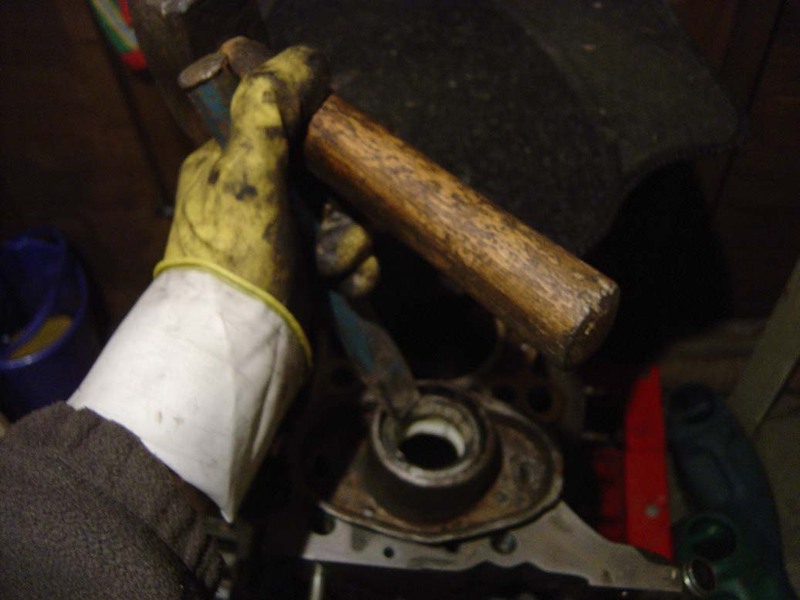
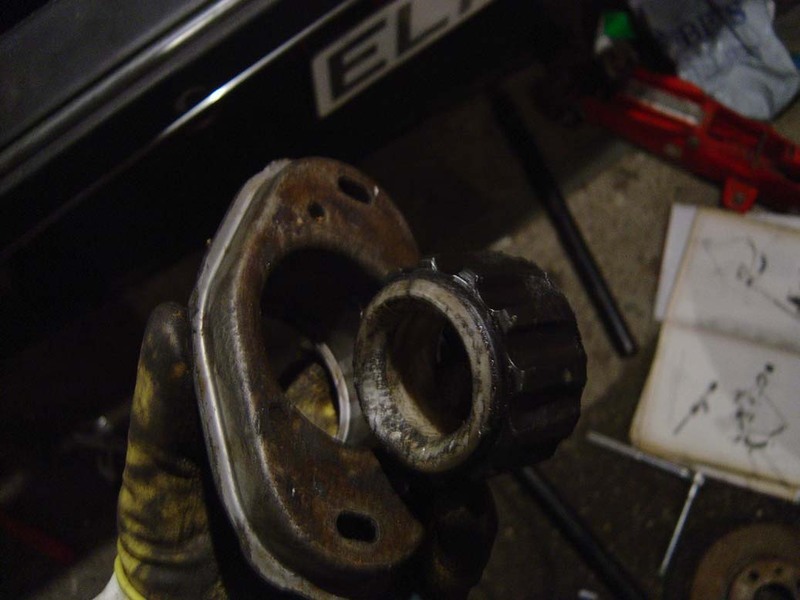
34. You now need to remove the large rubber bush in the shifter base. I just placed it on the floor and trod on it to break the seal (picture 34a) then just tapped it the rest of the way with a chisel (picture 34b). The final picture (picture 34c) shows it removed.
35. Use a pair of pliers (or better still circlip pliers) to remove the small circlip holding the spring for reverse in place on the gearstick - be careful, it will spring off if you aren't!
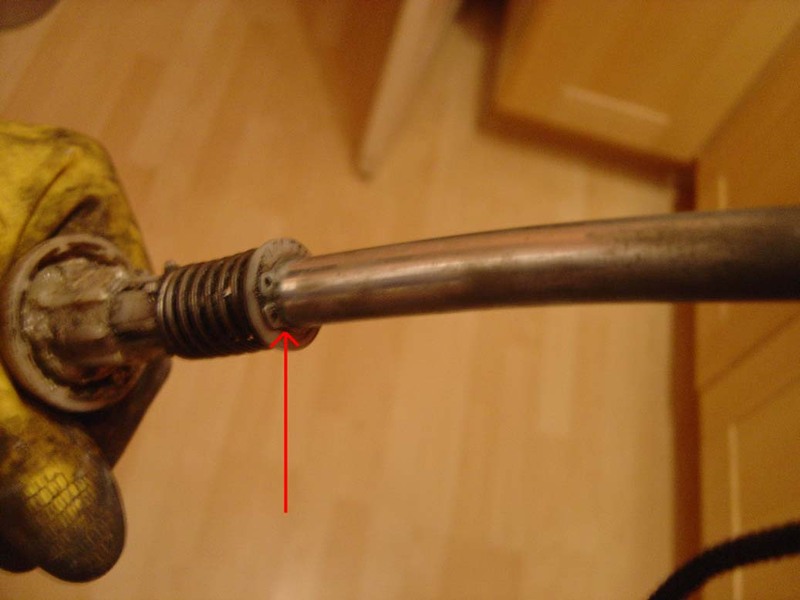


32. Back up the gear stick now, this should simply lift out the car because you've already disconnected the bottom part of the linkage. Turn it upside down and use a flatblade screwdrive to turn the bottom plastic fitting and remove it.


33. Now remove the gearstick by simply sliding it out the base plate.

34. You now need to remove the large rubber bush in the shifter base. I just placed it on the floor and trod on it to break the seal (picture 34a) then just tapped it the rest of the way with a chisel (picture 34b). The final picture (picture 34c) shows it removed.


35. Use a pair of pliers (or better still circlip pliers) to remove the small circlip holding the spring for reverse in place on the gearstick - be careful, it will spring off if you aren't!

Child pages:
- Gear Linkage Change (Page 8) (1 post, 1 child)
There are no posts yet


