Gear Linkage Change (Page 3)
11. The gearstick will be flopping about in the car somewhere now so go and grab that.
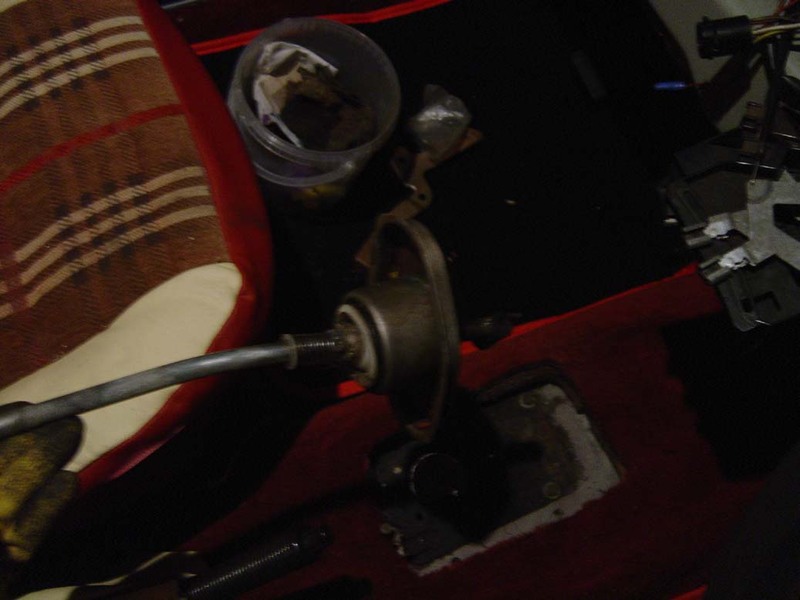
12. There are two 'top hat' bushes in the base of the gear stick as shown in the picture. Remove these (they will slide out easily).
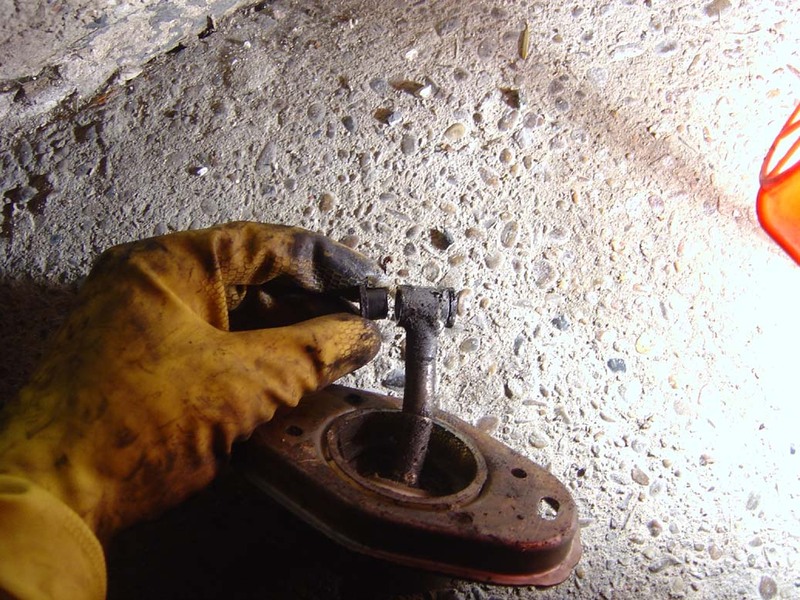
13. Grab your set of new bushes and pick out two of the black ones that match and replace accordingly. Don't refit this part of the linkage yet, it's the last one to be done.
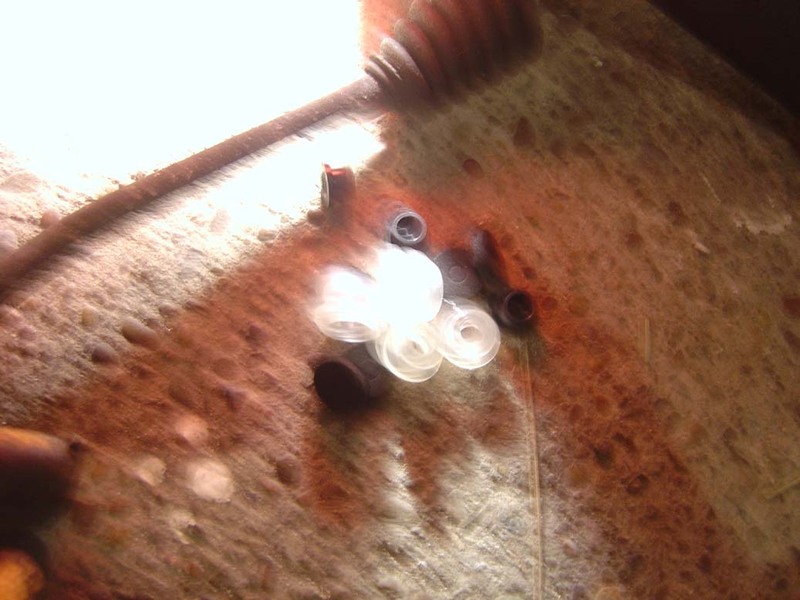
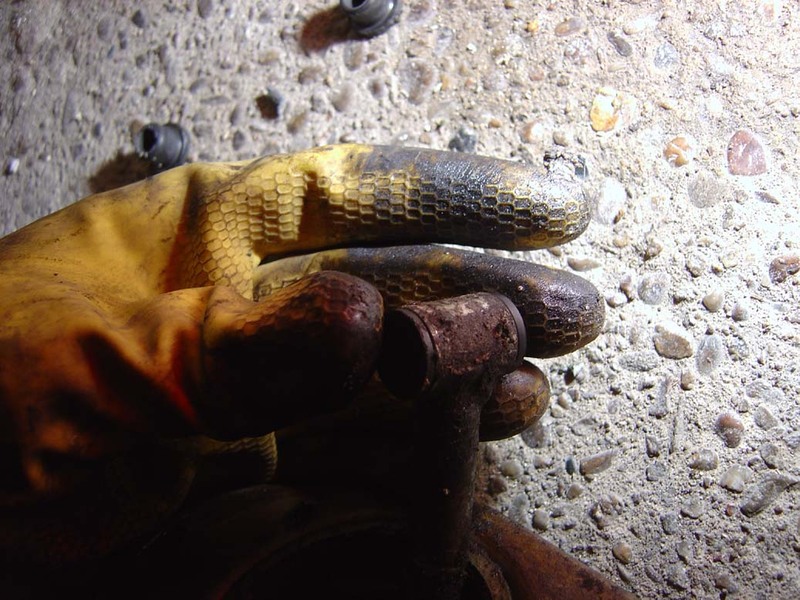
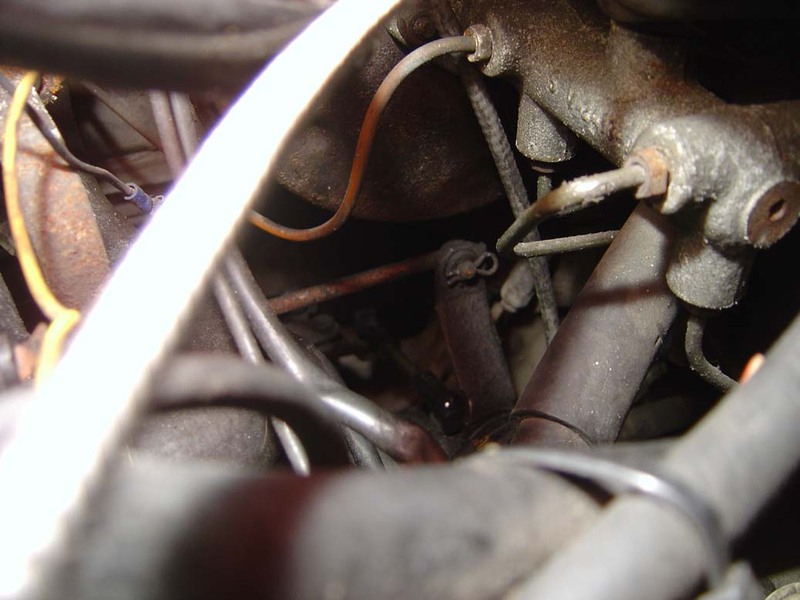
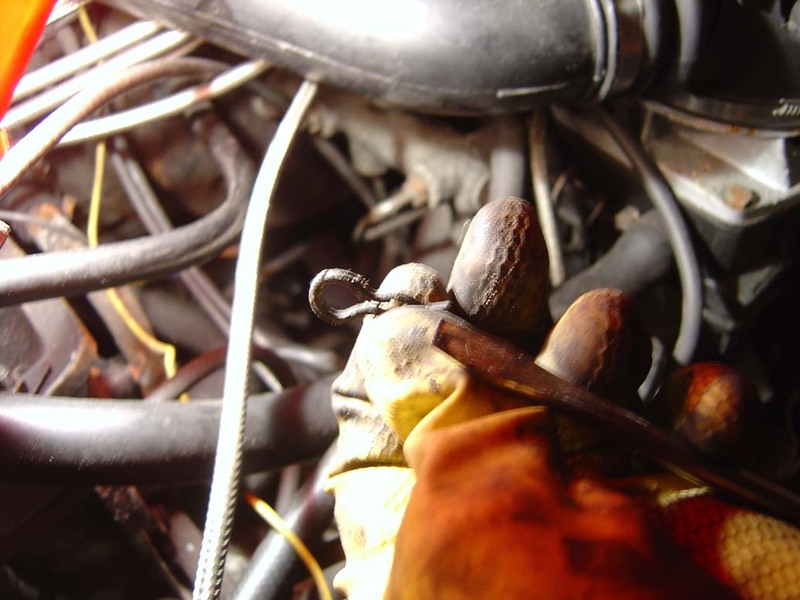
14. Looking in the top of the engine here on the passenger side you can see down to one of the arms on the linkage that has a spring clip retaining it (picture 14a). Remove this using a flatblade screwdriver (picture 14b), being careful it doesn't spring off and get lost. The rod should then push gently out from the bush (picture 14c).
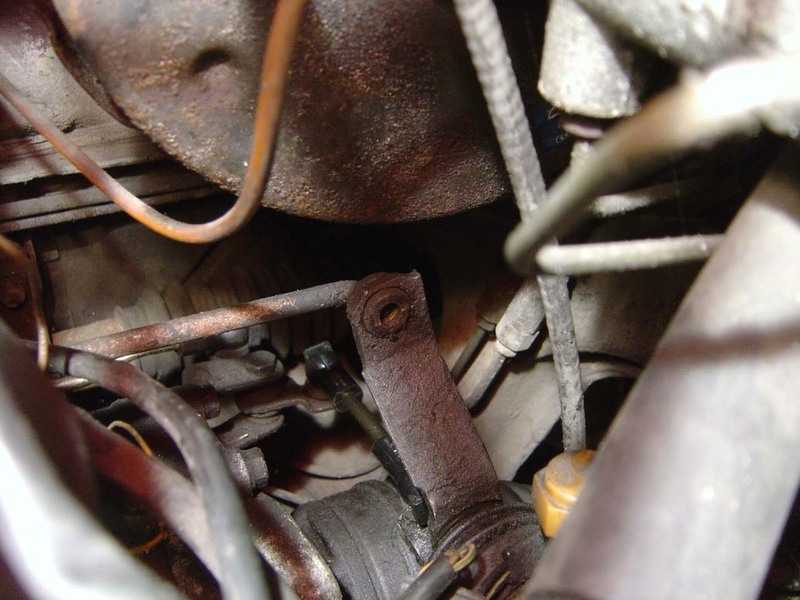
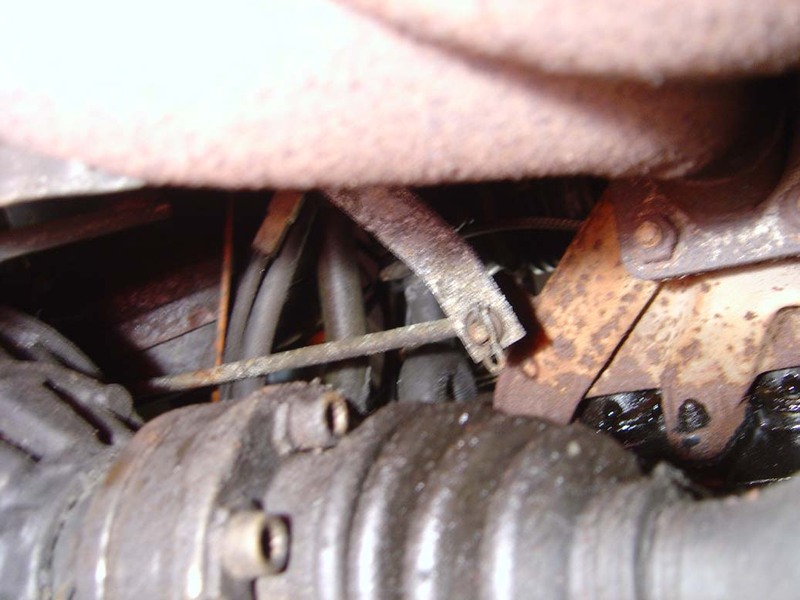
15. Pop back underneath and do the same again to the other end of the bar.

12. There are two 'top hat' bushes in the base of the gear stick as shown in the picture. Remove these (they will slide out easily).

13. Grab your set of new bushes and pick out two of the black ones that match and replace accordingly. Don't refit this part of the linkage yet, it's the last one to be done.


14. Looking in the top of the engine here on the passenger side you can see down to one of the arms on the linkage that has a spring clip retaining it (picture 14a). Remove this using a flatblade screwdriver (picture 14b), being careful it doesn't spring off and get lost. The rod should then push gently out from the bush (picture 14c).


15. Pop back underneath and do the same again to the other end of the bar.

Child pages:
- Gear Linkage Change (Page 4) (1 child)
There are no posts yet


