vw golf cabriolet 85 US Spec restore - 3279A
Posted
Old Timer

One are I am not happy with is the head rests, can see in photo below the new covers just don't fit well, so going to redo them.

So with new bolsters, you have to cut these to make it perfectly. Notice extra form on new ones at bottom, so cut these and so there is extra foam at the rear on the underneath, so cut this out too.

parts cut out of new bolster to make them perfect match to originals.

pulled the base foam together to make sure all fitted properly - very happy with results

Then install the new leather onto the new side bolsters and for about hour I am fighting to get them to fit nice and tight with zero luck, then I went and measure the new to original covers and bingo the new ones are 1" longer so I need to correct that and then retry installation again.

Well I have some work to do on head rests and side bolster covers and then I can complete the seats. Next update will be once I have these done and installed in the vw.

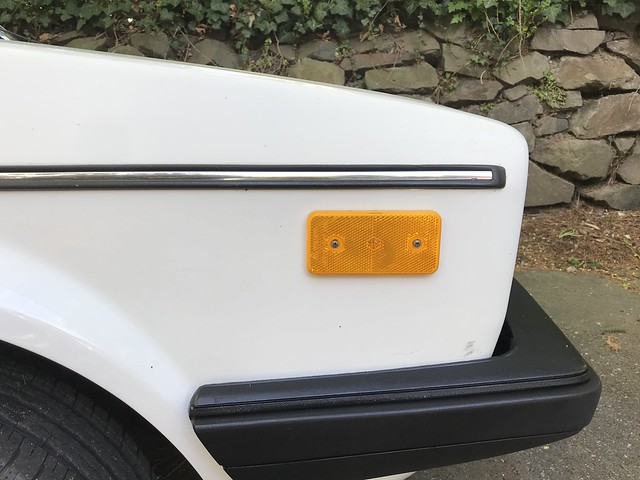
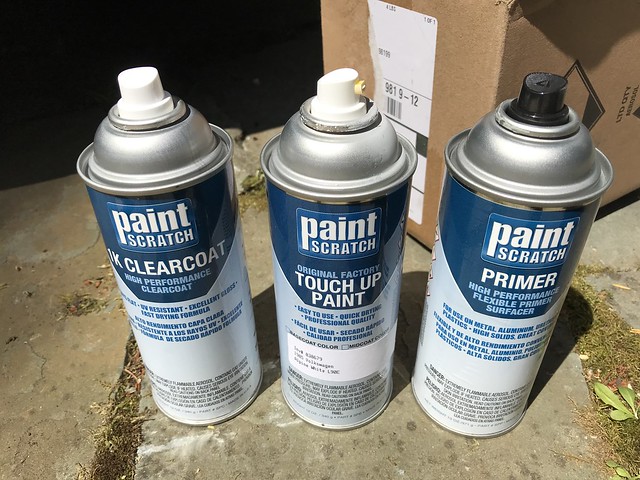
I also did some outside work on vw, I painted the side indicators to match the vw color. Interesting to note i found each corner was not even wired up!!
I also removed the arches and have new ones coming.
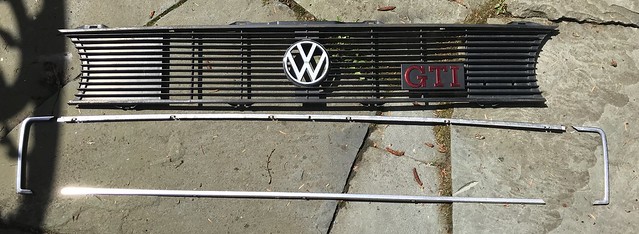
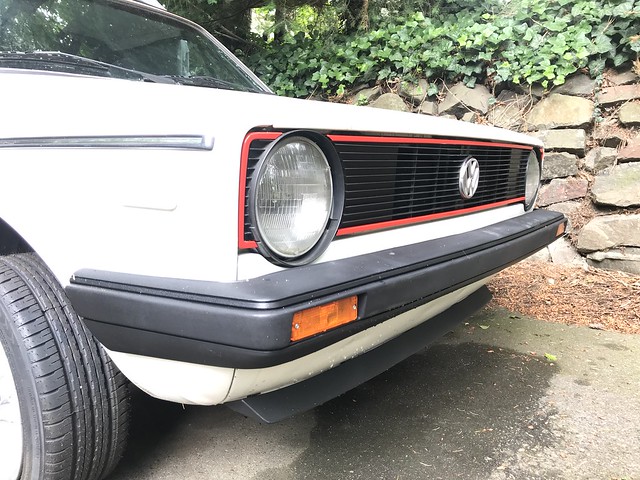
I also removed my front grill to change the color of chrome to Vw GTI red.
My european small ducklip turned up too, will install that this weekend and update once have grill done as well.
OEM side indicators;

Paint!
and painted…

and the end result on the car
]

and the front grill off! thinking should I upgrade my lights or not?

I did remove one other part from outside of the car to paint black, can you see what that is?
Here is my new european lip and compared to the GTI one. I prefer the European version - mainly due to when I put coilovers on I won't loss it!!

The GTI one will now become Art in my office!

and the car is all covered up again..

Madone with the two Cabs 82 (UK RHD) and 85 (US LHD) (92 sold)
Posted
Old Timer

Install of new euro lip

The right securing parts - what some people use on left…
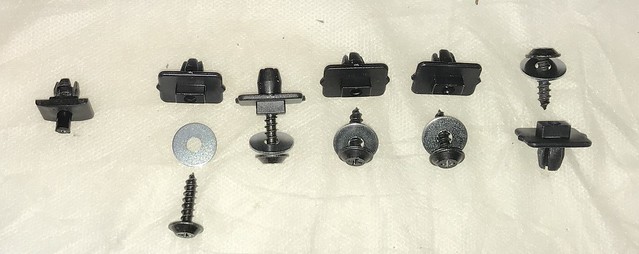
Jack vw up a little… makes life easier when using tools to get securing parts in to hold lip in place

Hold the lip in place and place the middle screw and washer in and repeat working on outside in, do not screw them in completely, once you have all of them in place then slow tighten up. Don't over tighten or you could damage the lip.
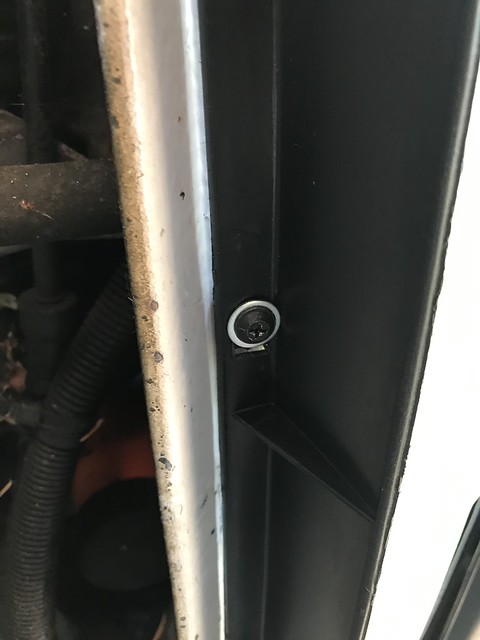
and all done.

Then onto the front grill
I already took off the grill to take the metal off to repaint it. Once off gently pry the little tabs back off the plastic grill to get them all.
it was a really nice hot and dry day when I did this. I made sure all parts where secure so I could paint them. Before this I wet and dry sanded them down and de-greased them. (no sponsorship was given from shipping company but the box worked well - so thanks!!) :laugh:
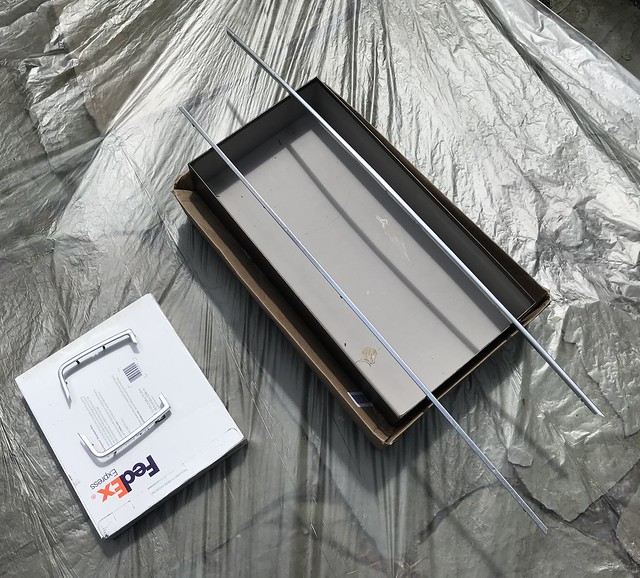
First primer coats x2

Then onto the correct RED color paint.


While waiting for the paint to finish I cleaned up the grill itself..

I actually left the grill parts painted overnight and then put back together in the morning
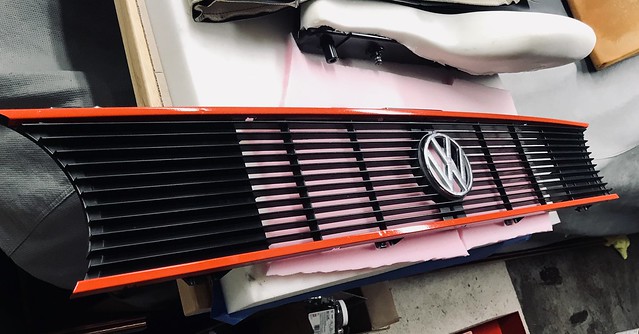
All back together again

and installed again on the car, overall I am really happy with the it.
Madone with the two Cabs 82 (UK RHD) and 85 (US LHD) (92 sold)
Posted
Old Timer

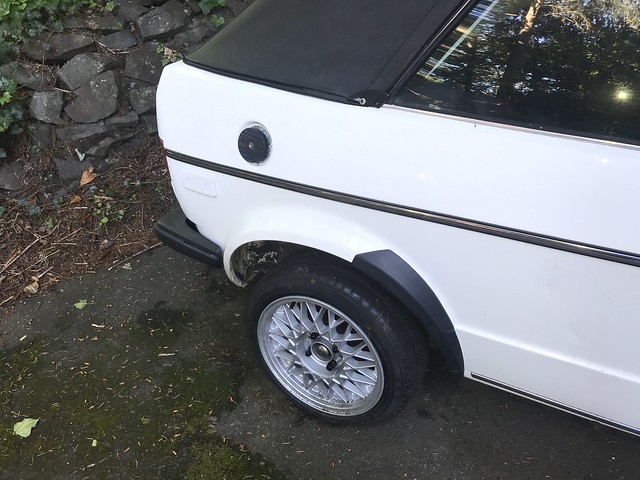
Adding the CL rear arch covers;
All new parts and correct parts to hold arch in place;

installed!

now do I paint the side mirrors black or leave them white?

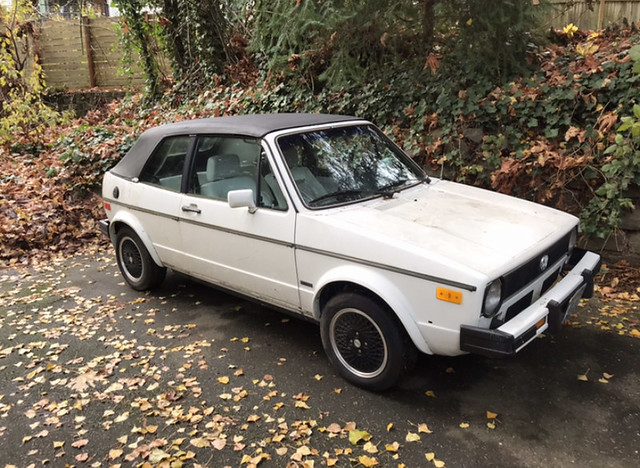
and what car looked like when I first got it.
Madone with the two Cabs 82 (UK RHD) and 85 (US LHD) (92 sold)
Posted
Old Timer

1. lower and upper strut braces, the upper one required same cutting and welding, but that is ok I enjoy little bit of fab work :laugh:
2. Finally got small rear arch clip so installed that
3. Took off the rear badges to clean up and re-new them
4. Fixed driver side handle - metal clip inside the door broke!
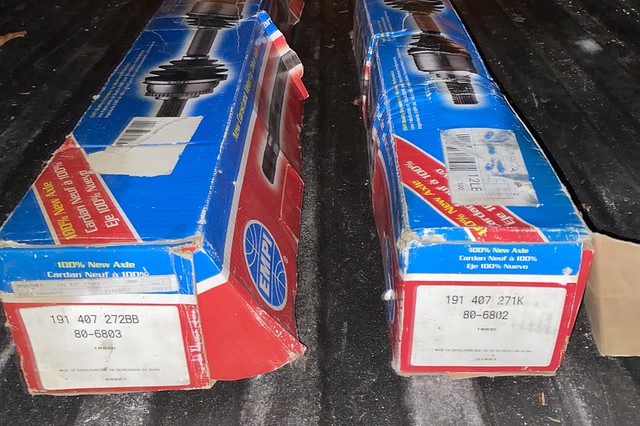
5. Scored deal on front replacement axles
Strut braces lower and upper, upper one is hitting the throttle body and goes over radiator expansion tank opener. Easy fix I will adjust the setup of this. updates on that next.

Rear arch cover clip arrived, now drive the cab without if flapping around!!

Rear badges needed taking off and applying new stickers to make them new again!

New stickers for badges;

Broken in door handle clip

New parts arrived, ordered from Europe… these are hard items to find for sure

Front axles, all part of new parts for front setup, so I can do new suspension, arms, brakes, etc in one hit (this will be winter projects)
I am on the hunt for BBS RS Wheels too 15" 4x100.
 Last edit: by madone_si
Madone with the two Cabs 82 (UK RHD) and 85 (US LHD) (92 sold)
Posted
Old Timer


Take you time as each letter and VW symbol are individual - use small long length pliers to pull off and place on badge lettering


Painted the Cabriolet badge white
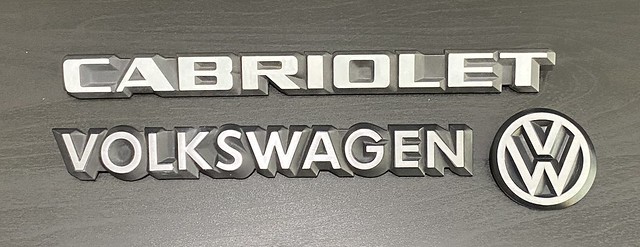
And installed


another job done.
Still waiting on my final leather to turn up so can cut and do my Recaro seats.
Madone with the two Cabs 82 (UK RHD) and 85 (US LHD) (92 sold)
Posted
Old Timer

How Seat was before
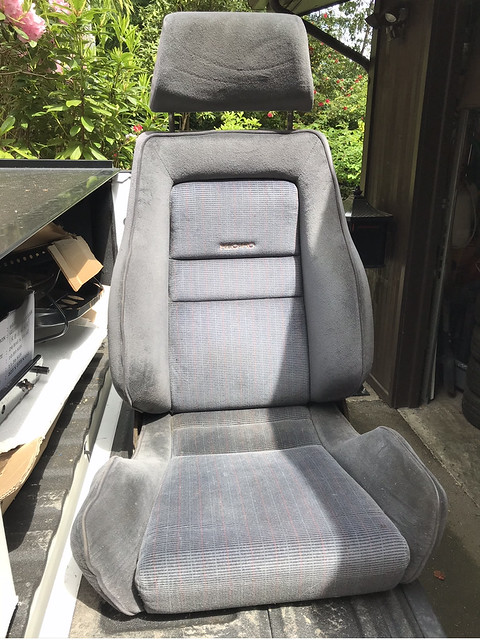
and now finished

and the Real Recaro covers and new handles

New supports (originals ones where ok, will be selling the originals ones)

This weekend I am rebuilding the bases, been powder coated, all parts cleaned, new spring, new Bosch Motor, upgraded to later VW/Audi model, so much quieter now.
Just got some wiring to redo and then can install both of the bases onto the seats and into the VW.


and finally my new shoes turned up - brand new custom lips, restored centers, new caps, bolts. Very happy with the staggered setup

Madone with the two Cabs 82 (UK RHD) and 85 (US LHD) (92 sold)
Posted
Old Timer

Seat motor (Make: Bosch API v12) spec;
0301-002-405 original VW
0301-002-5xx later bosch model fits too VW
8E0881183* (C, D, E) - VW
Rear Seat Lumbar Height Motor Audi A8 S8 D2 - Genuine Bosch - 0130-002-564
BMW lumber height motor Bosch unit 0130-002-400 also near perfect match to original VW ones
Original 0130-002-405 (on top)

Audi version 0130-002-564 - bigger motor in length and cable connectors are different.


BMW 0130-002-400


Madone with the two Cabs 82 (UK RHD) and 85 (US LHD) (92 sold)
Posted
Local Hero

Those seats are fab but not sure on the electric motors etc as it's adding weight and at the end of the day how often do you move the seat?
1988 Mk1 Golf GTi Cabriolet 1.8cc DX, K-jet. Daily drive. 317,000 miles and counting
1978 Mk1 Scirocco GLS 1.6cc FR, Webber carb. Weekend toy.
1978 Mk1 Scirocco GLS 1.6cc FR, Webber carb. Weekend toy.
Posted
Old Timer

Electric motors come with seat so why not, plus I'm not concerned with added weight, this is not race car
Madone with the two Cabs 82 (UK RHD) and 85 (US LHD) (92 sold)
Posted
Local Hero

Keep the updates coming.
1988 Mk1 Golf GTi Cabriolet 1.8cc DX, K-jet. Daily drive. 317,000 miles and counting
1978 Mk1 Scirocco GLS 1.6cc FR, Webber carb. Weekend toy.
1978 Mk1 Scirocco GLS 1.6cc FR, Webber carb. Weekend toy.
Posted
Old Timer

mark1gls said
It's a nice touch having electric seats and it's your car so go for it….
Keep the updates coming.
yeah I thought so too
yeah trying to get more updates coming, lots planned for this winter, all parts are in just time and hoping for no rain at the weekends!!
Madone with the two Cabs 82 (UK RHD) and 85 (US LHD) (92 sold)
Posted
Old Timer


one of the key things I never see people report on is when putting new seats in or rebuilding, you must grease up all the seat runners and plastic parts that seat moves on, that including seat base parts too.
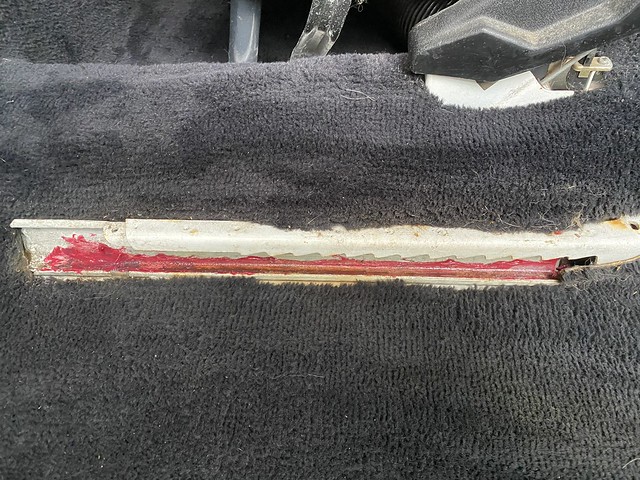

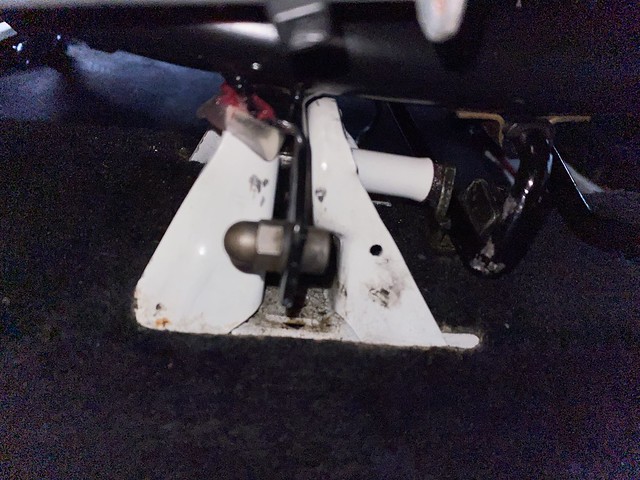
Passenger seat in!!! nice compare of original to new

seat runner cover
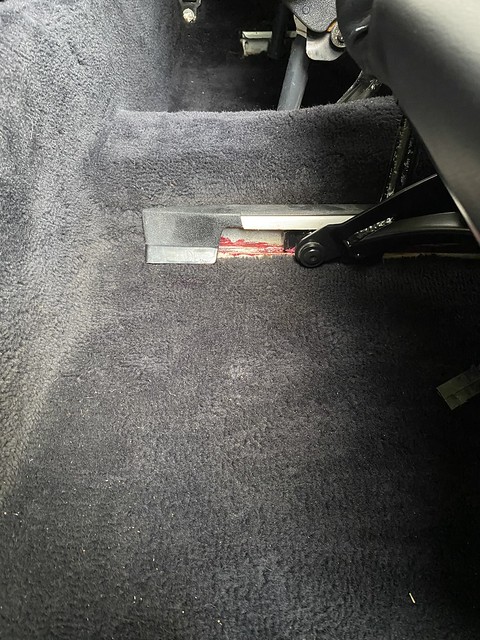
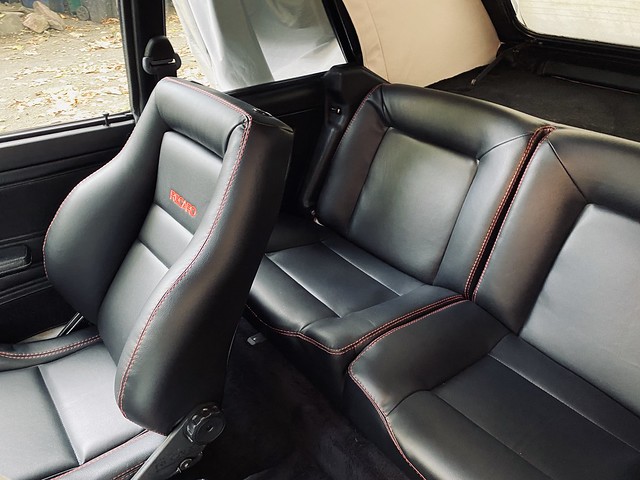
May wonder why not head rest, its easier to install without it. I will do next update with full interior in - both seats with head rests.
Madone with the two Cabs 82 (UK RHD) and 85 (US LHD) (92 sold)
Posted
Old Timer

Before

and the money shot!

Headrests metal needed cleaning and protecting as well as the headrest supports.


wire wheeled the metal to clean all up and used Metal ready and degreaser (POR15) in prep for paint

all painted and protected with POR15


Madone with the two Cabs 82 (UK RHD) and 85 (US LHD) (92 sold)
Posted
Old Timer

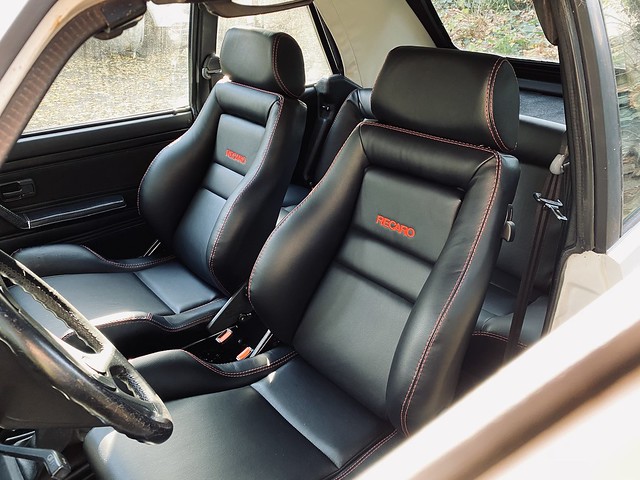
I also got the gearstick gater and hand break matching leather


I also have a new steering wheel coming, which will review little mod'ing and then I feel the interior is complete and I can move onto my winter projects of suspension, running gear upgrades and then new wheels install!!!
Madone with the two Cabs 82 (UK RHD) and 85 (US LHD) (92 sold)
Posted
Local Hero

1988 Mk1 Golf GTi Cabriolet 1.8cc DX, K-jet. Daily drive. 317,000 miles and counting
1978 Mk1 Scirocco GLS 1.6cc FR, Webber carb. Weekend toy.
1978 Mk1 Scirocco GLS 1.6cc FR, Webber carb. Weekend toy.
Posted
Old Timer

mark1gls said
It's all coming together nicely and looking good
thanks Mark1gls, it sure is.
Madone with the two Cabs 82 (UK RHD) and 85 (US LHD) (92 sold)
Posted
Old Timer


Madone with the two Cabs 82 (UK RHD) and 85 (US LHD) (92 sold)
Posted
Old Timer

Original one is actually in great shape after a little clean.

took it apart - clips rusted up

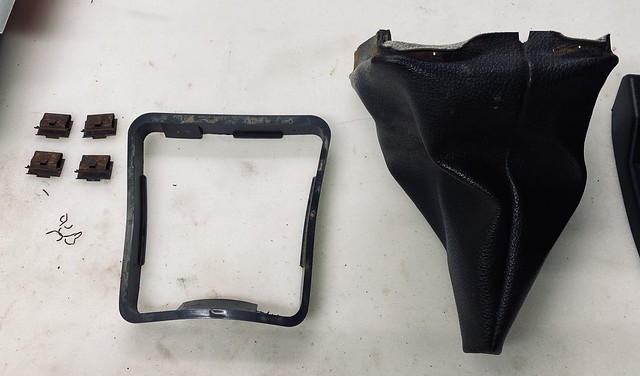
new cover

Put new cover over base (plastic) and added new nails and restored the rusted clip and POR15 them

Completed and compared to original


Also got my new door handle covers

More coming soon on changes to new steering wheel.
Madone with the two Cabs 82 (UK RHD) and 85 (US LHD) (92 sold)
Posted
Old Timer


and gave the VW a clean!
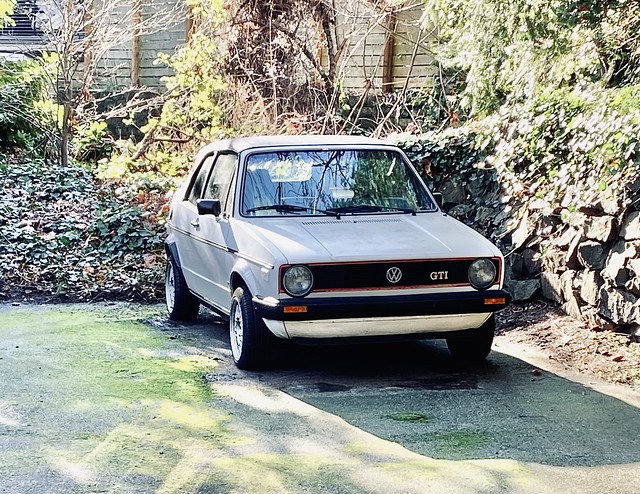
Also noticed this heater lever came off way to easily, is this part actually broken (white plastic part) or is this is how its meant to be?

Madone with the two Cabs 82 (UK RHD) and 85 (US LHD) (92 sold)
Posted
Old Timer

So with top heater lever not working properly, dismantled the dashboard and found the issue, which is there is plastic part that has broken (Heater control pivot broke) Reading up and being informed from others on another forum, this is a common issue.
The white part in pic should have lever on top and a black plastic holds it in place and that is what has broken off

I followed this process to learn the fix and process (big thanks to Briano)
https://www.volkswagenownersclub.com/threads/my-heater-control-pivot-broke-cabriolet.46441
So here is what I did to fix it.
Once I got the unit out (not the easiest thing to do!) I inspected everything and gave everything a good clean.

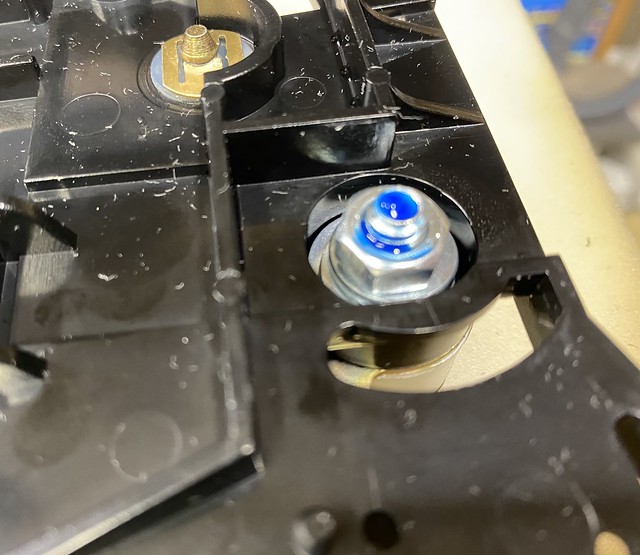
In the above picture I drilled through black plastic part that holds the pivot parts in place and placed a bolt, washer and nut on the end. This will help fix the problem.
Added the white plastic back on, added white grease to pivot and moving parts

added the broken black pivot plastic part, now with drilled out hole through it to put the bolt, washers and nut through it to hold in place

Bolt installed from top with washers

Underside showing washers and threadlock (blue)

Nut installed and tightened up enough to lock but allow the pivot setup to work for both levers
Then installed the A/C lever and added grease. I placed a washer underneath ready for install as this is known fix for common issue of a-c-slider-pops-out-of-place. nice easy fix!

Next update, unit install in dashboard and time to do flush, clean and fresh coolant install (including Radiator inspection, replace thermostat and check all coolant pipes!!
Madone with the two Cabs 82 (UK RHD) and 85 (US LHD) (92 sold)
0 guests and 0 members have just viewed this: None.


