"TAG" - 1983 Campaign restoration blog
Posted
Old Timer


Very many thanks for the detailed advice. I have been away hence my tardiness in replying!!!!! You seem to have done an excellent job - if I can achieve something close to that I will be a happy man. As mentioned it will be first welding attempt……………
I see you welded the captive nut to the 60x60 plate - did you then weld that plate to the inside of wheelarch - THEN fit a repair section from inside - joggling the edges???????
Many thanks once again! I may have to pop over to see you for advice…..!
1983 Golf GTi Campaign Edition, Diamond Silver
http://vwgolfmk1.org.uk/forum/index.php?page=topicview&id=projects%2Fyour-mk1-golfs_2%2F-tag-1983-campaign&redirected=1#post_1551531
http://vwgolfmk1.org.uk/forum/index.php?page=topicview&id=projects%2Fyour-mk1-golfs_2%2F-tag-1983-campaign&redirected=1#post_1551531
Posted
Old Timer


I welded the repair section with joggled edges into the inner wing first and then marked up the hole for the seatbelt mount with measurements taken from the original rusty mount before I cut it out. I probably still have the measurements in a notepad somewhere so I can try and dig them out if you're stuck. Do you have any seat belts as it would pay to hold them in position before you drill the bolt hole. Once I'd drilled out the hole, 12mm I think, I then drilled a series of 8mm holes to spot weld the plate in position. I held it in position using a seatbelt bolt.
If you want to pop over sometime then I'm sure we can arrange something, I do have a lot on between now and Christmas but let me know what you can do and we'll sort something out.
Mars red 1.8 GTI tintop now MOT'd and on the road!
http://vwgolfmk1.org.uk/forum/index.php?page=topicview&id=projects%2Fyour-mk1-golfs_2%2Fwent-to-look-at-a-golf&kfs79=150
http://vwgolfmk1.org.uk/forum/index.php?page=topicview&id=projects%2Fyour-mk1-golfs_2%2Fwent-to-look-at-a-golf&kfs79=150
Posted
Old Timer


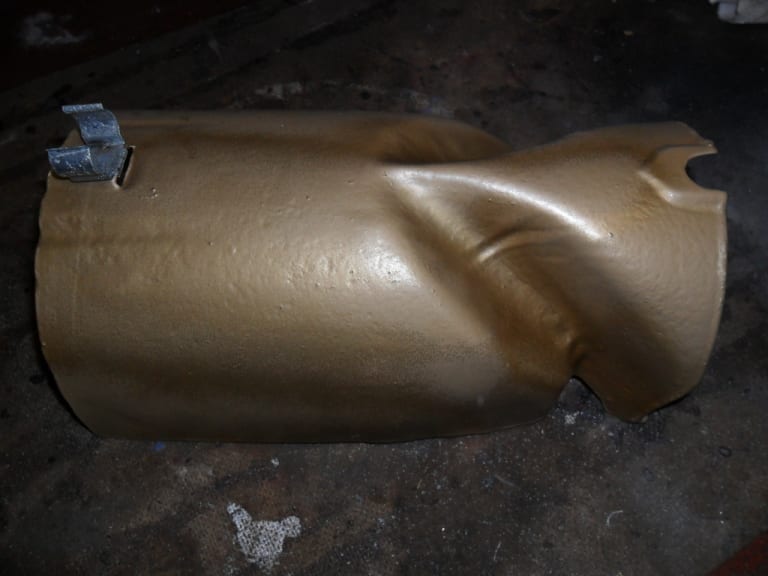
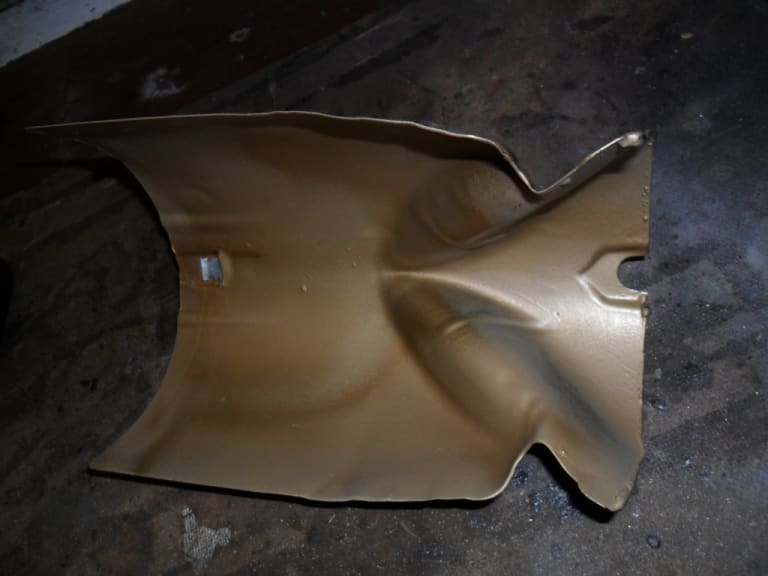
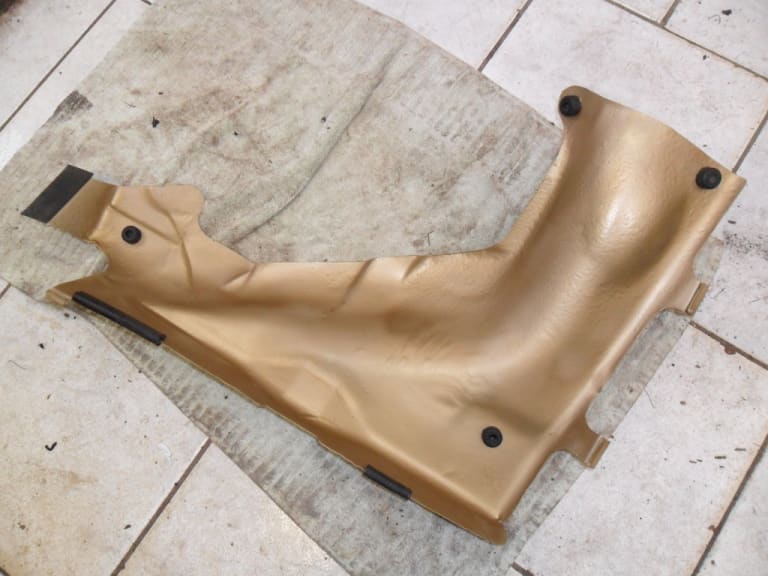
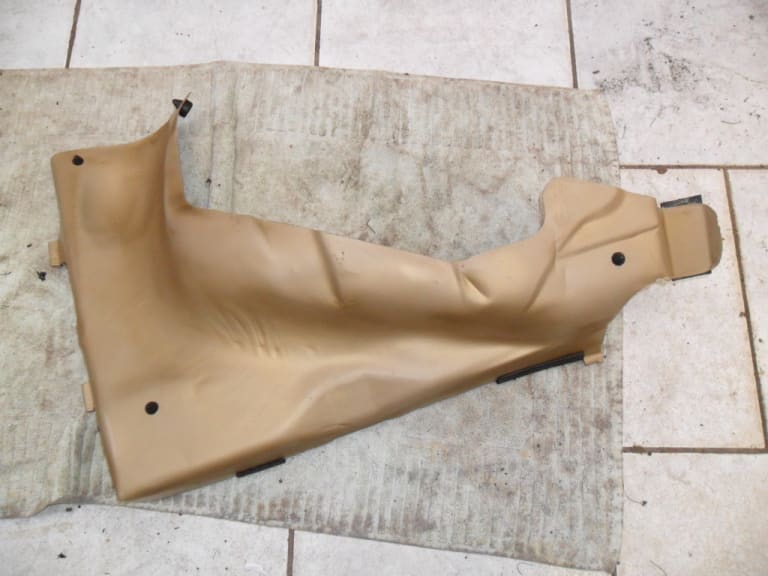
1983 Golf GTi Campaign Edition, Diamond Silver
http://vwgolfmk1.org.uk/forum/index.php?page=topicview&id=projects%2Fyour-mk1-golfs_2%2F-tag-1983-campaign&redirected=1#post_1551531
http://vwgolfmk1.org.uk/forum/index.php?page=topicview&id=projects%2Fyour-mk1-golfs_2%2F-tag-1983-campaign&redirected=1#post_1551531
Posted
Old Timer


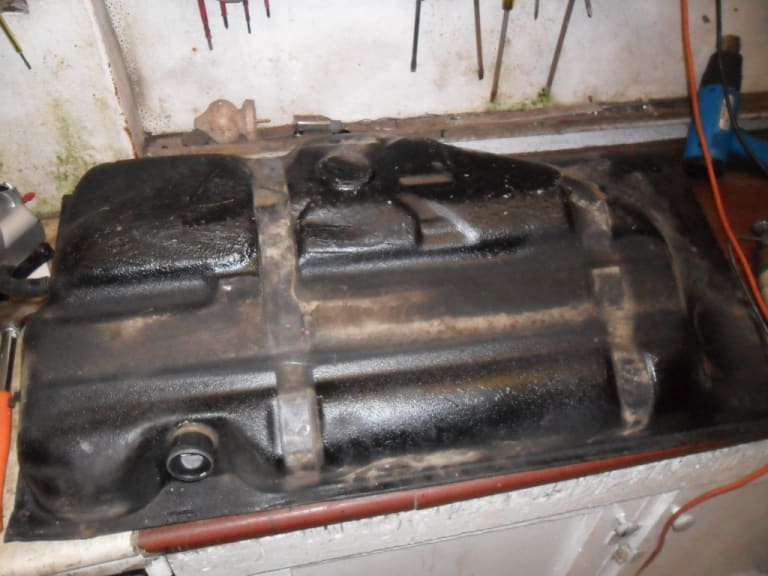
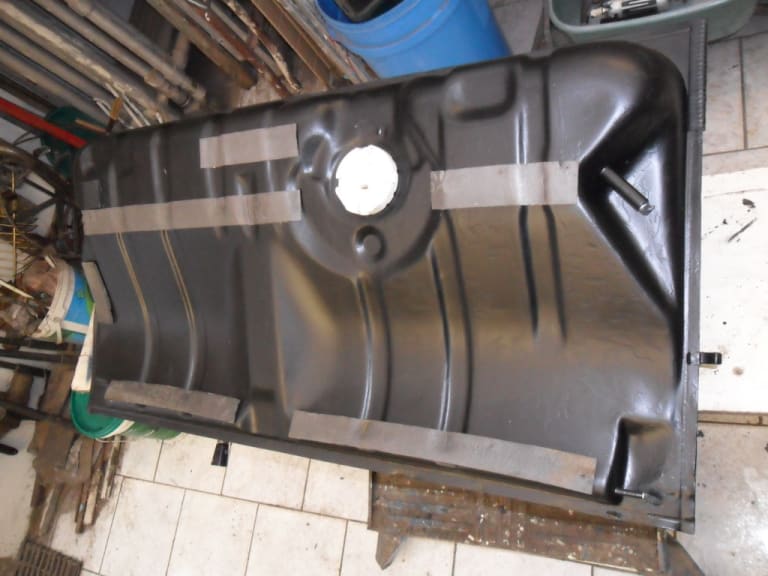
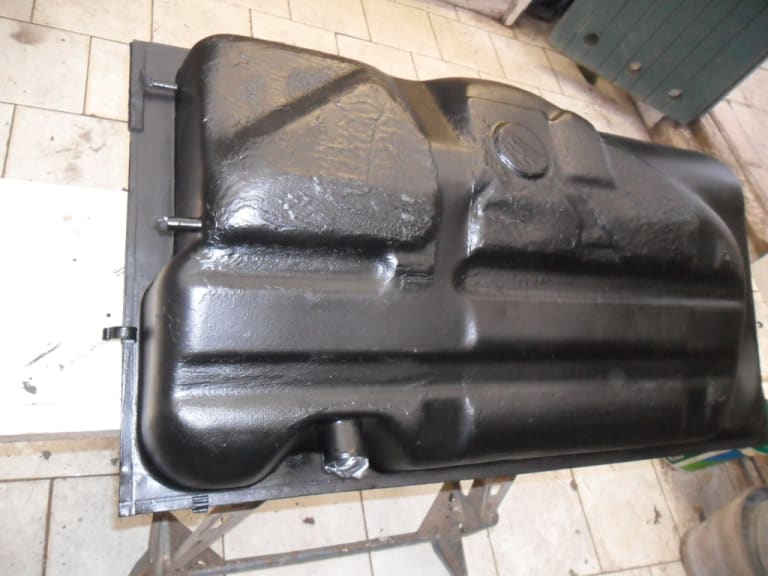
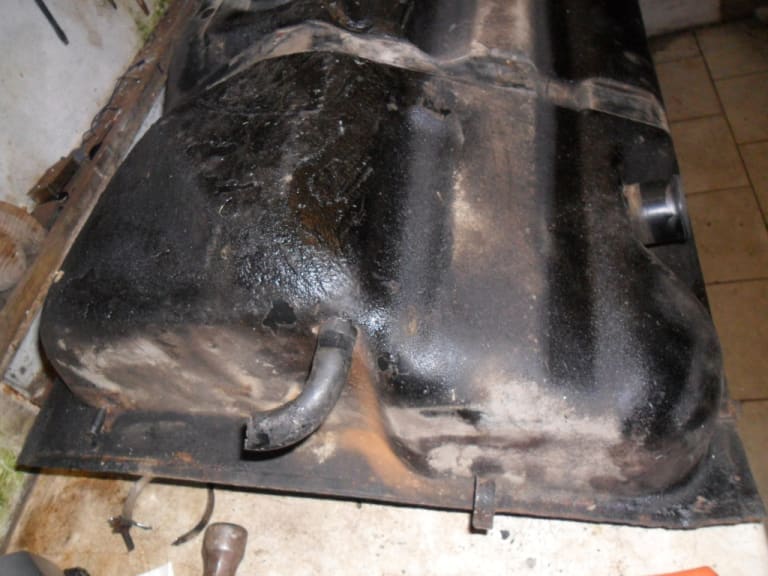 The petrol tank prior to cleaning. Covered in a layer of Shutz underseal.
1983 Golf GTi Campaign Edition, Diamond Silver
http://vwgolfmk1.org.uk/forum/index.php?page=topicview&id=projects%2Fyour-mk1-golfs_2%2F-tag-1983-campaign&redirected=1#post_1551531
http://vwgolfmk1.org.uk/forum/index.php?page=topicview&id=projects%2Fyour-mk1-golfs_2%2F-tag-1983-campaign&redirected=1#post_1551531
Posted
Old Timer


Then treated any rusty areas with Bilt Hamber.
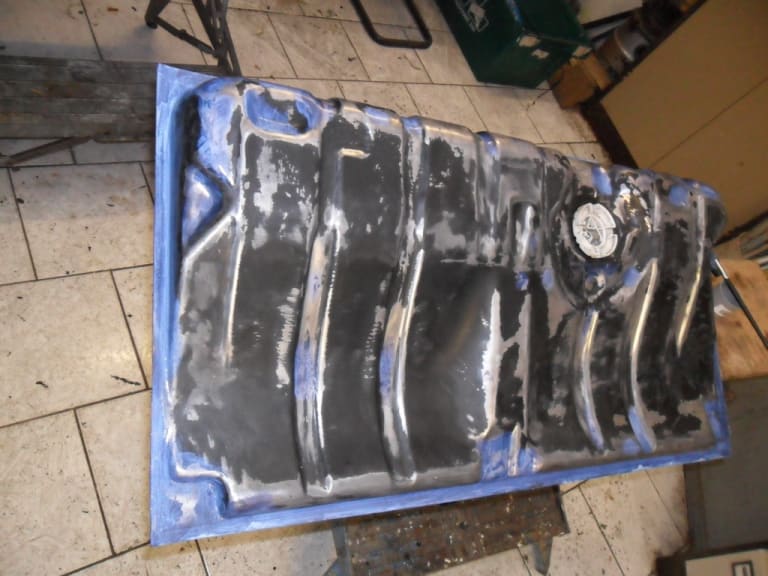
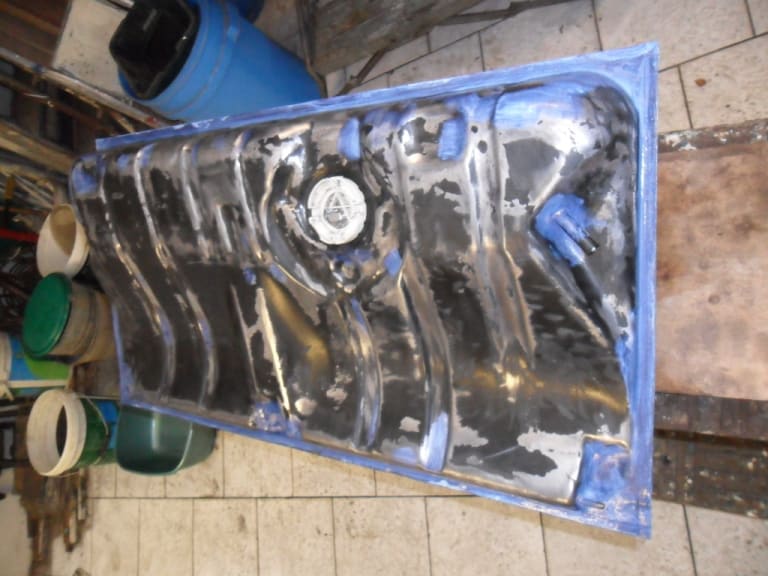
1983 Golf GTi Campaign Edition, Diamond Silver
http://vwgolfmk1.org.uk/forum/index.php?page=topicview&id=projects%2Fyour-mk1-golfs_2%2F-tag-1983-campaign&redirected=1#post_1551531
http://vwgolfmk1.org.uk/forum/index.php?page=topicview&id=projects%2Fyour-mk1-golfs_2%2F-tag-1983-campaign&redirected=1#post_1551531
Posted
Old Timer


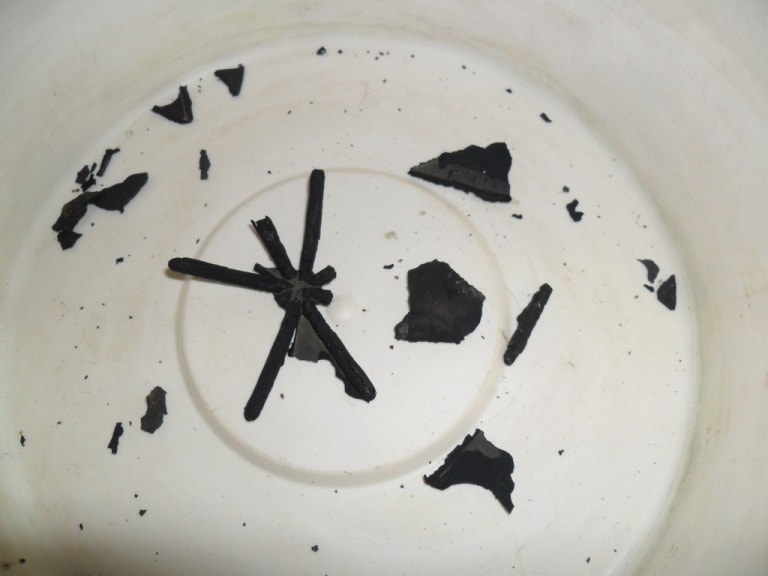
Any ideas what it used to be?? Here are the bits in a pot after removal…..
1983 Golf GTi Campaign Edition, Diamond Silver
http://vwgolfmk1.org.uk/forum/index.php?page=topicview&id=projects%2Fyour-mk1-golfs_2%2F-tag-1983-campaign&redirected=1#post_1551531
http://vwgolfmk1.org.uk/forum/index.php?page=topicview&id=projects%2Fyour-mk1-golfs_2%2F-tag-1983-campaign&redirected=1#post_1551531
Posted
Old Timer


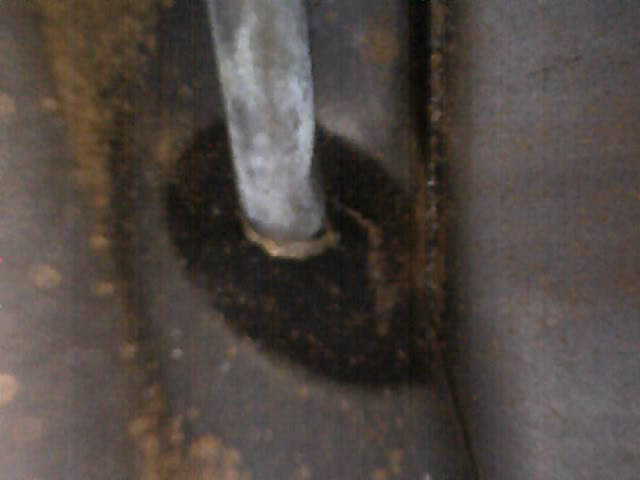
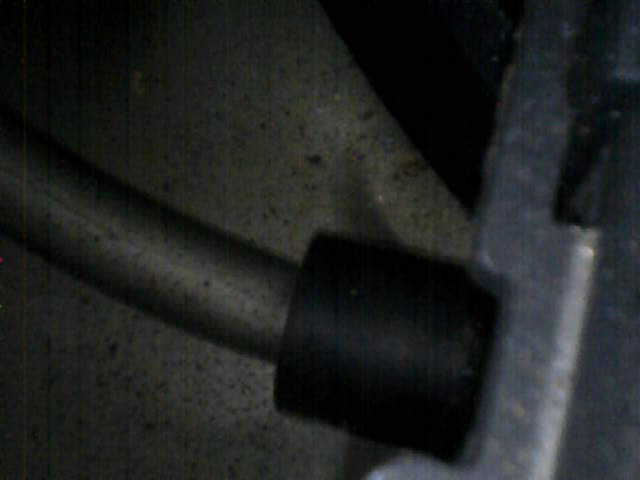
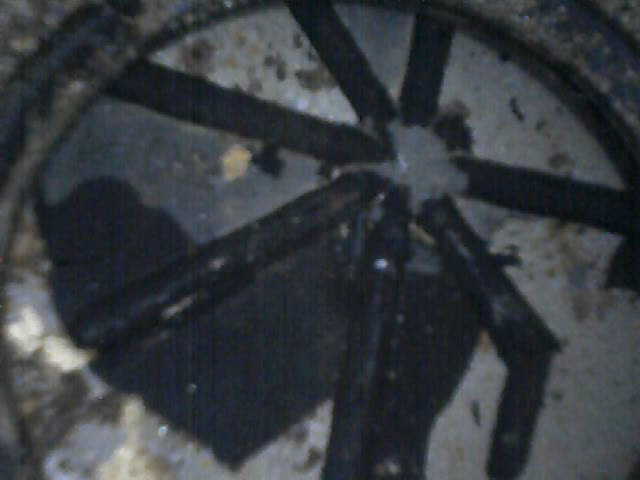
Fuel tank inner flap
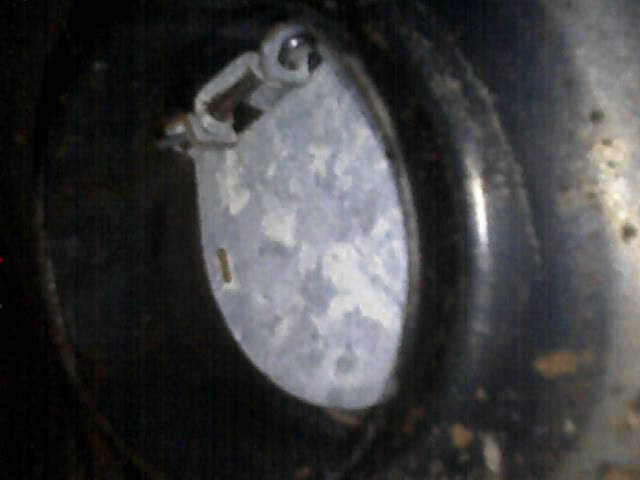
Inside top sender opening
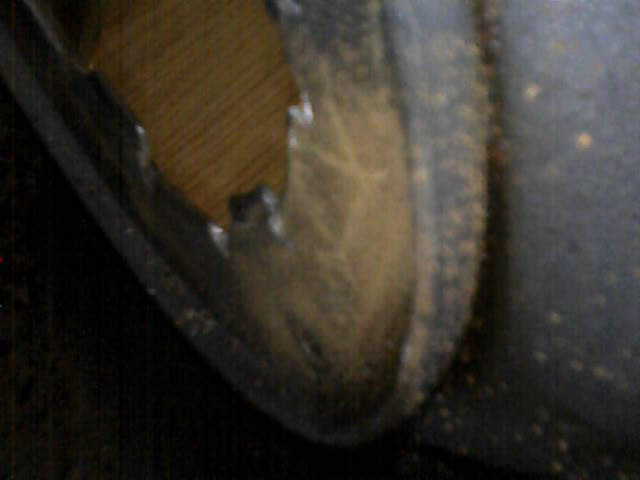
The mystery rubber???????
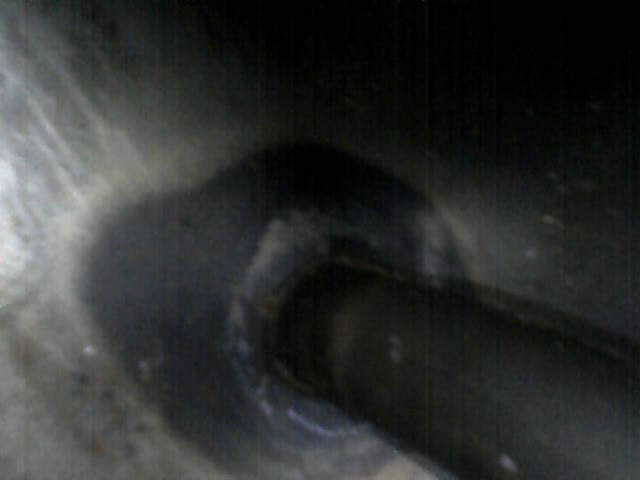
1983 Golf GTi Campaign Edition, Diamond Silver
http://vwgolfmk1.org.uk/forum/index.php?page=topicview&id=projects%2Fyour-mk1-golfs_2%2F-tag-1983-campaign&redirected=1#post_1551531
http://vwgolfmk1.org.uk/forum/index.php?page=topicview&id=projects%2Fyour-mk1-golfs_2%2F-tag-1983-campaign&redirected=1#post_1551531
Posted
Old Timer


1983 Golf GTi Campaign Edition, Diamond Silver
http://vwgolfmk1.org.uk/forum/index.php?page=topicview&id=projects%2Fyour-mk1-golfs_2%2F-tag-1983-campaign&redirected=1#post_1551531
http://vwgolfmk1.org.uk/forum/index.php?page=topicview&id=projects%2Fyour-mk1-golfs_2%2F-tag-1983-campaign&redirected=1#post_1551531
Posted
Moderator


Because that if needed that would happen on the outside normally.
As it's not complete I just can't see what purpose it served. 🤔
Nice work really by the way! 👍
Sent by a smartphone and not a smartperson!
Play Guess the Asking Price 'SEASON 4' as of Sunday the 29th of October 2017.
https://vwgolfmk1.org.uk/forum/index.php?page=topicview&id=chat%2Fmk1-golf-chat_2%2Fguess-the-asking-price_2
OLD.
https://vwgolfmk1.org.uk/forum/index.php?page=topicview&id=chat%2Fmk1-golf-chat_2%2Fold-guess-the-asking
Ever wondered who's behind the scenes of this forum?
https://vwgolfmk1.org.uk/index.php?page=committee
Mike
There's me building mine 28 years ago, almost finished!

Be proud of your VW Golf Mk1, it's very special!
Play Guess the Asking Price 'SEASON 4' as of Sunday the 29th of October 2017.
https://vwgolfmk1.org.uk/forum/index.php?page=topicview&id=chat%2Fmk1-golf-chat_2%2Fguess-the-asking-price_2
OLD.
https://vwgolfmk1.org.uk/forum/index.php?page=topicview&id=chat%2Fmk1-golf-chat_2%2Fold-guess-the-asking
Ever wondered who's behind the scenes of this forum?
https://vwgolfmk1.org.uk/index.php?page=committee
Mike
There's me building mine 28 years ago, almost finished!

Be proud of your VW Golf Mk1, it's very special!
Posted
Old Timer


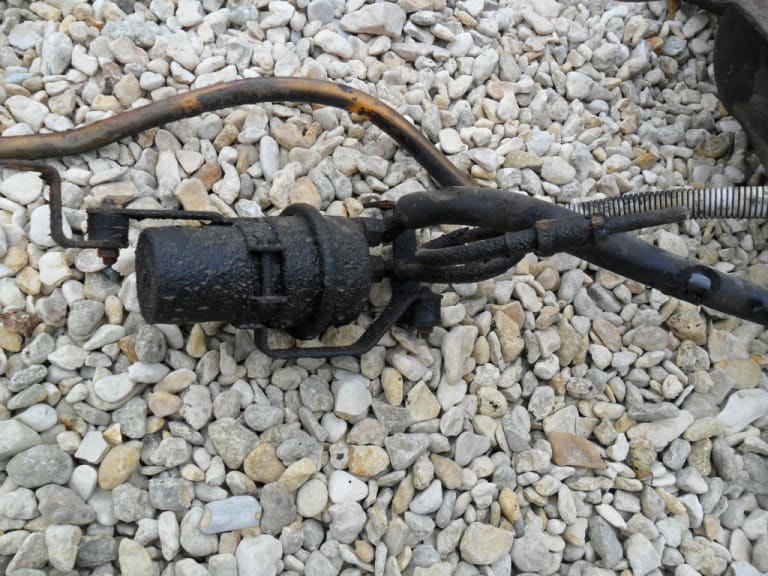
1983 Golf GTi Campaign Edition, Diamond Silver
http://vwgolfmk1.org.uk/forum/index.php?page=topicview&id=projects%2Fyour-mk1-golfs_2%2F-tag-1983-campaign&redirected=1#post_1551531
http://vwgolfmk1.org.uk/forum/index.php?page=topicview&id=projects%2Fyour-mk1-golfs_2%2F-tag-1983-campaign&redirected=1#post_1551531
Posted
Old Timer
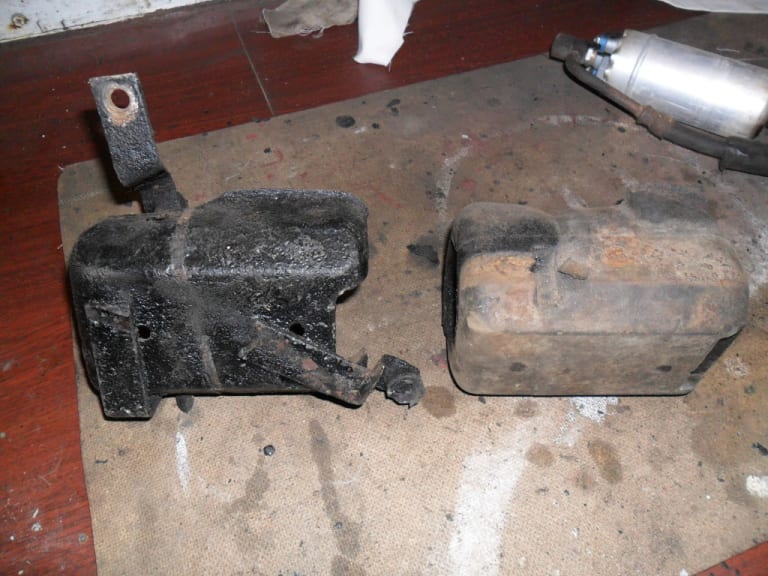
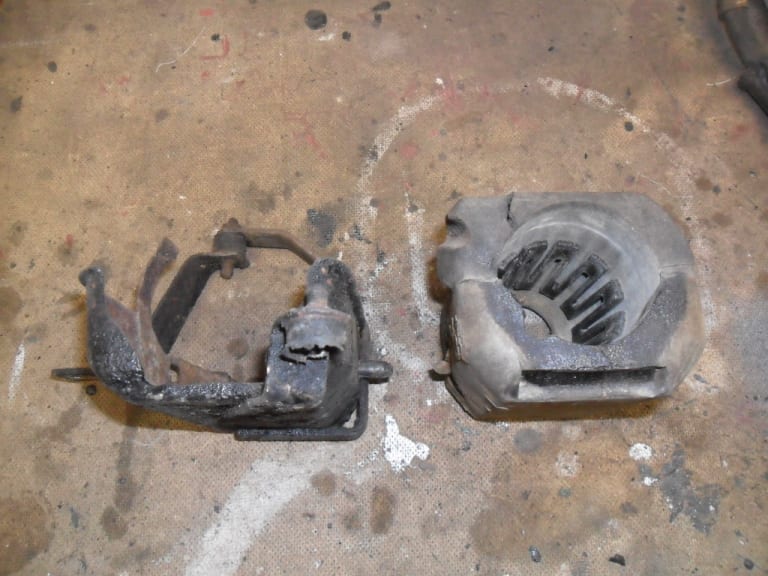
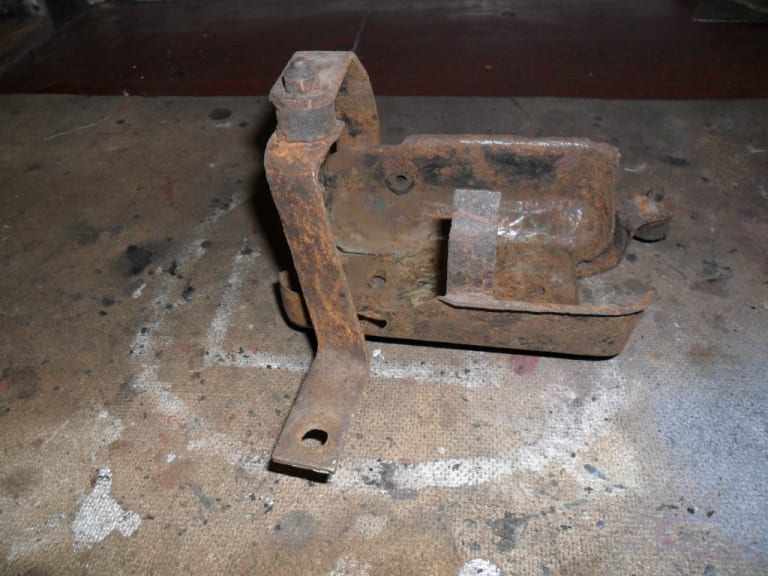
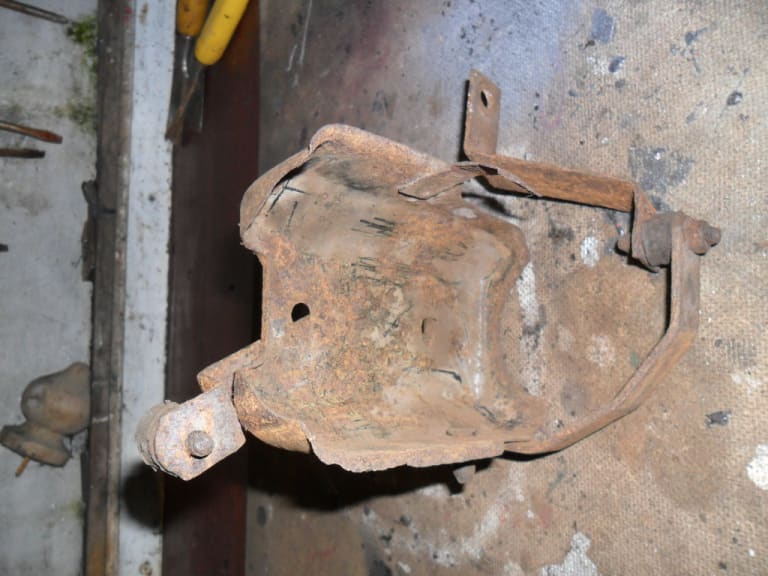
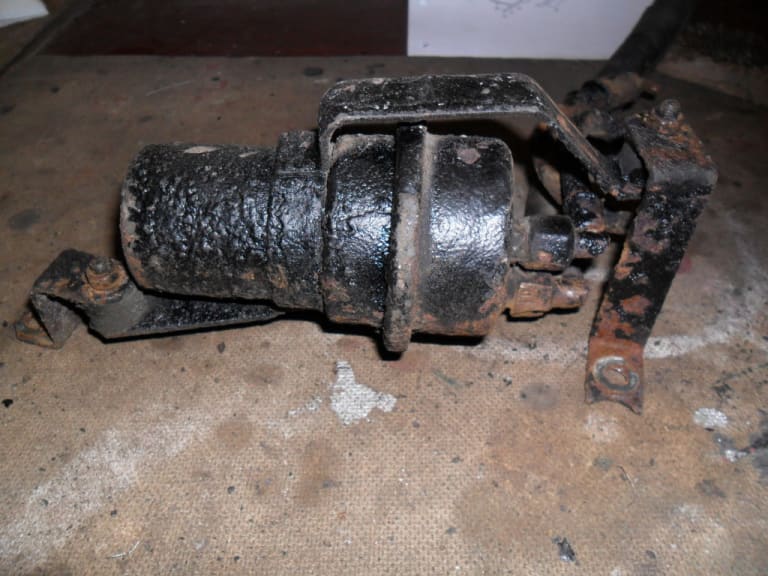
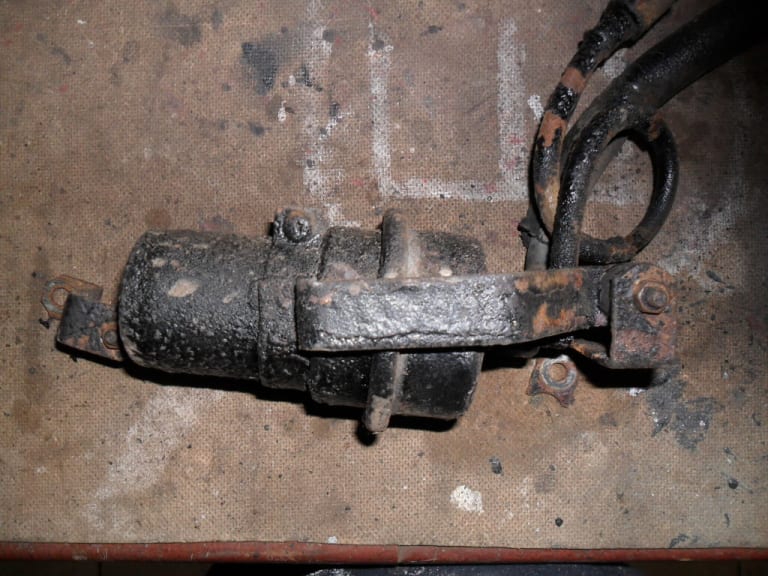
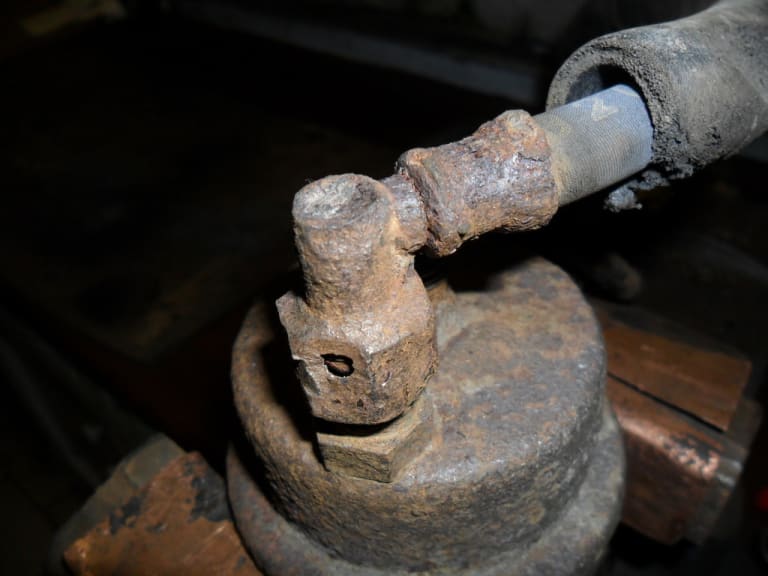
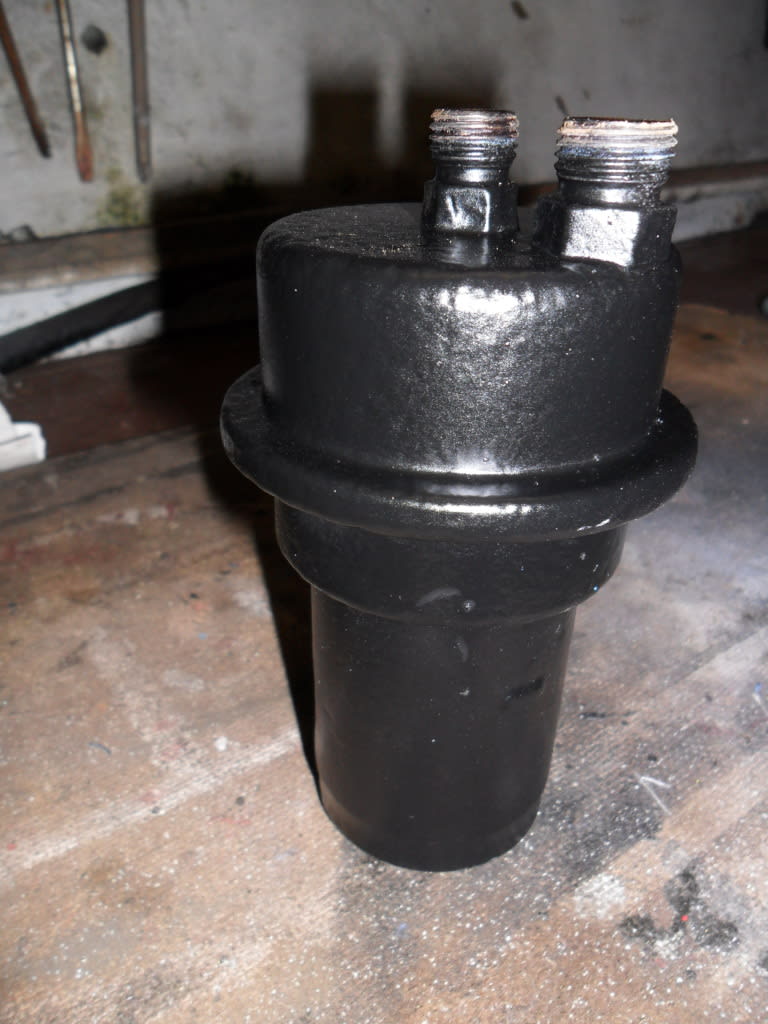
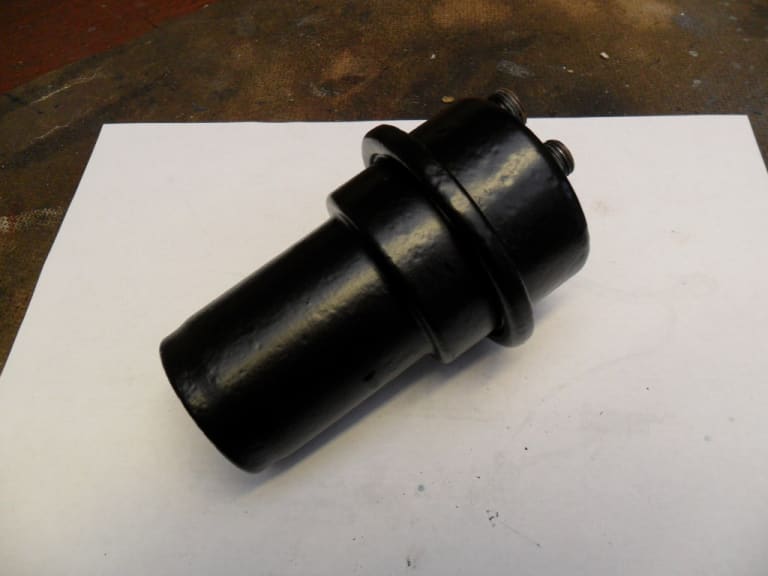
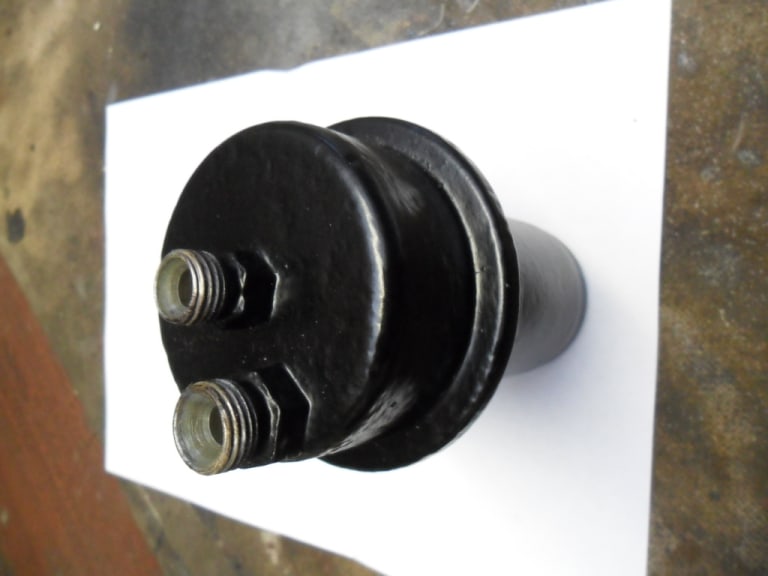


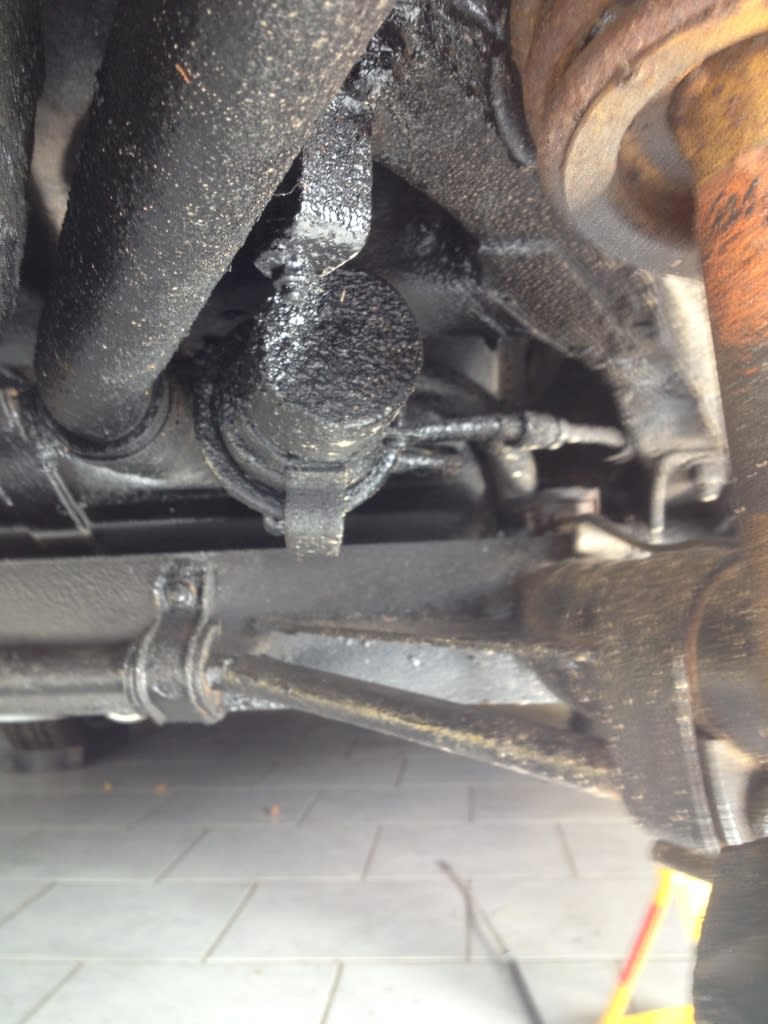
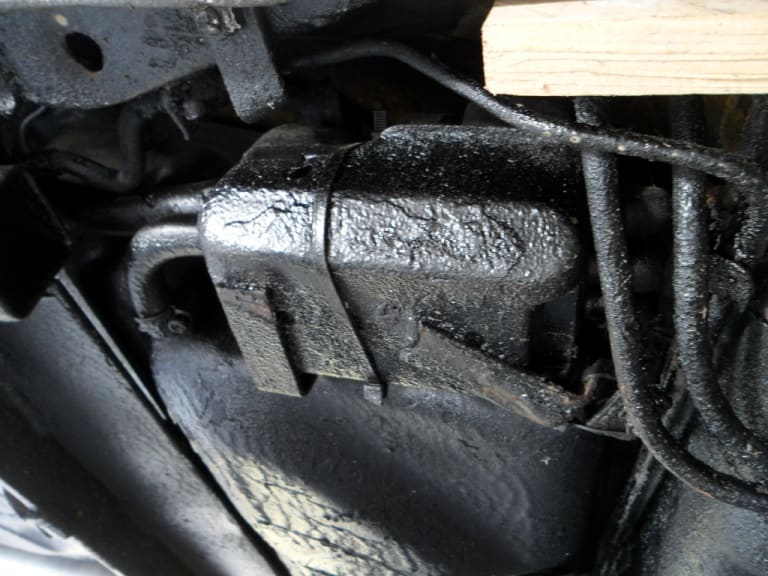
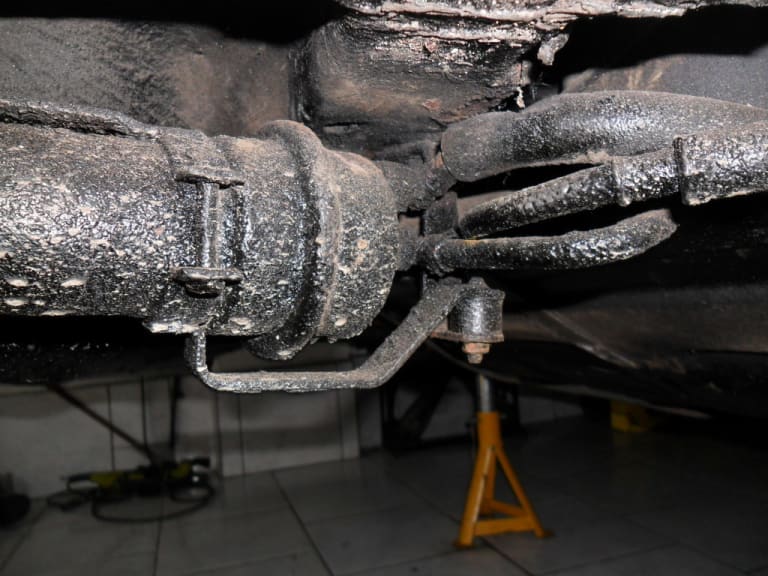
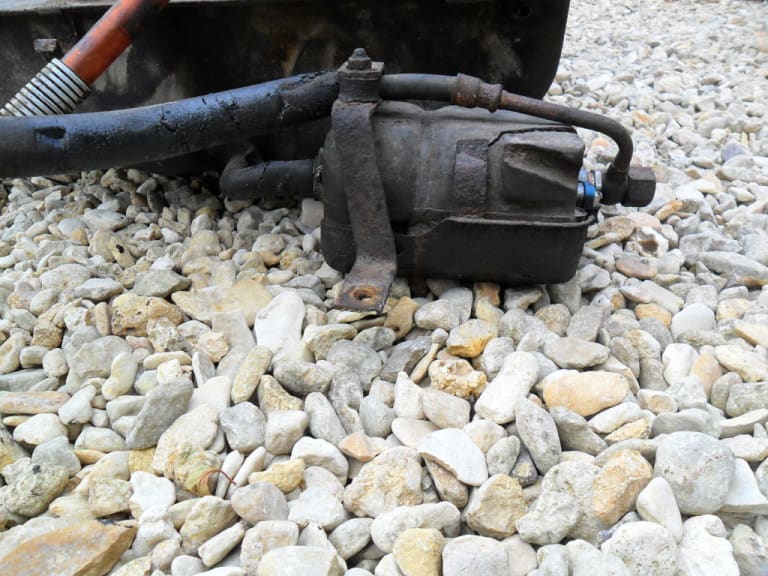
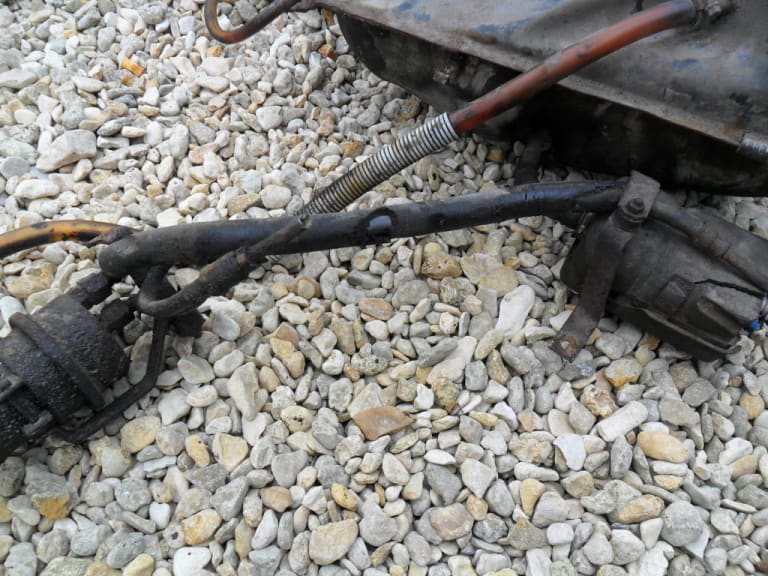
I have ordered a new accumulator flexi pipe. The rest of the main supply pipe to the filter is in great condition and I am loathed to replace the whole length - it is also a major job from what I have read.
I am investigating an option to extend the pipe. A company is happy to provide a short length of cunifer pipe with a flared end and a 14MM x 1.5MM MALE PIPE NUT to attach to the accumulator flexi pipe. I can then try and use a 5/16 (8mm) inline coupling on to join it to the existing pipe.
Has anyone done anything similar successfully???
1983 Golf GTi Campaign Edition, Diamond Silver
http://vwgolfmk1.org.uk/forum/index.php?page=topicview&id=projects%2Fyour-mk1-golfs_2%2F-tag-1983-campaign&redirected=1#post_1551531
http://vwgolfmk1.org.uk/forum/index.php?page=topicview&id=projects%2Fyour-mk1-golfs_2%2F-tag-1983-campaign&redirected=1#post_1551531
Posted
Old Timer
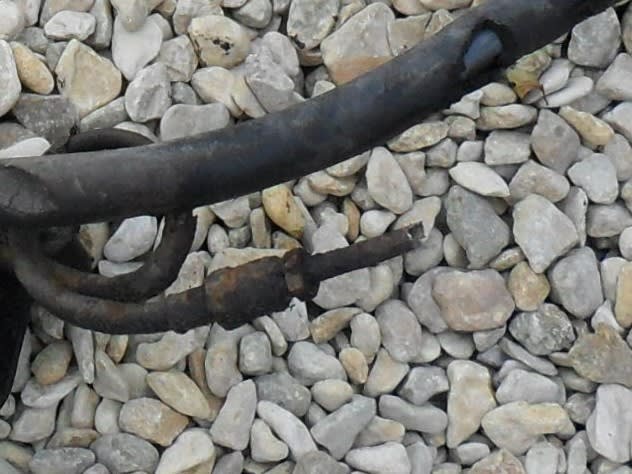


"we are unable to supply a DIN flare on 8mm pipe. We have been supplying the fuel pipes for the MK1 Golf GTi with an SAE flare to match the SAE seat on the fittings for many years and, until now, we have not been advised that it should be DIN. If you still wish to go ahead with the order, the flares would have to be SAE as our fittings are only available with an SAE seat."
In reply I stated that the Golf uses a DIN flare and included photos. Their reply:
"It does appear to be a DIN flare but we can use an OP1 single flare to create a similar flare to use with our fitting. The important thing is that the seat of the back of the flare has to match the seat of the fitting on the pipe, not the part that it is going into. The copper nickel pipe is malleable so it will crush to form a seal which is why the SAE flare works with our fittings. We have not been made aware of any problems using the SAE flare with our fitting and we supply a lot of these GTi fuel pipes so there is no reason to believe that it will not work safely."
So they suggest using a male fitting with an SAE flare seat mated to their SAE fitting will successfully join with a DIN female fitting on the new accumulator pipe.
Anyone done this??
1983 Golf GTi Campaign Edition, Diamond Silver
http://vwgolfmk1.org.uk/forum/index.php?page=topicview&id=projects%2Fyour-mk1-golfs_2%2F-tag-1983-campaign&redirected=1#post_1551531
http://vwgolfmk1.org.uk/forum/index.php?page=topicview&id=projects%2Fyour-mk1-golfs_2%2F-tag-1983-campaign&redirected=1#post_1551531
Posted
Settled In

However, in addition to this, the swirl pot is there to prevent fuel starvation on long bends. It consists of an internal plastic chamber which has a trap door to allow fuel in. In the centre it has a rubber membrane and filter assembly. The rubber membrane is supposed to stop fuel\debris entering the swirl pot from underneath without passing through the tank filter. Although the filter can be removed and cleaned the plastic part\membrane cannot.
There was no trace of the rubber membrane when I cleaned my old tank out. I ended up swapping my fuel tank for a heritage one as mine was also rusted internally.
Posted
Old Timer


Cracking work here, really impressive.
Lots of interesting information on the differences associated with the GTI compared to the non GTI specs.
Having touched every part you will be very satisfied when the work is completed.
Malcolm
There are too many online users to list.


