


83 Gti set to get full resto

Posted

Moderator


My 83 Gti set to get full restoration


Posted

Old Timer

Posted

Local Hero
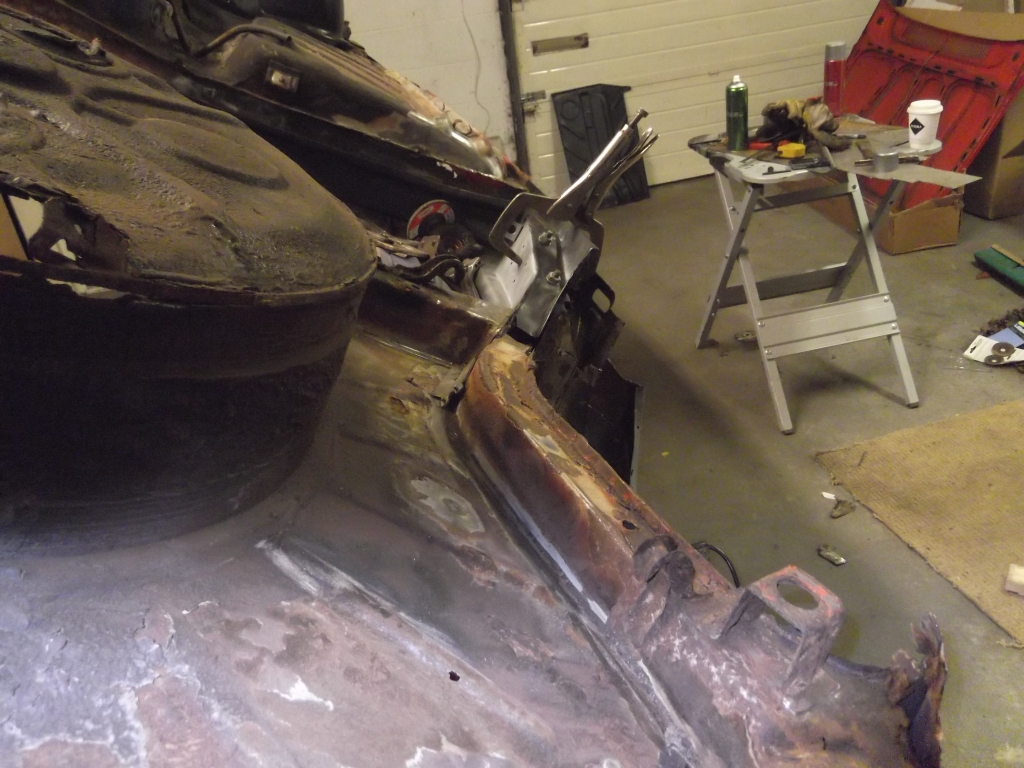
That A pillar looks a right b*tch to get right. I would be tempted to find a couple of spare pillars and use the guts out of one and the outer from another for the patches rather than trying to make them up.
It's not a common place for rot so you should find a couple of good ones.
Posted
Moderator
Cero said
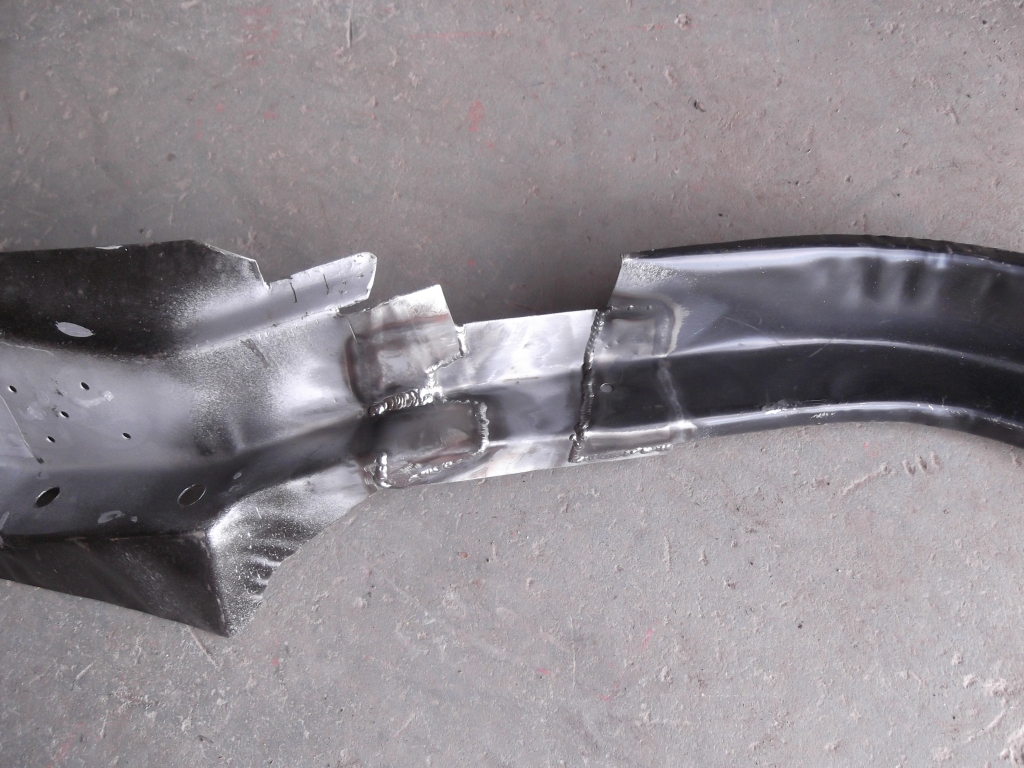
Regarding your A pillar - all you can do is cut the rust out and section the pilar back in but stagger the repair area, that way it will remain strong enough. Rear tubs are a case of drilling out all the spot welds and removing off chassis rails, probably better to replace these as they're probably rotten anyway. Just go slow & easy.
Cheers for the info on the Tubs mate, are the chassis rails where the rear bumper slots into?
Yomp said
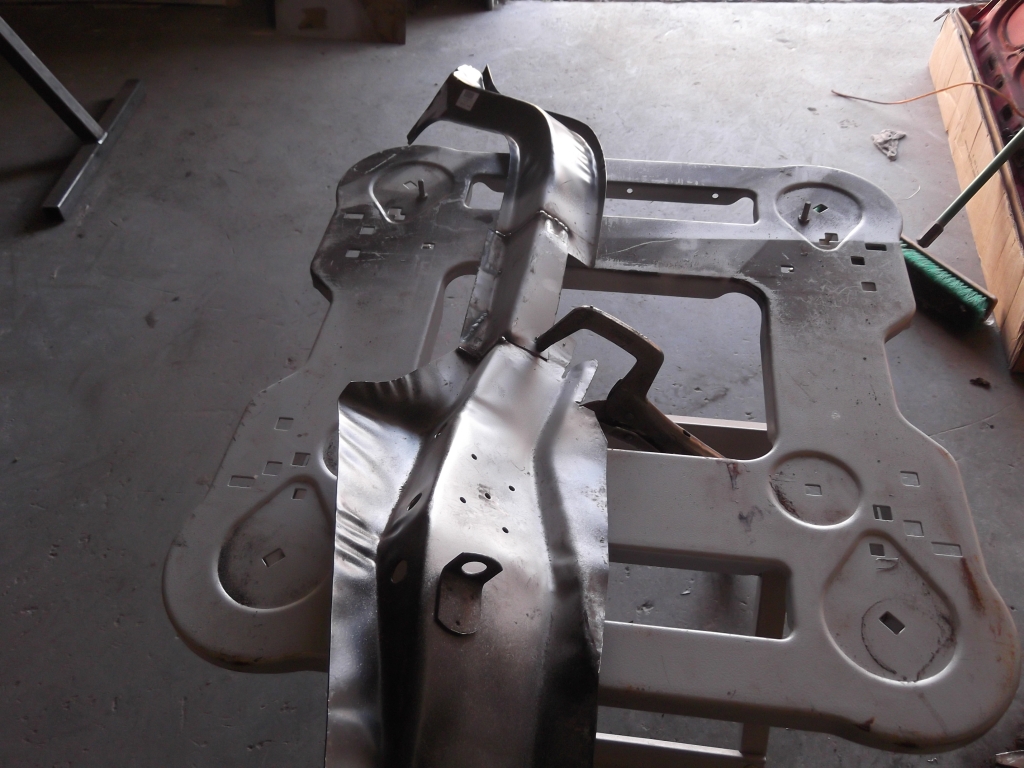
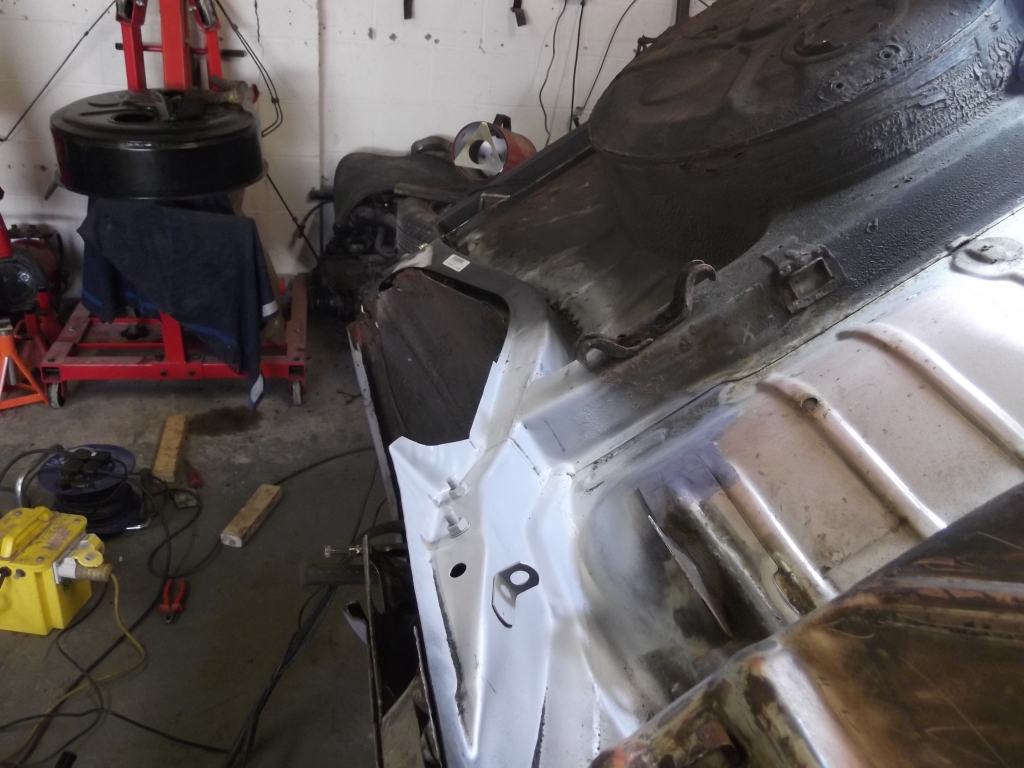
Check your front grille fitment in that n/s wing before you get it painted. From the photo it looks like there's an odd shape / line going on in relation to the bonnet.
That A pillar looks a right b*tch to get right. I would be tempted to find a couple of spare pillars and use the guts out of one and the outer from another for the patches rather than trying to make them up.
It's not a common place for rot so you should find a couple of good ones.
There is a bit of a weird line on the n/s wing, it almost looks as if it's bellied out over and then comes to a point at the front. In the pic the bonnet is loose and not attached.
Thanks to both of you for your input on the 'A' pillar, there's a couple of options there! Still not sure which way to go though, I need to do a bit more cutting back to see the extent of the rot.
Regards, Andy.
Posted
Old Timer
Posted
Moderator
Cero said
Yea chassis rail ends at rear bumper mount. You need to split the tub top & bottom on the rail to remove it off the rail. A pillar suggestion from Yomp is a good one, that way you can section inner and outer at different lengths and not have a straight cut & weld.
Cheers for that, Cero, much appreciated. Yeah, I like Yomps idea too. just need to find a couple of pillars now.
Cheers, Andy.

Posted
Old Timer
Posted
Moderator
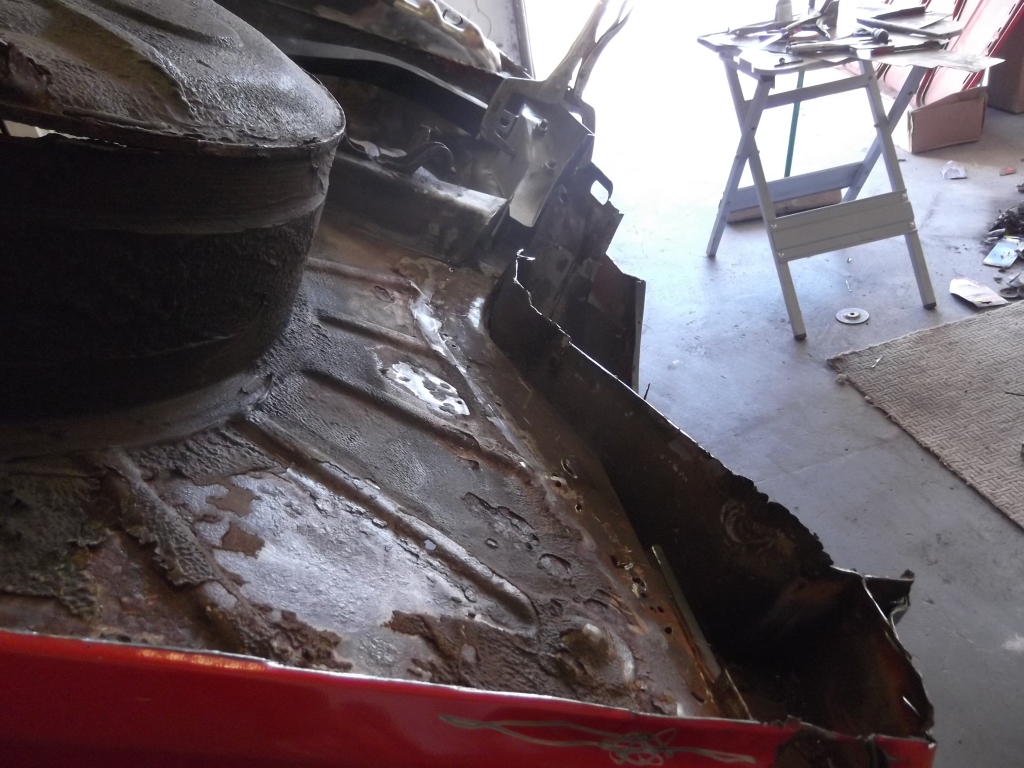
I'm a bit unsure which repair to do first lol. I've got the chassis/axle mount which moves into the chassis leg which attaches to the boot floor which the rear arch tub attaches to!!
 and thats just the n/s lol
Posted
Old Timer
 need to get my behind in gear and update my thread, been very lazy updating, it's always good reading about what others are doing. Matt
Posted
Moderator
Cheers, Andy

Posted
Moderator
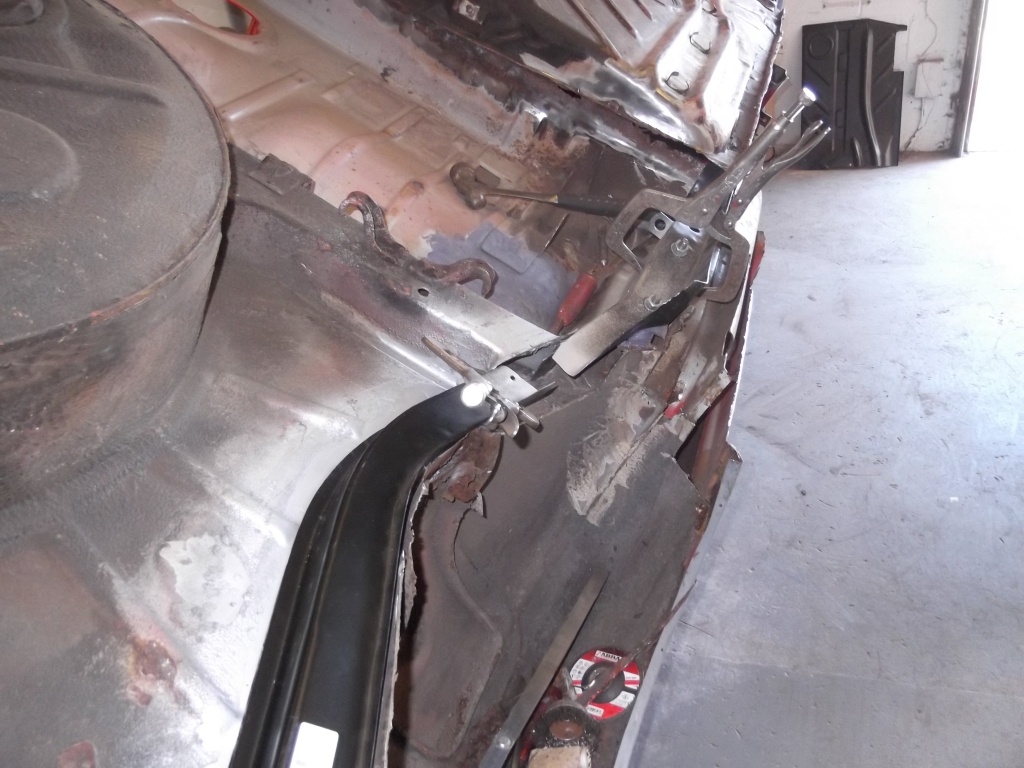
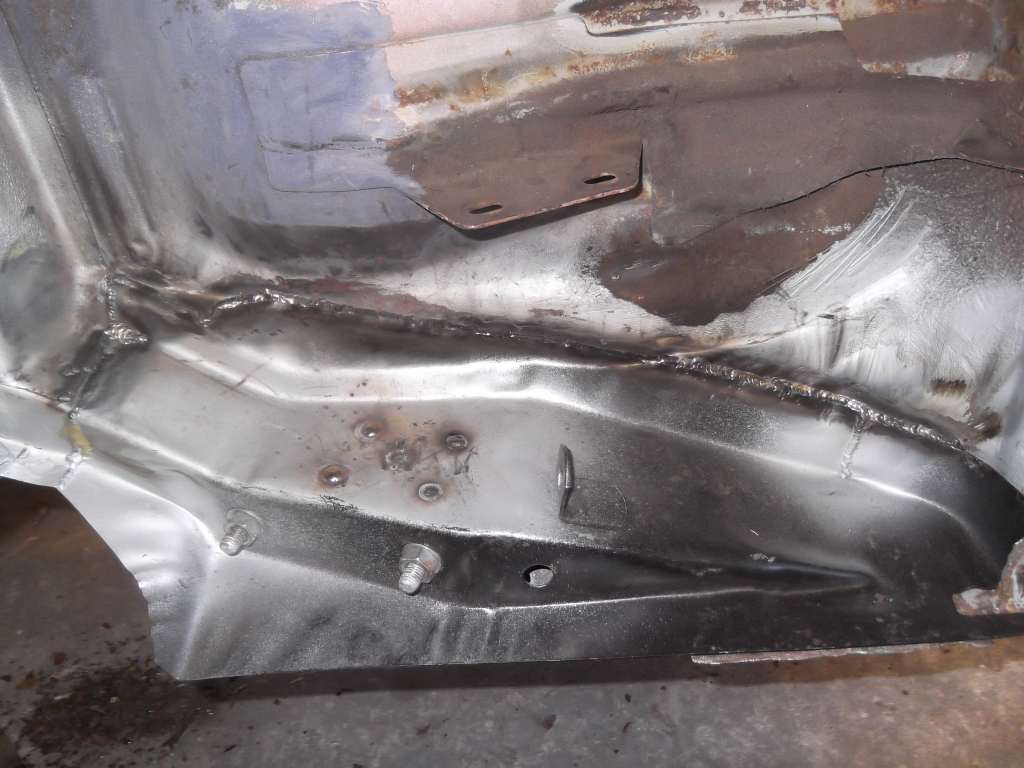
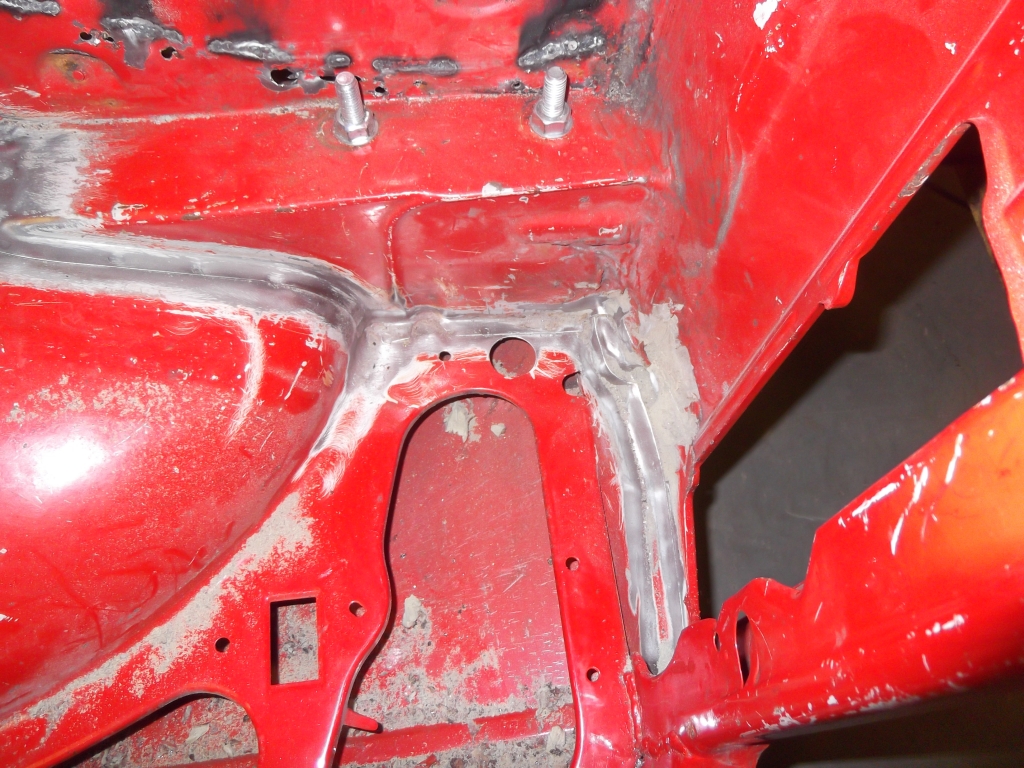
I've spent a few hours after work tonight trying to figure out which way to go about this n/s chassis/axle mount/chassis leg situation and think I've got a plan. I started by removing as much chassis leg as I dare and cut the lip off the cross member so I can fit the repair plate behind the cross member like it was originally.
so this ….
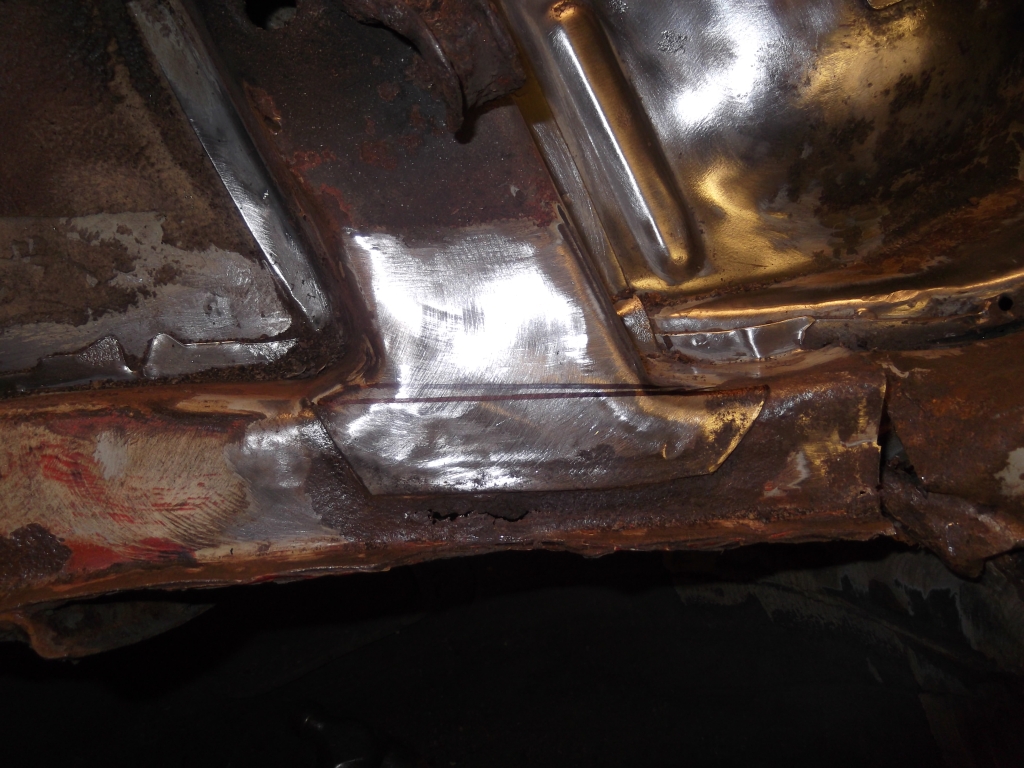
became this….
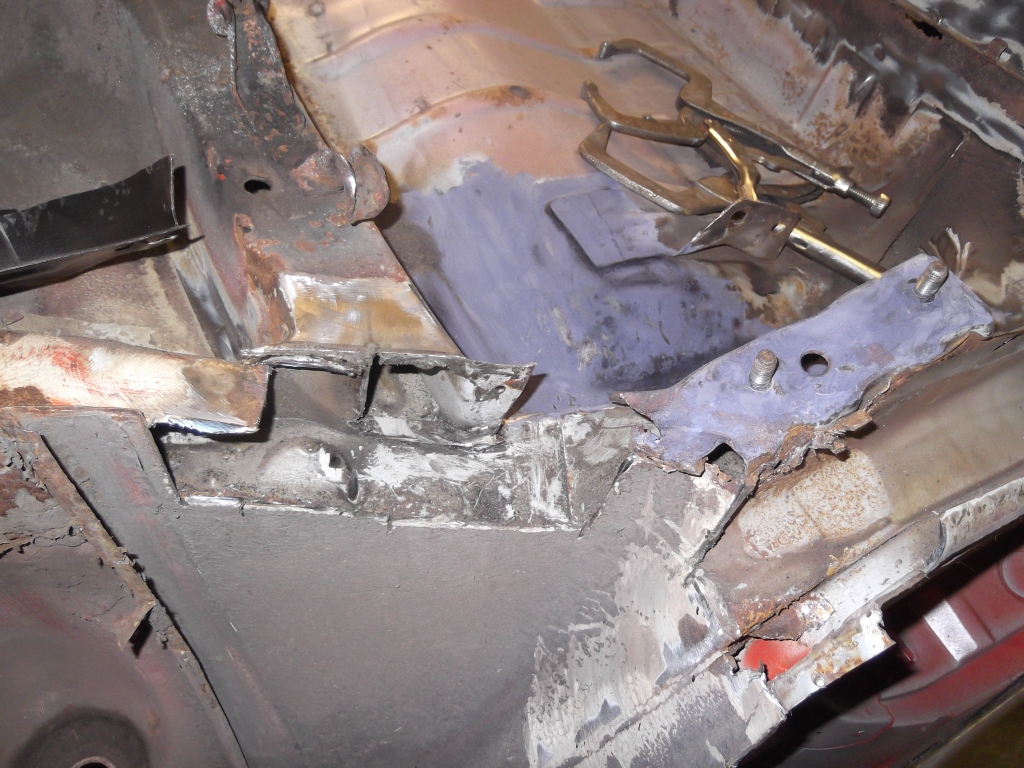
The repair plate is supposed to fit over the top but I modified it to fit behind.
My plan is to join the chassis/axle mount plate to the chassis leg repair plate and make them one complete unit so that there are no areas un-welded if you know what I mean, then once there in place I'll seam weld the lot and weld the cross member lip back in place!!

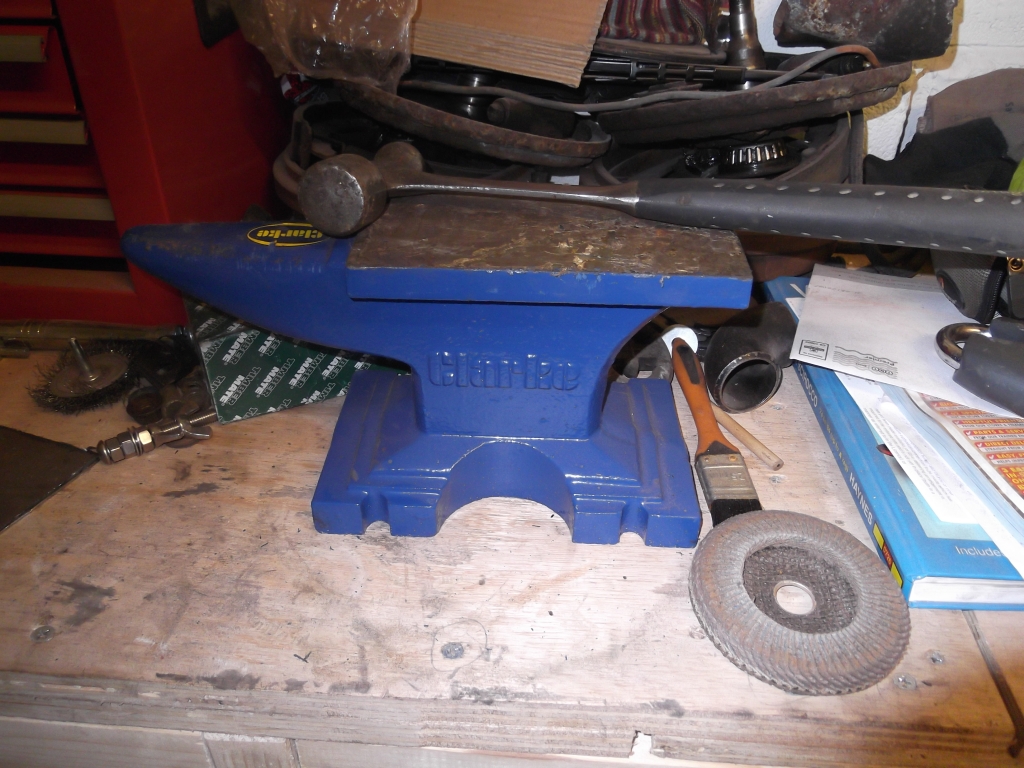
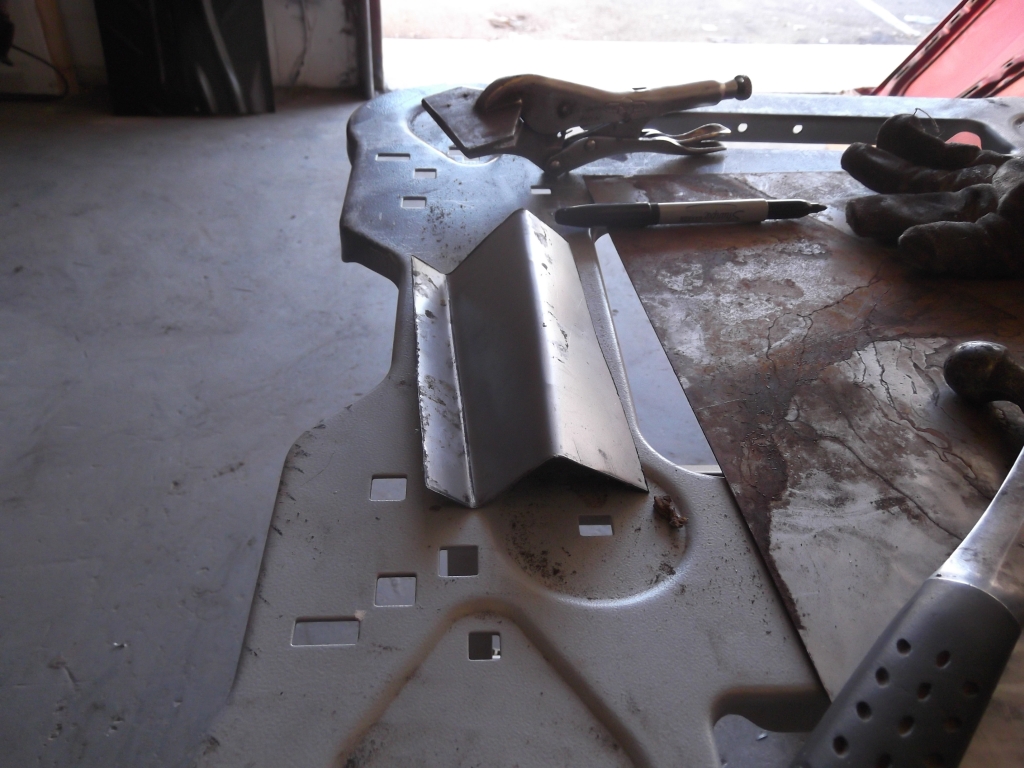
The axle mount repair plate took a bit of fettling to get it to fit, for those having trouble fettling their bits of tin, buy yourselves a mini-anvil from Machine Mart for £30, Ideal for the job!!
Spending a whole weekend on the car again so should have some more updates coming soon.
Regards, Andy.
 Last edit: by Melteddrummer
Posted

Old Timer
 looking good mate
Posted
Local Hero
The tin worms have had a good old munch on this one mind! Plenty to do here.
Although once you get into it and have all the necessary tools around, so not to be struggling, it can become quite a satisfying exercise………
Just ignore the gashed fingers, underseal fumes, grinding dust, noise and sparks fizzing in your ears!
Keep at it
Posted

Settled In


92 caddy, Now stripped for full rebuild
83 golf gti R1 carbed 16v(soon to have 1.8T)
07 Leon FR TDI daily
Cambridgeshire regional host
83 golf gti R1 carbed 16v(soon to have 1.8T)
07 Leon FR TDI daily
Cambridgeshire regional host
Posted
Moderator
Swallowtail_uk said
Cheers mate, been getting a lot of inspiration from your resto, so thanks for that too!!
Posted
Moderator
Yomp said
Sounds like a plan.
The tin worms have had a good old munch on this one mind! Plenty to do here.
Although once you get into it and have all the necessary tools around, so not to be struggling, it can become quite a satisfying exercise………
Just ignore the gashed fingers, underseal fumes, grinding dust, noise and sparks fizzing in your ears!
Cheers Yomp.
Yeah, the tin worm has had a field day on my poor car lol. It certainly is becoming satisfying, just wish I had more time to spend on her.
Cheers, Andy.
Posted
Moderator
caddyrage said
Doing a good job mate
Cheers man, feel like I'm getting somewhere now!!
Posted
Settled In
Melteddrummer said
caddyrage said
Doing a good job mate
Cheers man, feel like I'm getting somewhere now!!
Yeah, I was the same when I did my mates but as soon as you get the worst bit plated, the rest just falls into place

92 caddy, Now stripped for full rebuild
83 golf gti R1 carbed 16v(soon to have 1.8T)
07 Leon FR TDI daily
Cambridgeshire regional host
83 golf gti R1 carbed 16v(soon to have 1.8T)
07 Leon FR TDI daily
Cambridgeshire regional host
Posted
Moderator
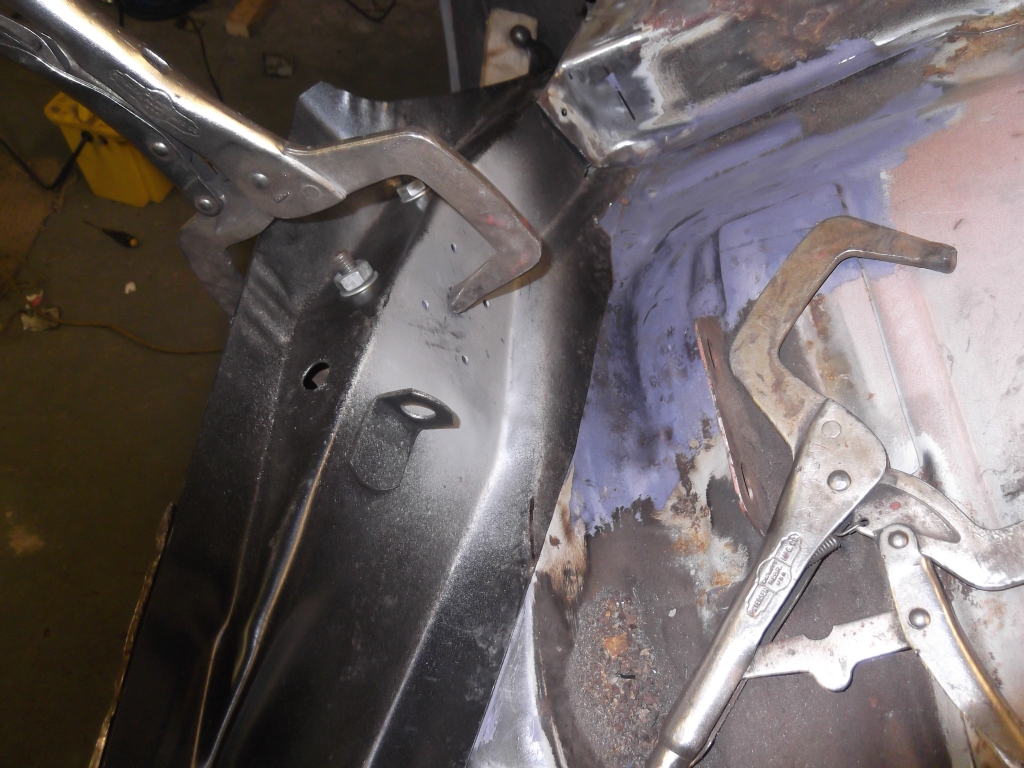
Got a fair bit done on the n/s chassis today. I stuck to my plan and made the 2 repair plates into one piece and seam welded it into place. I first removed the old chassis leg…
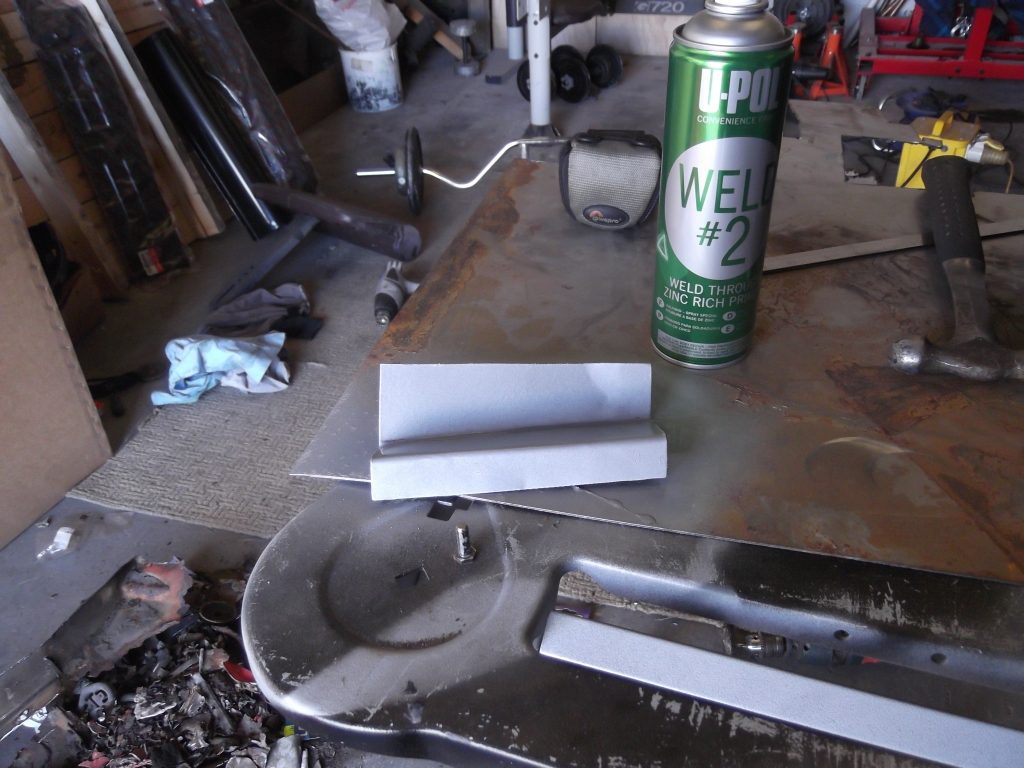
then cleaned it up a bit and painted with weldable primer
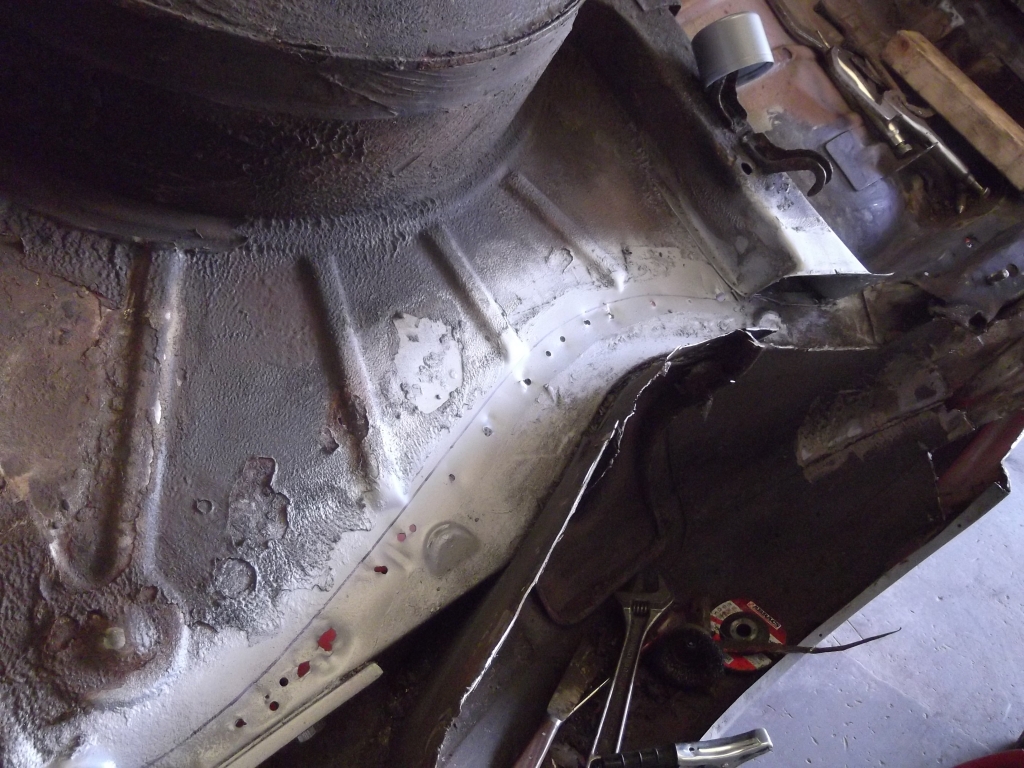
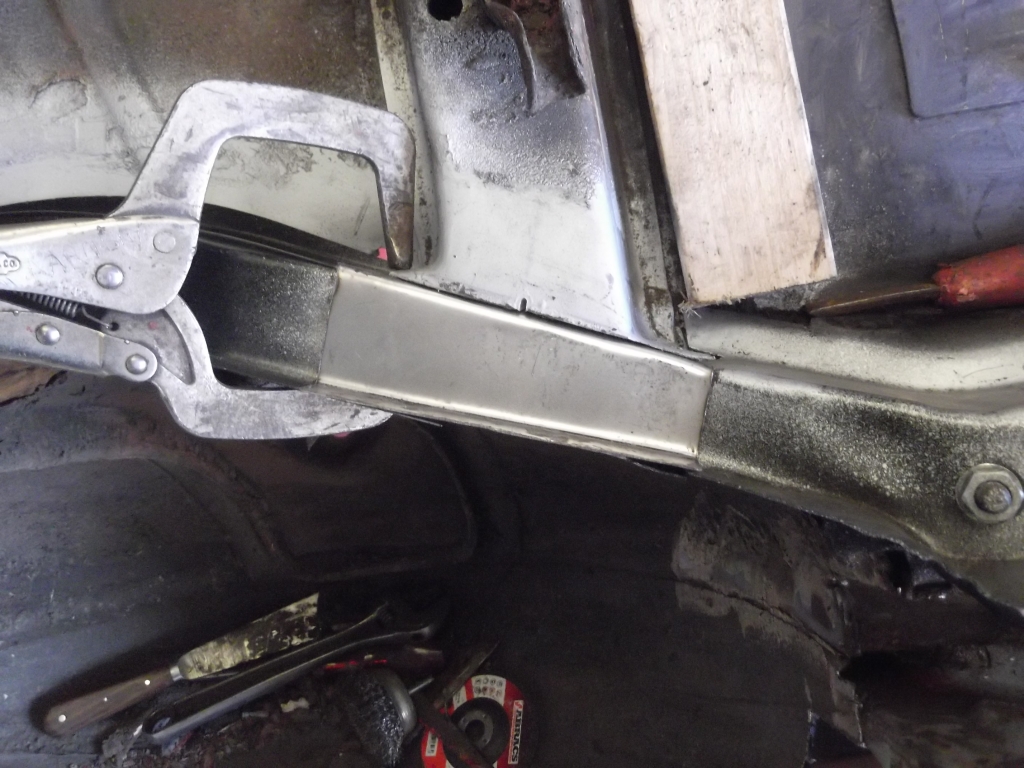
tried the new chassis leg in
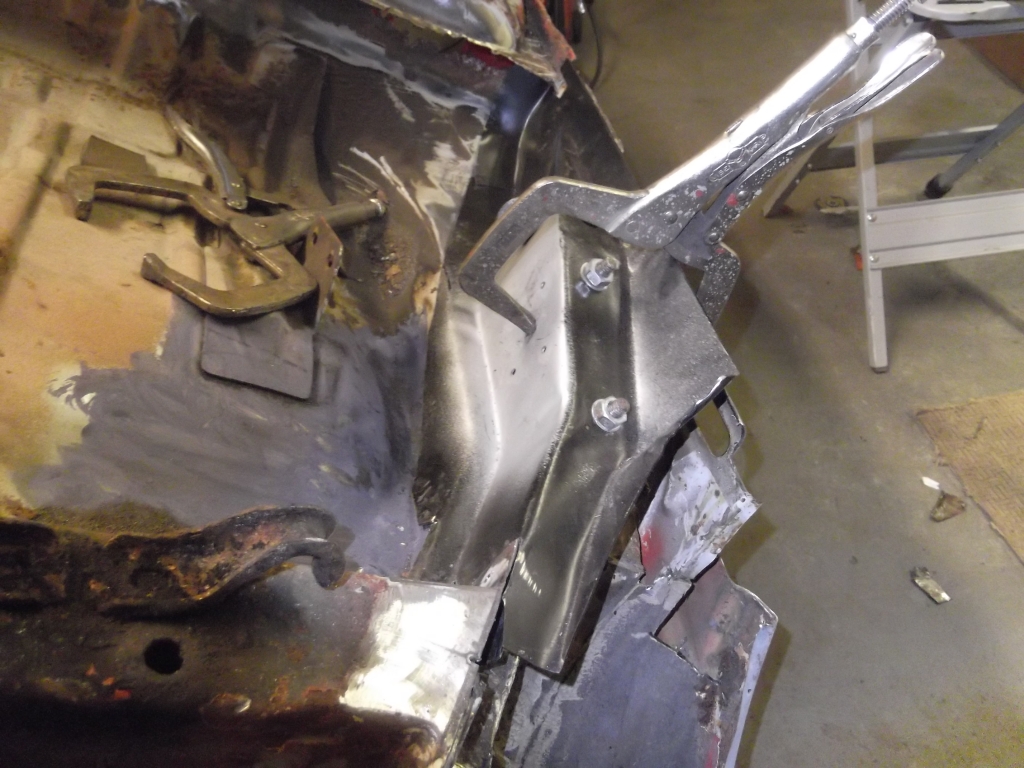
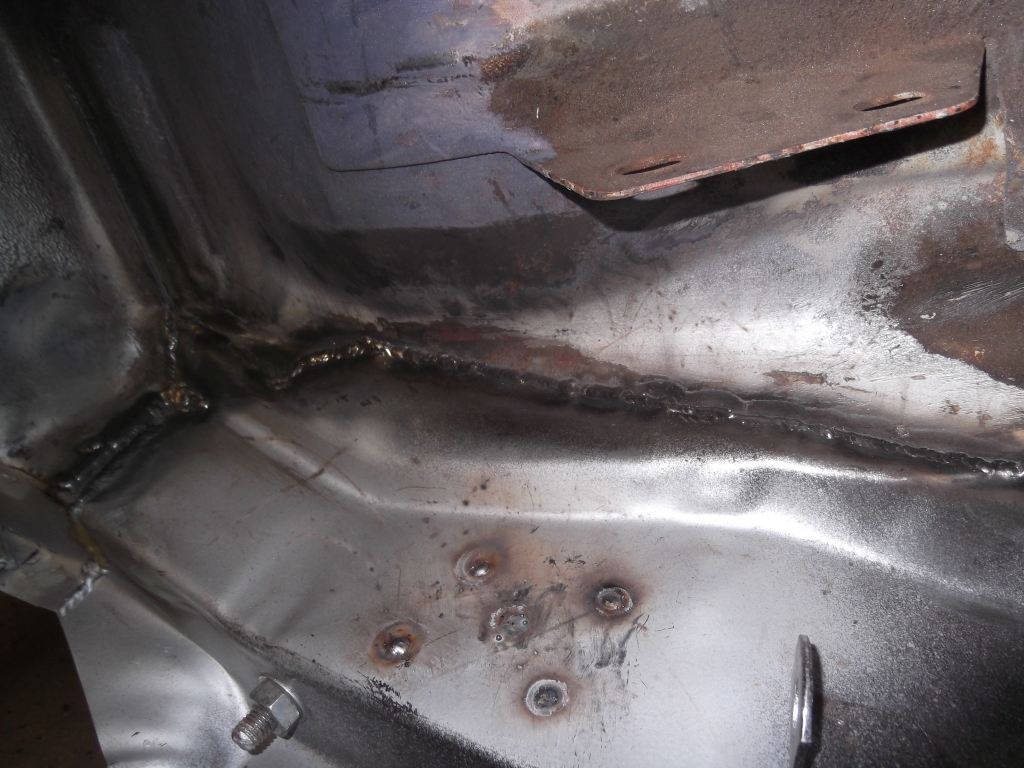
side view looking in to the cross member, at this stage they don't line up very well as they are supposed to be welded over the top of the cross member. Bit of rework required!
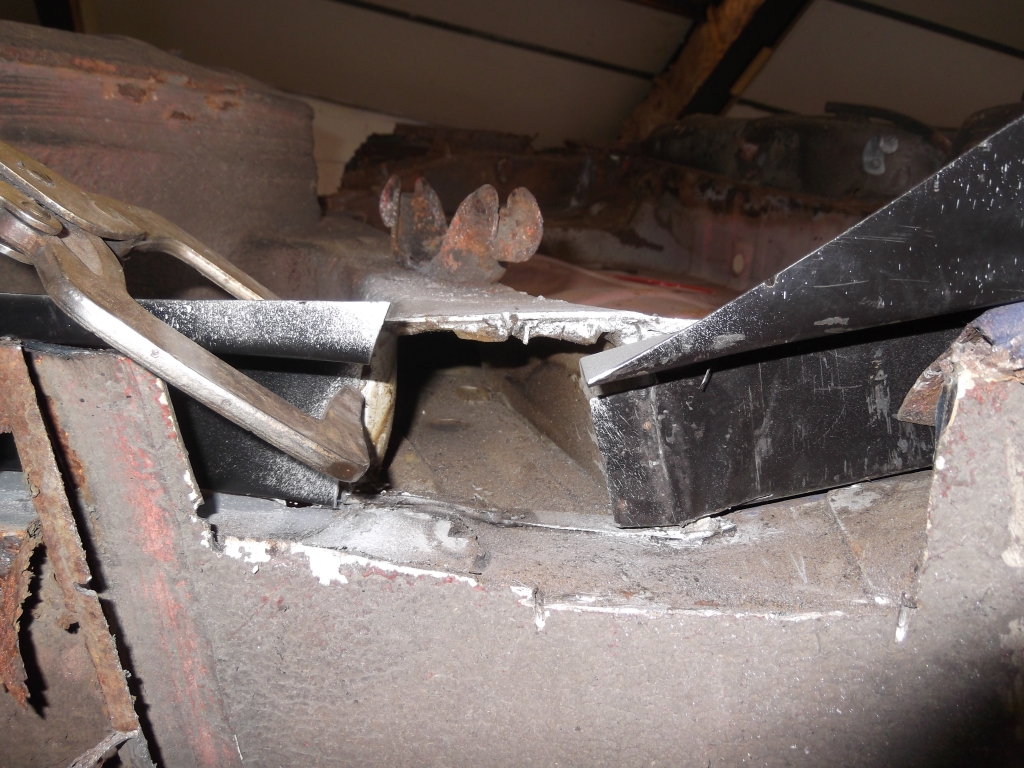
Fabbed a bridging piece and tried it in behind the cross member
Then a coat of weldable primer again
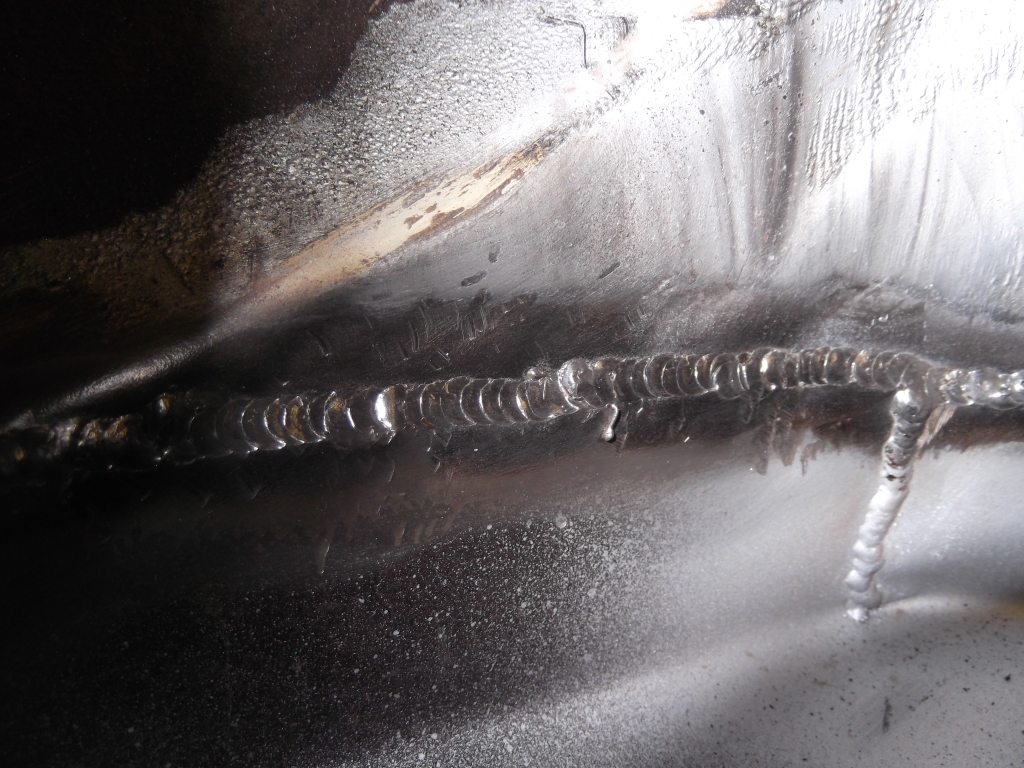
Started to weld the bridge in
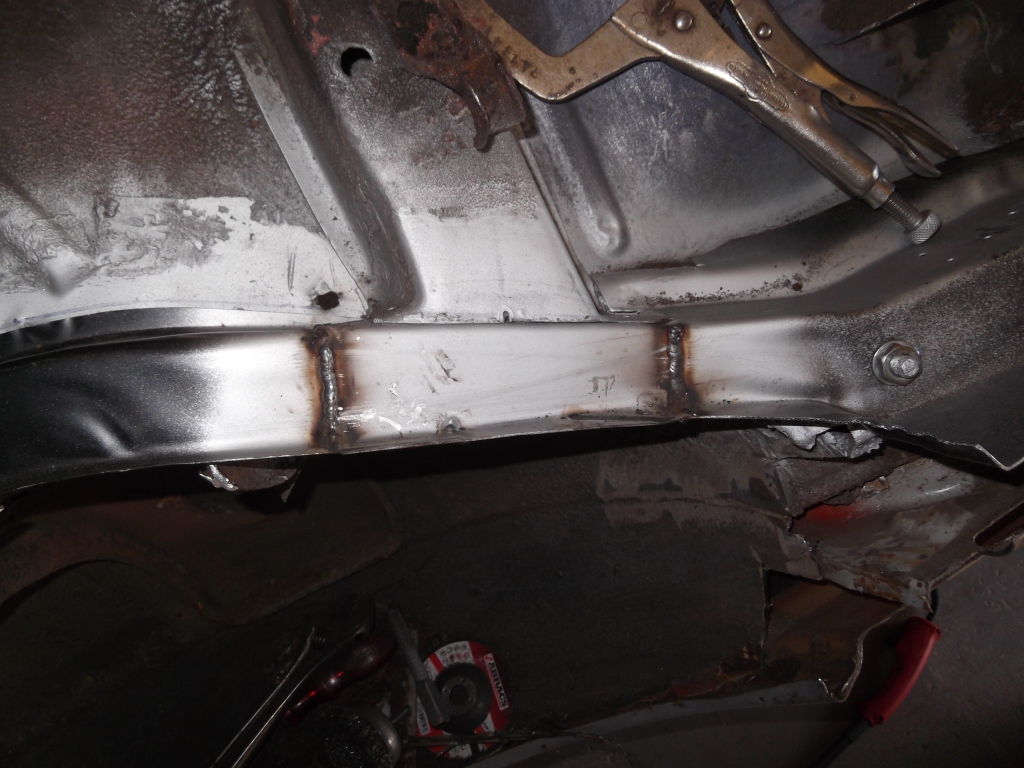
Side view of the cross member again with the plates reworked and welded up.
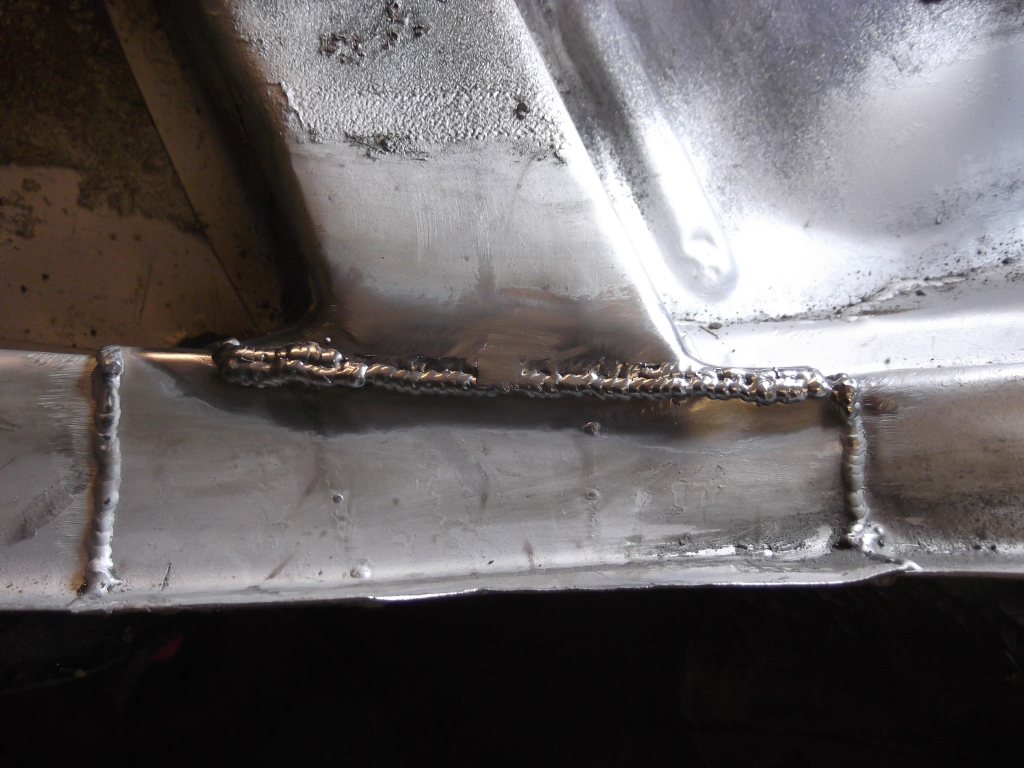
I then remove the whole thing and welded it fully, few more pics
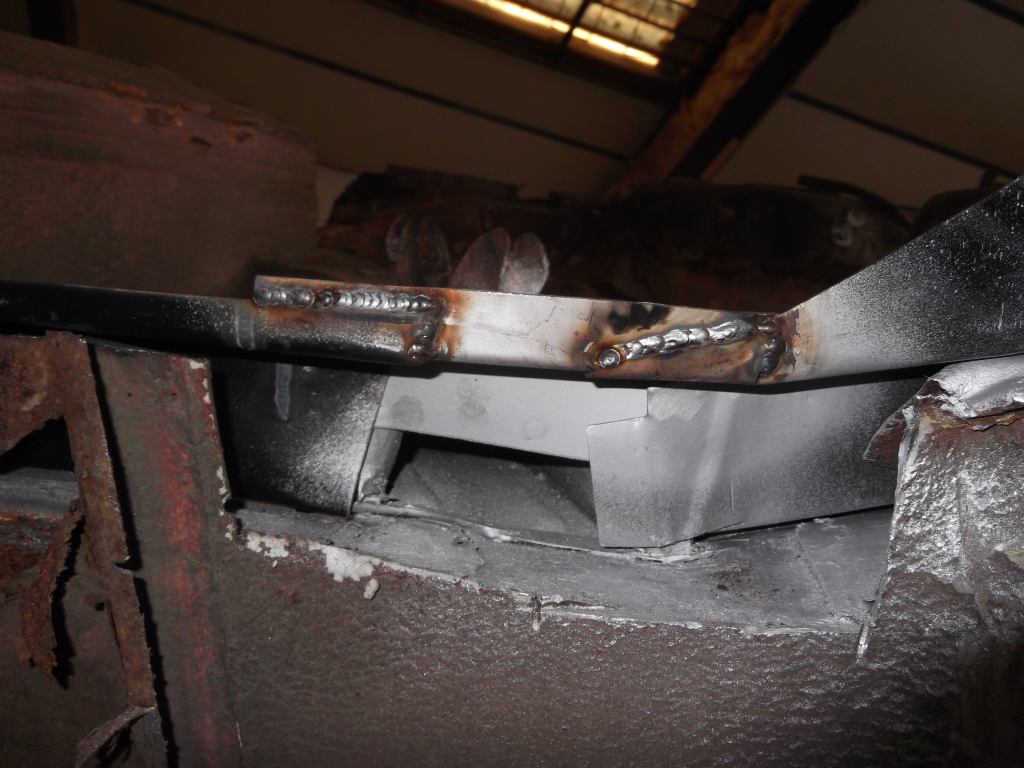
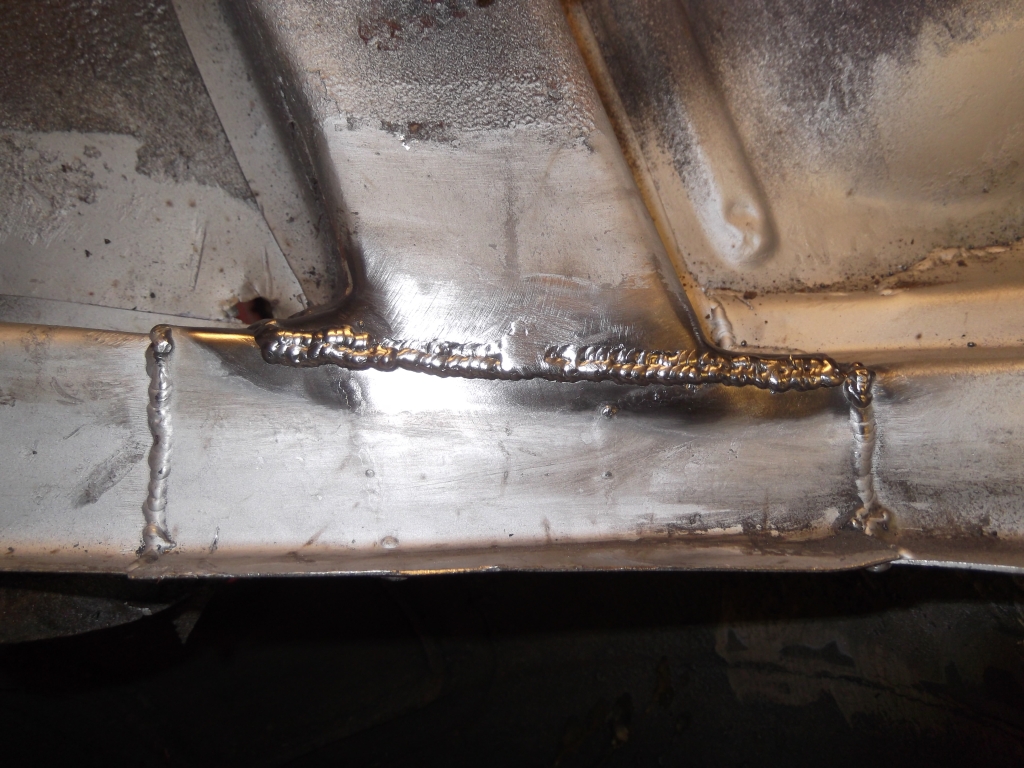
Then back to the car, fitted and welded fully
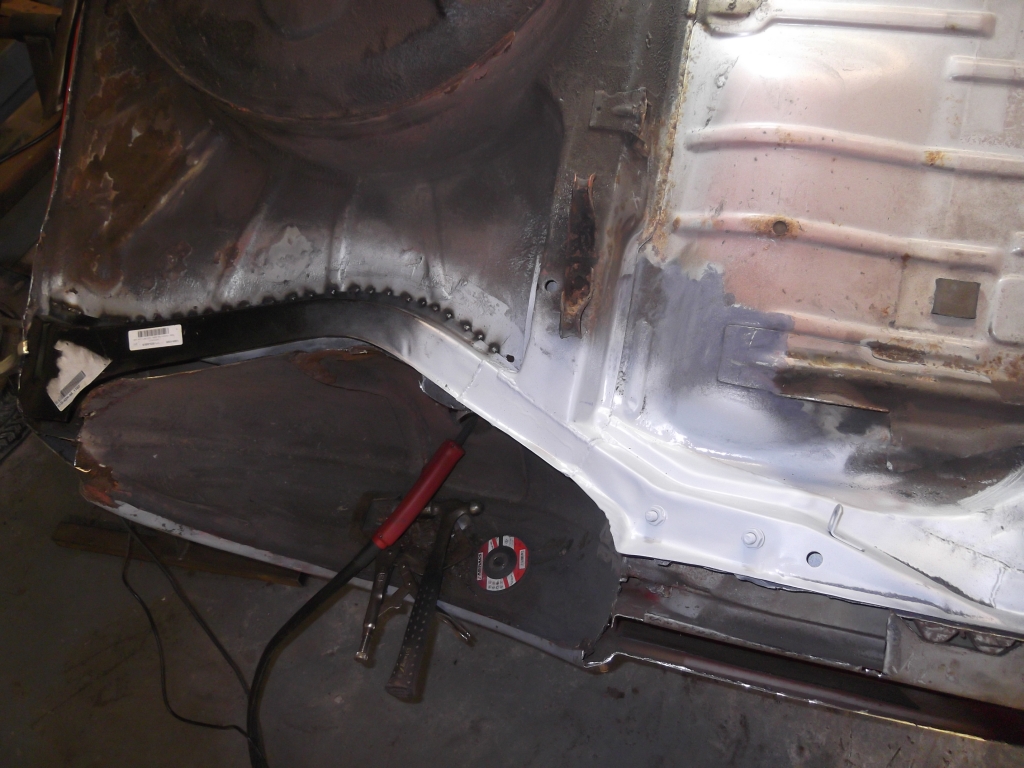
Next I am going to tackle the rear wheel tub, I've already made a start removing the seam sealer and started drilling out the spot welds. I'll get back on it in the morning. Last 2 pics lol.
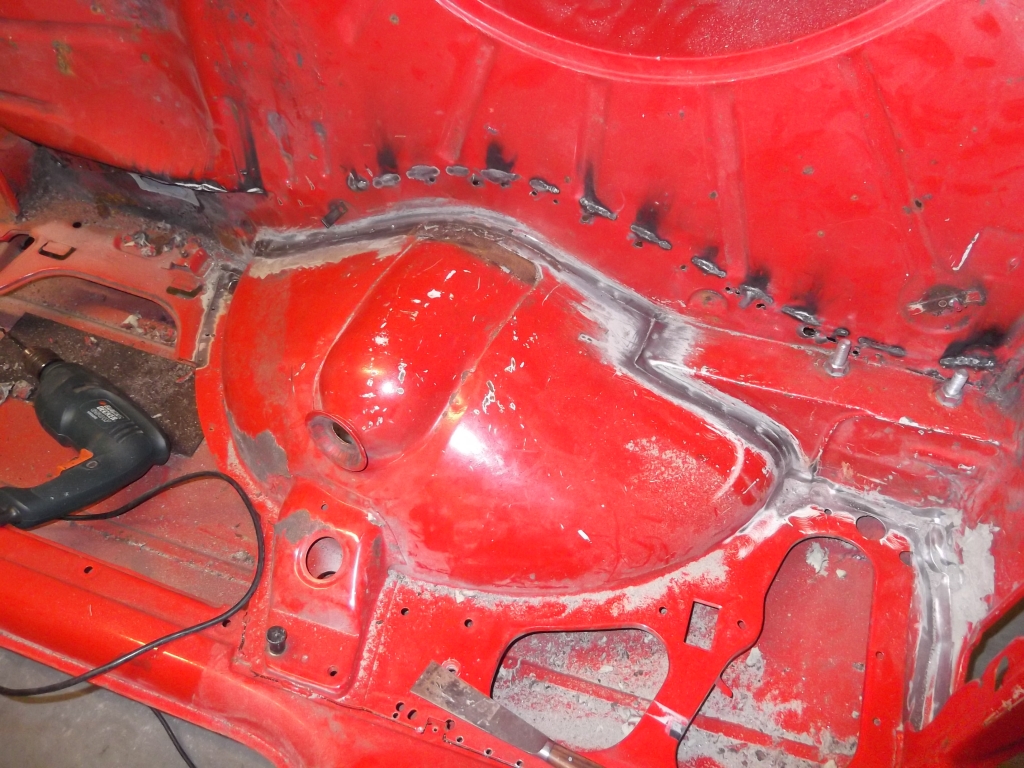
That's all for now peeps. Does anyone know if the car is ok on the spit when I change the wheel tub? or should be back on axle stands? I'm just not sure if anything is going to move when I remove the tub.
Cheers,
Andy.
Posted

Old Timer

Those rear beam repair panels are such a rubbish fit aren't they
I cut away that much of them due to it fitting so badly that I may as well have not bought them in the first place! Love the anvil, perfect weapon of choice against those persistent cayotes

There are too many online users to list.