


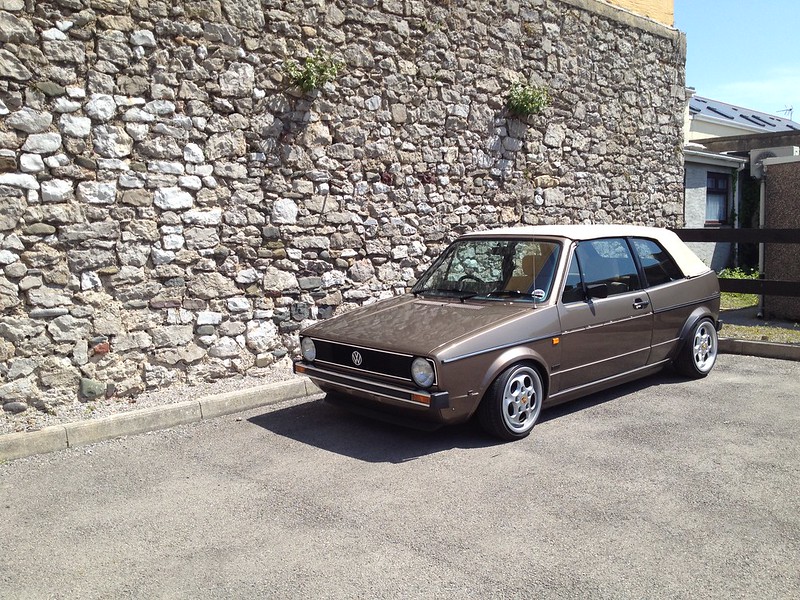
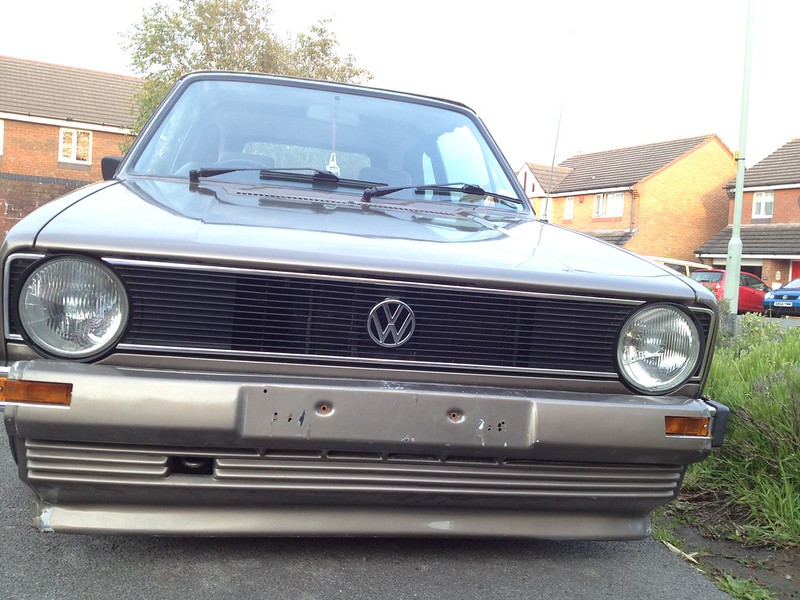
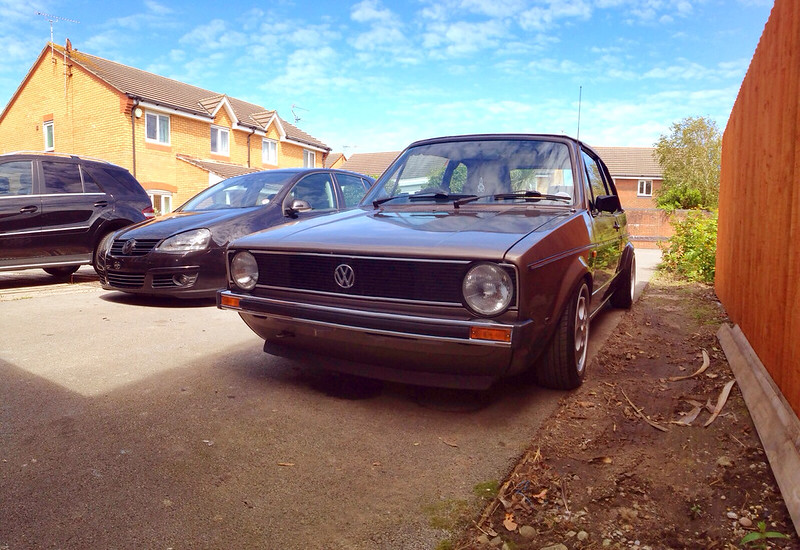
Ellface's Brown Cabby - S1 Bumpers

Posted

Settled In

Thanks!Melteddrummer said
Well done on the MOTCan't wait till I can give my car a wash, I've had it for 2 years and not washed it once

Haha that's mental! I wash mine every weekend, can't imagine that haha 

'87 Mk1 Cabby.
MK5 Golf Daily.
Instagram - woahnowboys

Settled In
The carb really needs setting up, it's not running great..Nonetheless, couldn't handle not driving it, but I've kept it to a minimum..

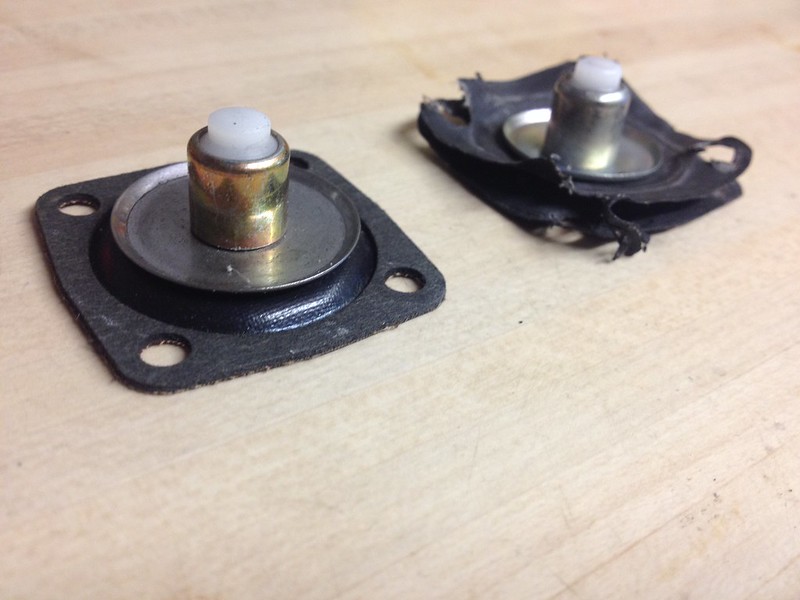
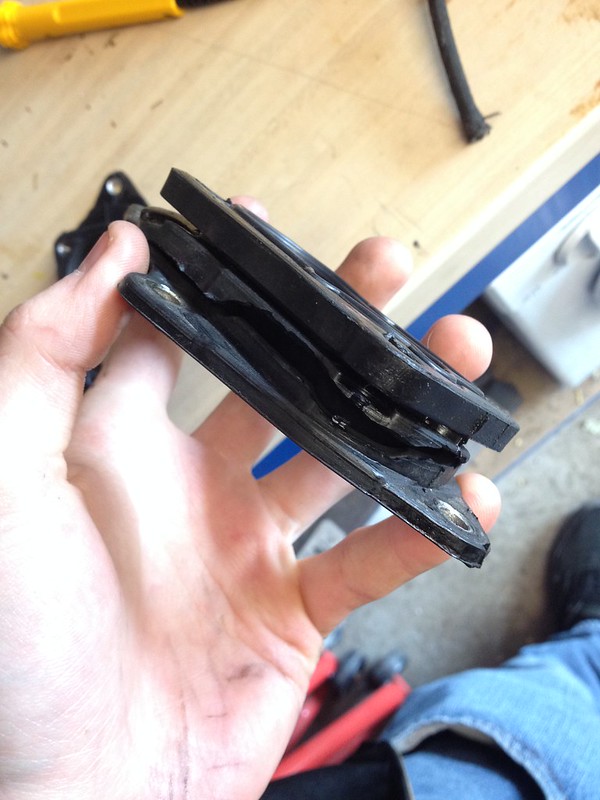
When my carb rebuild kit came, it included this diaphragm, made of much thinner material than the original, but I swapped it in anyway.
Screwing the lever on over it destroyed it, and the carb would leak fuel from there.
So I found a new diaphragm, not made for 32/34 DTML carbs, but I thought I'd wing it and see if it fits. It did..
Here's the comparison
Also, found that the carb mount was split, I thought this might've been the case, since the airbox was a bit wobbly.
I changed that for a new one for the second time in a year.
Also changed the accelerator cable when I put the carb back on, as the old one was a bit bodged up.
The new one kept falling out at the pedal, and I found that the bush it fits into was missing, so I called the dealer and picked one up for £8.
Then I gave the inside and outside of my airbox a thorough cleaning, as it was very grubby.
Also fitted this high performance oil catch can to keep the airbox clean.
Anyone know where I can get a decent looking one? 17mm inlets.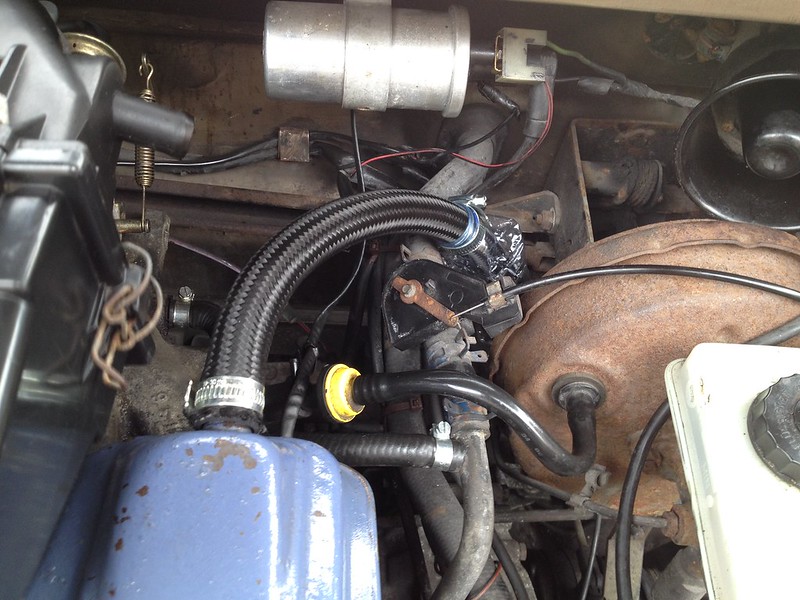
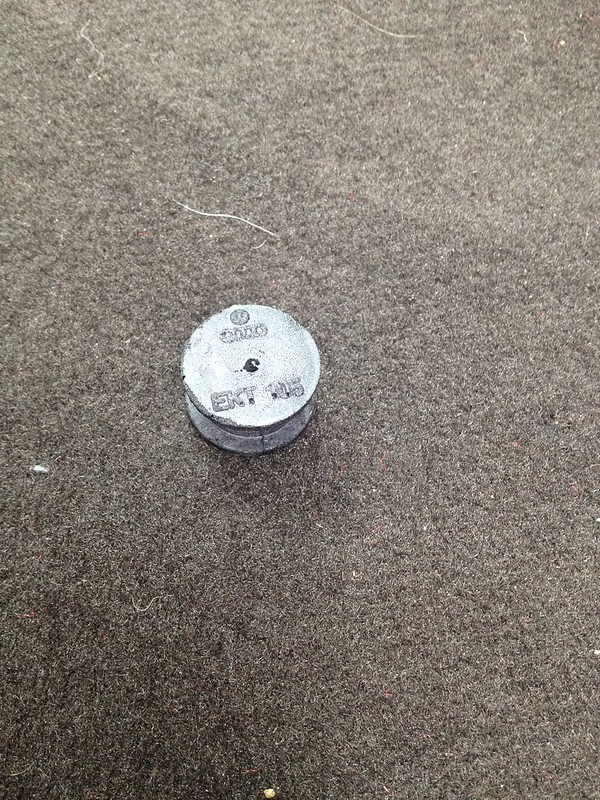
I've been missing the airbox vacuum line since as long as I can remember, so I measured the one coming from the carb, and took a trip to Halfrauds.
Found this.
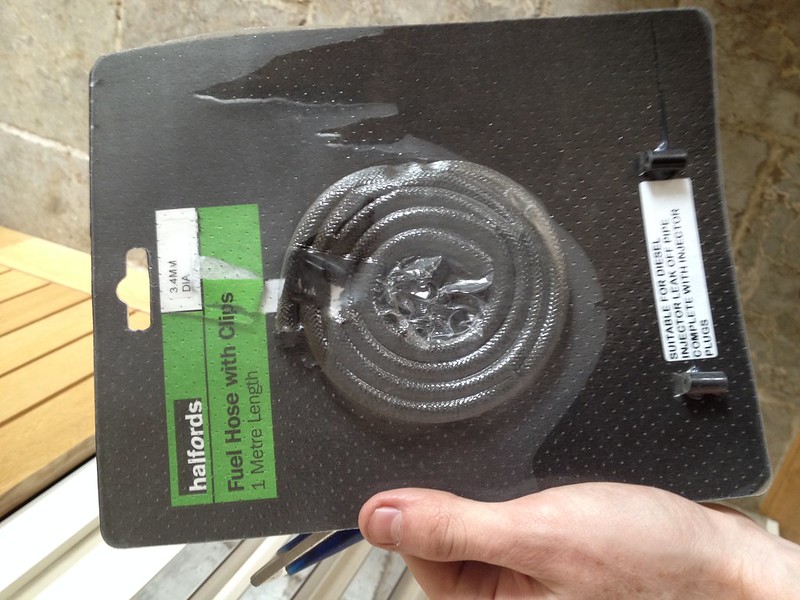
Fitted it, and also swapped the vacuum advance for some of it, as it looks a lot cleaner than the OEM line.
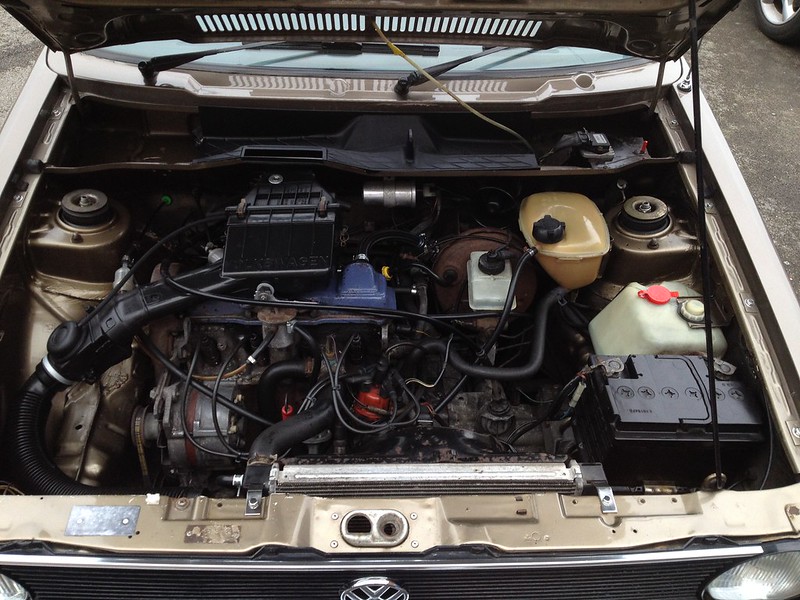
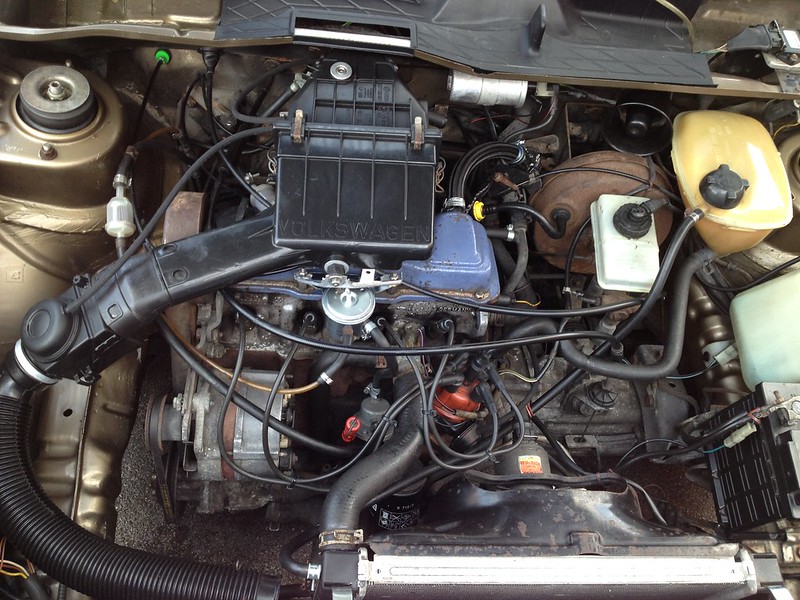
Here's a little picture of how the bay looked at this point. Believe it or not, this is a hell of a lot cleaner than it was when it started out.
After a bit of the usual fuel starvation action, I figured the only thing in the fuel system which hasn't been replaced recently was this fuel vapour separator.
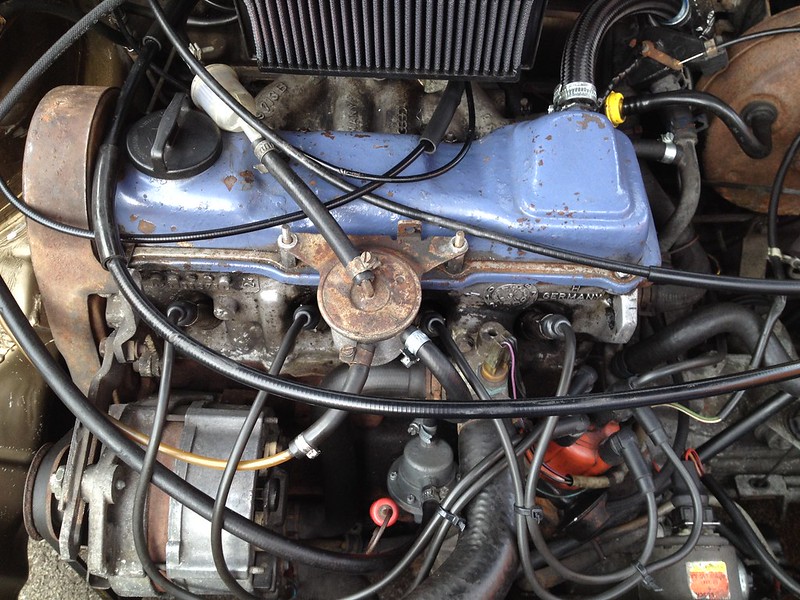
Took it off, and tapped it on a table. This grainy fuel is what came out..

So I ordered a new one, and threw it on. Brightens up the bay a bit.
 Also got some engine degreaser and tried it out, will clean it up more soon.
Then me and my mate fitted his new carpet in his MK1.
Made me really want to replace mine, it looks a lot better for it.
Then I greased up the creaky old roof mech, and greased up the joints for peace of mind, don't think it's ever been done on this car.
Broke out the old Zender kit to see how it would look now..
Glad I took it off, the full kit with new seals will be for sale at some point if anyone wants to make me an offer.
Today, an accelerator pedal rubber came in the post, something that's been missing since at least 2004, and has been on my mind for a good while.
Nice to get it done

Saw this in Porthcawl today too, along with a silver GTI tintop on BBS RMs, anyone on here?

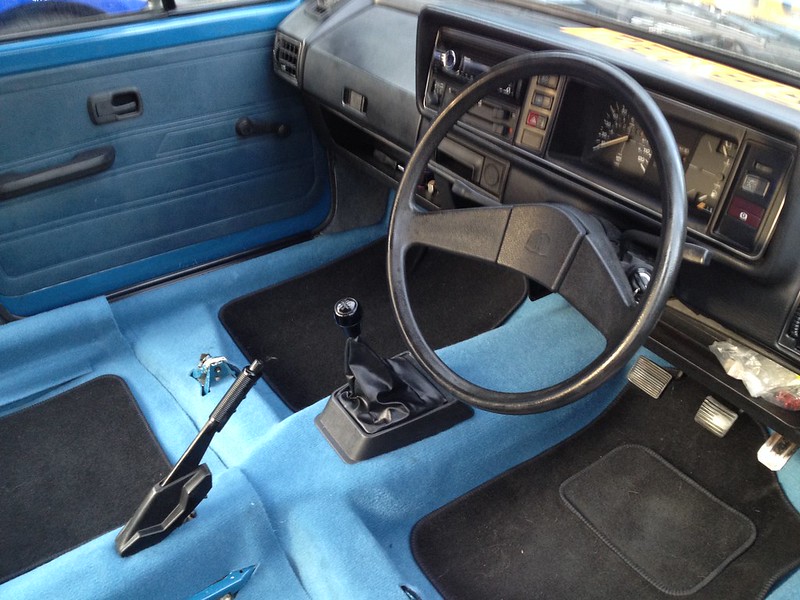
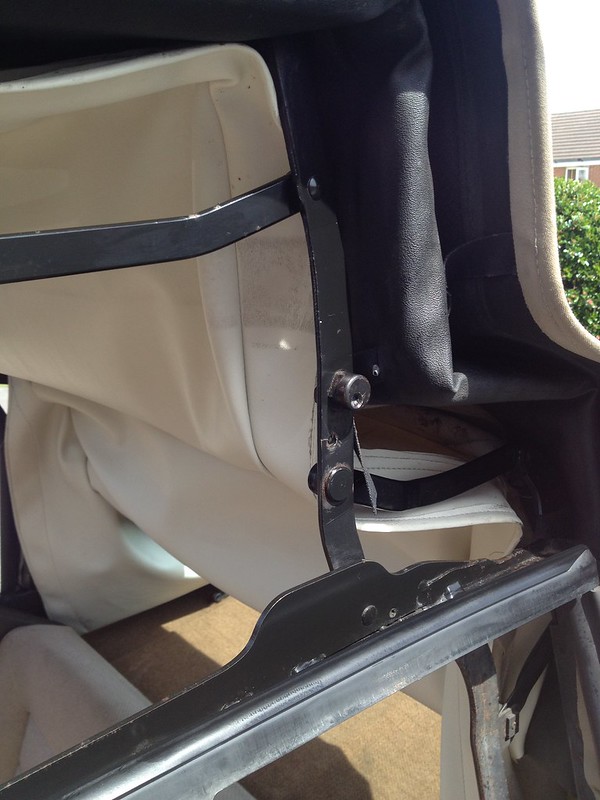
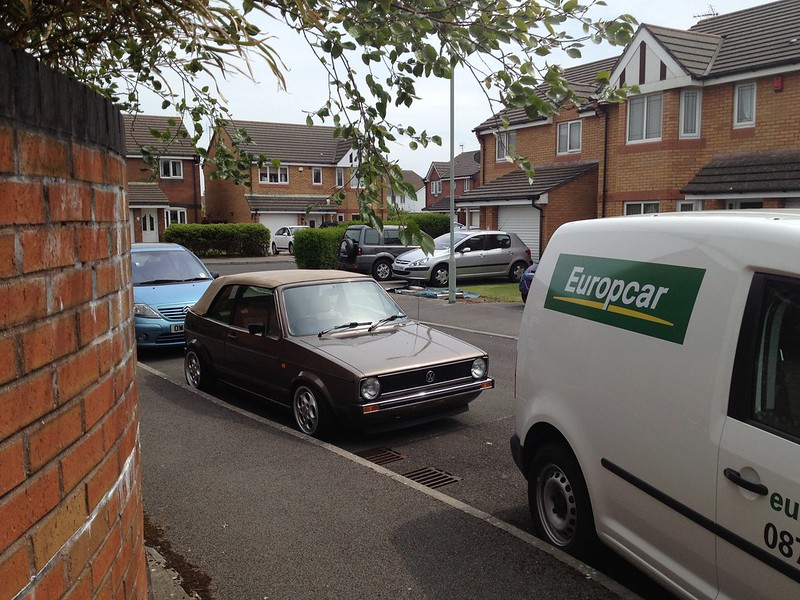
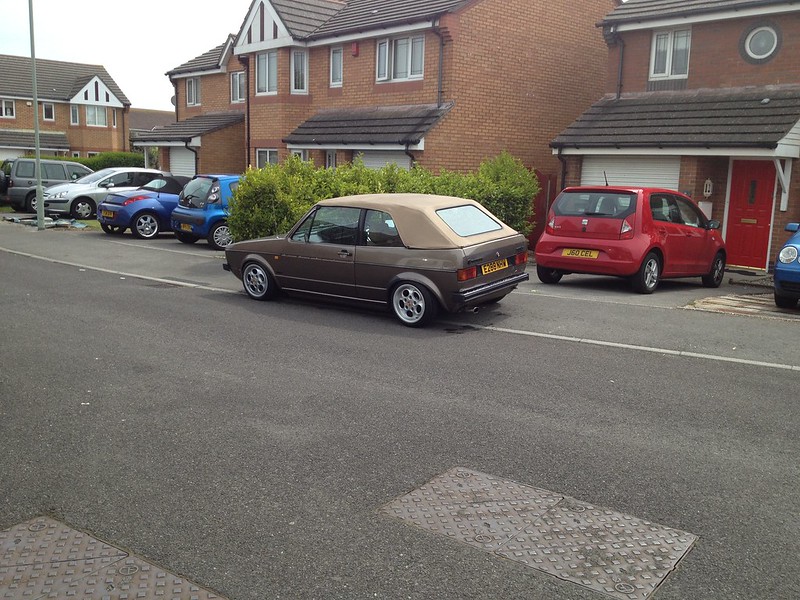
A few pictures from recently

Need new waistline trims..

'87 Mk1 Cabby.
MK5 Golf Daily.
Instagram - woahnowboys
Posted
Settled In
Car broke down about 5 miles from the garage where it was gonna be set up and go on the rolling road, so that has to be rescheduled soon..
Got it home, took off the fuel vapour separator, and replaced it with a brass T-piece.
It drove well for a while, but then cut out twice going up a steep hill. Usually this would happen because it's got a pattern tank and the internal swirl pot isn't great, but the tank was practically full the second time around.. I'll try fitting an external pot at some point, it's getting annoying having to keep the tank at at least 3/4 all the time.
I fitted an OMP front lower strut brace, and it was a bit awkward to do without ramps, and only one jack, but it eventually went on, and the car feels a lot more focused and controlled around corners now, it's so much better.
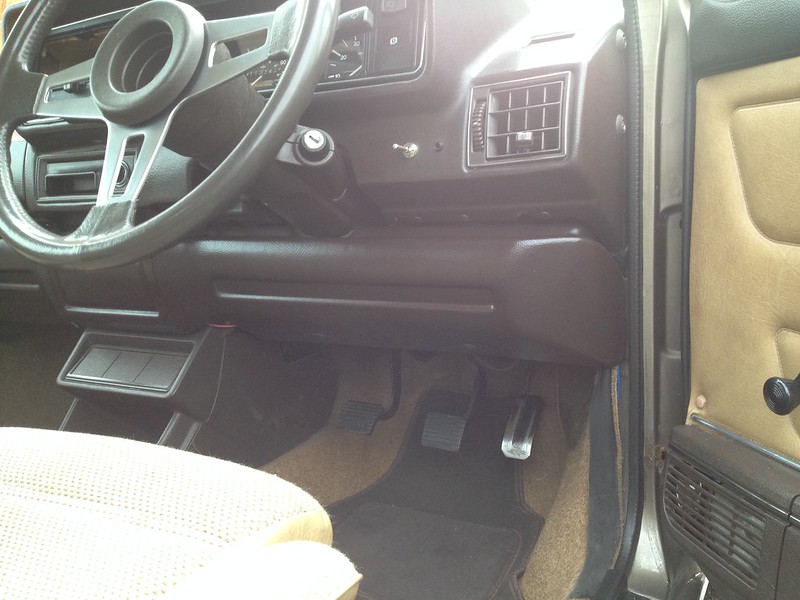
The main improvement for me is how much quieter the car is from the inside though.. It's stopped a lot of the dash vibration I used to get
Also changed the fuel filter, cleaned and oiled the air filter, and installed a Powerflex poly front engine mount.
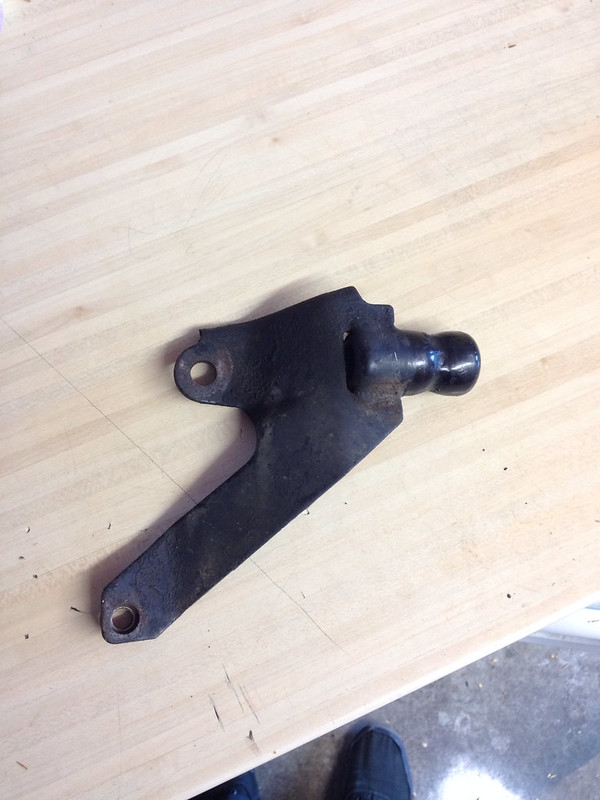
Here's the bracket before, it was pretty grubby.
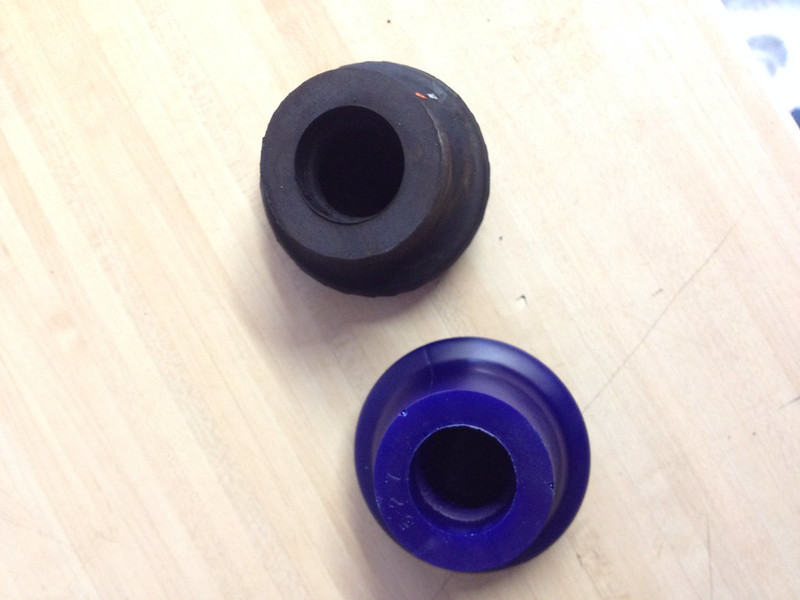
And here's a comparison of the old and new rubbers.
Not very clear in the picture, but the hole in the old one was much bigger than the new.
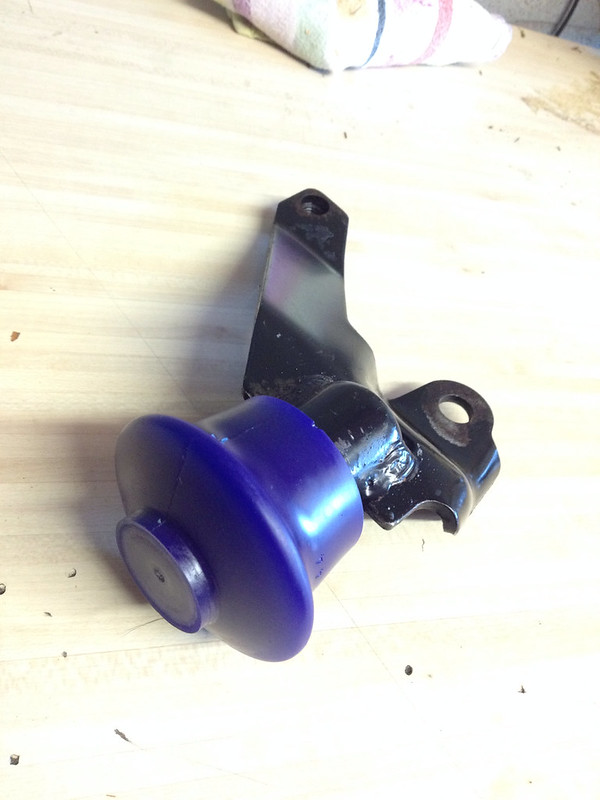
Then I cleaned up the bracket with some engine degreaser and a toothbrush, and with a hell of a lot of patience, grease, and a vice, got the polybush to fit on to it.
When I put it on, I expected a bit more of a difference, but there was definitely an improvement in how responsive the car felt, with barely any increase in vibration, and at £15, it was definitely worth doing.
Did some cleaning.


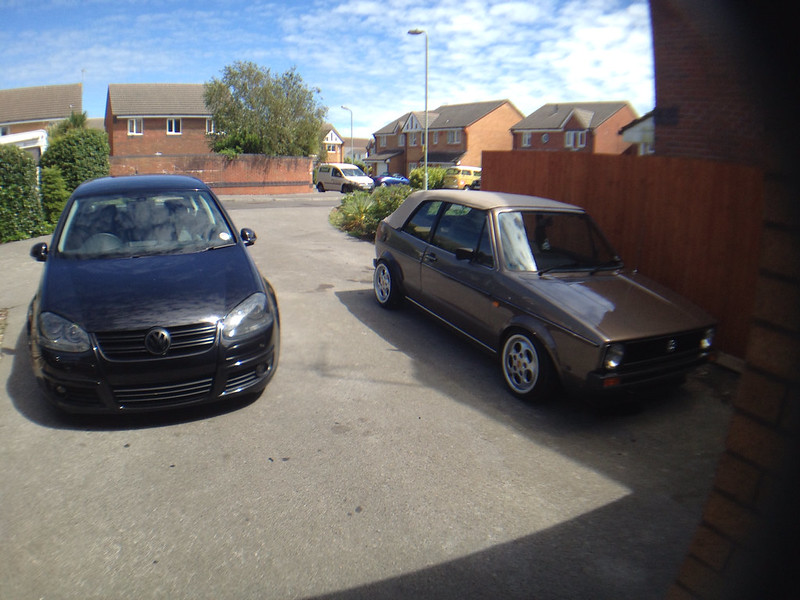
A few with the daily.
Next thing will either be the carb setup, or extended top mounts.
All depends on when the MK5 sells.. It's in the Edition classifieds now if you fancy a look.
http://www.edition38.com/forums/index.php?showtopic=527686]http://www.edition38.com/forums/index.php?showtopic=527686

'87 Mk1 Cabby.
MK5 Golf Daily.
Instagram - woahnowboys
0 guests and 0 members have just viewed this: None.