Skip navigation

Philips Mk1 Jetta 1.9 TDI PD130 Project

Post

Back to the top

Philips Mk1 Jetta 1.9 TDI PD Project
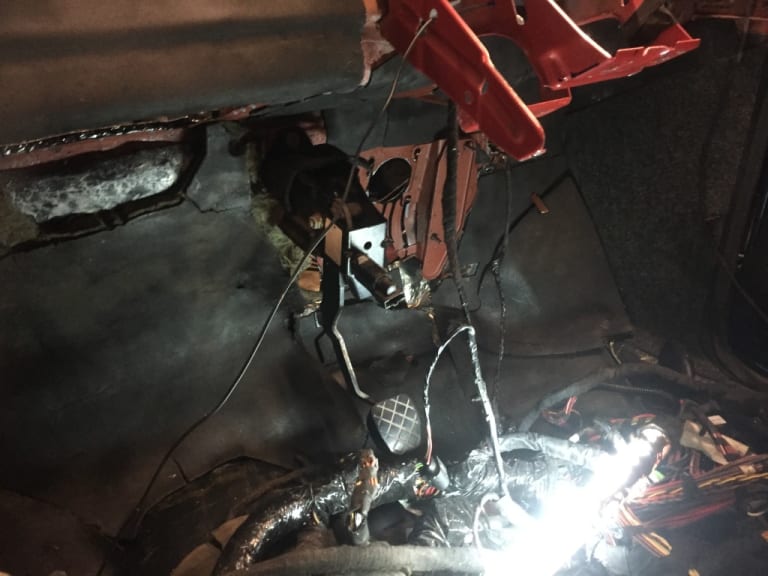
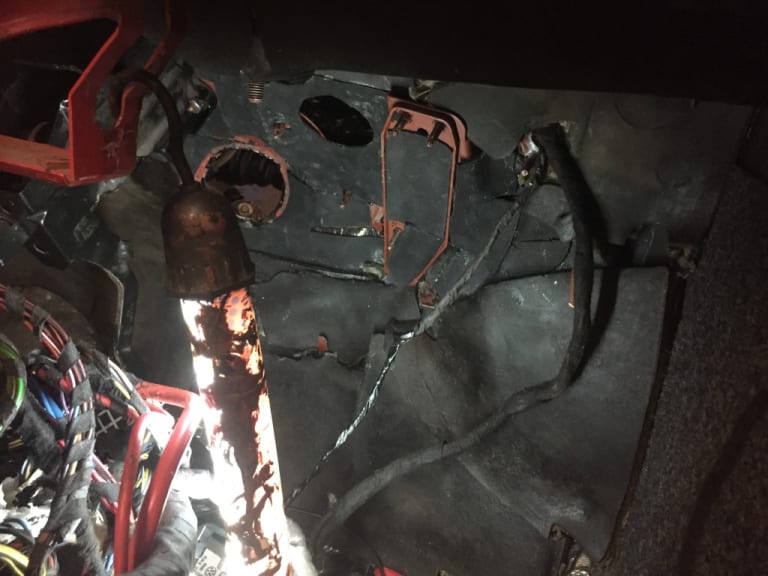
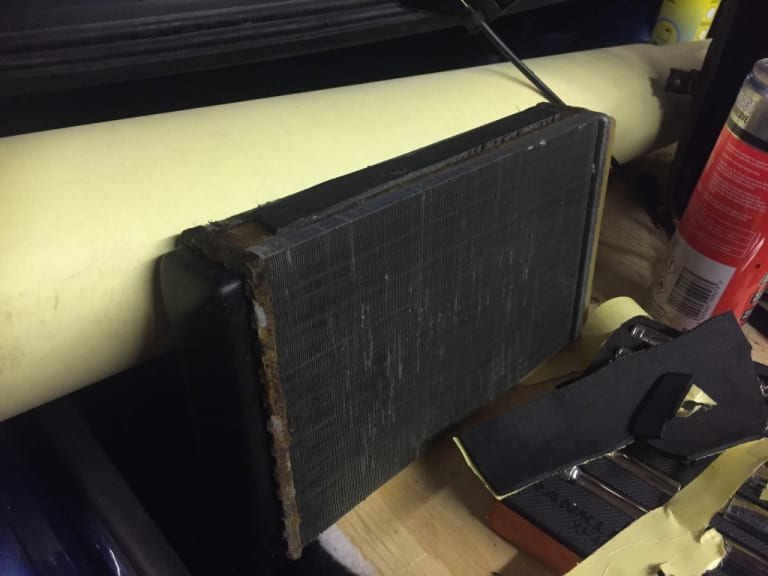
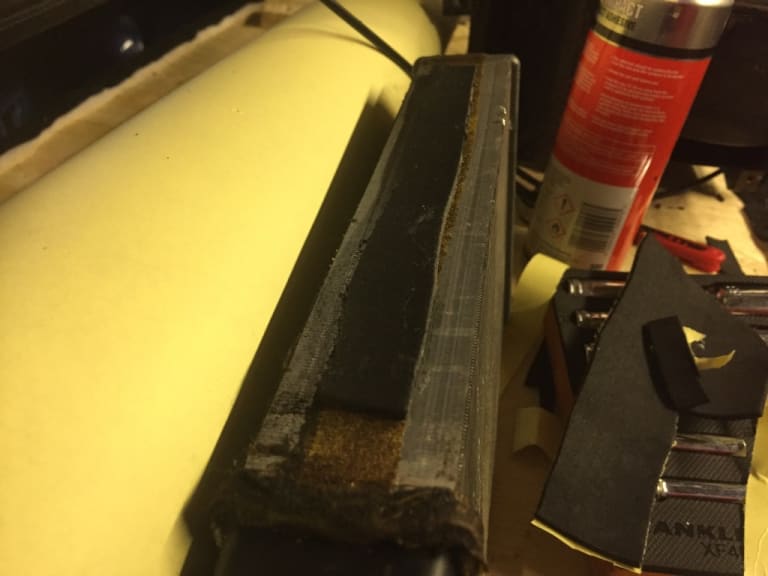
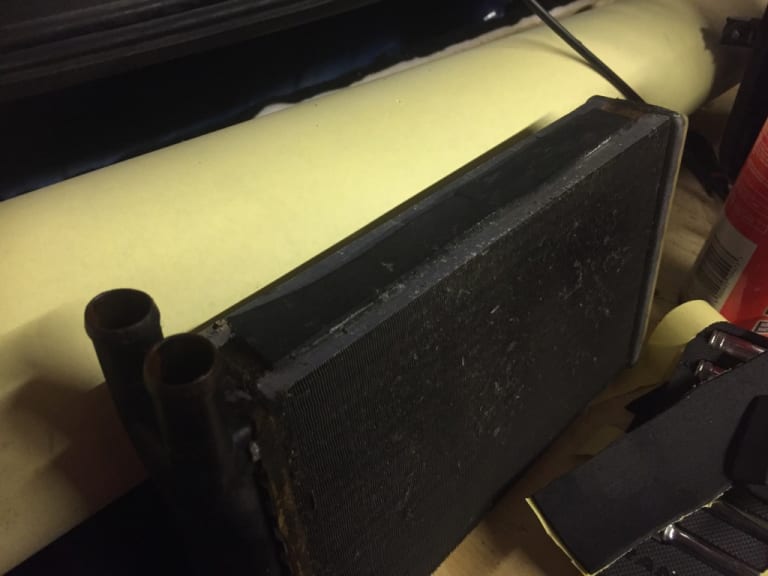
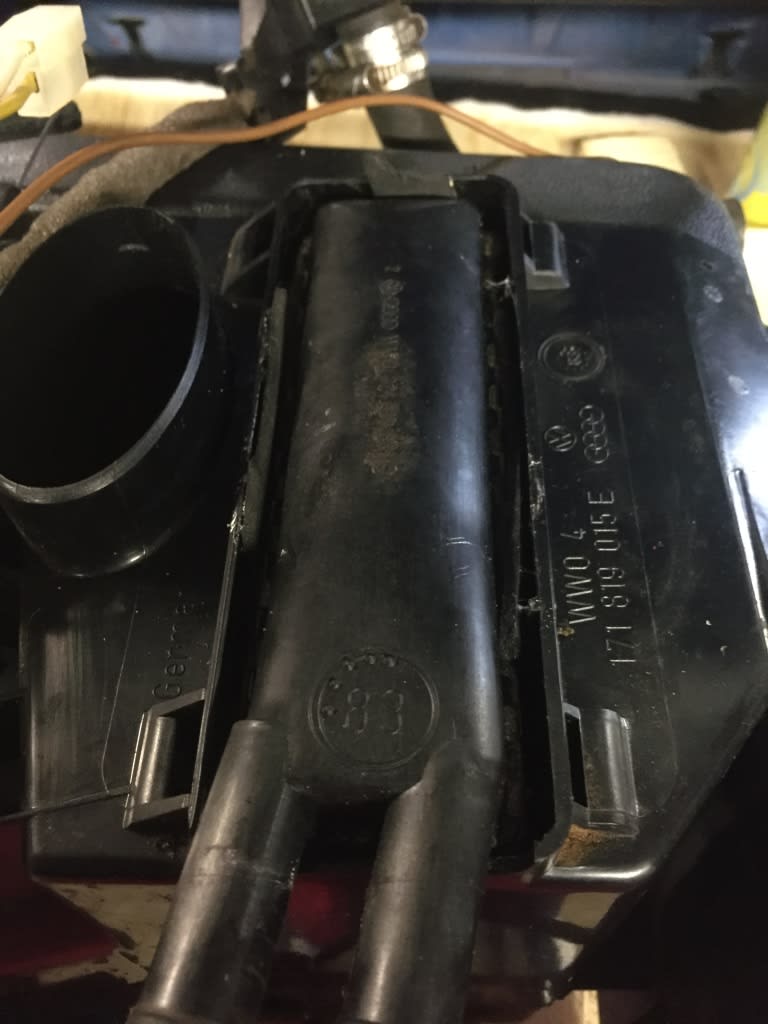
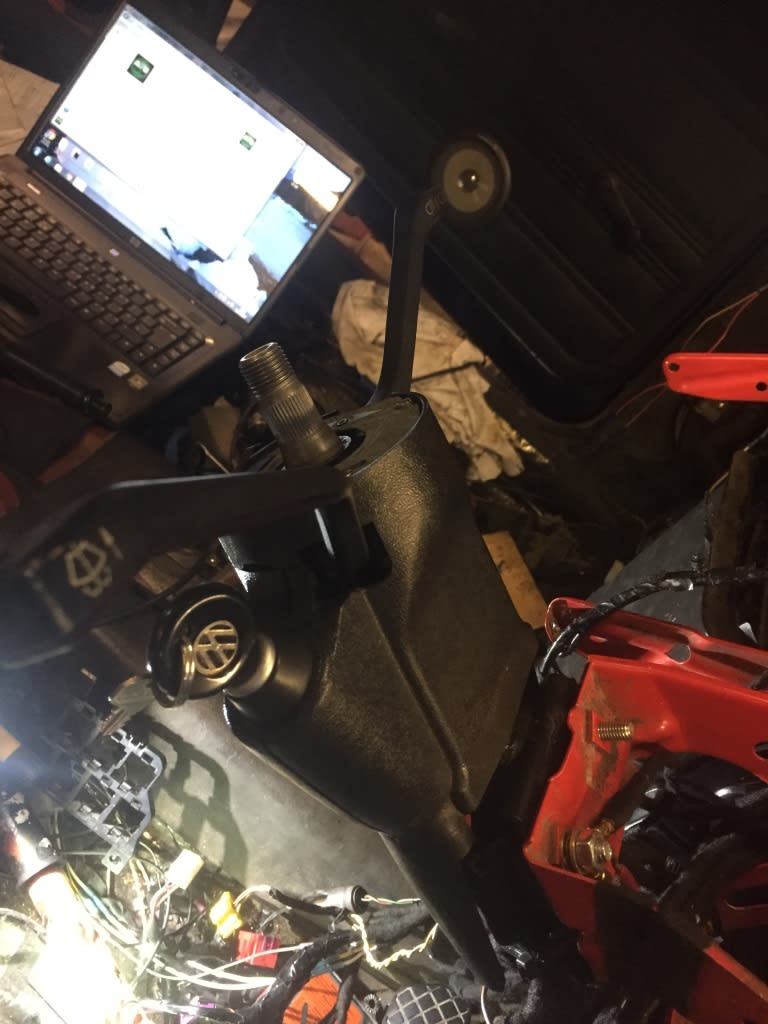
Over the weekend I carried on with the wiring under the dash getting some removed and lengthining where required and installing the original firewall sound deadening including cleaning out heater matrix and installing some padding to secure it so it isn't moving about 


  IMG_4143.JPG

IMG_4144.JPG

IMG_4145.JPG

IMG_4146.JPG

IMG_4148.JPG

IMG_4149.JPG

IMG_4150.JPG

Post

Back to the top
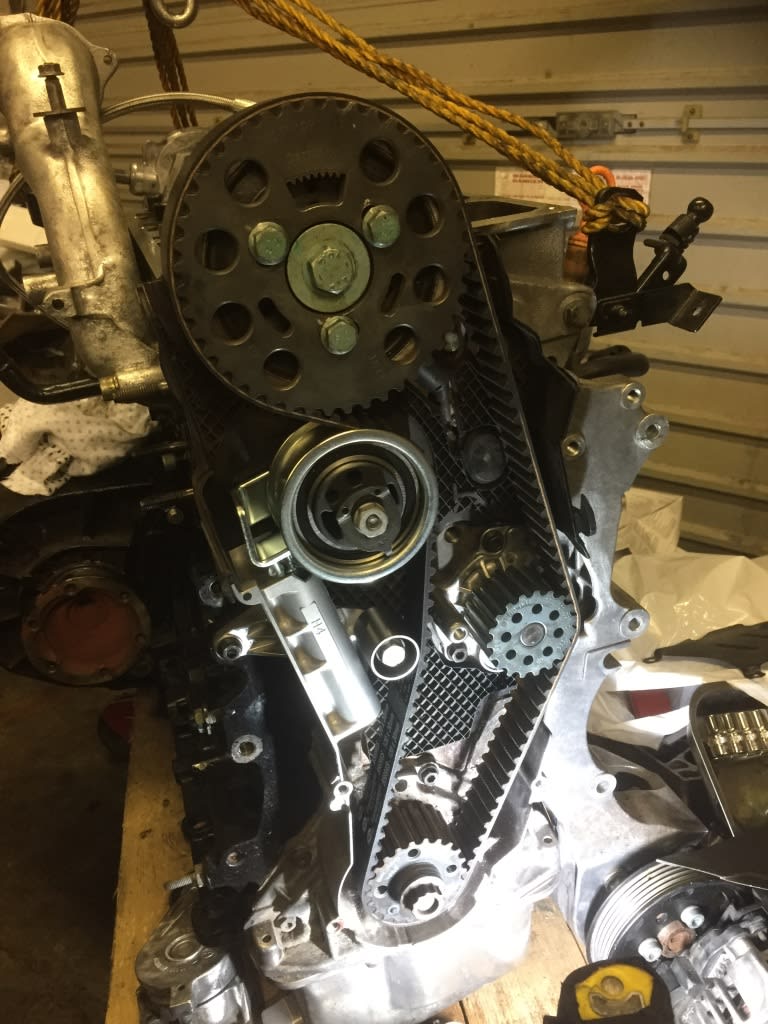
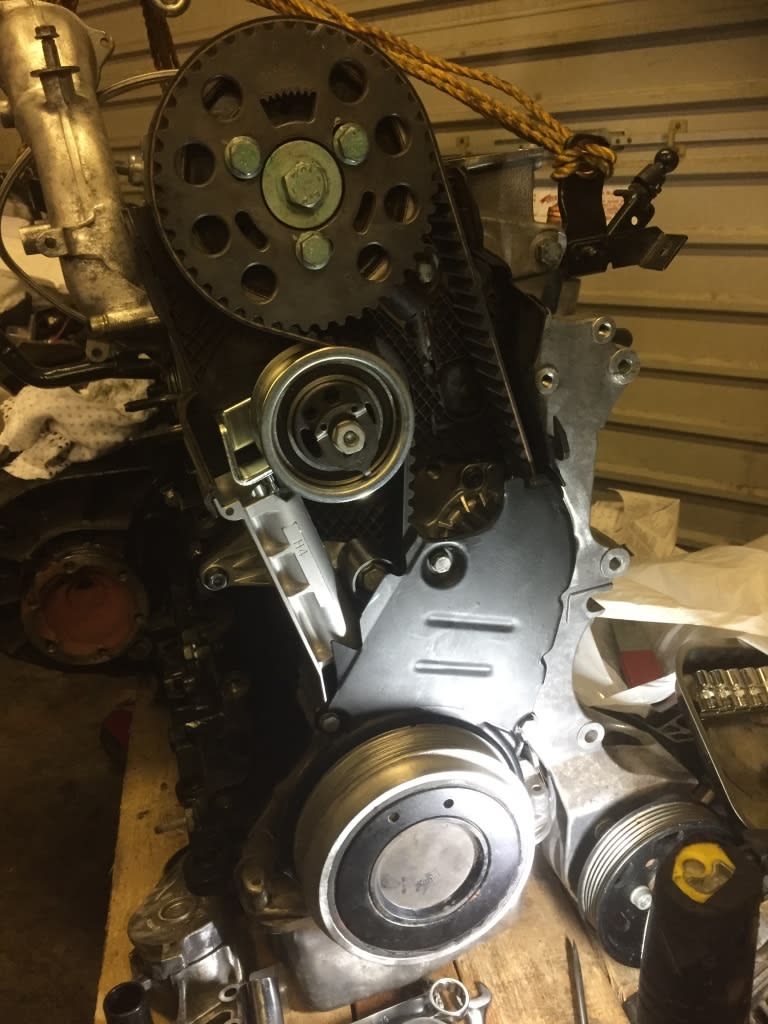
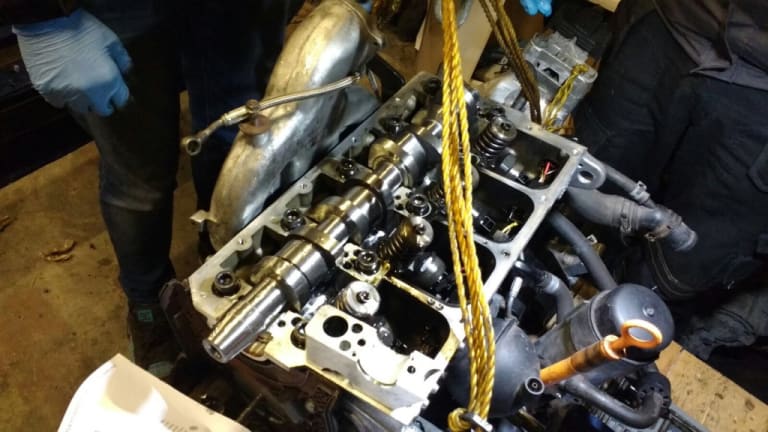
This past couple of days, I decided to show the engine some love so I set about getting an alternator and tensioner, giving them a little buff up. Also finally fitting the newmans 276 PD Camshaft, cam bearings, hardened black tappets,  stretch bolts, tandem pump seal and cam end seal, also fitting the Gates cambelt kit, oem waterpump and hydraulic tensioner, finally building it up and timing the engine to the most accurate degree possible with my timing tools also adjusting the timing again once the engine was turned over a couple times,

To say I'm pleased is an understatement :-D 

  IMG_4159.JPG

  IMG_4160.JPG

  IMG_4161.JPG

  IMG_4162.JPG

  IMG_4163.JPG

  IMG_4164.JPG

  IMG_4165.JPG

  IMG_4166.JPG

  IMG_4167.JPG

  IMG_4168.JPG

  IMG_4169.JPG

  IMG_4170.JPG

  IMG_4171.JPG

  IMG_4172.JPG

Last edit: by PhilipMcTDI


List of past and present cars ive owned

1997 corsa 1.2 poop

2003 Ibiza 130 tdi hybrided to 240bhp

1991 Mk 2 jetta calypso green 1.6td

2001 MG ZT 190+ v6 in trophy blue…. Sold to my brother

2003 Golf GTI TDI 150 black leather heated recaros ;) the

Post

Back to the top
IMG_4203.JPG

The last few nights, I've decided to take it easy and route some looms on the firewall, but keeping at it 😉

Post

Back to the top
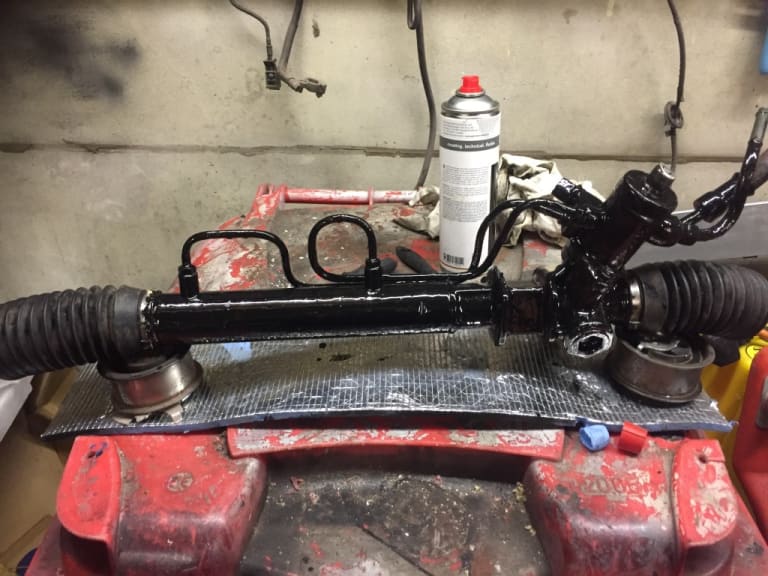
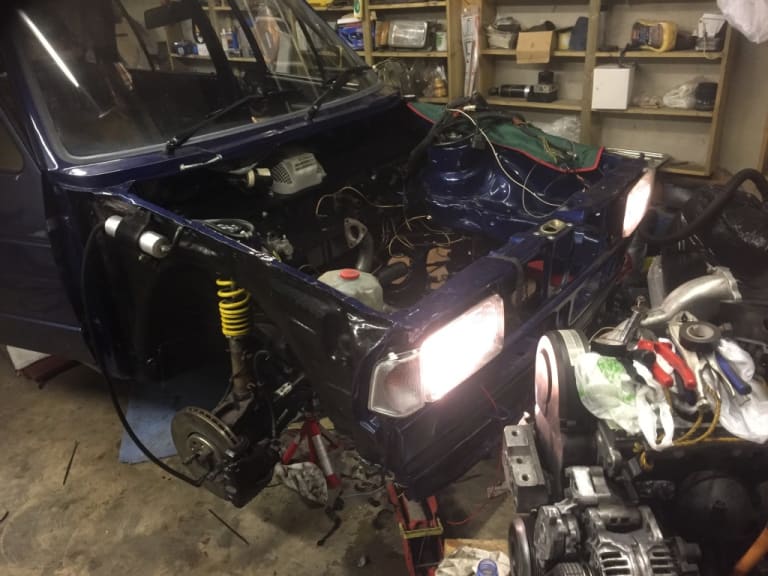
Tonight, I set about trimming a section of the firewall that was going to foul the steering rack gaitor, so I removed the rack for clearance and trimmed accordingly, also where the tie rod ends go out either side of the chassis, them gaiters where just fouling a tiny bit so the bottom of the holes was ground down a little bit, once done I painted them areas including giving the rack a fresh coat of paint 


IMG_4214.JPG

IMG_4215.JPG

Post

Back to the top
So I arrived home from work and found this parcel waiting for me, finally I've got the camber adjustable tip mounts that will sort the front camber issue I've noticed with the front hubs, the problem lies with the hubs being wider track for a mk4 and the bottom arms being narrower resulting in positive camber ( with wheels fitted, the top of the alloys tilts outwards at the top fouling the arches) so once I've got them fitted, I'll adjust them to where they roughly suit best, also whilst the rack was out, I set about sealing the top union spline, because it needed shortened by a lot, the seal was removed and the pin locking both core and outer spline was gone, so I had it drilled as you's have previously seen and with the strongest partially flexible bond (window bond) I've now plugged it and locked it permanently which is a major relief

List of past and present cars ive owned

1997 corsa 1.2 poop

2003 Ibiza 130 tdi hybrided to 240bhp

1991 Mk 2 jetta calypso green 1.6td

2001 MG ZT 190+ v6 in trophy blue…. Sold to my brother

2003 Golf GTI TDI 150 black leather heated recaros ;) the

Post

Back to the top
IMG_4221.JPG

IMG_4222.JPG

IMG_4223.JPG

Post

Back to the top
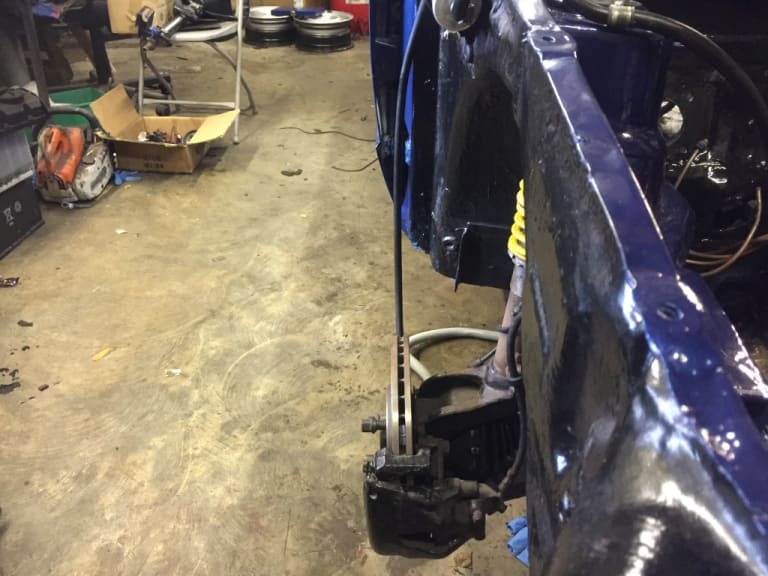
On Sunday I removed the old strut tops and fitted the adjustable strut tops, the first 2 photos Is before the new struts where fitted and then the next two are afterwards where you can see the difference in the position of the hubs


  IMG_4232.JPG

IMG_4233.JPG

IMG_4234.JPG

IMG_4236.JPG

IMG_4239.JPG

IMG_4240.JPG

Post

Back to the top
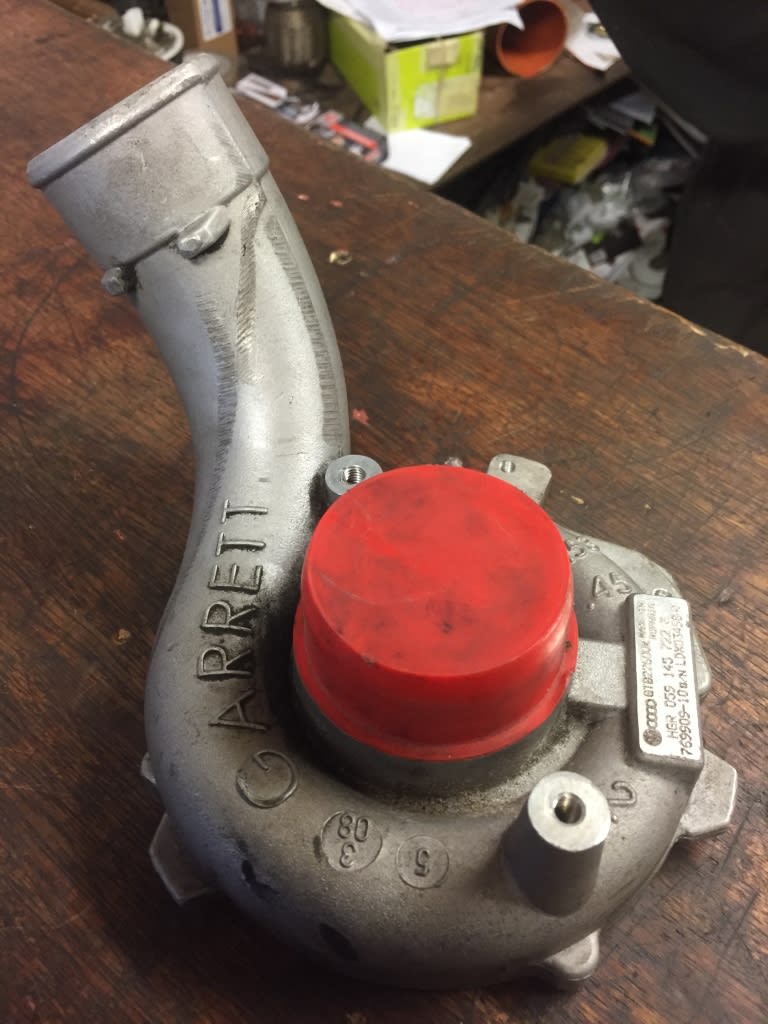
The turbos charge housing was going to foul the steering rack so it needed to be cut and modified, here's the before photos where you can see the outreaching outlet.

IMG_4259.JPG

IMG_4260.JPG

Post

Back to the top
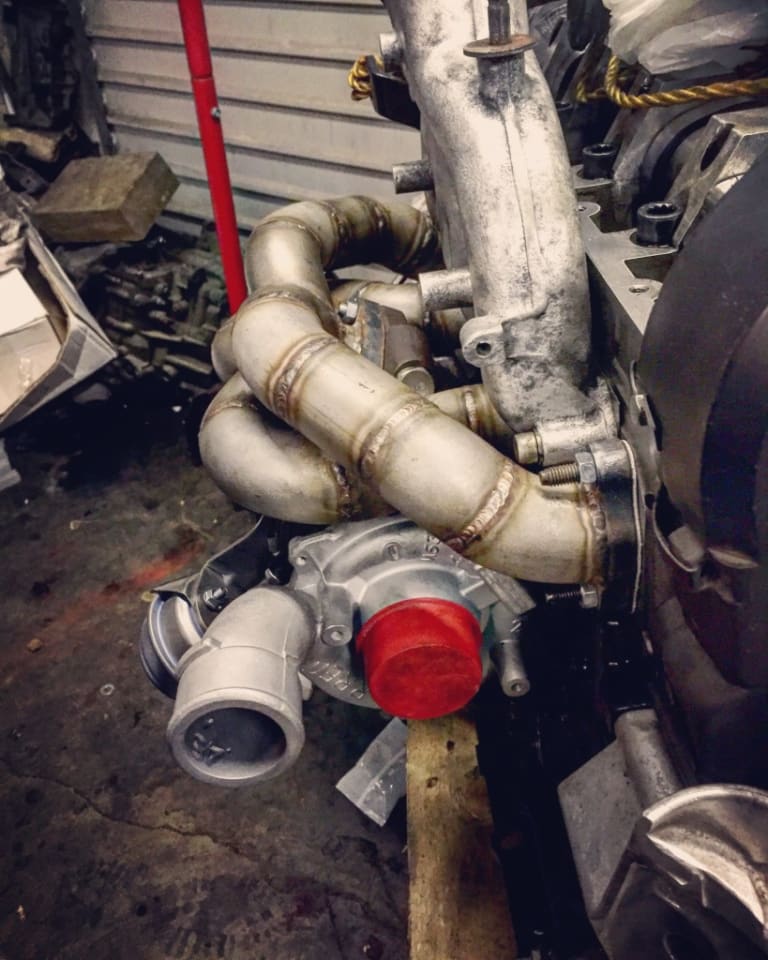
And now chopped and welded back in a much better position and now refitted ;-)


  IMG_4280.JPG

  IMG_4281.JPG


  IMG_4286.JPG

List of past and present cars ive owned

1997 corsa 1.2 poop

2003 Ibiza 130 tdi hybrided to 240bhp

1991 Mk 2 jetta calypso green 1.6td

2001 MG ZT 190+ v6 in trophy blue…. Sold to my brother

2003 Golf GTI TDI 150 black leather heated recaros ;) the

Post

Back to the top
For a long time, my friend mike has been telling me to replace the grade 8.8 bolts for a higher grade stronger bolt on the rear stub axles! Theses should be strong enough…. 12.9 grade

 :-D


IMG_4262.JPG


  IMG_4287.JPG

List of past and present cars ive owned

1997 corsa 1.2 poop

2003 Ibiza 130 tdi hybrided to 240bhp

1991 Mk 2 jetta calypso green 1.6td

2001 MG ZT 190+ v6 in trophy blue…. Sold to my brother

2003 Golf GTI TDI 150 black leather heated recaros ;) the

Post

Back to the top
IMG_4319.JPG

This past week I've been off work with a very upset back and legs, struggling to walk, getting bad nerve spasms and a lot of discomfort so with me telling a mate of mine what to do, he bolted the turbo unit on for me and guided the braided oil feed line and oem oil return pipe! It looks really good but for the moment, that's all I can do! Hopefully my back and trapped nerves gets better

Attachment
123 views (1.65 Mb)

Post

Back to the top
I removed the bottom arms to get them properly seam welded and then a couple layers of black paint to finish them off.

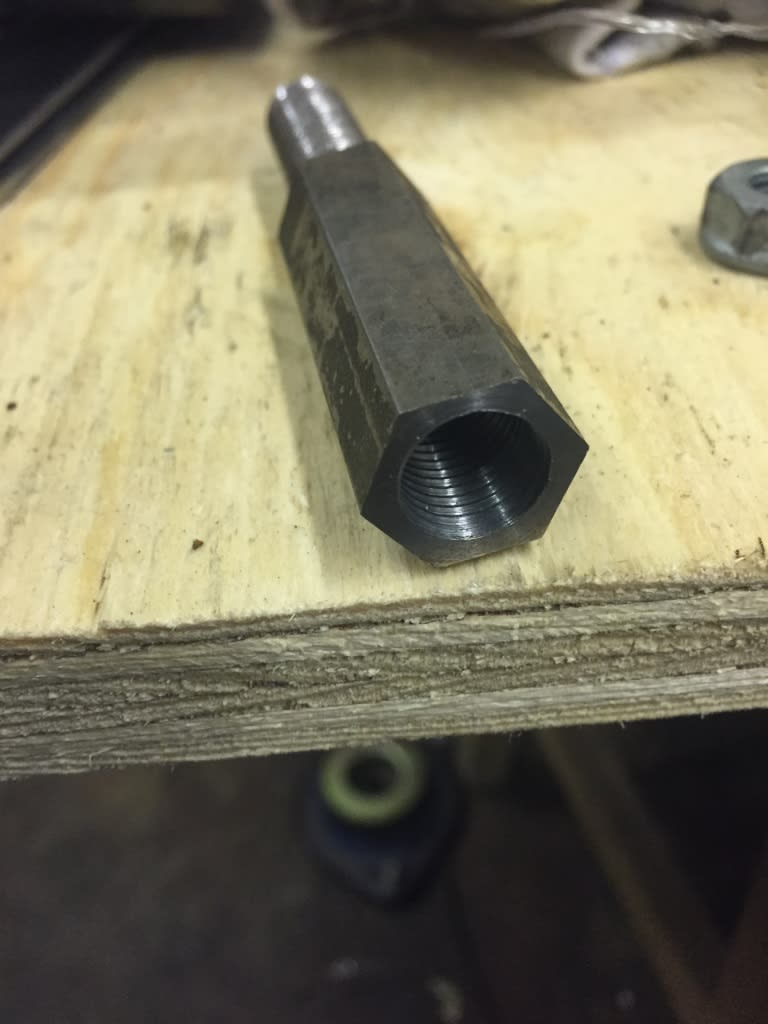
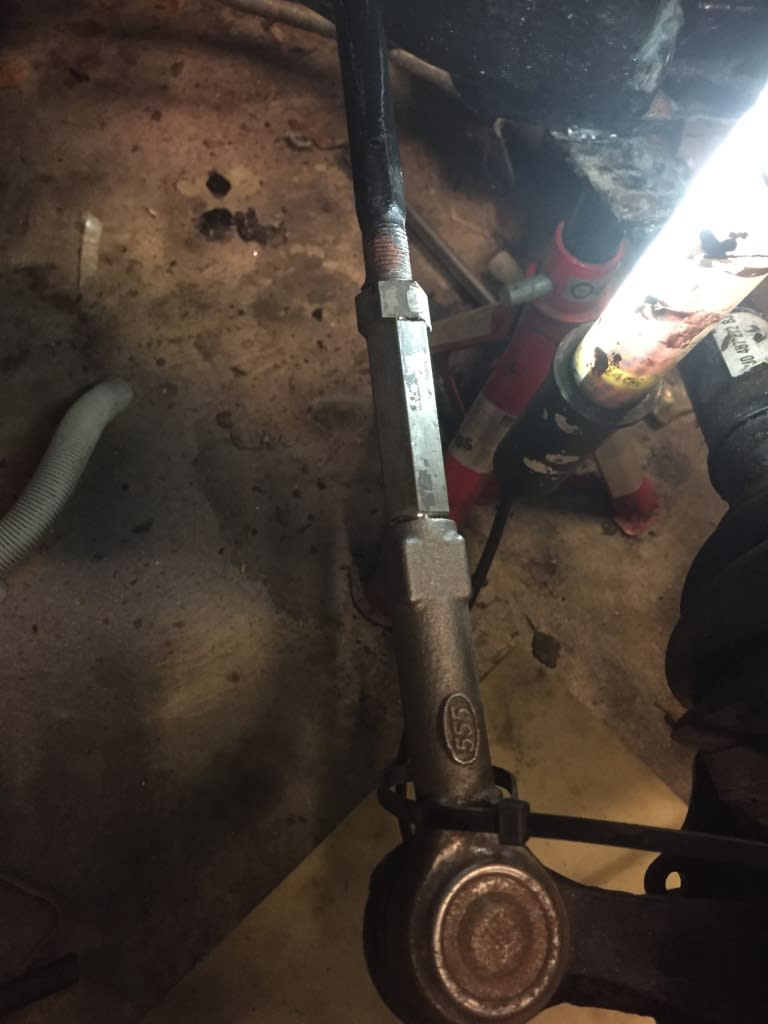
A good friend also made the tie rod to track rod end extensions, they need cut to the best length but I'll do that down the line… good quality too.

Also you can see how much I've had to grind down the areas where the tie rod ends come out, not too much and the gaiters clear nicely

IMG_4345.JPG

IMG_4346.JPG

IMG_4347.JPG

IMG_4348.JPG

IMG_4352.JPG

Post

Back to the top
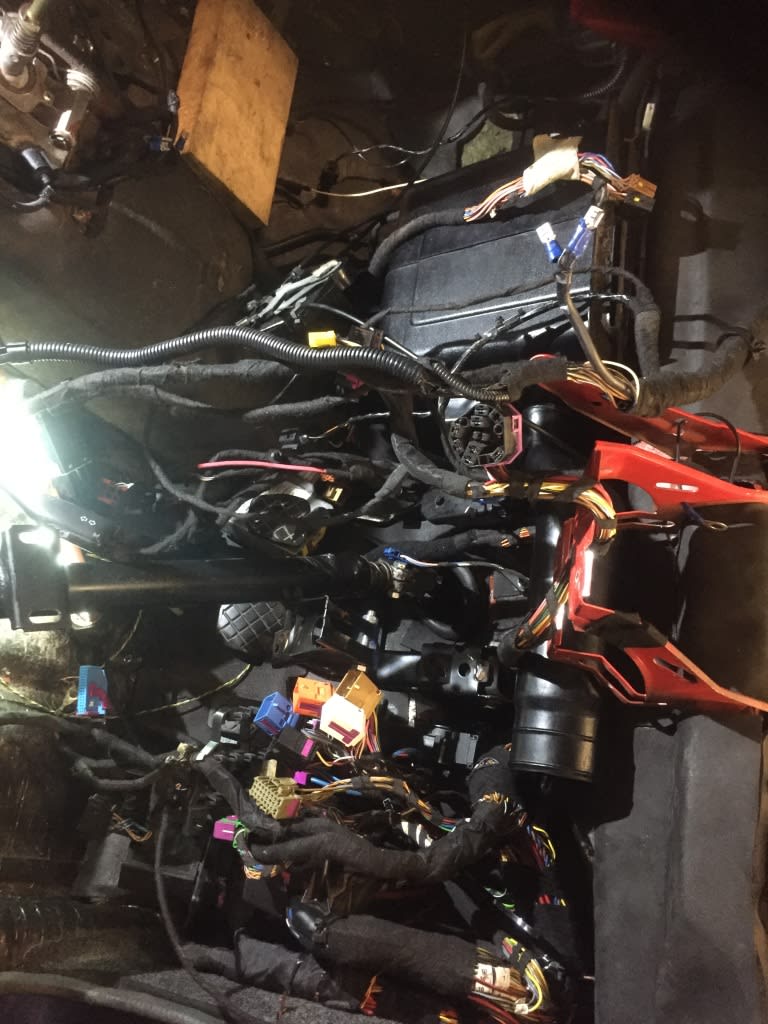
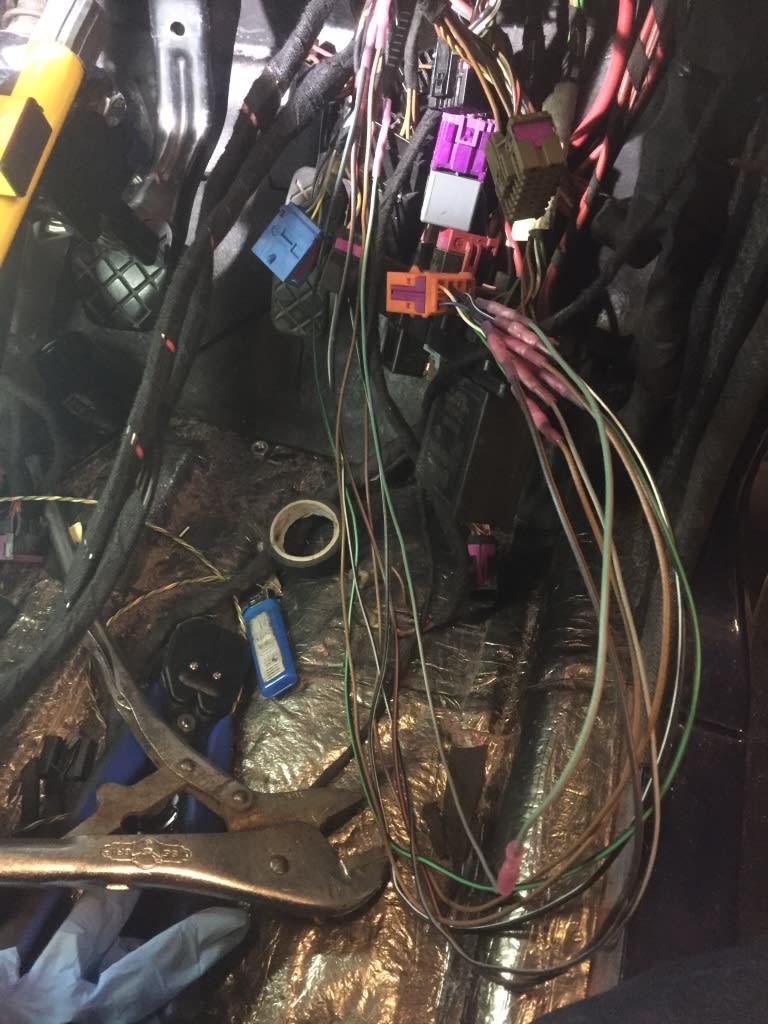
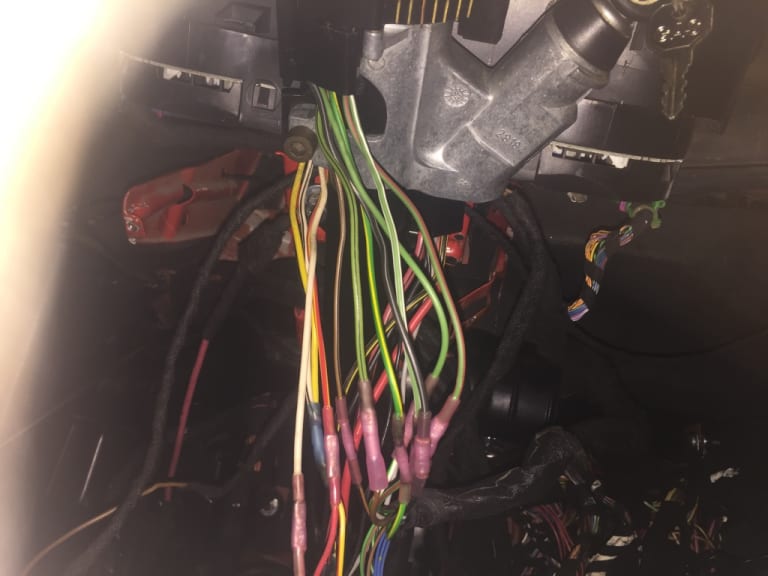
With some help from rubjonny and his brilliant wiring diagrams, I've incorporated the mk4 loom into the mk1 ignition, headlight switch, front and rear fog light switch, demister switch, high beam switch, indicators stalk and wiper stalk, it's taken just over a week to figure it out and ages making looms! 

IMG_4358.JPG

IMG_4363.JPG

IMG_4364.JPG

IMG_4391.JPG

IMG_4420.JPG

IMG_4434.MOV

Post

Back to the top
It's been tough and literally 10 hours or more just going through wiring diagrams and making sure everything is legit before testing and wrapping the looks up

IMG_4387.JPG

IMG_4399.JPG

IMG_4419.JPG

IMG_4427.JPG

But getting there slowly but surely 

Post

Back to the top
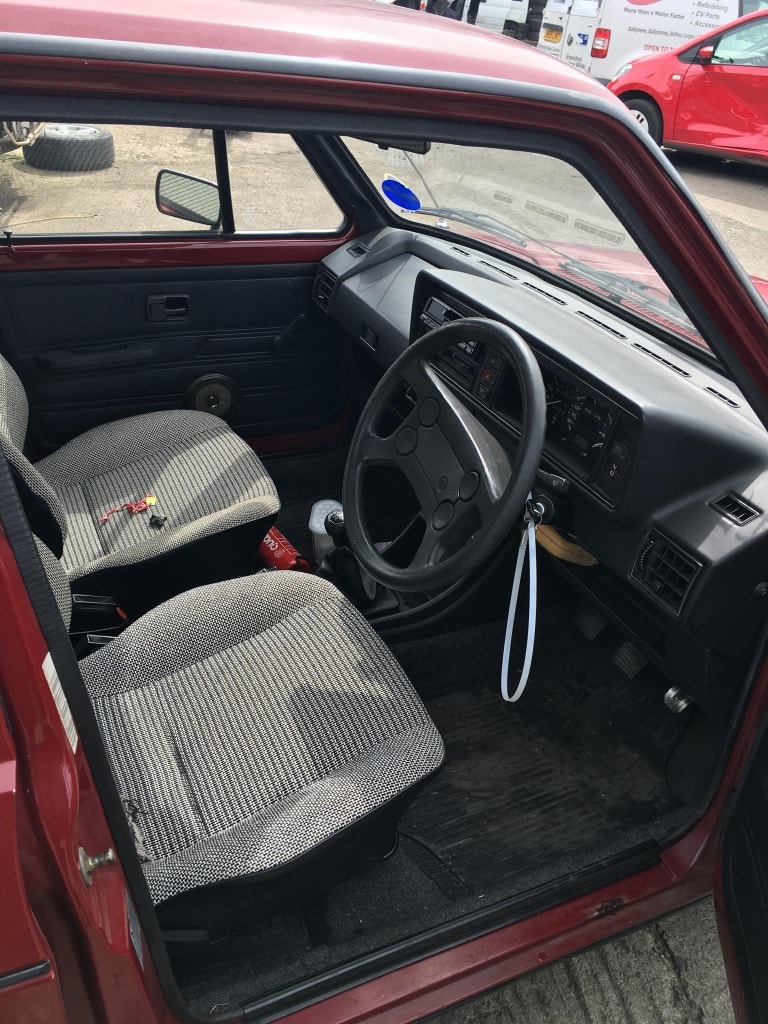
I've also found some old photos of my first mk1 jetta from America apparently but I found a Canadian sticker on it so who knows.. the boot lid is the only body part that was fitted to my project.
The car was doomed though, the rust has taken most of the floor 

IMG_4371.JPG

IMG_4372.JPG

IMG_4373.JPG

IMG_4374.JPG

IMG_4375.JPG

IMG_4376.JPG

IMG_4377.JPG

Post

Back to the top
Almost all electrics are finished for the dash board, I gathered that's there's just 2 looms needing finished going to their distinations, the loom for the drivers front headlight, washer bottle pump, abs wires and maf sensor as one loom, and the other is for the gauges in the centre lower console for the volt guage, oil pressure and oil temp as the second loom…. then the dash board gets fitted! 

  IMG_2356.JPG

This is a picture of the dash from the donor car i bought for parts last year, it was an insurance write off due to being smashed at the front quite badly, but where this one died, it's given it's life to save mine 😆

Post

Back to the top
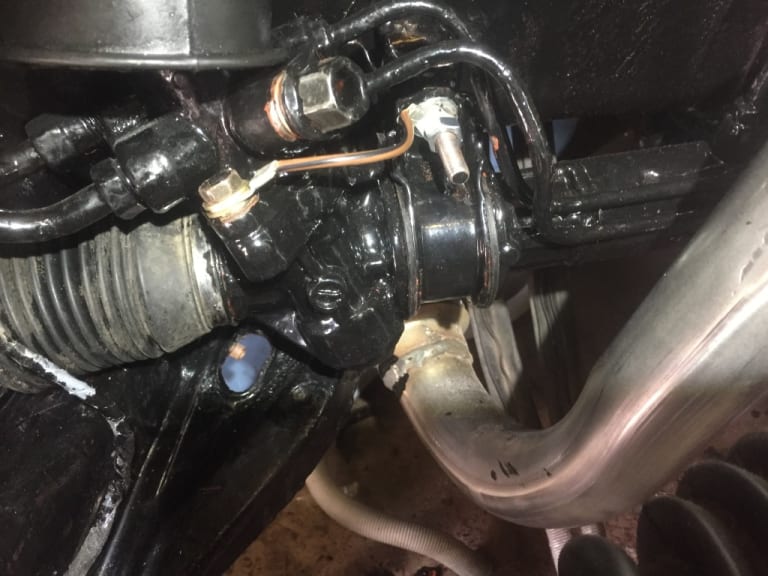
I connected the wire for the horn and when I went to find the earth, I couldn't lol
This resulted in the very fashionable google search, hey presto the steering rack is the earth so I remembered a single wire that was secured to the rack back 5 years ago when I changed it to the Toyota starlet rack, a quick check and I did this, now when the steering wheels fitted, the horn relay works! Perfect… now I just need to get a horn for it lol

  IMG_4453.JPG

Post

Back to the top
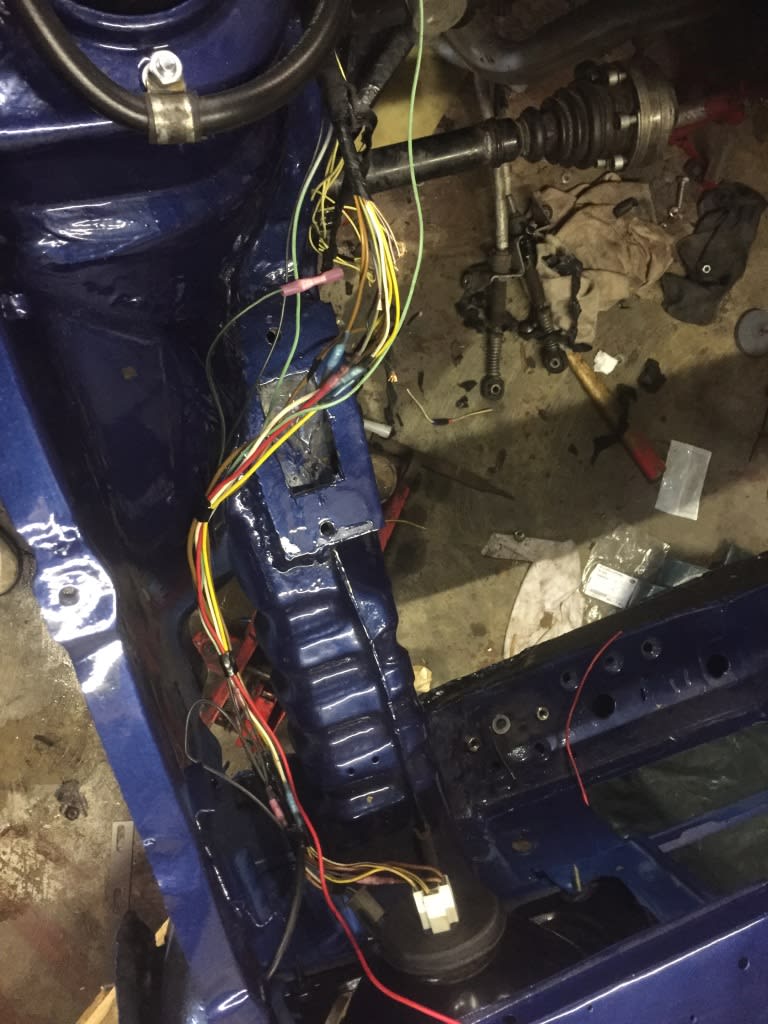
So today and yesterday I made a new loom to the drivers headlight, fog light, indicator, washer bottle pump, maf and abs, not to bad I figure considering it's really tidy 
Also made with help from a good friend the mount bracket for the ccm and terminal 75x relief relay and other relays which are now all tucked away nicely, the air duct slides on like a glove with barely any room remaining lol

More progress to follow as you's all know

  IMG_4469.JPG

IMG_4467.JPG

IMG_4468.JPG

IMG_4471.JPG

IMG_4472.JPG

IMG_4470.JPG

IMG_4463.JPG

Post

Back to the top
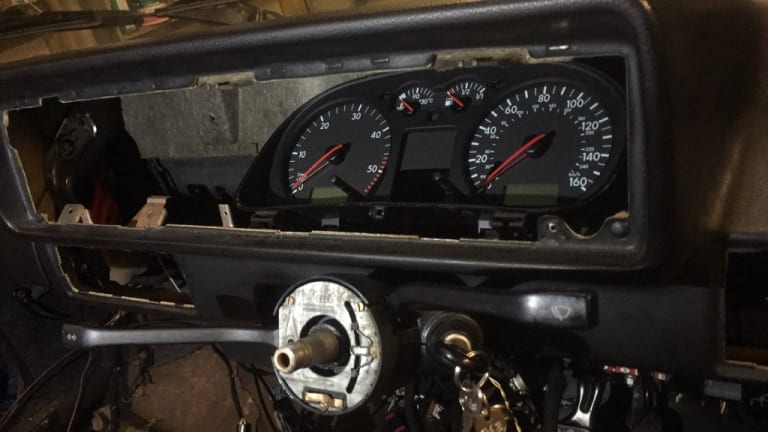
This past few days, I've been flat out with the dash building things up and yet again extending more looms, the dash board is fitted and the mk4 dash clocks too! 
Using a dremel and patience, it's now fitted snug!

Because the clocks are too big, I've left the right side of the guage just out of view from 120 mph onwards but let's be honest, it'll not be doing that lol 😜 Also connected up the interior light too, progress is progress

IMG_4480.JPG

IMG_4481.JPG

IMG_4482.JPG

IMG_4487.JPG

IMG_4495.JPG

IMG_4496.MP4


IMG_4497.JPG

Post

Back to the top
IMG_4508.JPG

This came up nicely with a good clean down 😉
0 guests and 0 members have just viewed this: None.