Chrome trim renewal guide without need for window removal
Posted
#1612702
(In Topic #220233)
Settling In


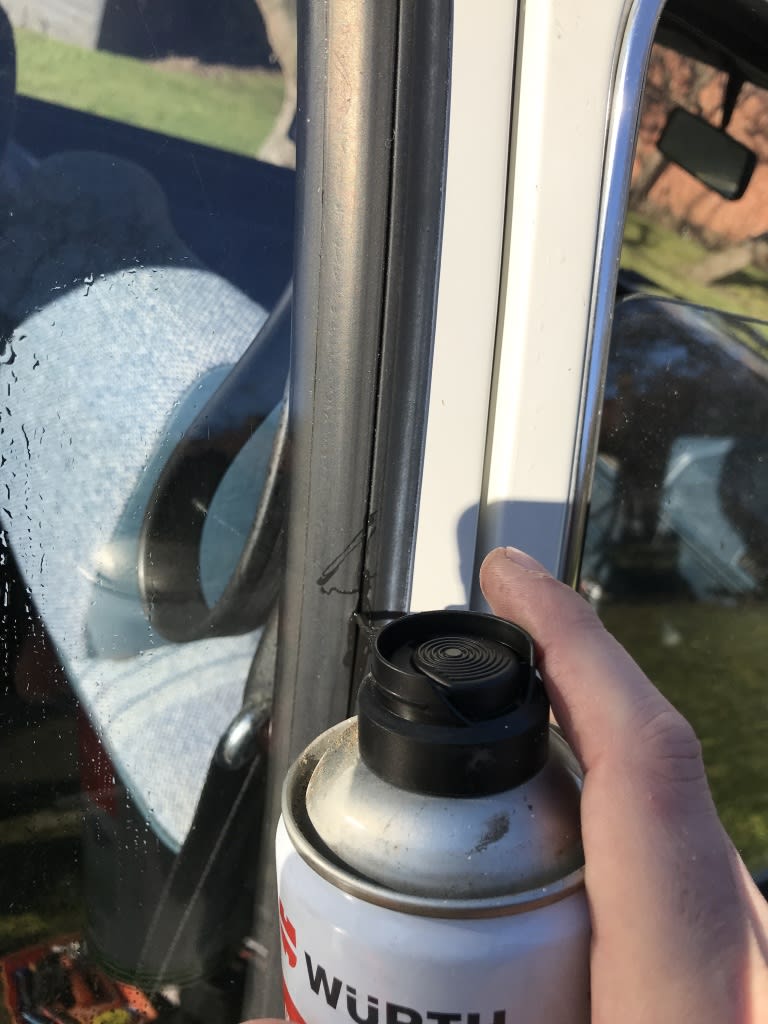
old, brittle, worn out sorry chrome plastic trim. just take a flat head screwdriver and prise of the joining piece, after that, prise of at one end of the trim an pull it out of the groove in the window..

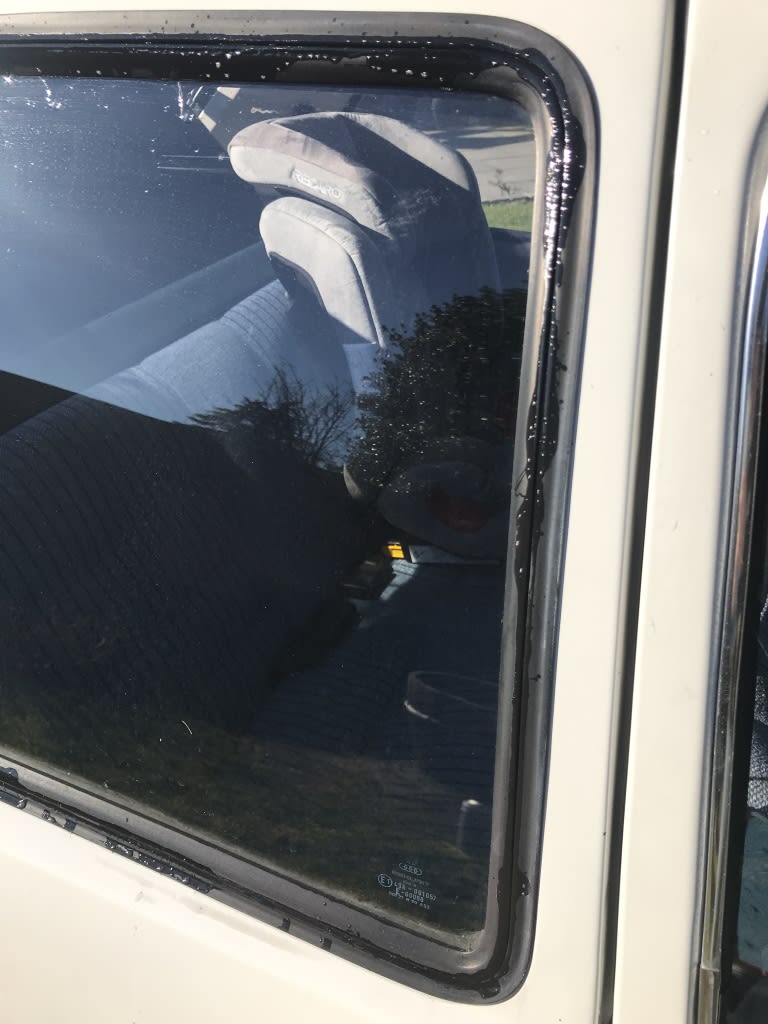
in my case there was a lot of dirt behind the trim, I washed that of with some soapy water and dried it of.

so now you'll have a clean starting point for your new chrome trim to sit in. lovely. I ordered my trim from werk34 and it was quite rolled up so to speak, I put it in hot water to soften it up

dont know if this actually helps, it cooles quite quickly once out of the water, but if your trim is bend this can be done to get it back to shape. now on to the mounting of the new trim, now wet obviously


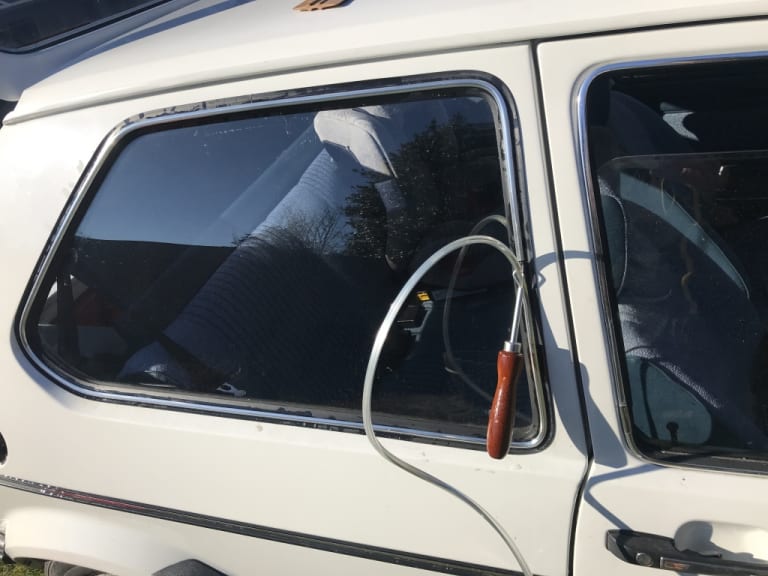
now we're about to be ready to go.. take the end of the trim and yank it in where you want to start. adjust to middle be sliding it in the groove. I found it was the easiest way to work my way upwards, so grab your tool and put it on from the other end of the trim.

now push and whigle the tool so that it sort of spreads the groove to make the trim go in, and make sure the trim is seated right in the groove on both sides.


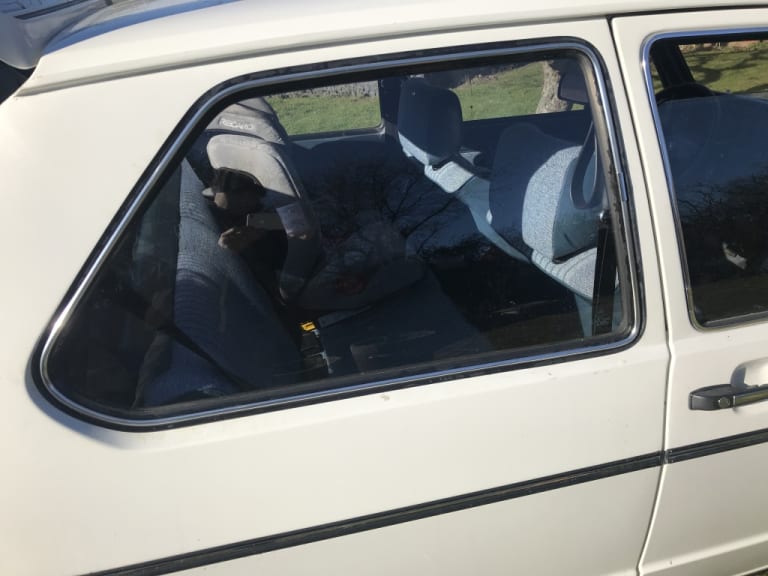
its actually not so bad once you get it going, but you'll have to keep an eye on it all the way to make sure its seated properly all the way, or you'll just have to undo it all again. it is not possible to try and simply push the trim in place without having the tool right before it or you'll just bend the trim. the hardest parts are the corners, where the trim wants to go outwards and pull out of the groove on one side, so just be patient and dont rush it and make sure its seated properly all the way. eventually you'll end here

you'll be able to cut the excess lenghts of with a cable cutter. fit the joining piece and step back and enjoy your work

Happy days and one more thing of the list
Posted
Local Hero

What do Divorces, Great Coffee, and Car Electrics all have in common?
They all start with GOOD Grounds.
Where are my DIY Links?
They all start with GOOD Grounds.
Where are my DIY Links?
Posted
Newbie

 I have a 1980 mk1 , do you need different rubbers to use the for trim ?

Posted
Settling In

0 guests and 0 members have just viewed this: None.


