


Helios Blue Campaign

Posted
#1201828
(In Topic #143611)
Settled In

Helios Blue Campaign
I finally have some spare time, due to being stuck in a hospital bed
 going absolutely :dontknow: I thought Id share it with you.
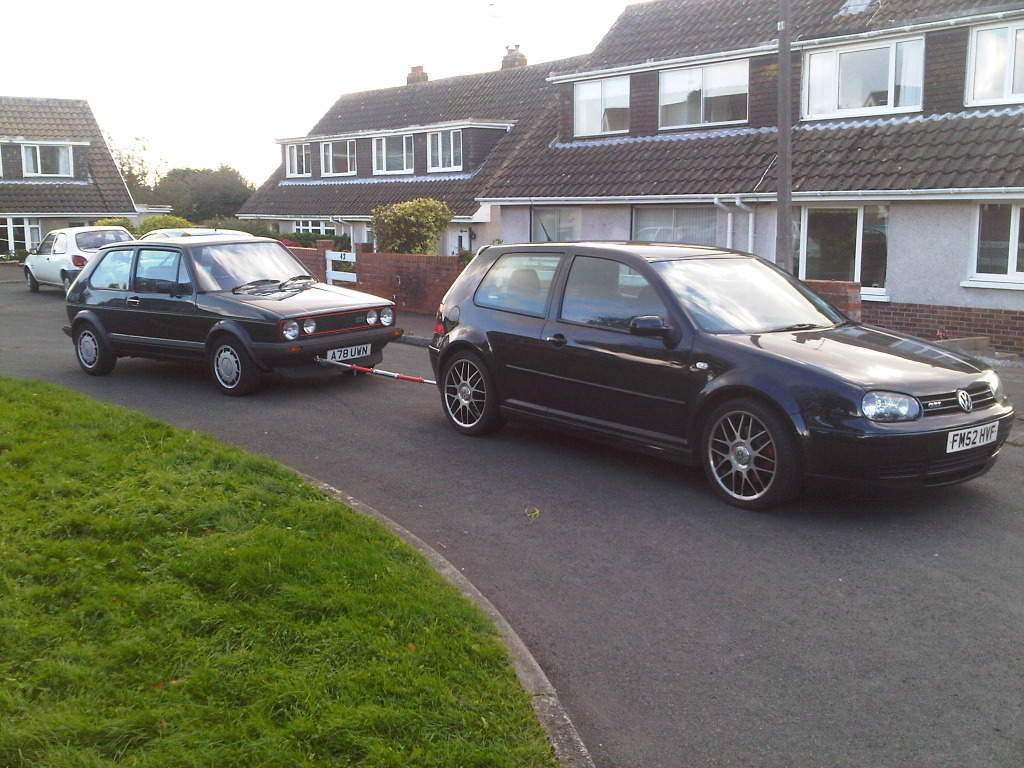
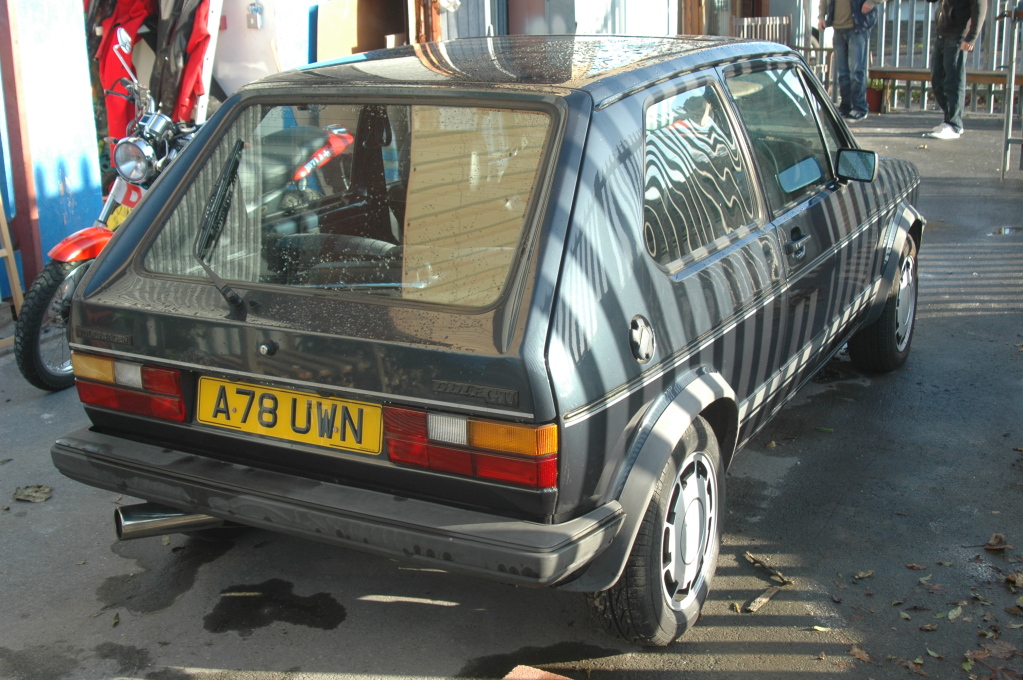
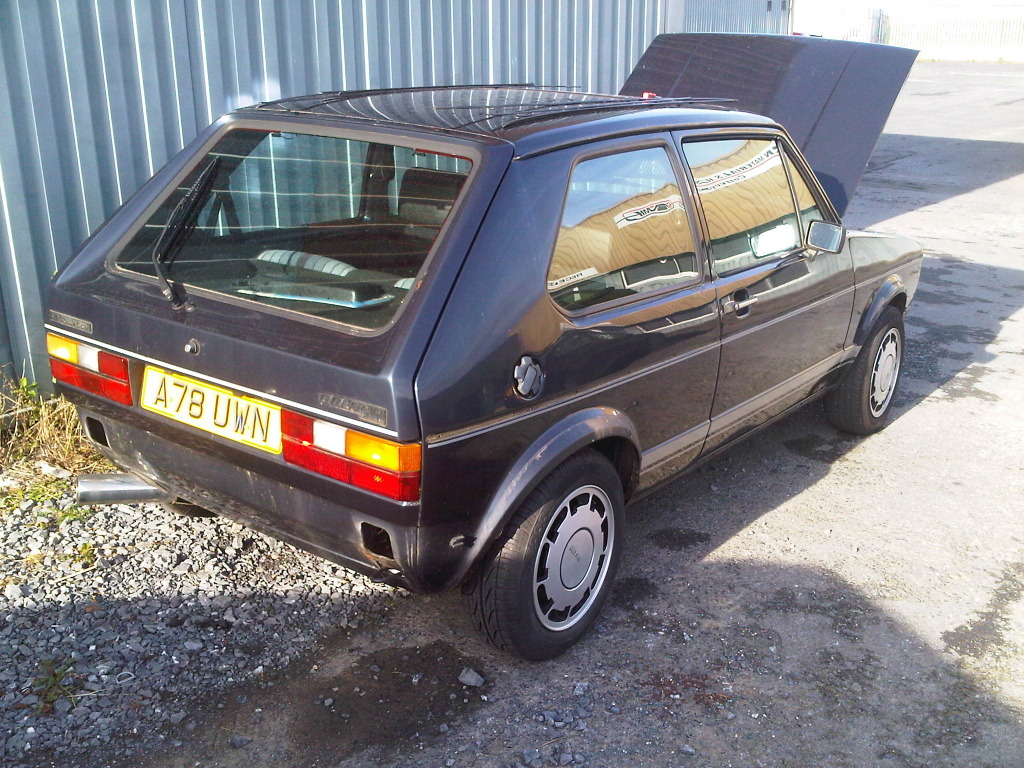
 Anyway, a brief history about the car, Its a local one owner from new car. A Genuine 83' Helios Blue Campaign, with the correct option code on the boot sticker.
Me and my mates always used to see it drive around when we were young, we always used to admire it but the gentlemen who owned it always said he'd never sell! Well, fast forward 10 or so years and I finally managed to prise it from him!!
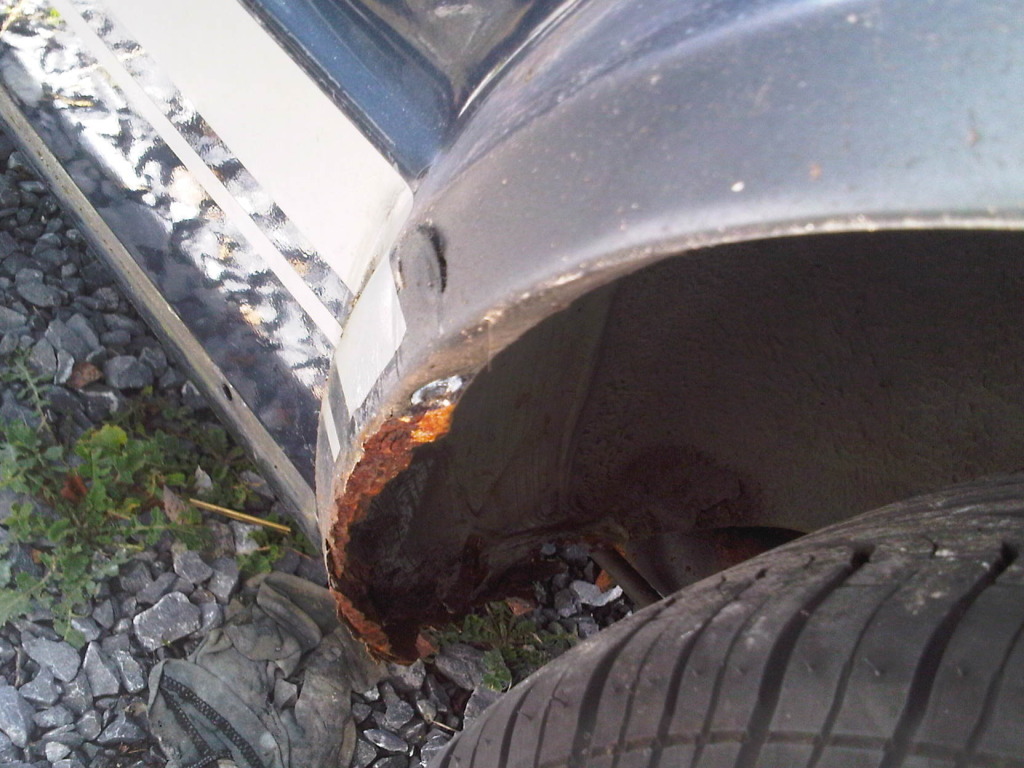
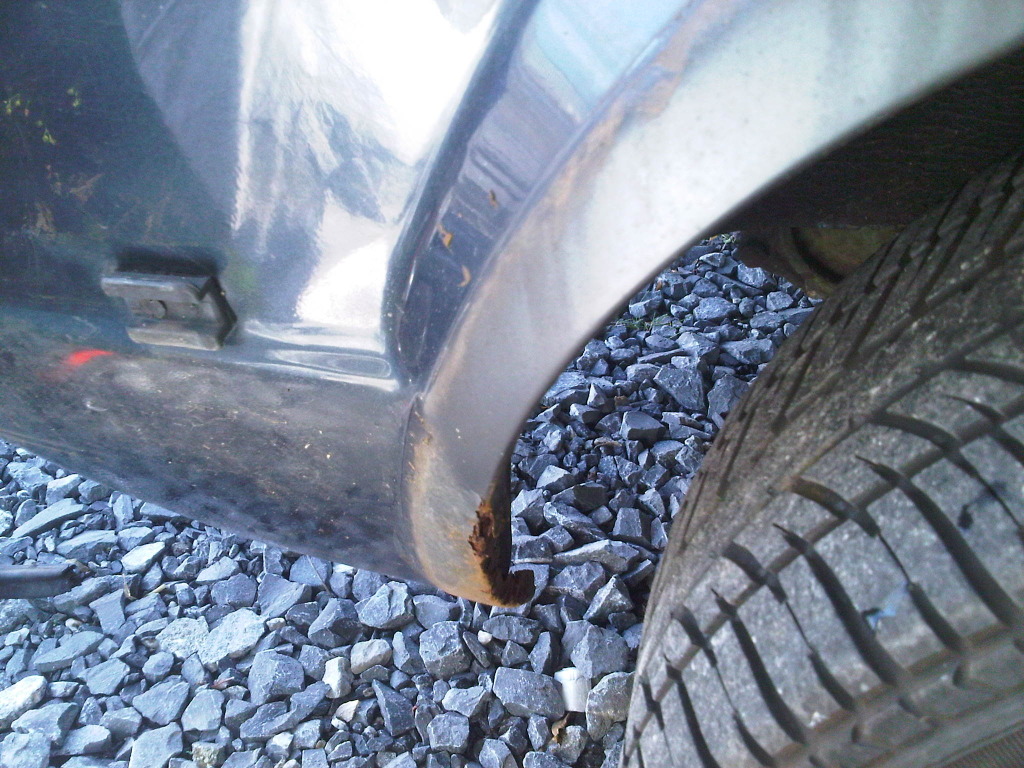
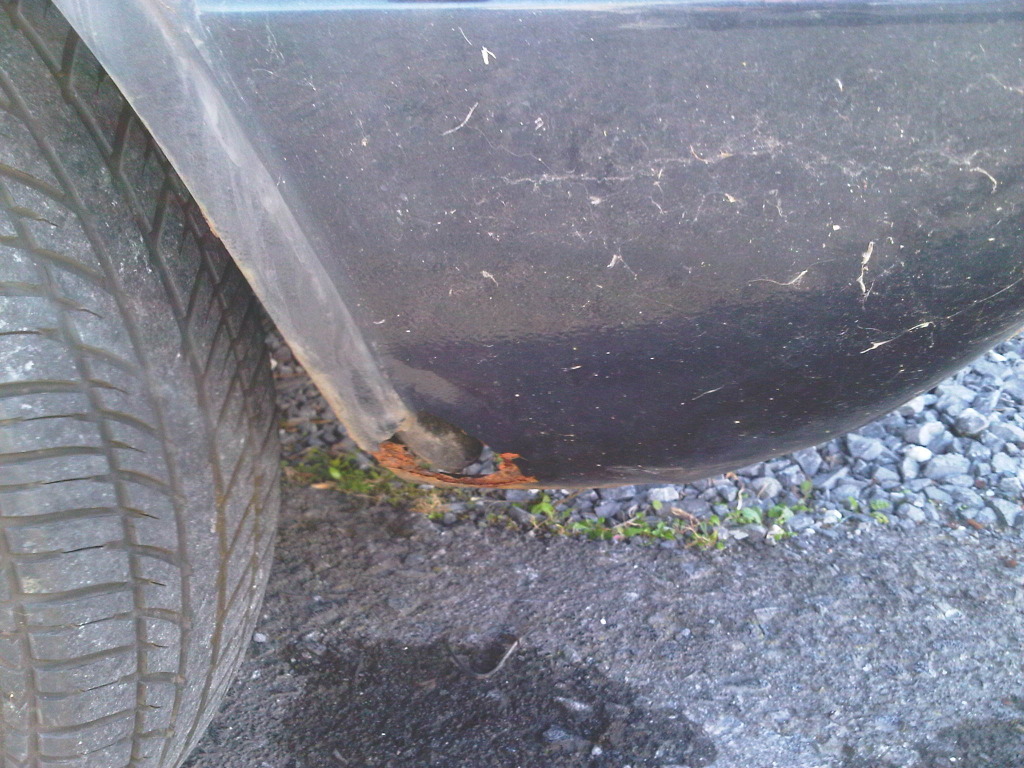
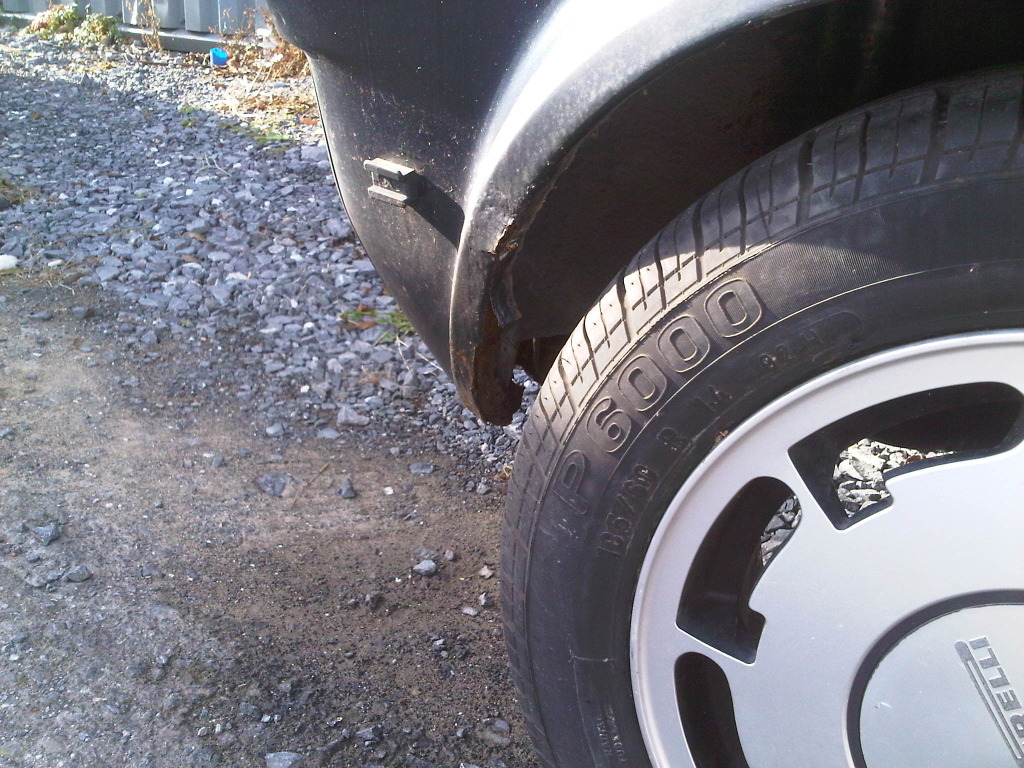
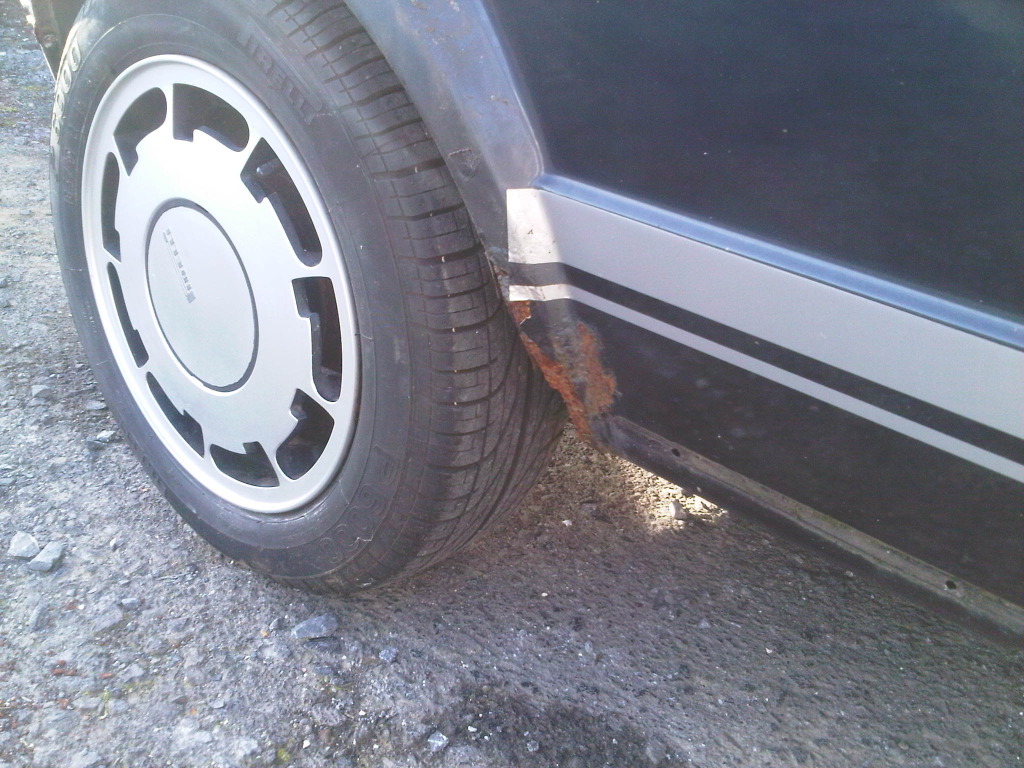
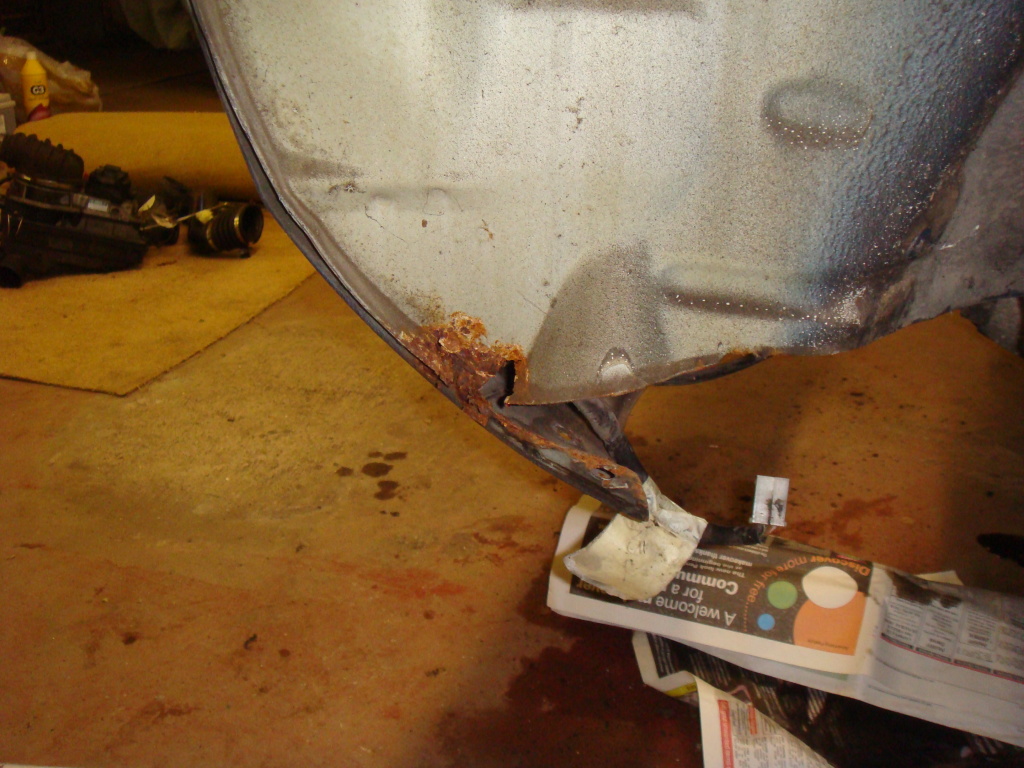
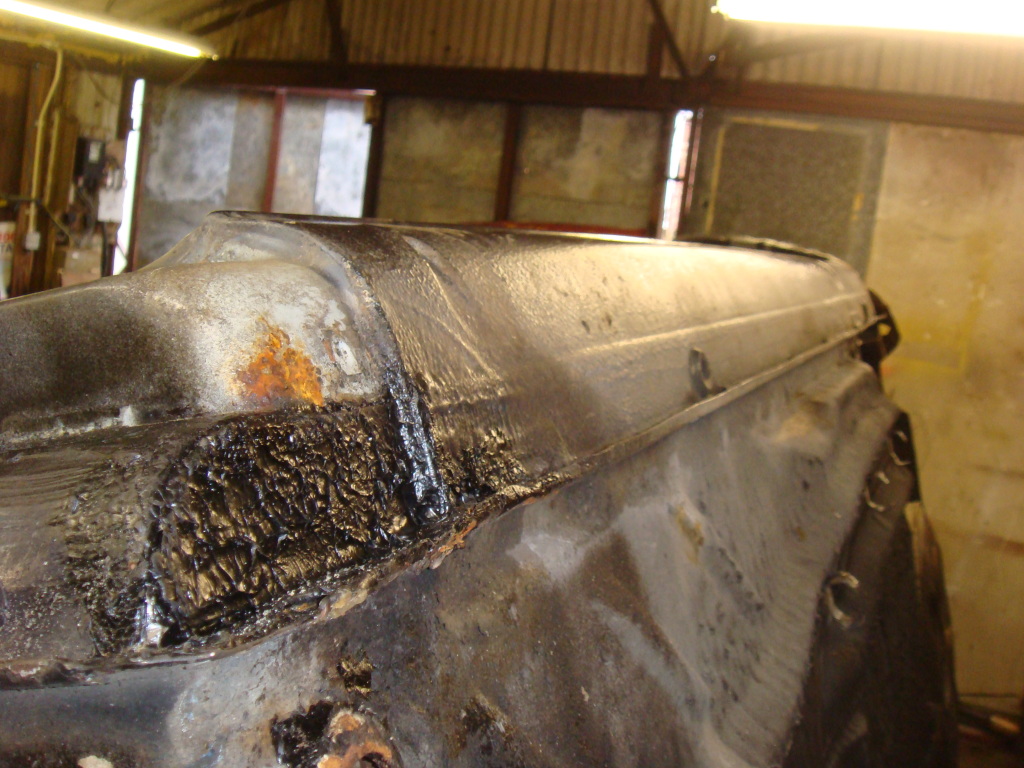
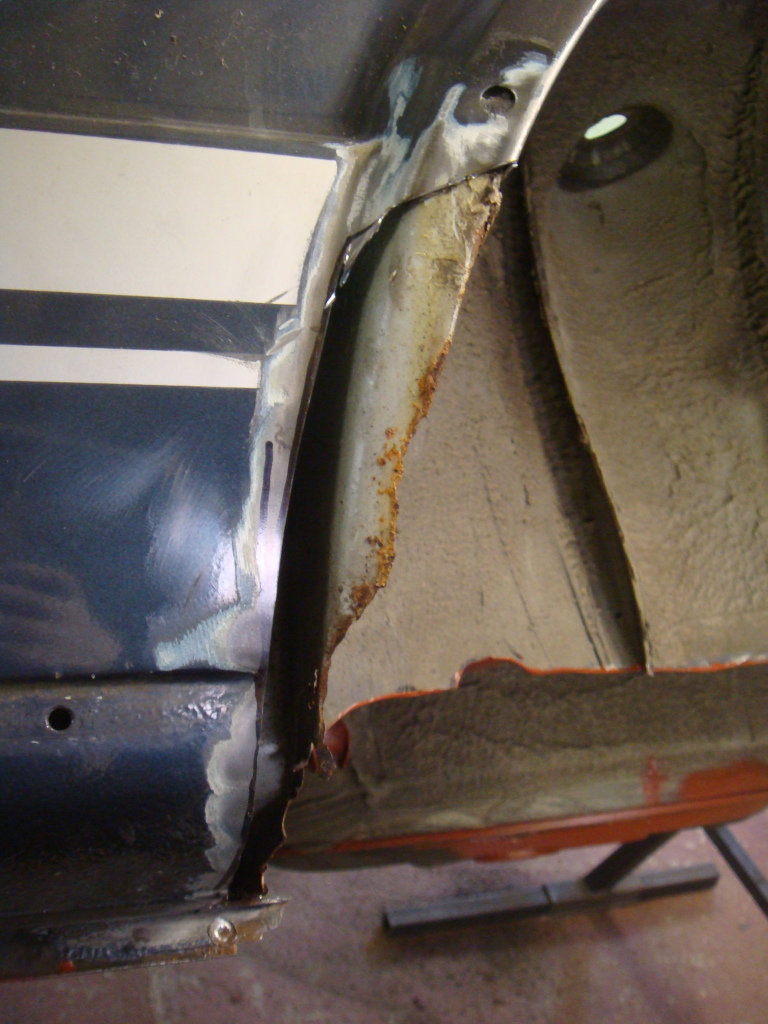
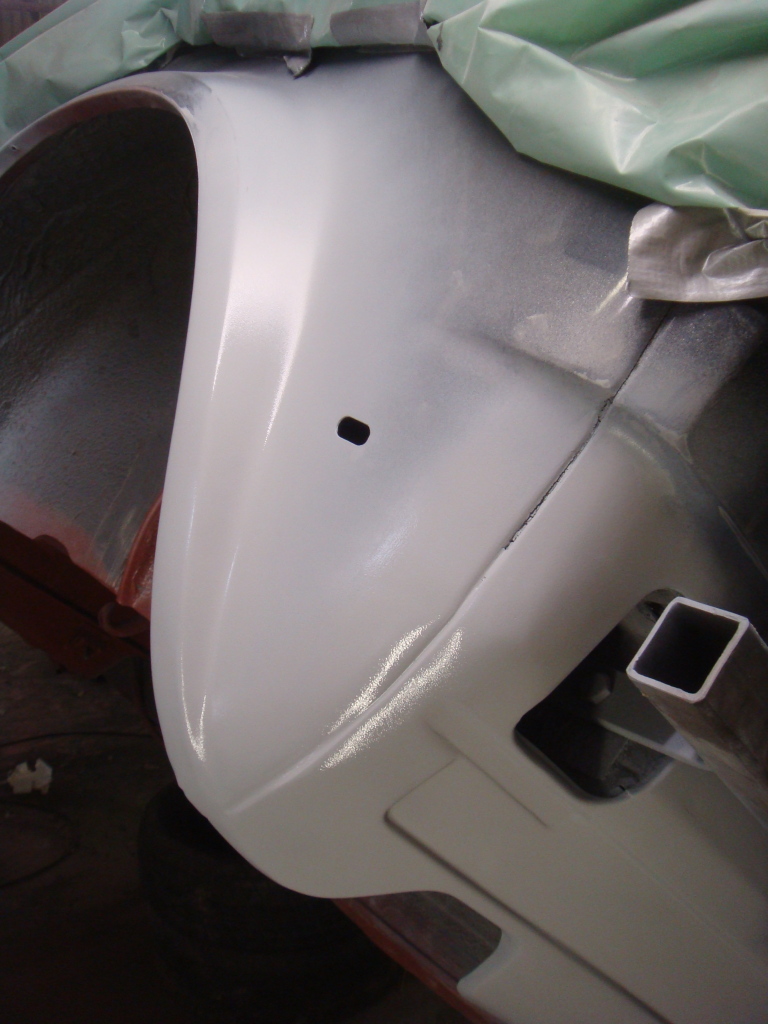
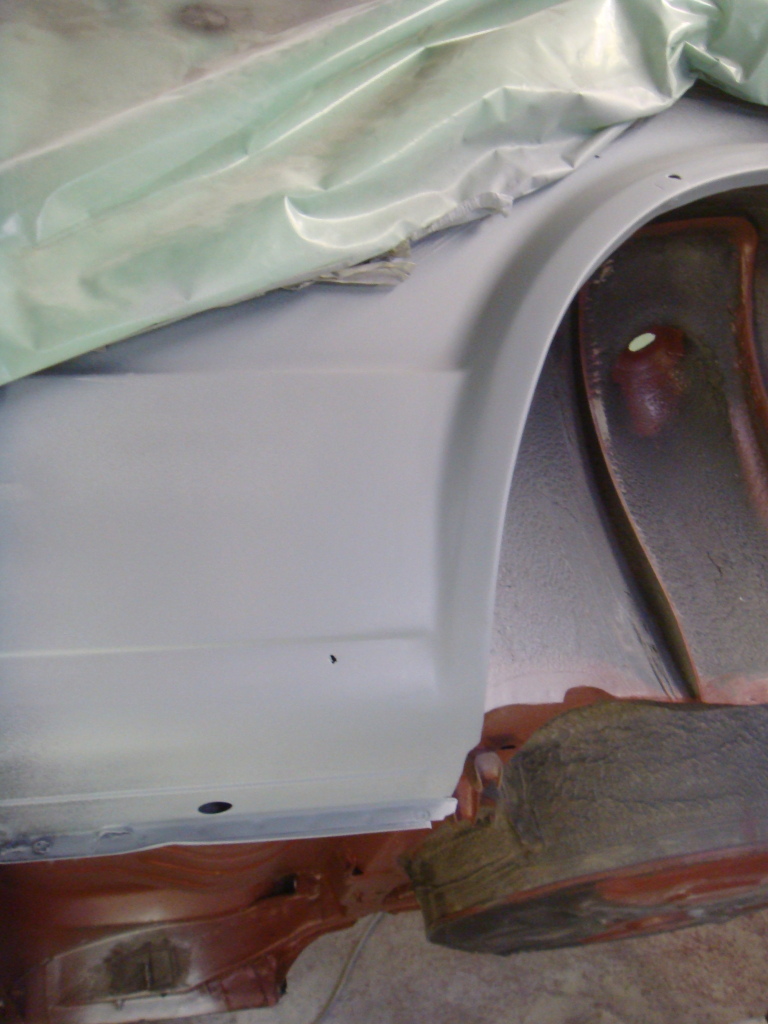
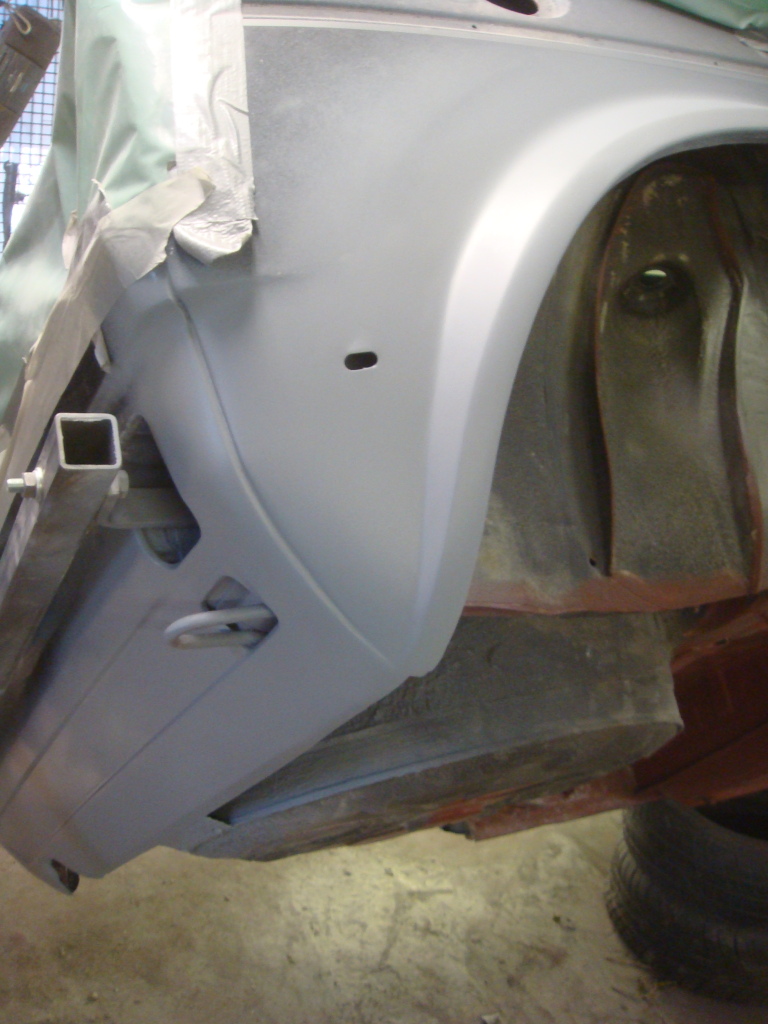
Being a one owner car, you can imagine it has been well looked after. The gentlemen never had any kids so the interior is immaculate. Unfortunately the bodywork is not! Underneath is very solid but as you can see from the pics, she needs a little bit of work! She will be having new front panel and wings, new rear arches and new rear valance, also, there is some veery nasty bubbling by o/s rear window which will no doubt turn into a massive hole. So a new one of these is needed too. When I get pics up youll see what I mean. If anyone has a rot/rust free one for sale let me know!
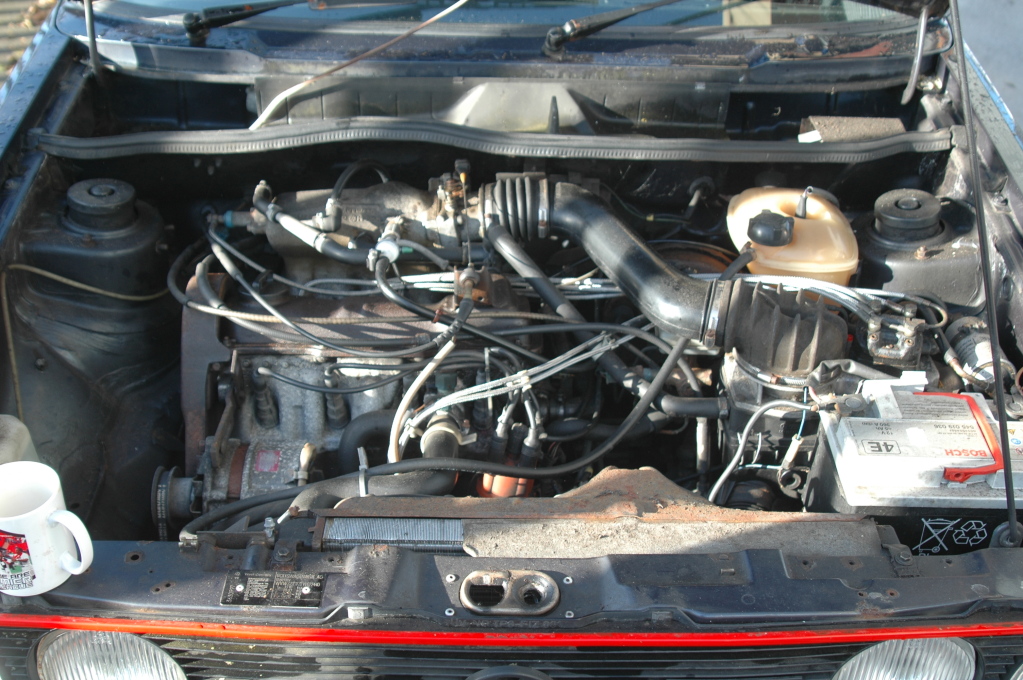
The plan is a full restoration, making sure I rebuild it with genuine parts when available and get it looking like new again. As for power, well, again, I want to keep it looking original so im going to use an Audi 3A block and a TSR pack D head which I had already acquired. This mated up to a audi 2.2 Throttle Body and WUR. With an ashley 4 Branch manifold. Should be pretty tasty
 whilst still looking original.
So, here's what she looked like when I picked her up…..
(excuse crappy pics, had to upload the ones taken on my phone as my dslr ones are too big to upload using a 3G dongle)
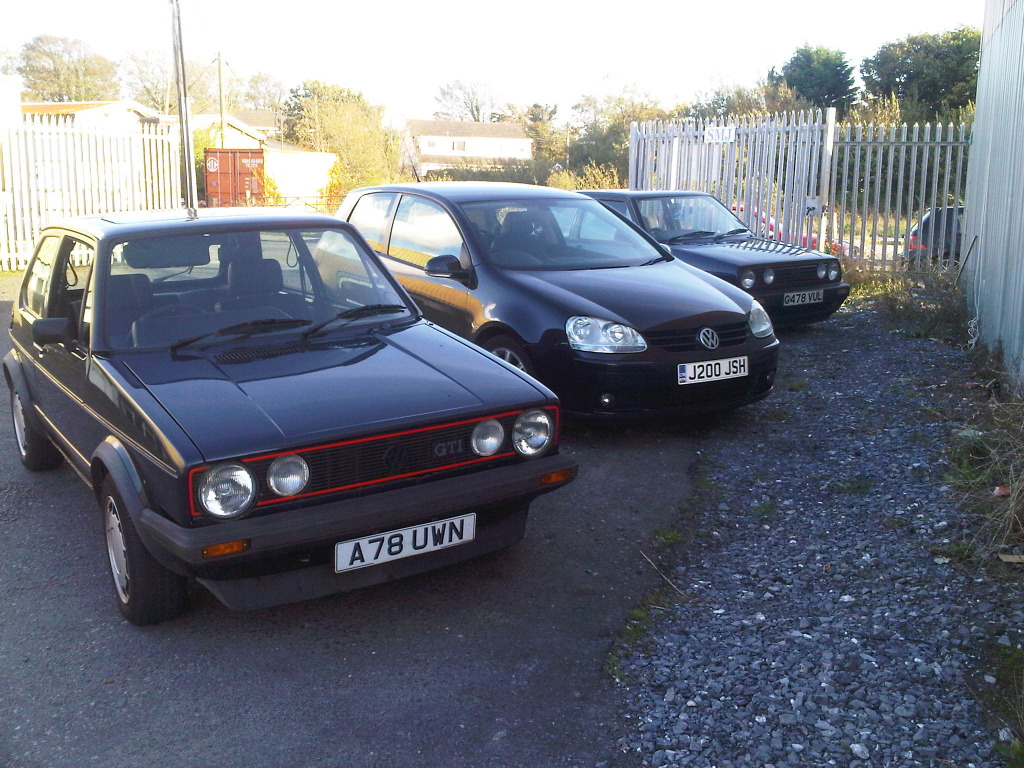
Here she is hitching a lift from my mates anniversary!
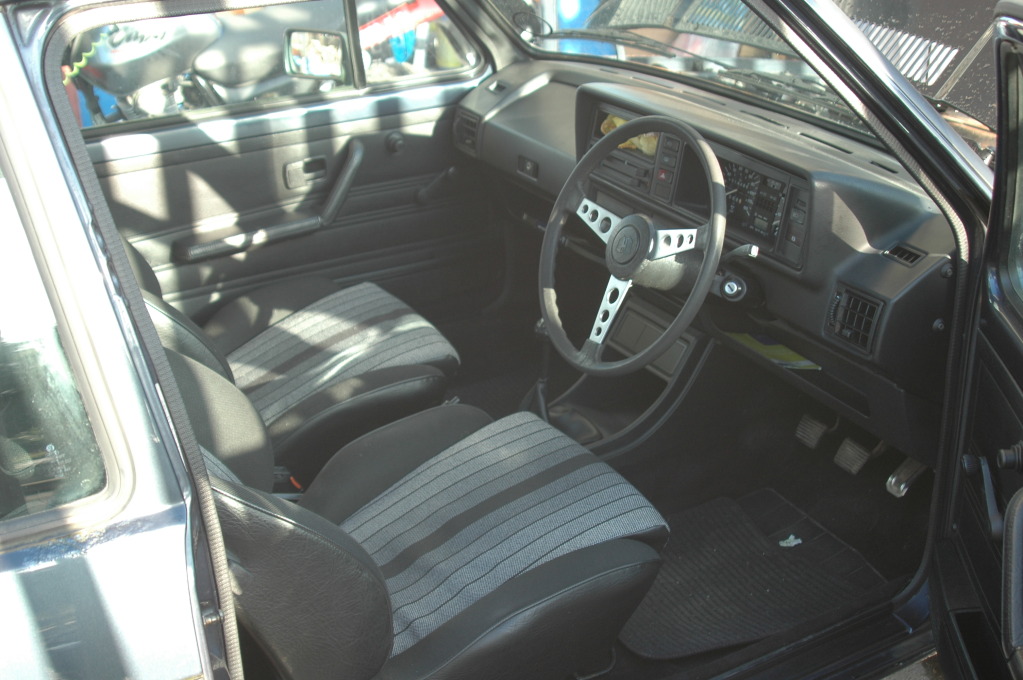
And a few more of the car as I had it…..


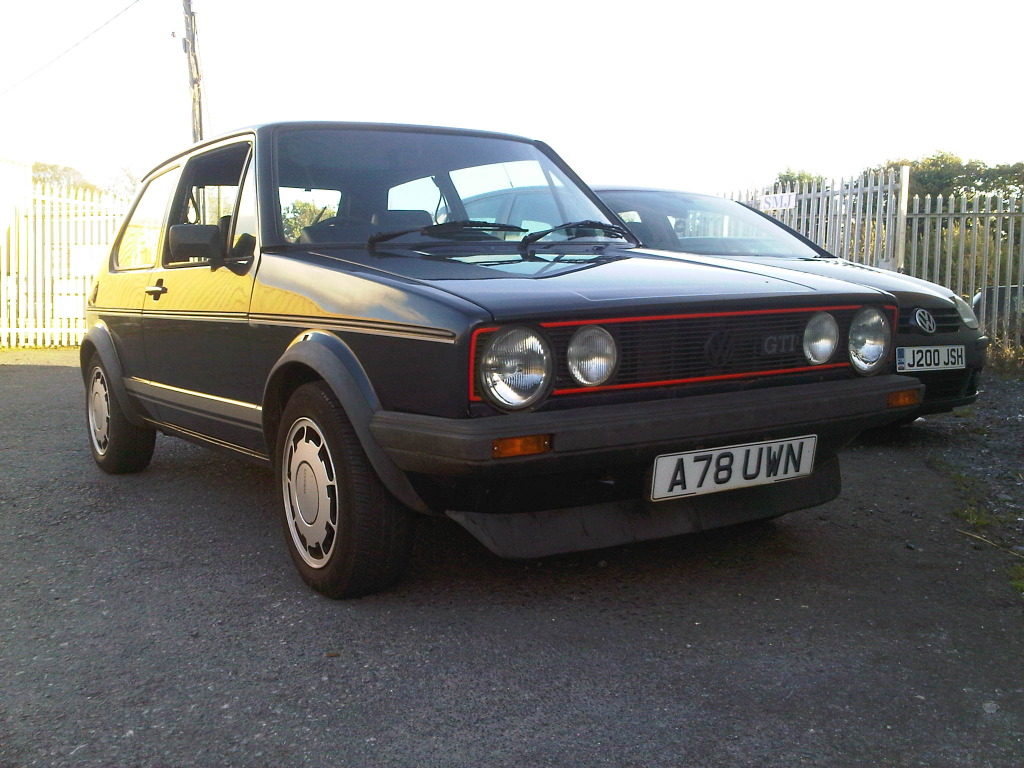

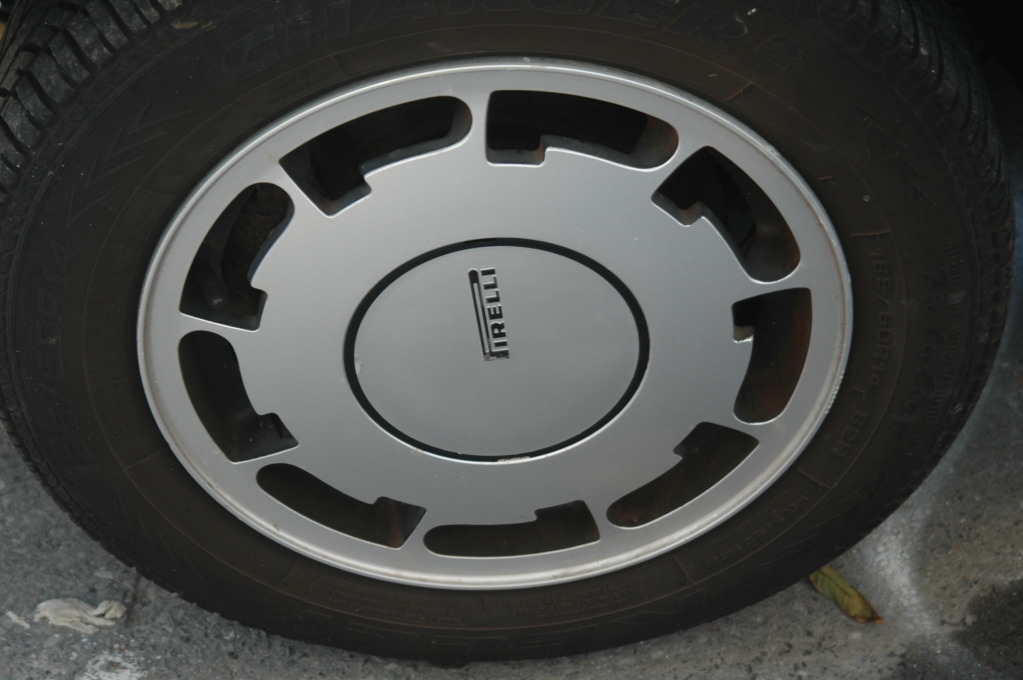
Some mint P's
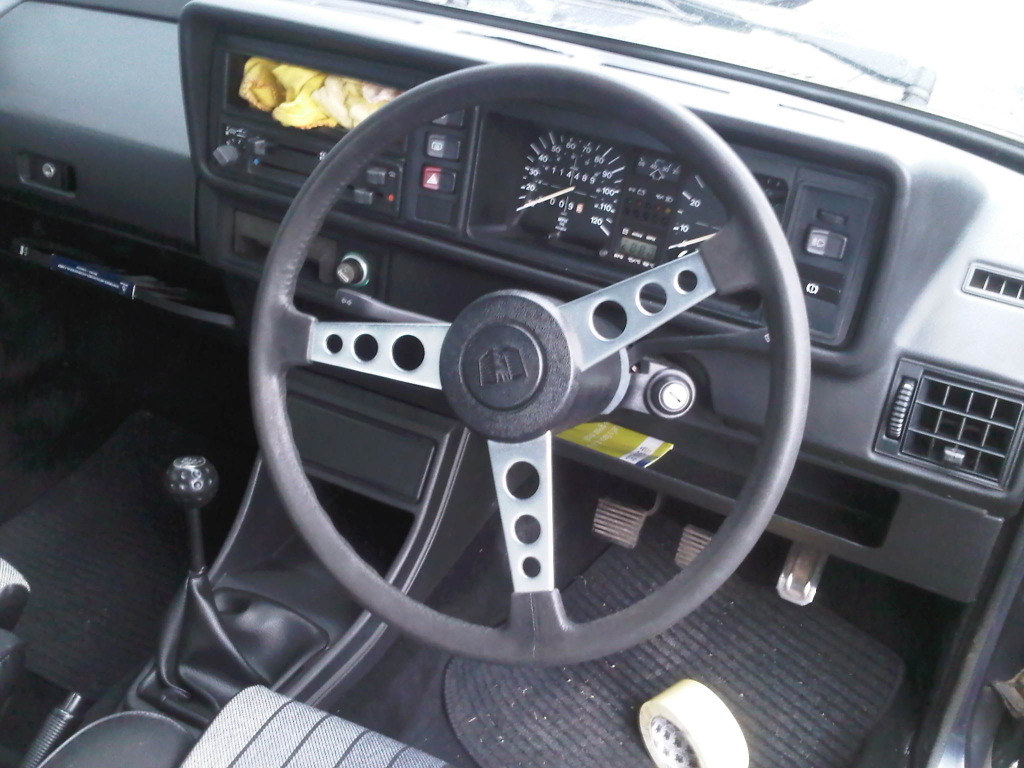
And finally, although not original (his wife threw out the the leather campaign steering wheel) a good trade I think, a rare as rocking horse s**t 73' scirocco steering wheel! Anyone else every seen one of these before?!! I certainly haven't!!
Posted
Settled In
Posted
Settled In
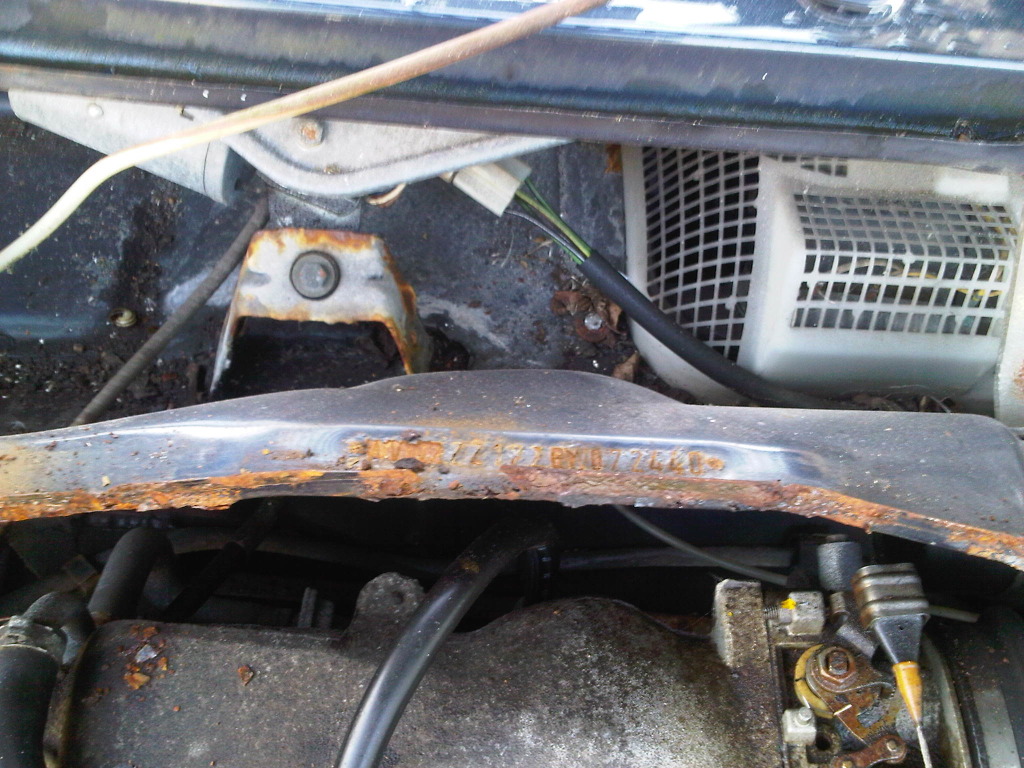
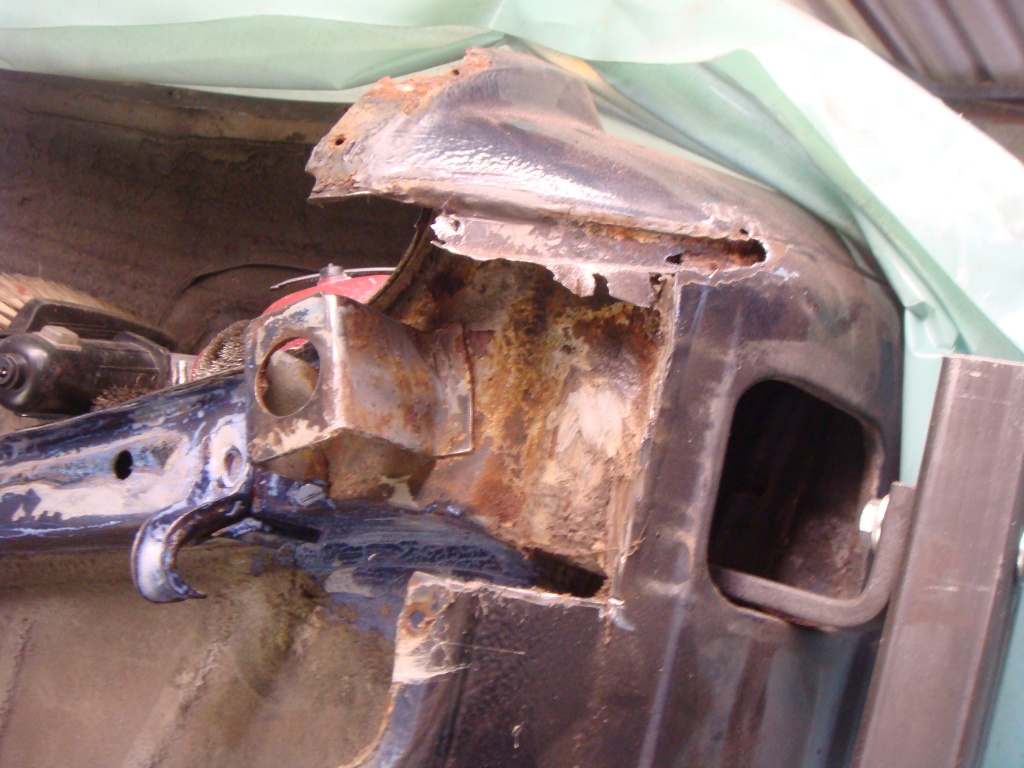
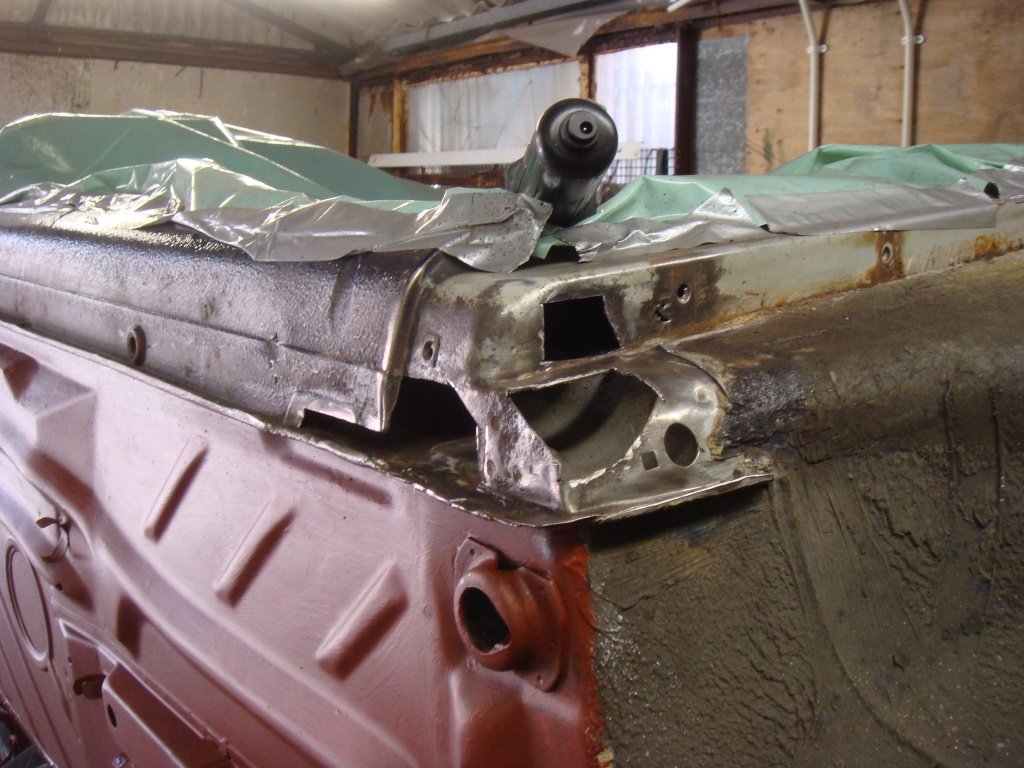
Here's some pics of what I found after stripping down some of the outside.


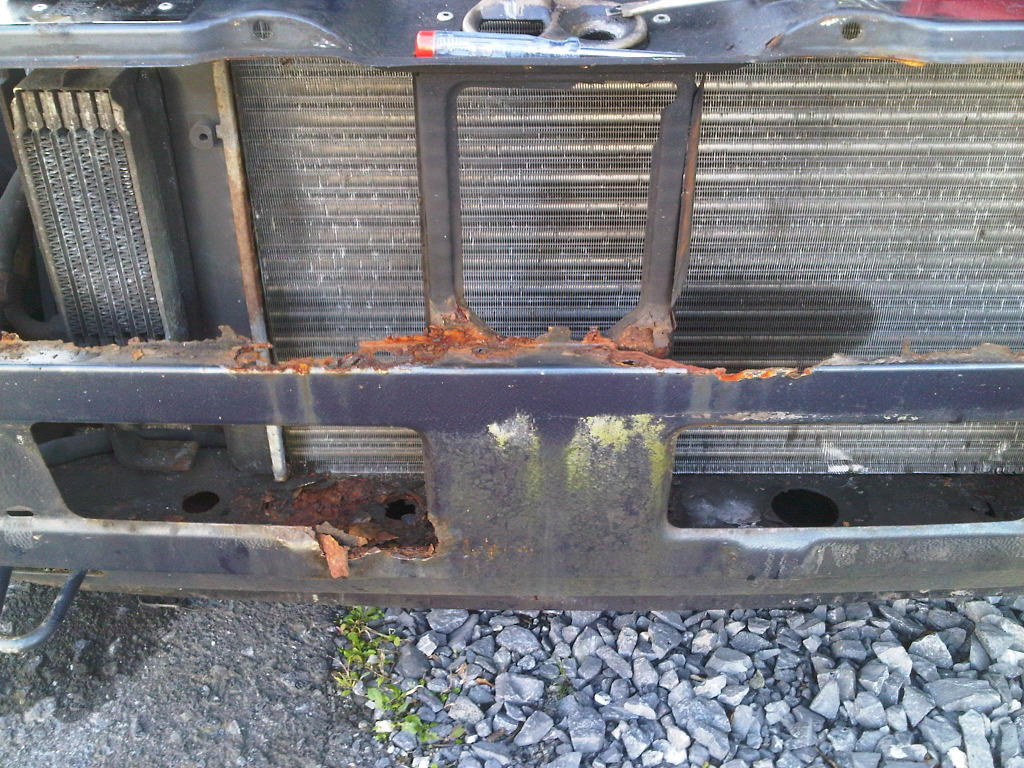

The old gents big bore will be replaced with something slightly more subtle!


Thats it for now as Im fed up of waiting for the pictures to upload using this 3g internet dongle! I have progressed alot further in this project so will be updating as and when I can. Unfortunately ill health has stopped play for the time being, but there is plenty still more to come over the next few weeks. Ill eek out the posts of what Ive achieved already!
Hope you all enjoy. I welcome all comments and criticisms! Thanks.
Posted

Old Timer

I think i'd try to keep it as original as possible and replace as little metalwork and paint the smallest amounti could.
Look forward to more updates, and hope you are out of hospital soon! :-)

1983 mars red gti
1984 mars red gti
1994 golf vr6 - gone but not forgotten
2005 mk5 gti family wagen
Posted
Settled In
richievr said
Good purchase! :-) looks very tidy, apart from the little bits you pictured. They shouldn't be too bad to repair though.
I think i'd try to keep it as original as possible and replace as little metalwork and paint the smallest amounti could.
Look forward to more updates, and hope you are out of hospital soon! :-)
Thanks! Thats the plan. Im not a fan of cutting out any good metal so anything that can be salvaged will be. And original looks all the way. Would be shame to modify such an original example of a campaign! Should be out by next week hopefully

Posted
Settled In
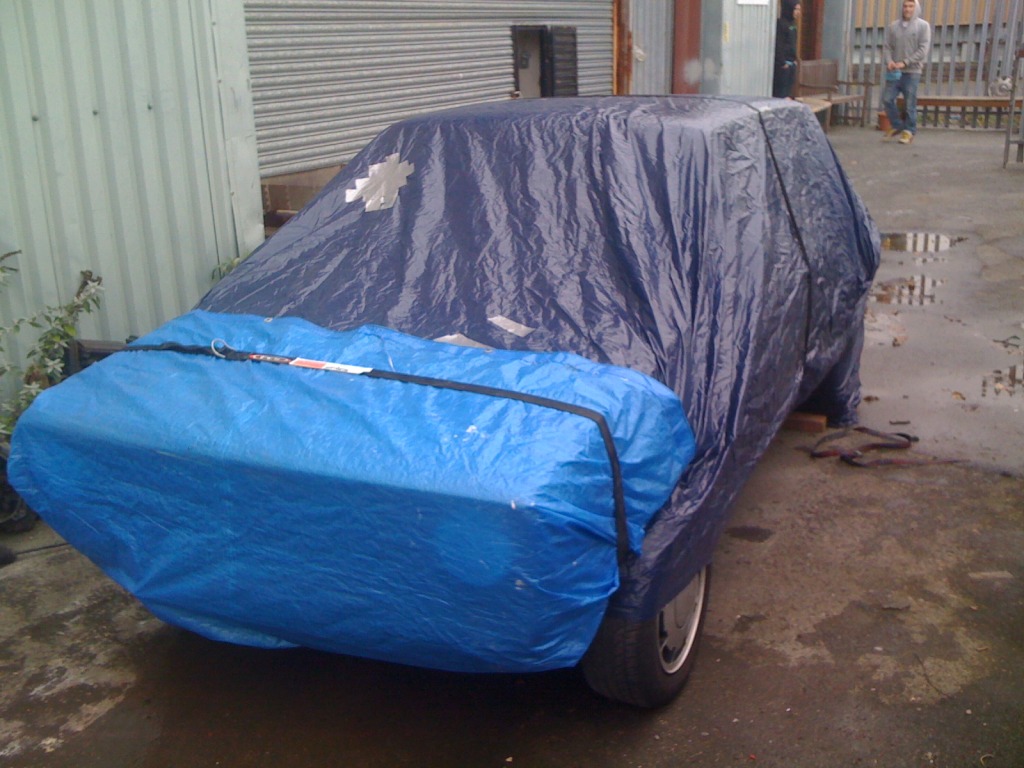
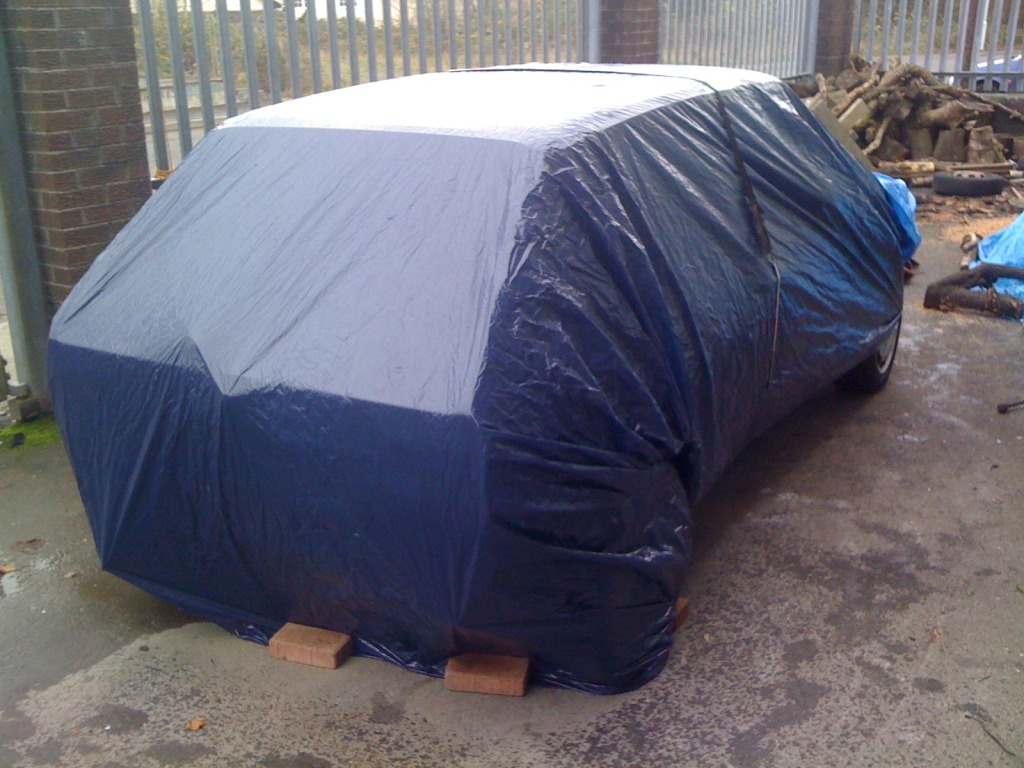
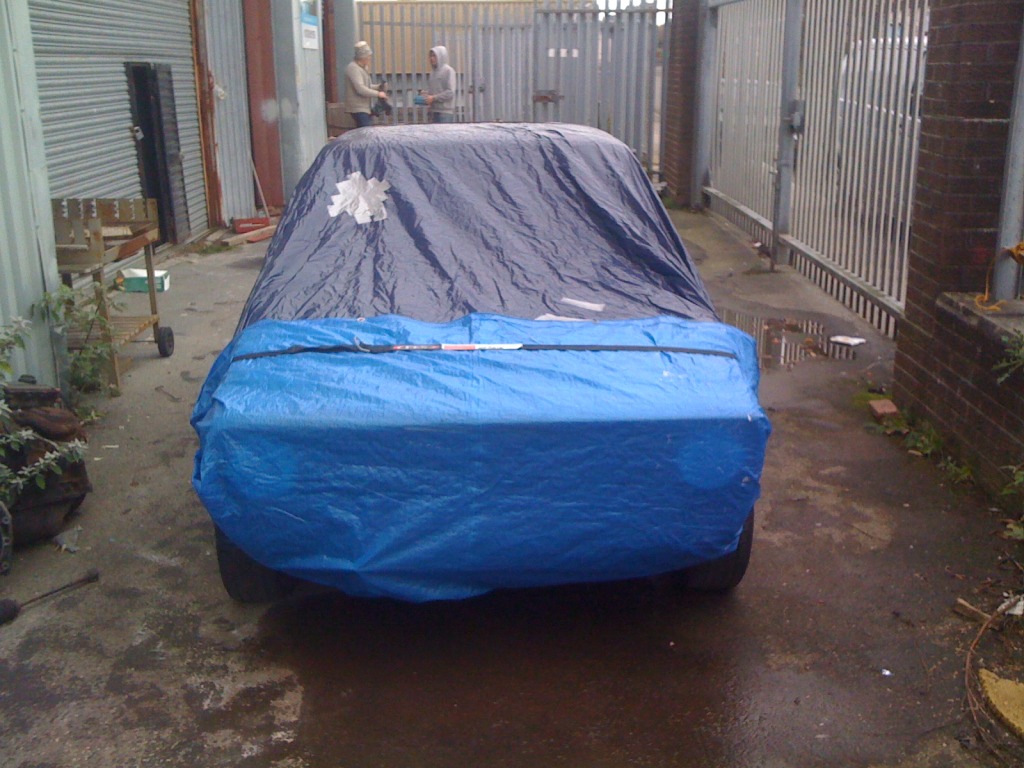
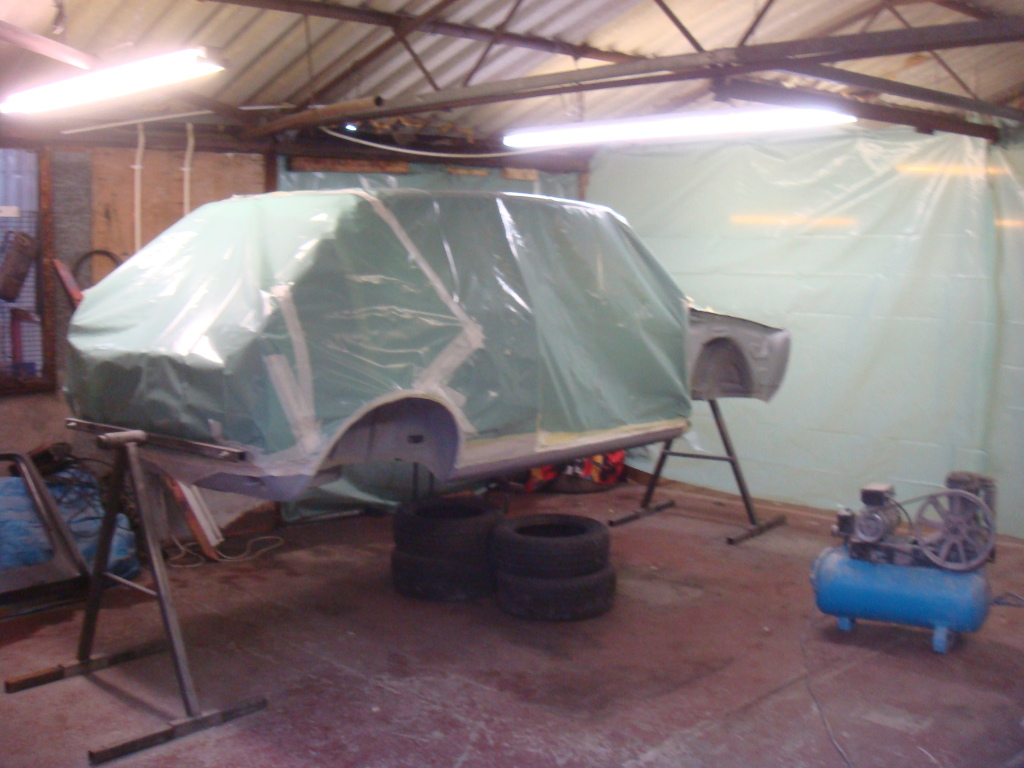
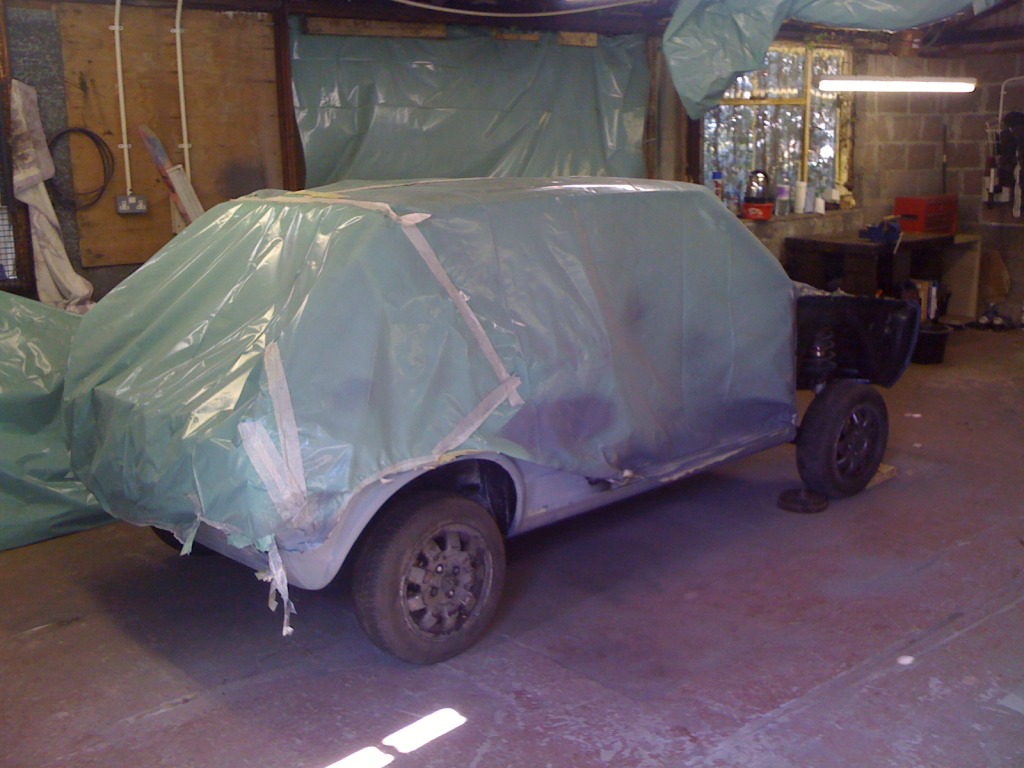
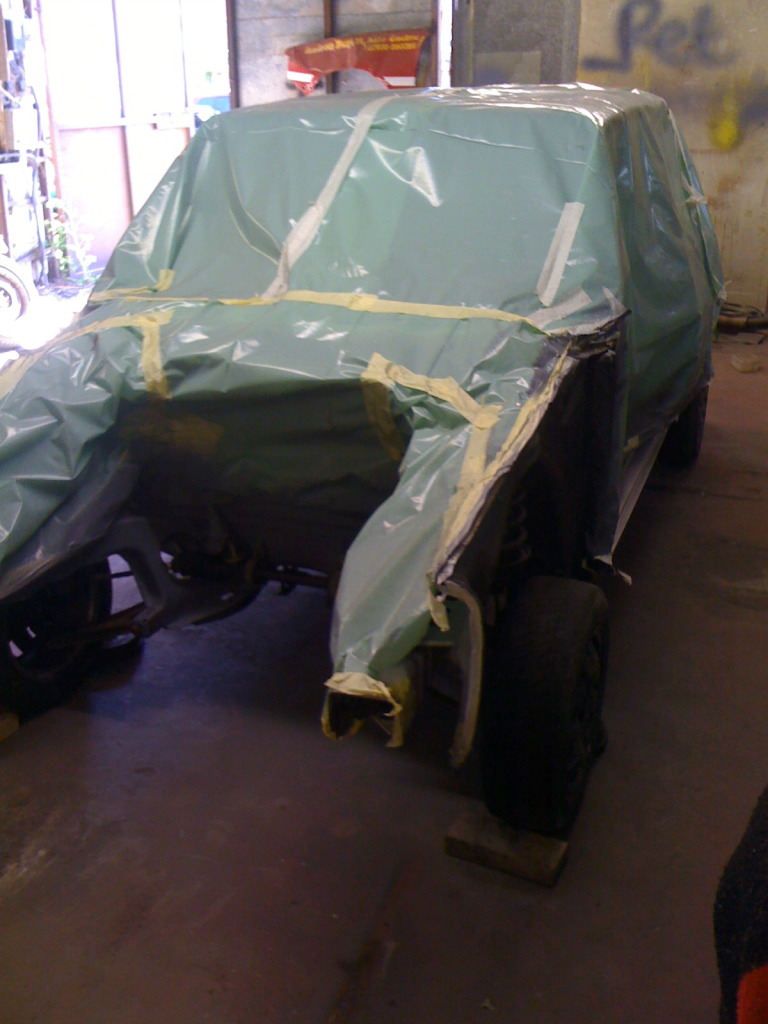
So under the covers she went for a few weeks!

Posted
Settled In
So under the covers she went for a few weeks!


Posted
Settled In
From this rather subtle shade of red

To a more OE black…

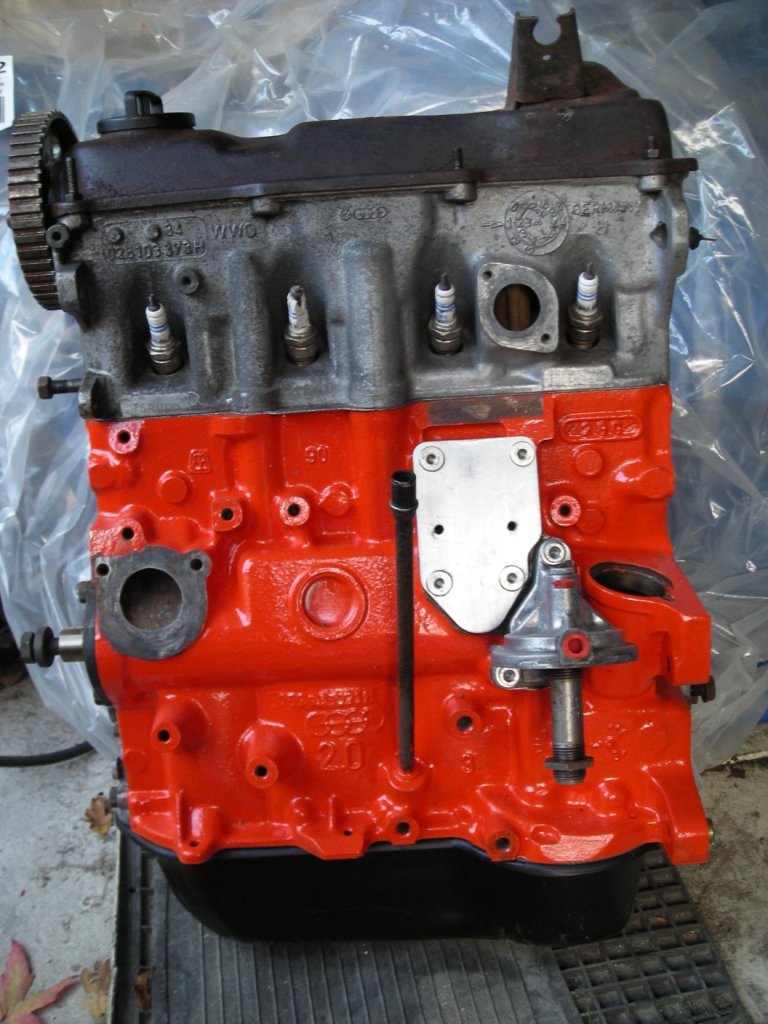
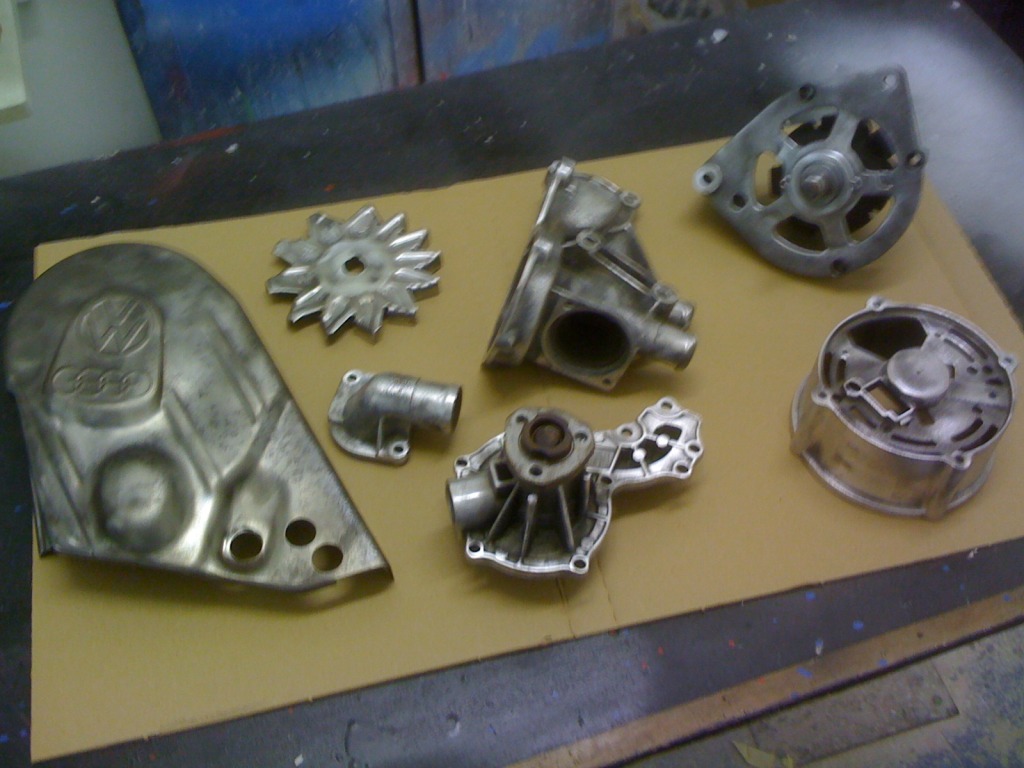
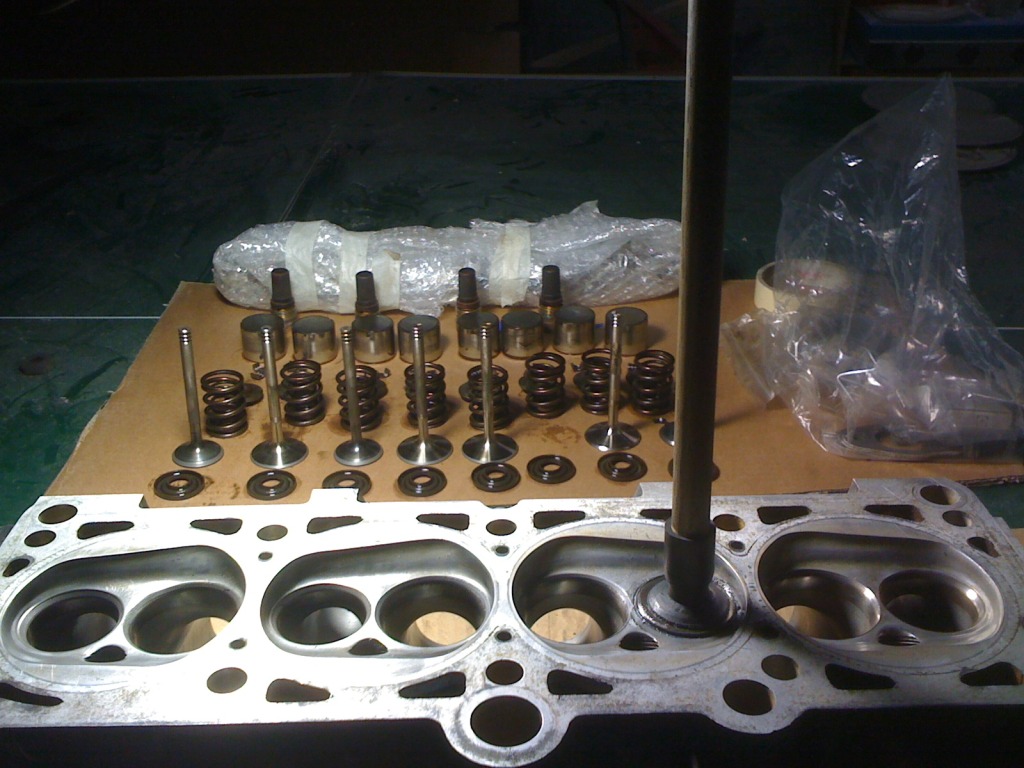
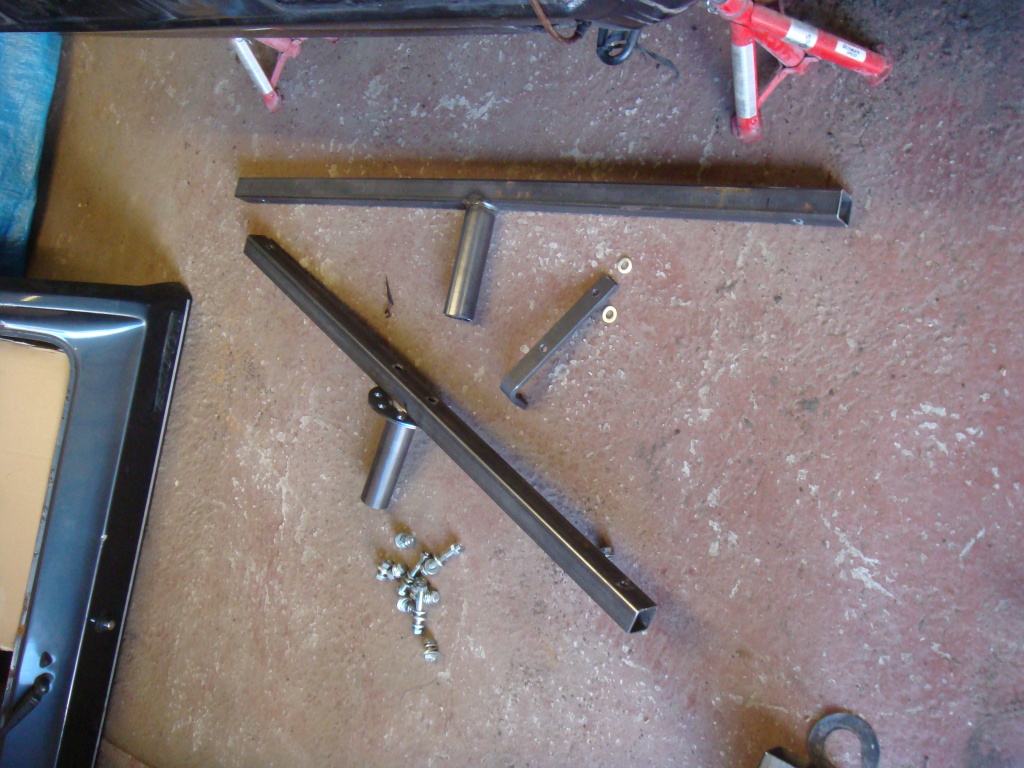
Heres a few more bits that were included in the sale of the engine….
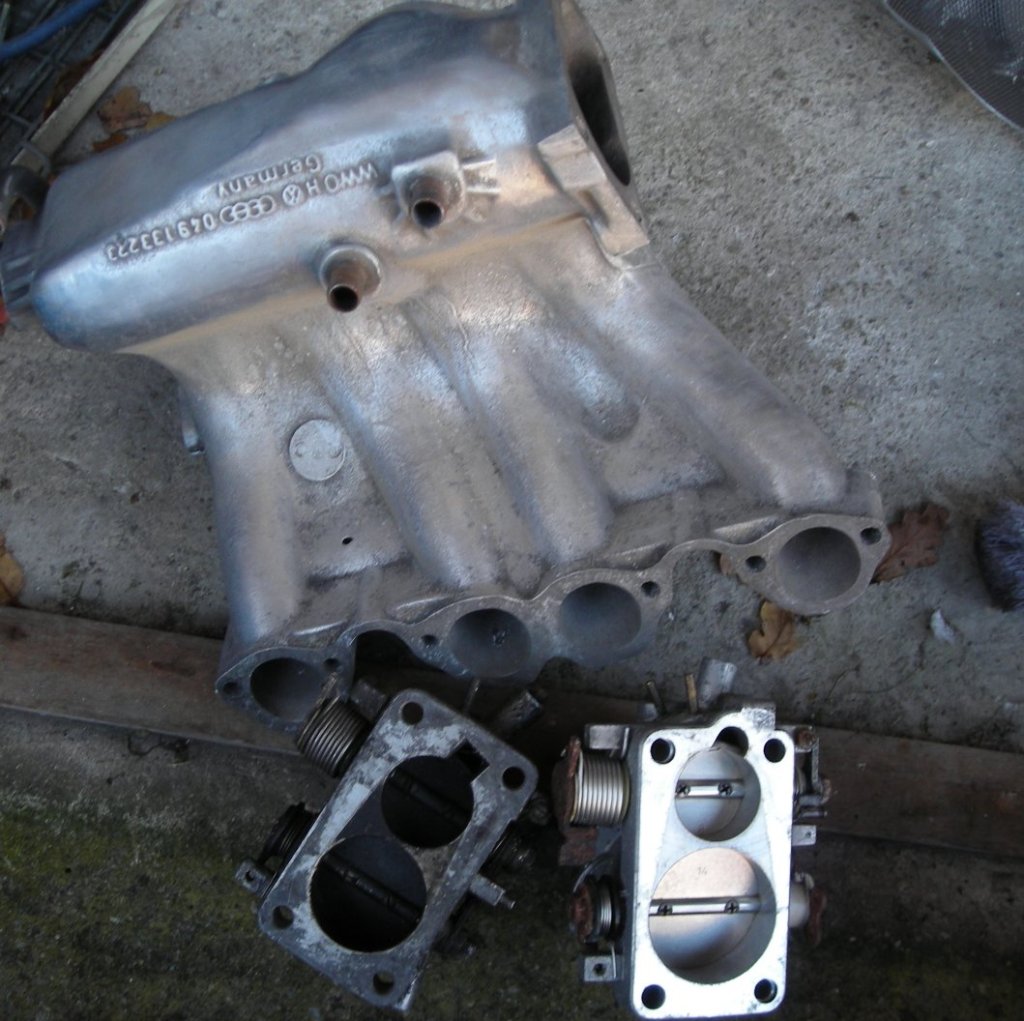
Audi throttle body
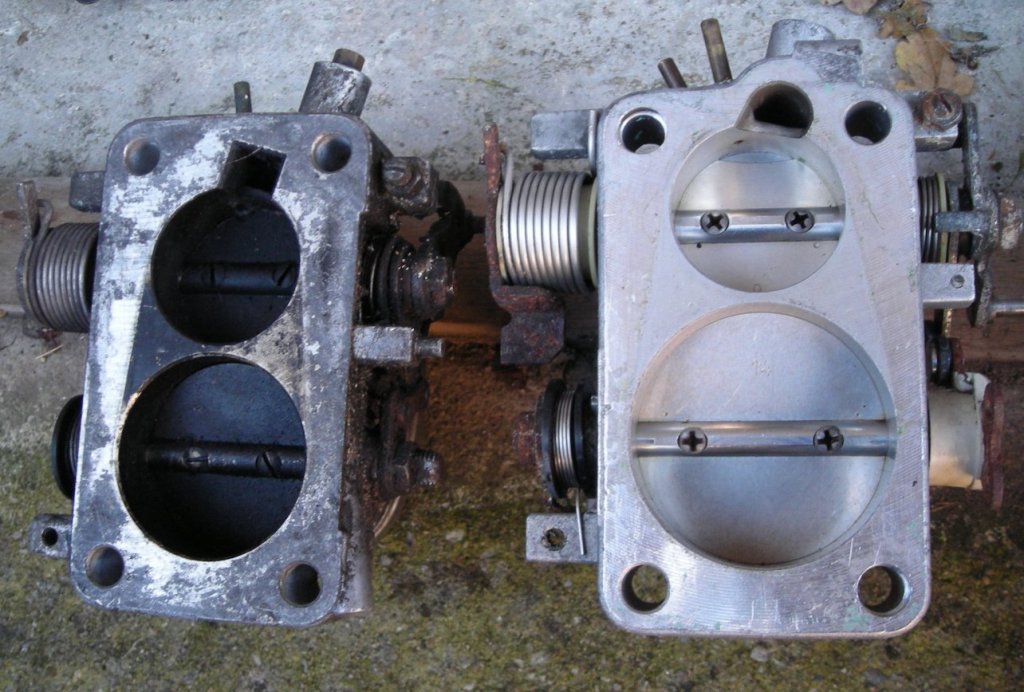
Ashley 4 branch

Bored out inlet manifold for audi TB
Audi 3a dizzy (drive gear required)

I have since managed to 'drift' or should I say DRILL this pin out to remove the gear from the 3A dizzy. Now where do I get a pin to put it back onto the GTI dizzy? Anyone know?
Posted
Settled In
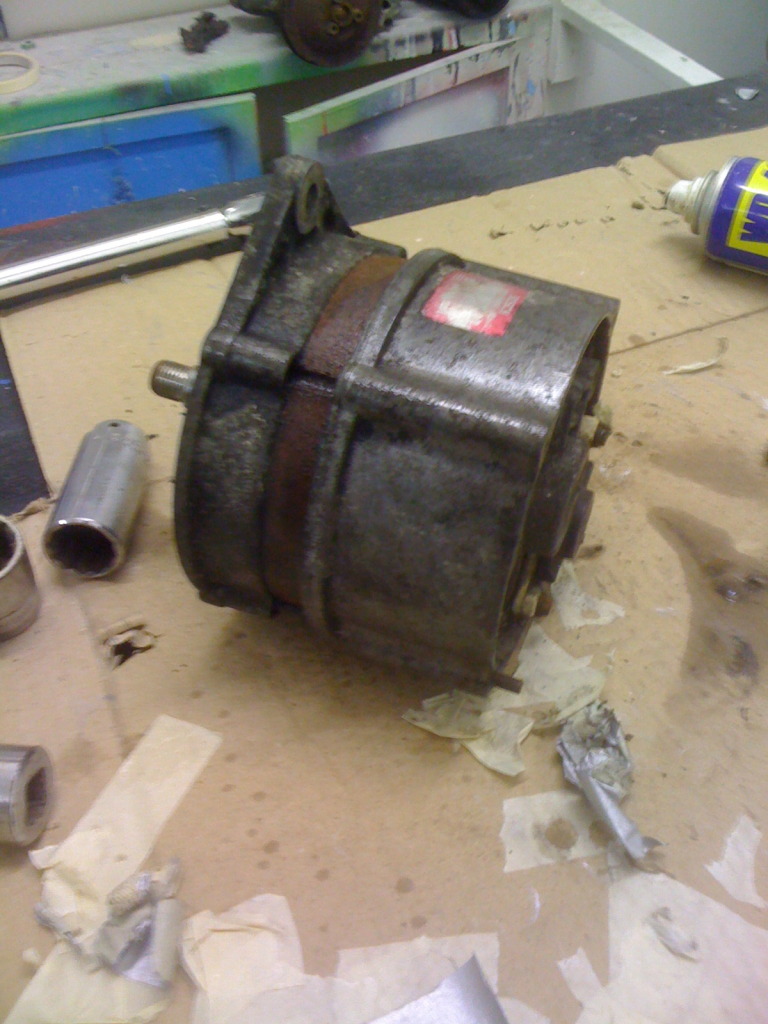
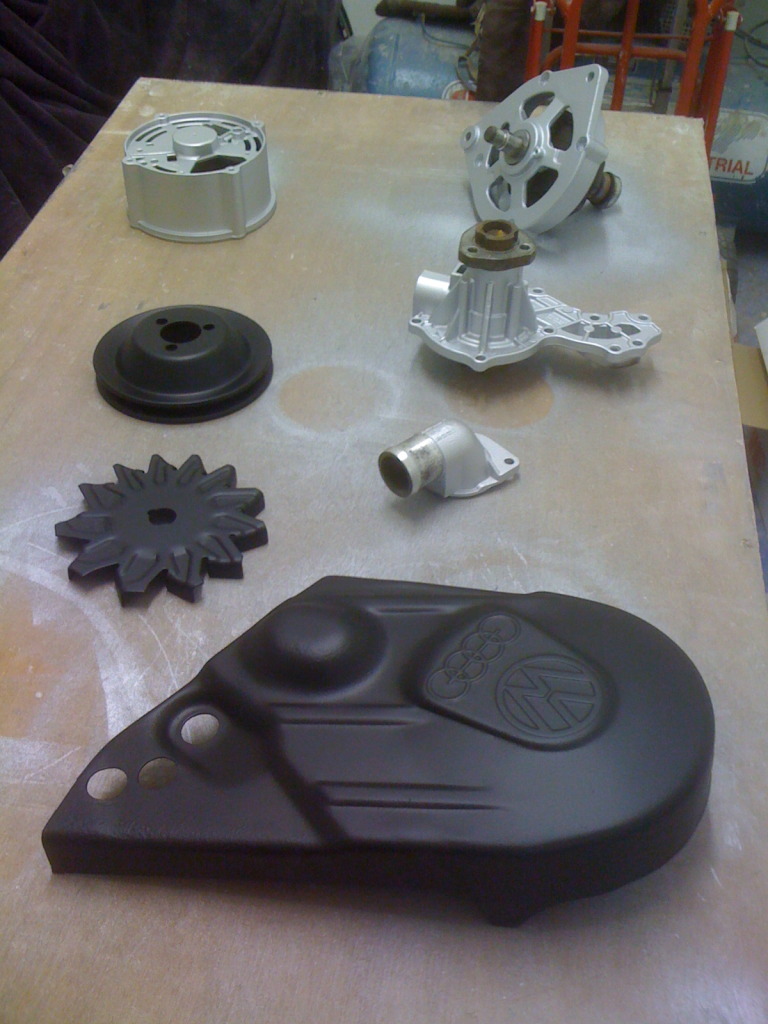
Scabby alternator…
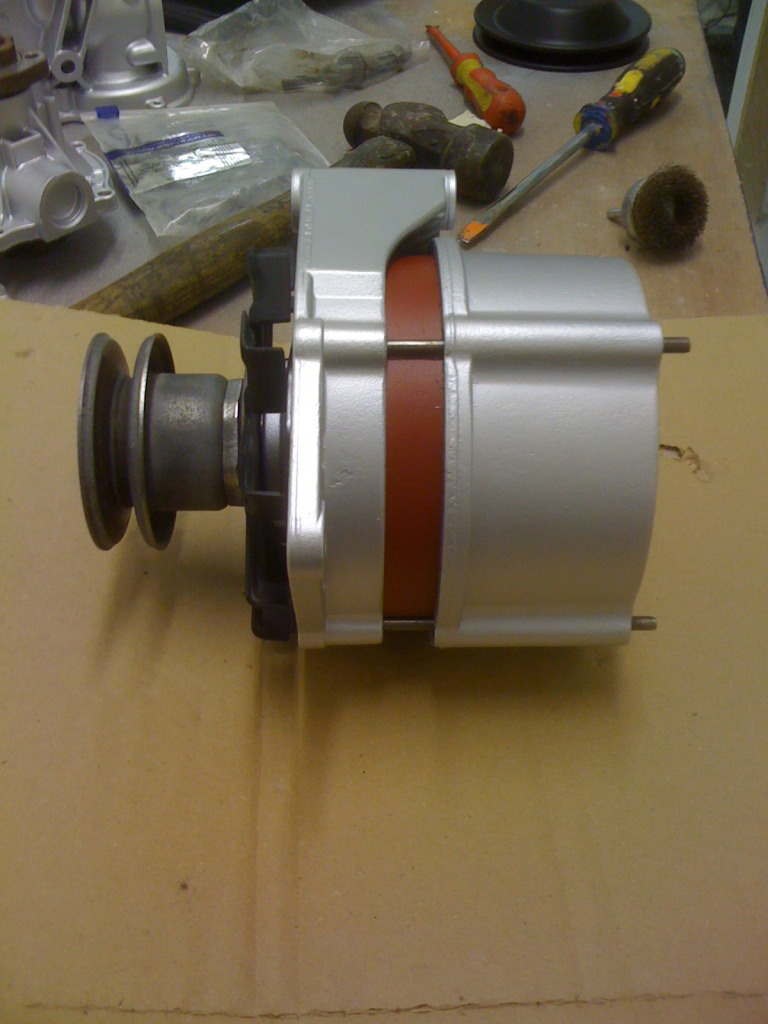
To shiney alternator….
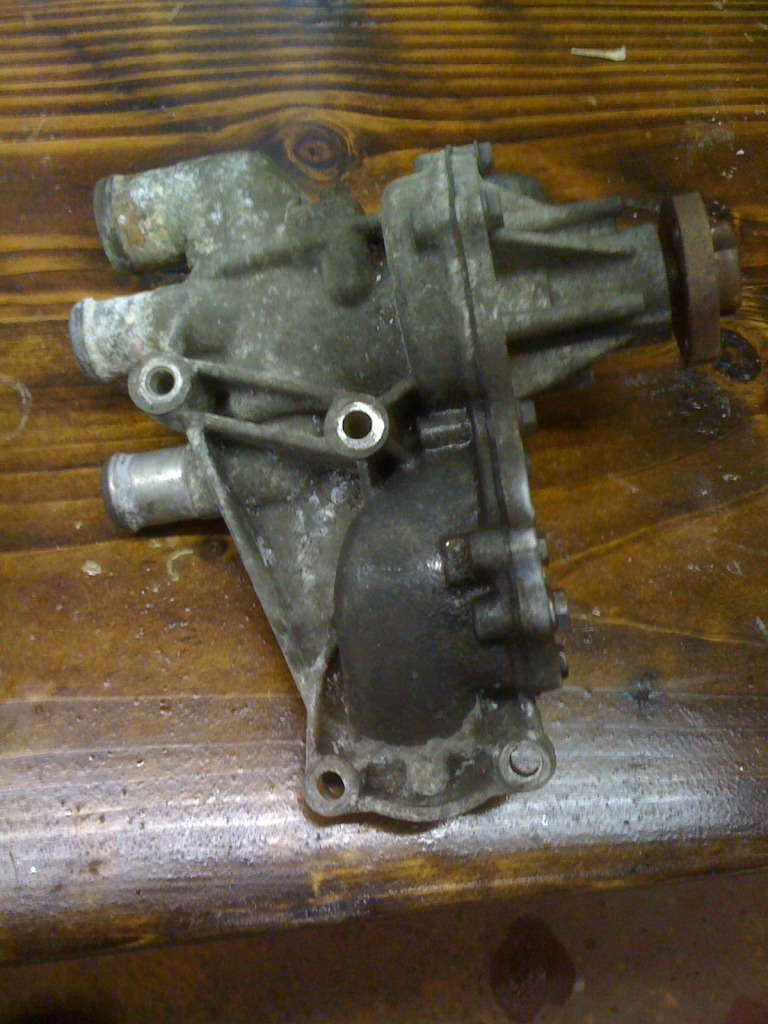
Water pump…

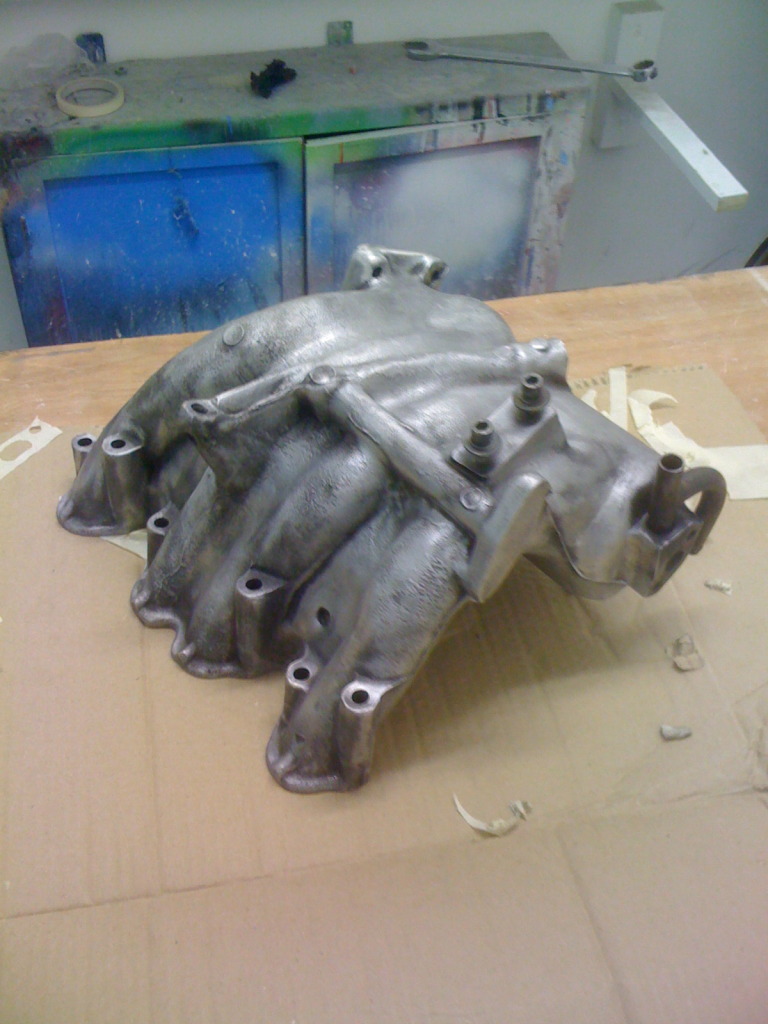
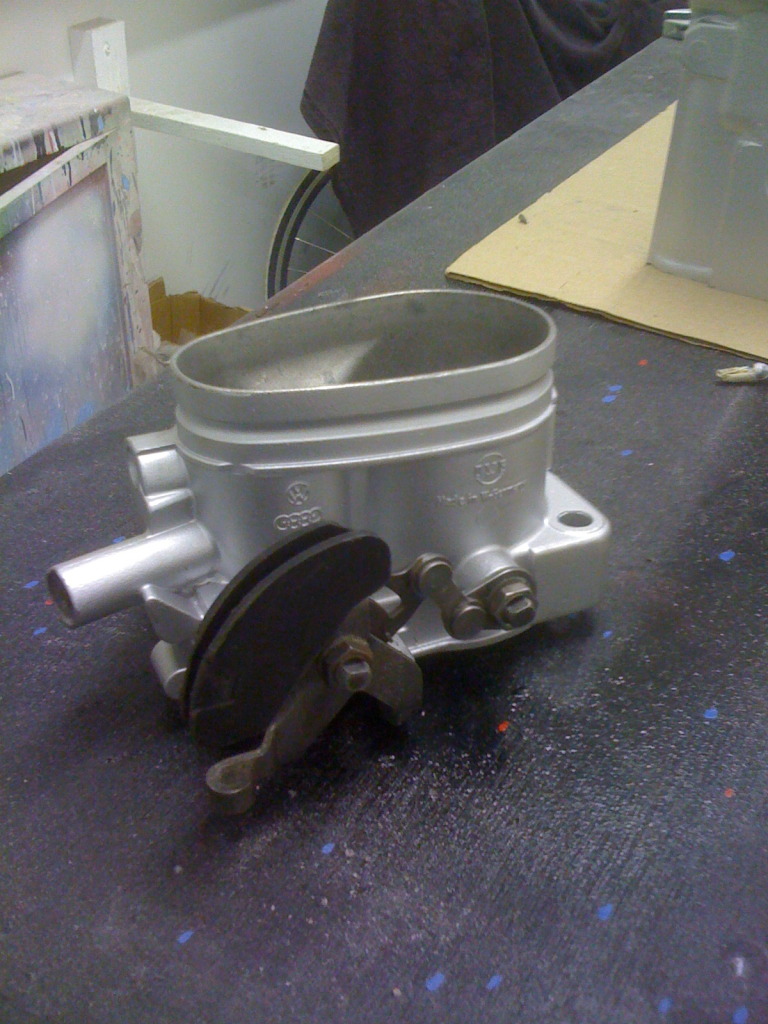
Inlet Manifold…


Throttle Body…

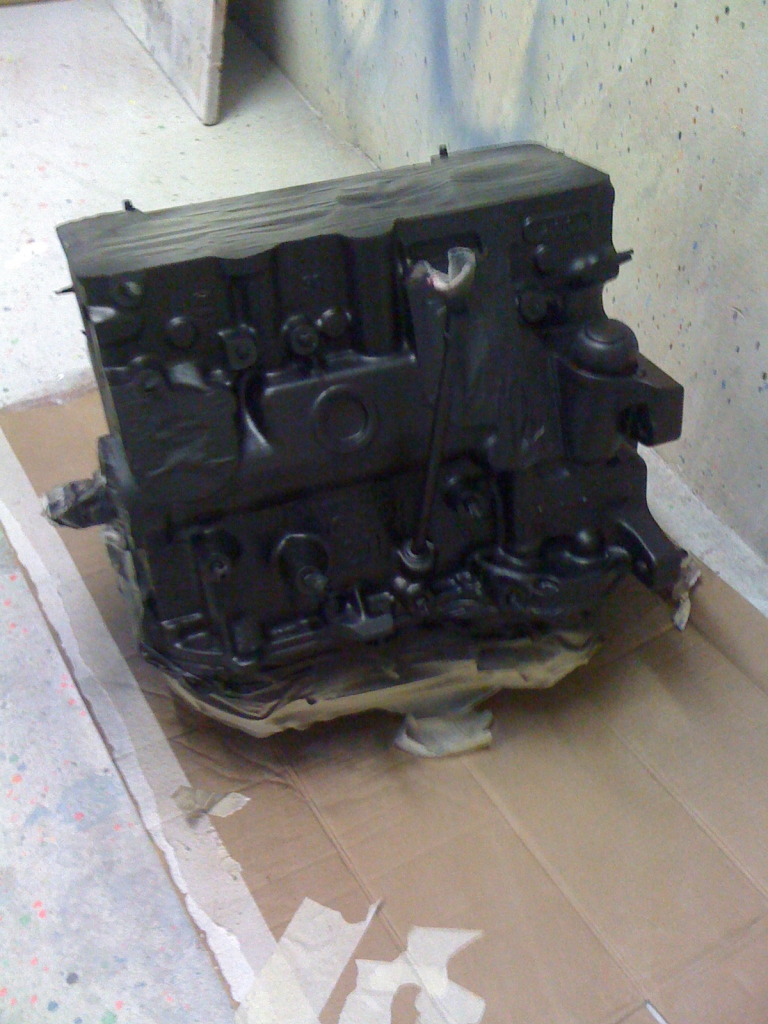
Rocker Cover…


Timing belt cover….


I did also paint the dizzy as you can see here,

but I dont have a finished photo for some reason on its own.
Another before…..
And after….
More pics to follow!
Posted
Settled In
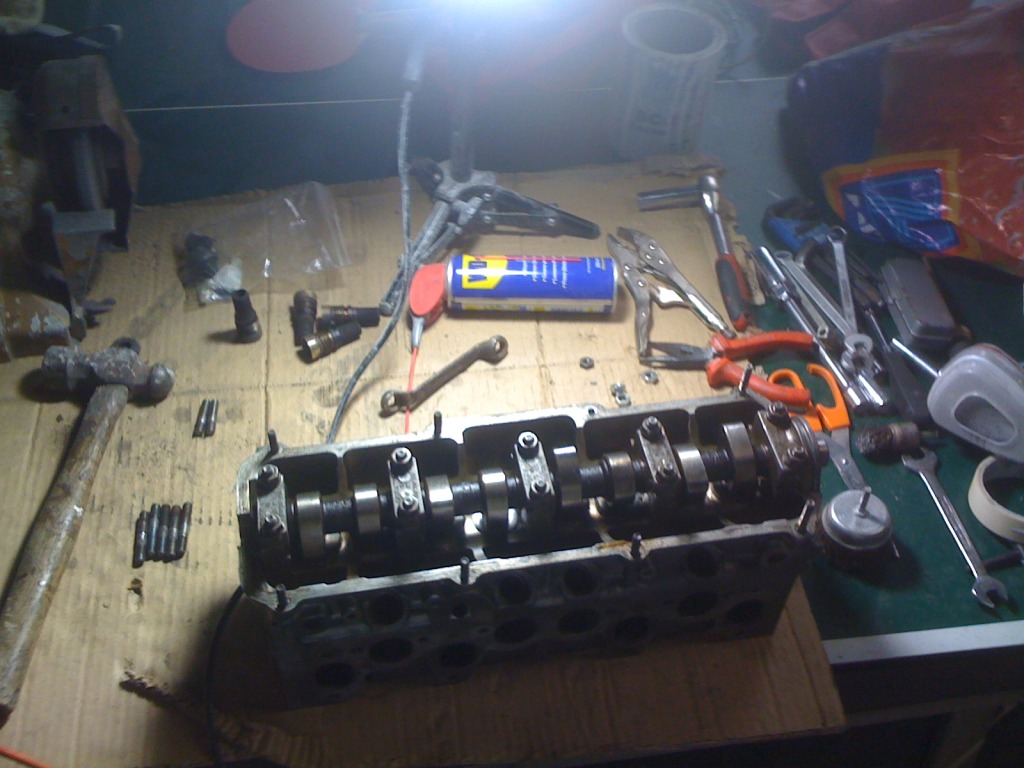
I then stripped it down,

and started the arduous task of grinding and re-seating the valves :roll: what a nightmare that is! But Itll all be worth it when its finished! I also cleaned out all the coke deposits with a tiny amount of brick acid and a bottle brush on the end of a drill, worked a charm!
Then taped her up ready for painting in por20 aluminum paint…


Once painted I put it all back together, minus the camshaft. All ready to be built back up when needed.
Posted
Settled In
Ill have to upload some more pics now to continue the story so far…..
Posted
Settled In
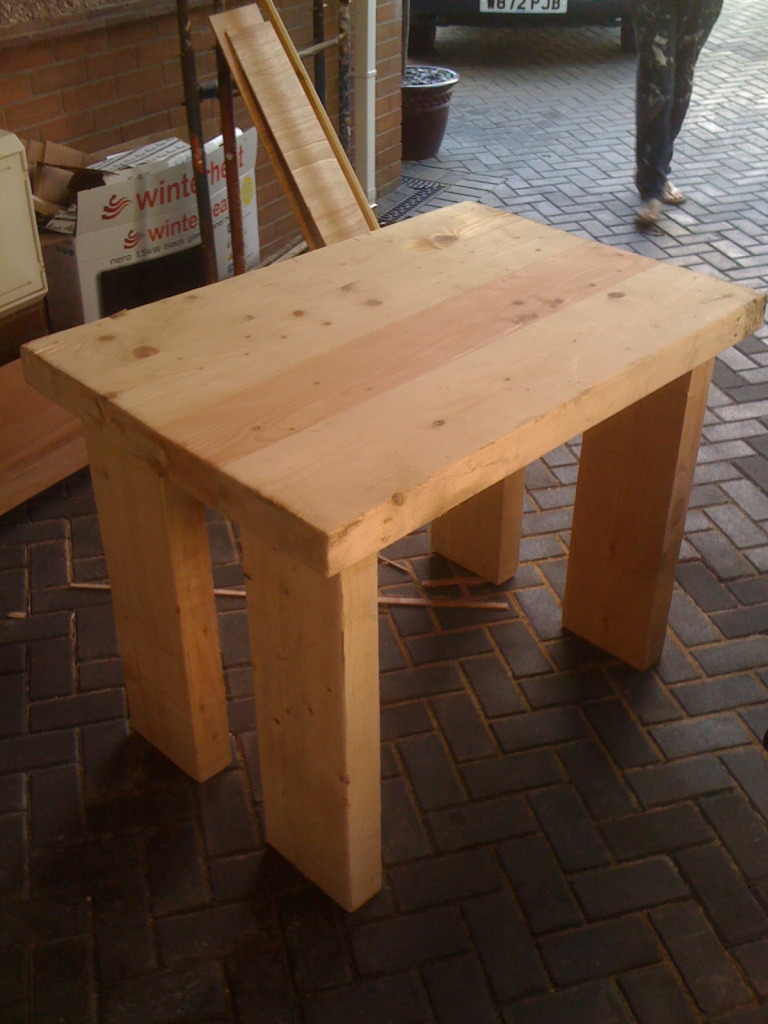
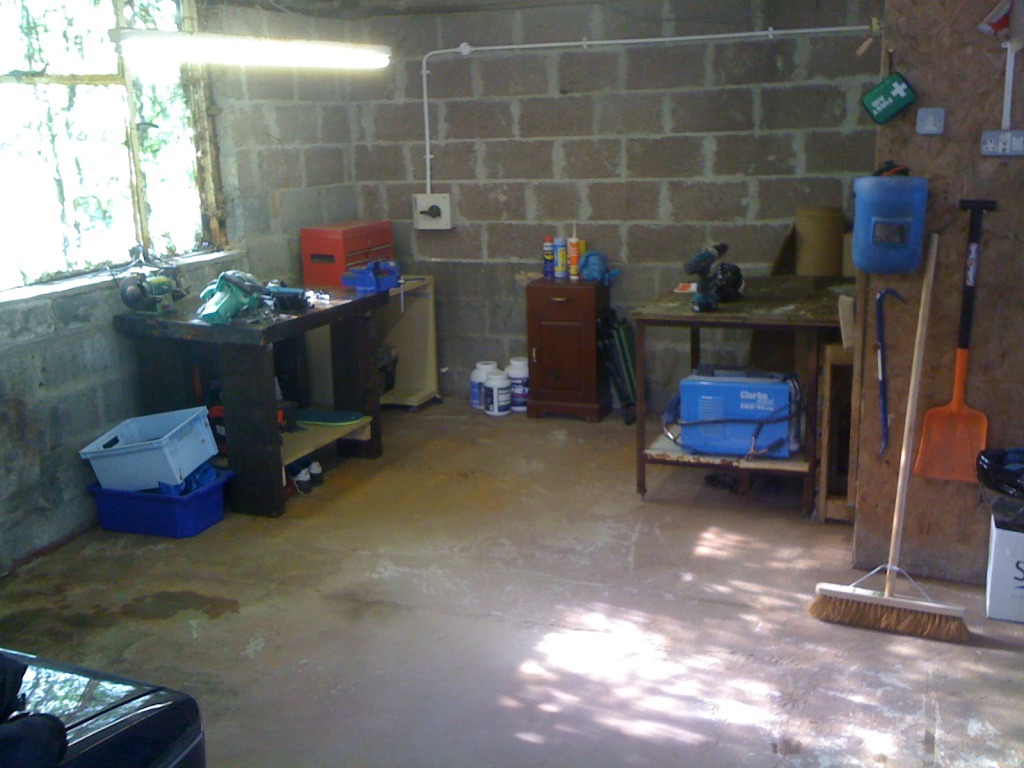
and added my tools and newly varnished workbench
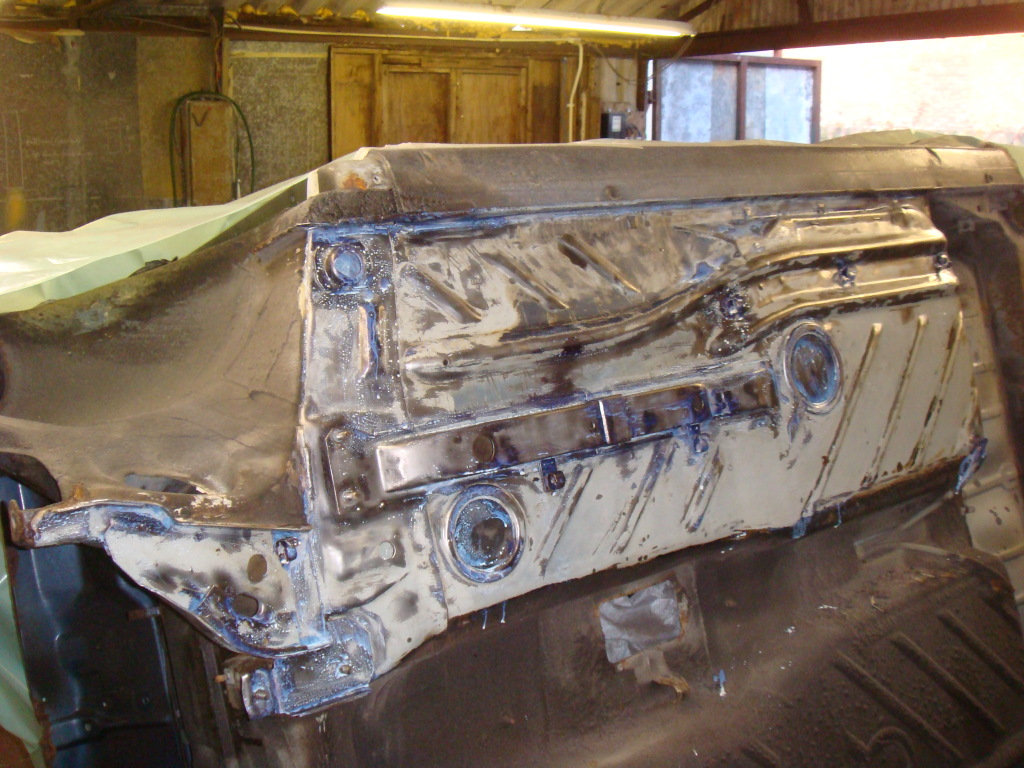
Once she was in here I started to strip her down, and get the engine out….

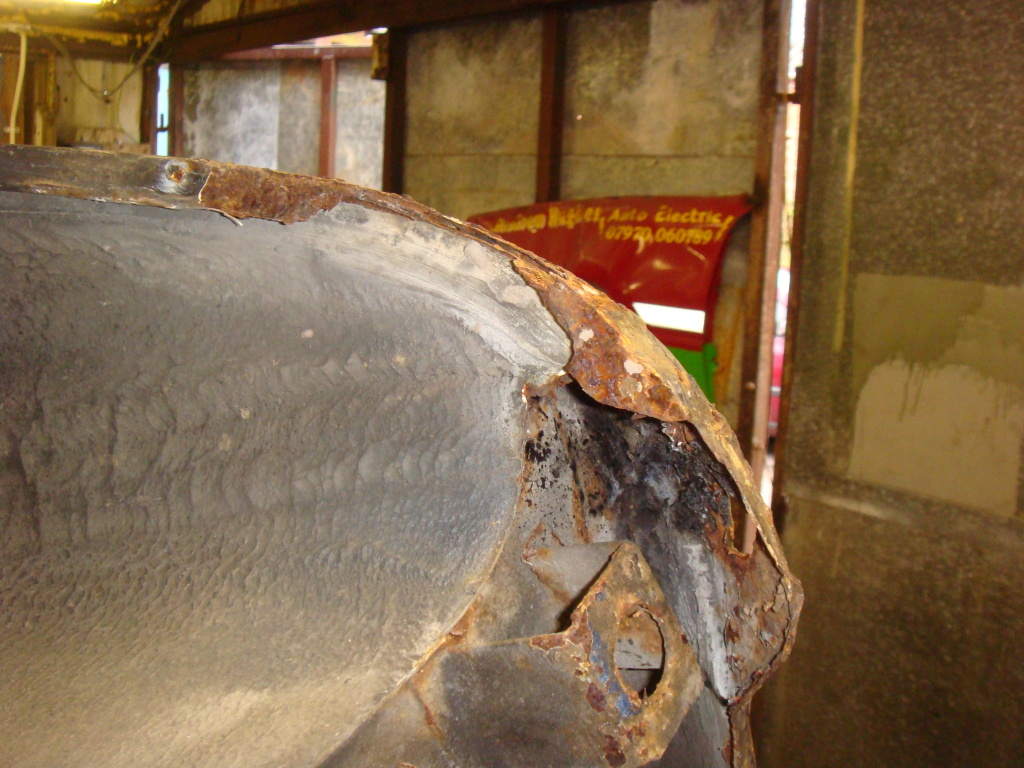
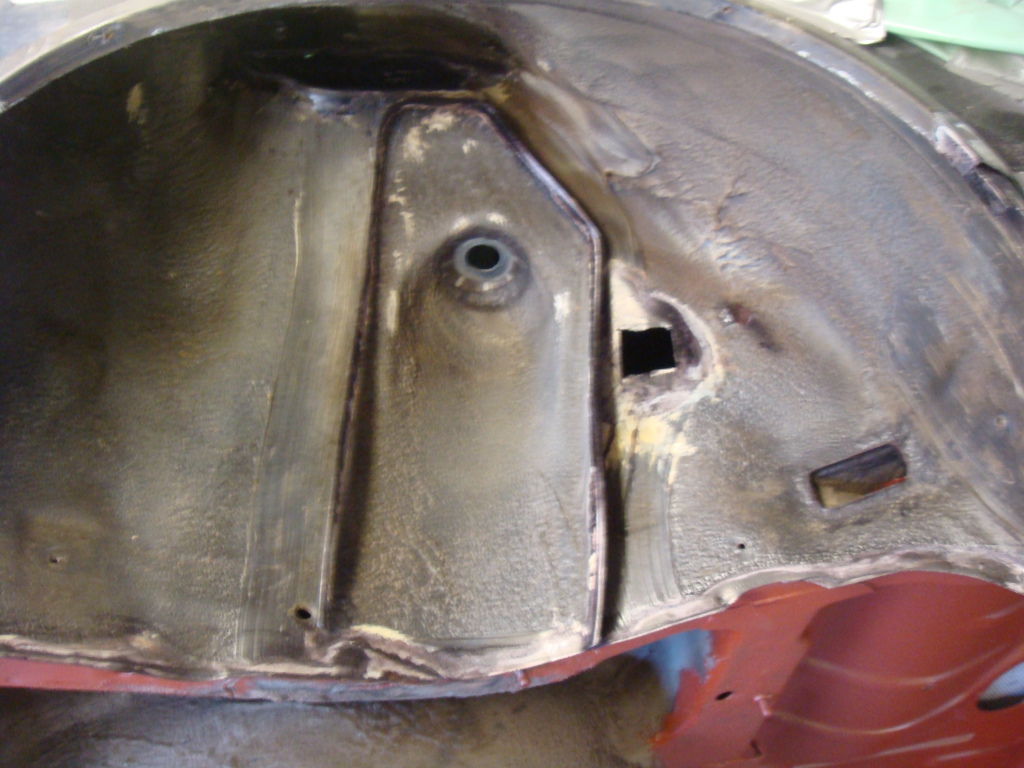
Found a few more rusty bits as expected! And a few bad repairs!

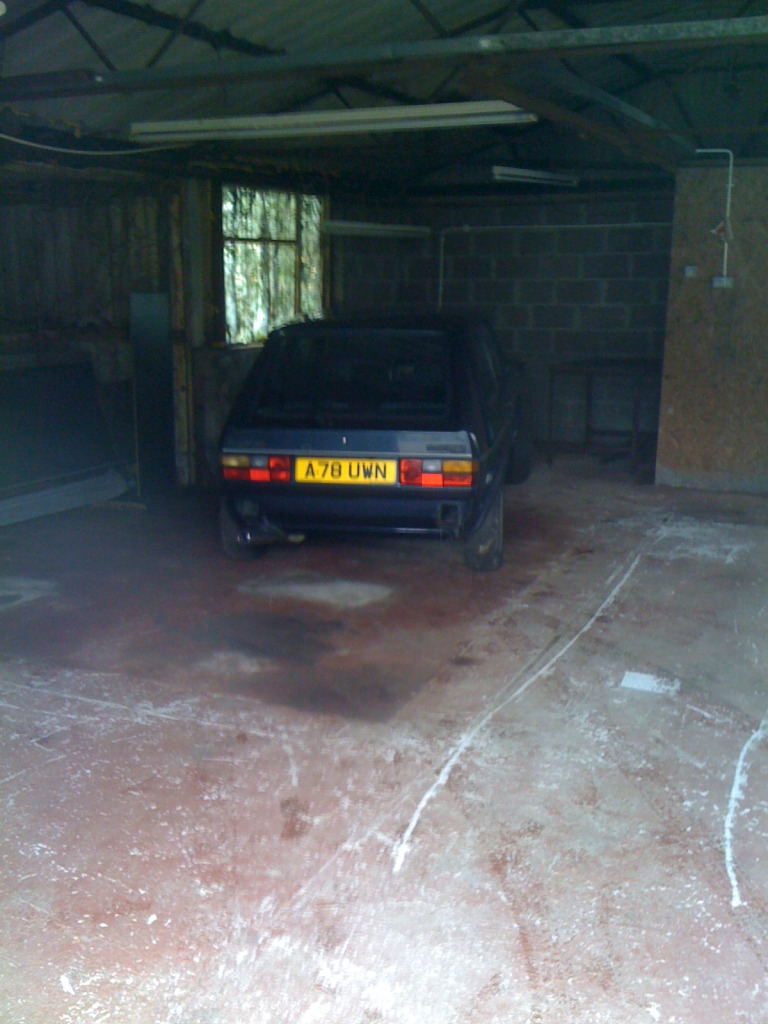
A little pic of the unit, my mates golf, who also has a thread under username purton. He's run out of funds so the green machine maybe for sale!
Most of the inner wings seem solid :wink:
Also removed the sunroof, completely shot! luckily the inside is okay 8)
Engine out time….

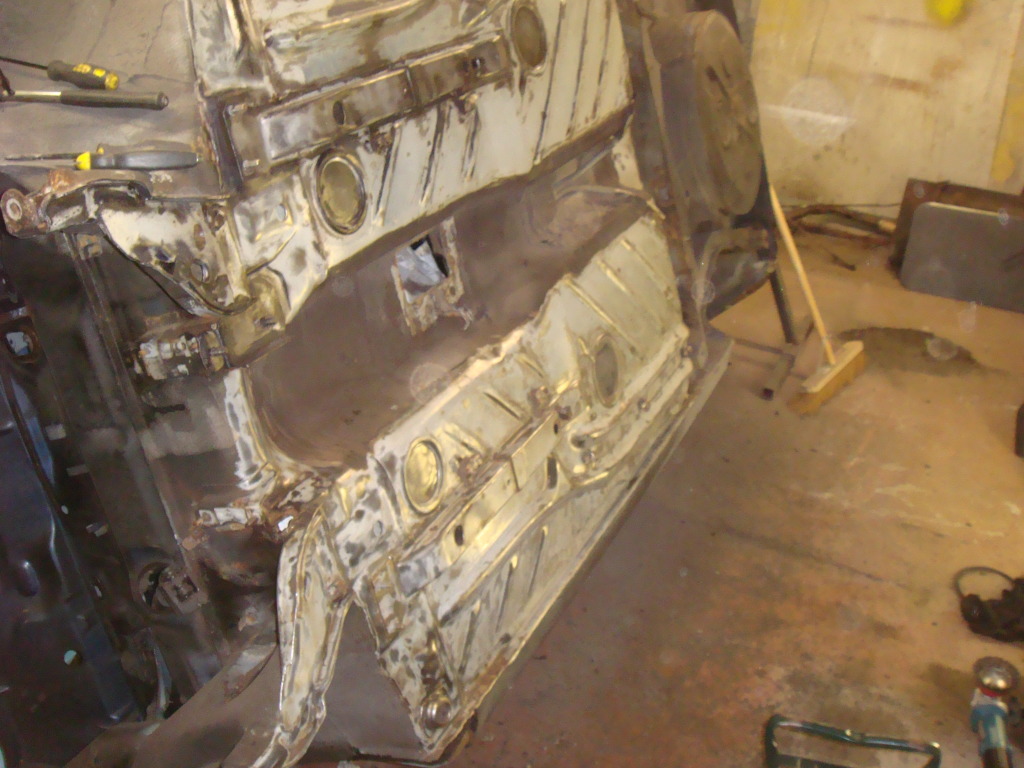
And interior stripped

Headliner is mint, spent about an hour carefully peeling it back to remove the tailgate. Hope It can survive the whole project as the new stuff you can buy just isnt the same. :x

Then moved onto removing the Glass, got all of it out then went onto the windscreen,
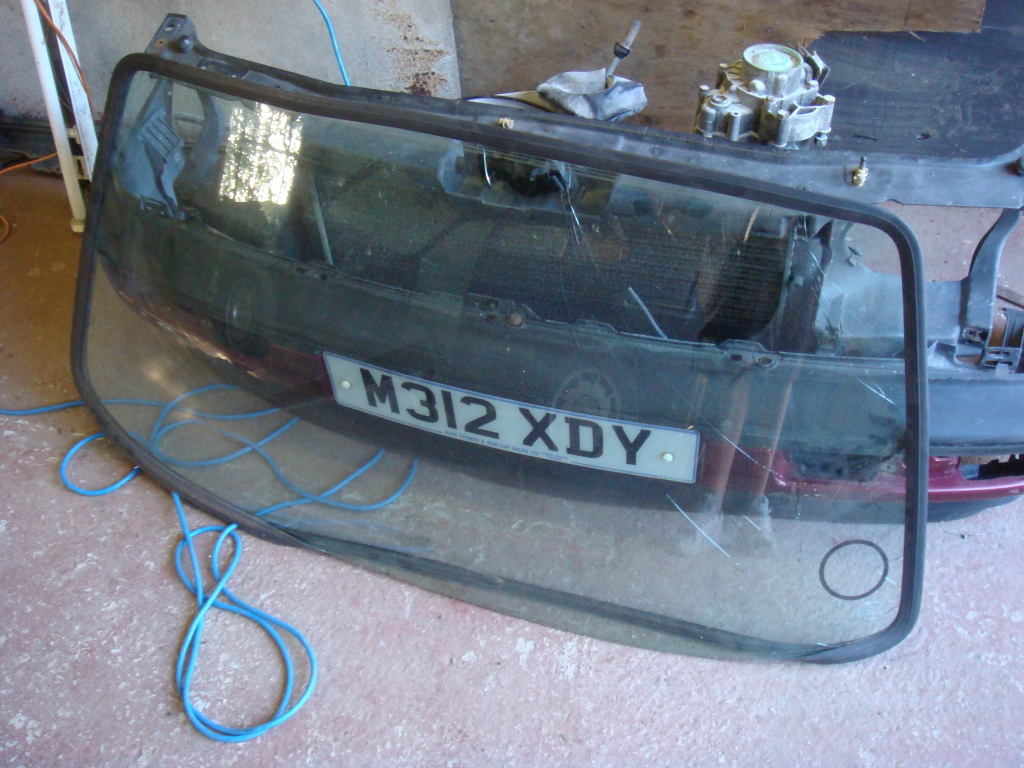 Muppet! Should of waited for help!!!
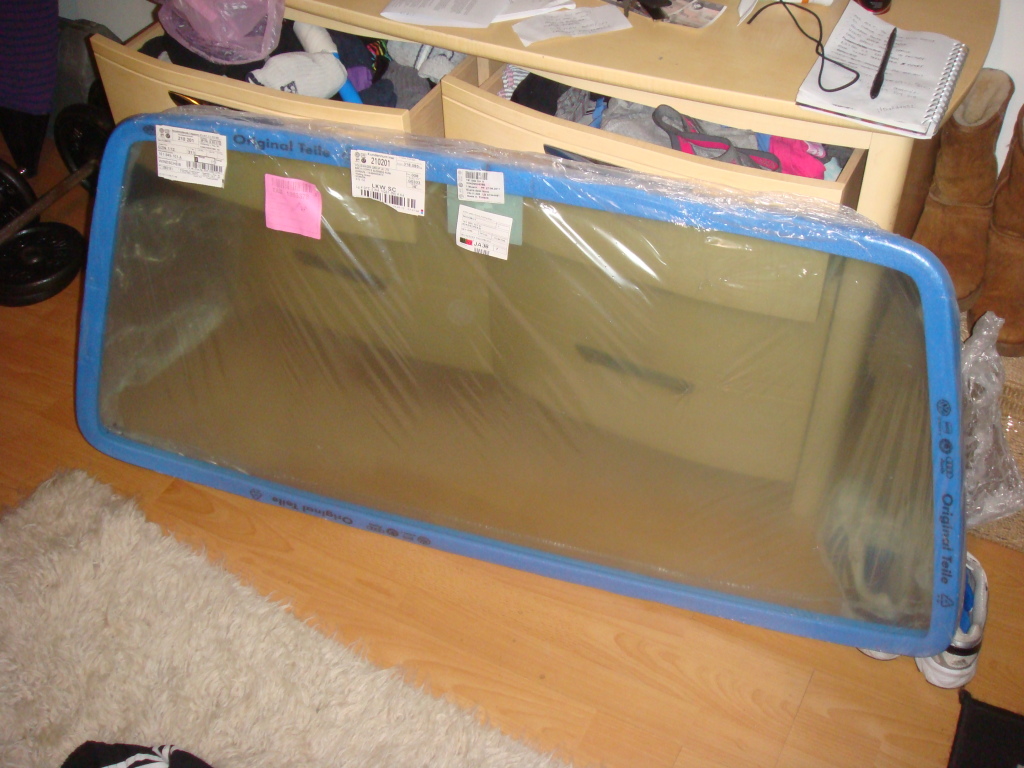
Luckily, rang TPS and there was two with the green tint left in the country so coughed up for one whilst i still could!
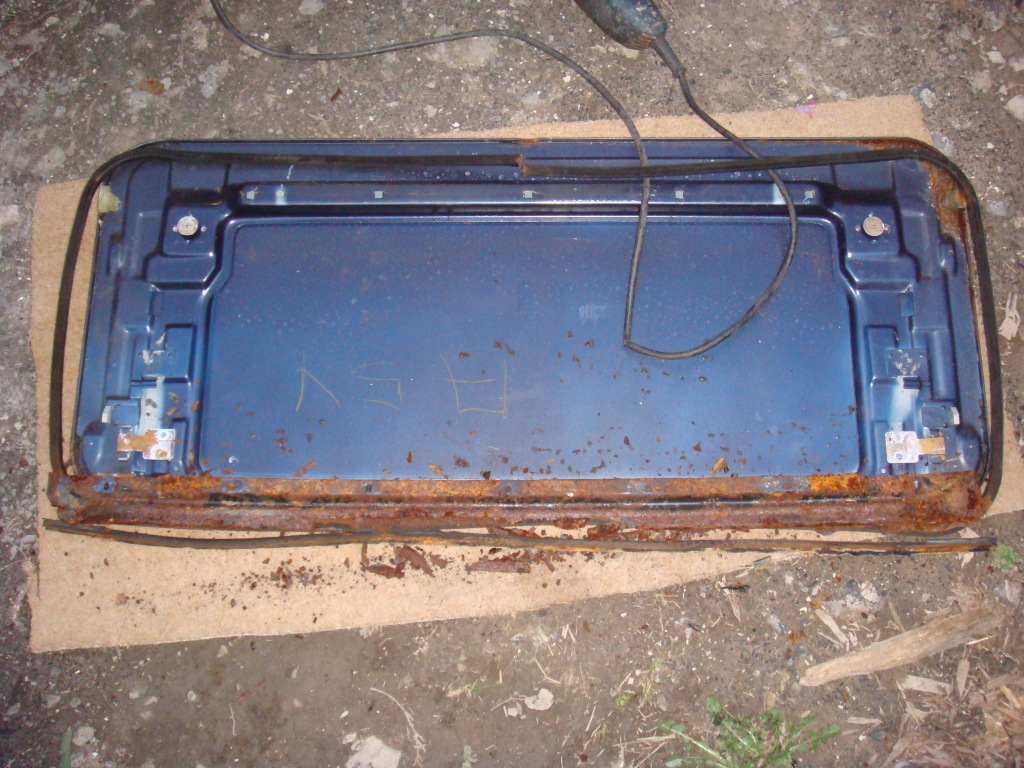
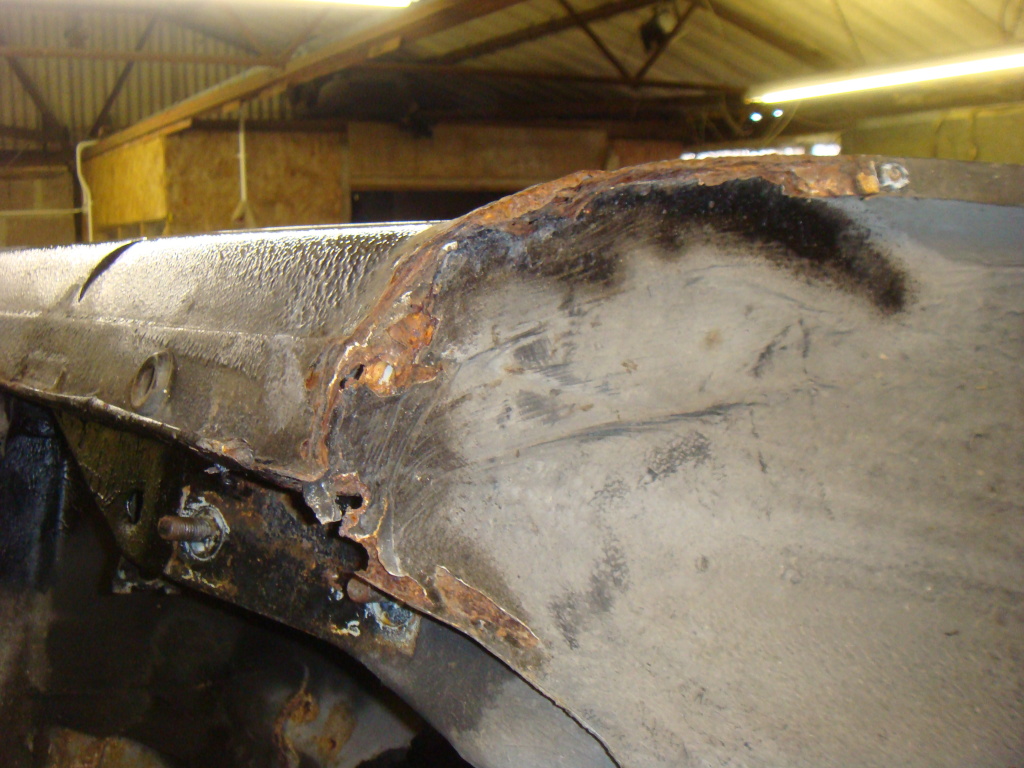
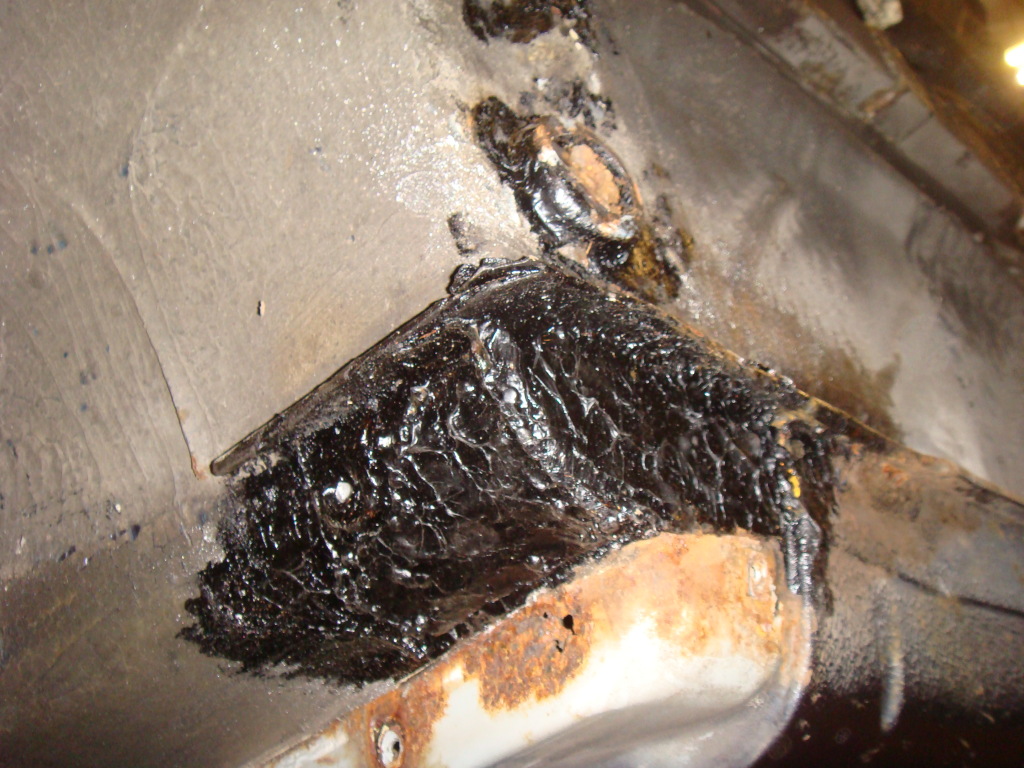
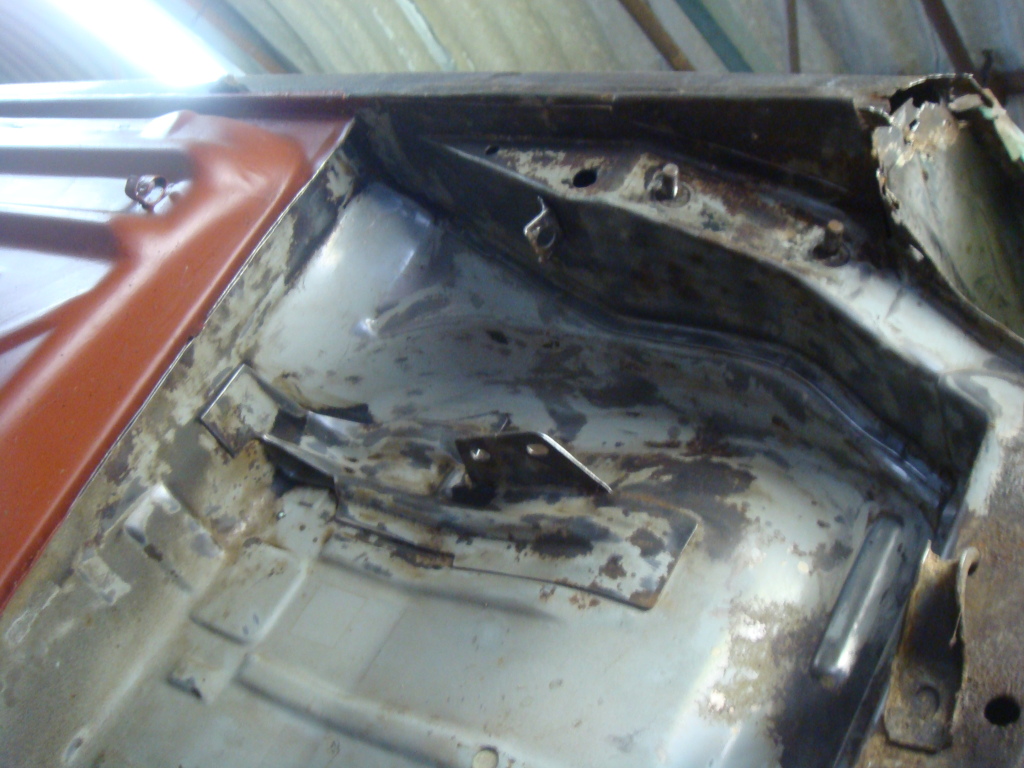
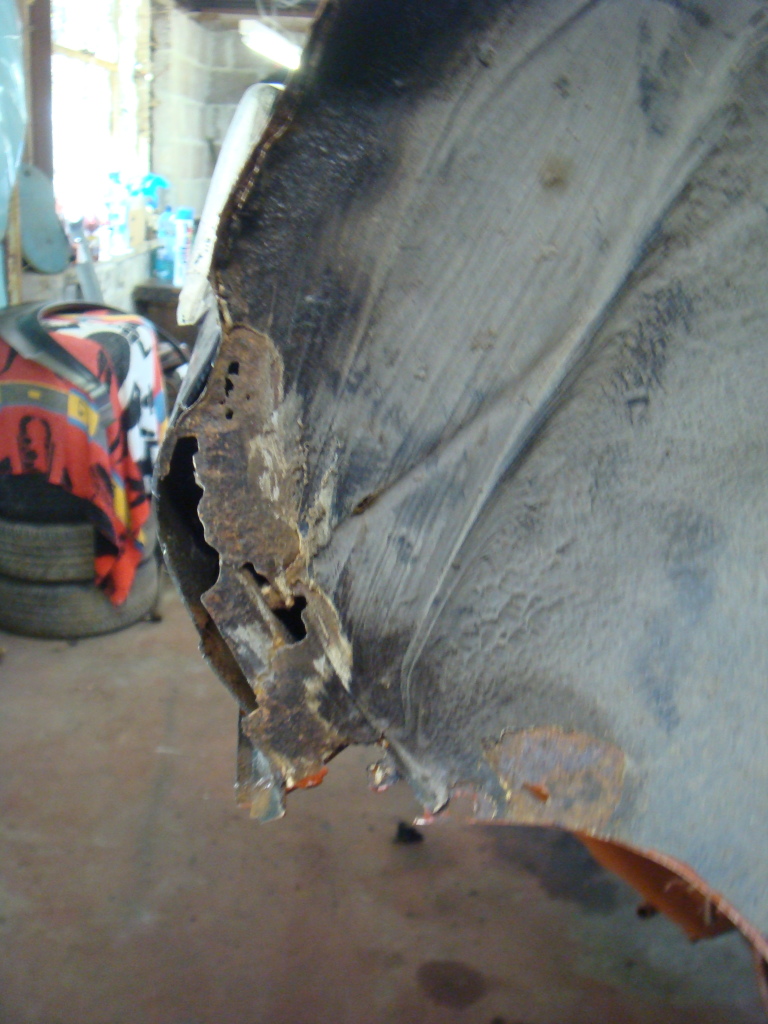
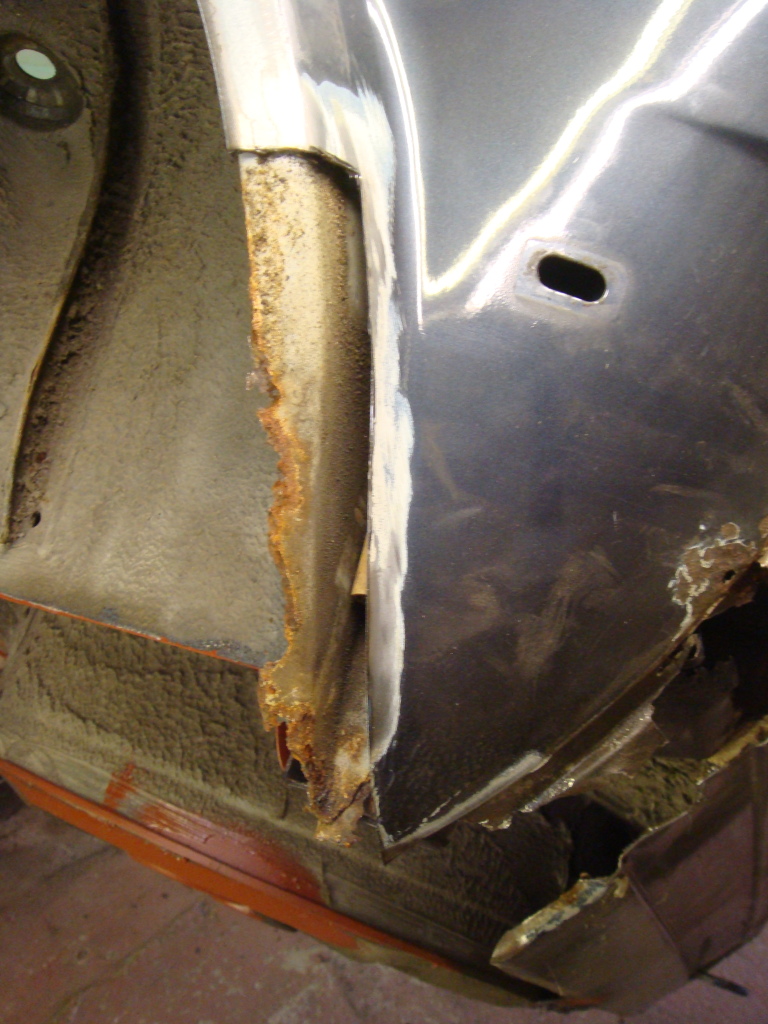
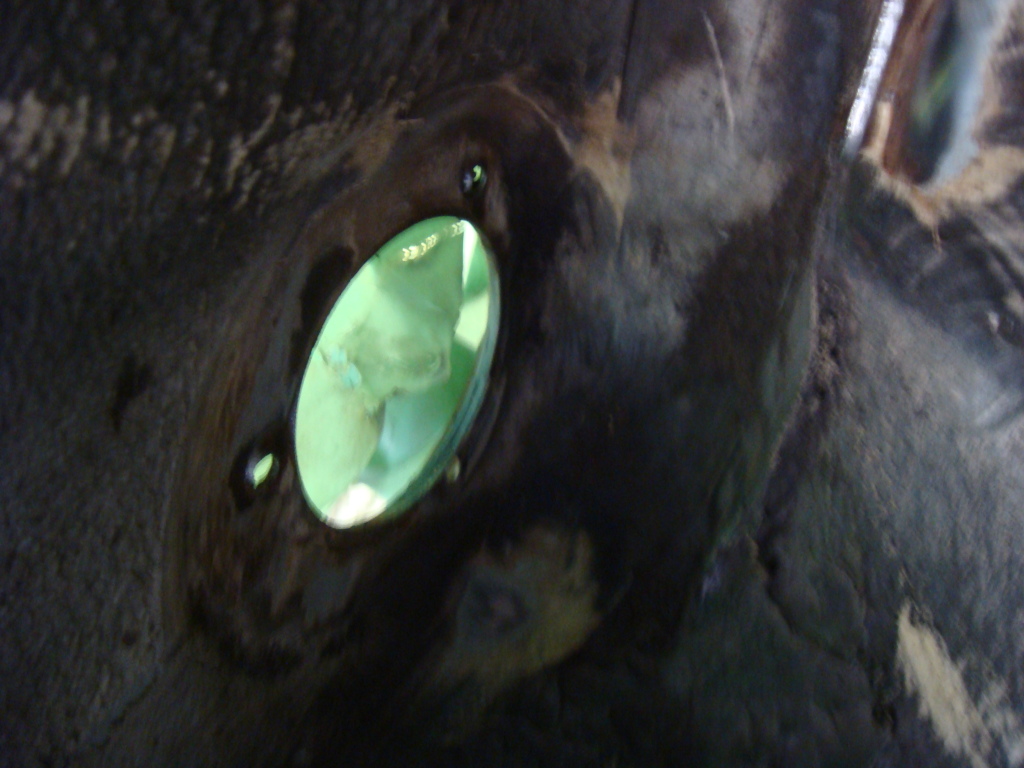
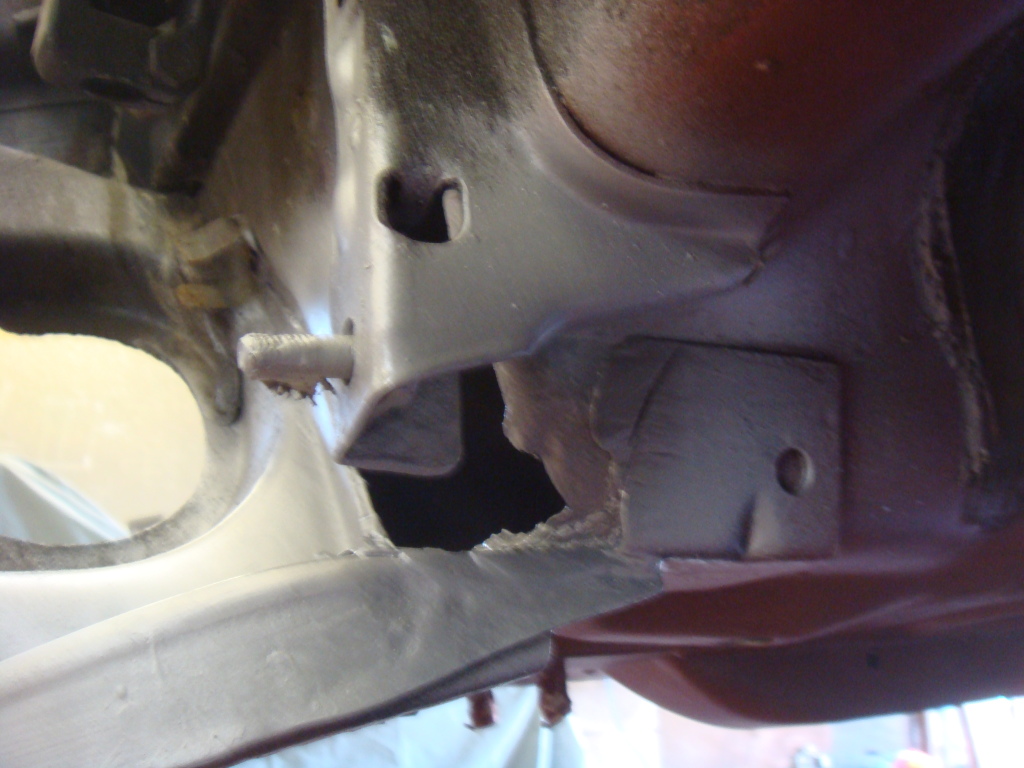
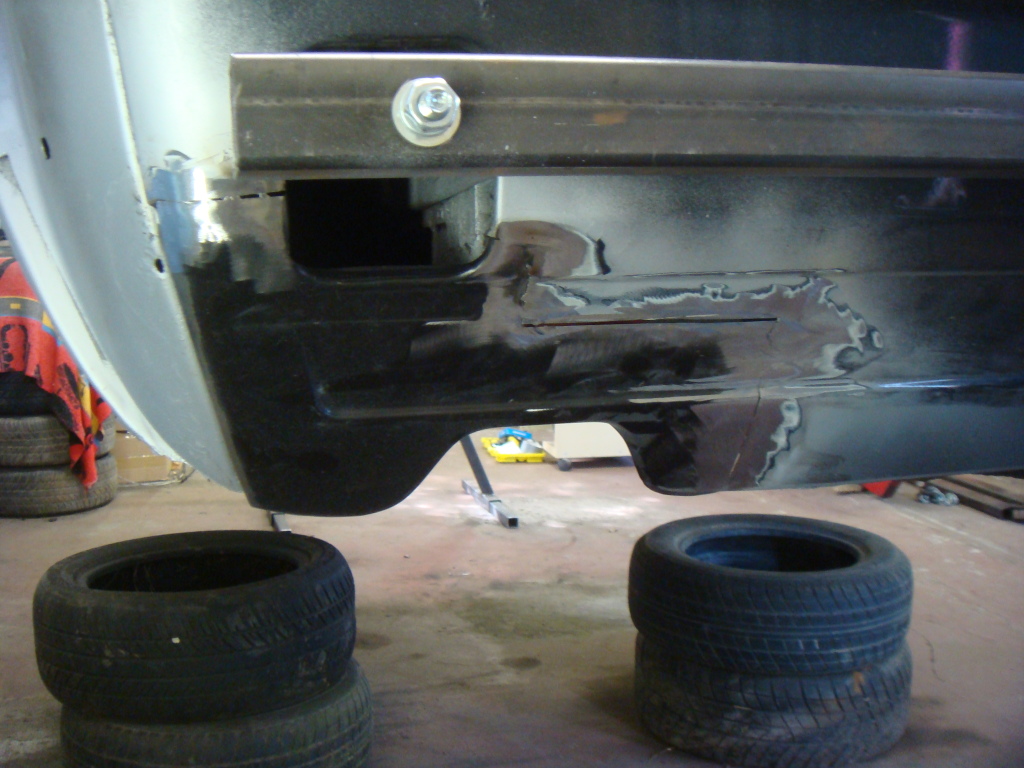
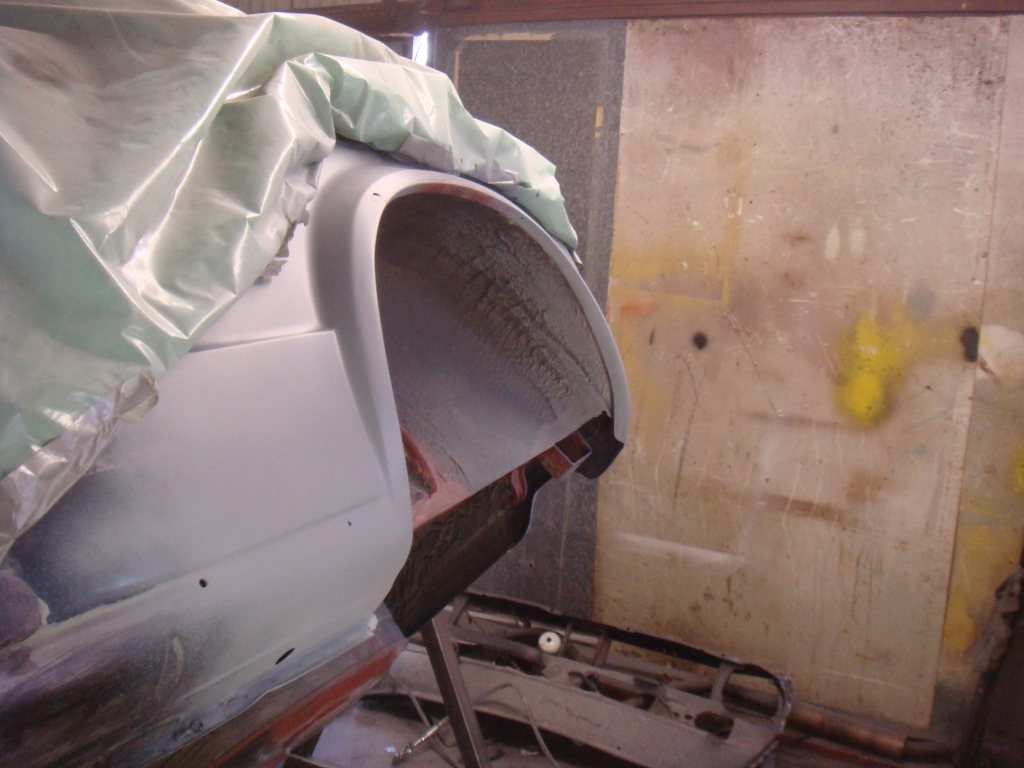
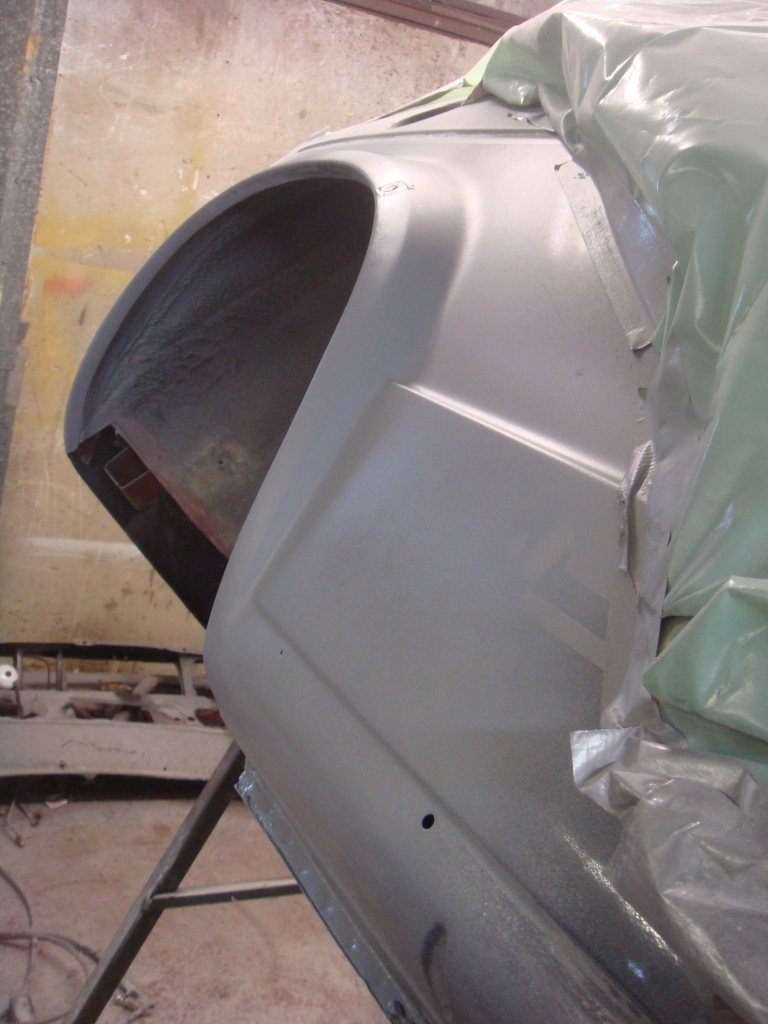
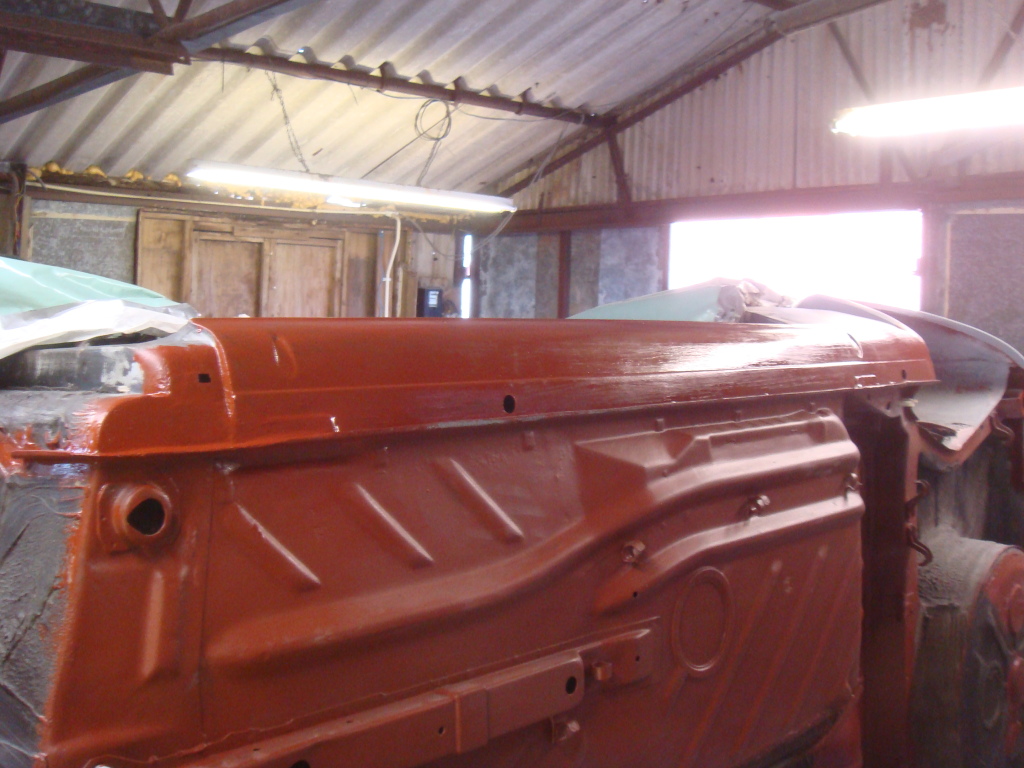
After removing all the windows, I could get a closer look at the bubbling on the o/s rear window, as expected, a big hole emerged!
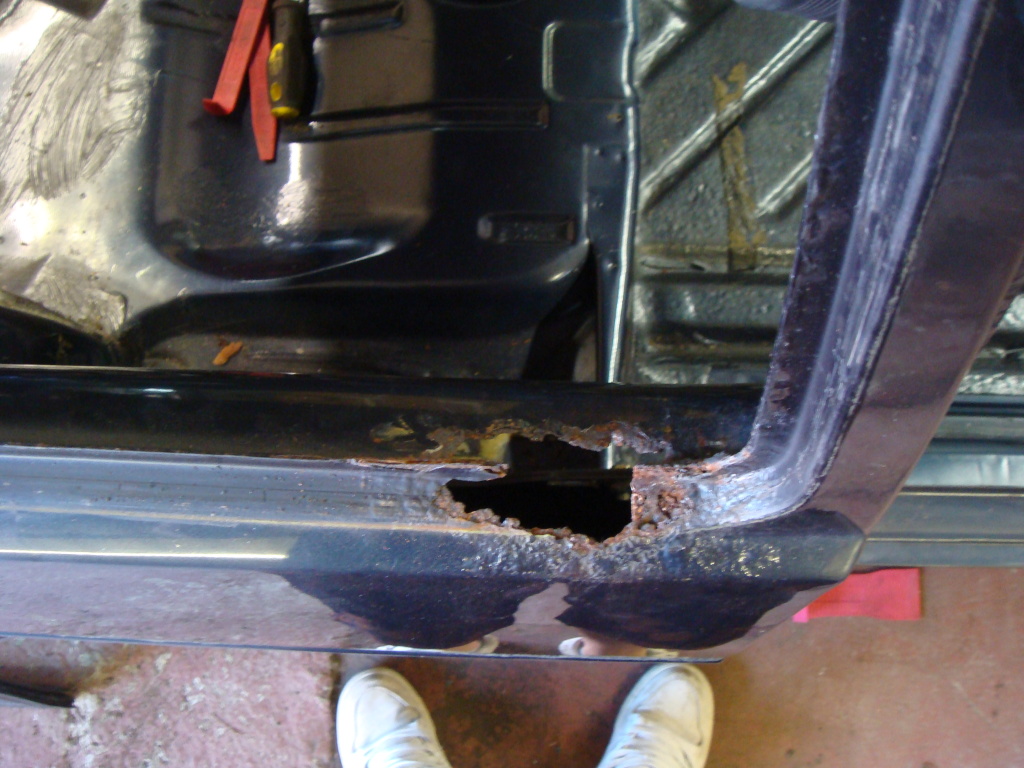
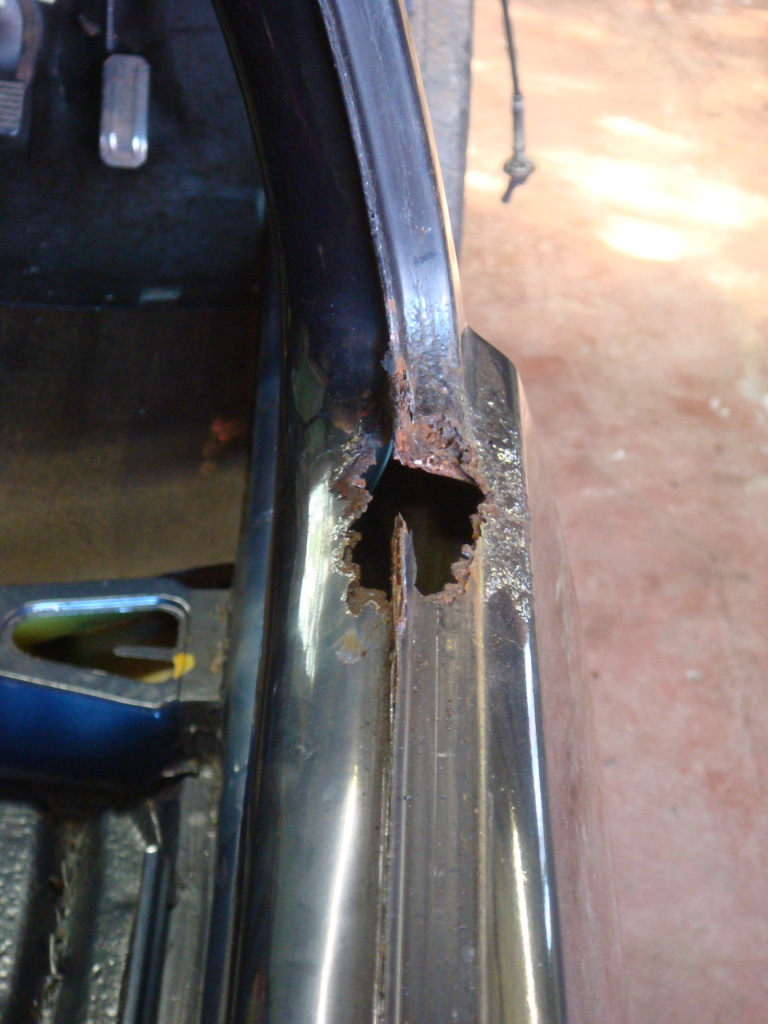

This is the section which I am still yet to repair, need a repair section. Did have one but it was too rusty to use. Dont want to do this repair more than once!!
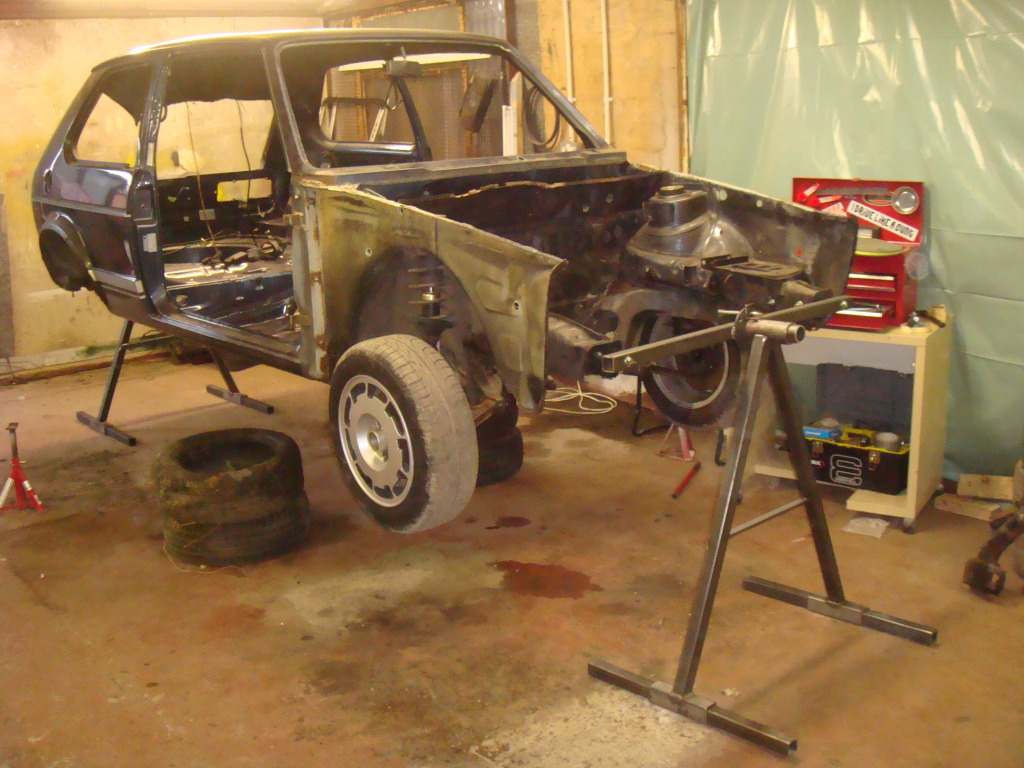
And here is how she looked after the stripping session! A sad state.
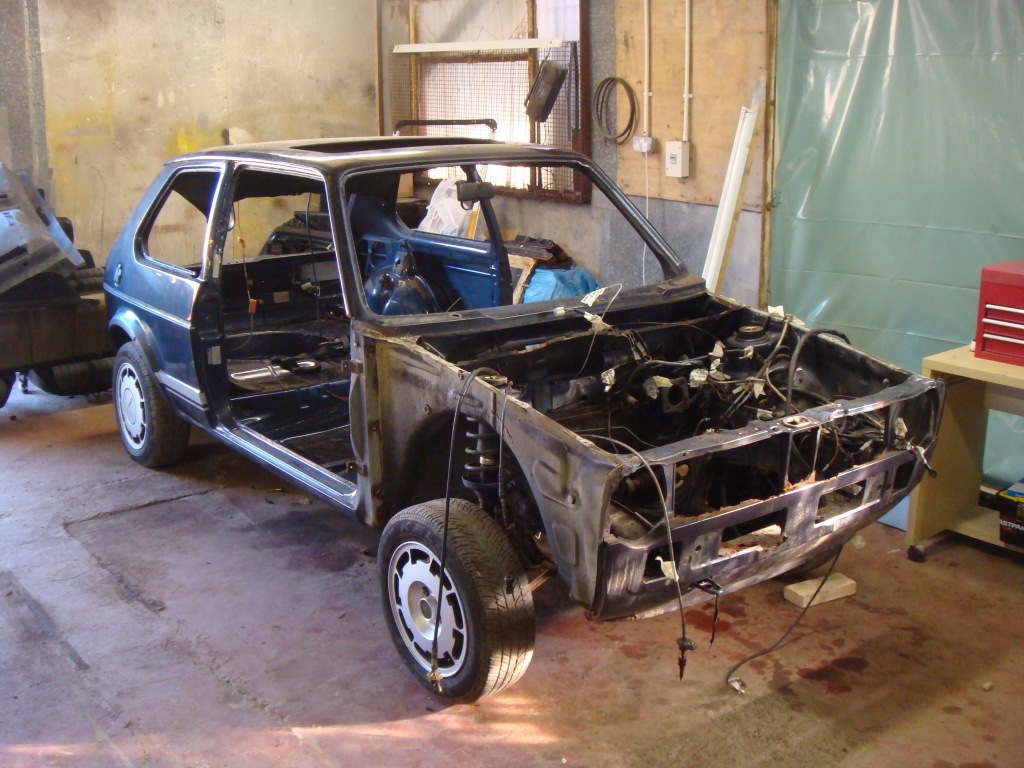
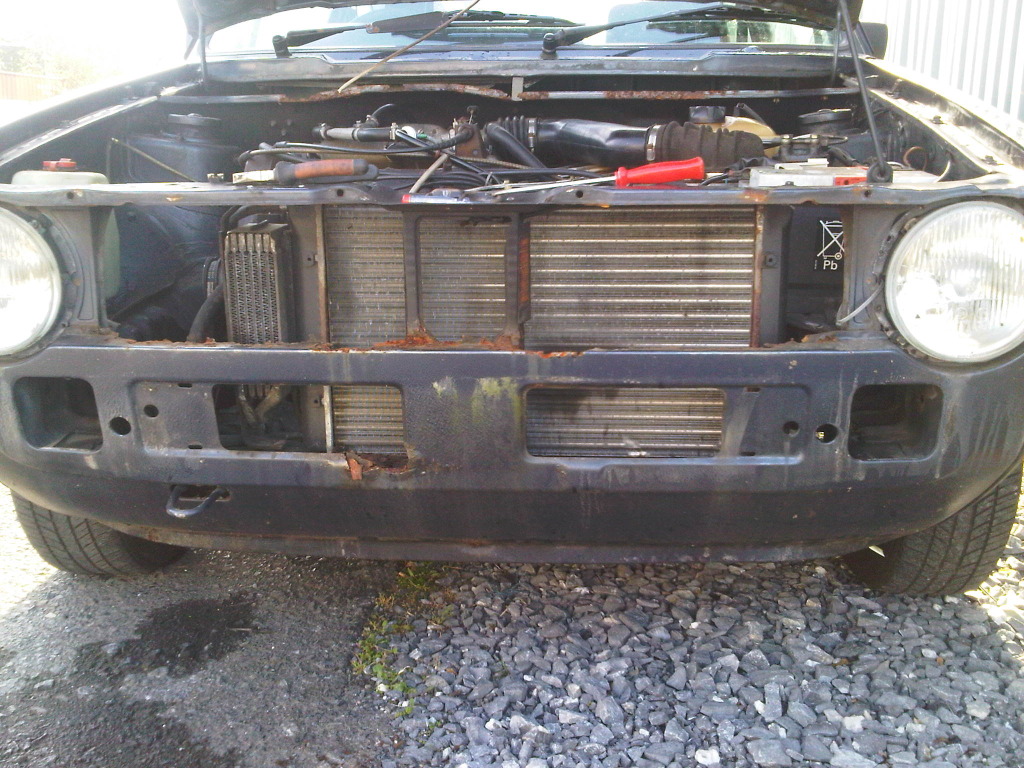
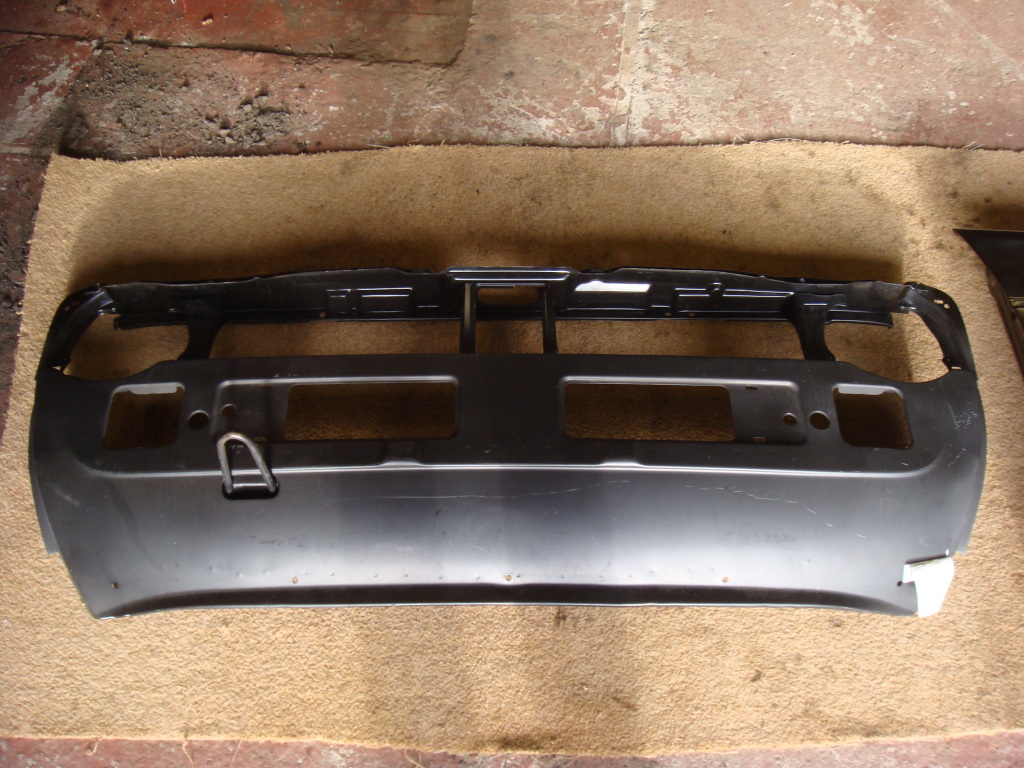
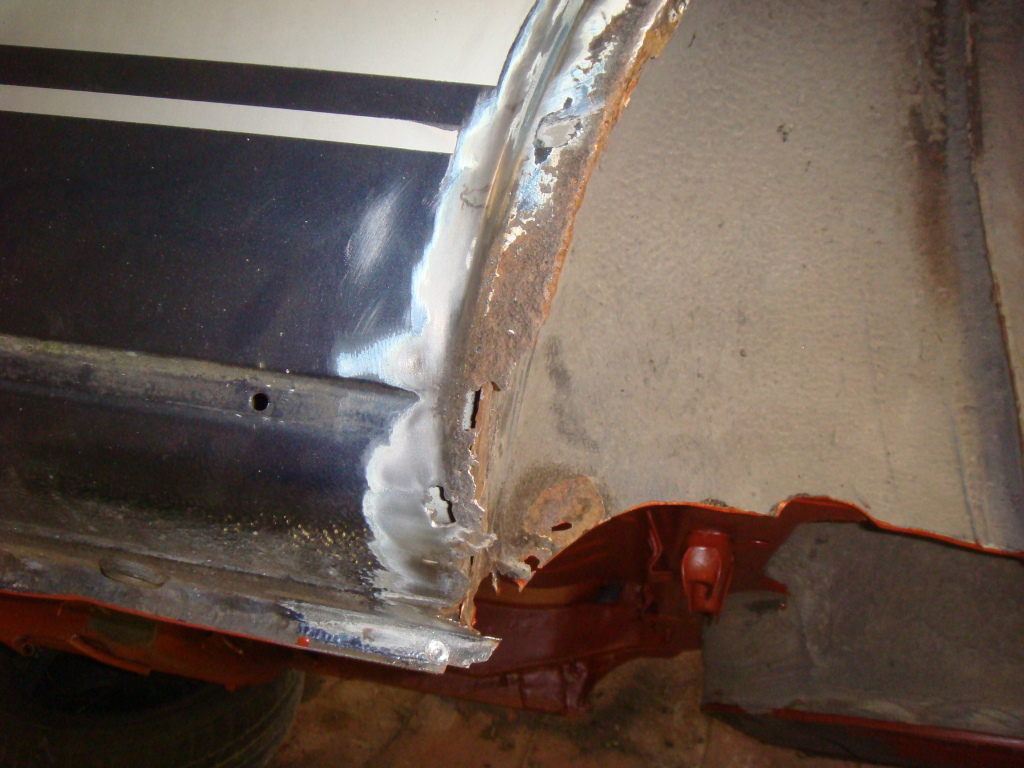
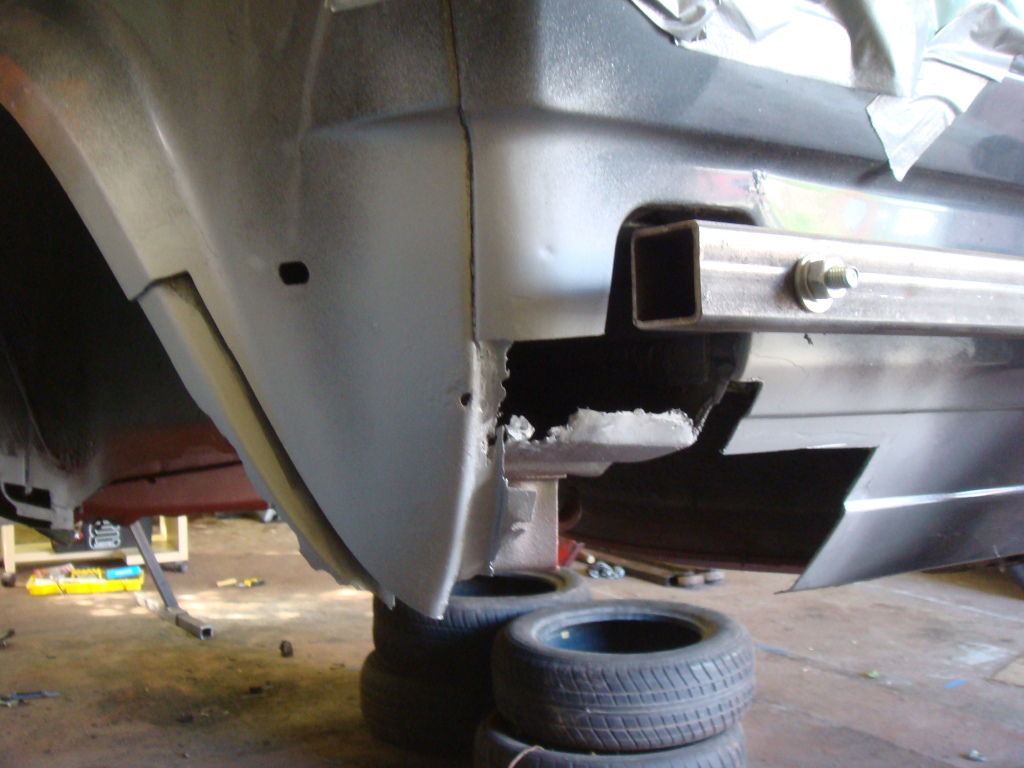
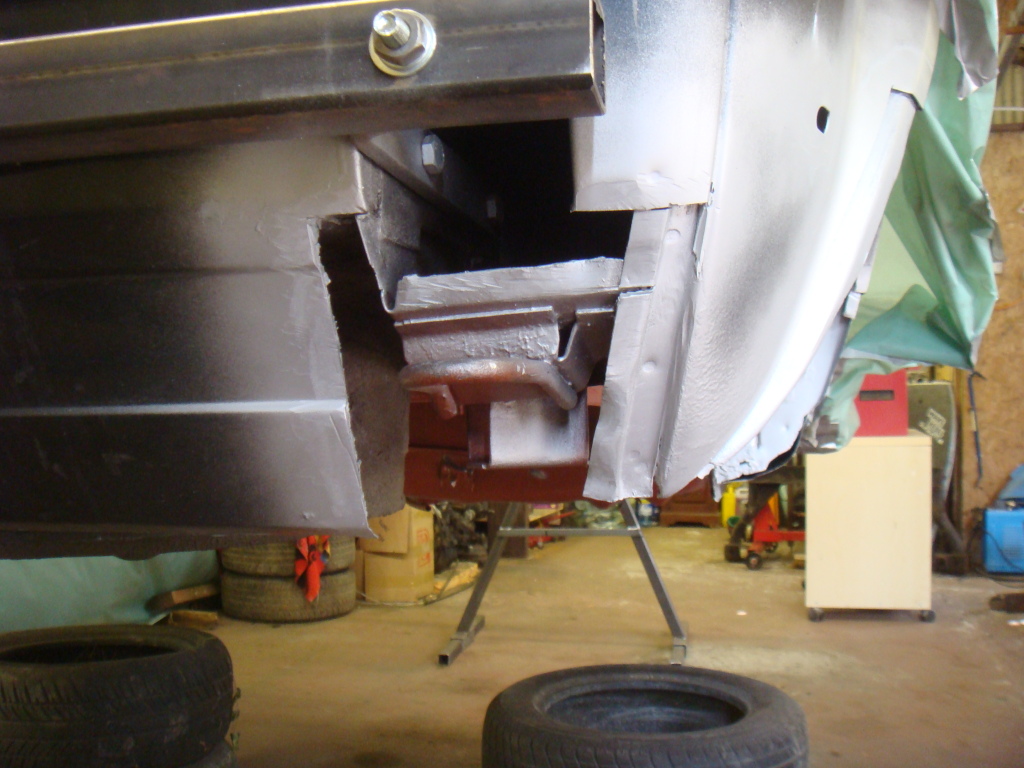
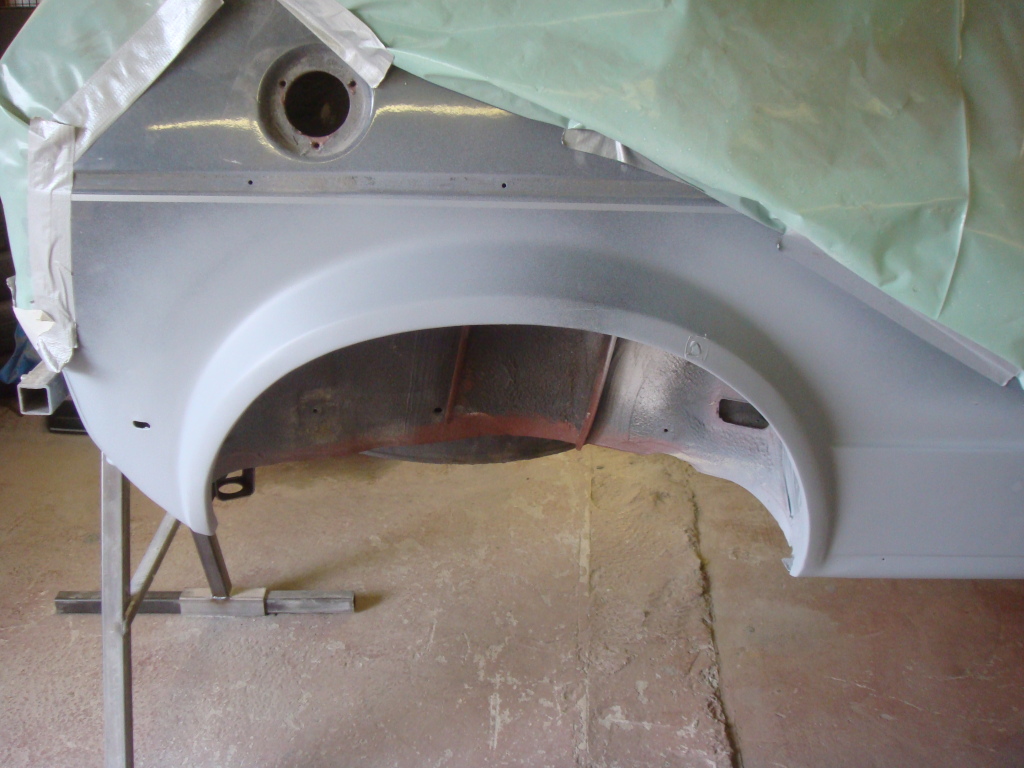
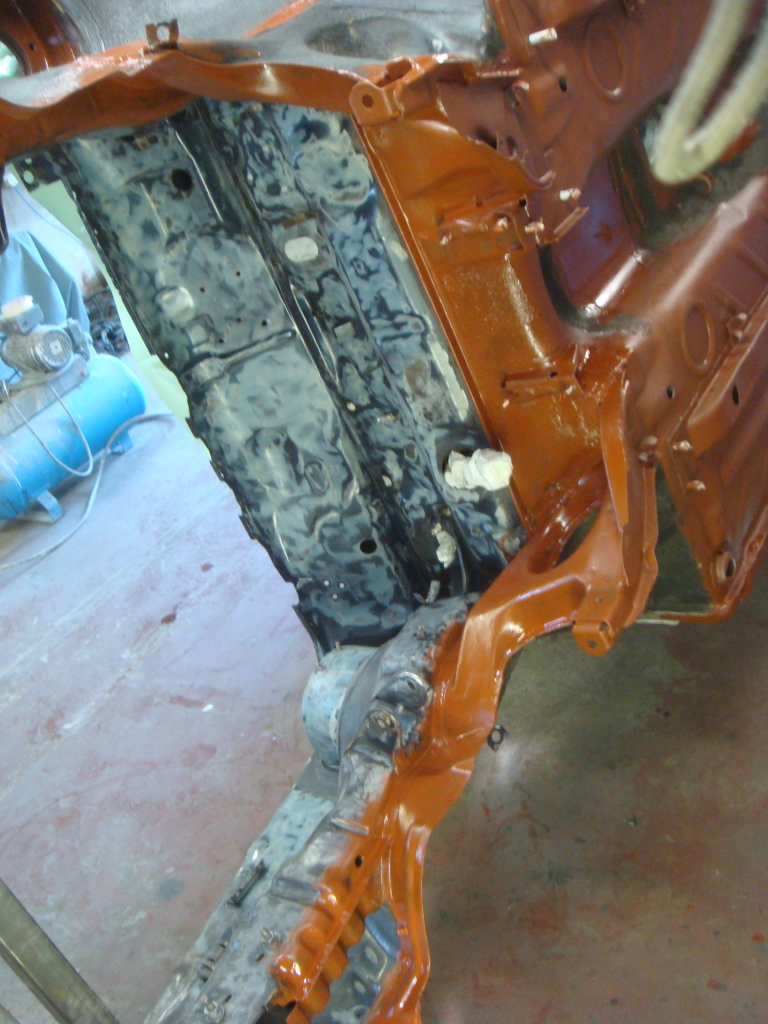
I then got her up on axle stands and started to drill out the spot welds holding on a very rusty front panel….
To be replaced eventually with this nice new Genuine one I had from ebay a while back, it is for a clipper though, which means the towing eye is 2 inches longer but we will see how it looks before I consider modifying it.
old…
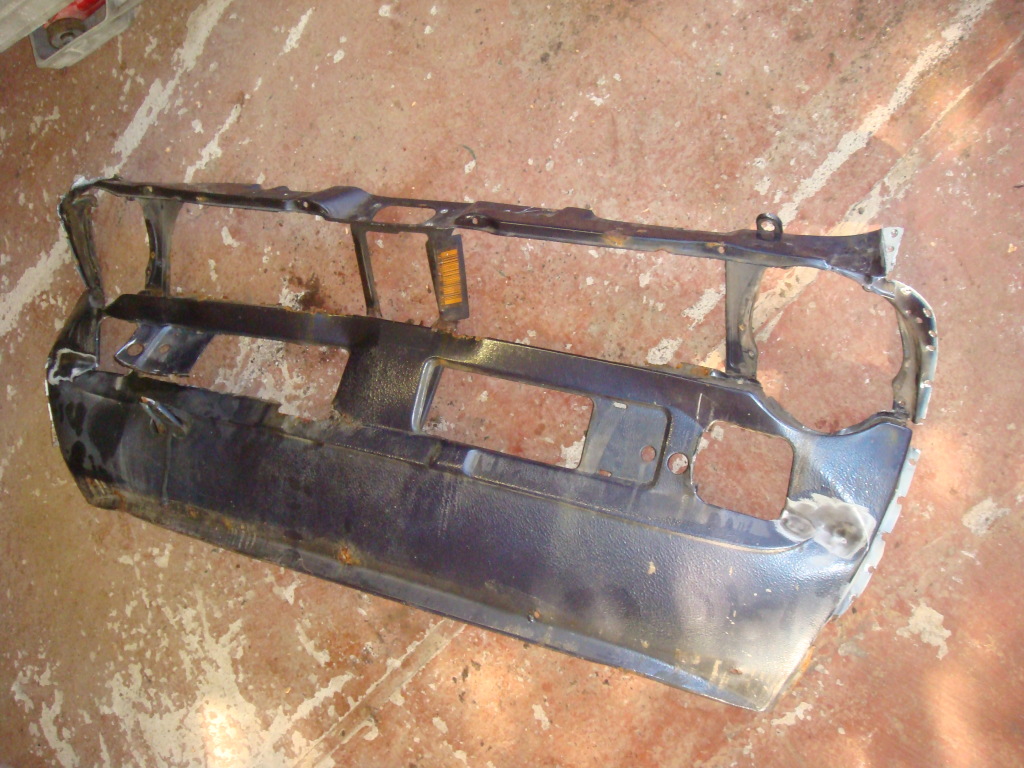
new…
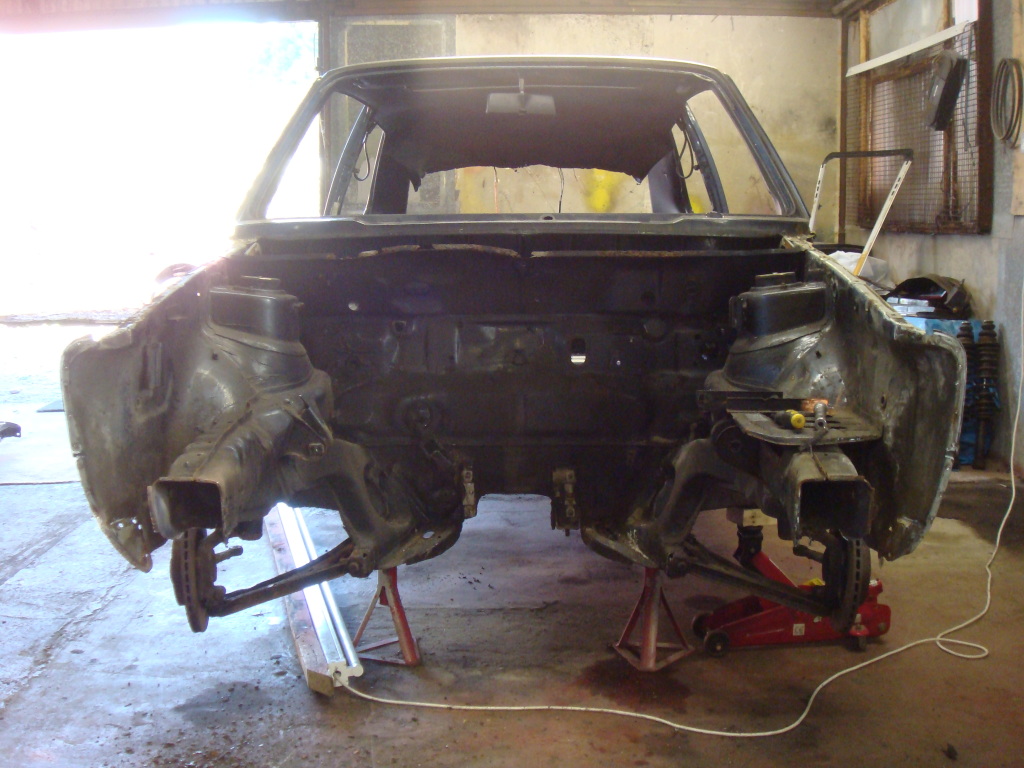
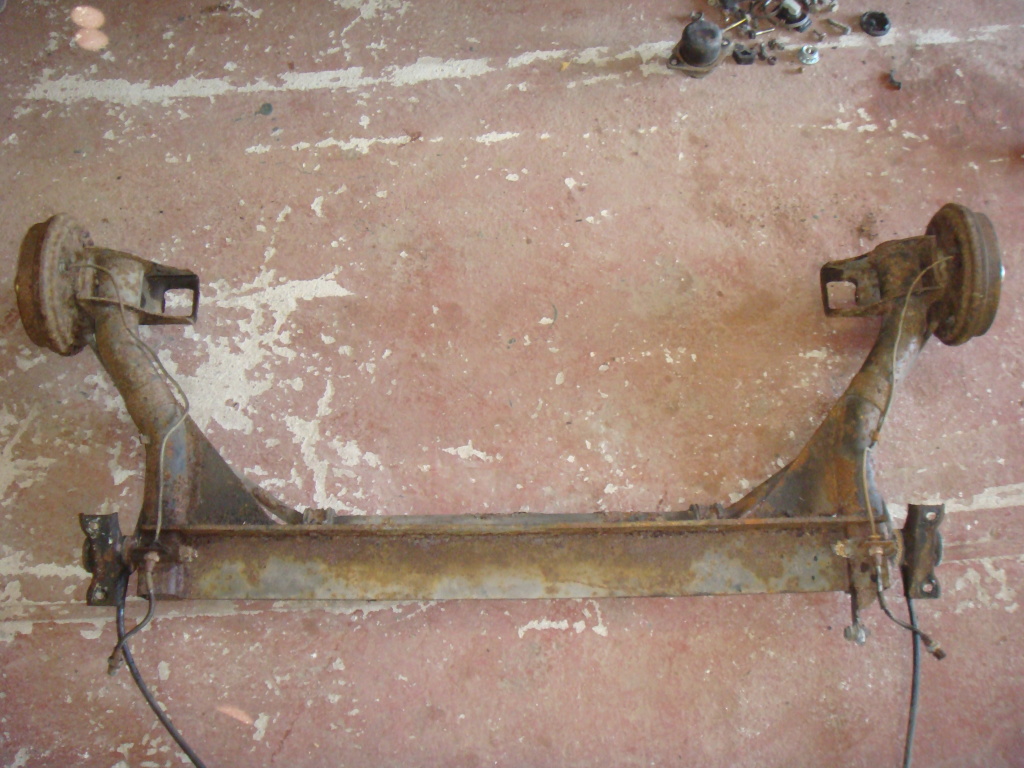
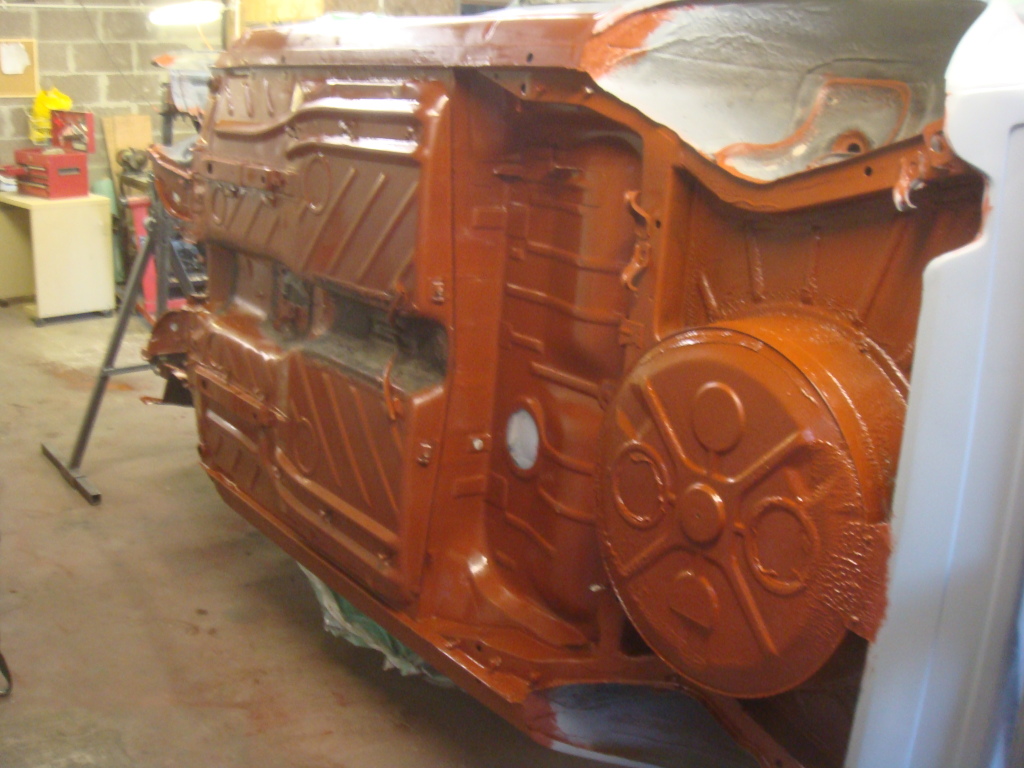
then dropped the rear beam and fuel tank out…

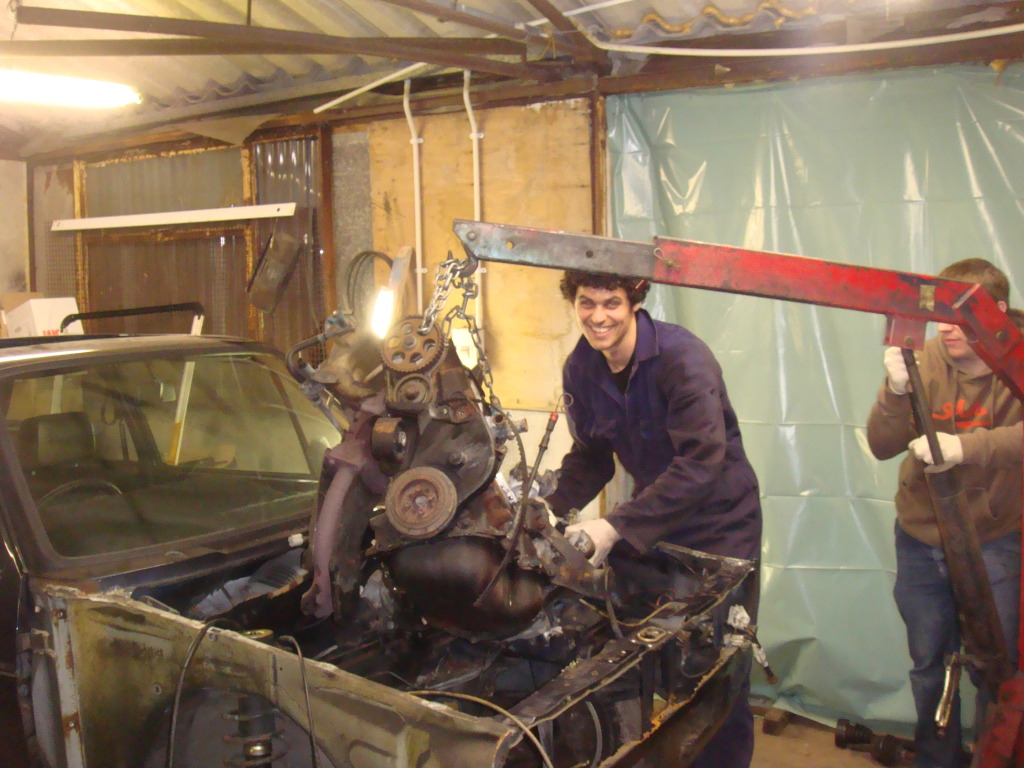
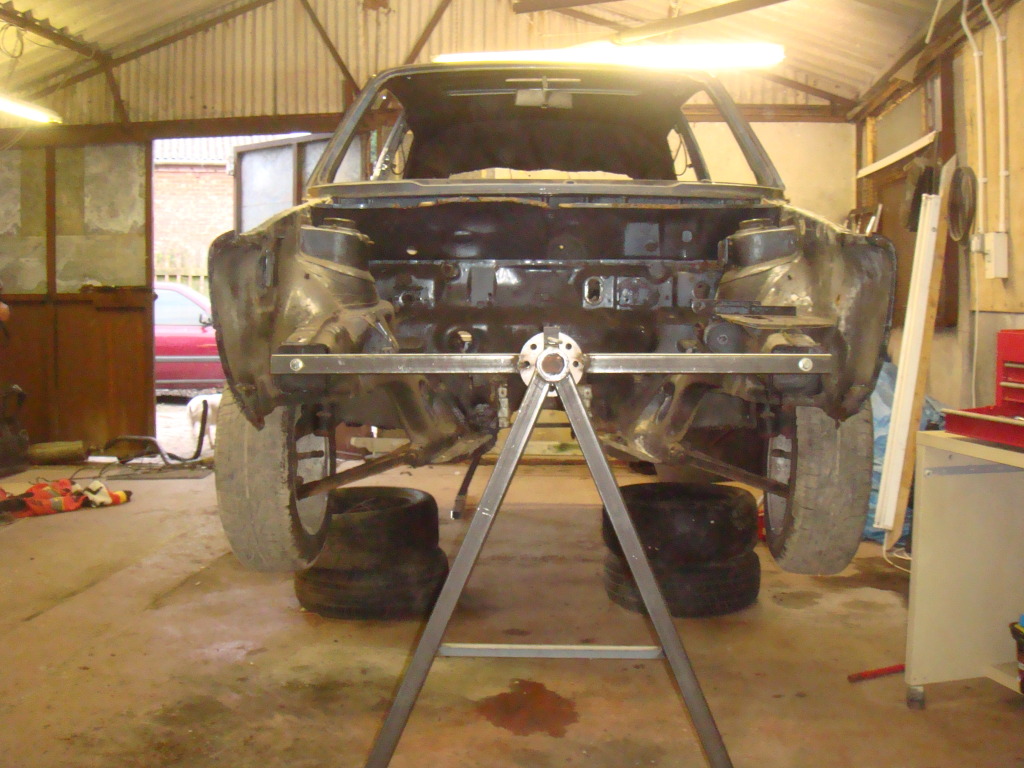
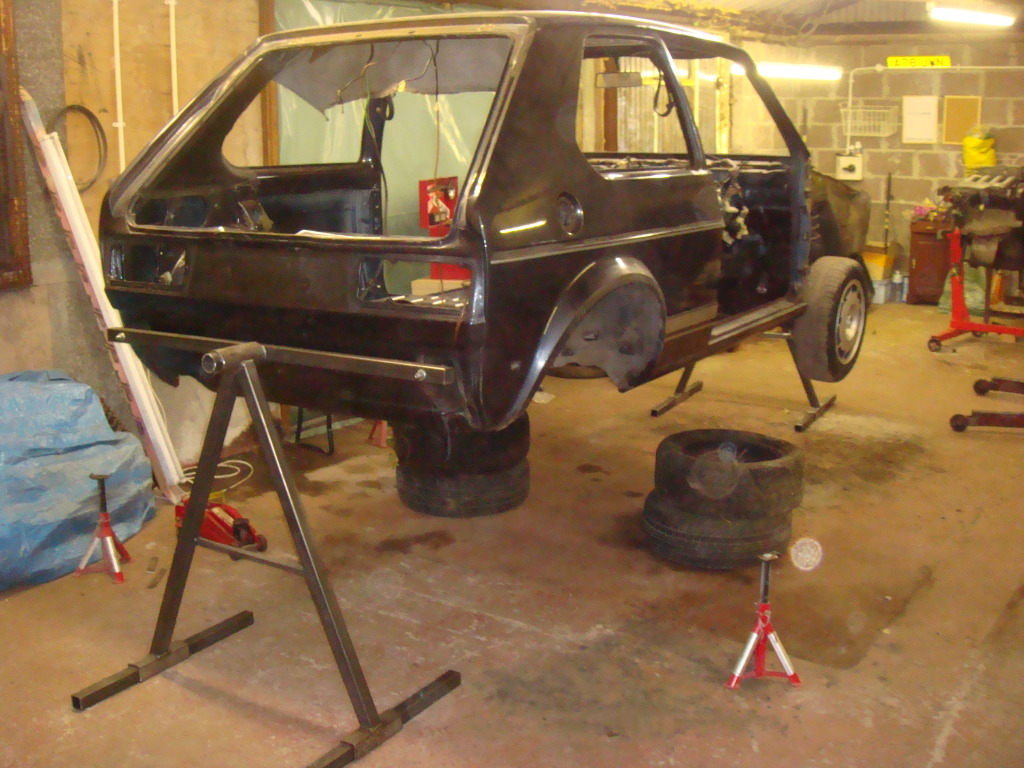
Then got very excited when this arrived! The serious work could now begin!!
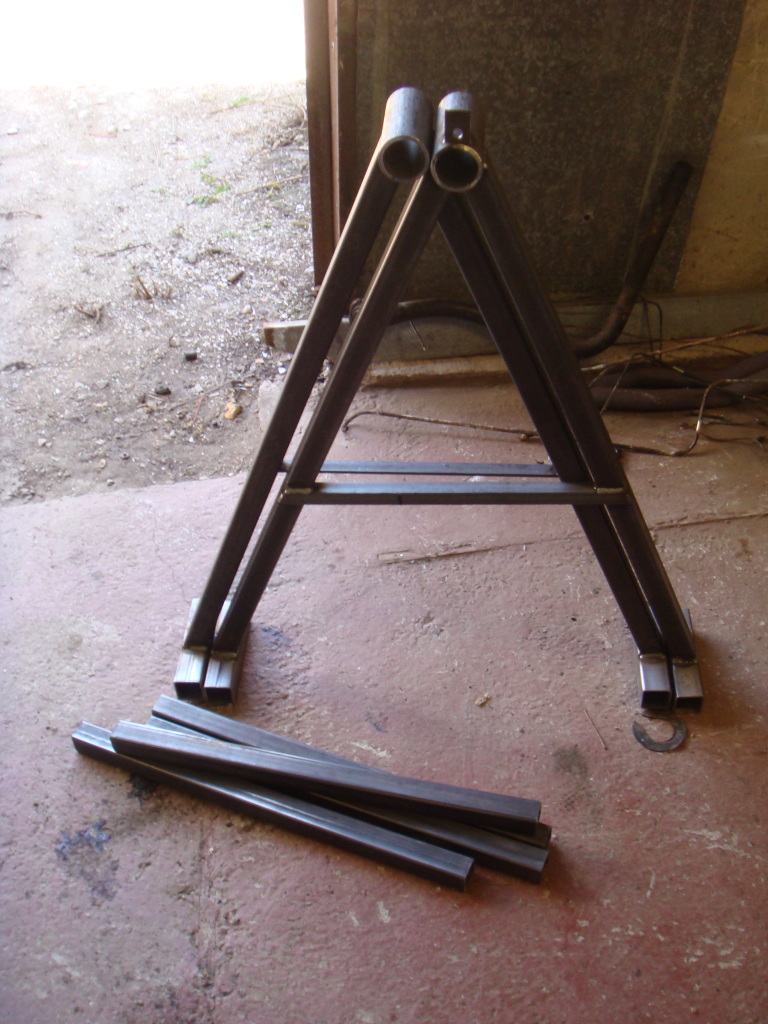
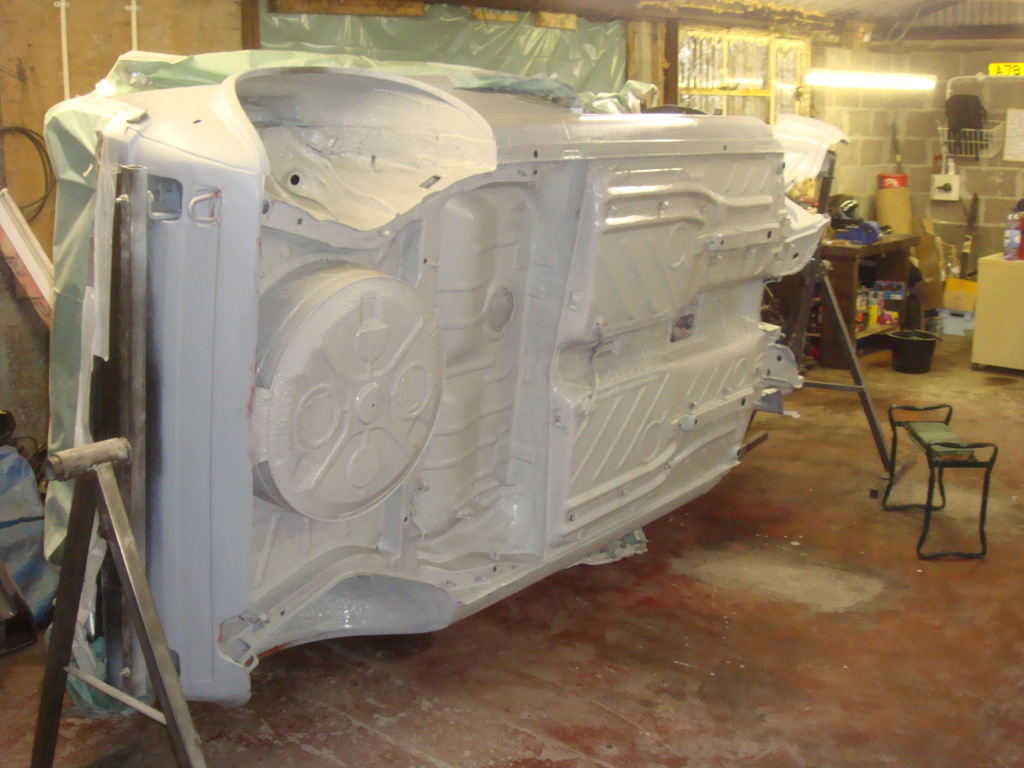
After a bit of scary lifting with the engine crane she was on the spit!
Posted
Settled In
Posted

Settling In


1982 Mk1 GTI 1.8 2016 Audi A3 1983 Kawasaki Z1000J 1977 Suzuki GT550
Posted
Old Timer
1983 mars red gti
1984 mars red gti
1994 golf vr6 - gone but not forgotten
2005 mk5 gti family wagen
Posted
Settled In

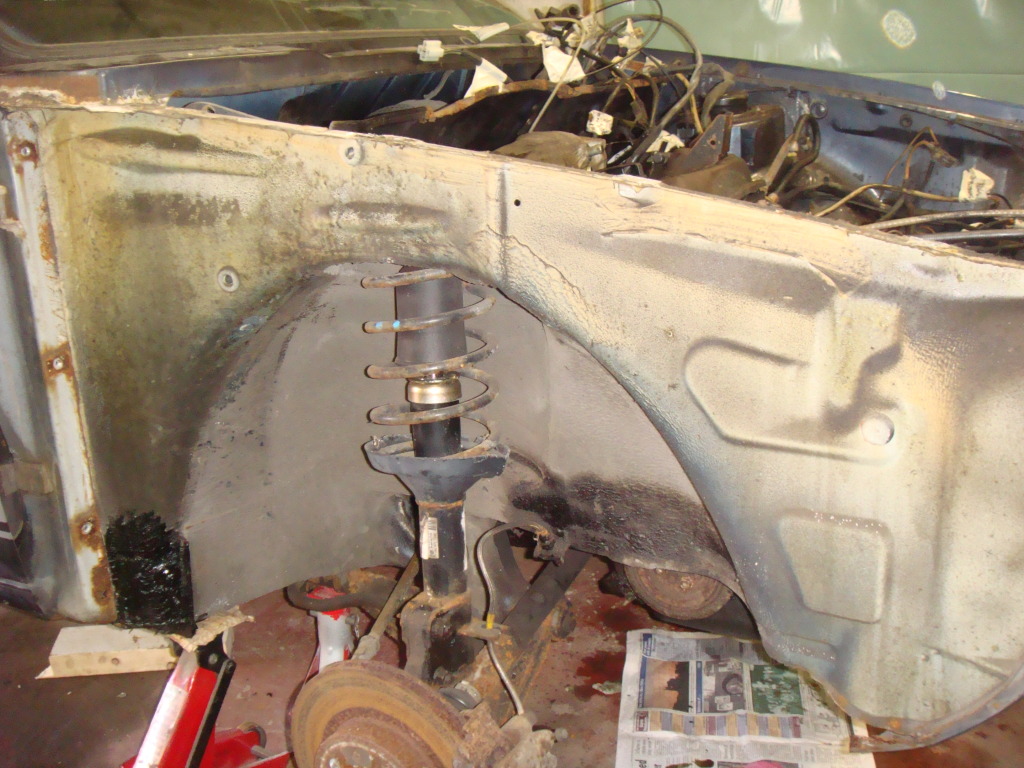
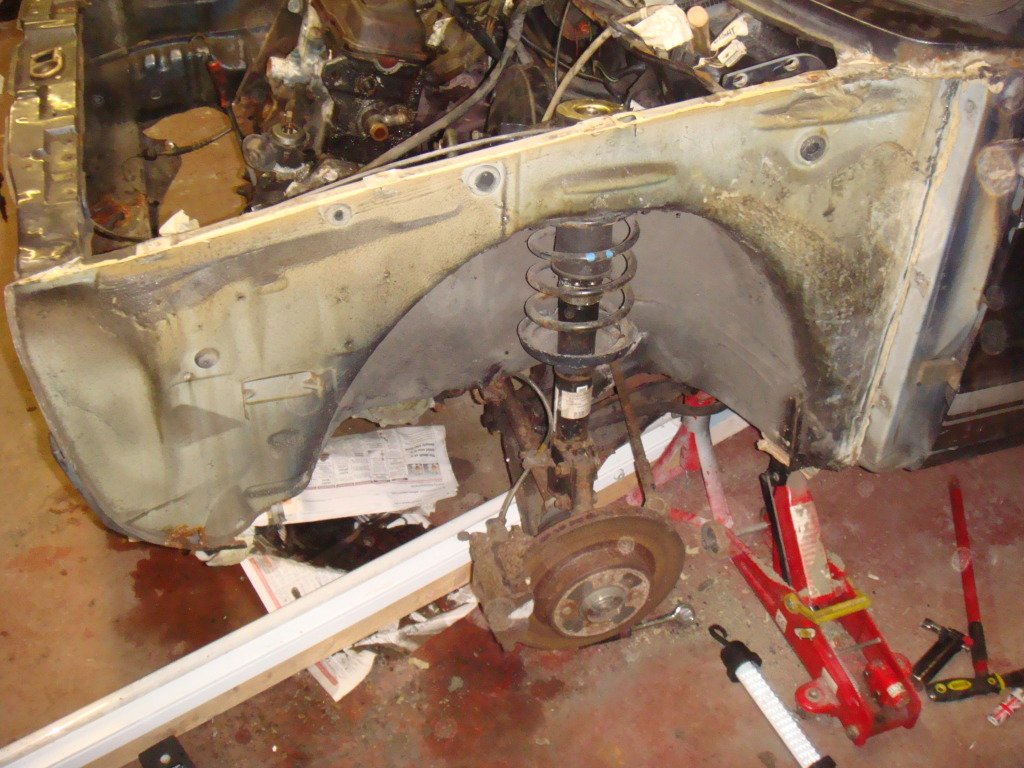
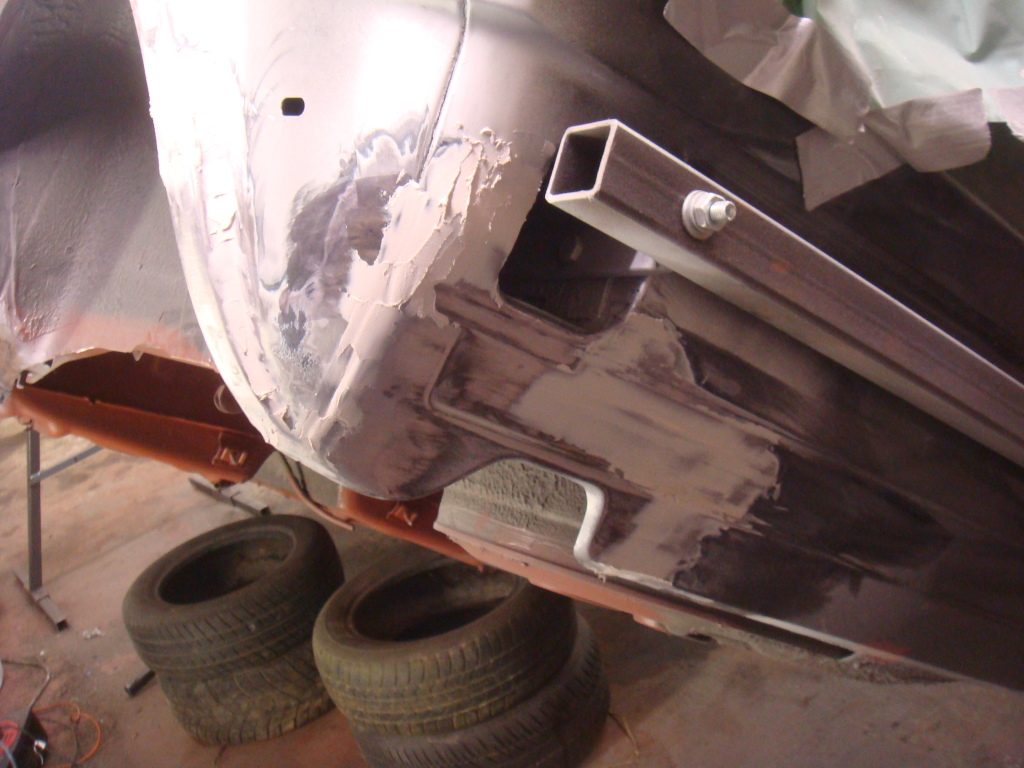
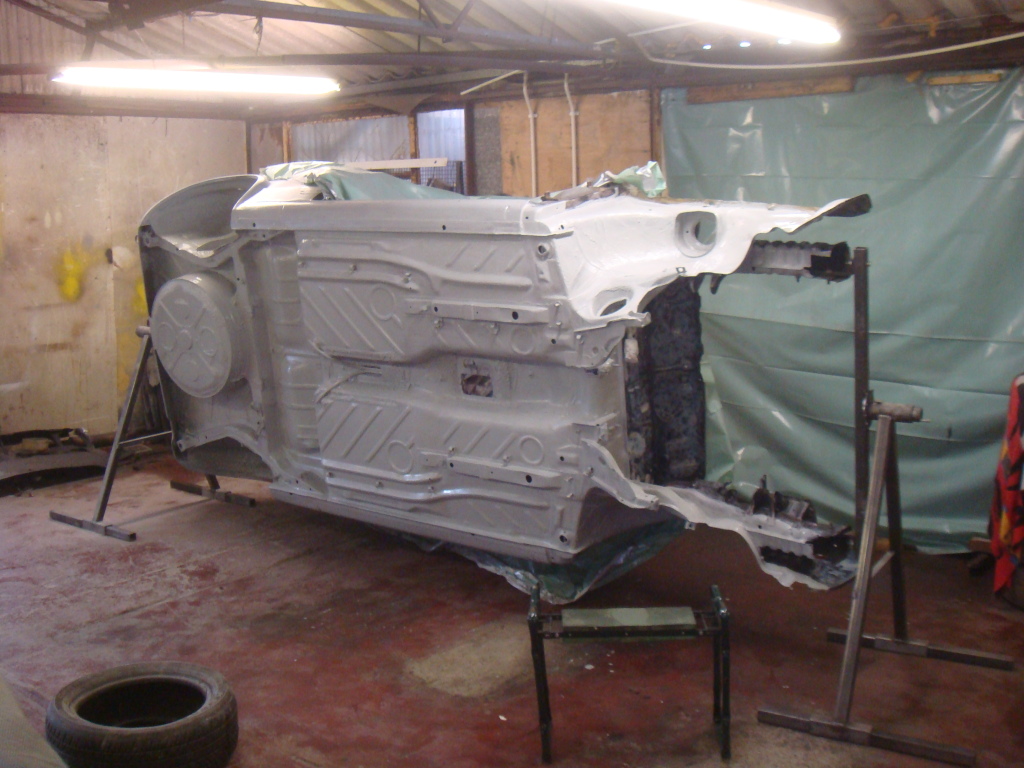
Rolled her on the her side to get a better look at the underneath and the size of the task ahead….

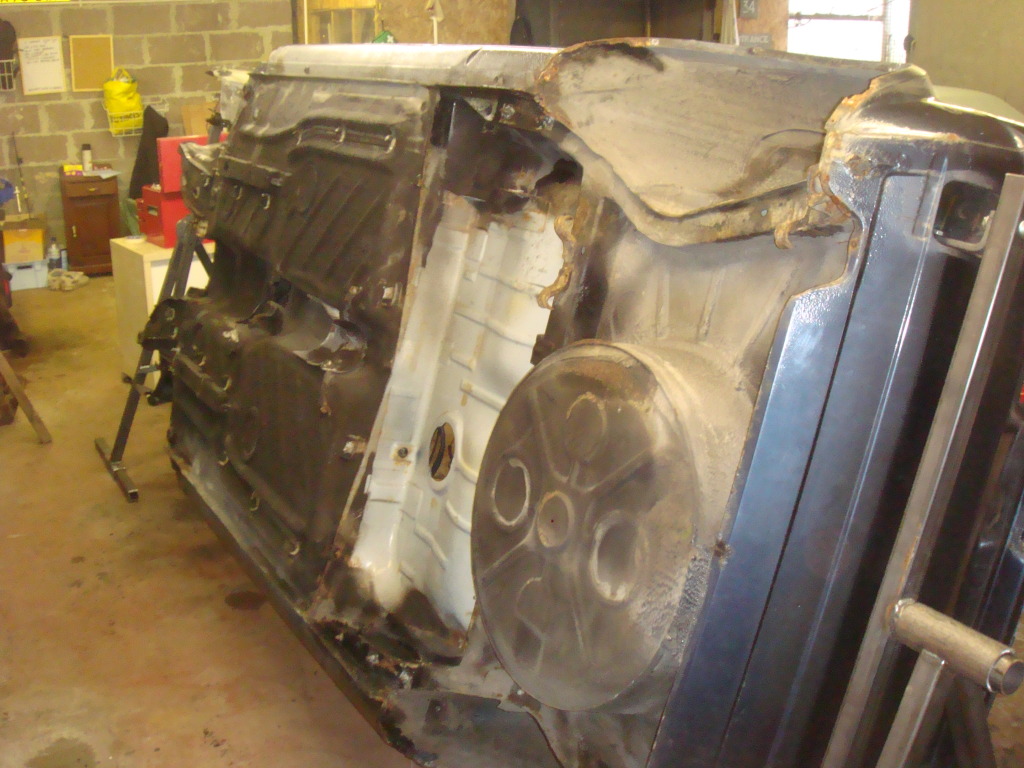
Found a few little bits, nothing too serious though…


Rear axle mounts appear solid, just a bit of surface rust and some underseal slapped on for good measure by the previous owner. Hopefully its done its job!
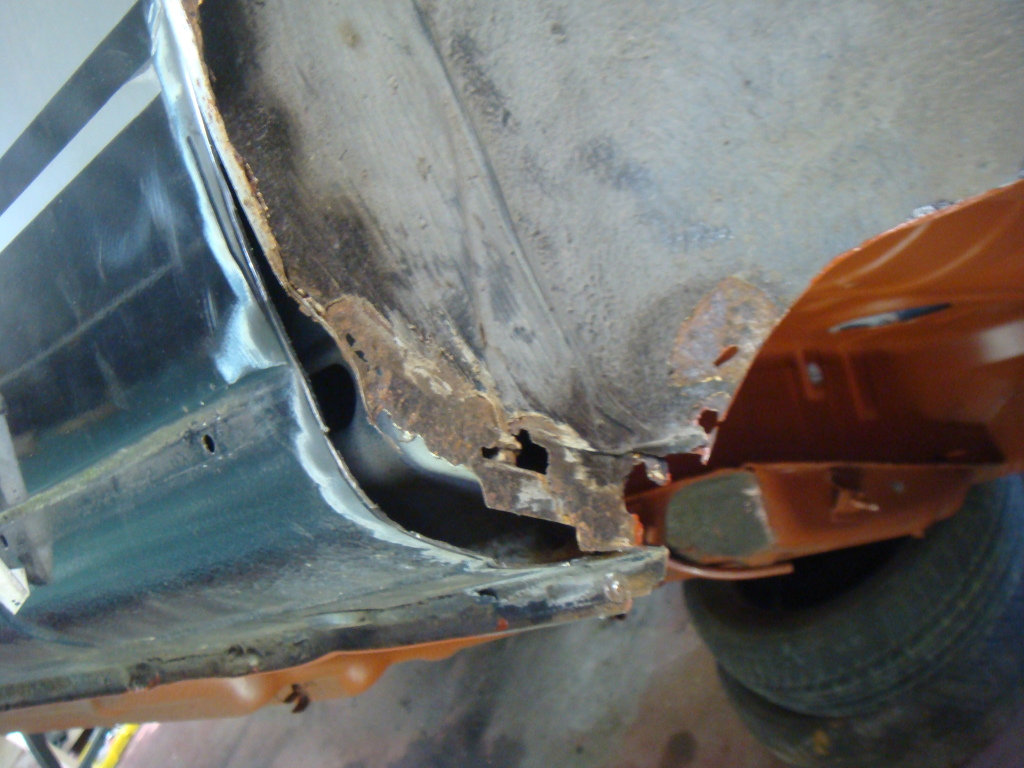
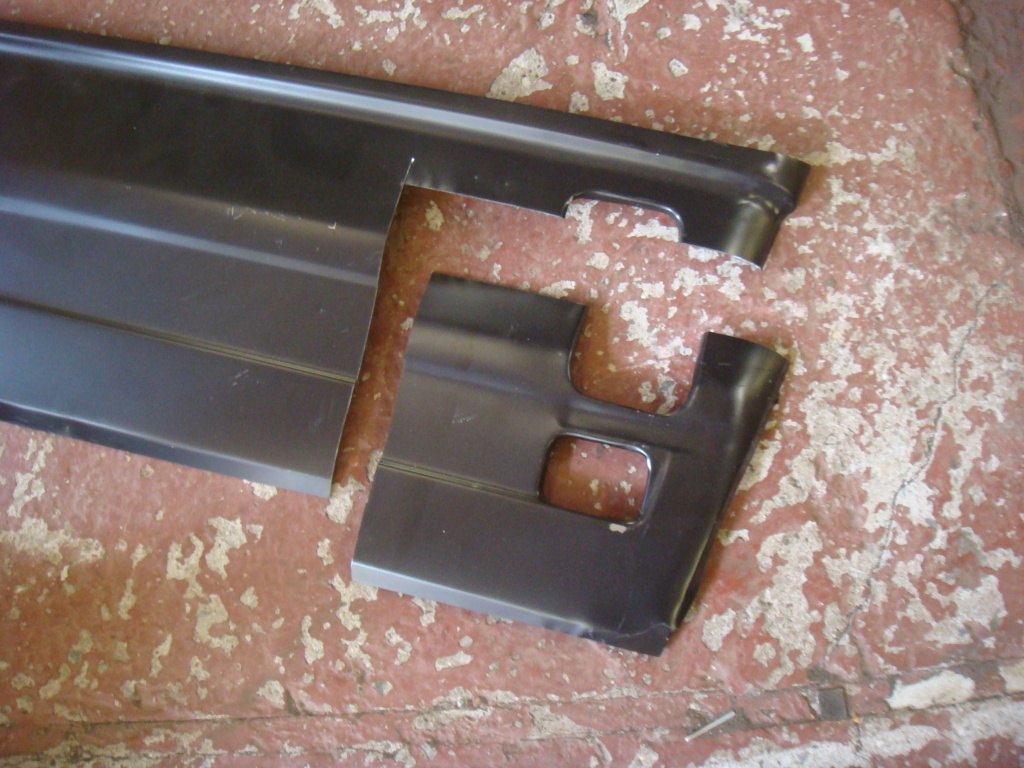
N/S inner rear arch…
N/S rear panel…

O/S…

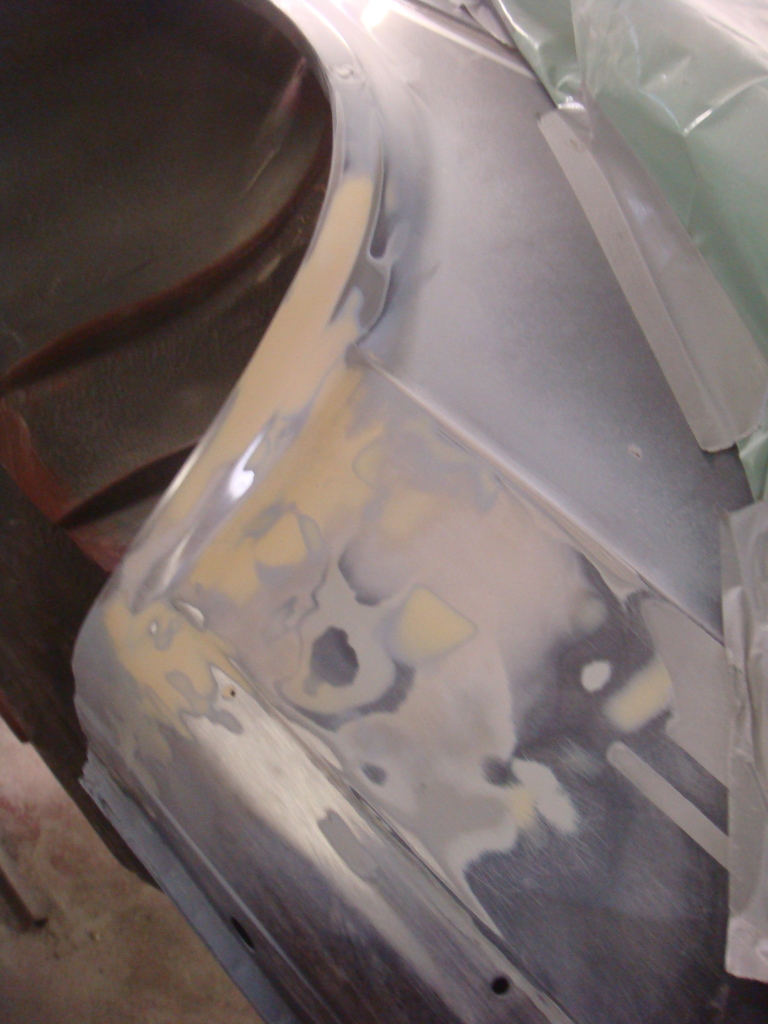
Wont need to replace who rear panel, ill just use a lower repair panel and cut the corners to fit.
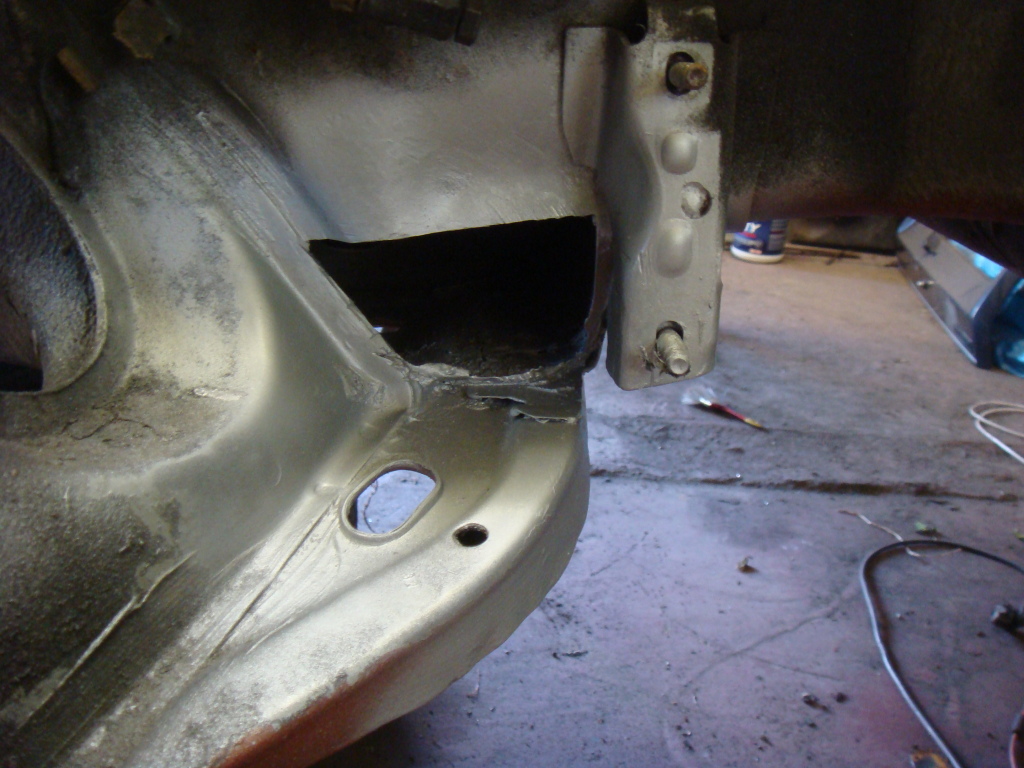
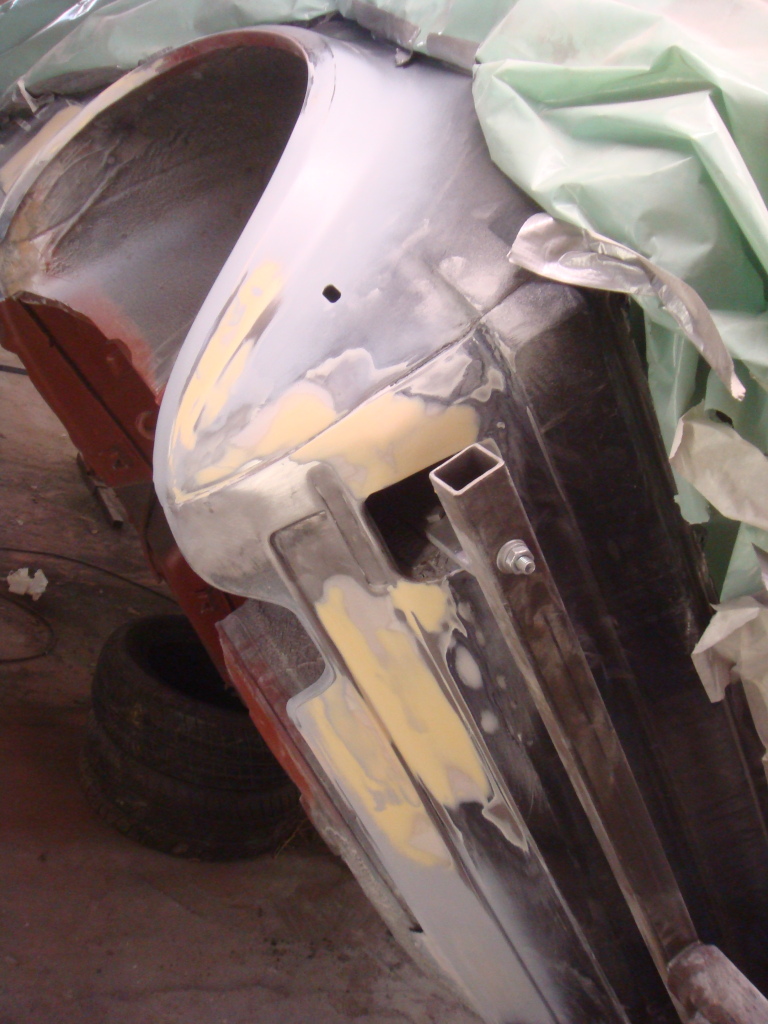
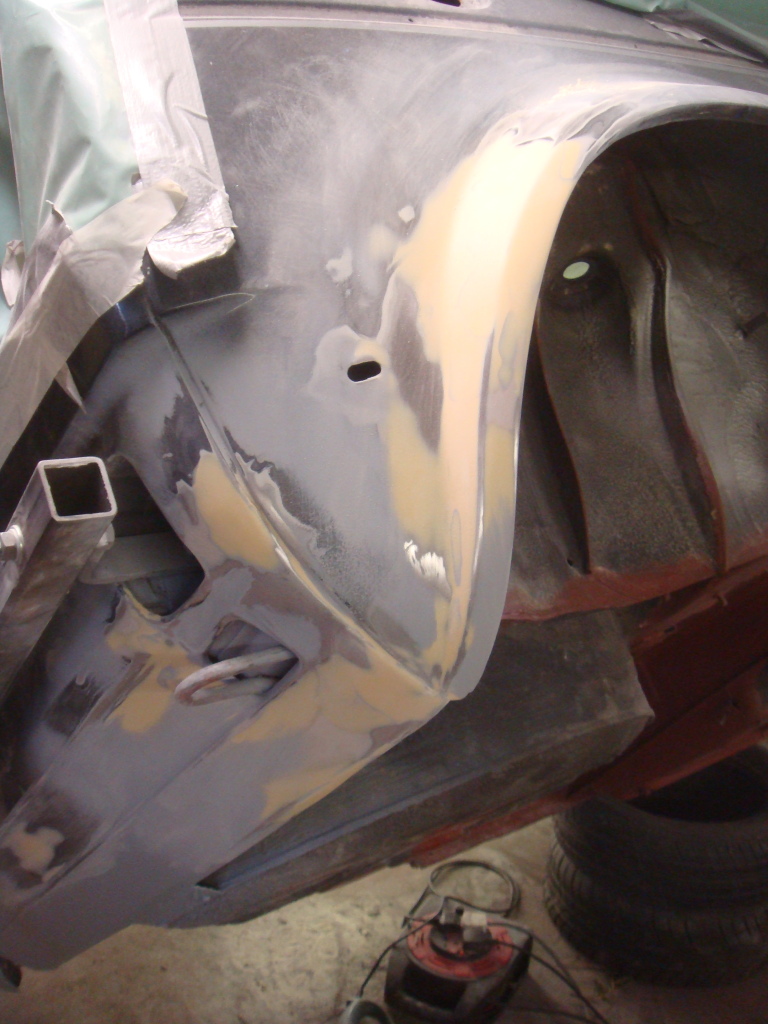
Some rather dodgey repair work to the bulk head/ O/S wishbone mount…

and sills…
Nothing too bad, rest of sills look good so will just need to redo these repairs properly.
Posted
Settled In
Then treated the surface rust spots which I had cleaned back with a wire brush on the angle grinder with rust cure, then gave it all a coat of red oxide primer.
Then started on the rear axle beams and under tank area…
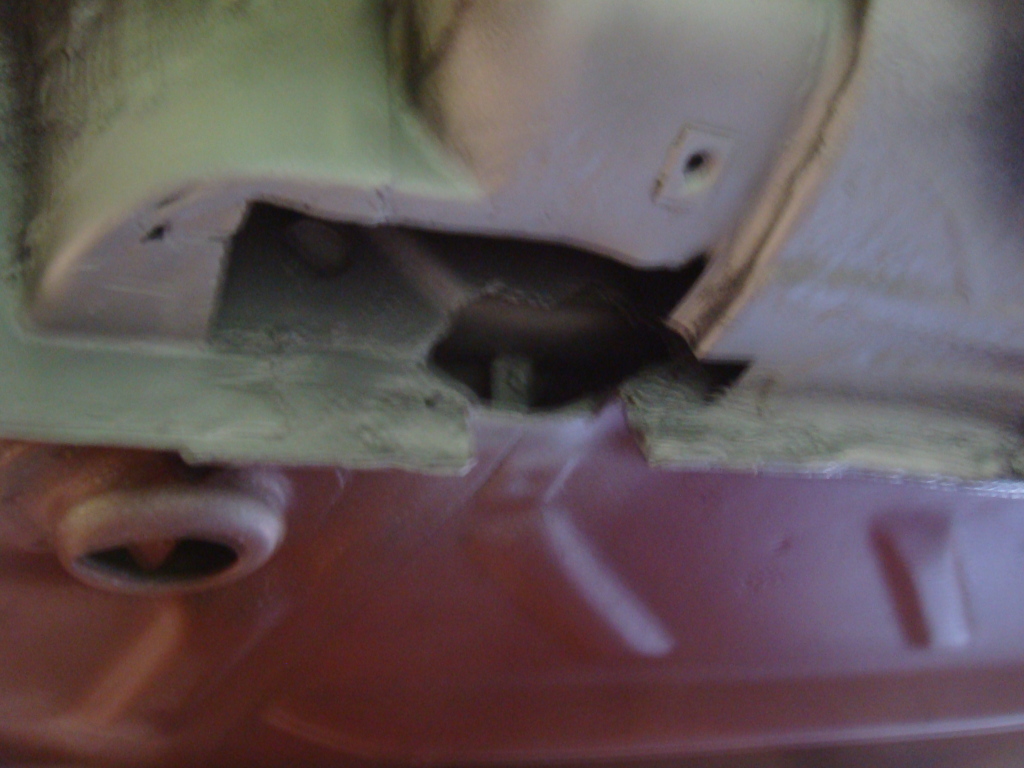
All pretty solid apart from this little hole in the O/S rear axle mount…
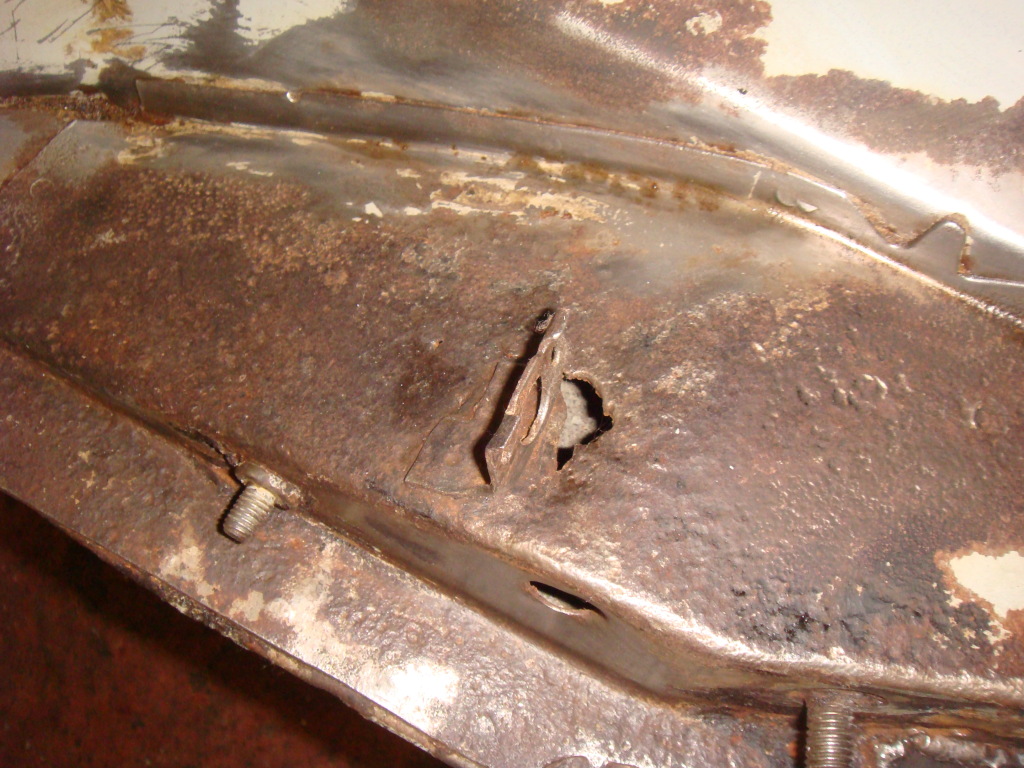
Should be a straightforward fix. No need to replace any panels down here
Rear end all ground back and treated with rust cure…

I didn't take the whole lot back to bear metal round the spare wheel well as I didn't see the need. All was very solid, the bits I have done were very tiny spots of surface rust, but thought better get em' while im here! Also the seam sealer/rubber stuff or whatever it is VW used from the factory is like an inch thick in places! Right pain the arse to get off!!
Then I cut away the rusty sections of the rear panel to gain access to the bits I couldnt get at…

Then gave it all a coat of red oxide…

Posted
Settled In

while the grinder was out, cut away a few more problem areas…


A few more holes found in O/S tub, also cut away the repairs on the inner wing and sill on the O/S…
Round the fuel filler neck looks okay though
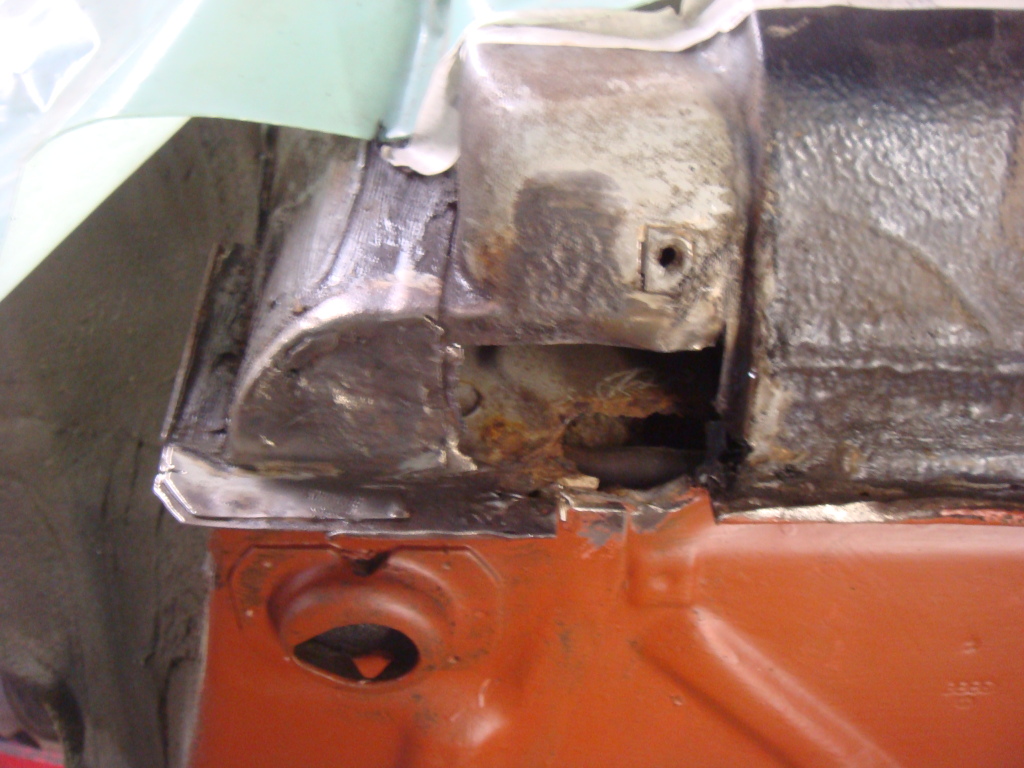
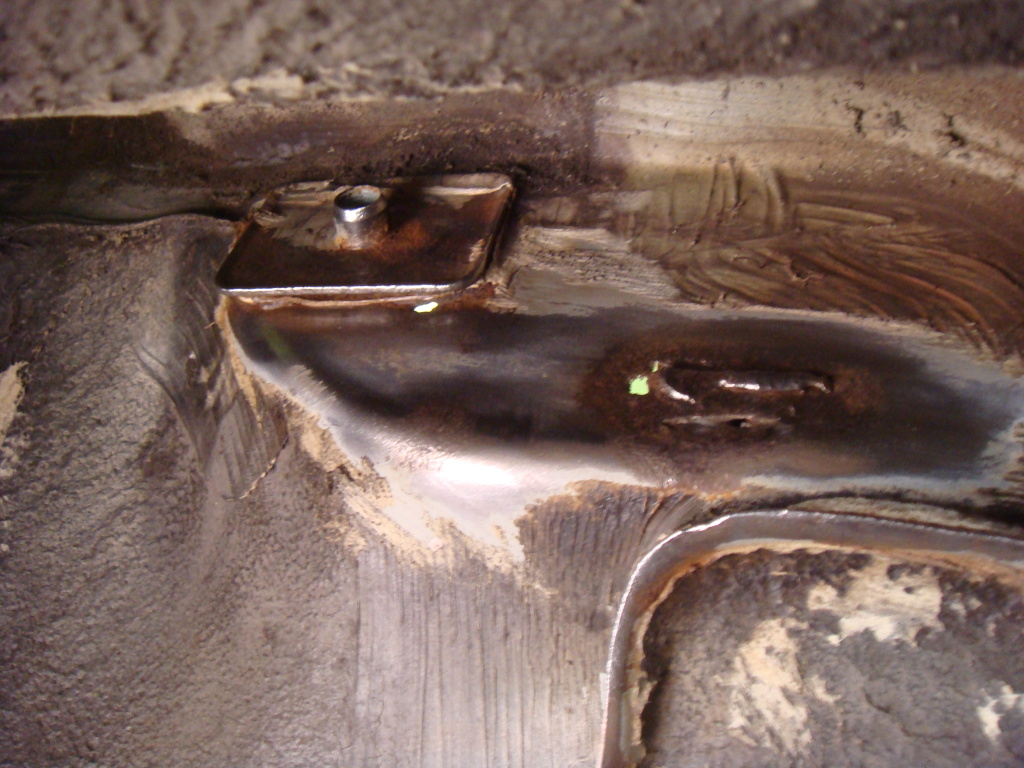
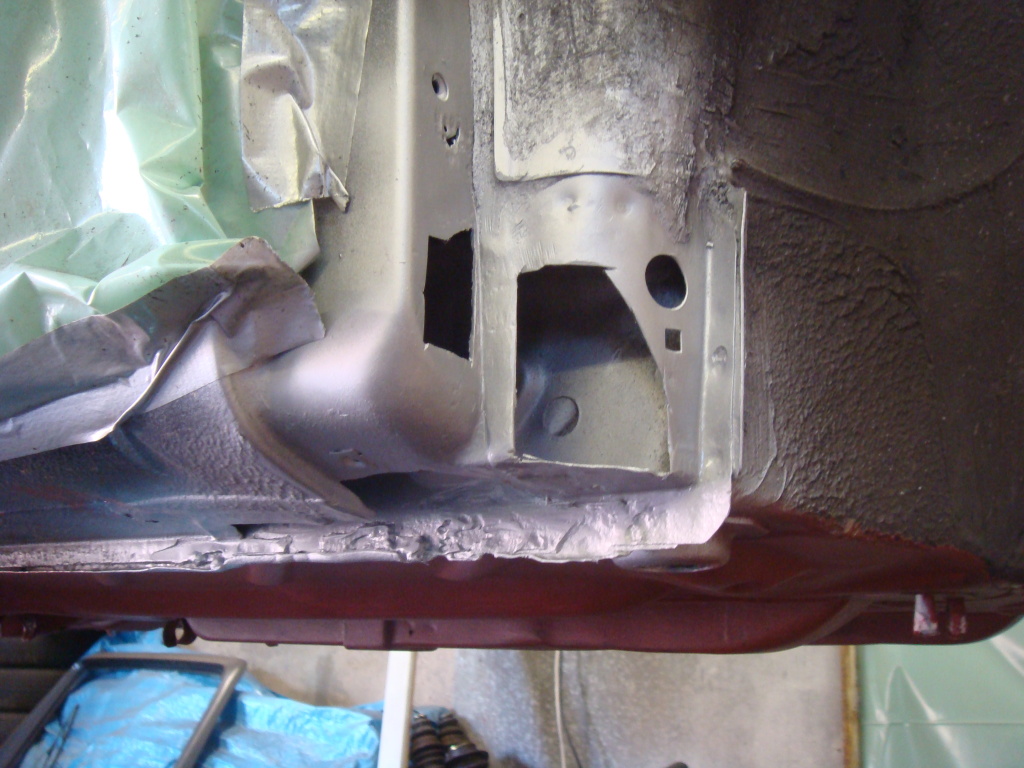
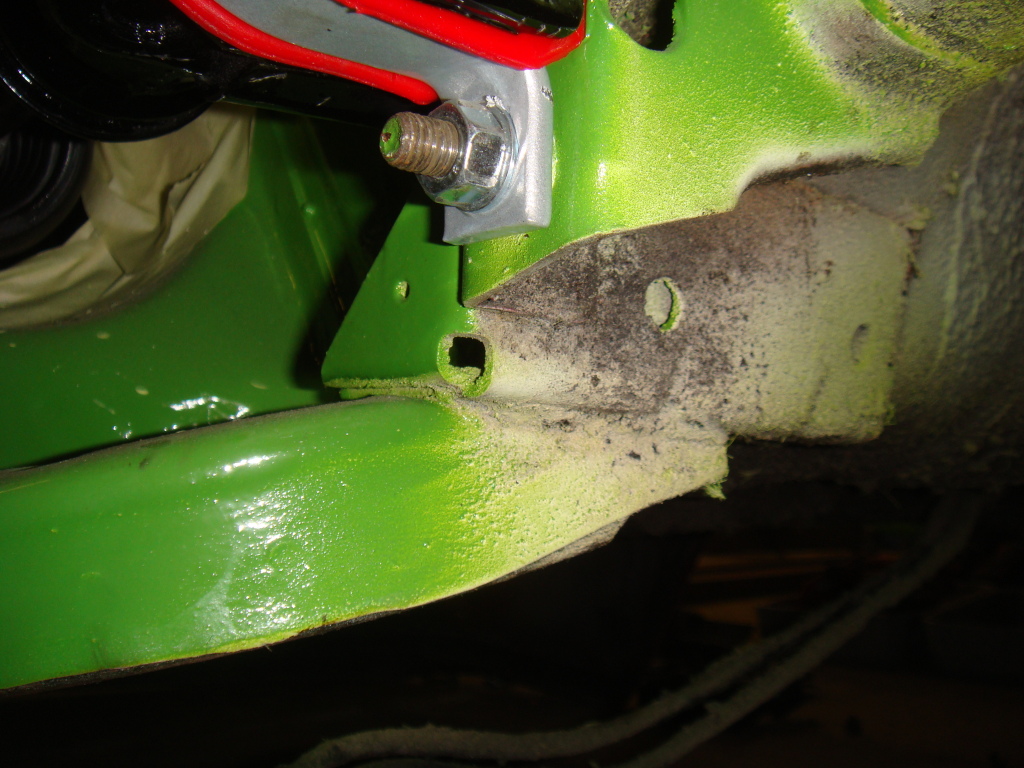
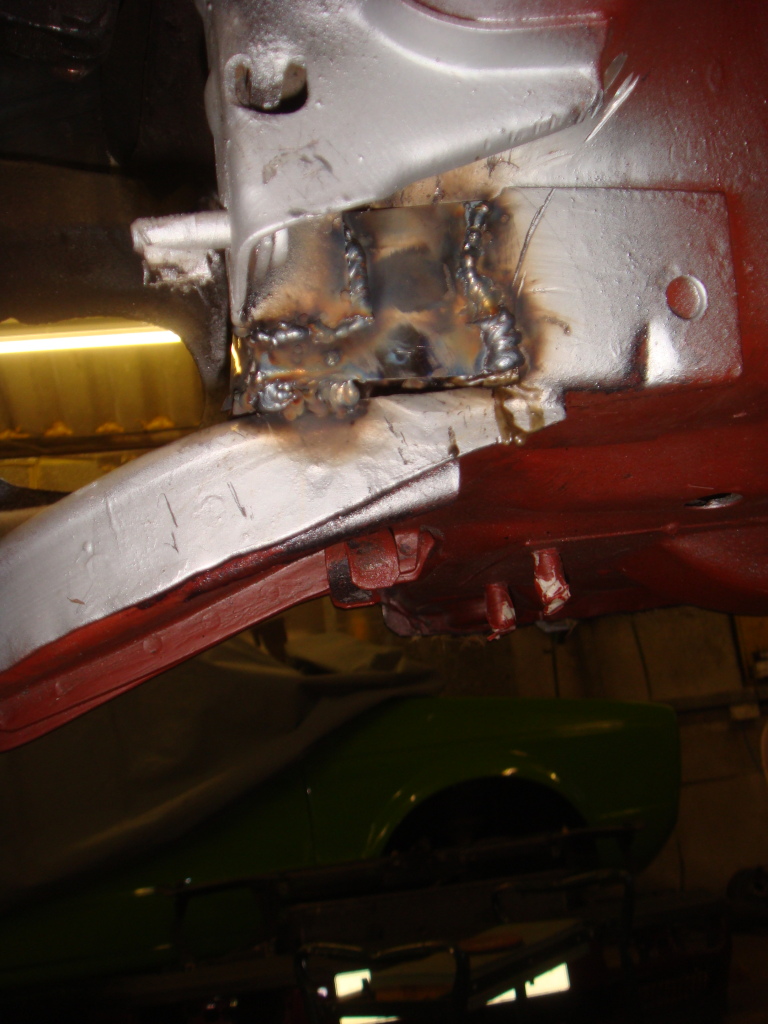
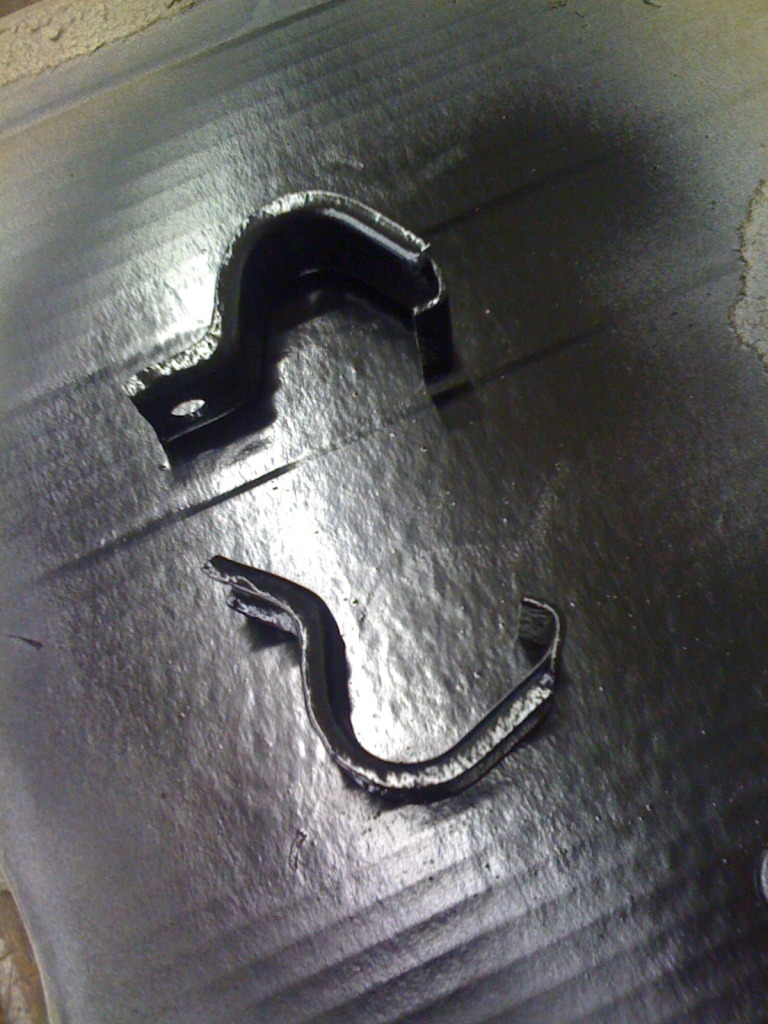
Then came across this mess where the front O/S wishbone mount meets the bulkhead. There should be a bracket here with a hole for an earth strap! 8O
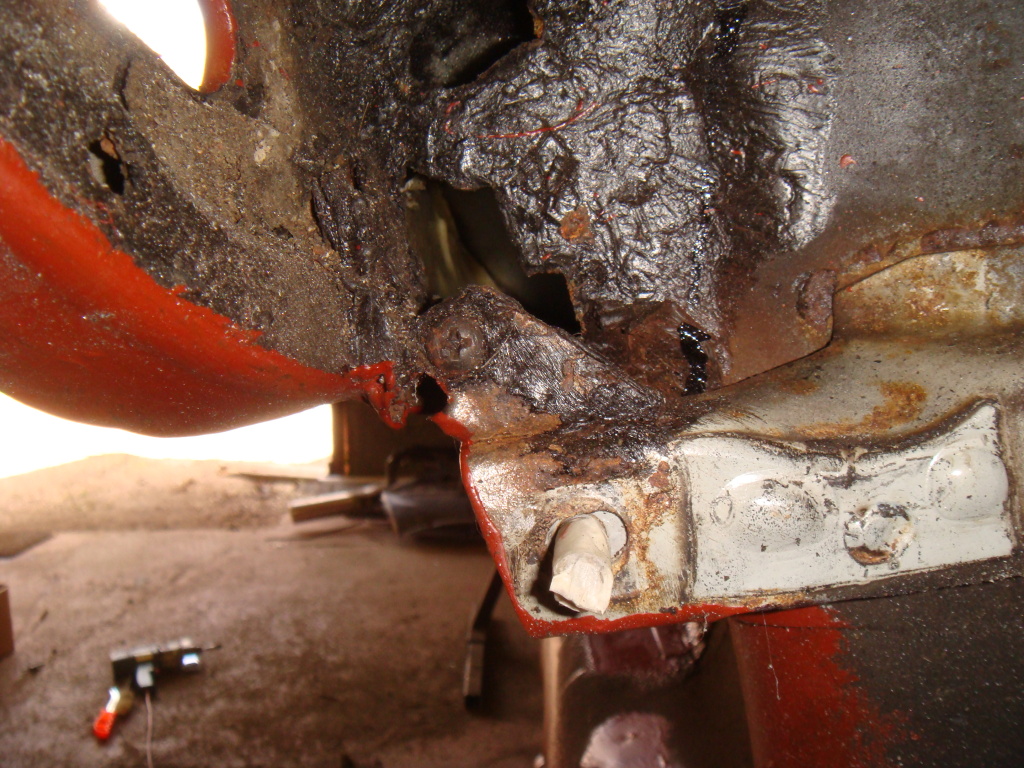

Cut out and given a coat of weld through primer…
Come back to that later! :roll:
Rear end tidied up ready for welding…
And the rest of the holes ready for new metal…
Posted
Settled In
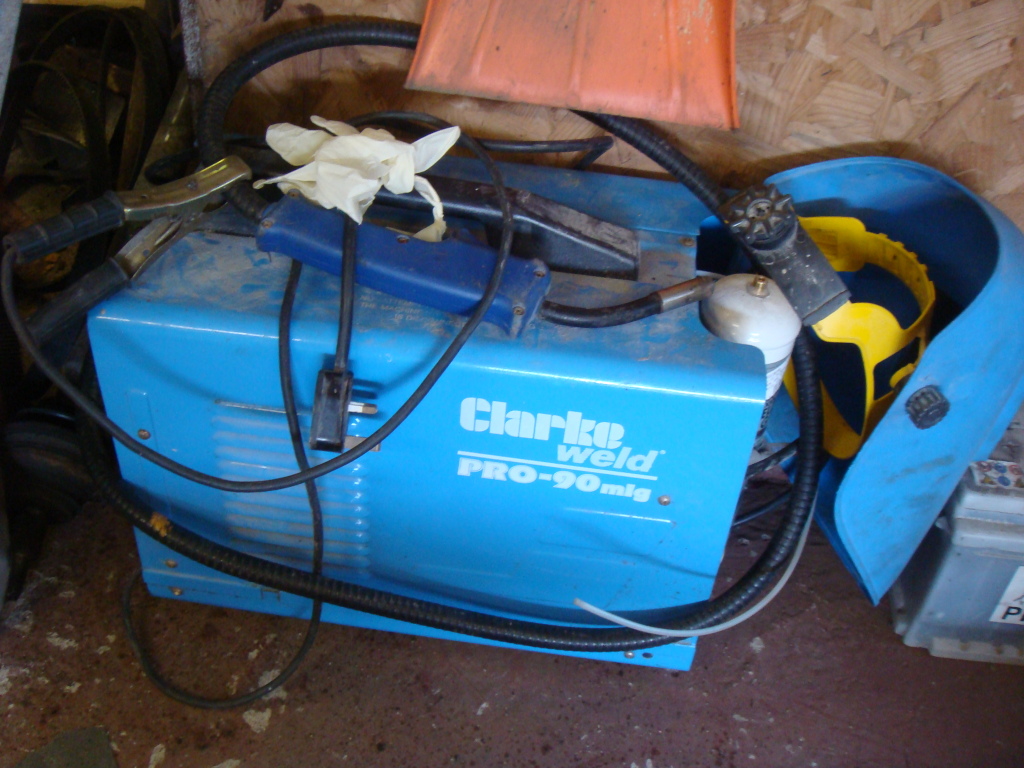
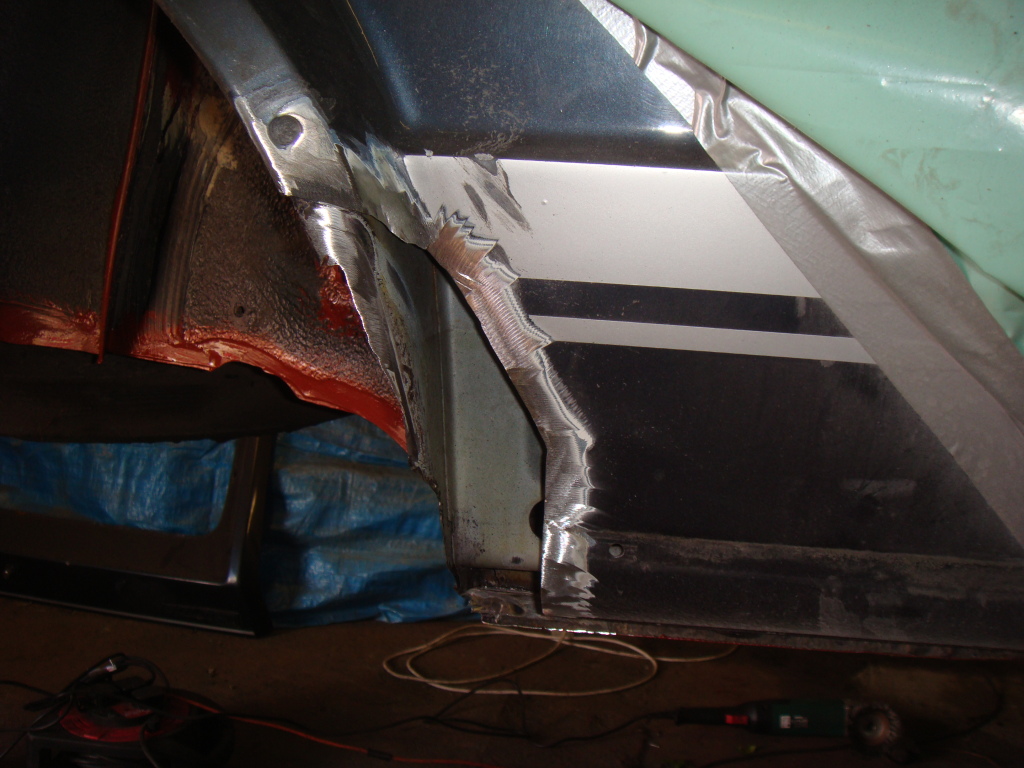
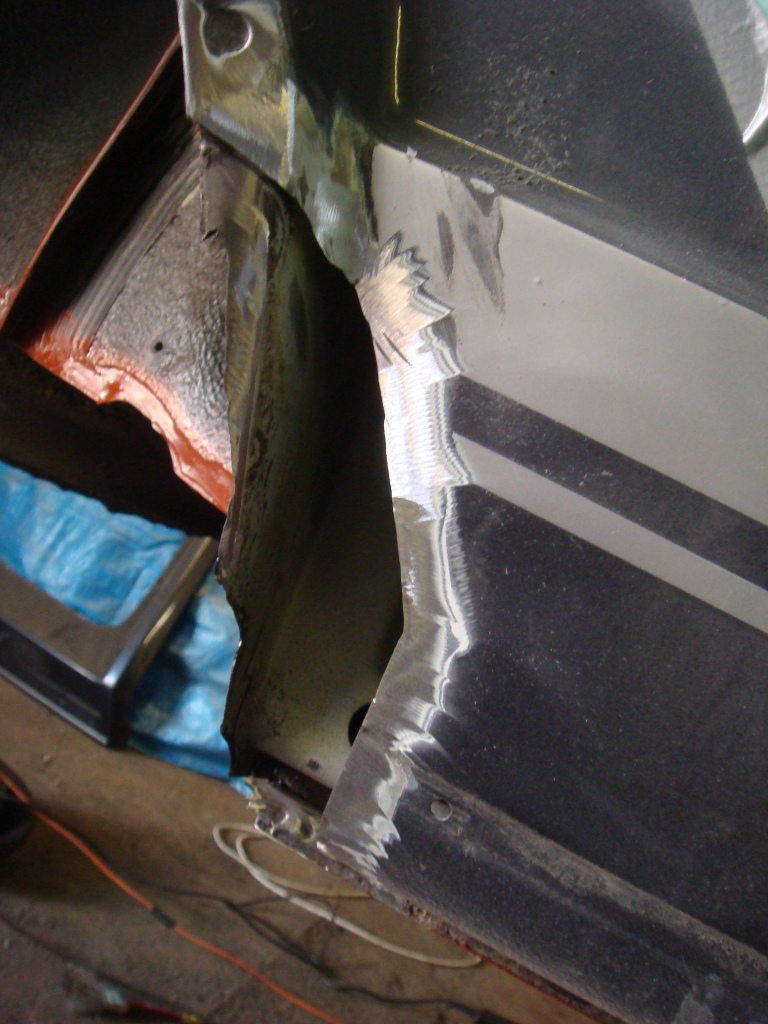
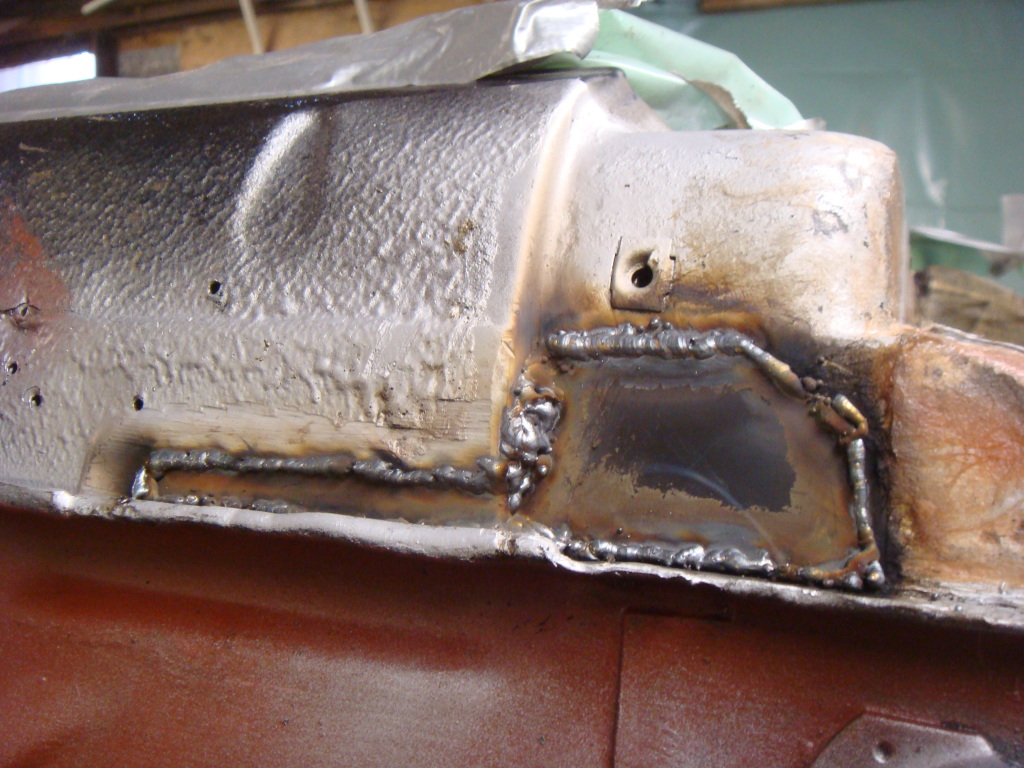
Let the welding commence! This was the most intimidating part of the project so far 8O I have never welded anything before! But decided to take the job on after my mate who lent me the machine said it was 'easy' :dontknow: After a good few hours of playing around with the welders settings and practicing on old panels I had lying round I felt sort of confident :roll:
Anyway, here are the results. If anyone has any advice for me and my welding please let me know! I still have to get the front panel on and tackle that horrible hole round the rear O/S window

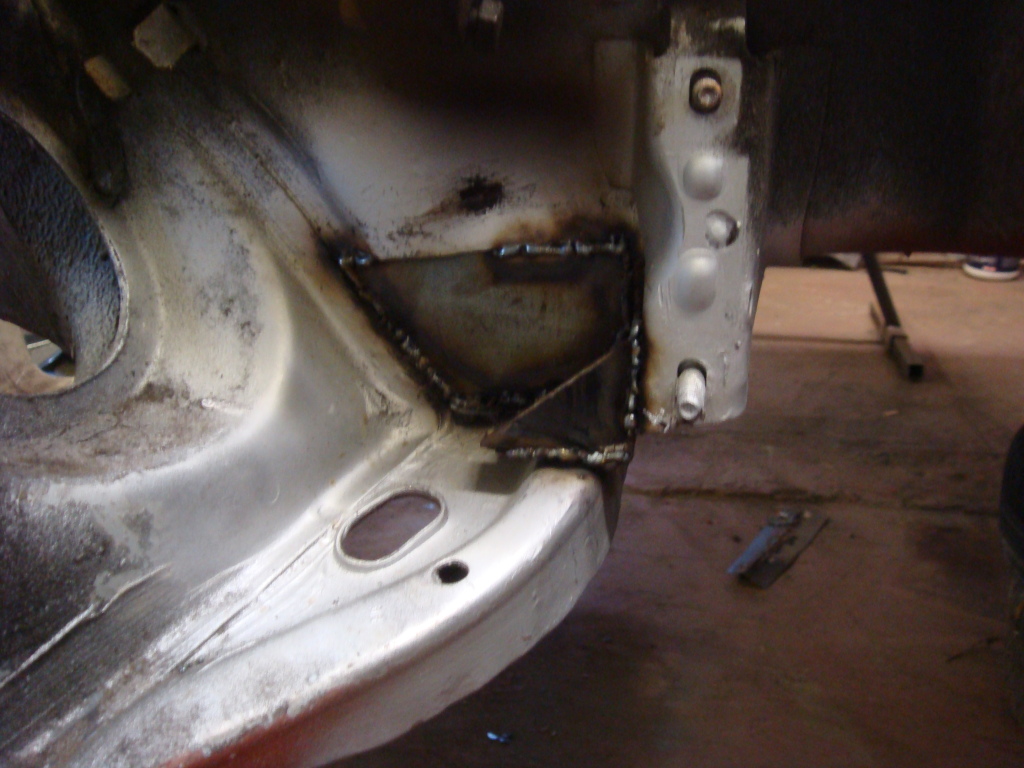
O/S inner wing…
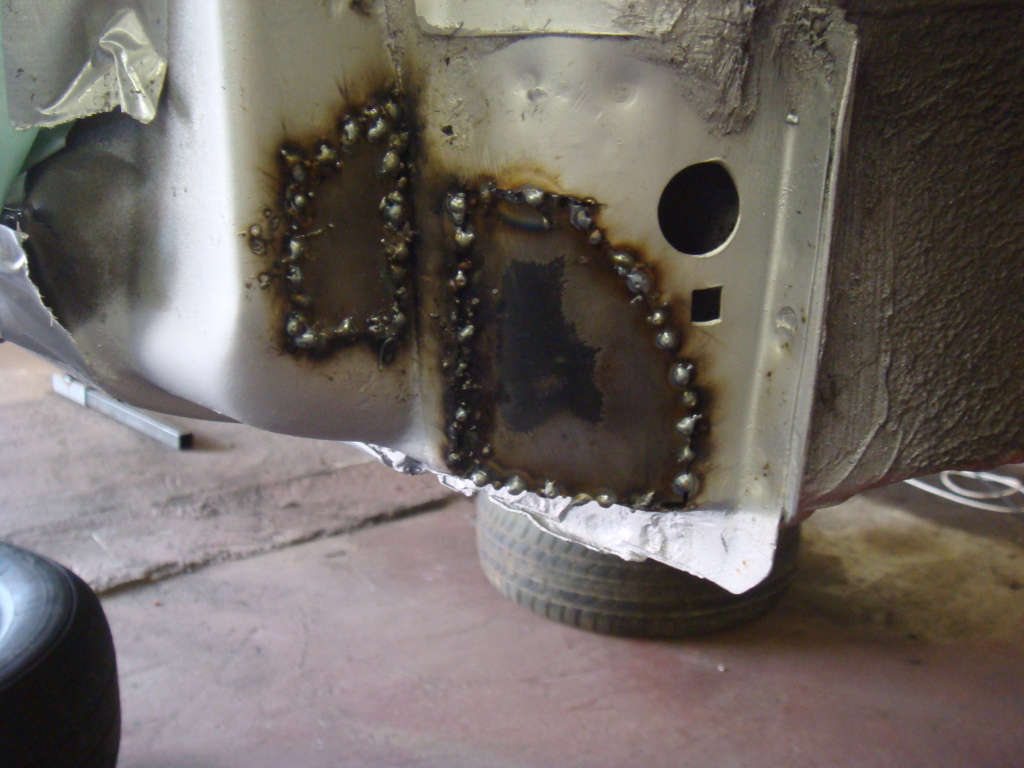
O/S rear axle mount…

O/S sill…
I then came back to the O/S wishbone mount…
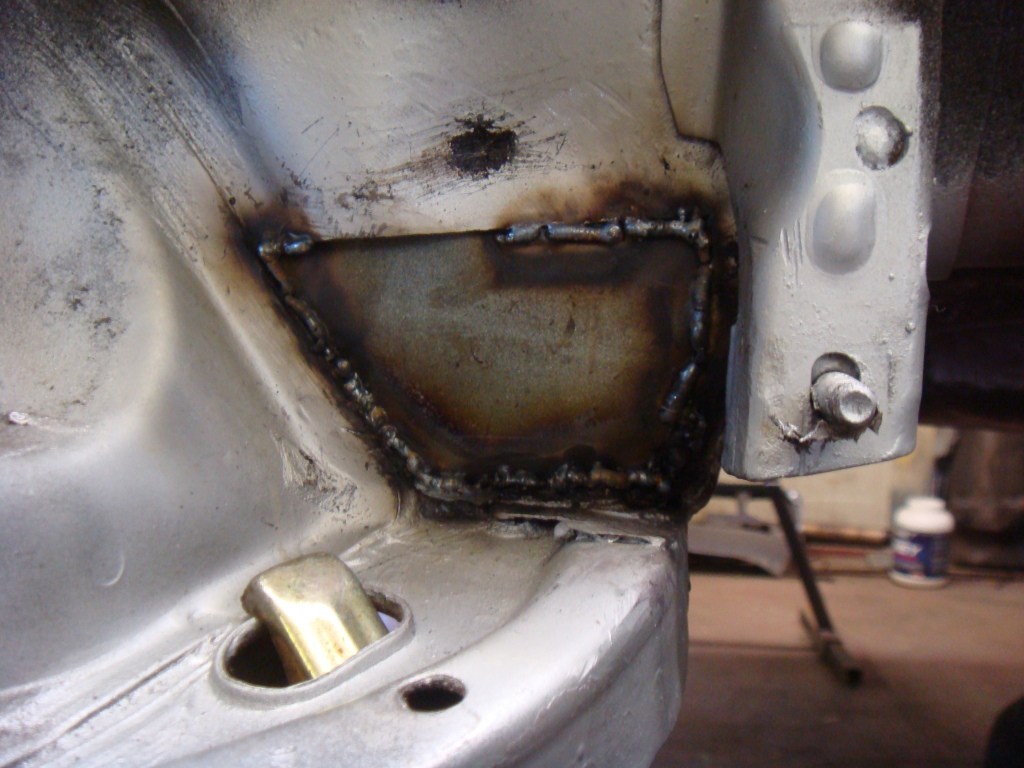
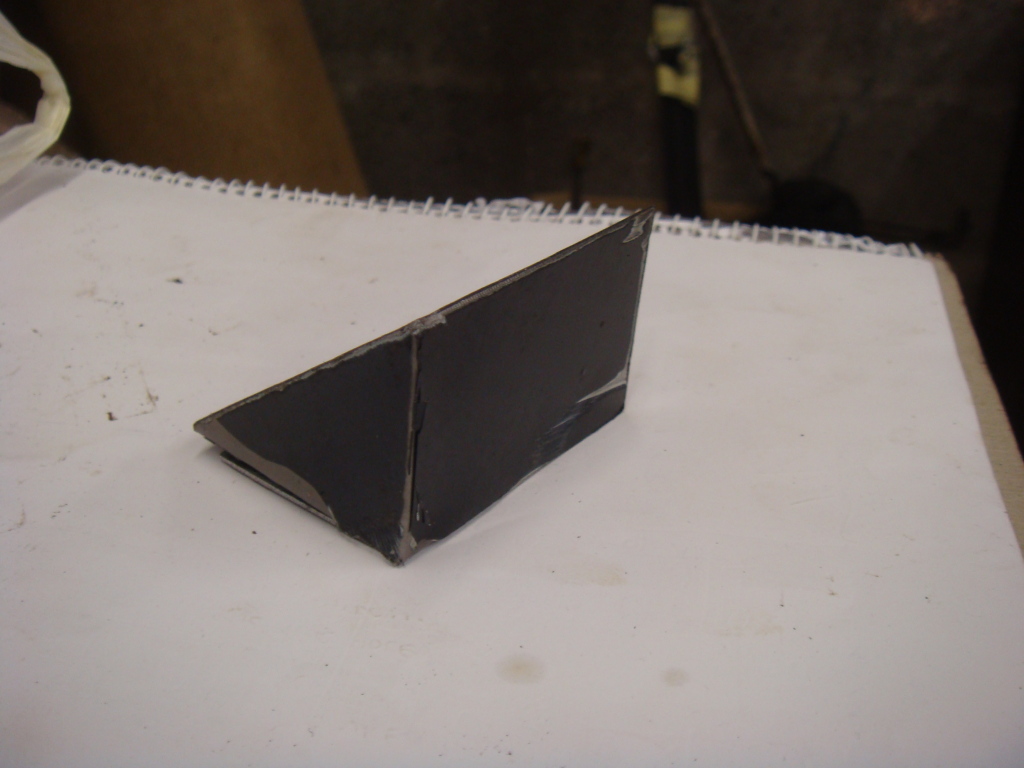
Took a photo and a few measurements of my mates one so I could work out how to fab up another bracket for the earth strap…
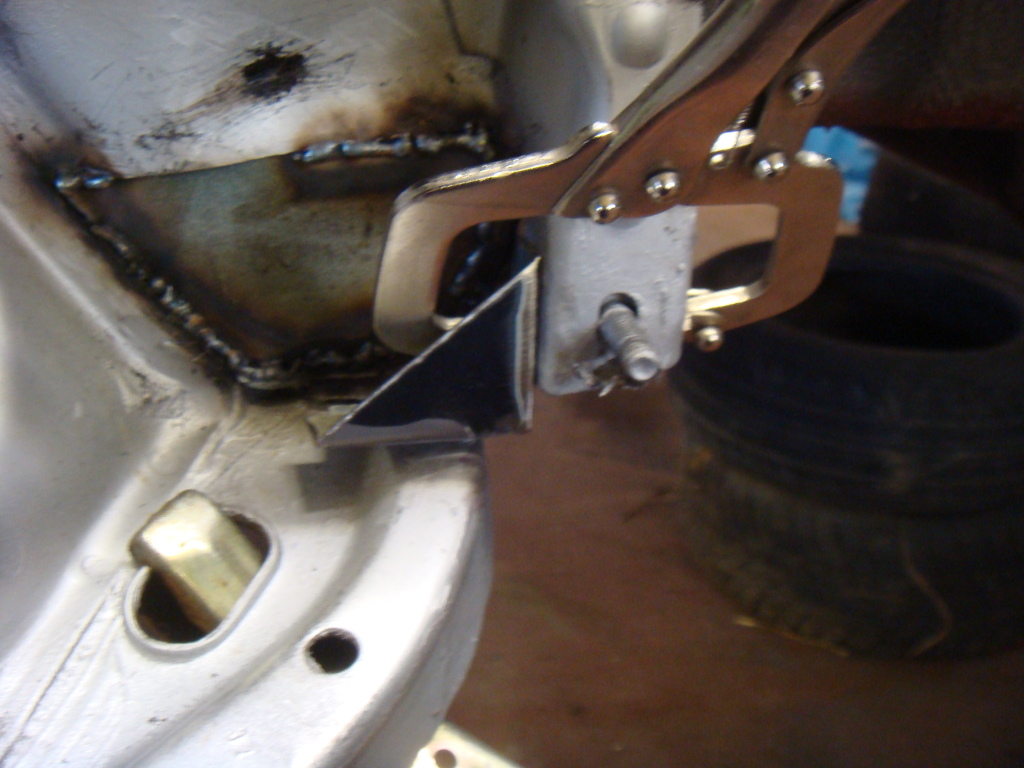
After bit of fannying around, came up with this…
Then tacked it in…
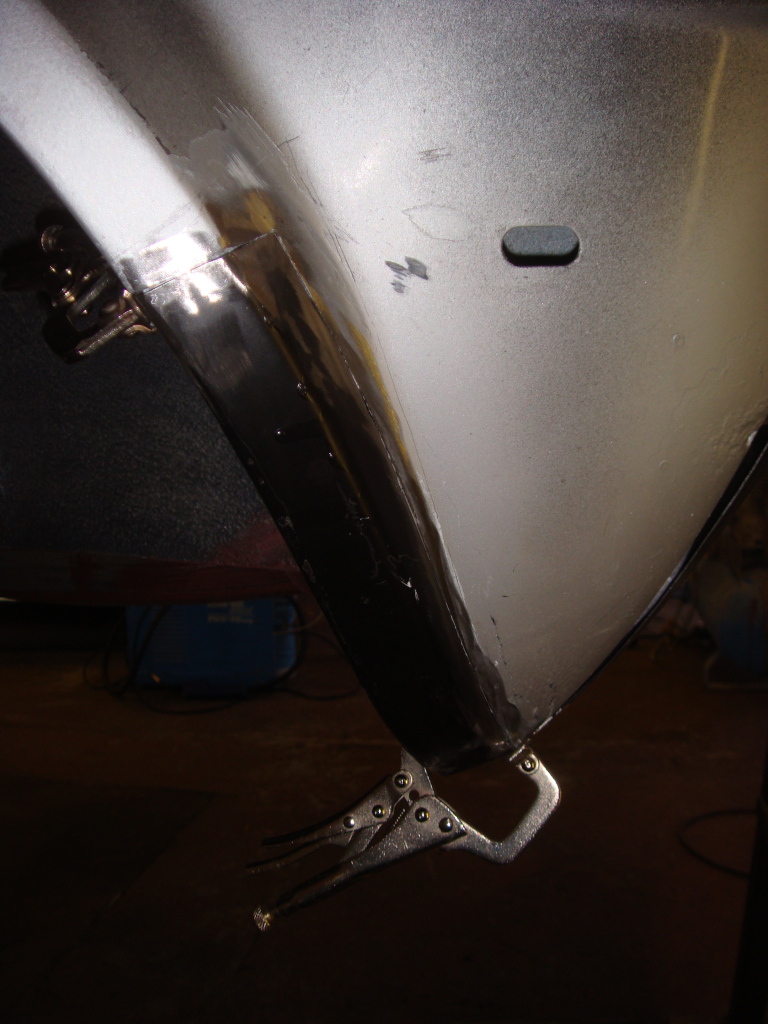
Then moved on the the O/S rear panel…

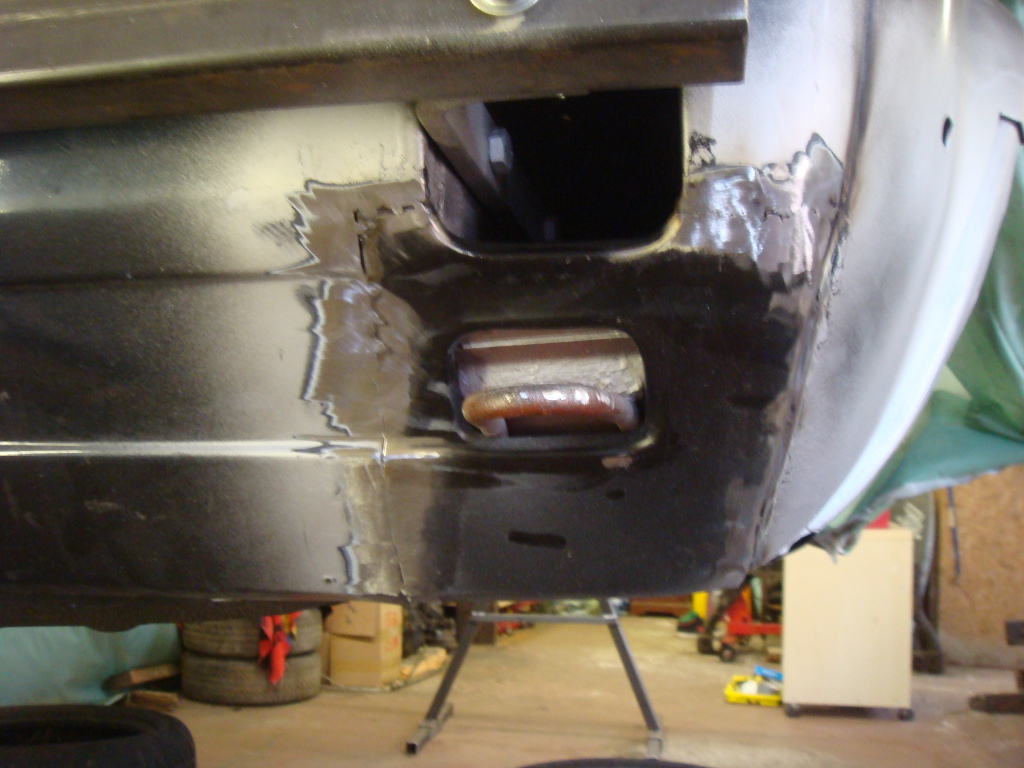
Then the N/S
Then moved on to the rear arches…
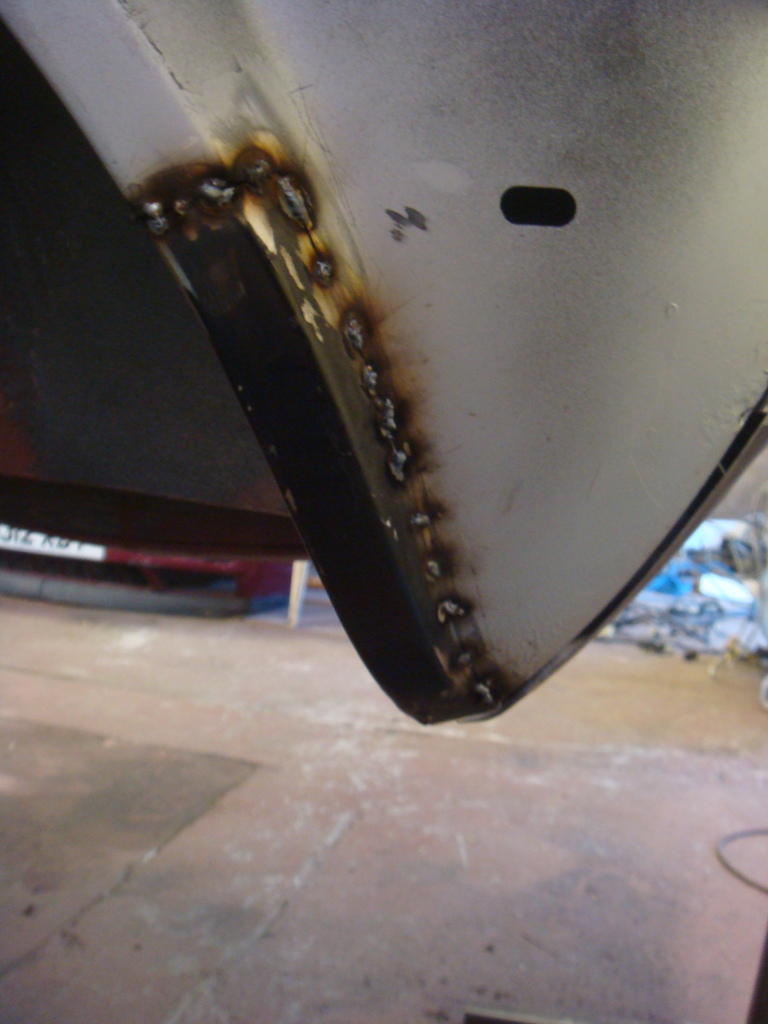

For some reason I dont have photos the O/S front section of the arch. Anyway, after grinding back, started the arduous task of fillering and blending in.


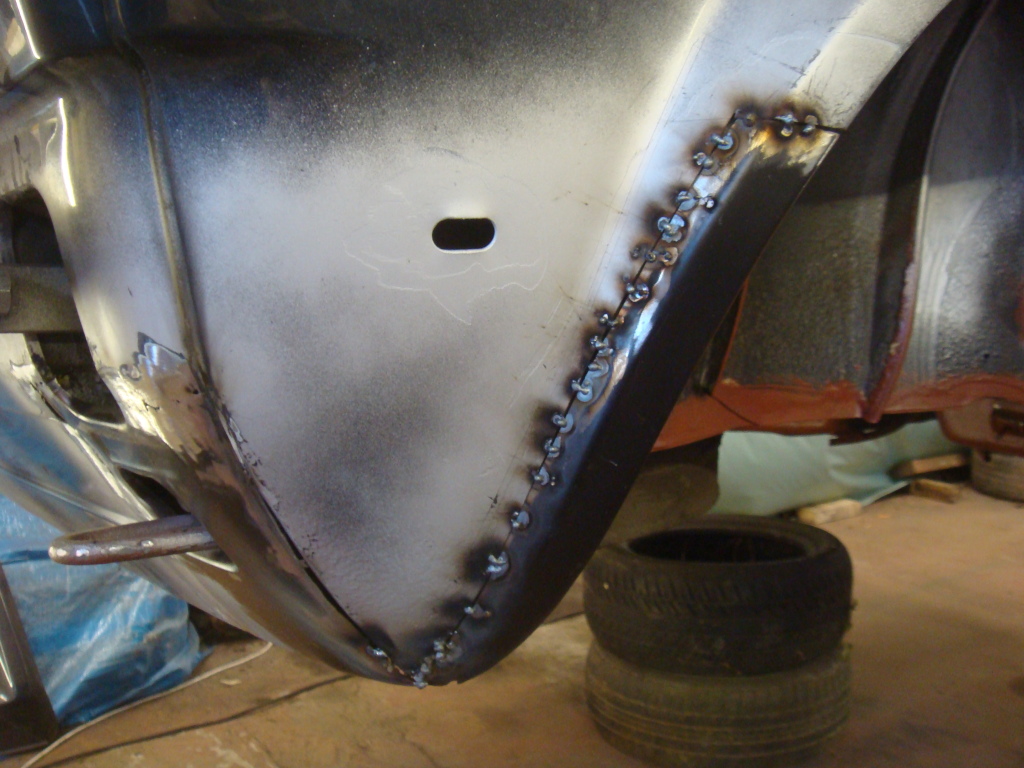
And then in primer to find the defects, then more sanding
, then more defects, then more sanding and so on, until…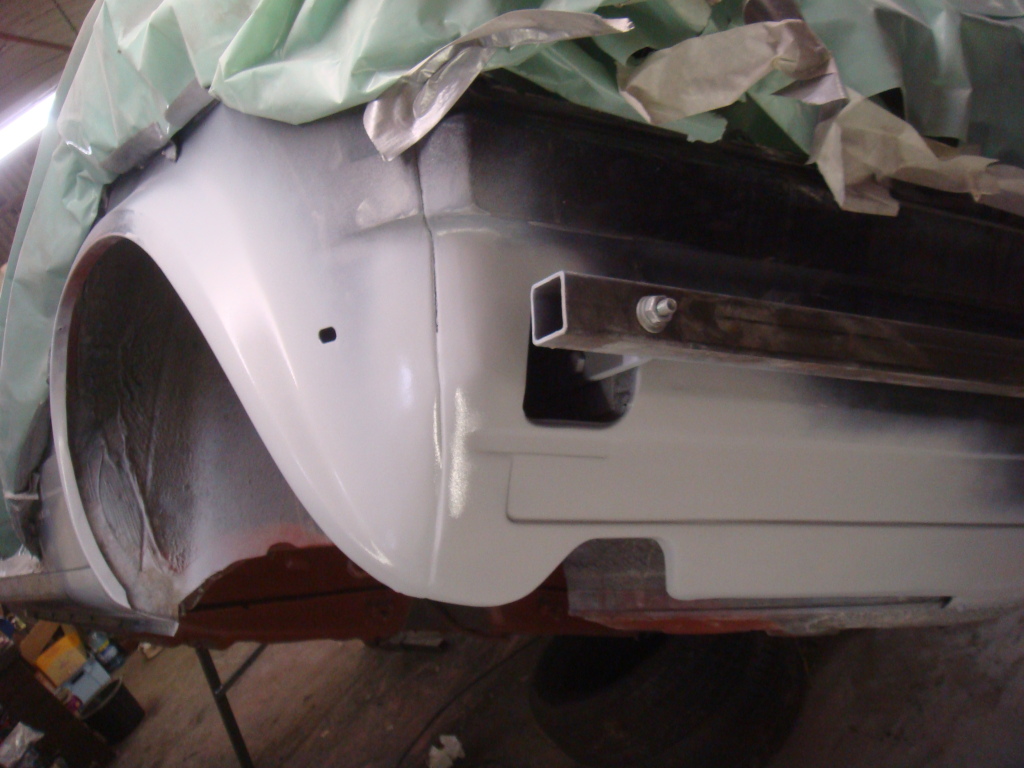
Once the arches were and sills were all welded up I stripped back the stone chip on the sills and coated everything in red oxide..
Did the same to the other side too. Cant find a pic of that though!
Did do a bit more stripping back with the angle grinder and steel wool head, then finished off with more red oxide, didnt use red oxide on the bulkhead or engine bay, this will have a coat of etch then a good few coats of high build…
Once it was all dry, I gave it all a coat of grey metal primer ready for the stone chip and seam sealed all the seams…
Then masked off the whole car and sills and sections of rear panel I wanted to stone chip…

and bottom of engine bay…

Made a temporary spray booth in my unit using plastic sheeting…
Stone chip and underseal/stonechip gun…

I strongly recommend warming this stuff up before use!! I placed cans in a bucket and then poured boiling water over the bottoms of them whilst they were upside down in the bucket.
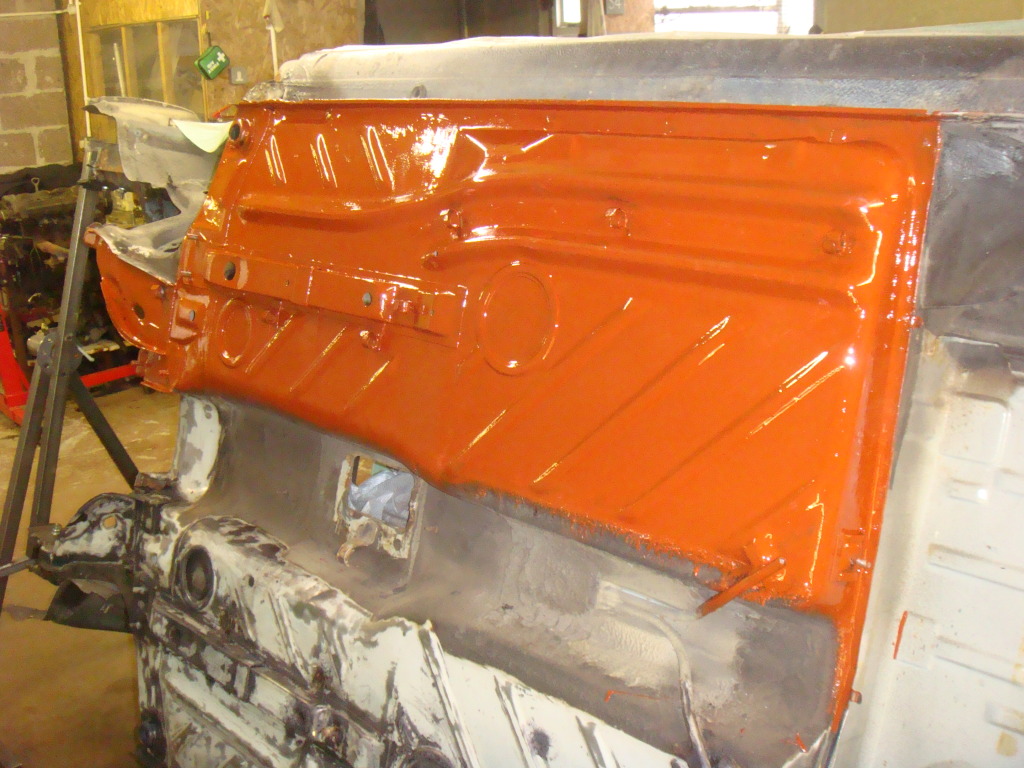
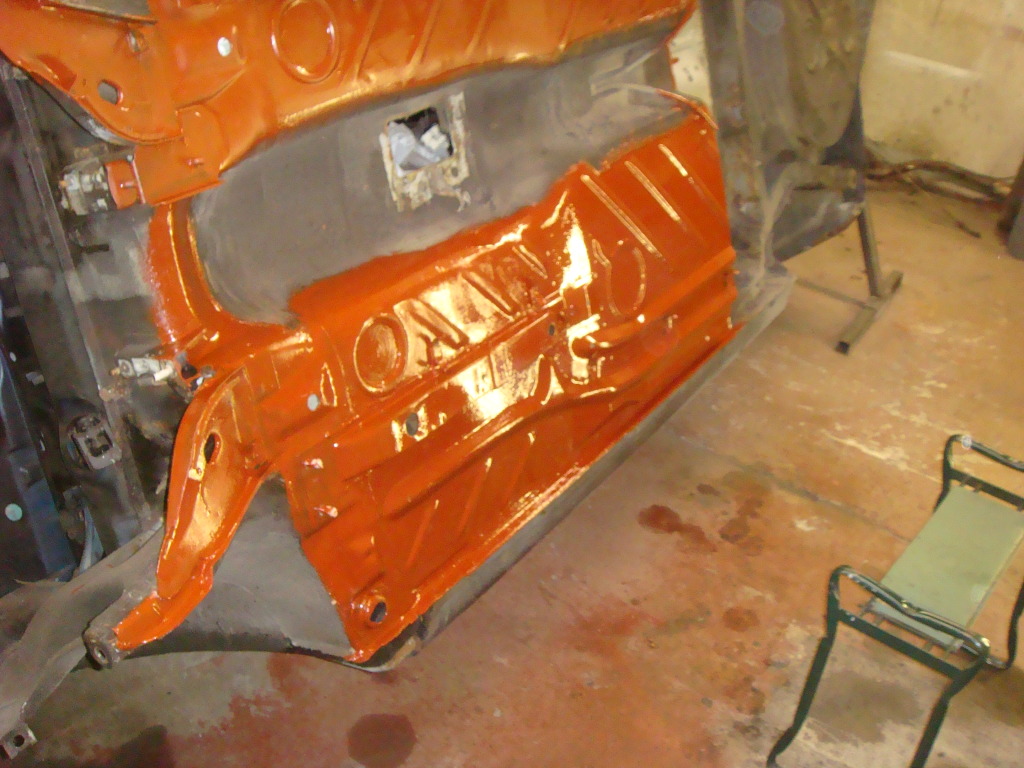
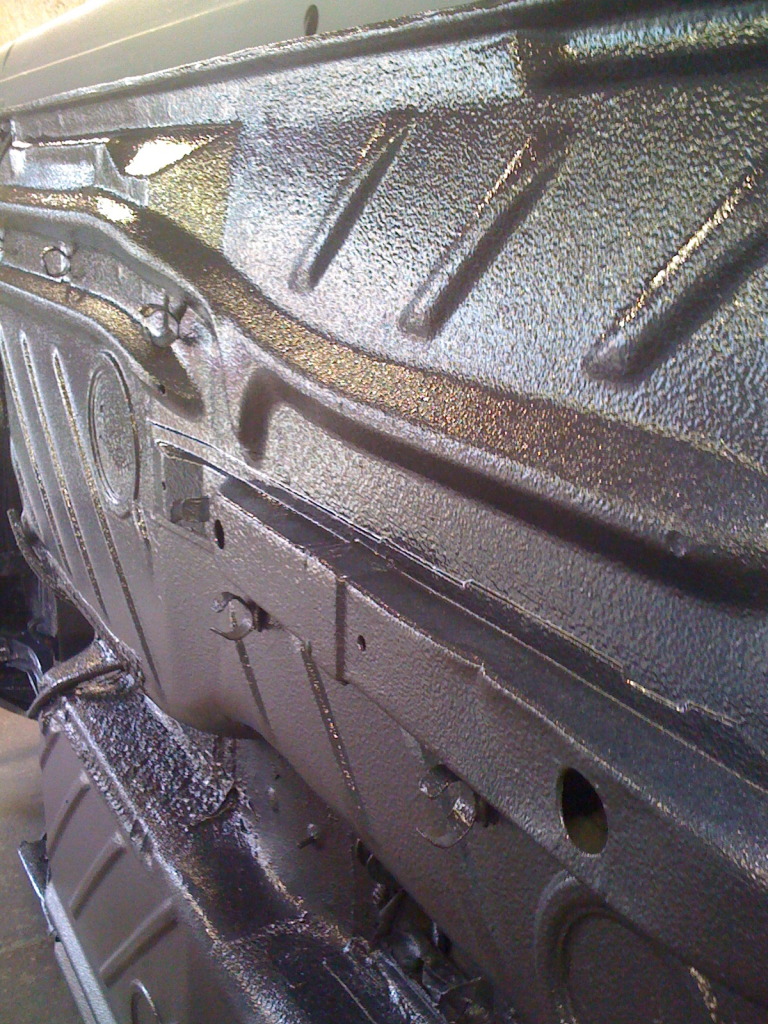
Once the whole underneath/arches/sills etc were stonechipped I moved onto painting the bottom in helios blue base coat which my mate had lying around from a previous project which suffered a last minute colour change choice, so 5 litres of helios blue base coat for free!!
. I used alot more cans of stonechip than pictured, but I wanted it on thick, I think I used about 8-9 cans in total!
Helios blue on…
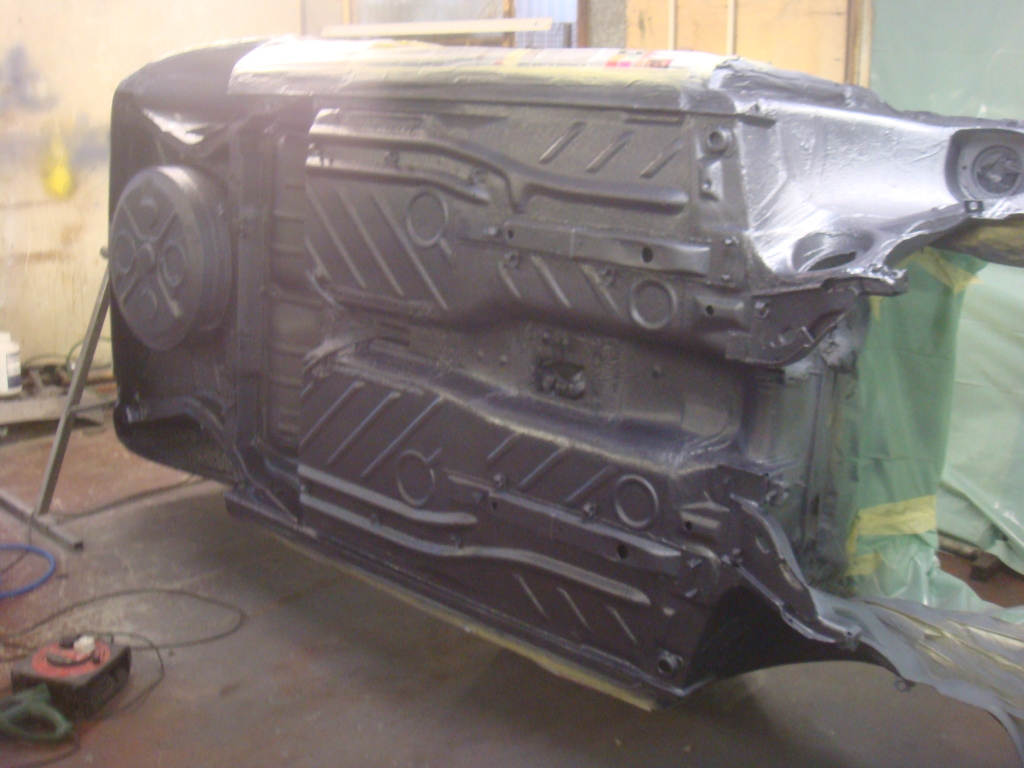

Then for some very generous helpings of 2Pac lacquer, think I gave it about 5 coats!
 Hopefully, all these steps will protect the underneath for years to come!!
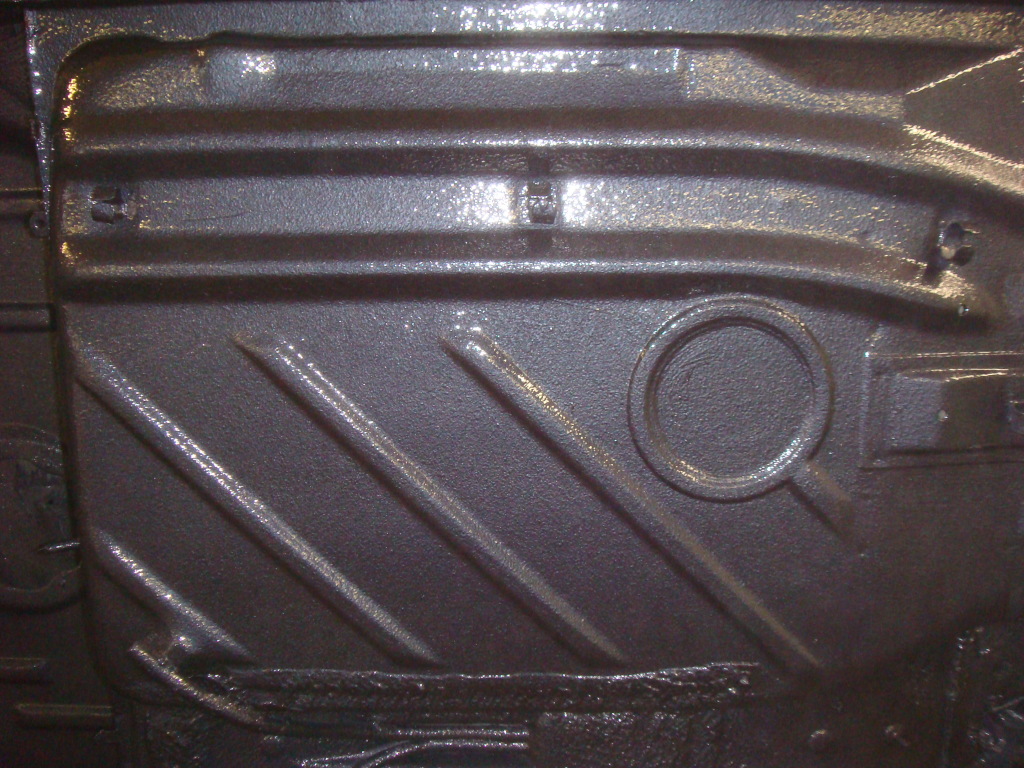
Posted
Settled In

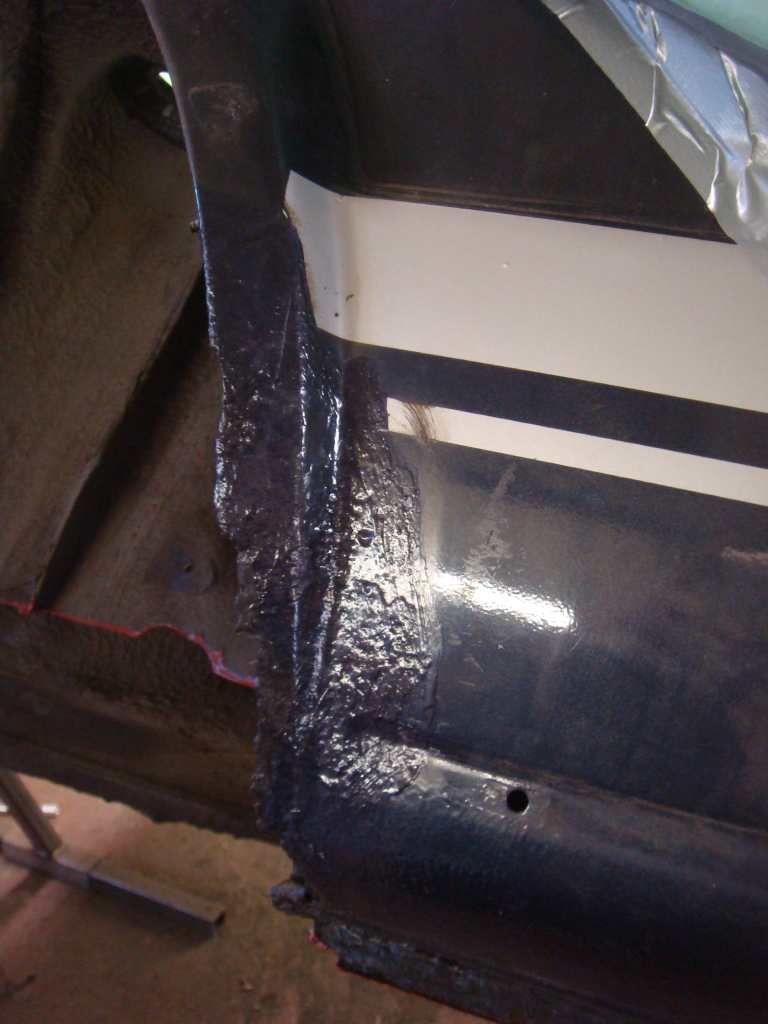
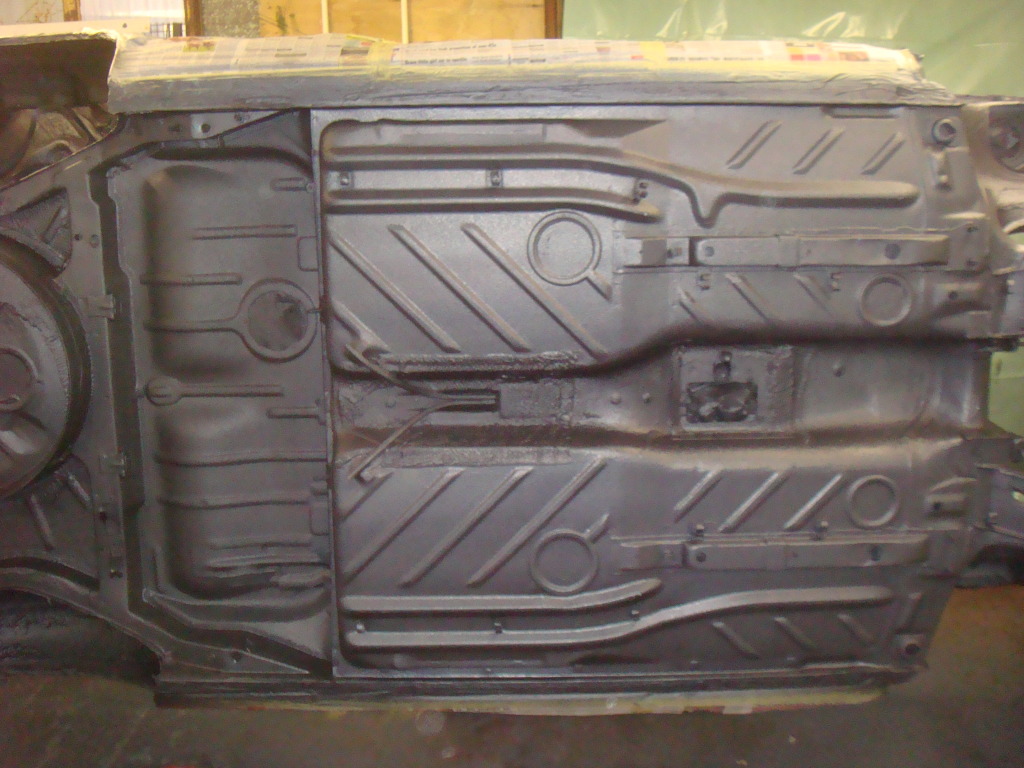
There was a massive dent where some tool had jacked the car up on the sill
managed to pull most of it out before a skim of filler to finish it off. Didnt have to be really neat with the sanding here as the stonechip was going on thick and covered most of the imperfections in my sanding! 8) 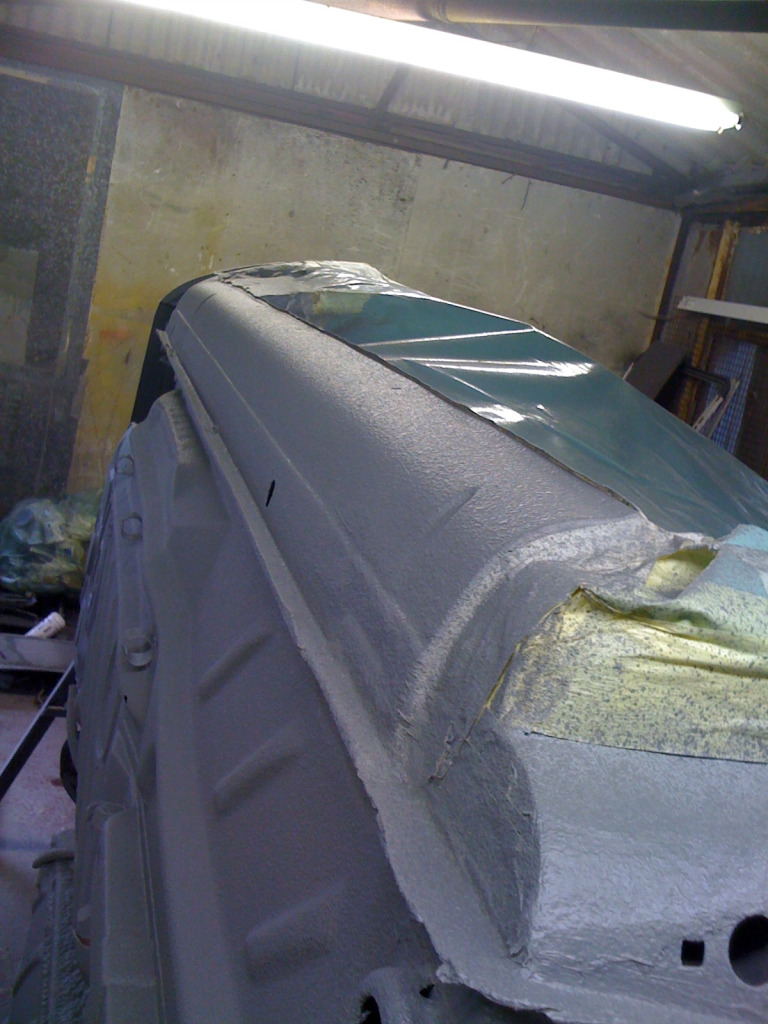
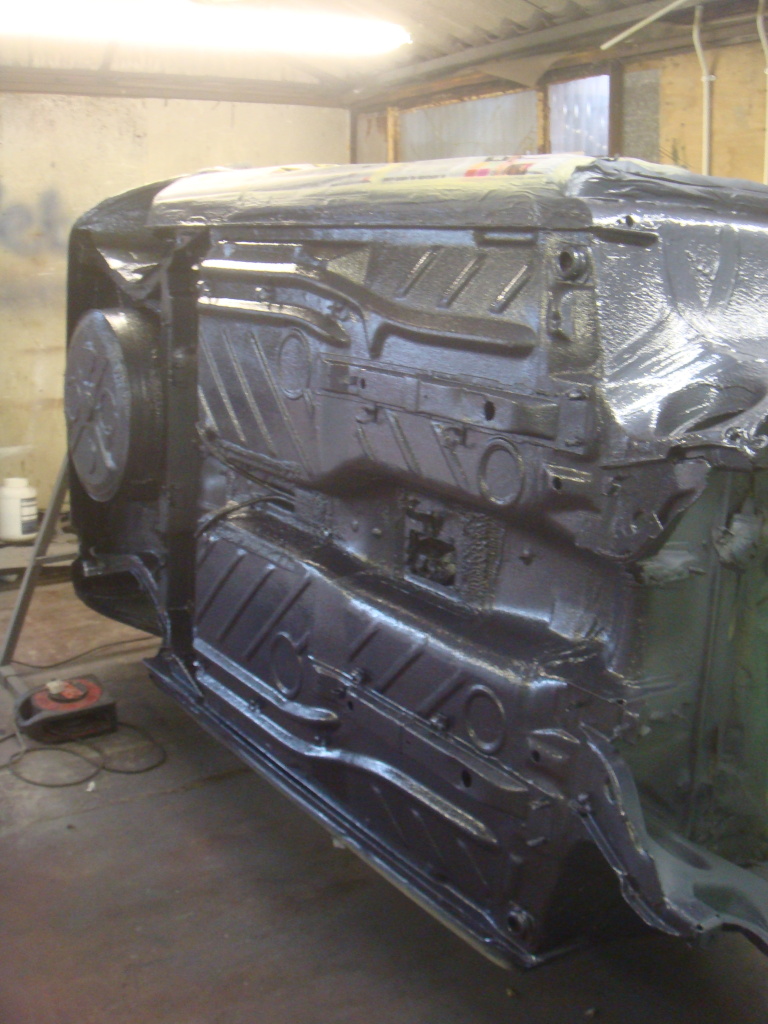
Here's a few more pics of the underneath finished, looks good enough to eat your dinner off!


Due to a hospital stay approaching and knowing that I wouldnt be able to work on the car for a few months whilst I recovered I decided to the get the car back on its wheels.
So before I did this I painted up some of the running gear ready…
Steering rack, hubs, drum back plates,

Rear beam and antil roll bars..

Anti roll bar mounts…
I then started to build up the rear beam including new drum internals…
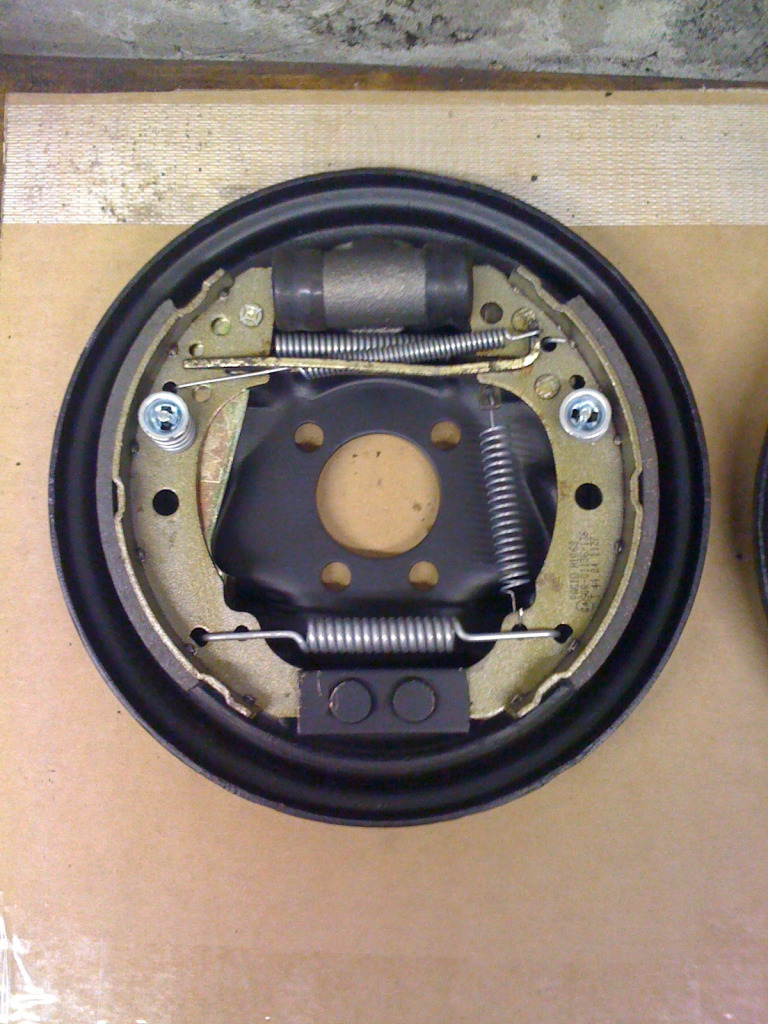
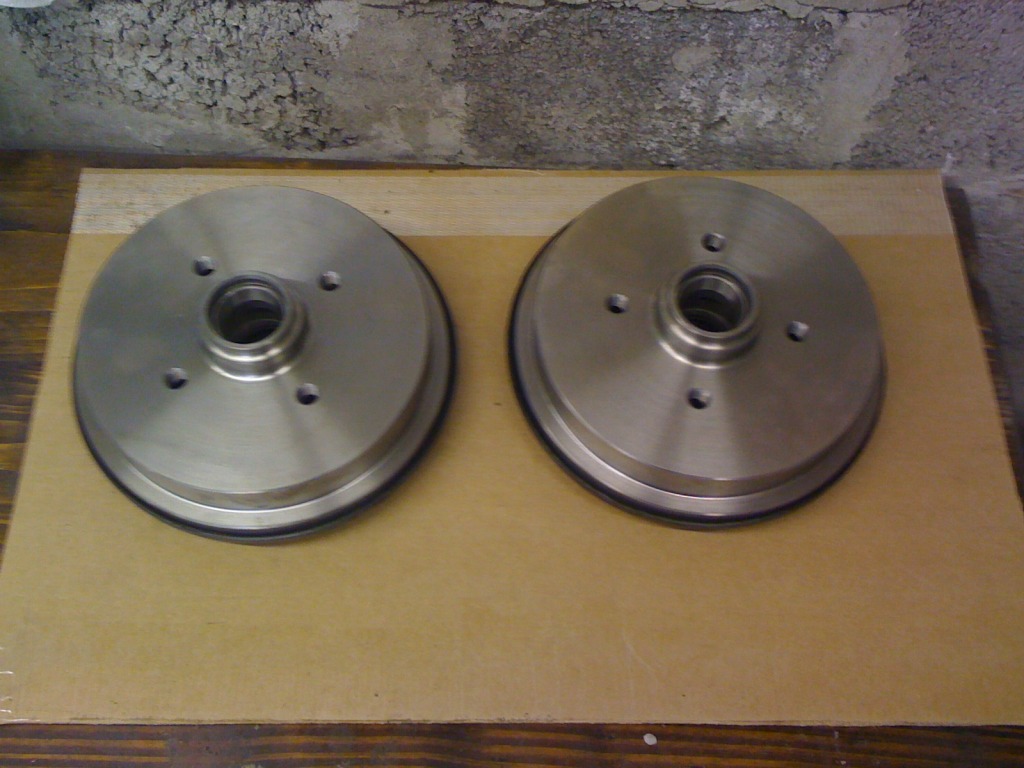
And new drums…
Anti roll bar on with new clips, what a pain in the ass these are to get on!!

And a complete rear beam, minus handbrake cables…
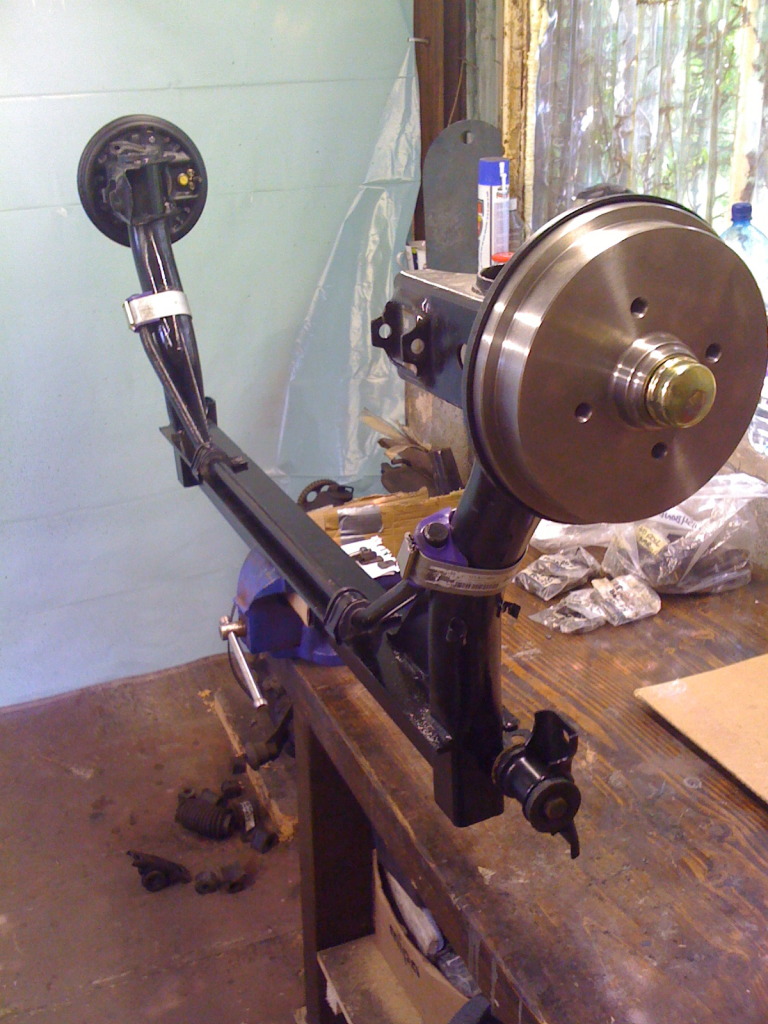
Fitted all these and then got the engine crane out again and held my breath as we carefully hoisted it off the spit and onto its wheels. Was very happy to see it back off the spit safely!
Here is how I left her in May….

Still a hell of a lot to do! Hopefully should be able to start working on her again over the next couple of weeks. So the updates on this thread should be easier to digest rather than these massive blocks of pictures and info!
There are too many online users to list.