


Rear beam bushes - renewal

Posted
#930824
(In Topic #109851)

Web Team

Rear beam bushes - renewal

Time needed - allow 6 hours for the bushed to be a royal pain to come out but if all goes well can be done sub 4 hours.
Tools - 17mm socket, 19mm socket, 13mm spanners - to remove brake bias spring, extension bar, ratchet and big braker bar, trolly jack and axel stands, plus normal home mechanic tools, ie hammer, spanner etc, nothing special.
Parts needed - New rear beam mounts - either rubber or poly,
Prep - for a week or so before hand spray the rear beam mounts and the nut on the back of the bolt through the rubber with WD40 etc, this is important to help reduce the risk of sheered bolts.
1) first job, after geting a brew, is to get the rear wheels off, handbrake off and then get the rear of the car in the air, sat on axel stands on the body not on the beam.
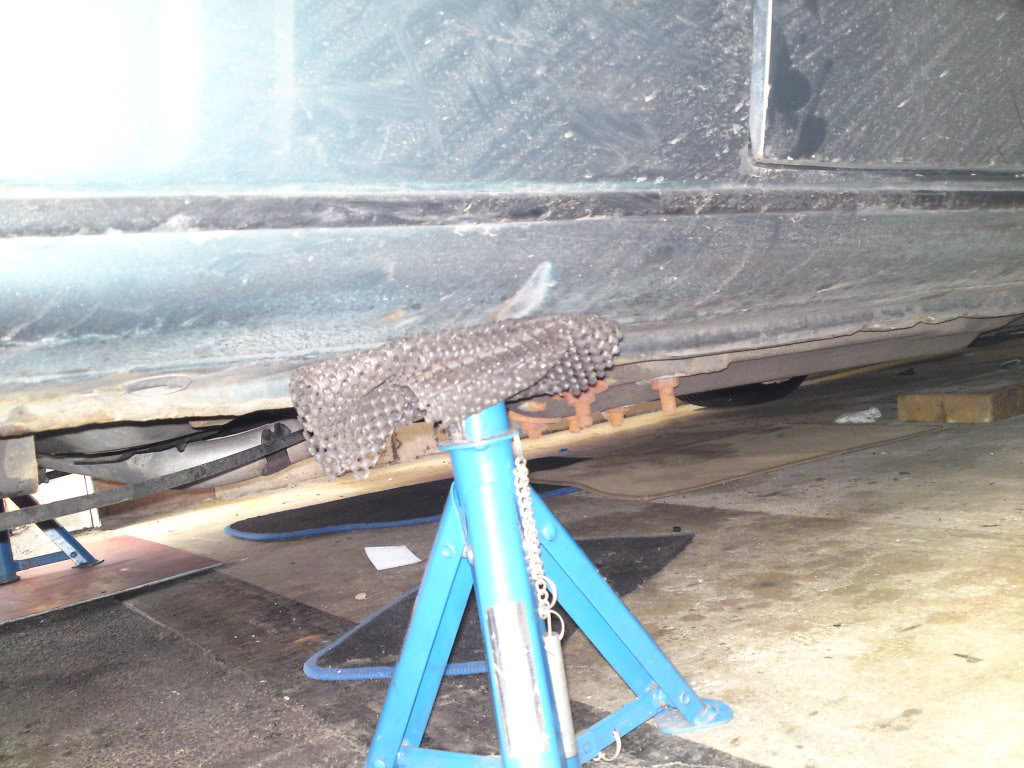
2) Once the car is up in the air get the trolly jack say under the car and just about touching the middle of the rear beam ready to take the wieght as you undo the bolts.
3) Now grab your 17mm socket on a ratchet and start undoing the beam mounts, 1/4 turn at a time, and if poss clean the threads a little first with a wire brush, do 1/4 turn, then back then 1/4 turn more and ease them down, if it starts to feel very tight then stop and wind back up as you dont want to snap the bolt!! in that case try and clean the threads as much as poss and lost of WD40.
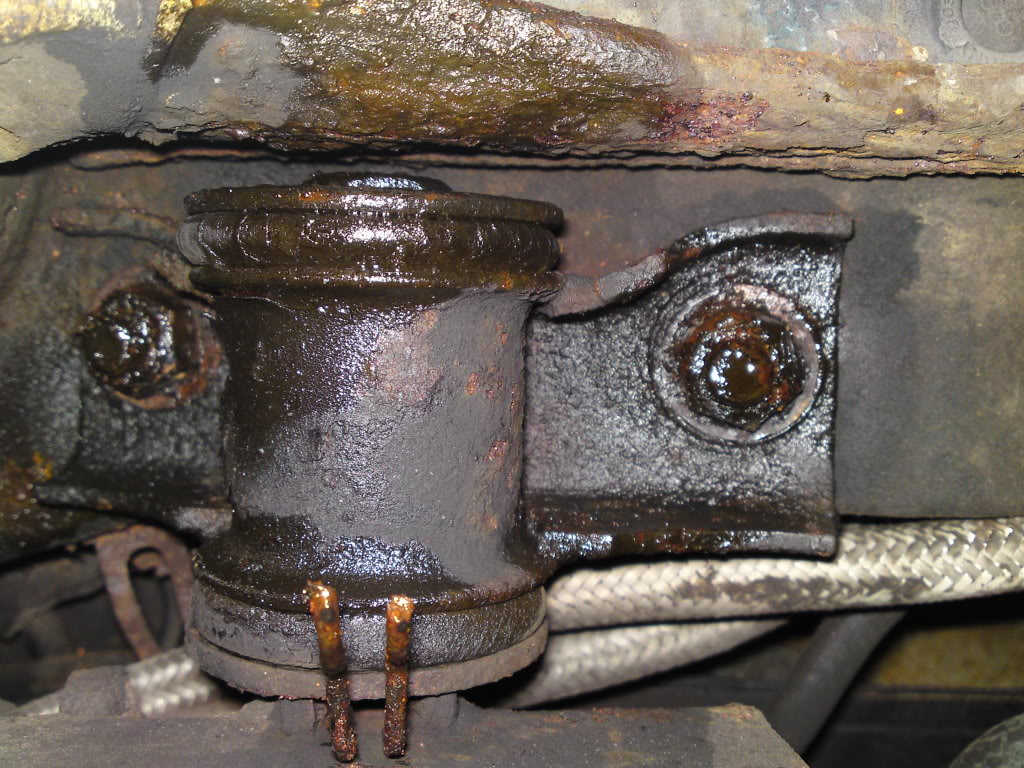
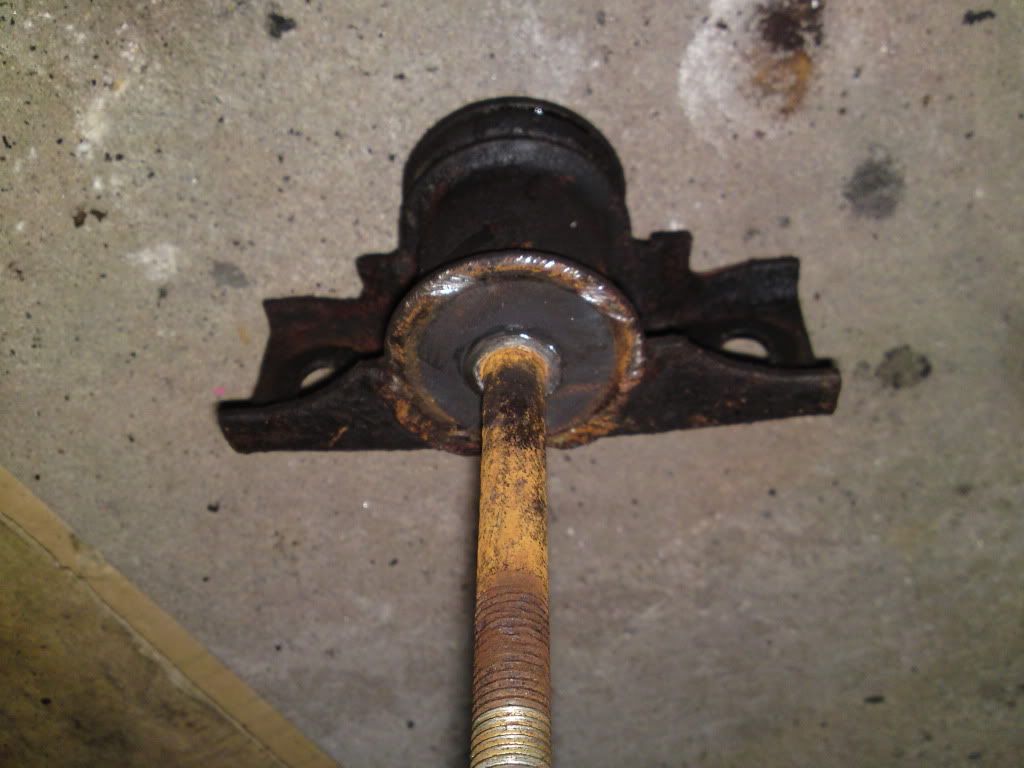
showing the 2 17 nuts holding each mount on, 1 mount per side.
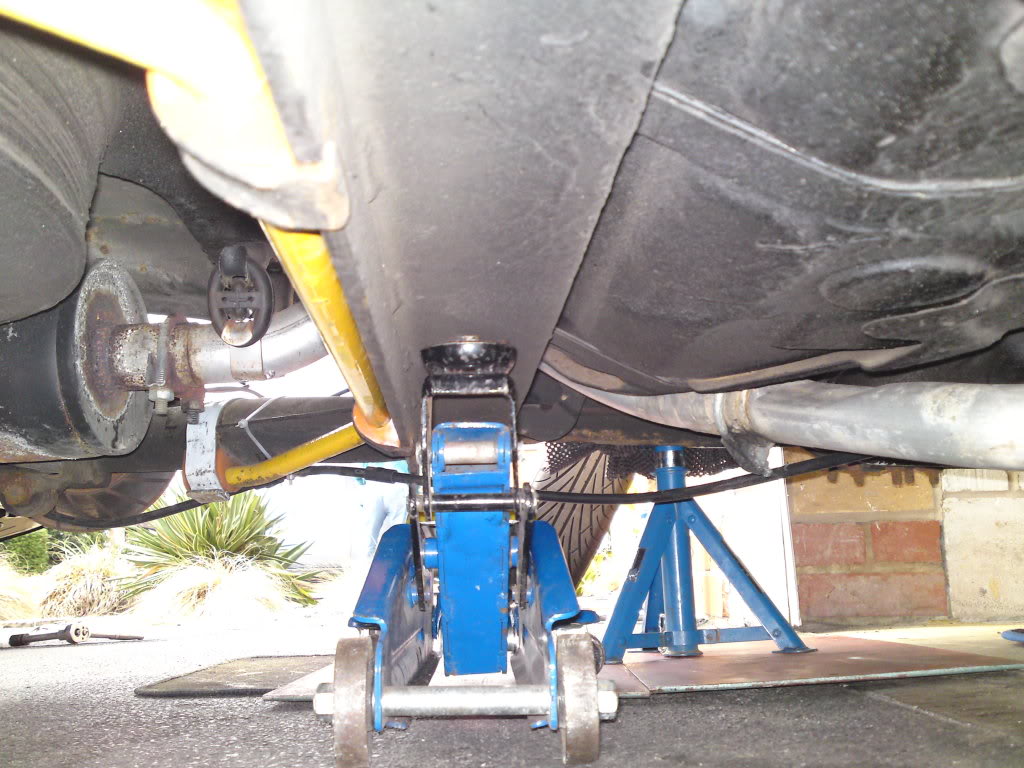
4). Now both sides are undone slowly drop the jack, but watch the flex hoses!!! these must not be put under strain!!! the beam should just go low enough to get a socket on the front of the 19mm bolt and one on the back,

5). This is another place where care is needed, otherwise snapped bolts are to be expected.
Use the front bolt to keep the mount steady and with the big braker ease the bolt at the back off, again try and clean the threads up as much as poss and use lots of WD again, plus try the wind back technique to stop the crud building up in the threads and locking up the nut.
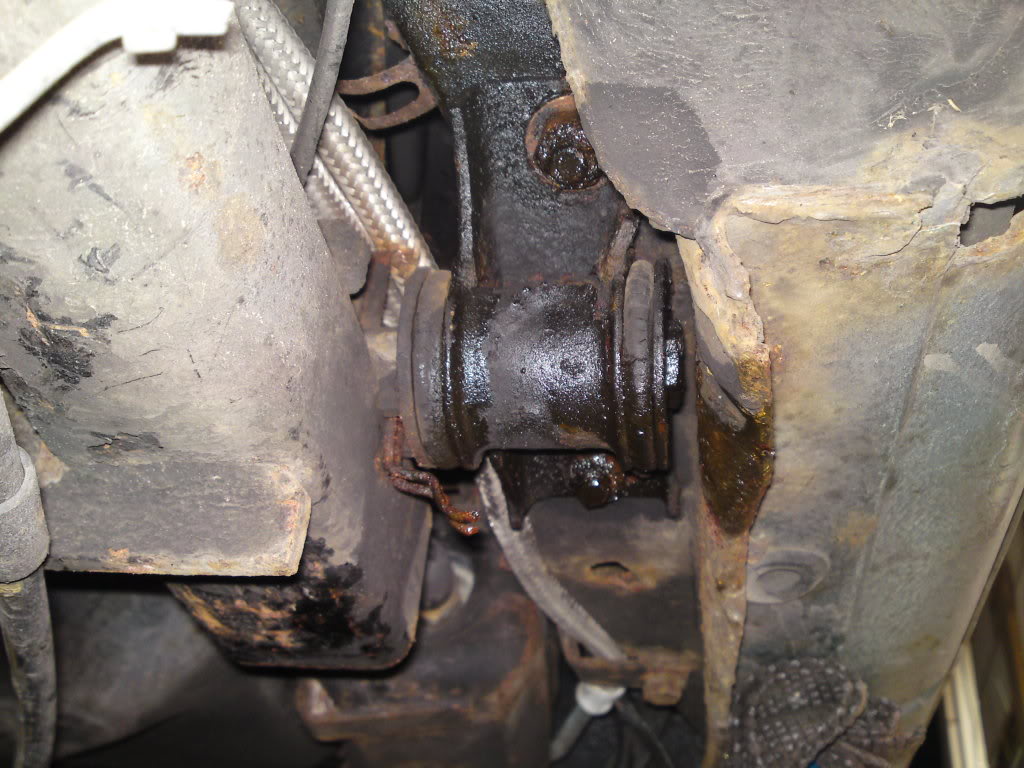
6). Now the fun starts, first cut off the back of the bush, this is needed to allow the housing to be removed,
Once the back is off, put the nut back on the end of the bolt, to help protect the threads and then place on a block of wood, nut side down, and using a hammer drift the housing free downwards of the rubber mount.
7). This is the hard bit, removing the bush from the bolt as it will be stuck fast. I found the best way was not to burn it off as had been suggested (this just made a mess) but was to use the big washer on the bolt and suitable support and then hammer the bolt through the centre of the bush,
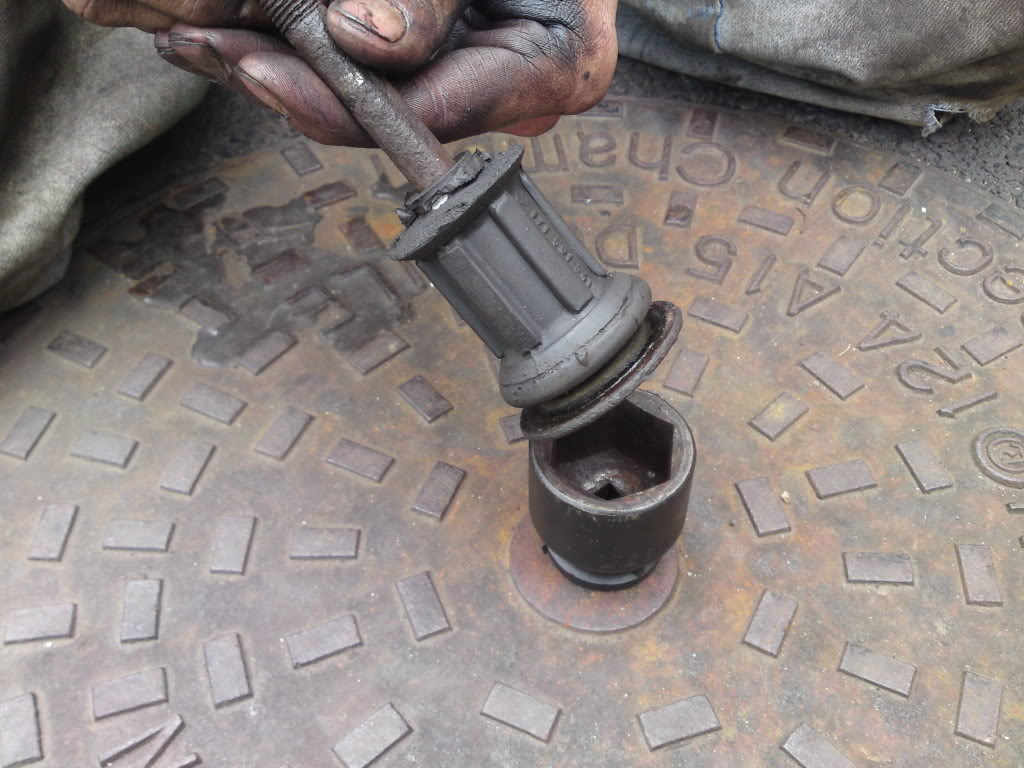
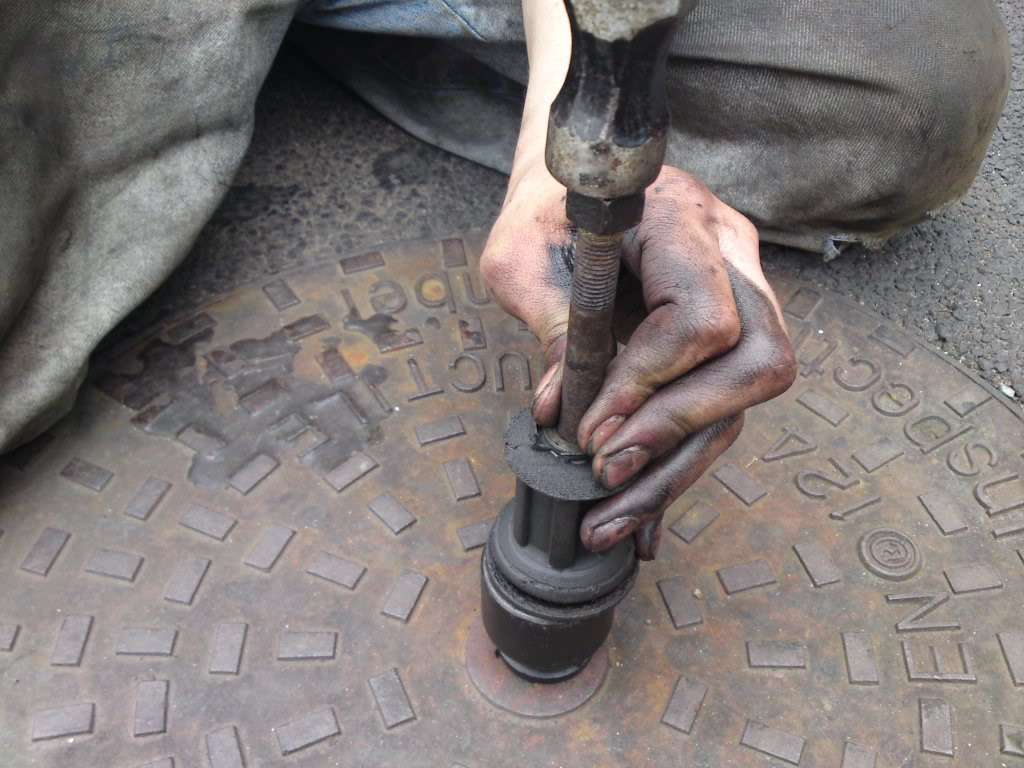
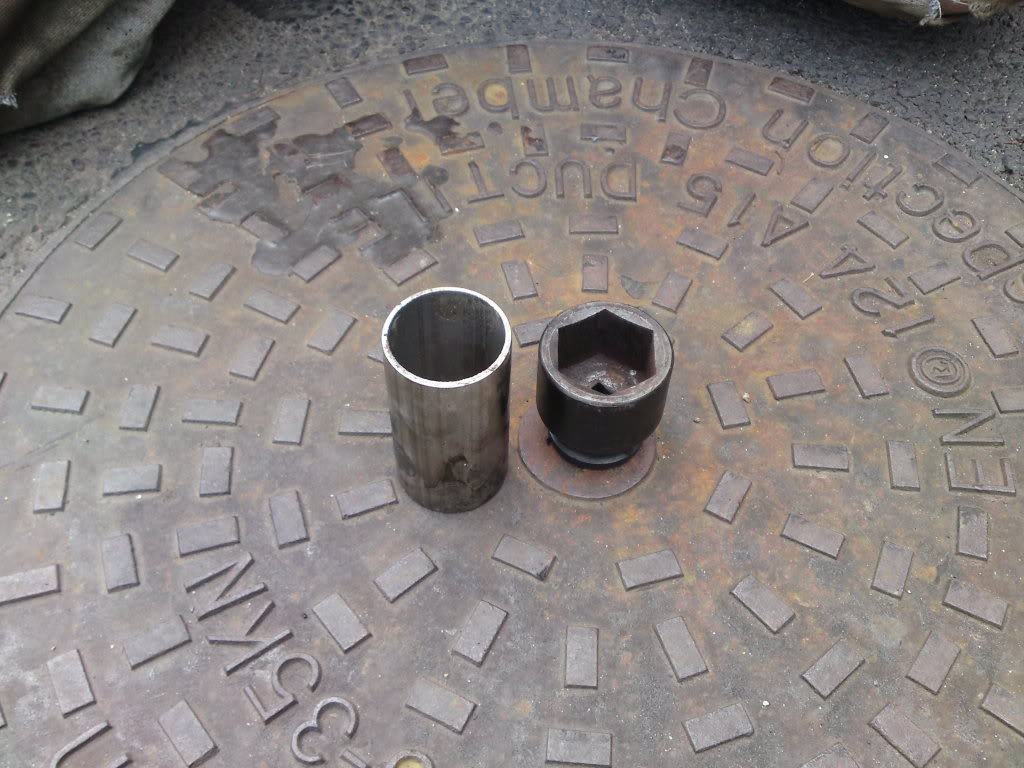
I started with a large socket, and then moved onto piece of stainless pipe as the socket wasn't deep enough to allow the bolt deepn enough.
8). Now clean up the inside of the housing and the shaft of the bolt with some wet and dry / wire brush etc, to remove all the grime and corrosion, once clean fit the new bush, poly mounts tend to be in 2 halfs, one for each side, so they are easier to fit, where as rubber mounts are a 1 piece using and need to be pressed home, the easy way is with a G clamp, big washer on both sides and just squash the mount home.
9). Once the mounts have been put back in the houses, copper grease the bolt up to stop it sticking to the middle of the mount and then re attach to the beam. dont forget the big washer and to attach the mount the correct way round the flat side goes next to the beam, the curved faces the outside of the car. then jack the beam back up, put the 17mm nuts back on once the beams sat straight and central, then get the car off the jack and puyt the wheels back on.
Go for a drive and allow it all to settle back in,

Karl.

0 guests and 0 members have just viewed this: None.