How to add bluetooth (audio streaming / handsfree) to almost any old radio cassette player
Posted
#1590636
(In Topic #216056)
Settled In

Want to keep that authentic "retro" look to your MK1? Then keeping a period-appropriate head-unit in place is important.
That said, having discreet access to your music, and a built in bluetooth handsfree kit are modern conveniences that would be cool to add, right?
This can be done a number of ways, but I have opted for replacing the tape functionality with bluetooth. It would be possible to retain the tape functionality, too if that were desirable, but I personally don't own a single cassette tape anymore, and I thought it would be cool to re-appropriate the tape cradle to use as the switch for entering bluetooth mode.
What you'll need:
A retro tape player (it is possible to do this with just radio's, CD players, and CD changer-type headunits, but this will focus on a tape radio)

A bluetooth board, similar to this
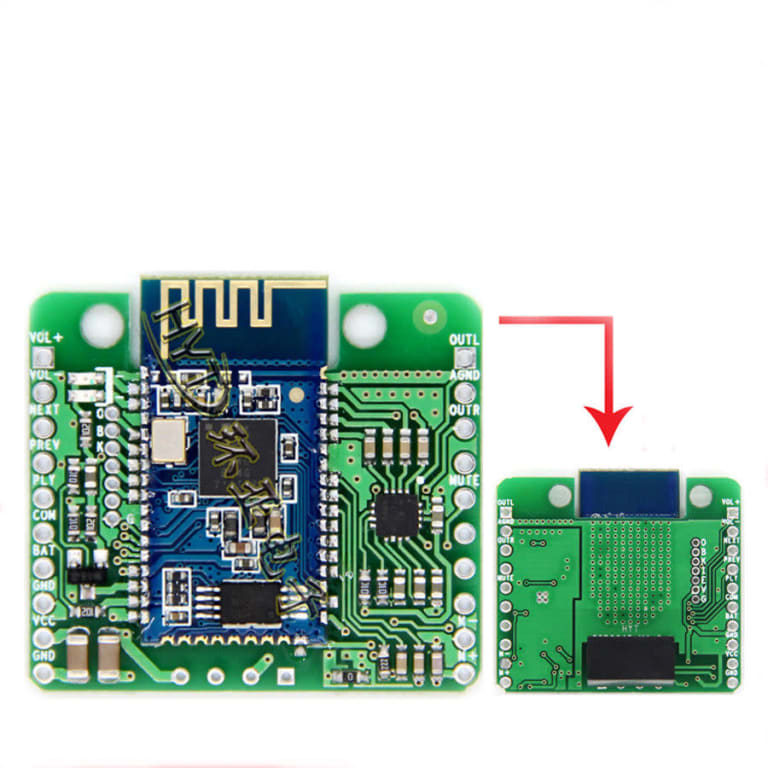
A voltage regulator (maybe, maybe not, depending on the headunit)

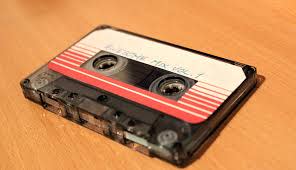
An old tape or tape adapter
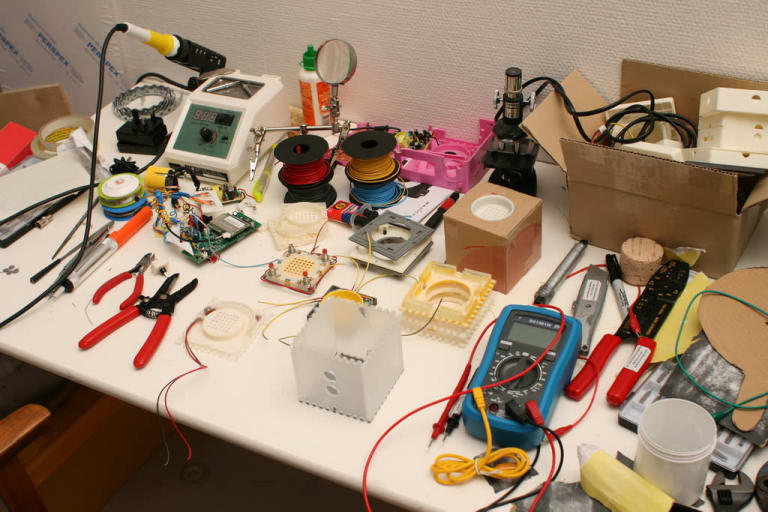
A multimeter, soldering iron and a few screw drivers.
And this is the desired outcome we want to achieve (handsfree follow up to be added later).
https://www.youtube.com/watch?v=VdI1sHm4TAU&feature=youtu.be
Firstly, you want to set up your headunit so that it works on your workbench (or kitchen table in my case) out of the car. This is not essential, but makes life easier. As each headunit is likely to vary slightly, it'll be easier to test things.
Then you want to strip down the headunit to get inside.
Identify the tape / cassette holder. To one side of it you'll see three wires going to the top of the tape section which reads the magnetic tape. These three wires are your aux input (Lch,Rch and gnd). If you don't want to retain tape functionality, then you can just de-solder them as I did.

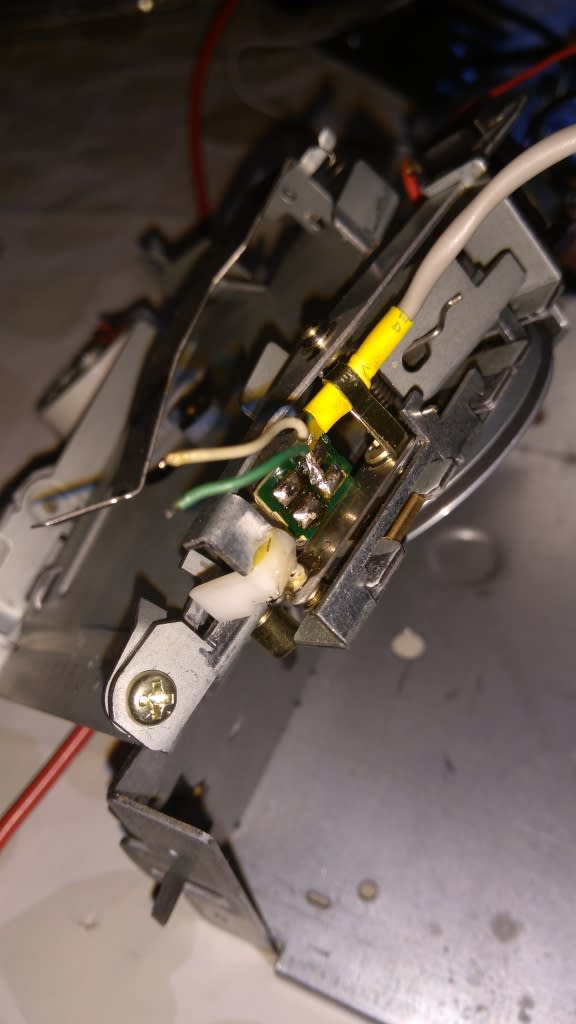
Now we have our "aux" input, we need power.
Again, if your not retaining cassette functionality this is pretty straightforward. Identify the motor which drives the tape spool. As we don't need this, we can re-use this as power for the bluetooth board. However, the wire on the motor is only live when a tape is inserted to switch in it on… and we want the bluetooth board powered all the time.
You should see that this wire goes to a switch on the back of the tape holder, and using a multimeter you can determine which of these is always live and which is switched when a tape is inserted.
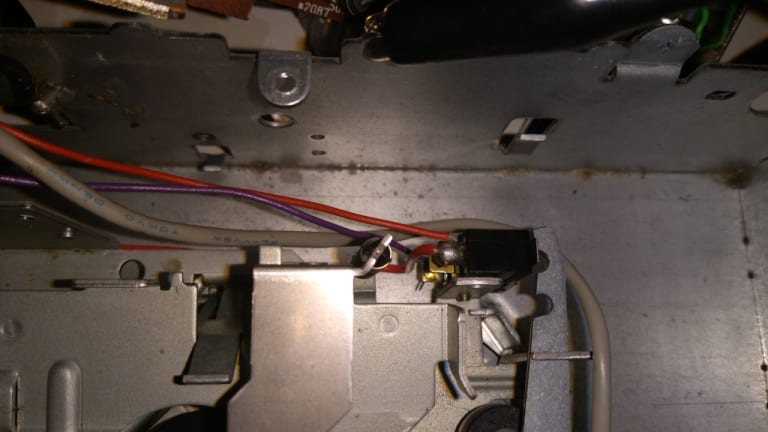
I de-soldered the wire from the motor, and added a new wire to what was (in my case) a permanent 12v feed (when the radio is on). I wanted to use this 12v feed to power the bluetooth board, but as the board requires a lower voltage, I needed to step it down.
I then connected the 12v feed to the voltage regulator, and the voltage regulator the board as follows:
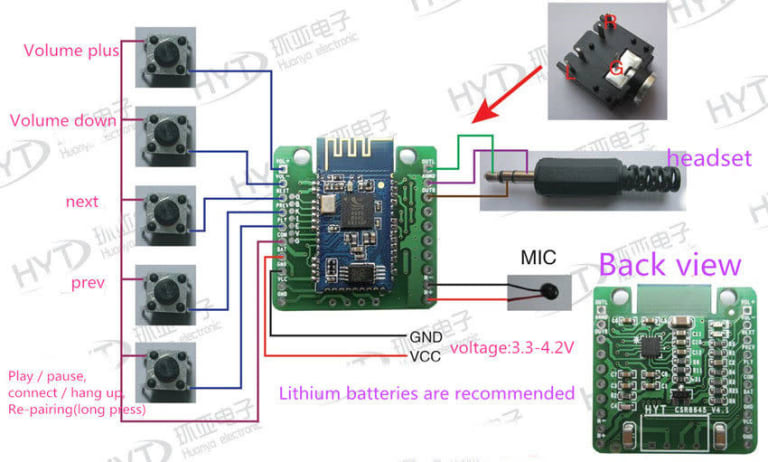
I have connected power to the board, and the three cables to provide the aux in.
Now we have the functionality you see in the video… The tape insertion is now just acting as a simple switch to move the input from radio to bluetooth. The motor is disconnected so it makes no noise, and the input is taken directly from the bluetooth. Of course, it would be possible to replace this with a switch, but I prefer to have that retro experience.
Still to do:
- Wire the a microphone and hide it in the cabin for a fully stealth handsfree
- Wire up a hidden "pairing" button, so that new devices can be paired without the need to dismantle the headunit each time (the rest of the buttons are pretty much surplus to requirement if you're happy to control things from your phone)
- Fit it to my Mk1
 Last edit: by danmiddle2
Posted
Settled In

Posted
Old Timer


Marcus.
Posted
Settled In

I can see you doing mine for me
looking at your desk of tools and parts I have no chance
give me a greasy spanner and I am well away
DANBOY.
Mk1 Golf cabrio "Golf+ absolutely cabulous"
fresh 20vt rebuild well underway https://vwgolfmk1.org.uk/forum/index.php?page=topicview&id=projects%2Fyour-mk1-golfs_2%2Fmy-old-white-cabby#post_1402754

Mk1 Golf cabrio "Golf+ absolutely cabulous"
fresh 20vt rebuild well underway

Posted
Settled In

Re:
I found that work space picture on Google! My work space is way less tidy than that!DANBOY said
quality right up dan
I can see you doing mine for me


looking at your desk of tools and parts I have no chance
give me a greasy spanner and I am well away


It really isn't hard, but I think you may need a soldering iron to go with the spanner.
 Last edit: by danmiddle2
Posted
Newbie

0 guests and 0 members have just viewed this: None.


