


Heater Motor Removal the easy way


Settled In

Heater Motor Removal the easy way
all in all, the job took just over an hour (in and out), so not too bad at all.
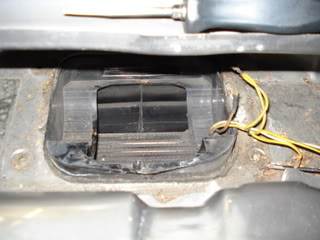
step 1. Remove the scuttle (water drip tray) to allow acces to the area.
(doesn't really need a photo)
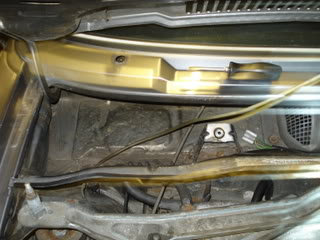
step 2. Remove the link bar between the engine bay and bulk head. (10mm bolts x2) I used 1/4" drive ratchet and socket.

step 3. Remove your wiper arms. Use a small flatblade screwdriver to pop out the caps holding the arms on. Then use a 10mm socket to remove the wiper arm nuts, (I used 3/8" drive). Once the bolts are undone, remove the wiper arms. (may take a bit of a wiggle)

once done, it should be like this

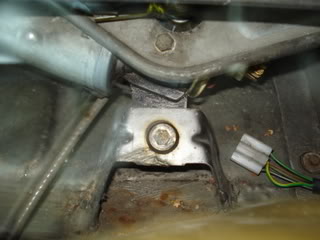
step 4. Use a 22mm deep socket to undo the nuts that were under the wiper arms and remove the washer and black grommit. (Seen in above photo)
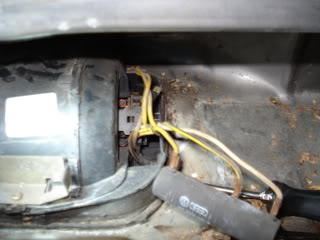
next disconnect the plug from the wiper motor and use a 10mm (1/4") to undo the wiper motor from its bracket in the scuttle.
Now wiggle the wiper motor free and pass out of the scuttle to the left. (As you look at it) once removed it should look like this below.
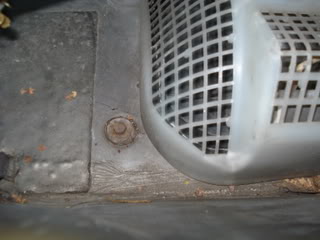
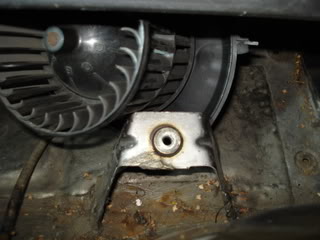
Step 5. Remove the heatermotor grill(4x 8mm hex head screws) I used 1/4" ratchet and socket. Then pass out of the scuttle to the left justlike the wiper motor. (May be a bit of a squeeze, but it does come out.)
now we hould only be left with the heater motor itself.
Step 5. At the front of the heater motor is the variable resistor for the motor, this should just come out of its brass looking bracket. Use a flatblade screwdriver to easily open it up from one end and remove. It is ceramic so be gentle rather than brute force.
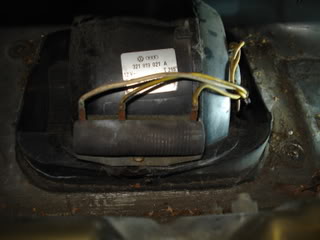
Now remove the other wires from the motor itself. (2 spade terminals), and place the wires and resistor to the side like so.
We should be left with just the moor and a bracket like so.

undo the phillips screw holdig the bracket on, and this will allow the motor to be free.
Step 6. Lift the motor up from its hole and turn to the side so you can use a flatblade screwdriver to seperate the plastic case. (forgot to take picture here. But I took one of my new heater seperated as its needed)
One the case is seperated, slide the smaller part out to the left, and then do the same with the motor piece. (this can be a bit tricky, but if you se my pictue, I turned it so the duct of it passes in and out of the wipe motor hole. (see pic if you don't understand.) It's like a puzzle, it will come out eventually.
Now there should be nothing in the way like so.
Step 7. Now take your new Motor and split the casing to pass back into the hole.

Step 8. Pass the new parts back into the hole. Once both parts arei place, align them and clip into place.
Now its just a case of fitting everything in reverse order, once completed enjoy (as i am the delight of being able to demist your windscreen, and hot air!)
happy new year all and hope this helps.
dan
here for a good time, not a long time
0 guests and 0 members have just viewed this: None.