


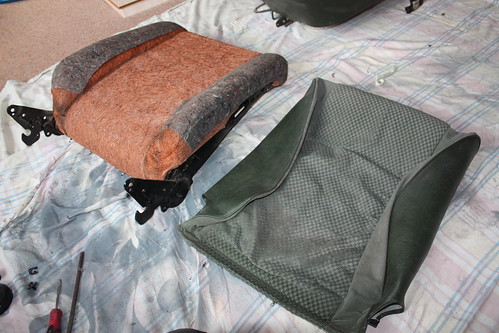
Front Seat Fabric Removal


Settled In

Step By Step Guide
as im stripping my front seats for new fabric i thought i might aswell make a step by step for everyone wanting to do this in the future and not to sure on what to do!
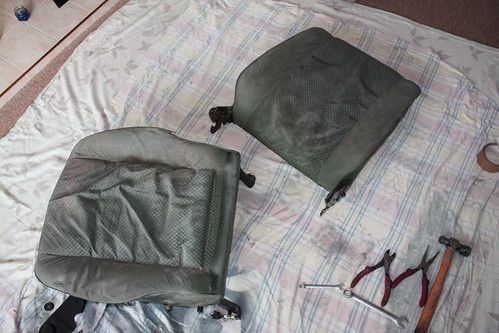
Tools Needed:- 17mm + 10mm Spanners + PH3 Screwdriver + Flat Screwdriver + Side Cutters + Thin Ended Pliers + Small Hammer
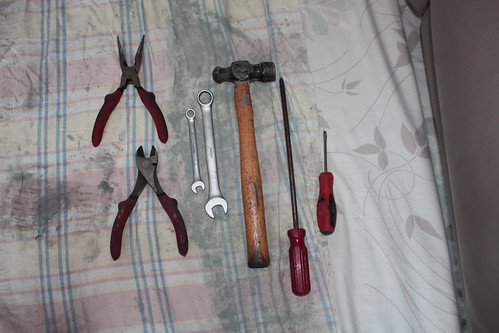
IMG_6210 by azzatdi, on Flickr
Remove headrest / Dont have mine as im not running headrests
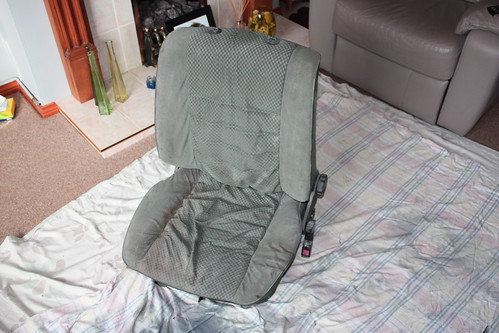
IMG_6211 by azzatdi, on Flickr
IMG_6212 by azzatdi, on Flickr
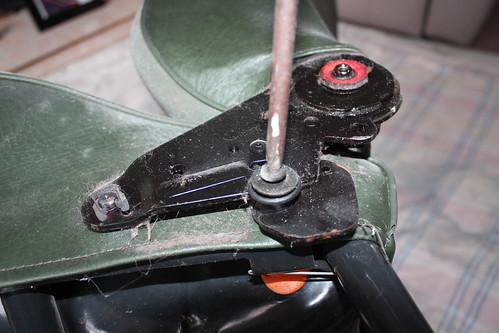
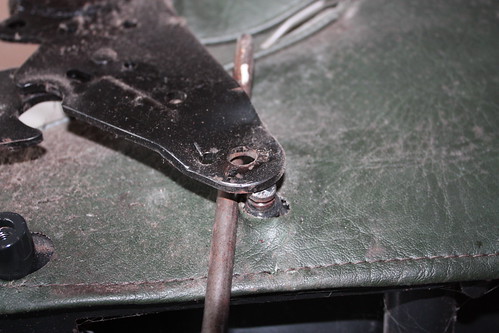
Use 17mm Spanner to remove bolt that holds on the seatbelt bracket holder
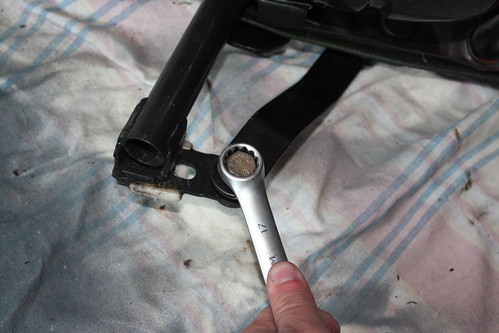
IMG_6213 by azzatdi, on Flickr
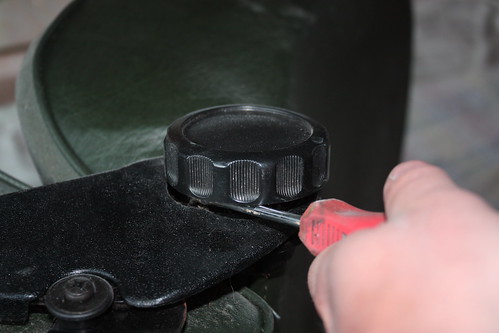
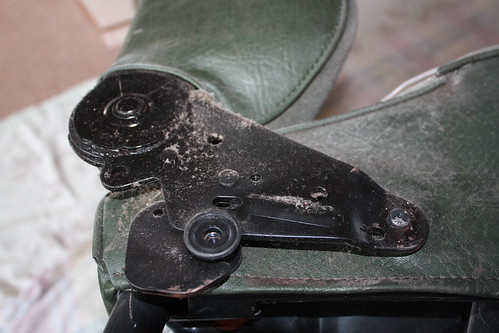
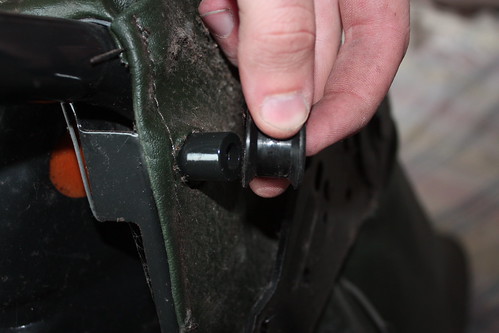
Then use a small flat screwdriver to pop off the adjustment cap
IMG_6214 by azzatdi, on Flickr
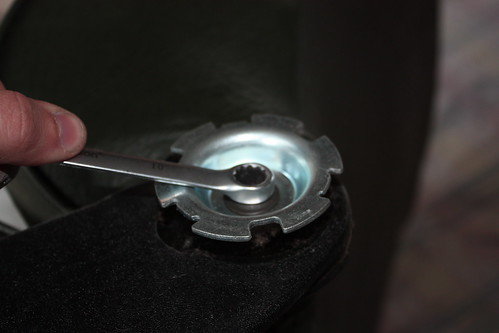
Then use 10mm spanner to undo the inside bolt of the adjustment cap
IMG_6215 by azzatdi, on Flickr
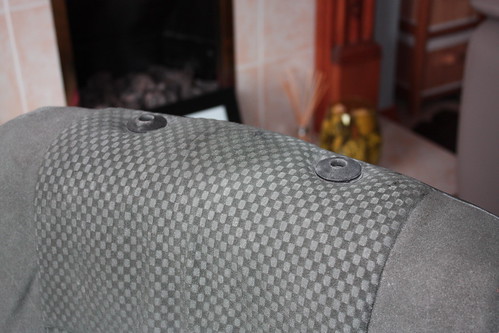
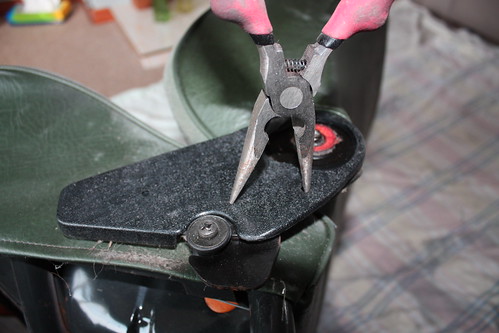
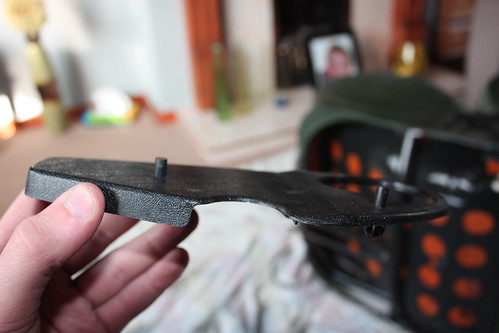
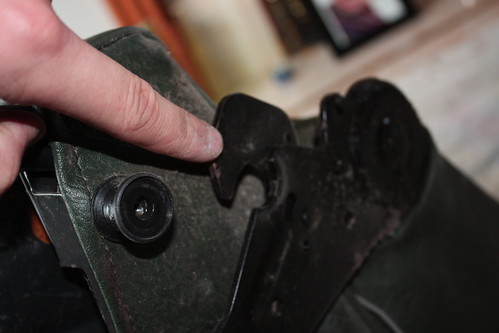
Then pop the two plastic pins out of the side cap (make sure not to lose these) the side capping should then pop off
IMG_6216 by azzatdi, on Flickr

IMG_6217 by azzatdi, on Flickr
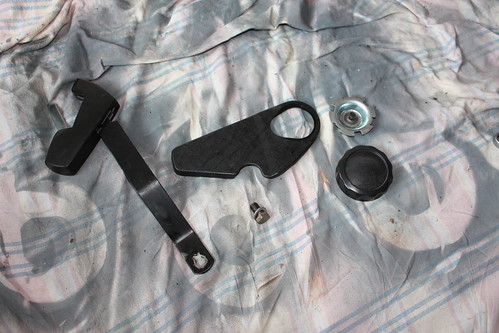
Parts off one side
IMG_6218 by azzatdi, on Flickr
IMG_6219 by azzatdi, on Flickr
Now take your PH3 screwdriver and undo the big screw from out the side and pop the c clip off the end (make sure you put your hand over the clip as these do like to fly)
IMG_6220 by azzatdi, on Flickr

IMG_6222 by azzatdi, on Flickr
IMG_6223 by azzatdi, on Flickr
IMG_6223 by azzatdi, on Flickr
Now flip your chair onto its front and push forward the two c shaped pieces of metal (so the top half reclines forward) then remove the black plastic capping
IMG_6225 by azzatdi, on Flickr
IMG_6226 by azzatdi, on Flickr
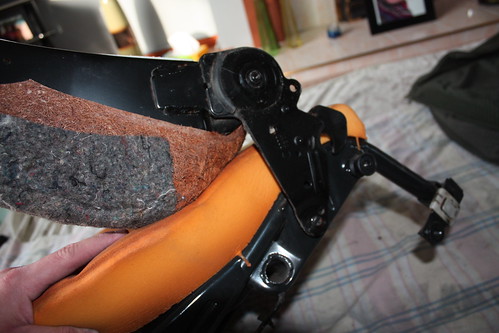
Now here comes the forceful bit get your long screwdriver or a prybar if you have one under the side where the flying c clip comes from and pull up with some force it should make a loud pop sound if done right then flip the seat over and do it again when sucsessful both parts of your seat should come away from one another
IMG_6227 by azzatdi, on Flickr
IMG_6228 by azzatdi, on Flickr
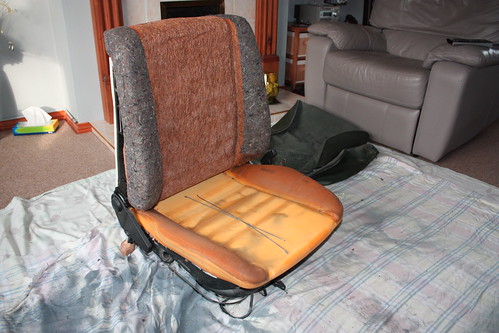
Now for the dangerous bit take the top part of the seat and flip it on its head there will be four sharp teeth looking pins pull these all up straight and peel off the fabric now turn the seat back upright and remove fabric like a jumper (you need to apply a bit of force with this and push the foam from time to time)
IMG_6229 by azzatdi, on Flickr

IMG_6230 by azzatdi, on Flickr
Then at the back of the chair you will see two black tubes where the headrests go remove these by squeezing the bottoms together and out they should pop (as i dont need these i was a bit more forceful)

IMG_6231 by azzatdi, on Flickr
IMG_6232 by azzatdi, on Flickr
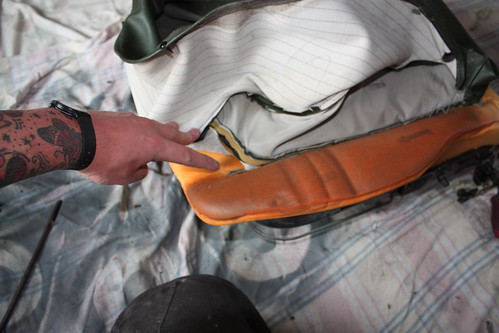
Now for the bottom half flip it upsidedown and remove metal strand from both rear corners
IMG_6233 by azzatdi, on Flickr
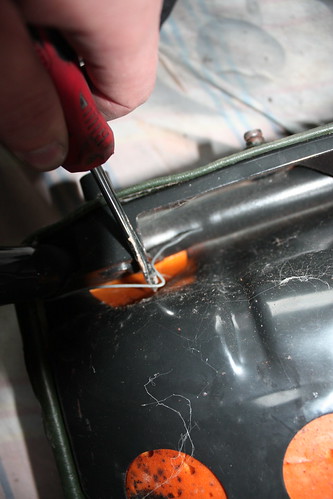
Then at the back of the chair pull the fabric up out of the back groove (once when its started it will remove easy)
IMG_6234 by azzatdi, on Flickr
Then go to the front and there will be two black plastic pins these are very easy to pop out

IMG_6236 by azzatdi, on Flickr
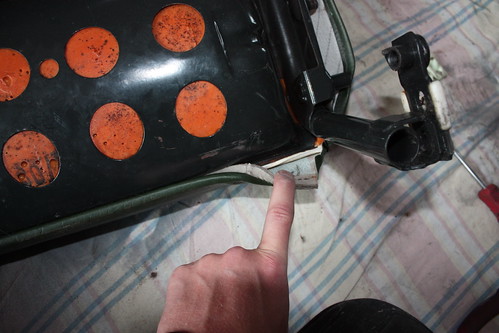
Sill underneeth at 3o'clock and 9o'clock there will be another two black theeth looking clips bend these straight
IMG_6237 by azzatdi, on Flickr
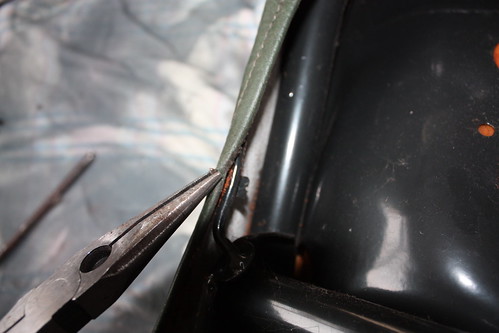
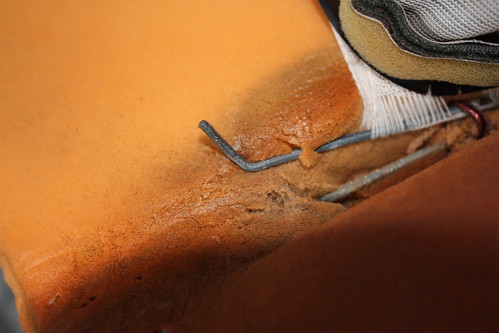
Now flip over the seat and pull off the material like a jumper (force needed again) you will then see your chair has two metal little rods holding the fabric down both ends of the rod will have a hook on the end bend the one at the front flat and pull backwards
IMG_6238 by azzatdi, on Flickr
IMG_6240 by azzatdi, on Flickr

IMG_6241 by azzatdi, on Flickr
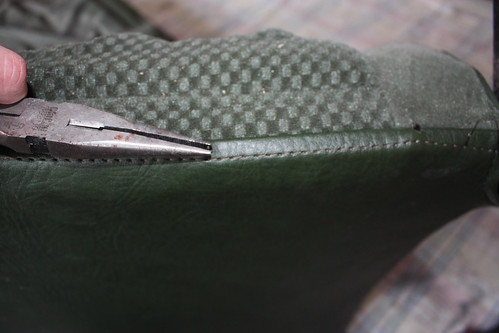
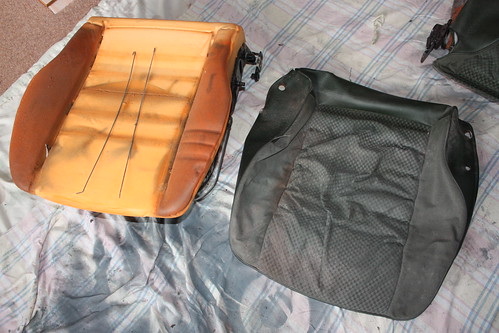
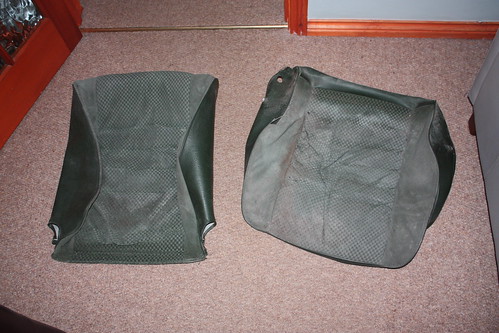
The material will stay inplace because there will be four metal rings on each side i then used my side cutters to carefully cut awat the fabric as i didnt want to damage the little rings

IMG_6242 by azzatdi, on Flickr
IMG_6243 by azzatdi, on Flickr
Now as im putting my seats into storage until needed again reverse the program (but not with the fabric) and bolt and clip the seat together THEN DO IT ALL AGAIN FOR THE SECOND ONE
IMG_6245 by azzatdi, on Flickr
IMG_6246 by azzatdi, on Flickr
IMG_6247 by azzatdi, on Flickr
Thanks for looking! hope this helps lots of people!
Make it a sticky if you like?
cheers azza
Posted

Local Hero


Andy
LINCOLNSHIRE REGION - https://www.facebook.com/groups/467122313360002/
1983 MK1 Golf GTI Campaign Model - Under (looooong) resto!
1962 Rover P4 80
2002 BMW 745i
2008 BMW Z4 2.5Si
LINCOLNSHIRE REGION - https://www.facebook.com/groups/467122313360002/
1983 MK1 Golf GTI Campaign Model - Under (looooong) resto!
1962 Rover P4 80
2002 BMW 745i
2008 BMW Z4 2.5Si
Posted
Settled In

Posted

COTM Team
thanks

Chris

Posted
Settled In
Posted
Local Hero
Good work

"Making Cabbies More Beautiful One Roof at a Time"
Posted
Settling In

Great thread! Just wanted to ask, how do you get the plastic circle clips off where the headrest slides in? I cant seem to squeeze the clips on the inside to slide it up and out. Cheers
If it ain't rubbin',
It ain't dubbin'
It ain't dubbin'
Posted

Moderator


Posted
Local Hero
alimalik said
Hello mate,
Great thread! Just wanted to ask, how do you get the plastic circle clips off where the headrest slides in? I cant seem to squeeze the clips on the inside to slide it up and out. Cheers
Find a smaller size socket from your set and use that it will push all the prongs in at the same time..Simply then slide out.
"Making Cabbies More Beautiful One Roof at a Time"
0 guests and 0 members have just viewed this: None.