Briano's Wife approved Cup Holder
Posted
#1572893
(In Topic #211927)
Local Hero

With the new interior I didn't want to pierce the door cards, the ones I made for the map pockets broke. The "boat" ones I used sprung out and didn't hold things and a good sharp turn and they would fall out. Forget to remove them and closing the door led to spillage. The over the door edge ones worked but if you rolled the windows up without thinking opps another spill. So after a few years thinking and having to do some cabinetry I started to
re-think.
This will allow the seat to fully slide front to back, the only thing I noticed is that when you have the seat full front, that when you fold the seat the adjuster moves the thing to the left as there is a wee bit of clearance not great but could be remedied by increasing the height of the curve at the back about 1/2 or 1/4 of an inch.
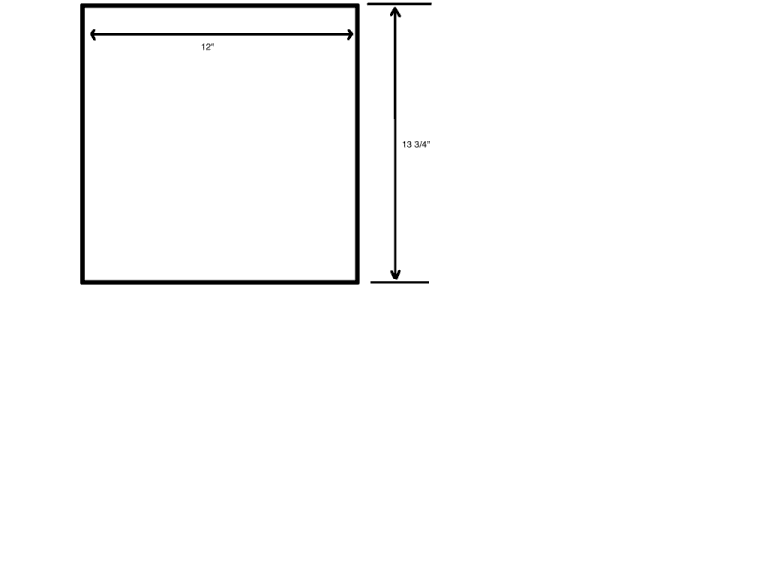
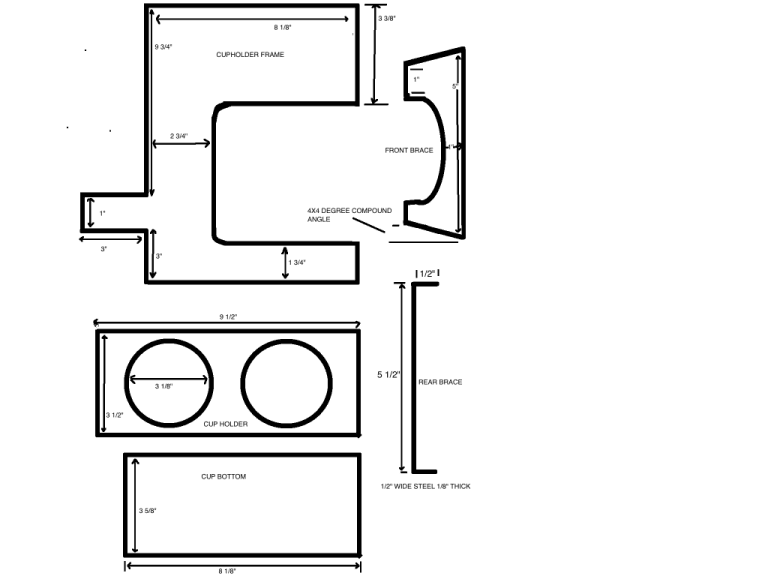
Here is the plan that is basic, your carpet and pad may vary but on my 93 this is what I have made.
It is out of spare 1/4 Sanded plywood that I had laying about.
The Cup holder and cup holder bottom was made out of scrap 1X4 that I had laying about.
Yes the width of the Cupholder to the Cupholder bottom is 1/8 difference, to allow the side frames to spread out a bit.
I used number 8 X 1" wood screws
Pilot drilled all holes with 1/16 bit. Plywood Especially
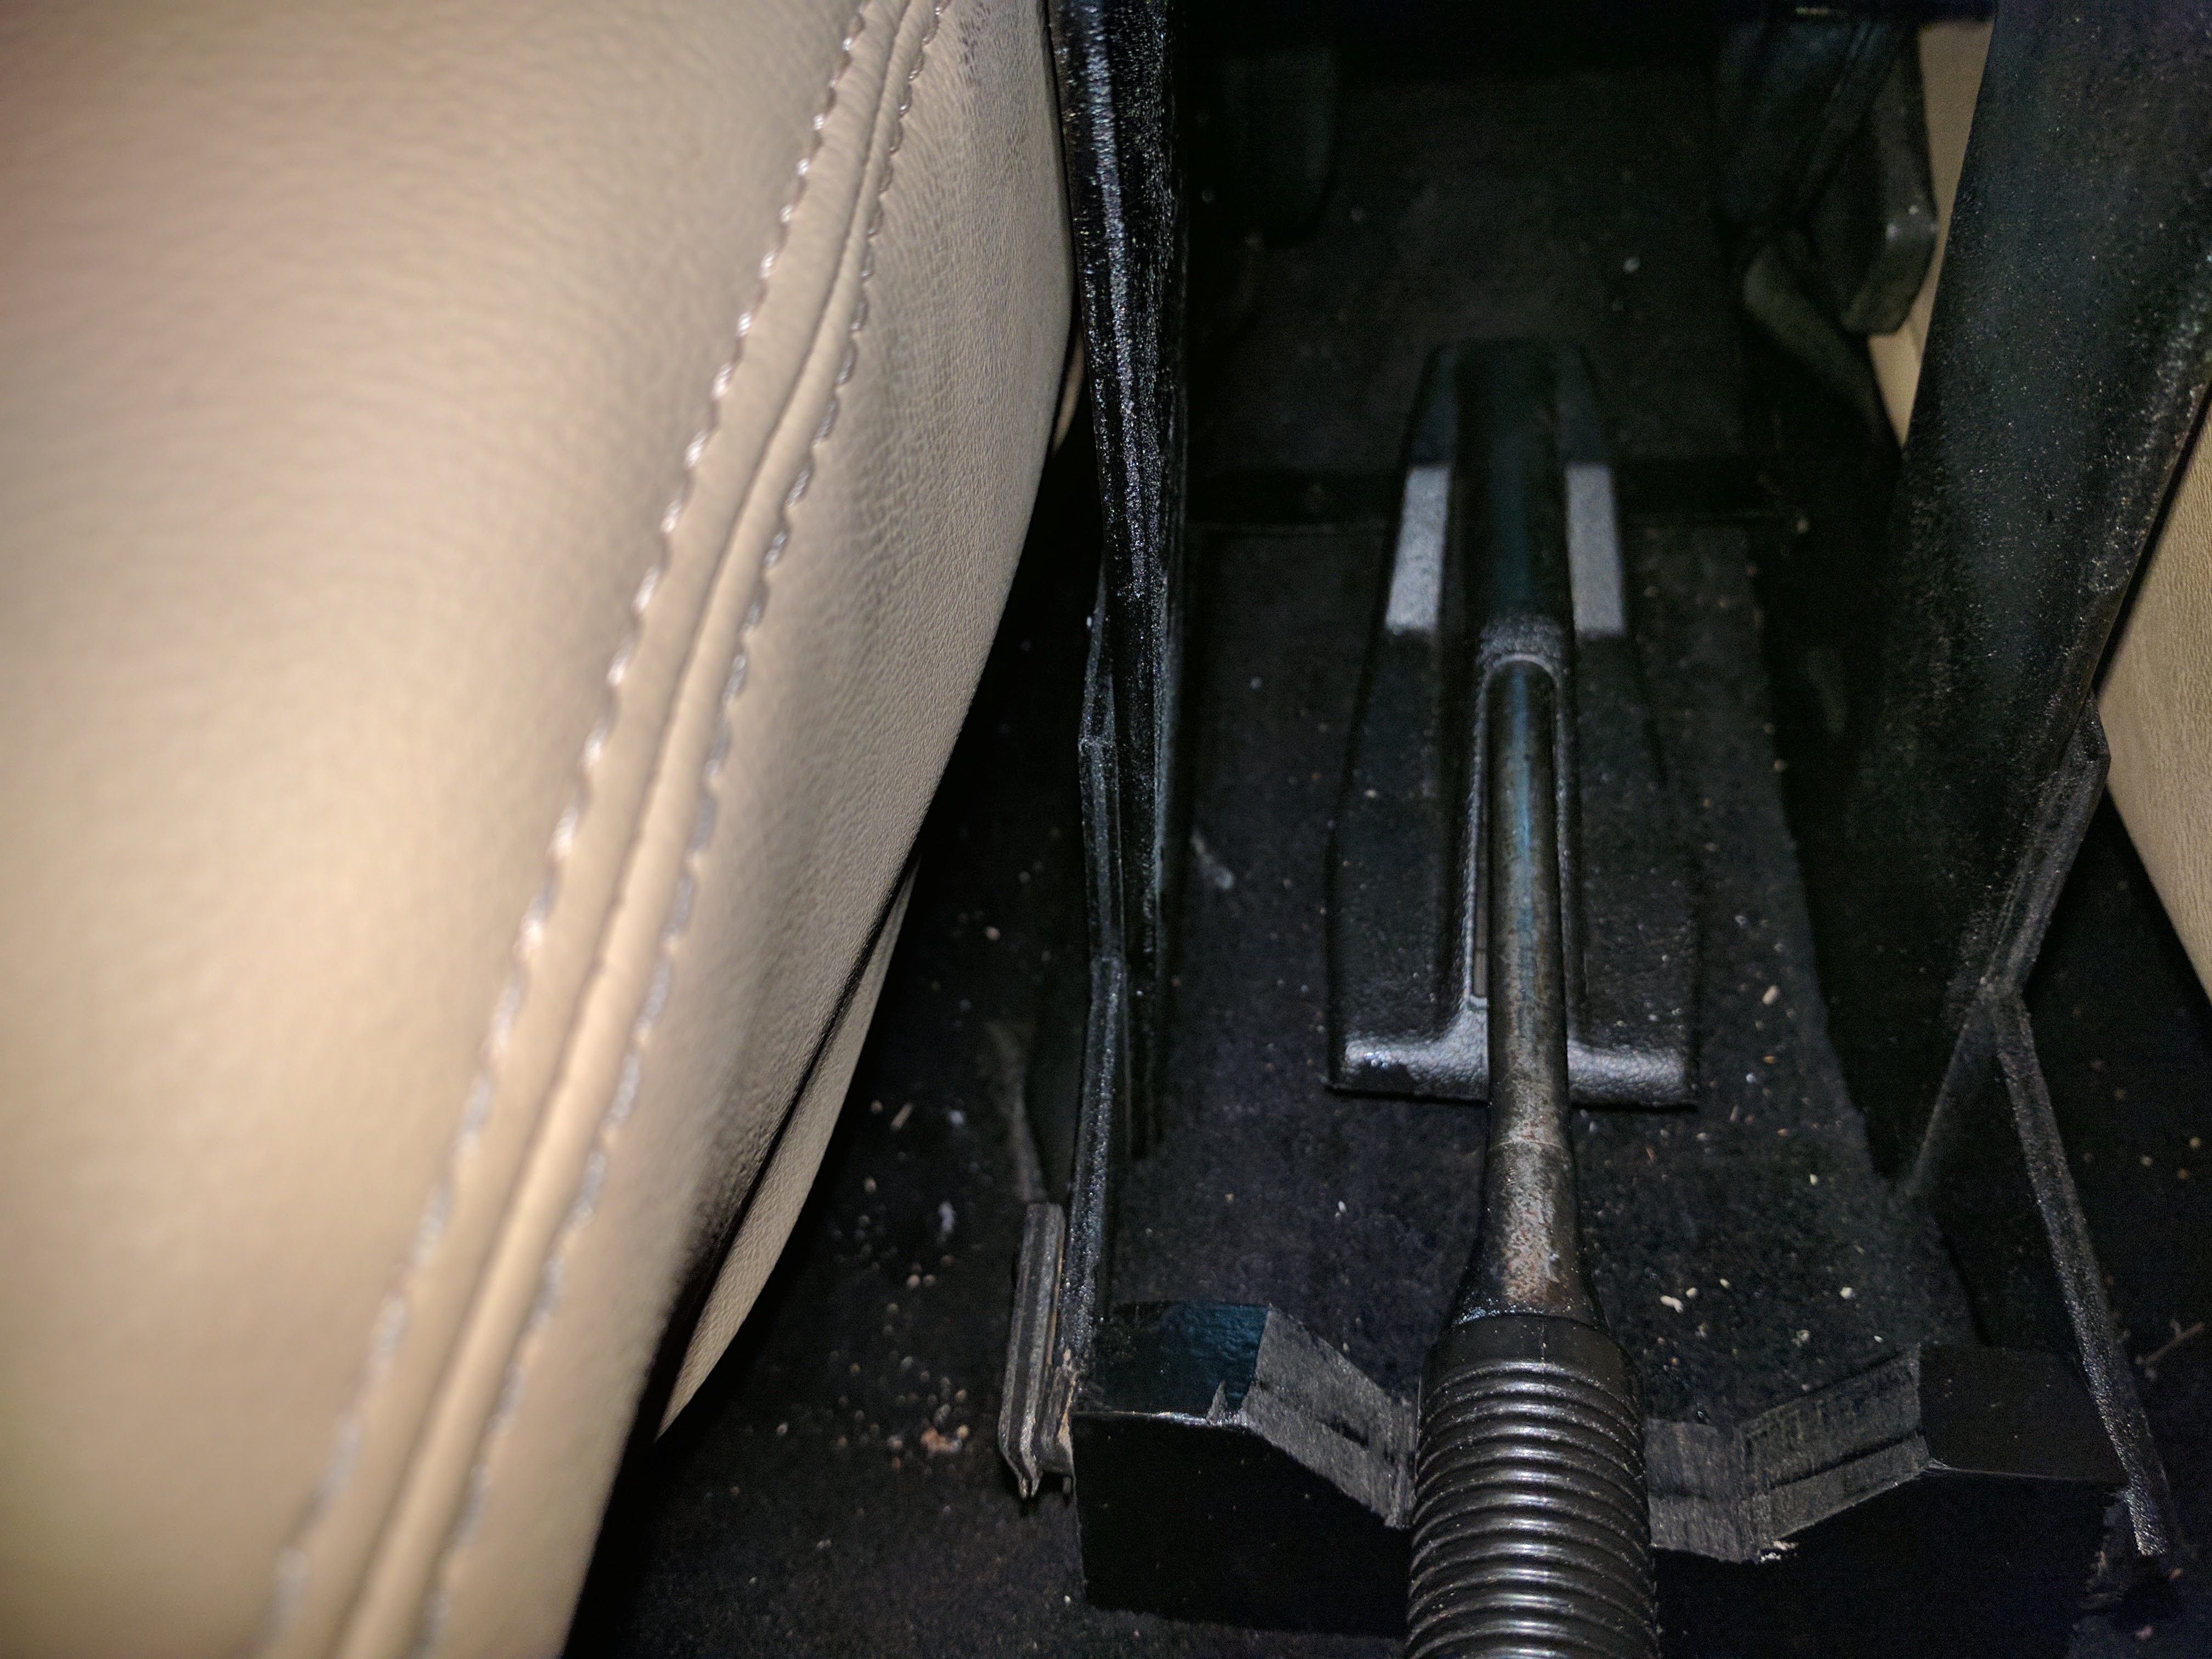
Center Drilled the Front brace with a 1/8 hole, I used a 16 penny nail to Pierce the Transmission Tunnel so I could screw a 3" construction screw at the front center brace. I used a single screw for the front brace to Frame.
The Front Brace is to steady it I double that it is really needed, but hey. The front brace has a compound cut that is about 3.5-4 degrees front edge to back and then bottom to top to accommodate the spread of the frame at the feet.
The Rear Bracket was a Piece of 1/8 thick 1/2" steel that I had laying about. It is Bent at 90 on the ends. This Catches the Feet of the holder to keep it from rocking forward on a stop.
The rear Bracket is attached to the REAR of the parking brake frame.
If you look there is a hole centered in the rear. I used a speed nut, and 10mm short 1" or less with washer and a 90 degree angle bracket I had laying about.
Sand every corner round, I sanded with 220 grit paper.
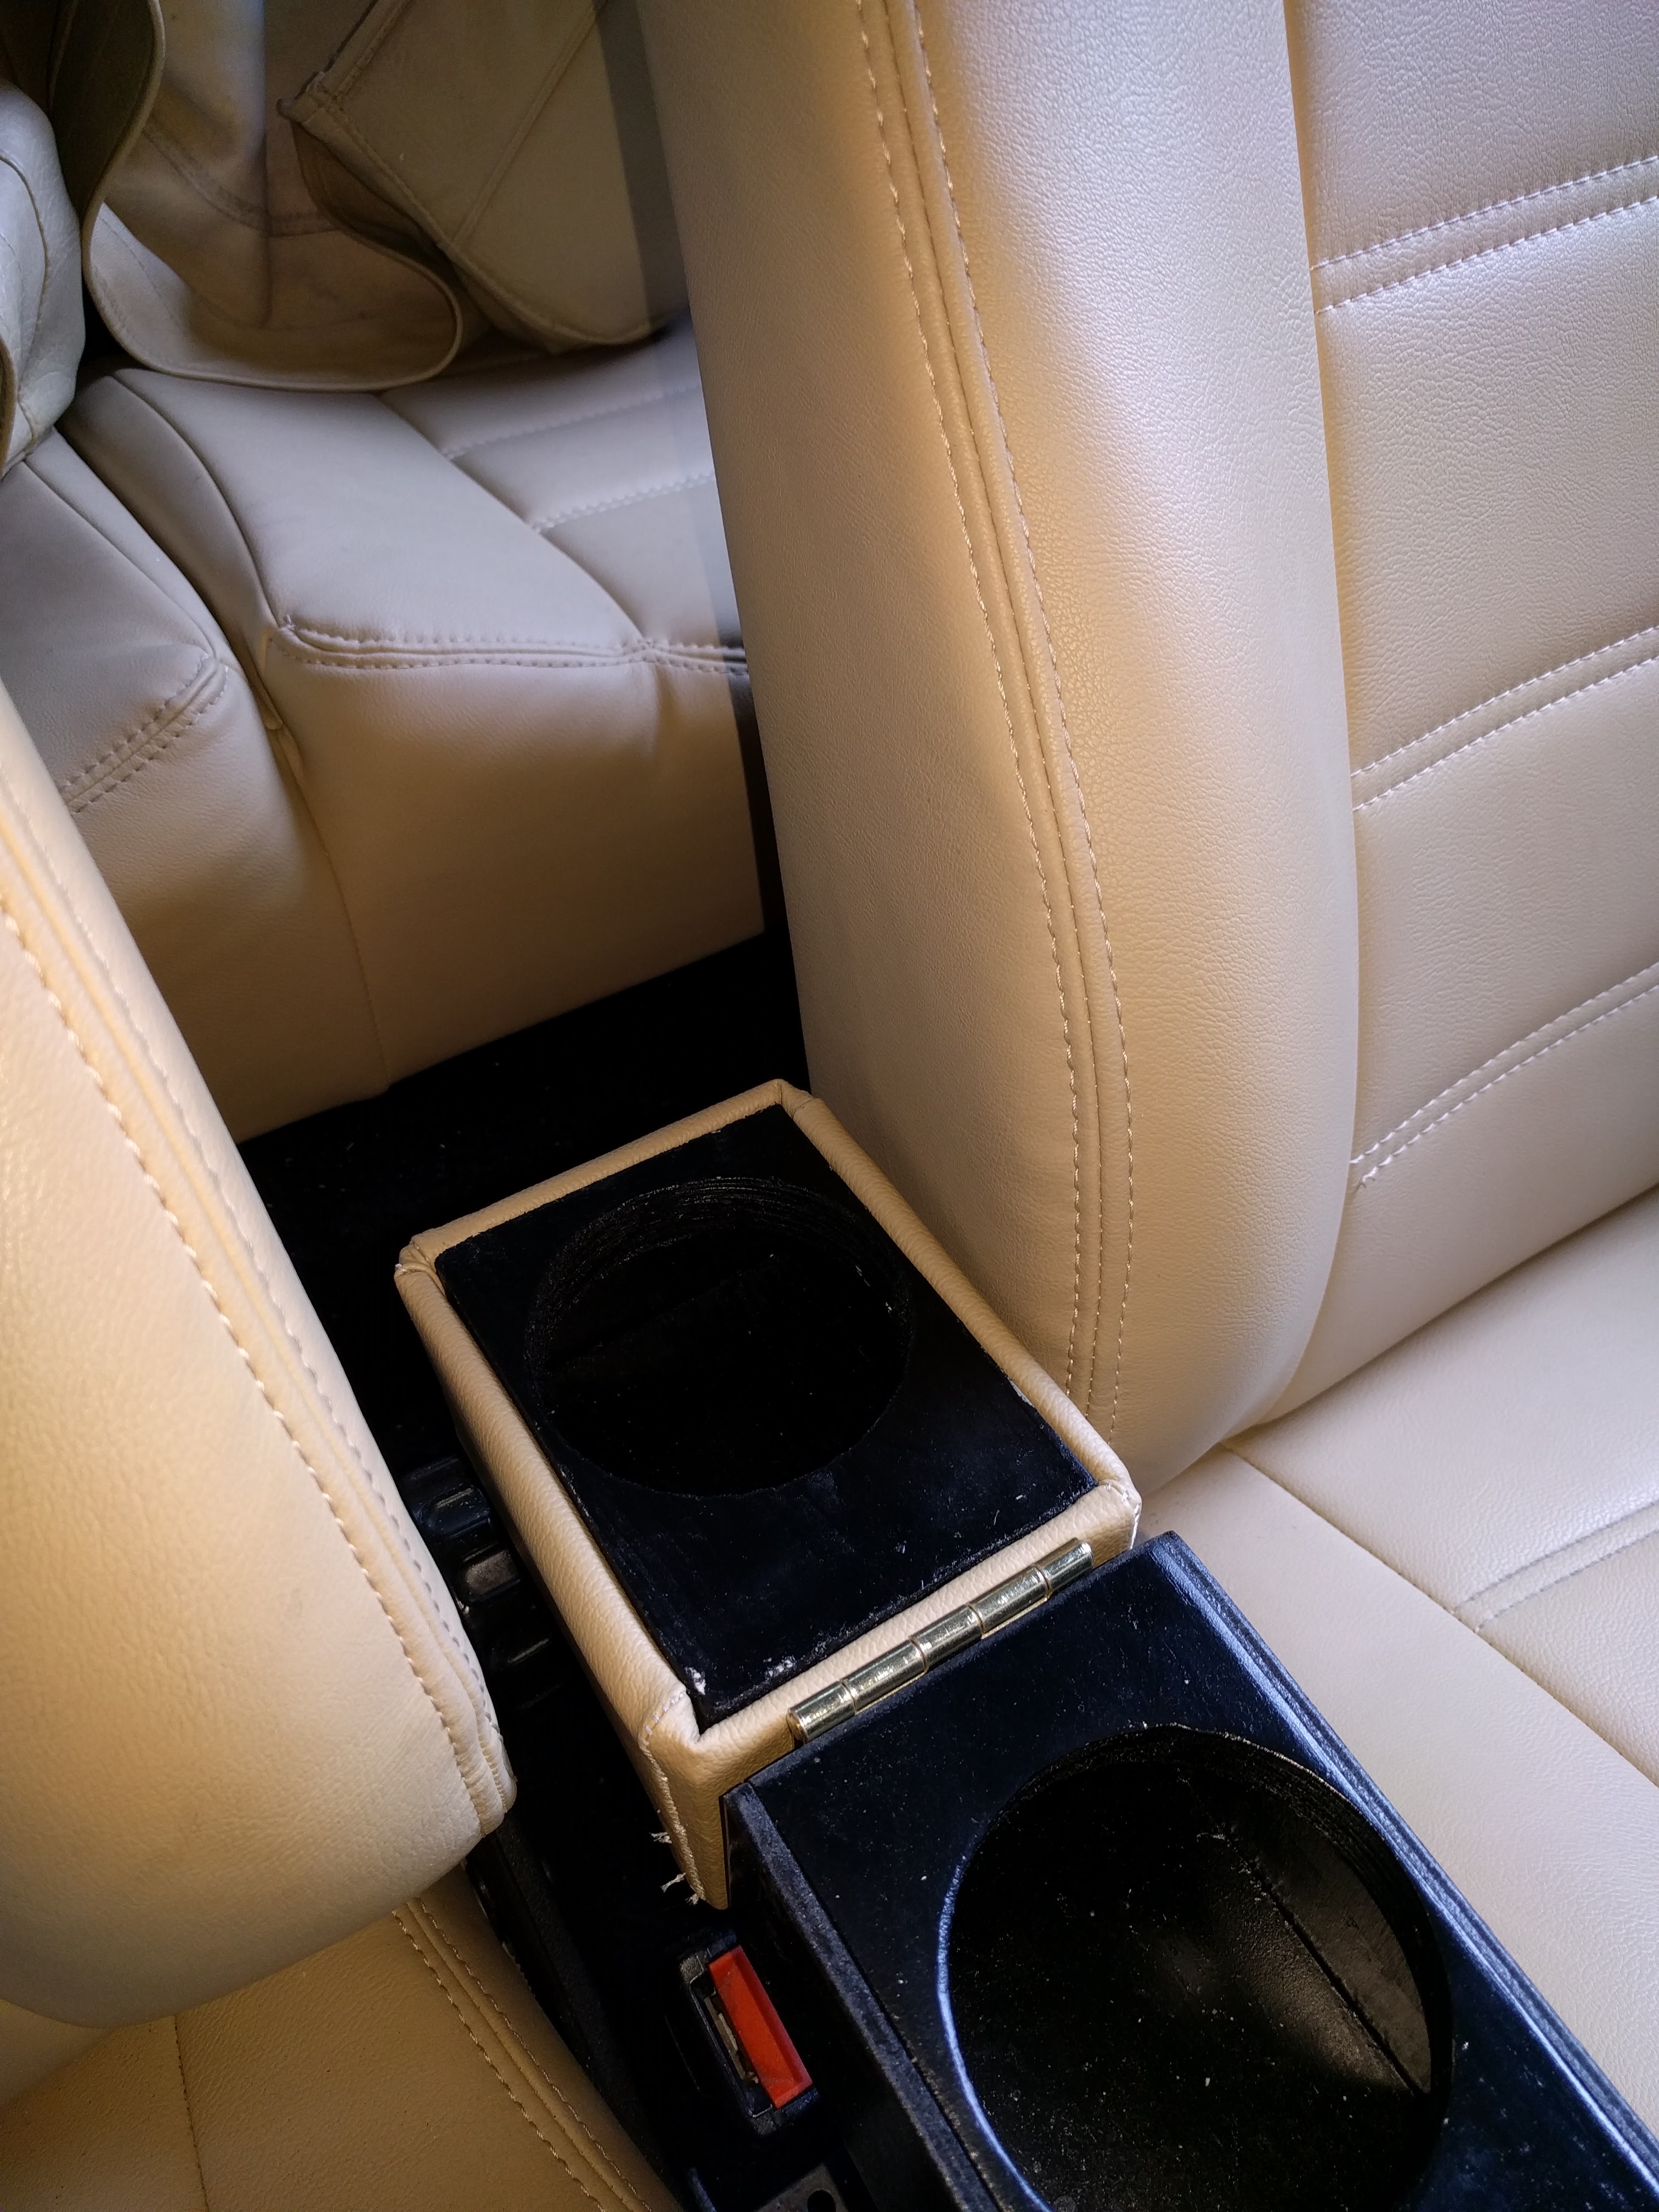
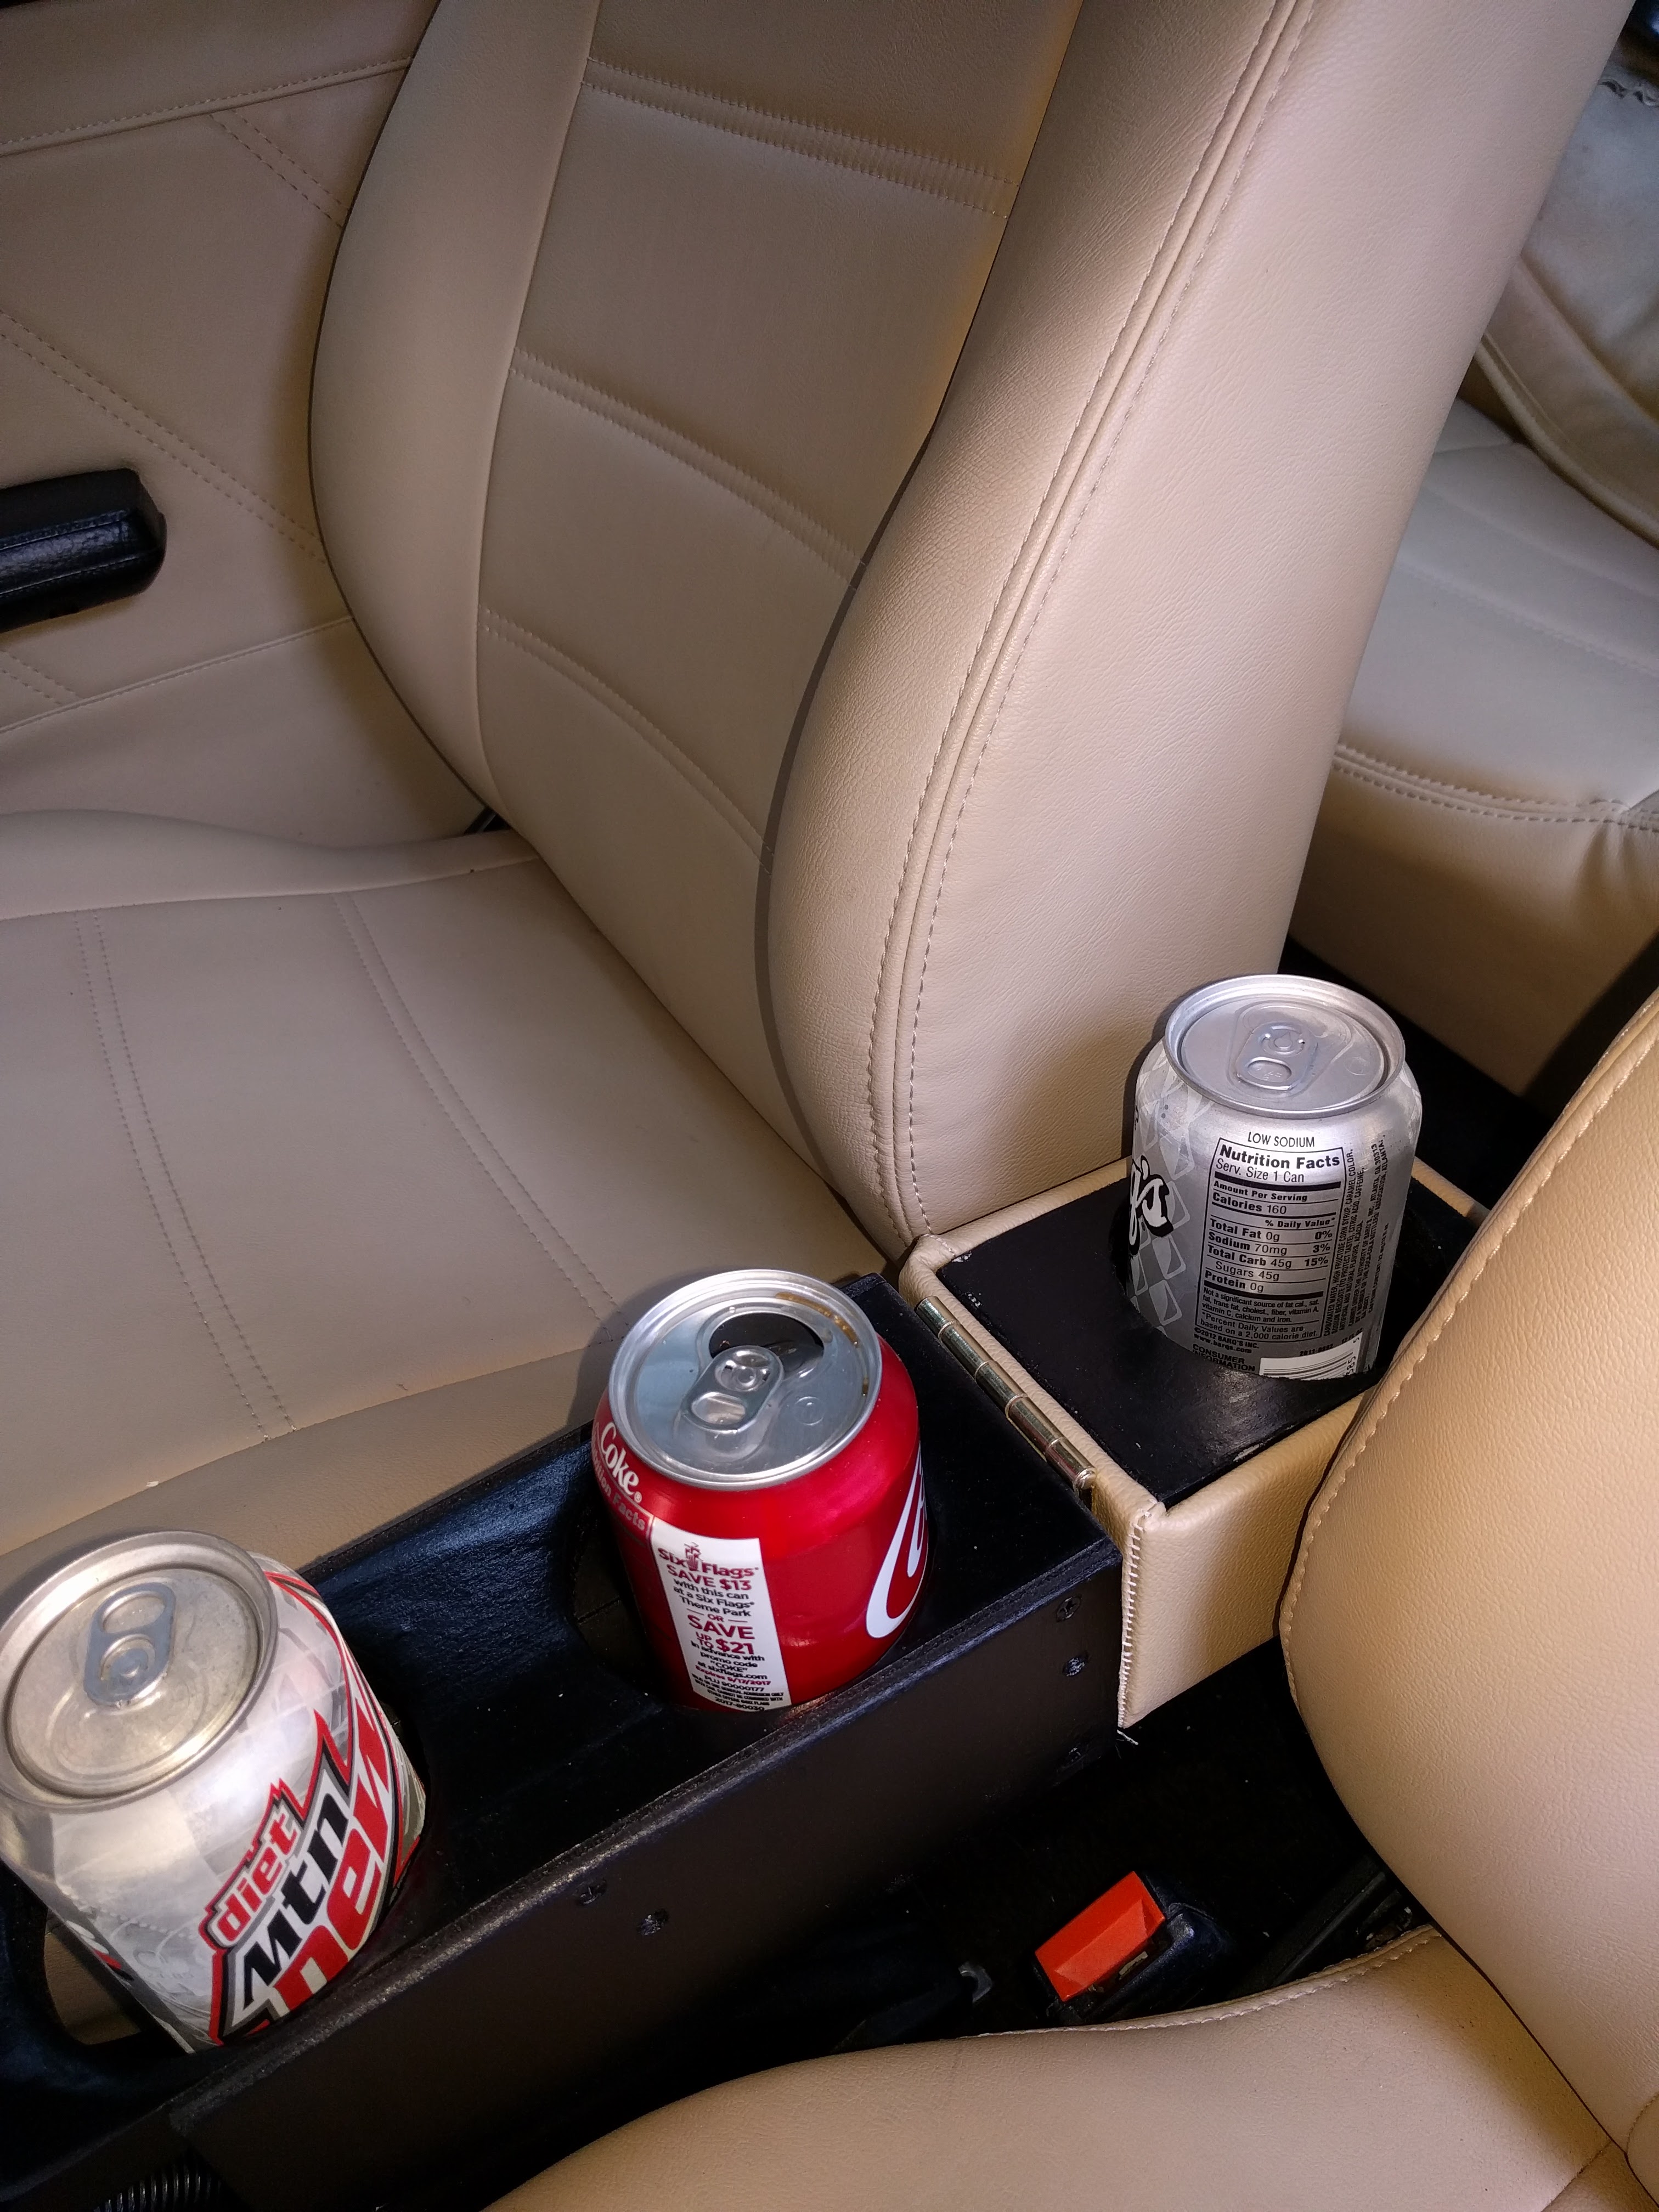
Originally I Stained and then 3 coats of Varnish I loved the look but it didn't work in the cabby. So I used Duplicolor Gloss Black Vinyl Paint 3 coats it matches the dash.
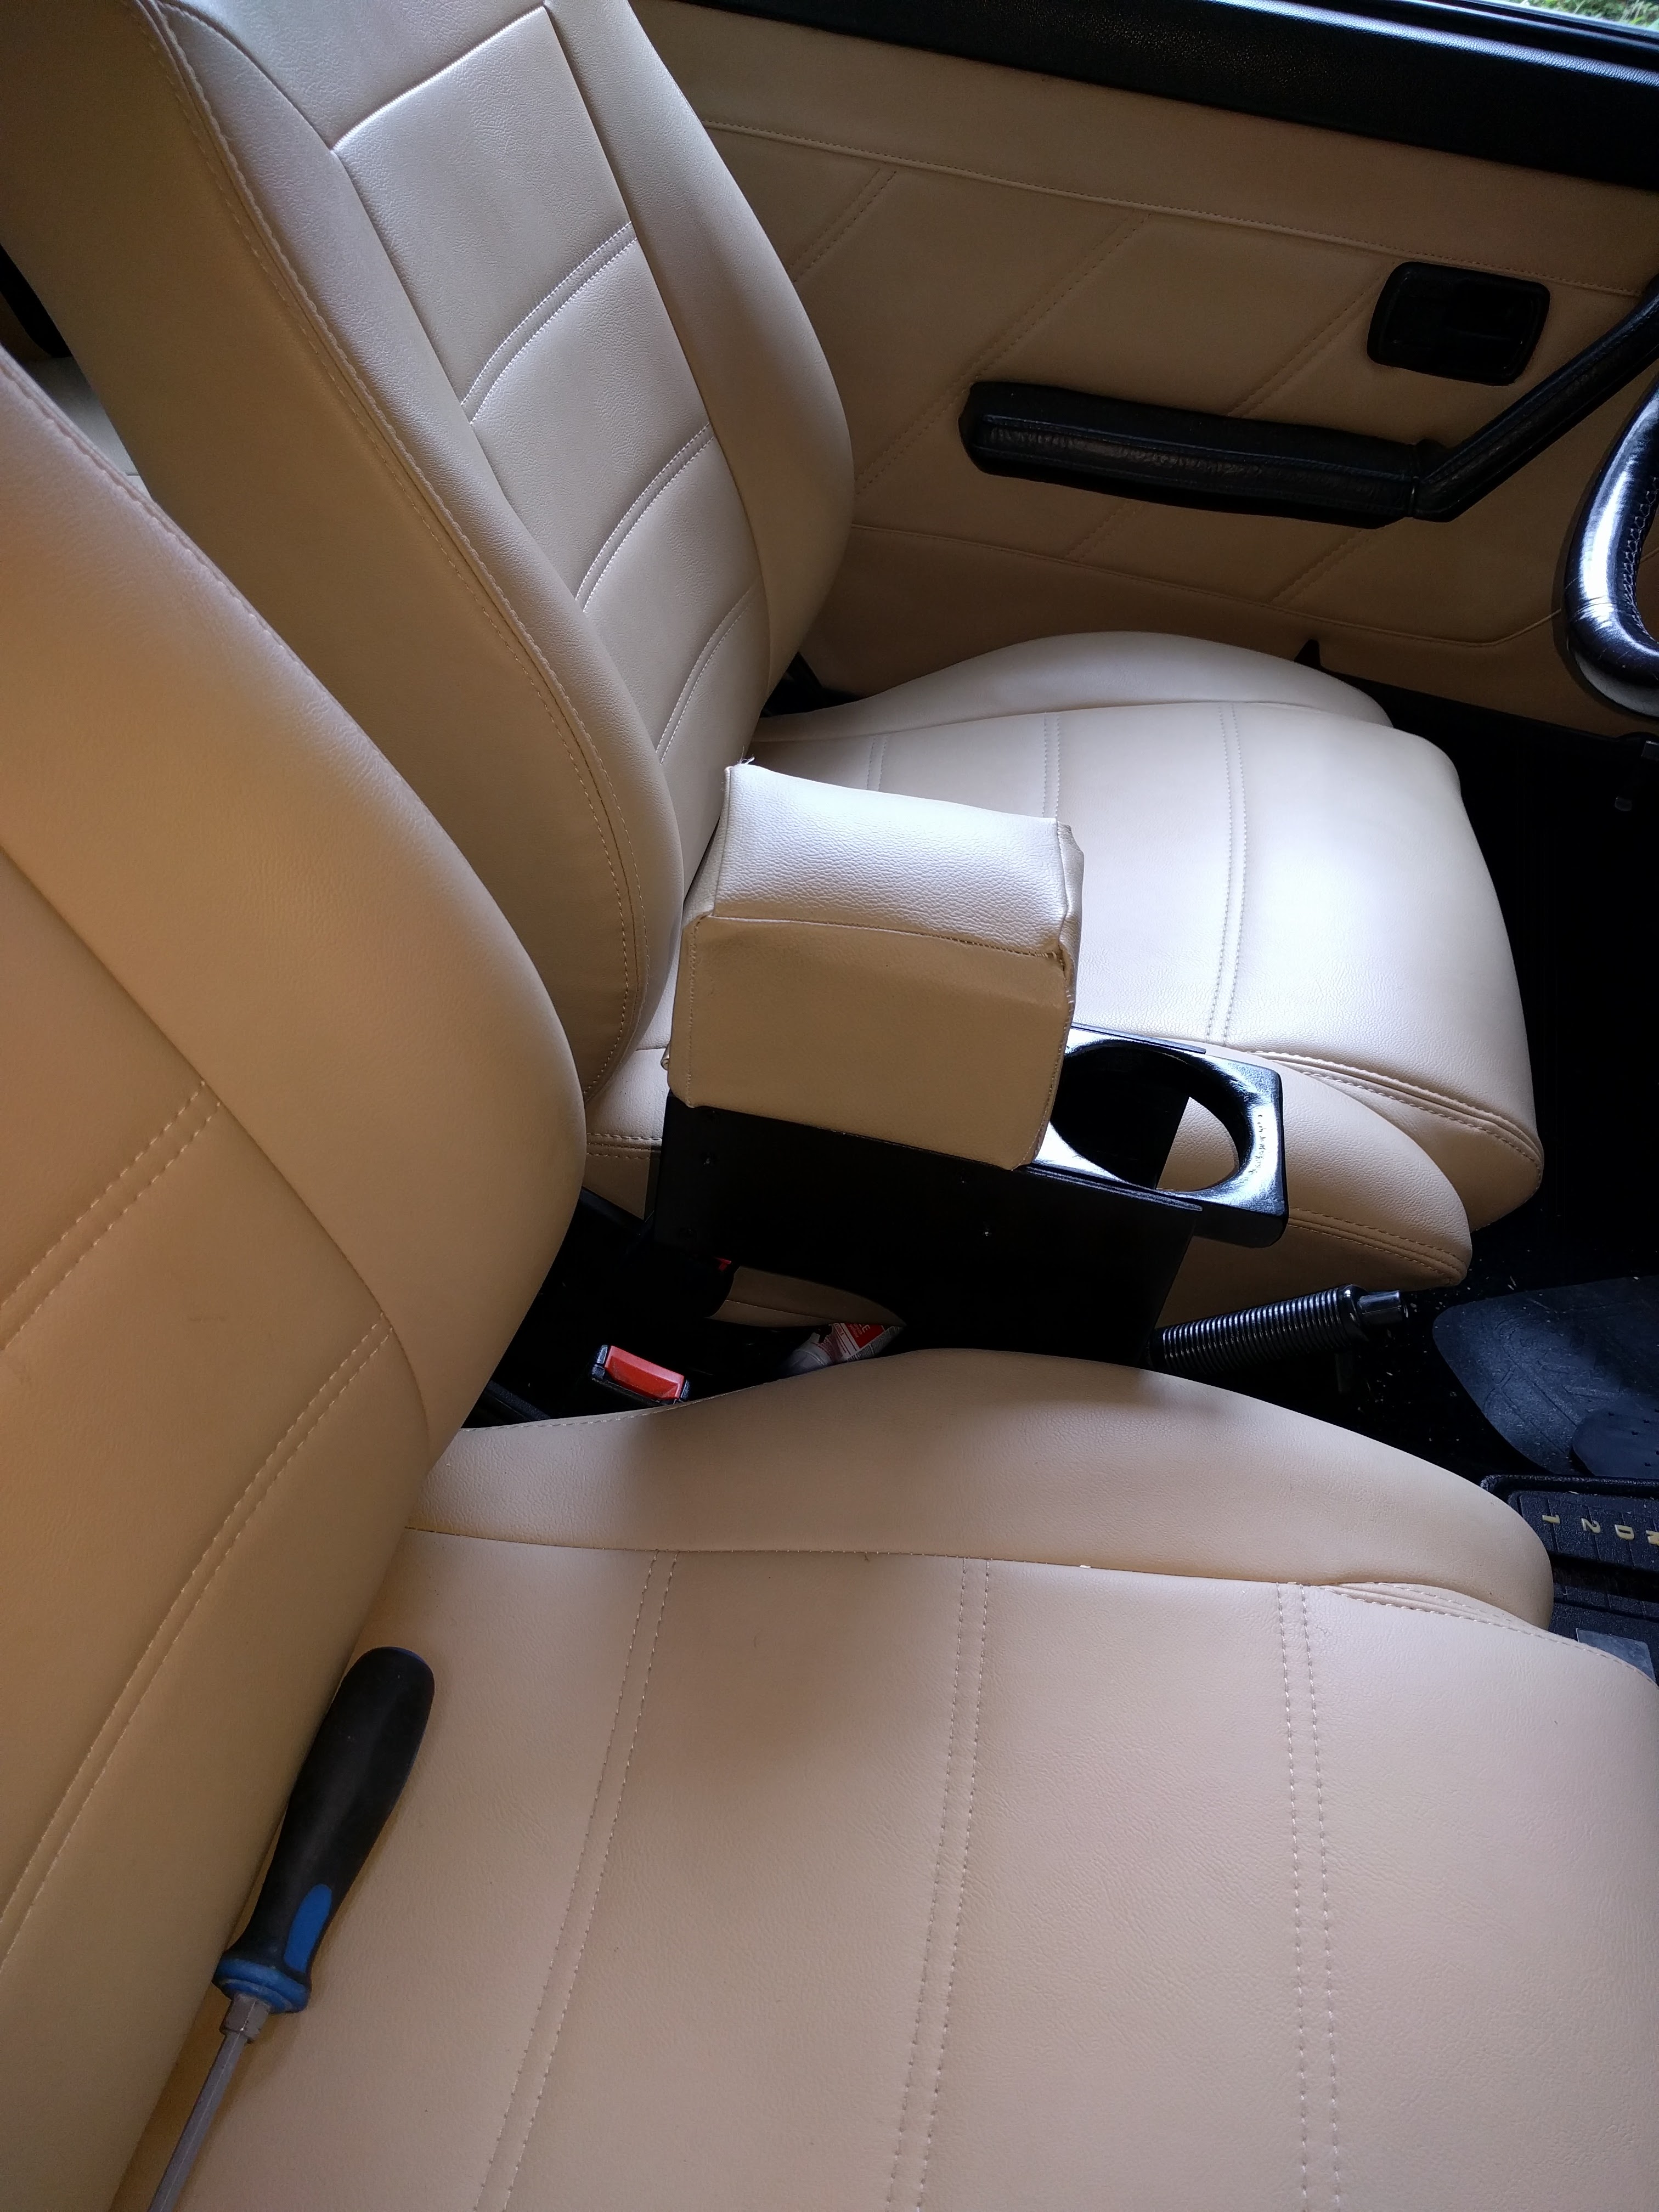
With that said here it is.


Original was too tall and a tad unstable so I whittled it down a wee bit.
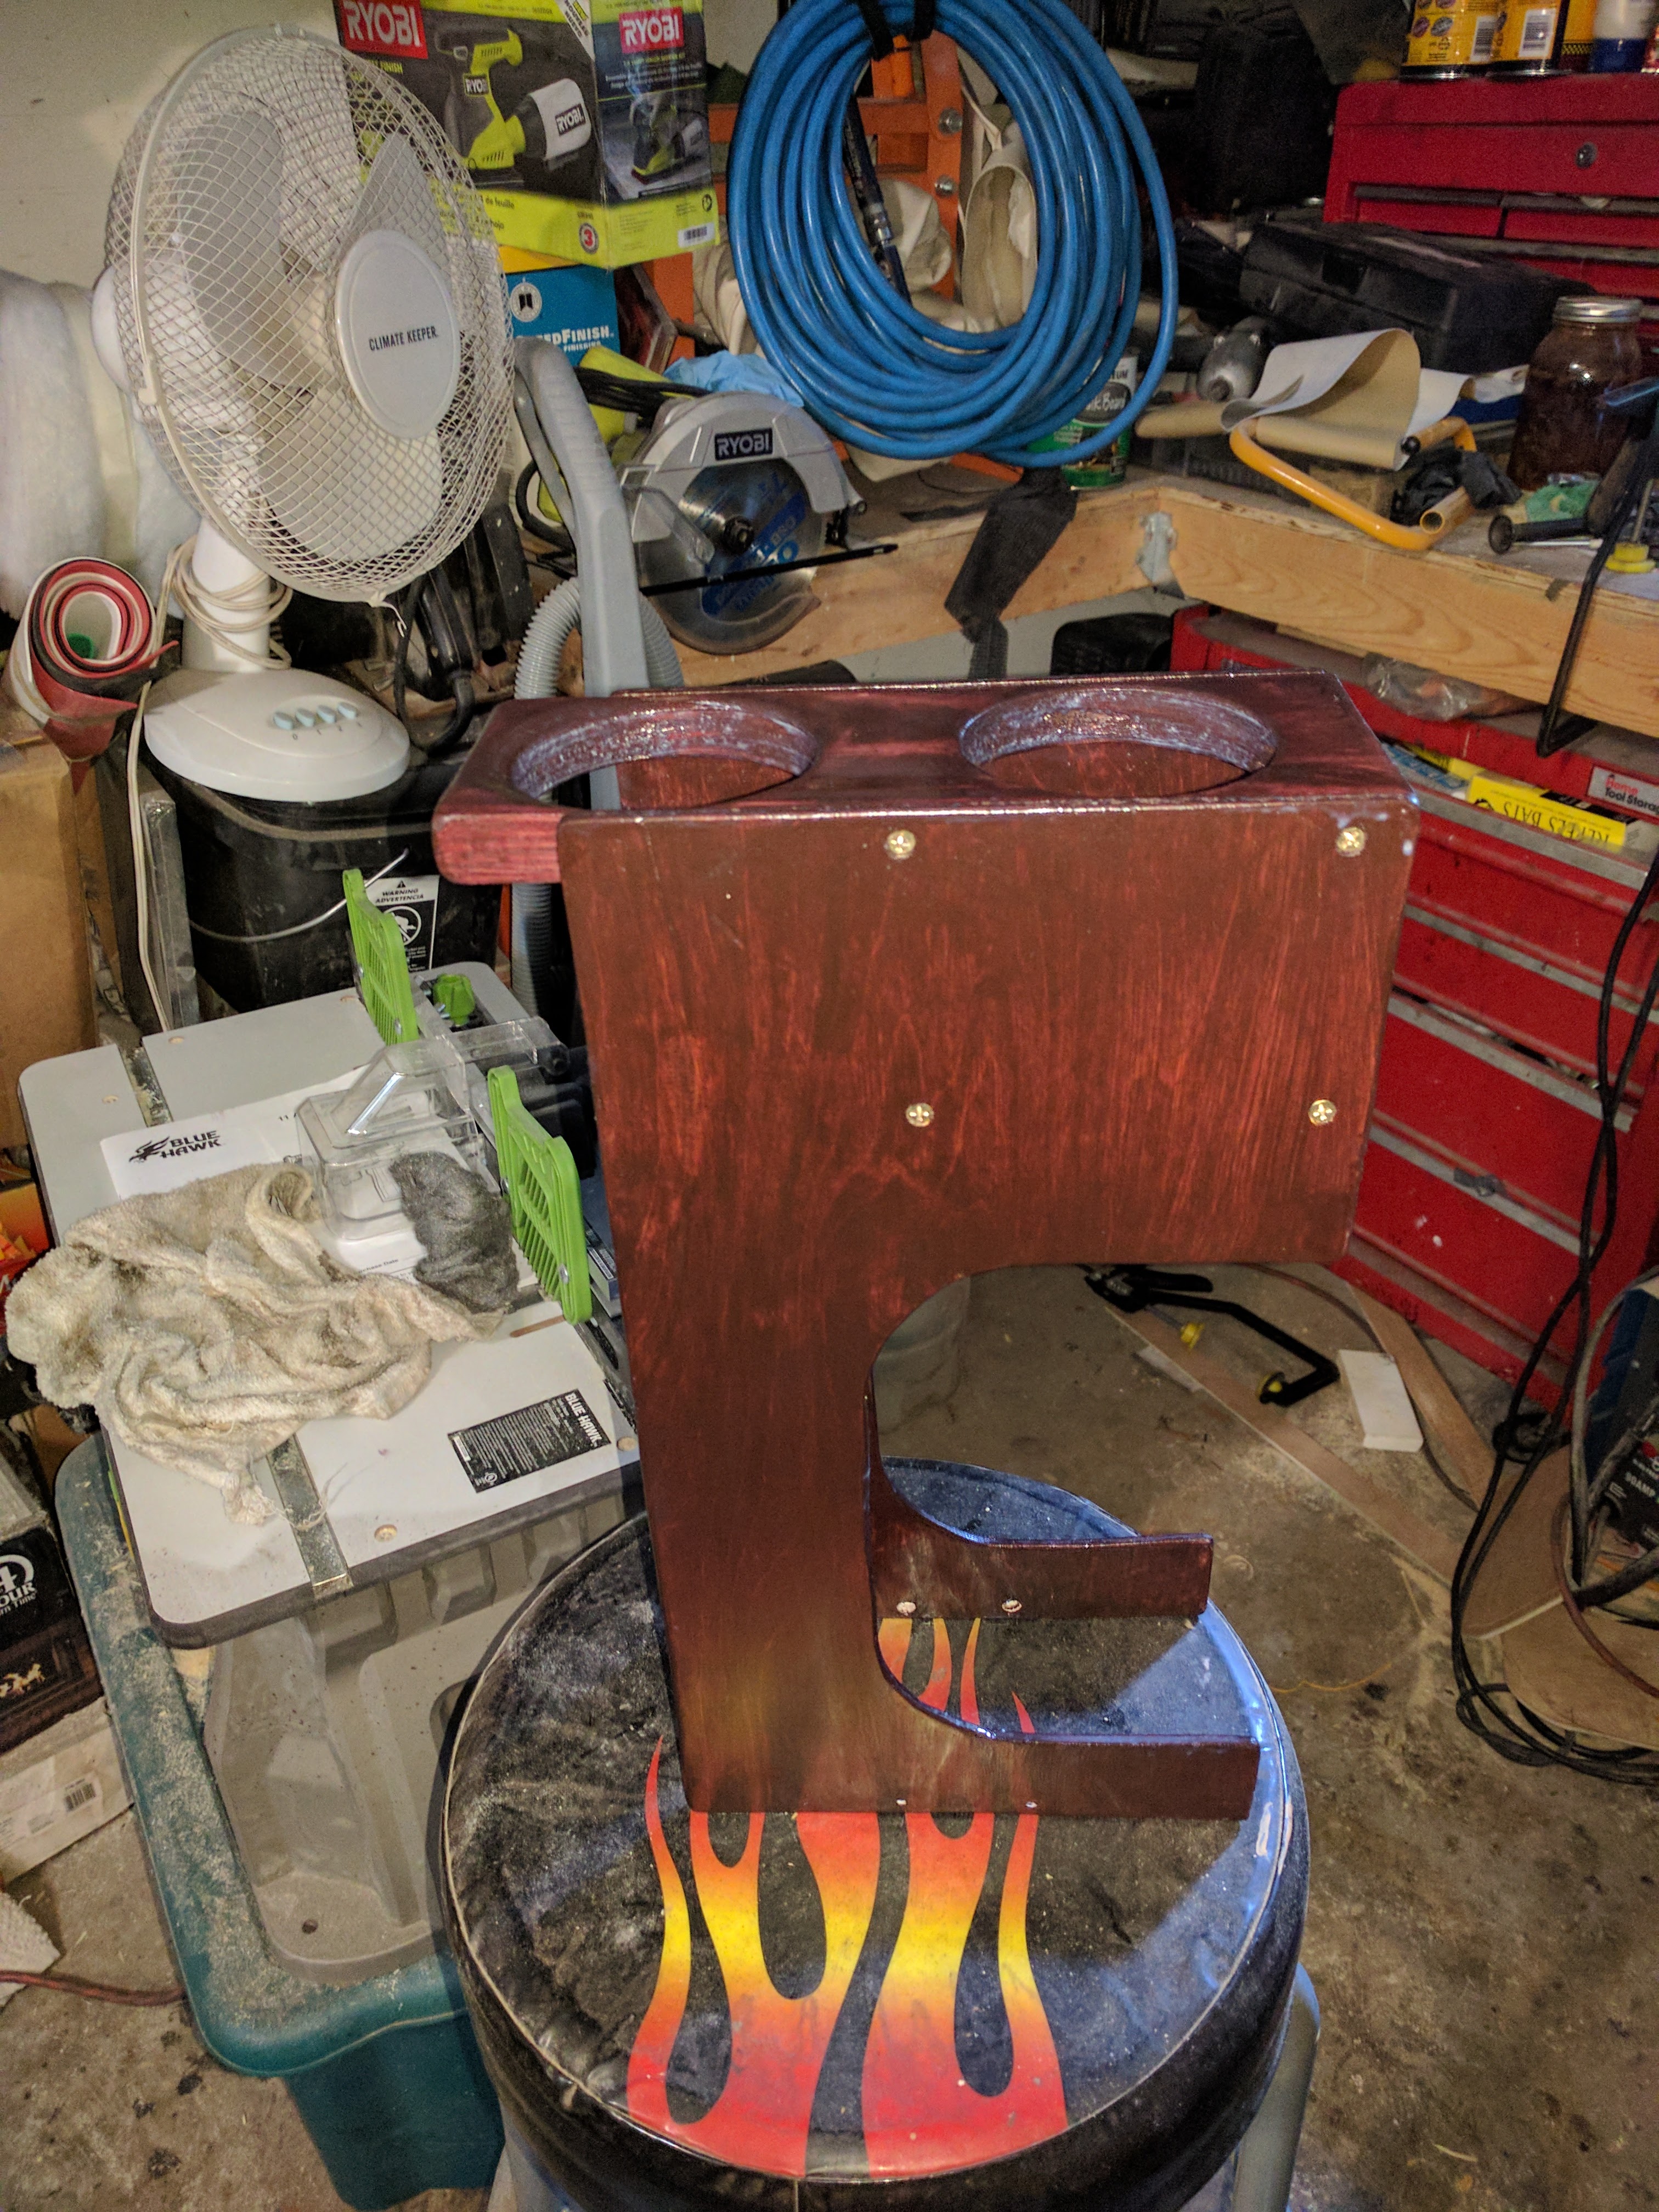
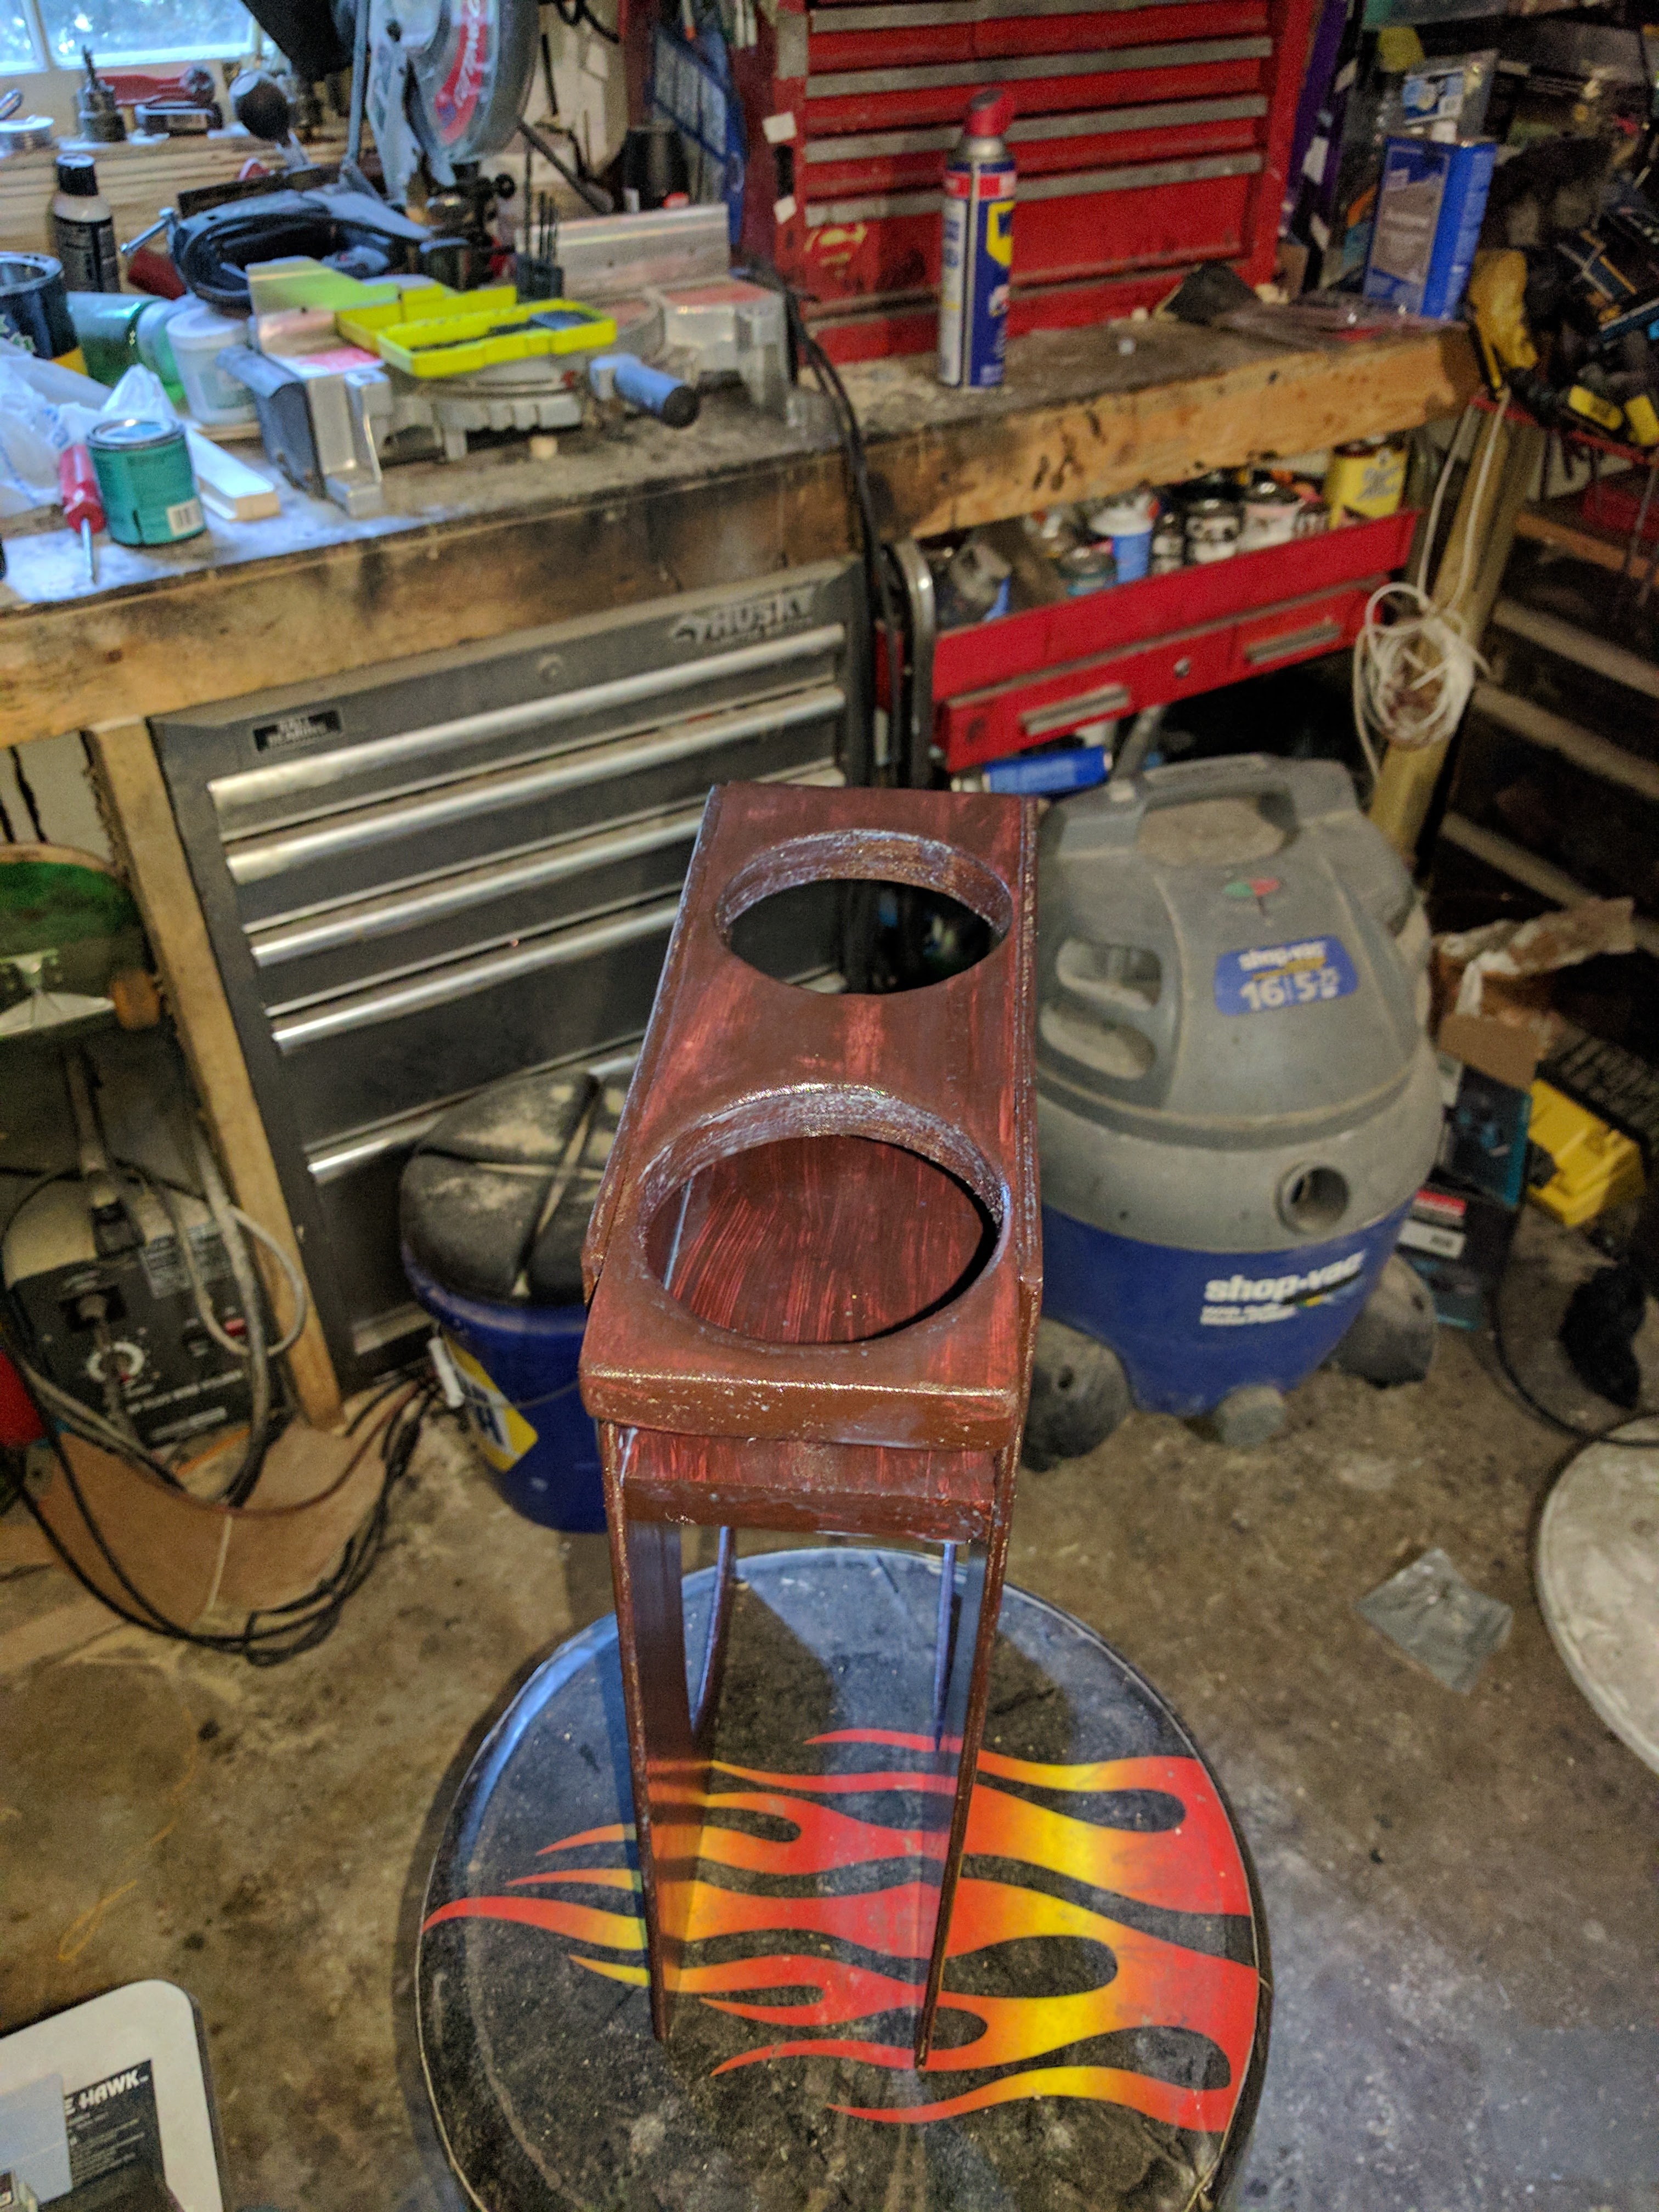

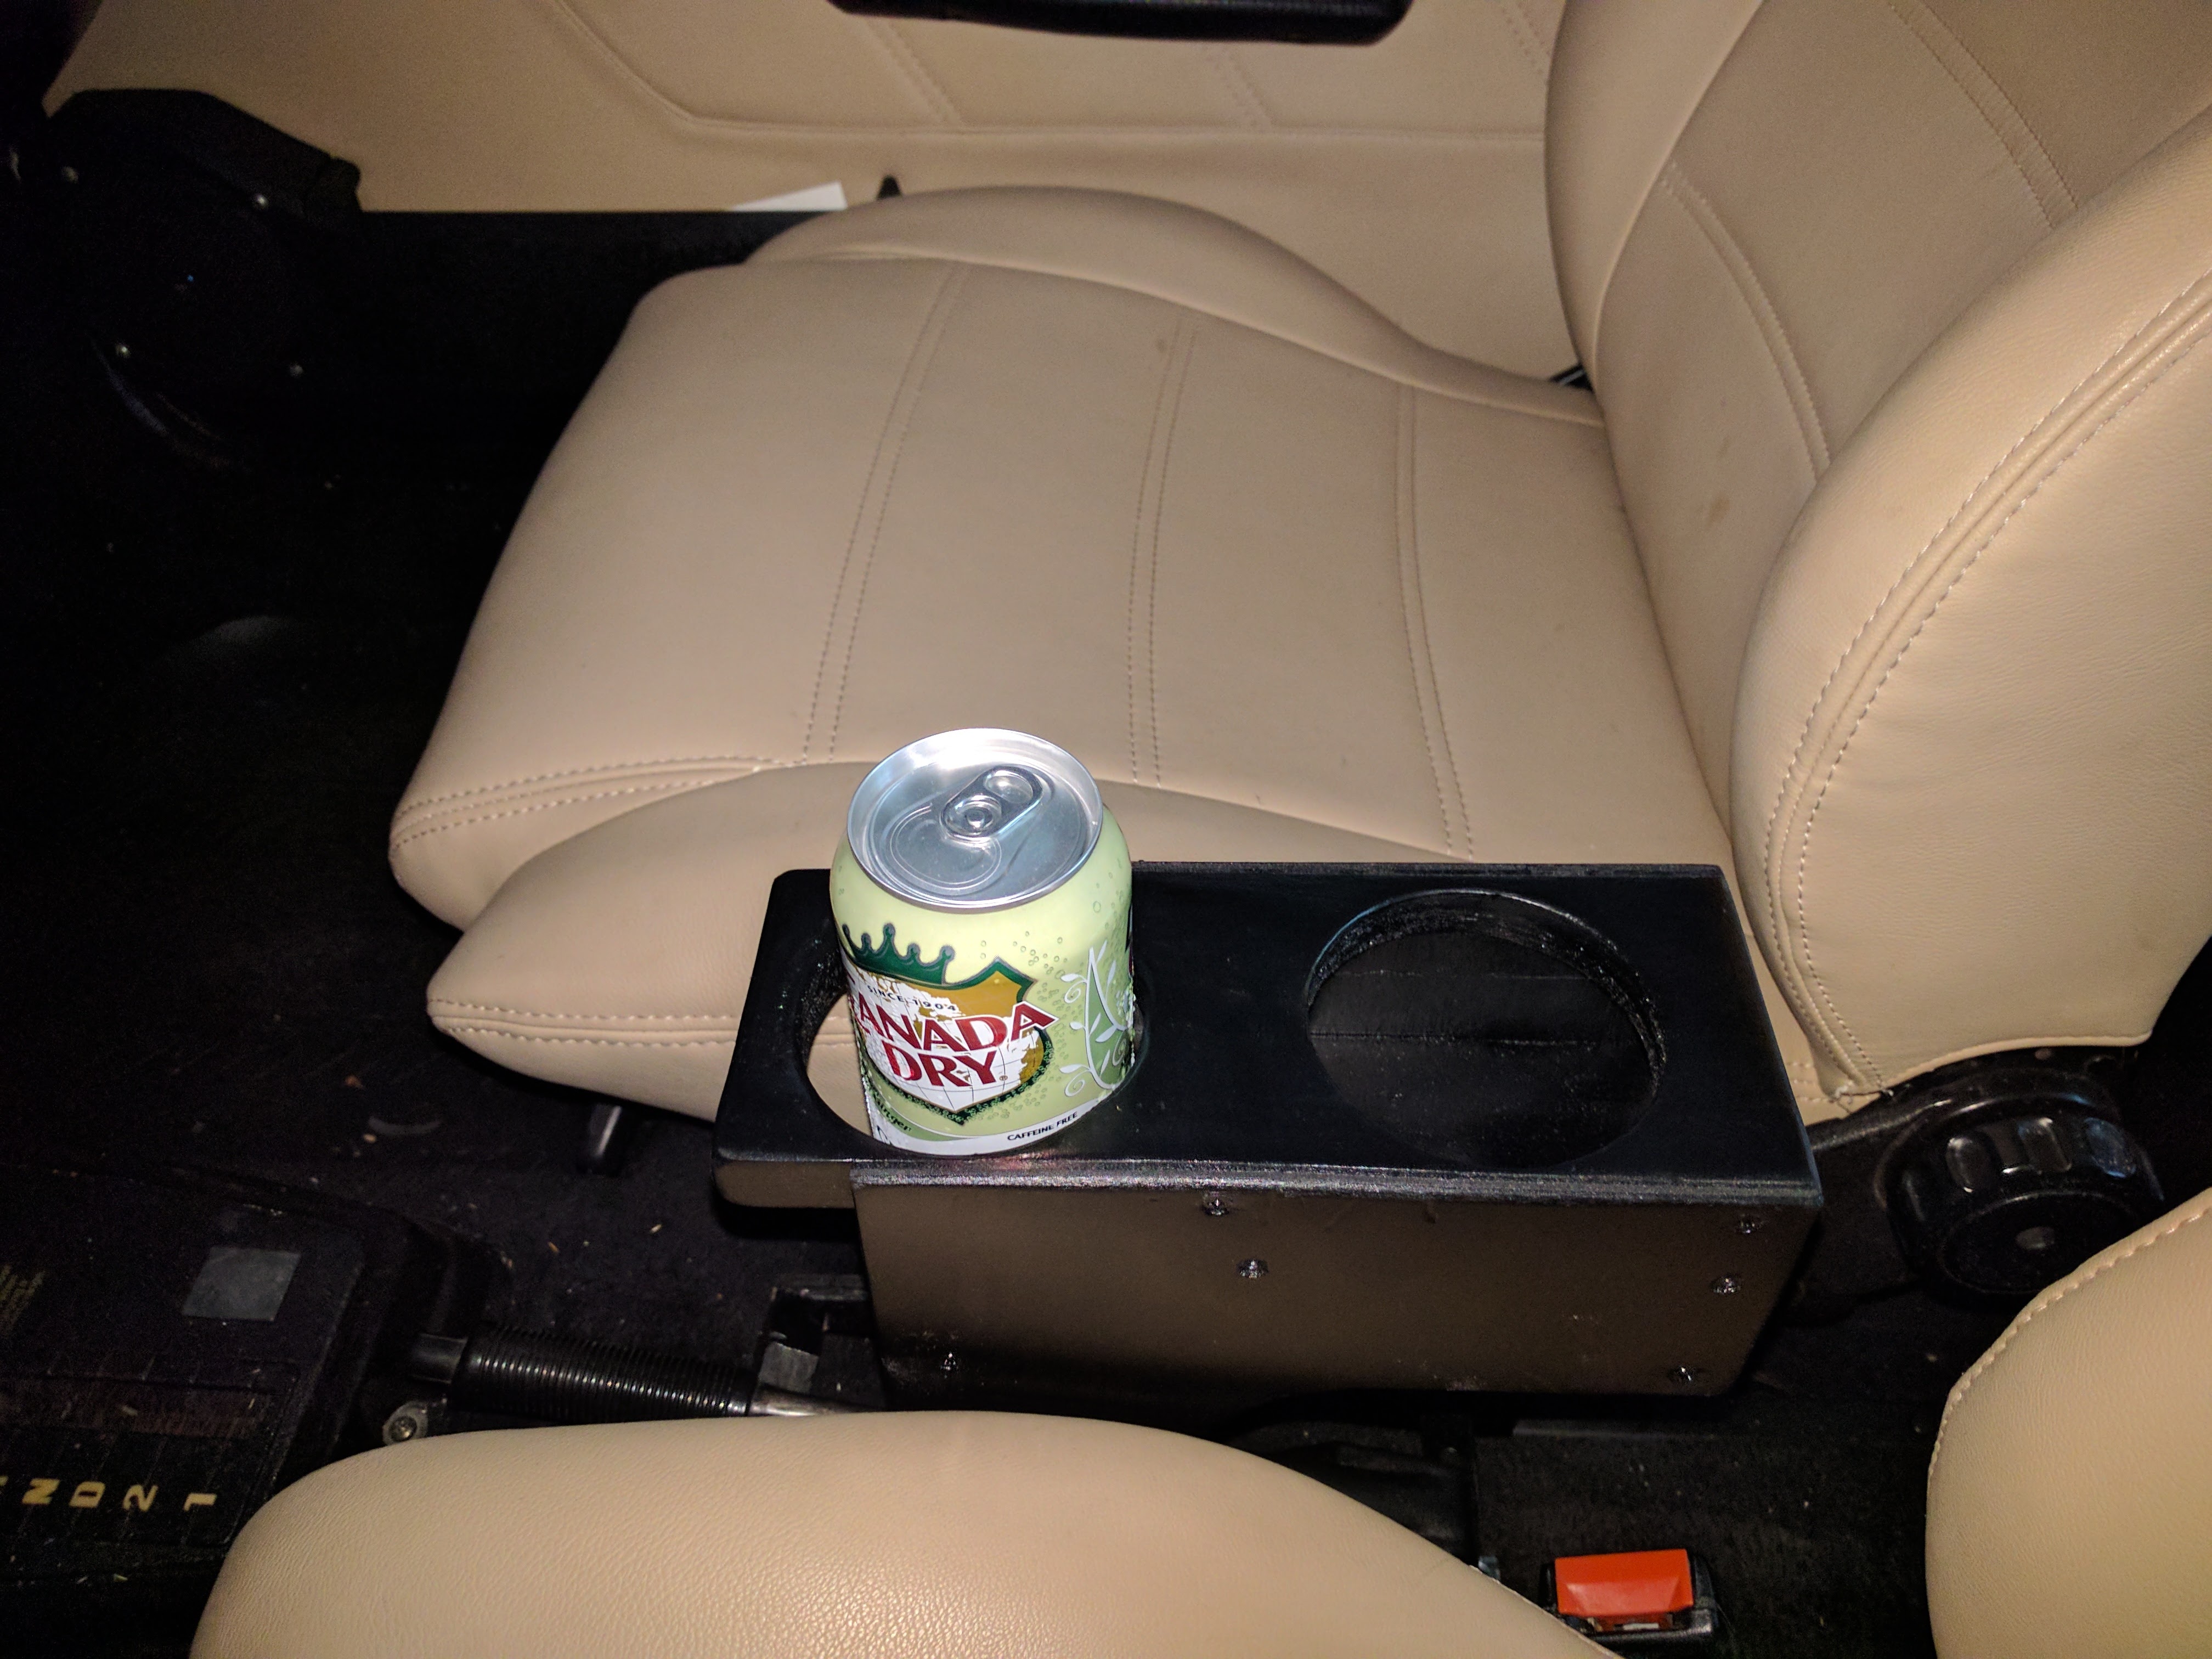
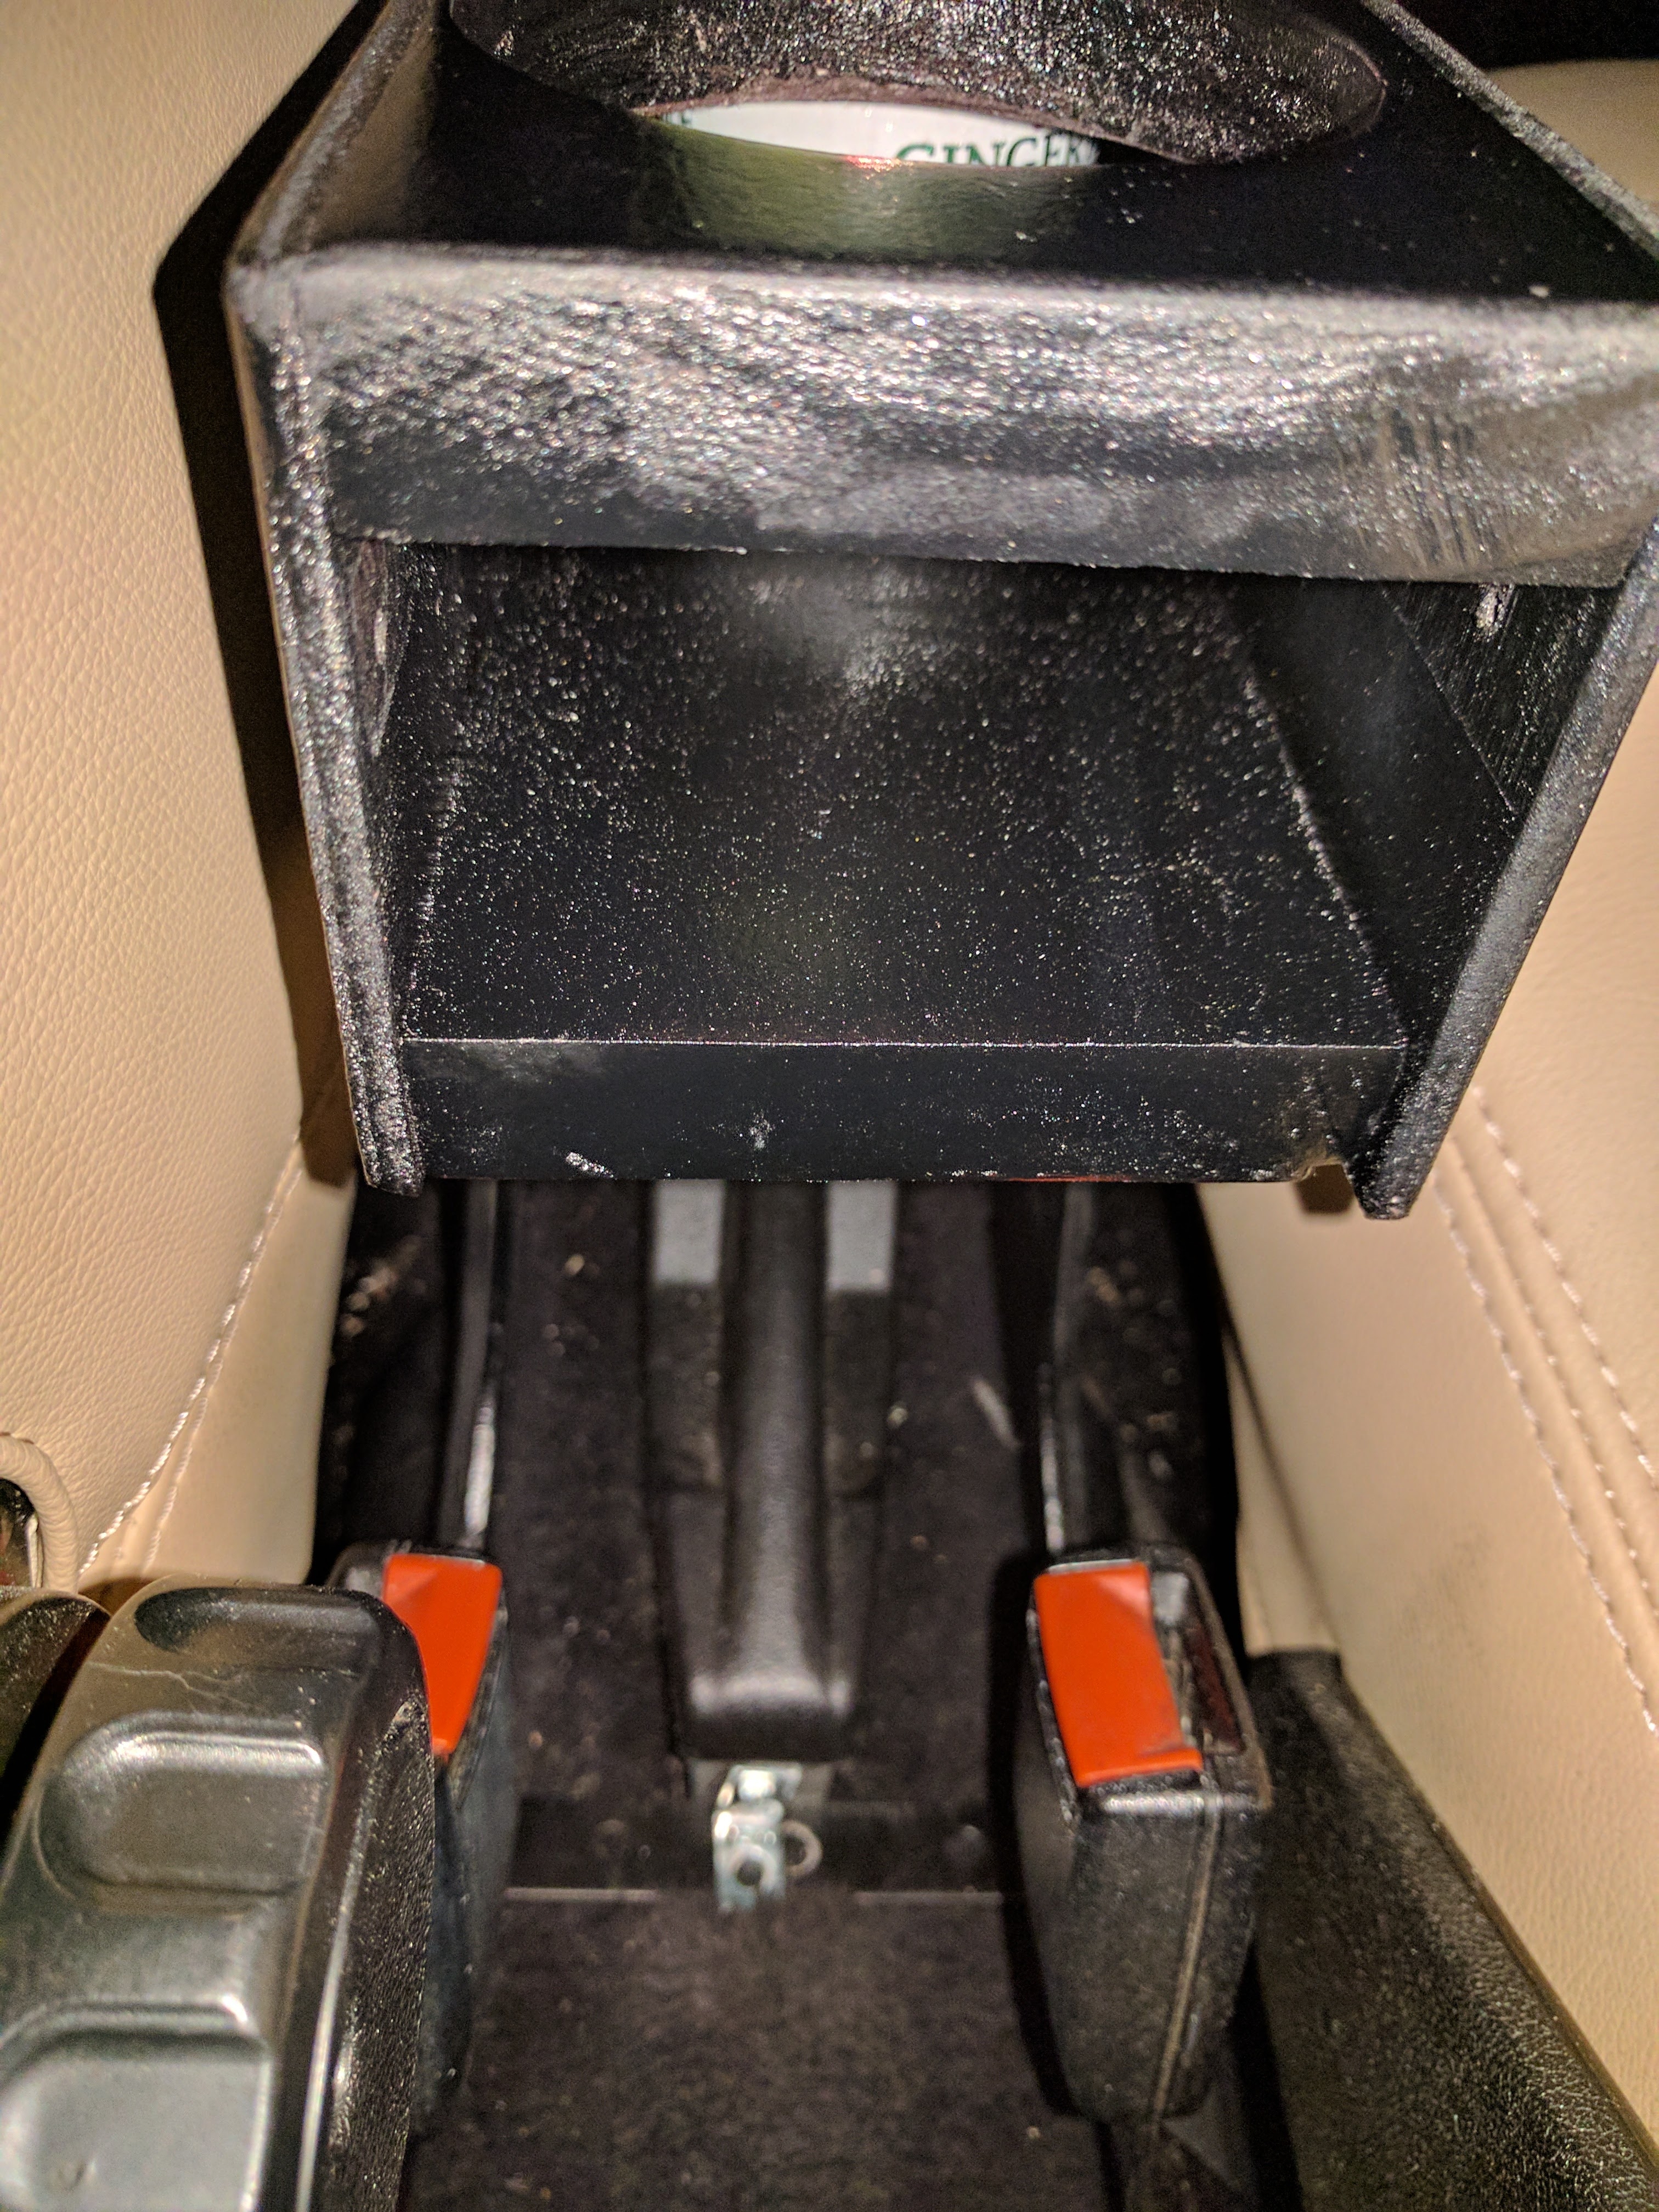
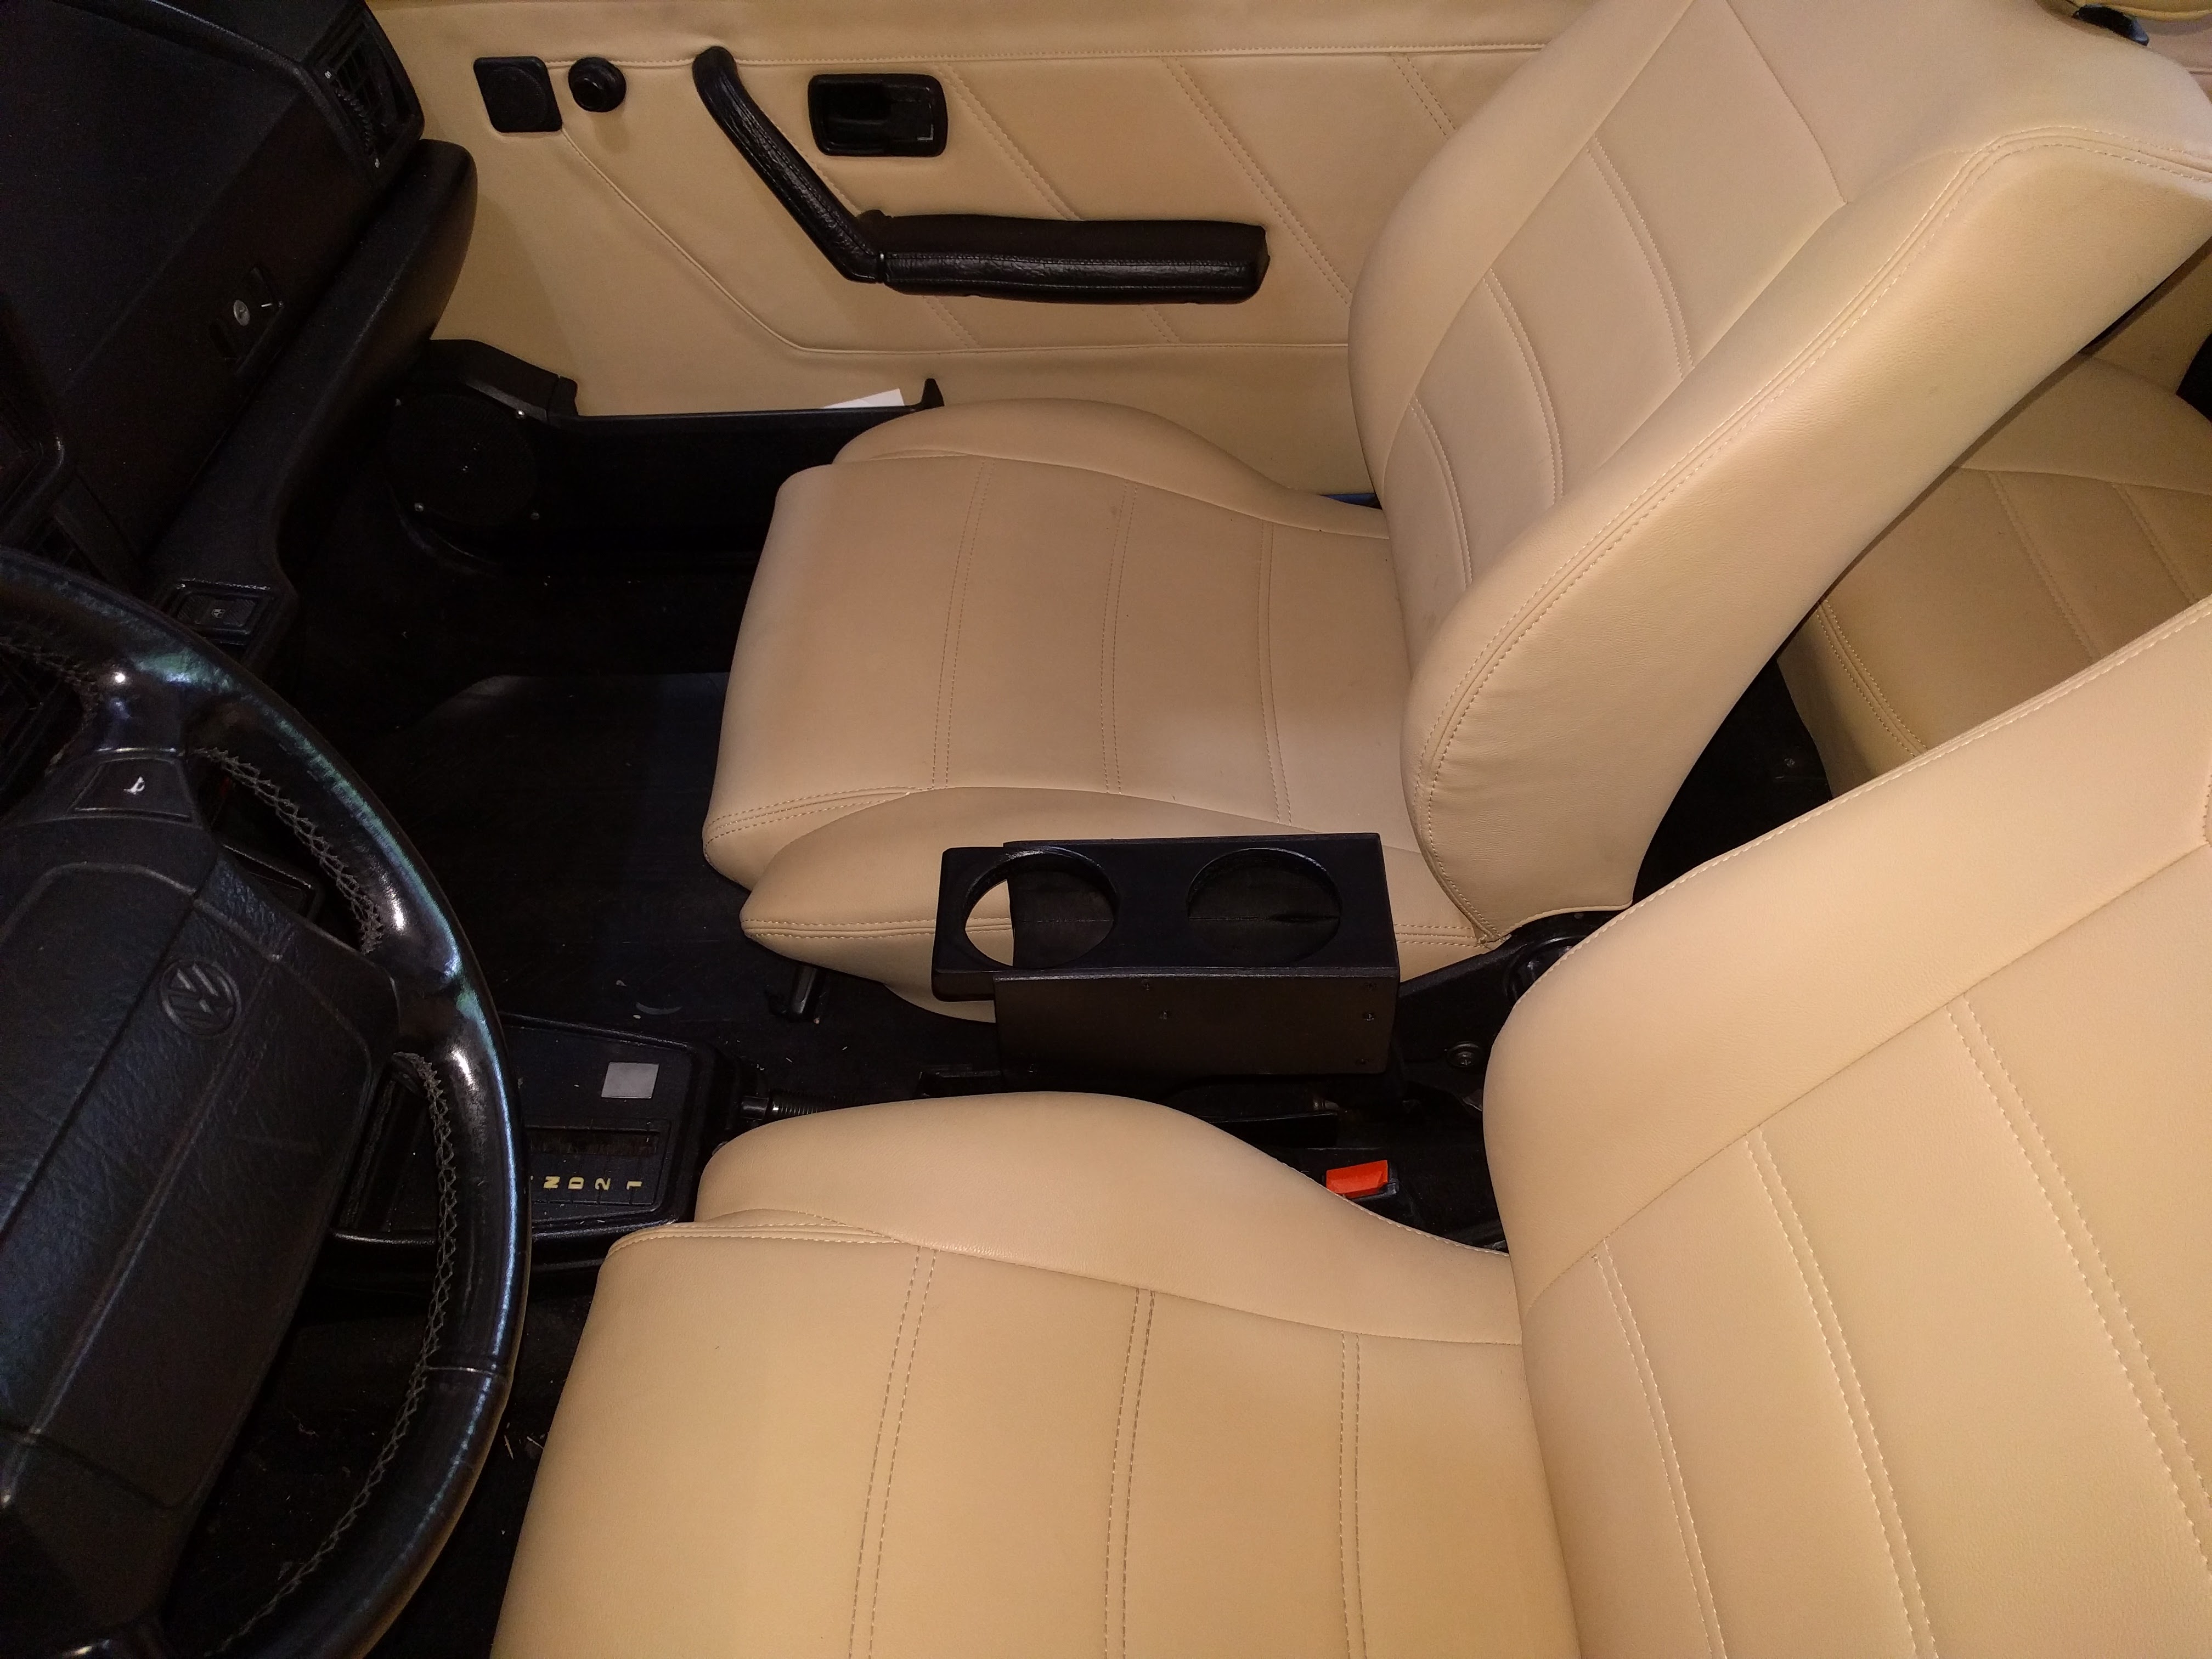

Remember I used Basically a Jig-Saw to do Most cuts, But I did use a Compound Miter to make the Front Brace. I may clean it up with a router later to make it look pretty, but it is under the closed handle of the e-brake.
 Last edit: by Briano1234
What do Divorces, Great Coffee, and Car Electrics all have in common?
They all start with GOOD Grounds.
Where are my DIY Links?
They all start with GOOD Grounds.
Where are my DIY Links?
Posted
Local Hero

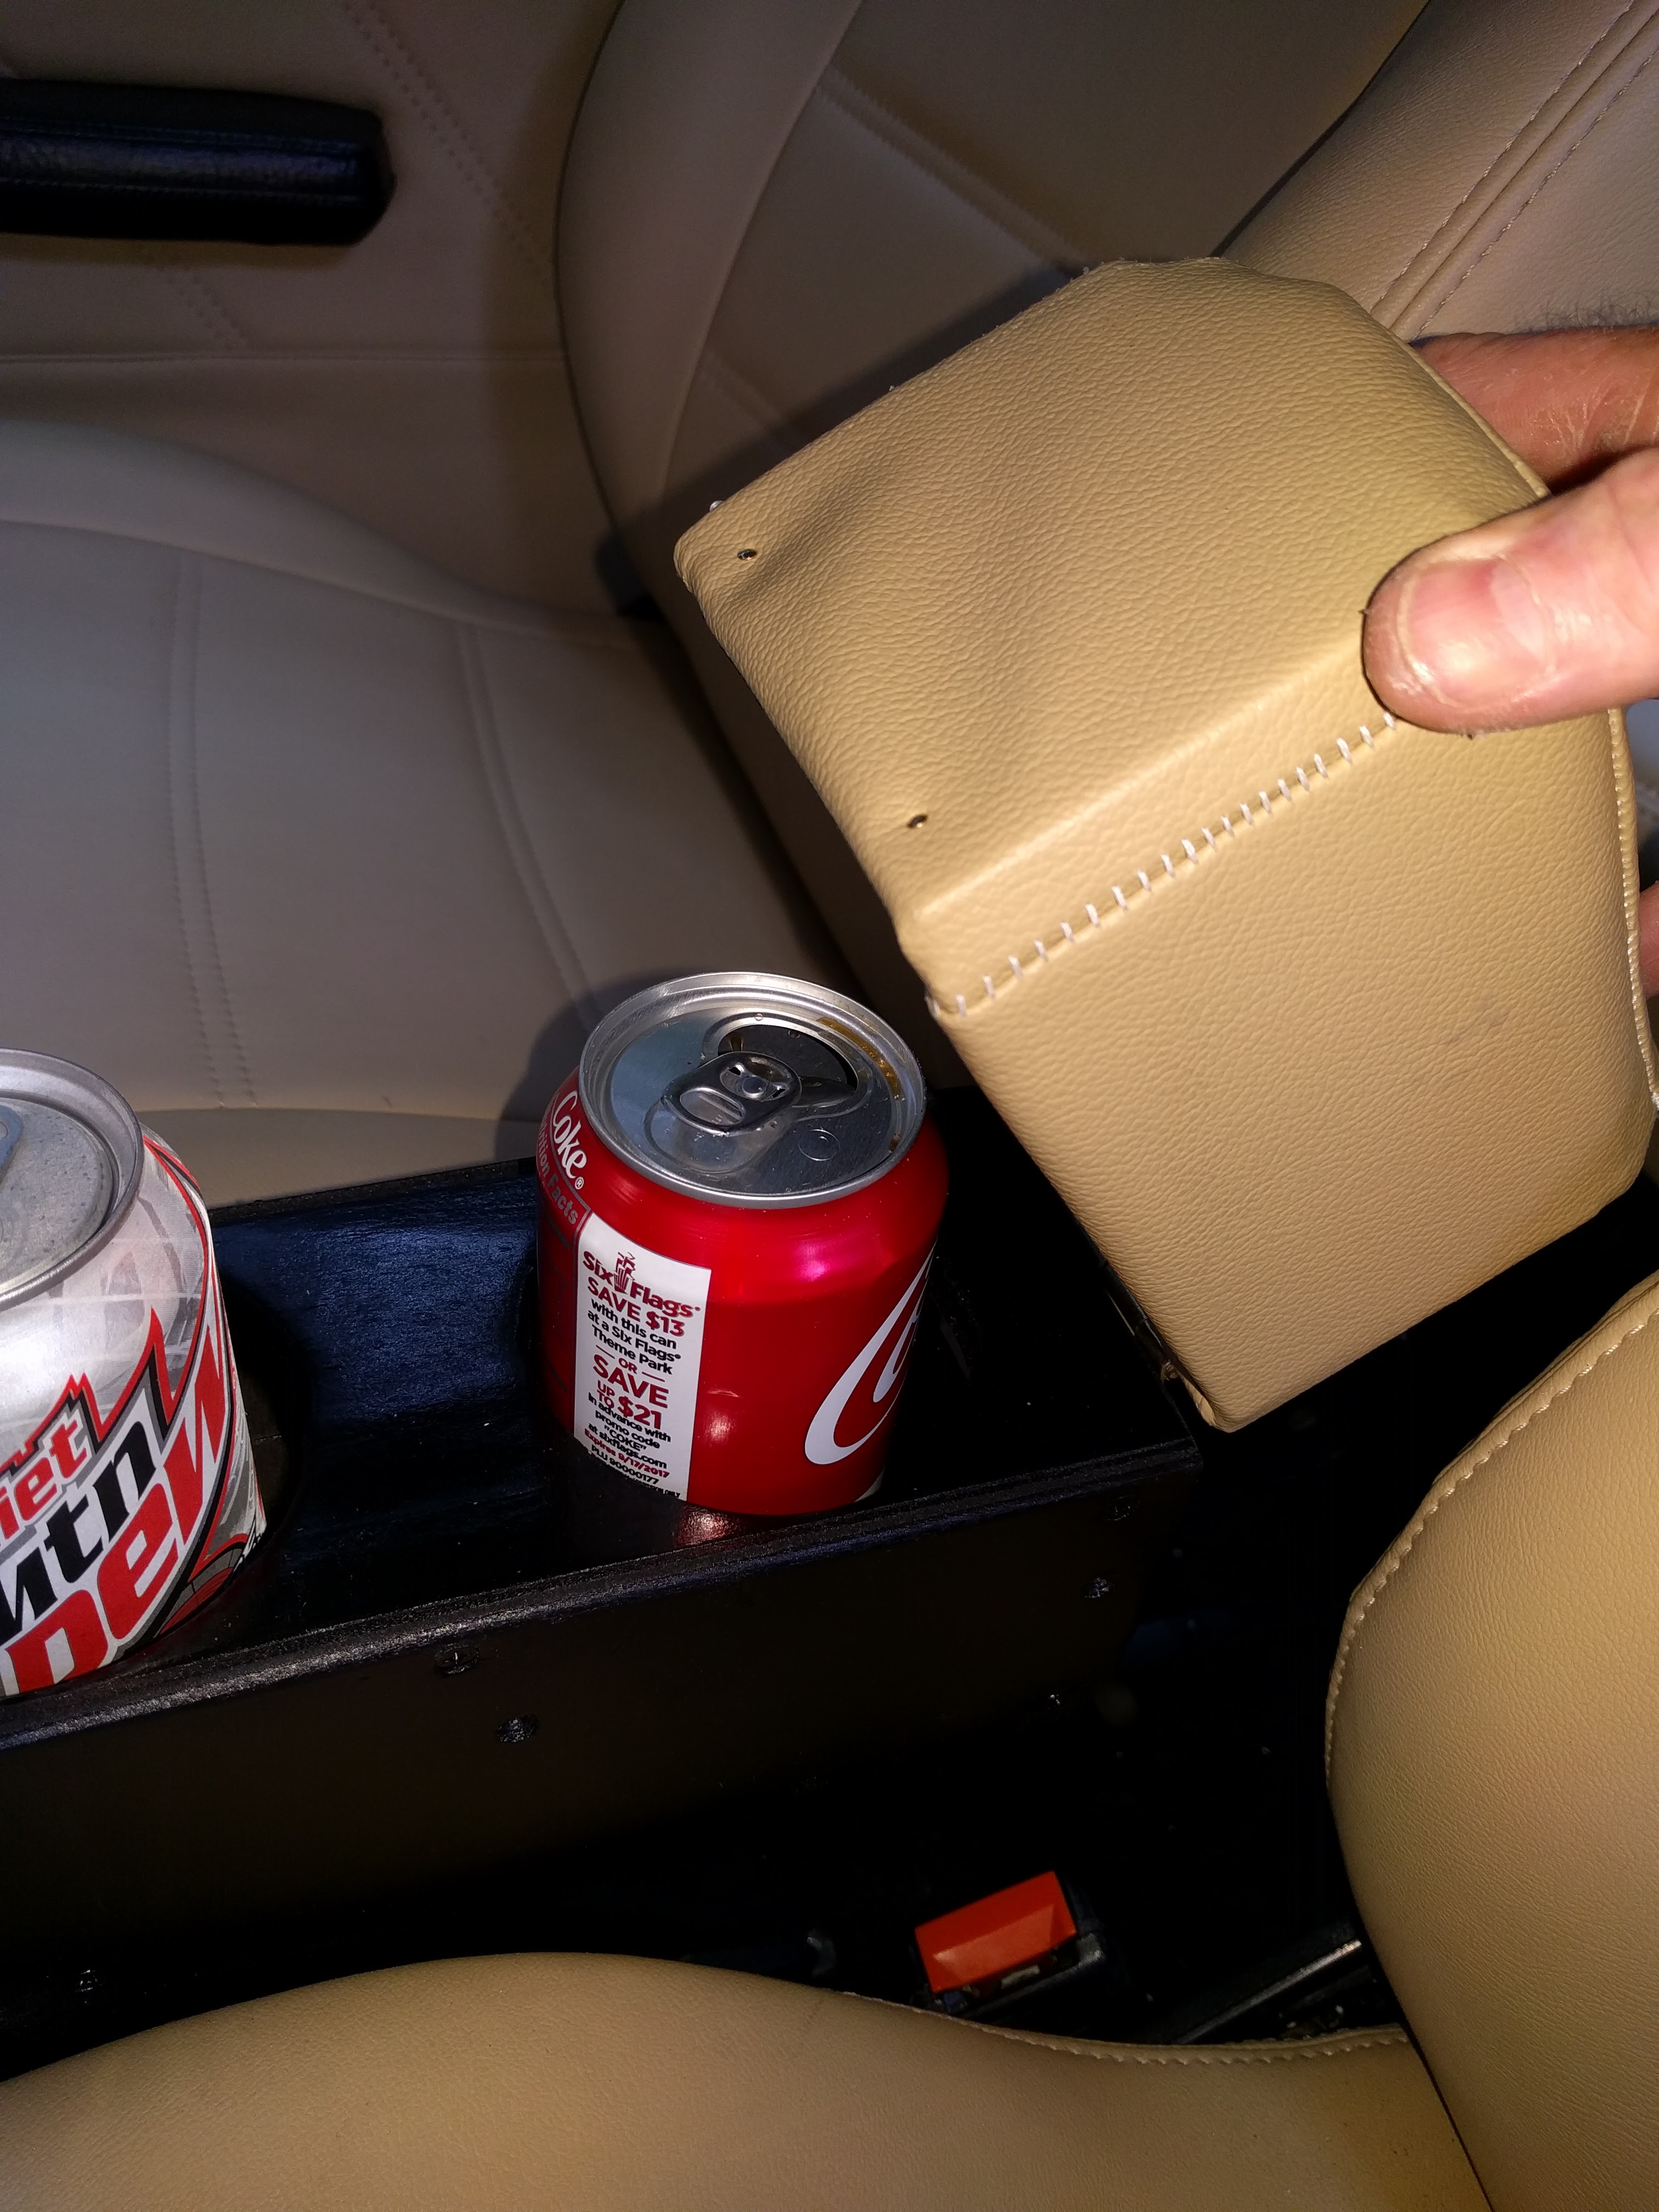
just need to leather wrap it to match the interior.
"Making Cabbies More Beautiful One Roof at a Time"
Posted
Local Hero

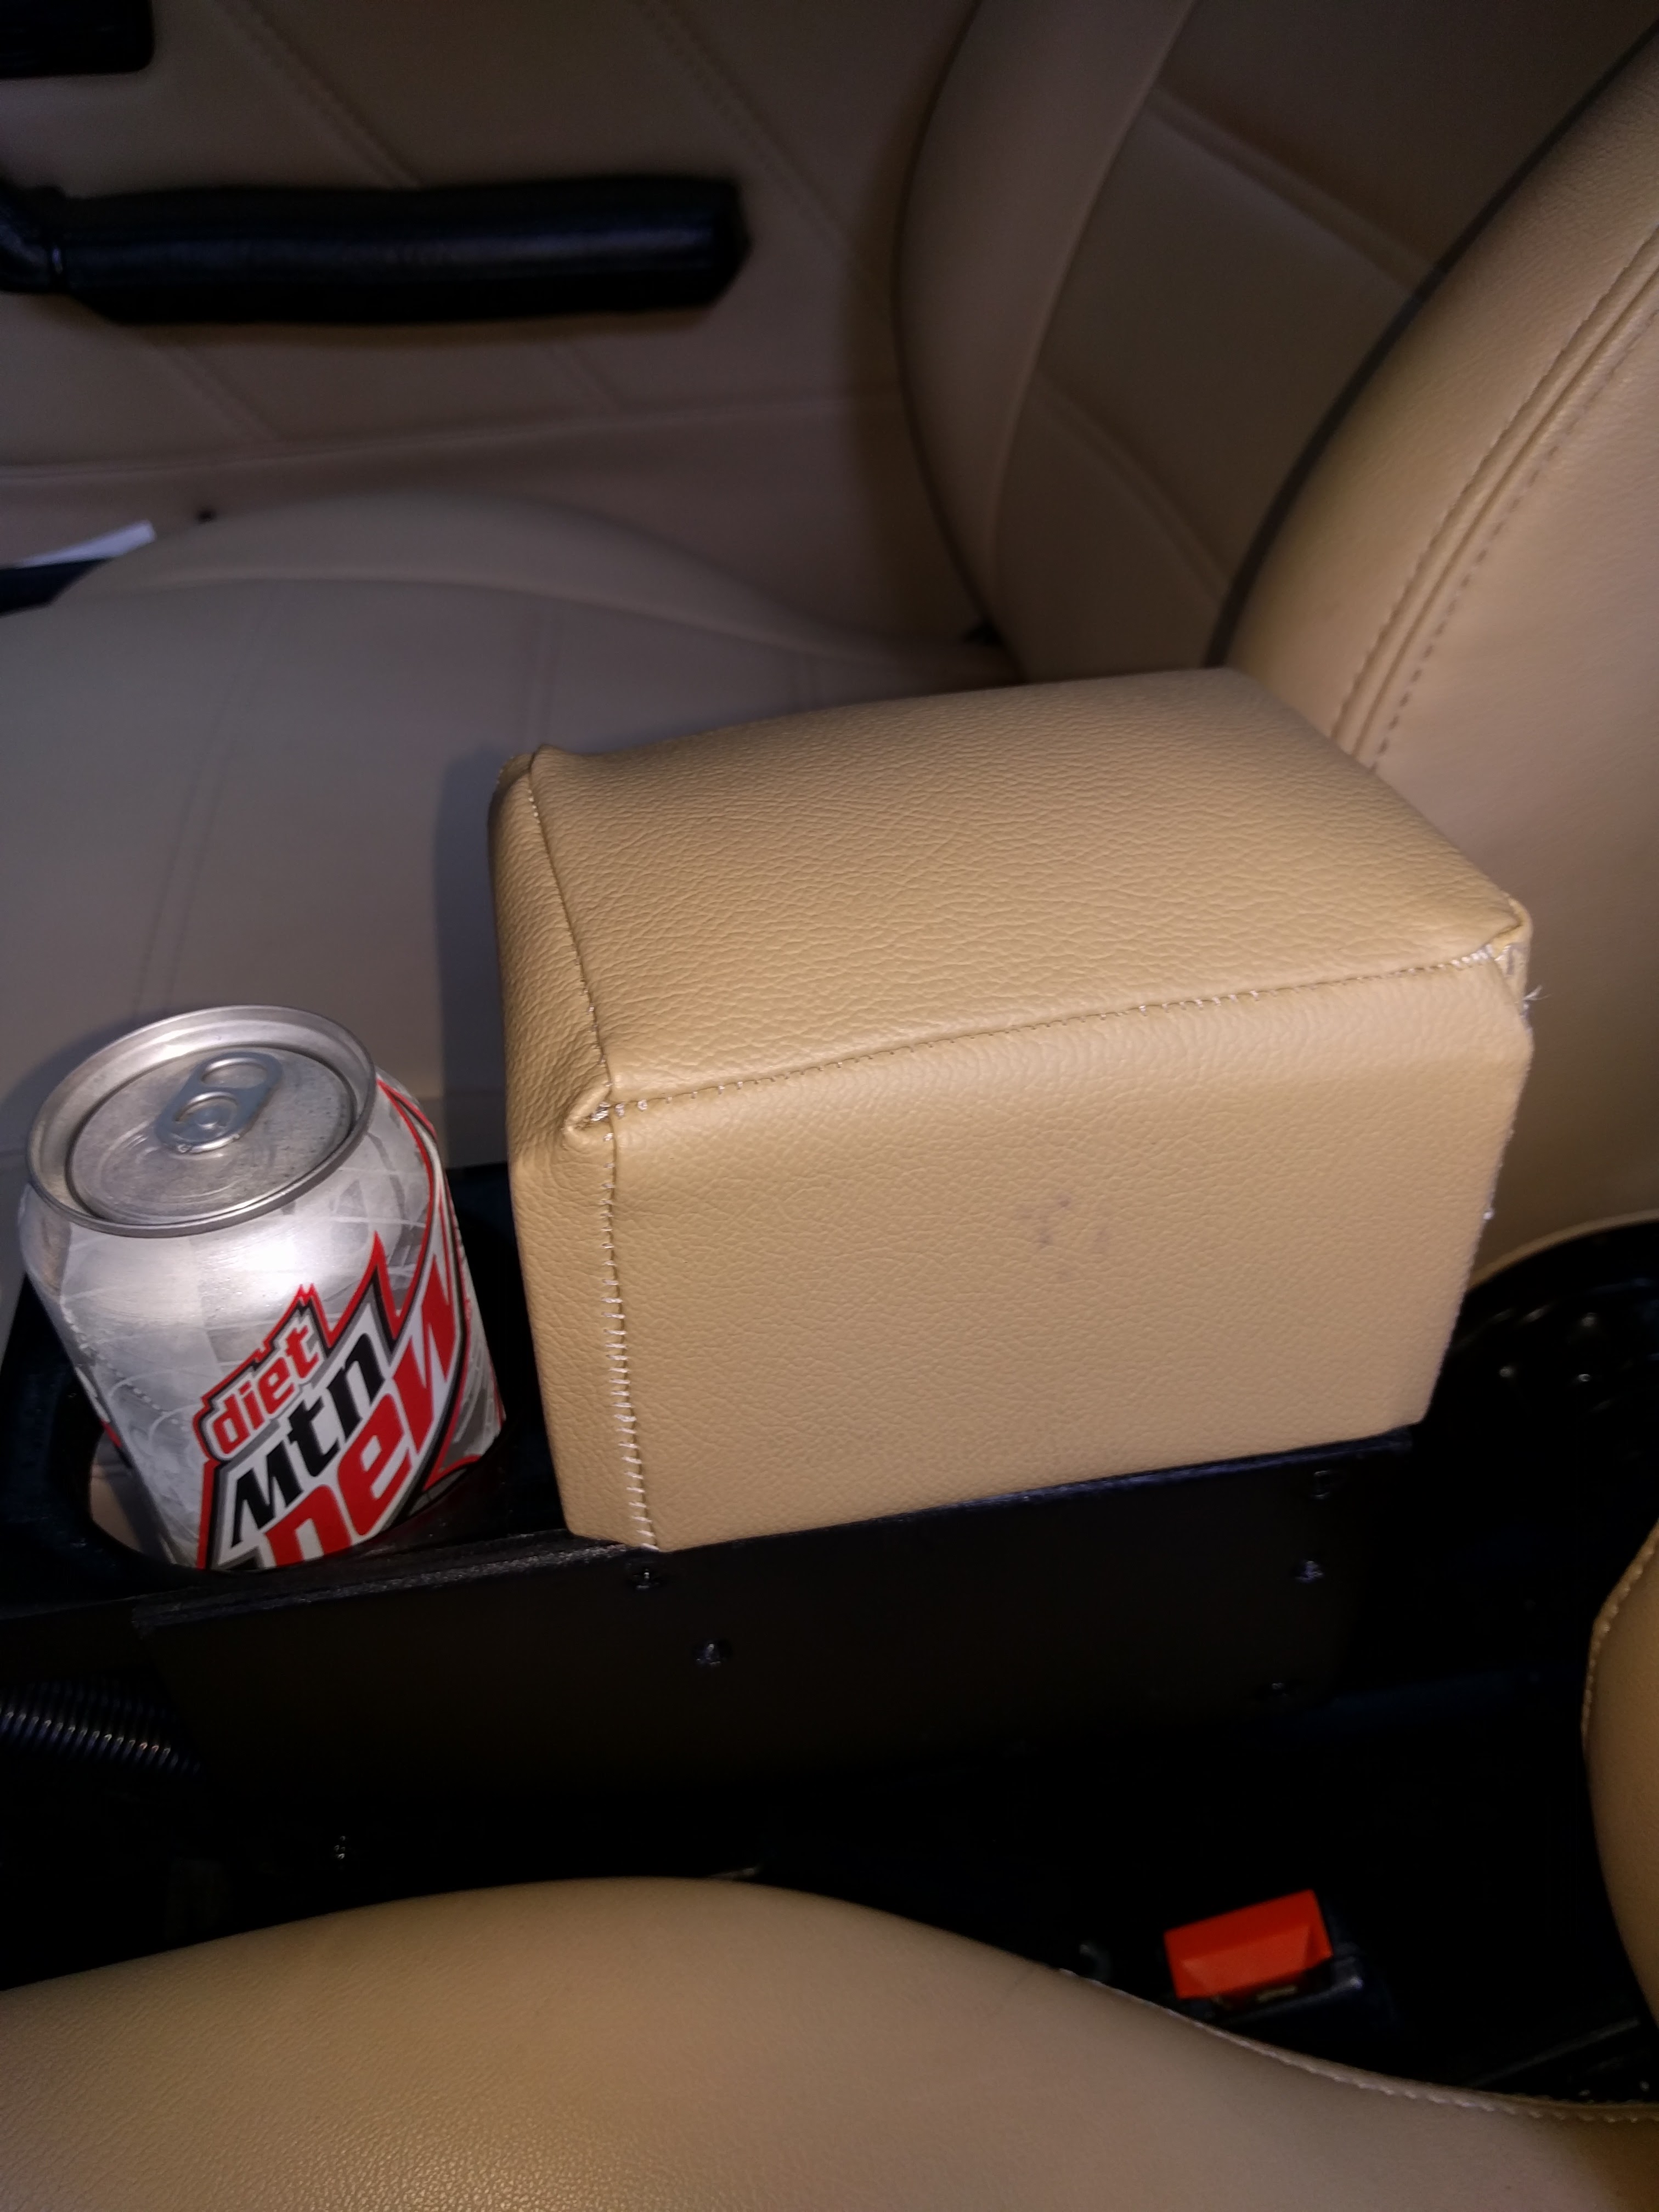
When it is in the arm rest position it covers the can in the second slot…. Apologies to haters, and seamstress's which I ain't.
What do Divorces, Great Coffee, and Car Electrics all have in common?
They all start with GOOD Grounds.
Where are my DIY Links?
They all start with GOOD Grounds.
Where are my DIY Links?
Posted
Moderator


Briano's Wife approved Cup Holder
Wes
Sent from my iPhone using Tapatalk
Posted
Local Hero

If you feel behind the e-brake cover, there is a flat spot about 1/2 inch wide, then you feel a "Hump". I have the metal 1/8 inch thick and bent at 90 for a half inch to tie the rear of the thing so it cant tip over, and it keeps the bottom feat firmly in the seat rails…
What do Divorces, Great Coffee, and Car Electrics all have in common?
They all start with GOOD Grounds.
Where are my DIY Links?
They all start with GOOD Grounds.
Where are my DIY Links?
Posted
Local Hero

What do Divorces, Great Coffee, and Car Electrics all have in common?
They all start with GOOD Grounds.
Where are my DIY Links?
They all start with GOOD Grounds.
Where are my DIY Links?
0 guests and 0 members have just viewed this: None.


