....Refurb those alloy wheels
Posted
#1318985
(In Topic #159283)
Moderator


equally applicable to steels!
So here we go.
1, Give your newly invested in wheels a good clean. Chances are they'll be caked in brake dust if nothing else. Brake dust is NOT good for you so the more you get off now the less dust will be produce when you're sanding later. Plus it keep your hands clean

2, Now they're clean you can see what you're dealing with. As you can see with these it appears they were driven along more kerbs that not!
Using a needle file or similar small fine file, clean off the edges of the dings where there are sharp sections of alloy sticking outside the original edge of the wheel. This needs to be done on the outside and inside of all of the kerb marks.
Then run the file along the top of the kerb rash to remove any sharp areas and generally dress the area. Don't go mad as you'll be adding a bit of filler to bring the levels back up.
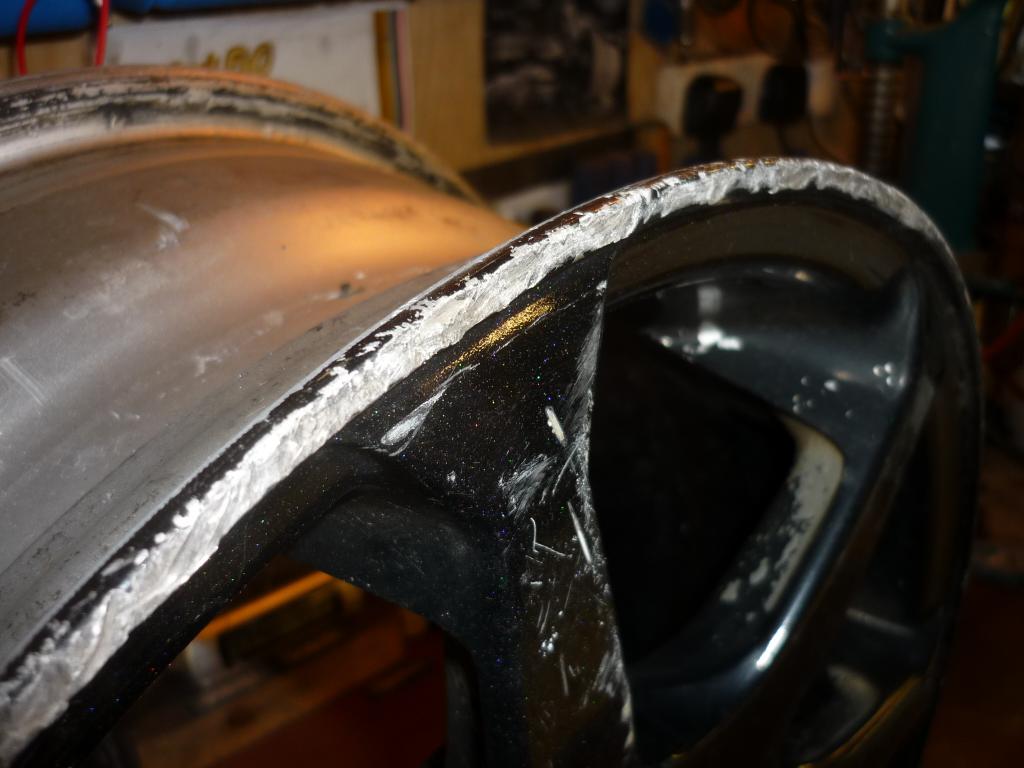
3, Now add a small amount of filler to the marks. I used scratch filler as by now the majority of the deep scratches should have been filed out. Then sand it all down to get a smooth finish.
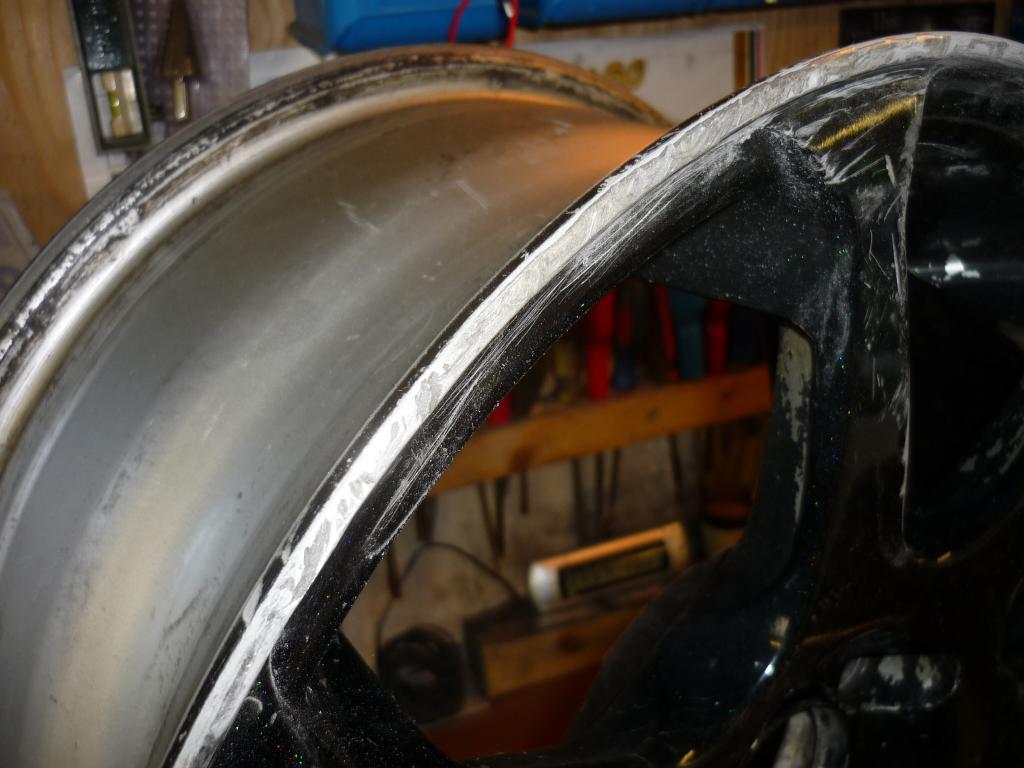
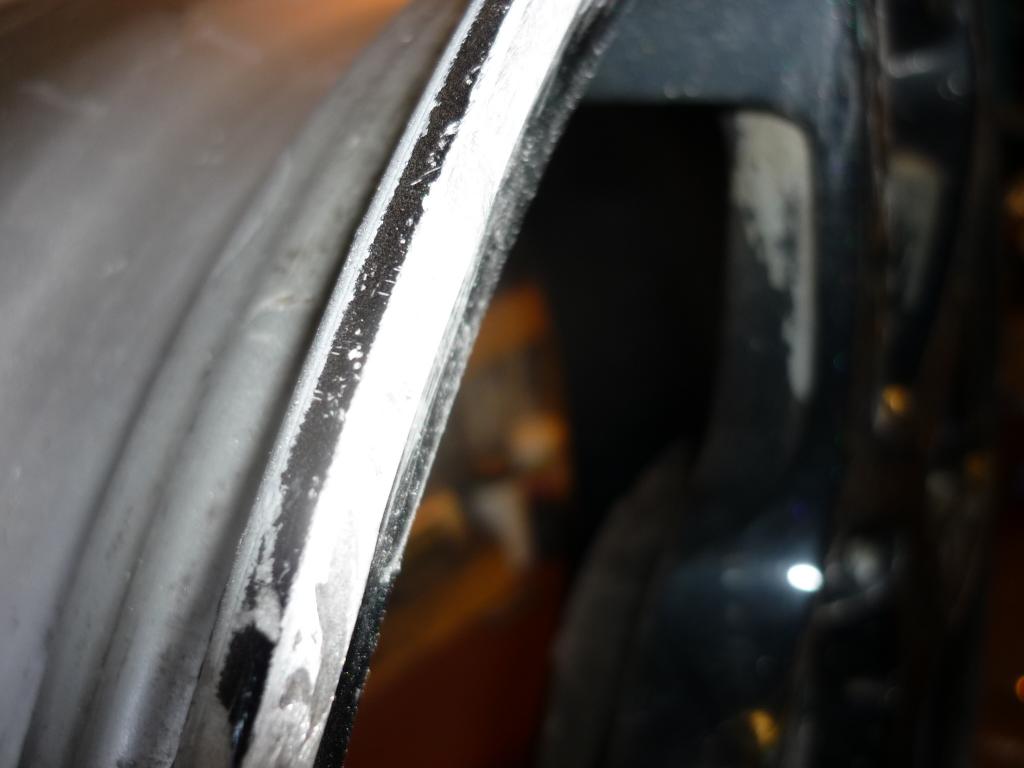
4, Now the next stage is to rub down the entire surface of the wheel that is to be painted. In this case I'm doing it all including the inside of the barrel. Use a fairly abrasive sandpaper for this bit. I used 80 grit. I should add at this point that as these wheels were still covered in the original factory powdercoat that I have sanded them down. Usually to remove the powder coat I would grit blast them as this leaves a much better clean surface from which to start. However in this case the paint I'm using will allow the sanding. I've tried paint strippers on powder coat with little success so my advice would be to either paint over it or grit blast it all off. If the wheels have only been painted then you can use some Nitromors to strip the paint instead which will enable a much better finish.
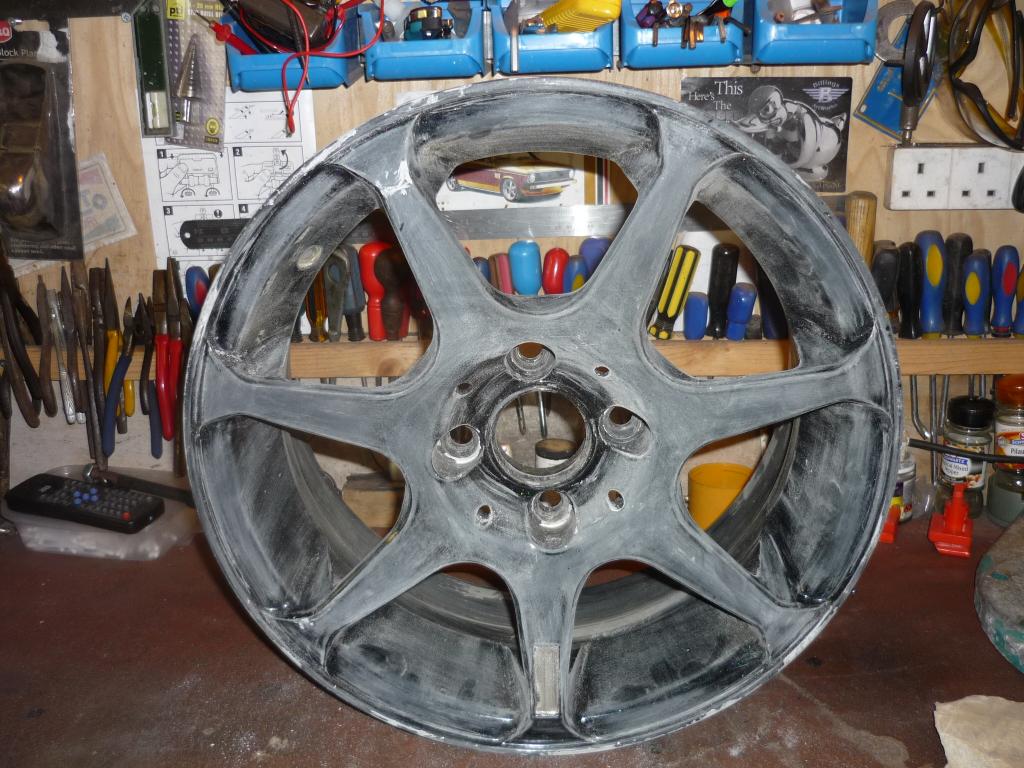
5, Give them a blow off with an air gun or wipe off as much dust with a rag, then use some panel wipe to clean the surface of oils, grease and dust. At this point you might want to wear some gloves if you haven't been so far to stop the grease from your hands getting on to the surface.
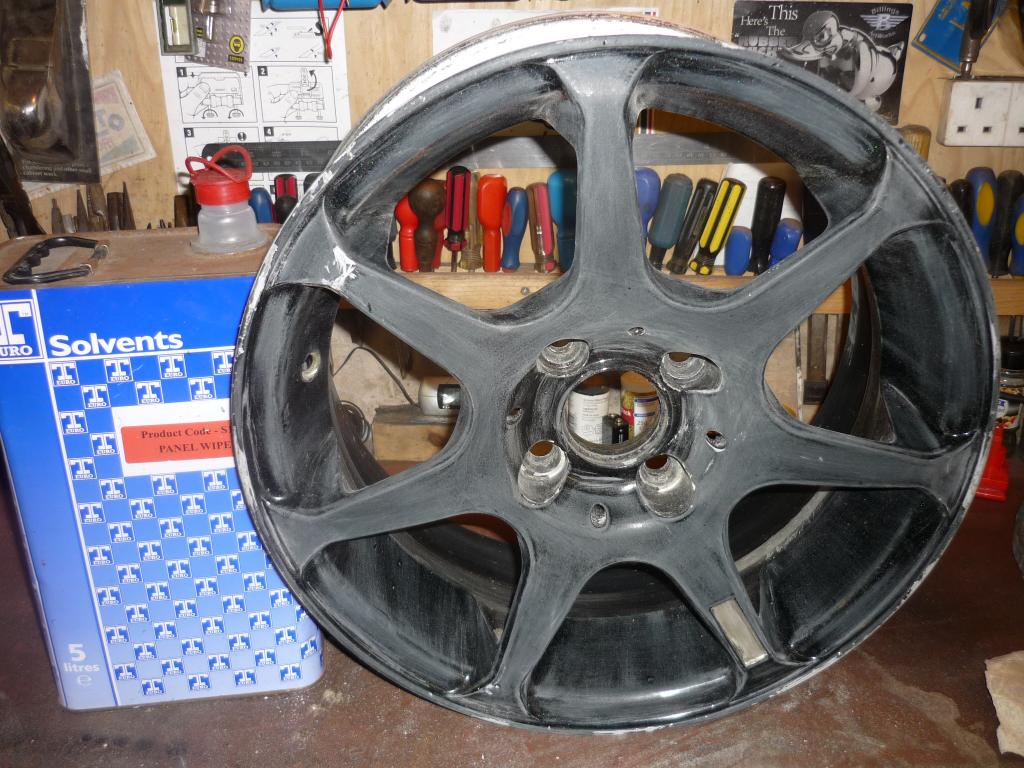
6, Next up is the primering of the wheels. Spray on some high build primer (do not use etch primer as it will lift small areas of the powdercoat and give a crazed effect) and sand back again to get a mice smooth surface. No pics of this bit as I got carried away!
7, Chuck some paint at them (at last!) Use gentle strokes from left to right and apply in thin layers. Move around the wheel to ensure even coverage. I usually start with the inside of the wheel first. That way when doing the front (the bit everyone sees) the overspray is on the barrel. Don't forget to mask off the section of the inside of the wheel where it bolts to the hub. This needs to be clean metal.
eh voila as they say
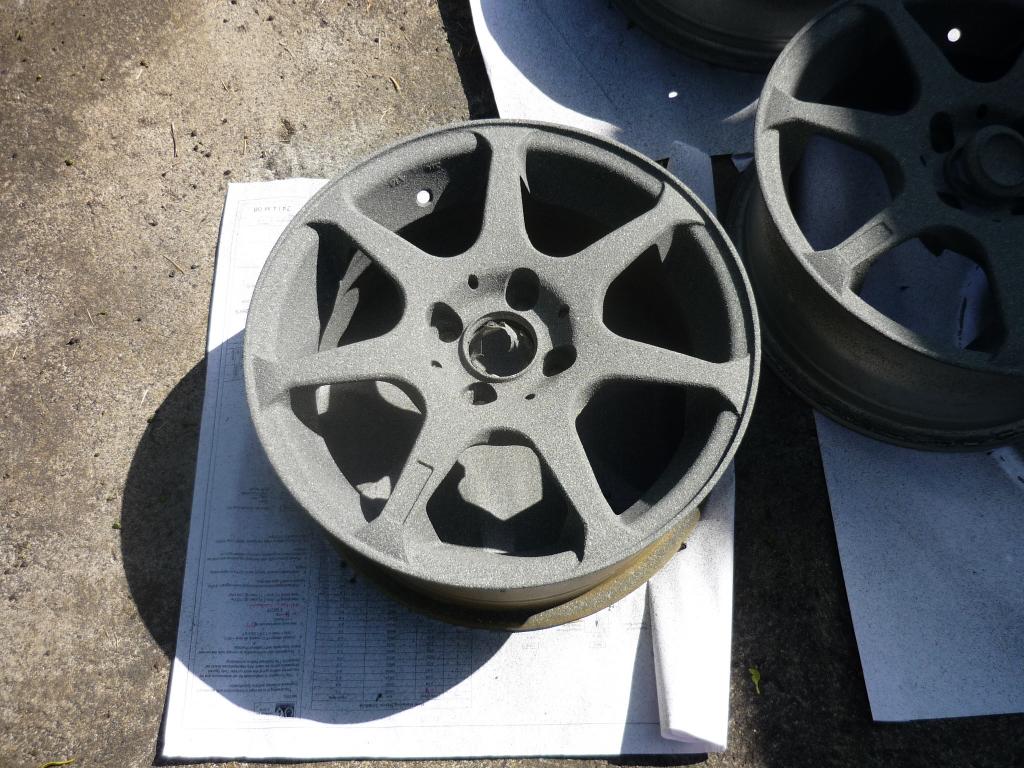
As you can see I've used a stone effect paint. I thought this would make a nice change from my usually satin black wheels.
I had tried something different on one of the wheels earlier and polished up the spokes to give this finish
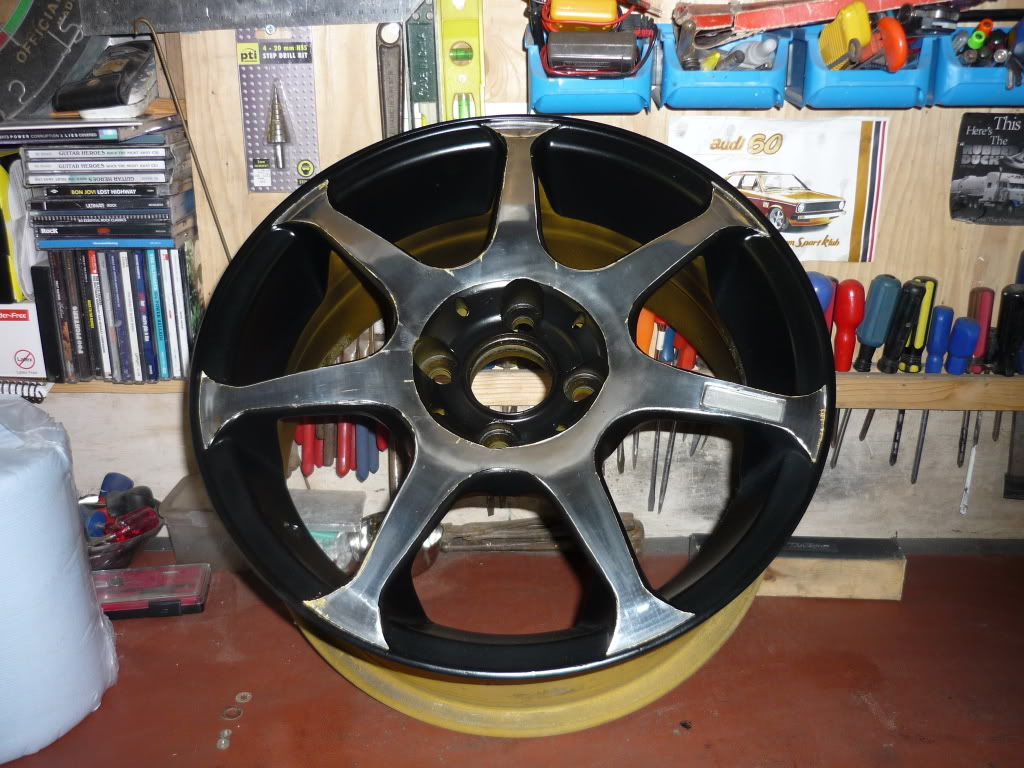
Same initial process but with a lot of polishing later!
Centre caps!
So then these wheels didn't come with centre caps. As I'm cheap I thought I'd make my own. A strange thing I noticed some time ago is that the outside of the centre of the wheels for VW's is that it's the same as the inside diameter of a coke can………..
1, Buy a coke can (you get a free drink in it too!)
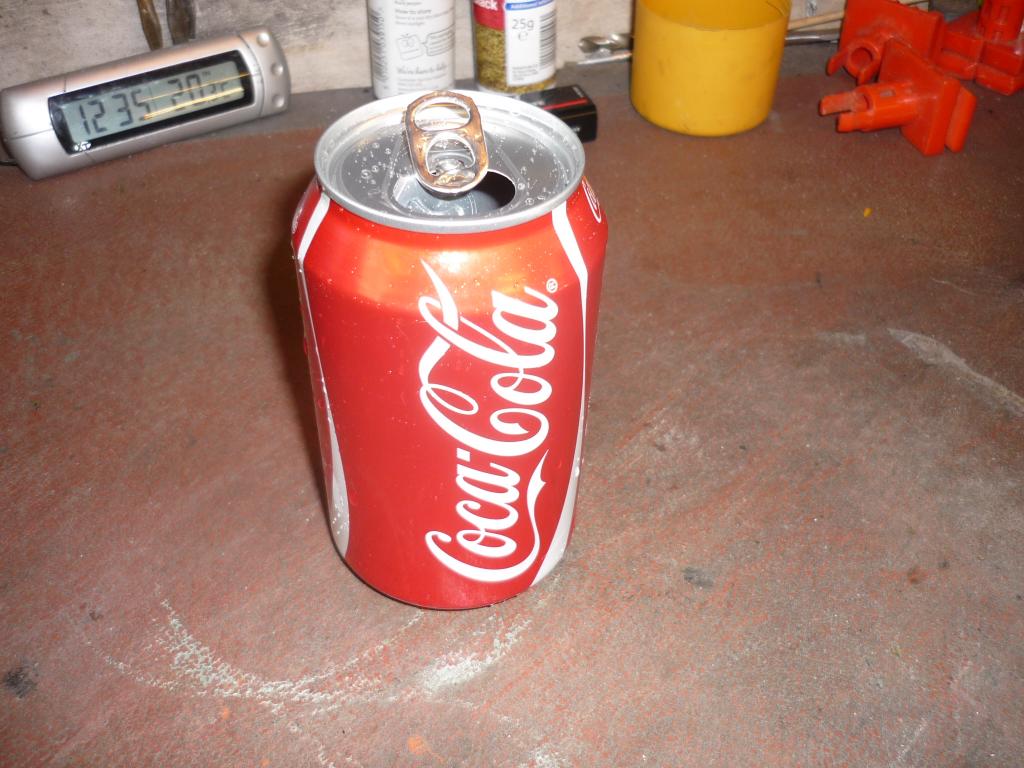
2, Chop bottom off said coke can. Use a Stanley knife, be careful with this bit as it's easy to slip and chop some skin off your thumb
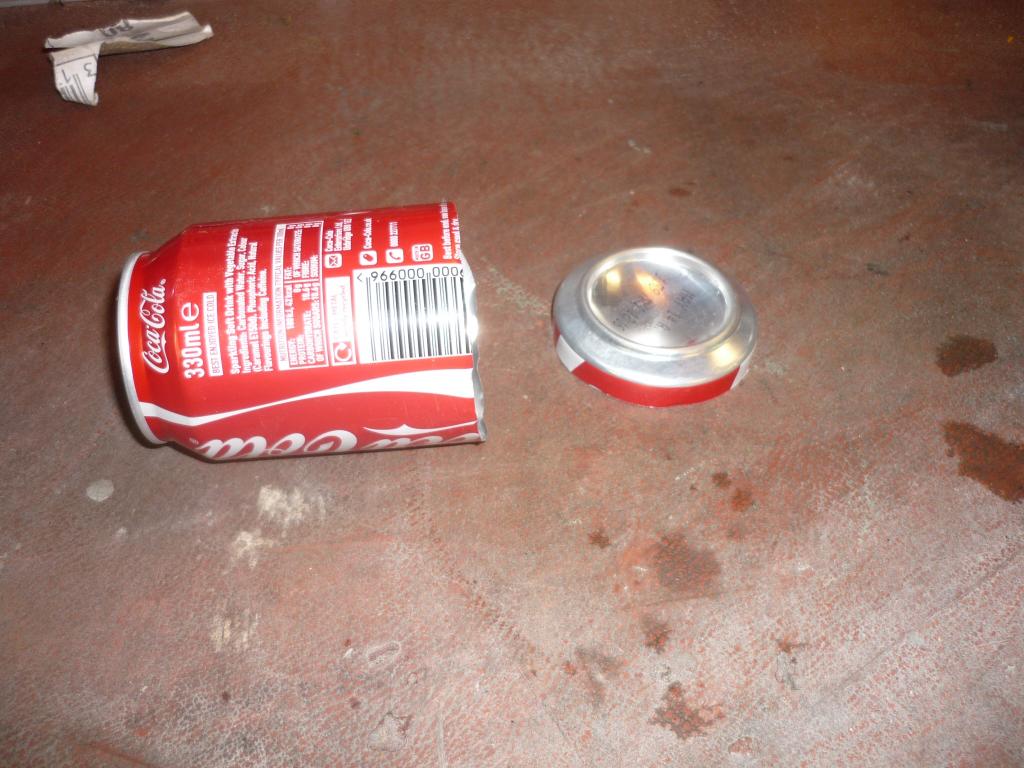
3, Cut to size with some sharp scissors and tidy up the edge with some sand paper and then cut 3 more.
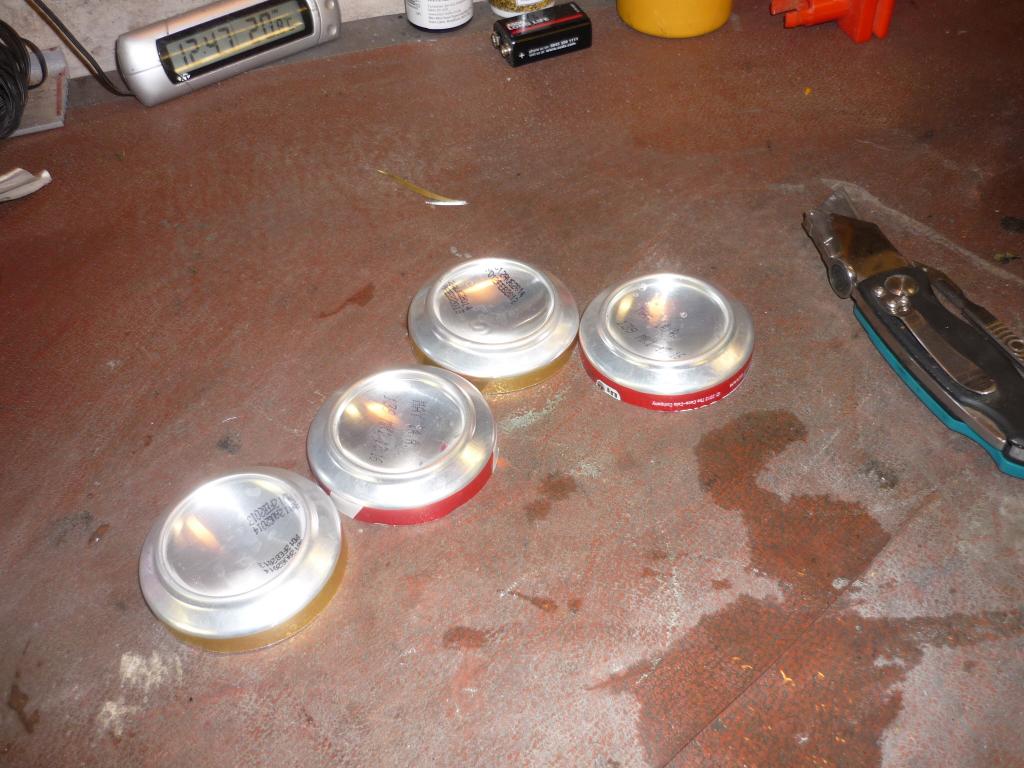
4, Give them a sand down and add some etch primer
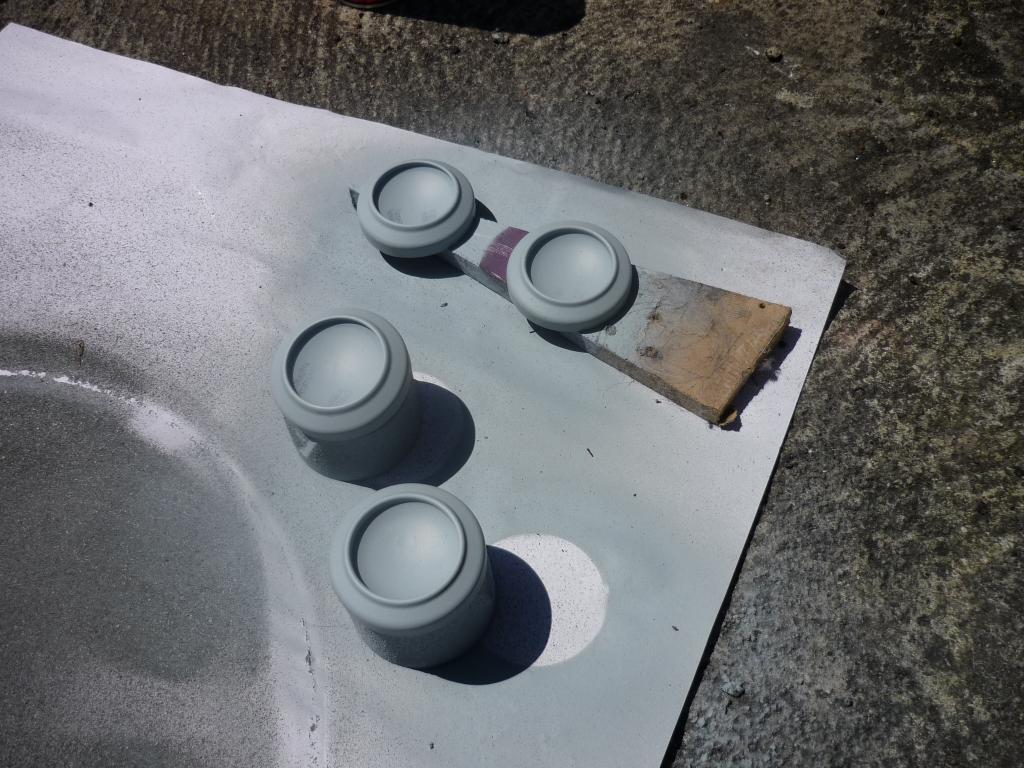
5, Add the colour of your wheels or contrasting colour if prefer
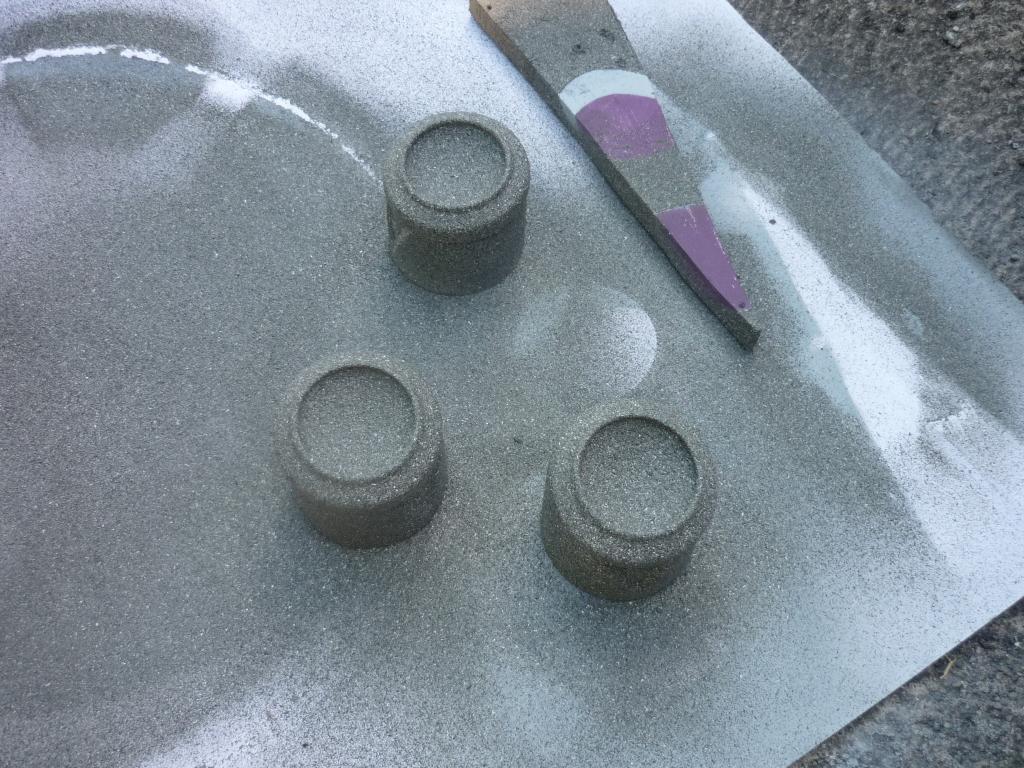
And there you go. A set of wheels to be proud of and cheap too. The strange thing is that although everyone knows what the bottom of a drinks can looks like no-one will realise that is what your centre caps are made from!
Hope this is useful to someone.
E
Posted

Moderator

Posted
Settling In

Posted
Marketing Manager

With powder coat i've used Starchem synstryp to great effect. About £30 for 5 litres but it does go a long way. 200ml will usually be enough to strip a wheel or 2 down to bare metal depending on the thickness of the paint and number of coats. It'll go through a powder coated wheel in about a minute (you can actually see the powdercoat peeling off and hear it fizzing away! Then you can hose it down (ideally pressure wash to get off any stubborn bits) and be left with a perfect base to start with.

1973 BMW 3.0CS "Helga"
1981 VW Golf GTi "Agolf"
1986 Ford Escort RS Turbo S2
1987 BMW M535i - 'Klaus'
Instagram: @ahmet_e9
0 guests and 0 members have just viewed this: None.


