


Mk1 Driver project VNT TURBO DIESEL

Posted
Settled In

Mk1 Driver project VNT TURBO DIESEL
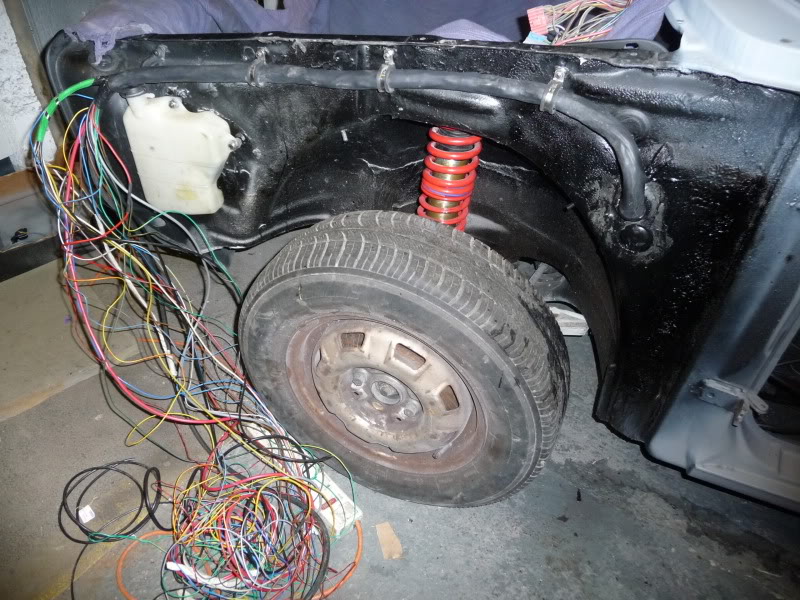
Even found enough lengths of wire in the factory wiring colours in my box of wiring kit - without hacking up the spare loom I bought, so that can go back on ebay.
Fair struggle to get the wires passed through the heatshrink but it's well protected from the elements now. Needs to divide at the front of the wing, lighting wires passing on the underside of the slam panel, everthing else will go through the front cross member and break out as required.
Posted

Settled In
Fair play.
Like the style.
And good effort too, good work.
Posted
Settled In
Then it took well over an hour to pull the loom across the cross member and getting it to break out where required.. should be tidy though.
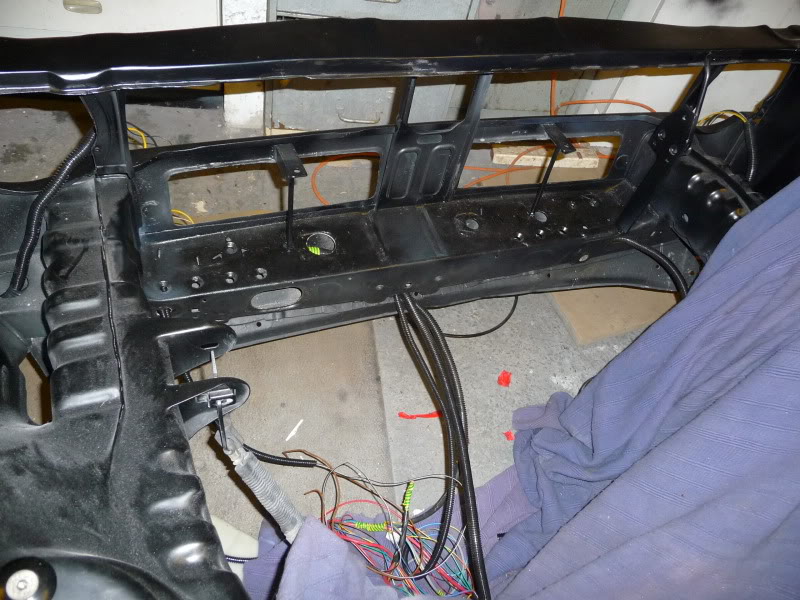
Tidy enough under the wing too 8)
Gonna order my paint now - YEAH!

Posted
Settling In

Posted
Settled In
Posted
Newbie

Vdubs dont die, they just get lower
Posted
Settling In
Inspirational…Cheers
Nic
Current Garage:
Daily Drive: 2005 Audi B6 A4 1.8T (140kw) Avant
Project Betty: 2005 Polo 1.9 TDI (PD130) Sportline
Project Fes: 1982 Golf GLS 1.5
Project FeO: 1966 Type 2 Transporter Kombi Split Window
Daily Drive: 2005 Audi B6 A4 1.8T (140kw) Avant
Project Betty: 2005 Polo 1.9 TDI (PD130) Sportline
Project Fes: 1982 Golf GLS 1.5
Project FeO: 1966 Type 2 Transporter Kombi Split Window
Posted
Settled In
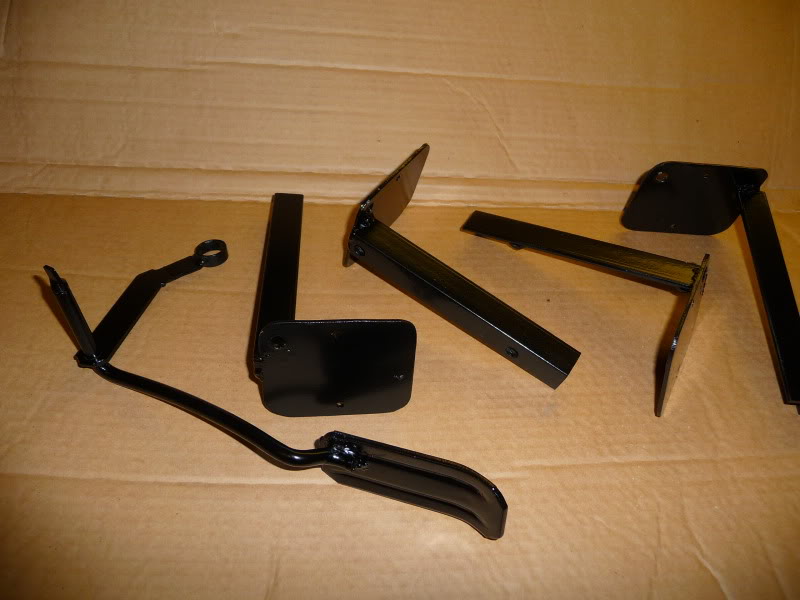
Throttle lever needed a 45 degree bend putting into it because the throttle cable exits up through the scuttle instead of forward through the firewall. Also welded a tang into the end of the lever to rotate the throttle position sensor that I need to fit.
But what are the other four bits for?
Posted

Local Hero

:dontknow: arrrrrree theeeeeyy, front and rear mounts for indicators for when you de-bumper it? :dontknow:

Weber,ATS,Apex,Ripspeed,Supersprint,K&N MOMO..tbc
Posted
Settled In
Posted
Settled In
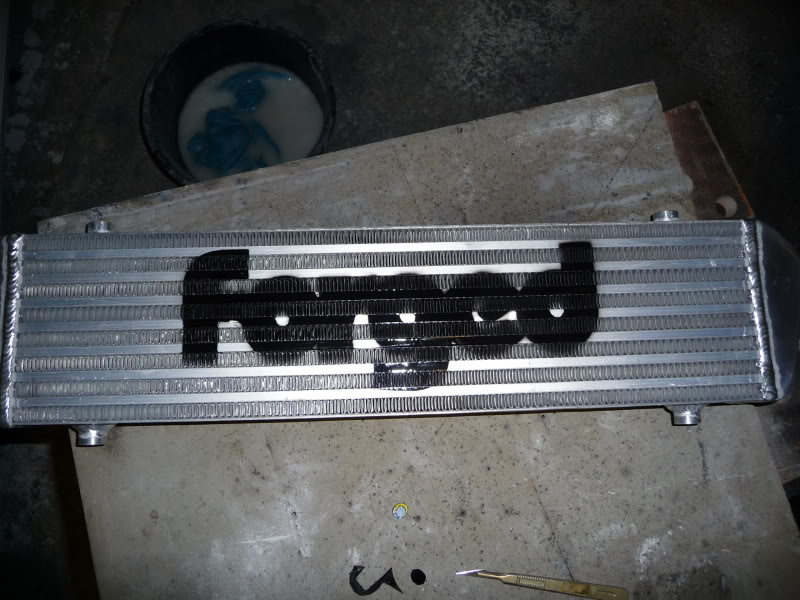
Had enough so I thought I'd do myself a stencil and modify my intercooler a bit….
Posted
Settled In
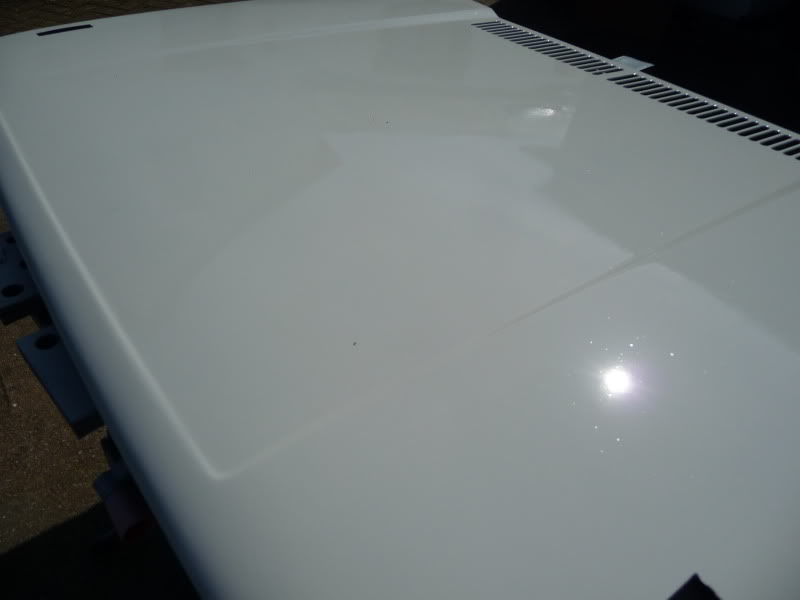
(too much activator.)The man upstairs turned the heating up for my booth so I got busy today, painted door/tailgate backs, door shuts, front panel, bonnet, windscreen panel, and wing edges.
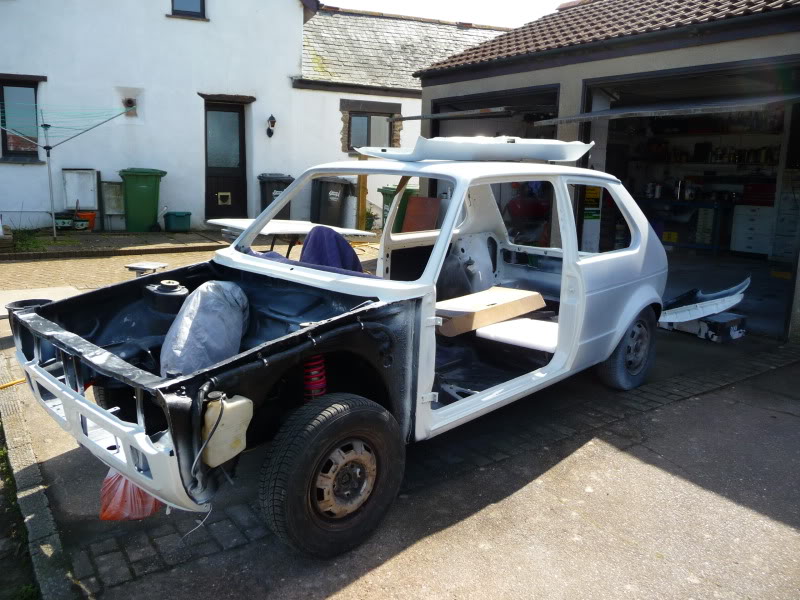
Paint looked a bit suspect (yellowy) in the tin, seemed to go on OK but now it's cured - I think I've been sold the wrong white in the tin. :evil:
Pleased with the finish, slight problem with dust and flying bugs but not major.
Posted
Settled In
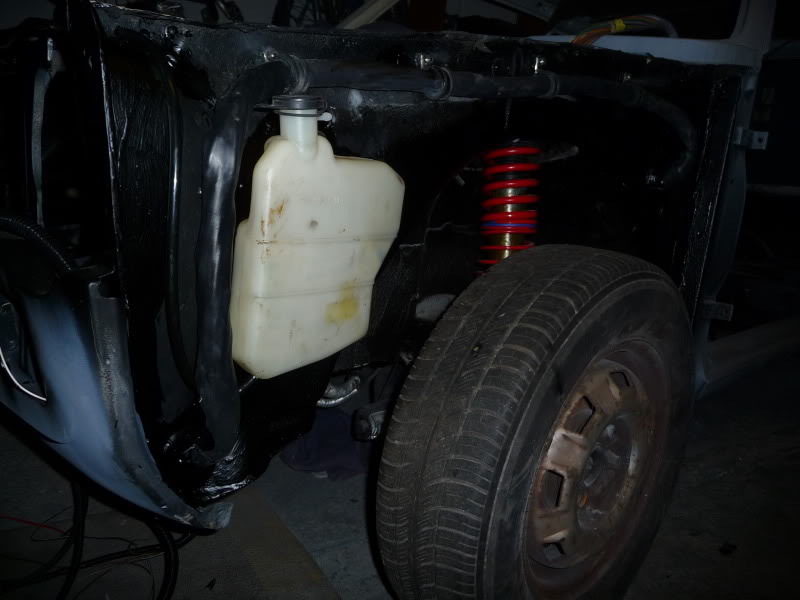
I'm in the middle of smoothing my bay and I like your washer bottle idea but just one question, how do u intend filling the washer bottle when its hidden in behind the wing?? :dontknow:
Posted
Settled In
I'm in the middle of smoothing my bay and I like your washer bottle idea but just one question, how do u intend filling the washer bottle when its hidden in behind the wing??
I don't, I'm using the rear washer bottle, the one under the wing was supposed to be a expansion tank for rad but it's unnecessary.
You could back fill the bottle under the wing by popping the pipe off the washer jets and squirting fluid into the res with a fairy liquid bottle or similar.
My compressor broke a couple of days ago (motor melted)
Fixed my compressor, got busy again … I think this is the fourth 'top, final coat' the bay has had so far! Just keep finding bit's to change or that I'm not happy with.
Still haven't got the slam panel right :bh put a lot of paint on so hopefully I can flat the marks out. I'm not painting it all again - mark my words.
(though there are a few areas I may just blow over
 )
)
Posted
Settled In
 I've given it a break and been back playing with electronics.
Still trying to solve the electric pickup - mk1 speedo conundrum, but at least I've partially managed to integrate the electronic boost gauge and vnt status indicator into the standard mk1 revcounter. I've still got to refit the needle and mechanism to make it a multifunction gauge.

works too!
Posted
Settled In
Posted
Settled In
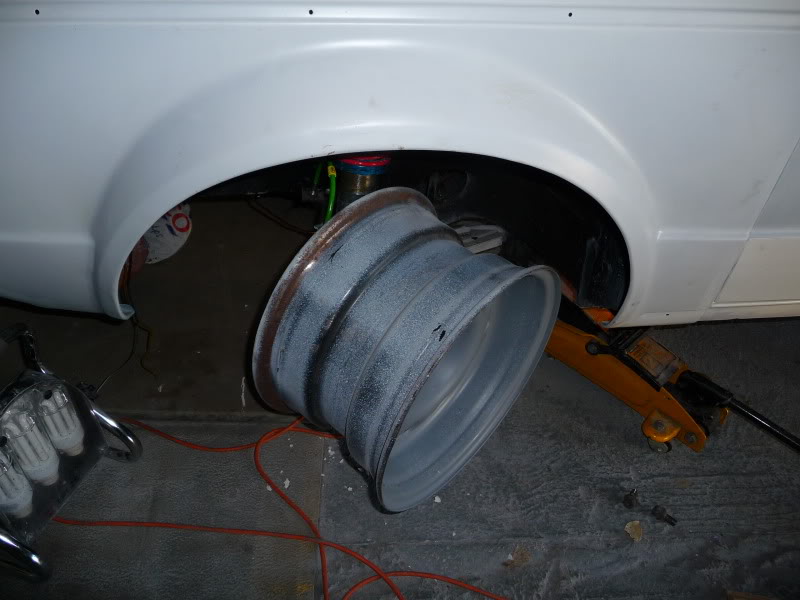
Slotted my rim on, just to have a look and go "OOOFFFF"

Posted
Settled In
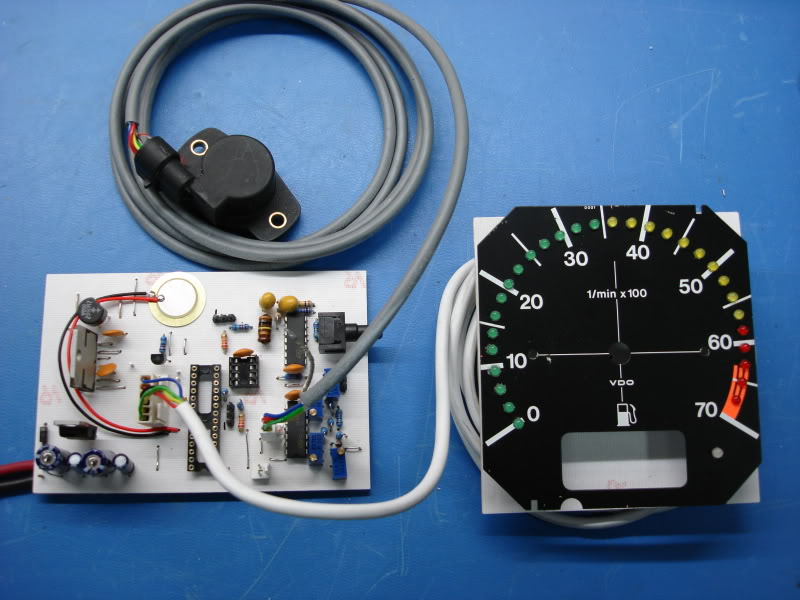
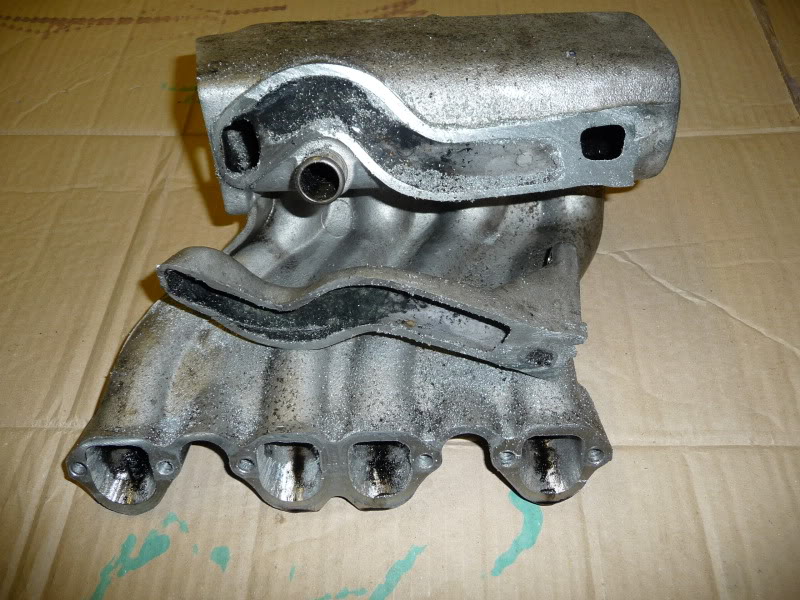
Not shown is the servo that actually controls the turbo vanes and a pickup attached to the pump.
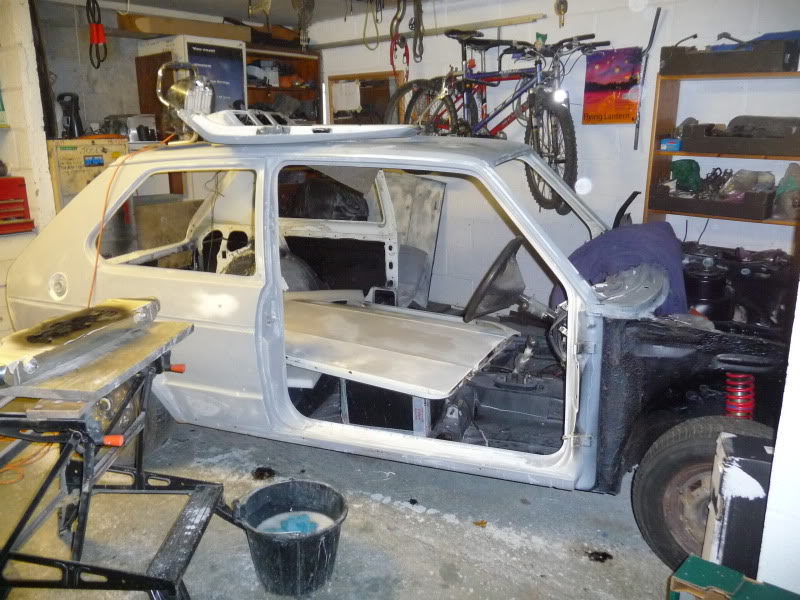
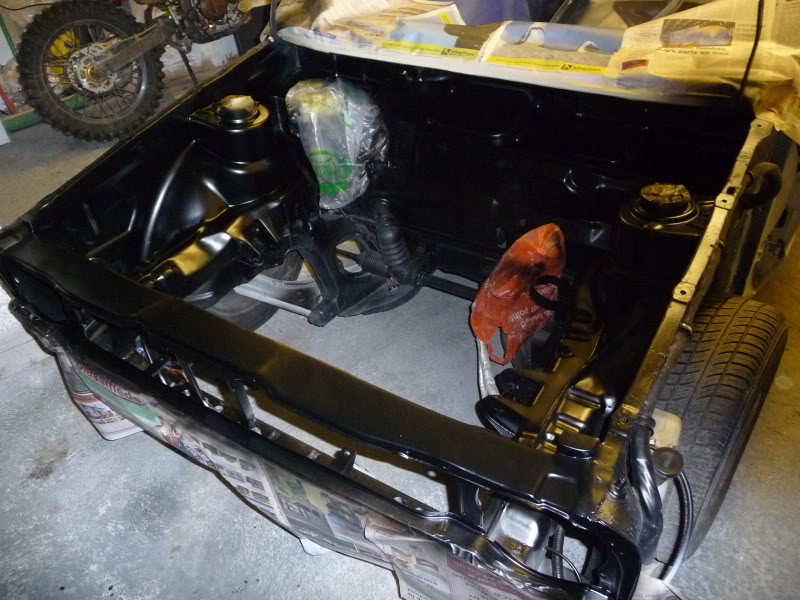
Meanwhile, I've fitted the hidden washer pipes and bonnet lifters and been back in the engine bay with the filler and primer again.
Posted
Settled In
Zinc primered and them that will be black got shot with some satin, the white ones will wait.

That's just a few, there's loads of bits all over the garage drying. Can't wait to carry on bolting together.
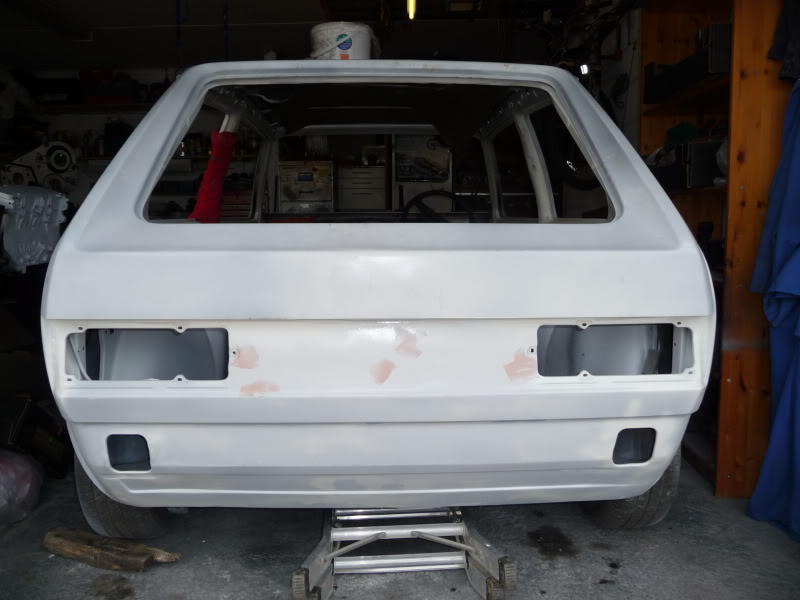
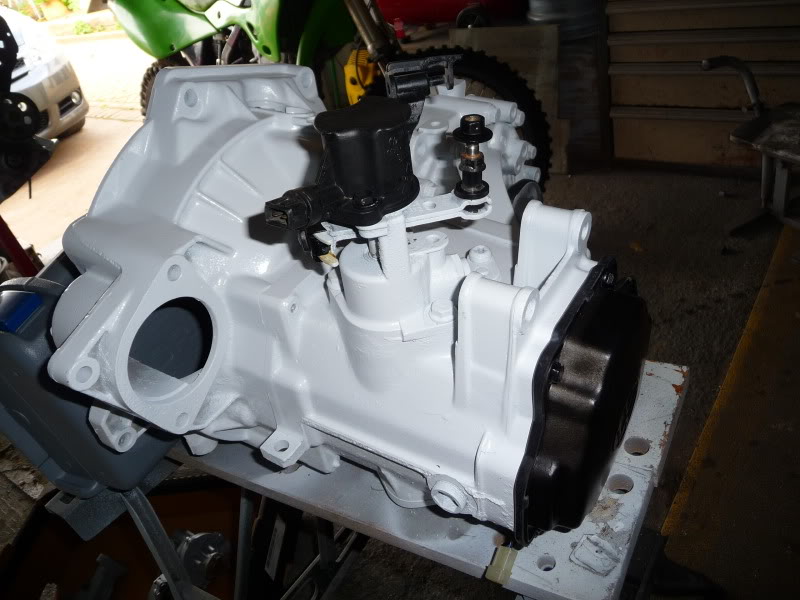
Few pics of other progress
Rear end
Front end, my IC fun wasn't completely wasted.
Shame about the dog poo bags!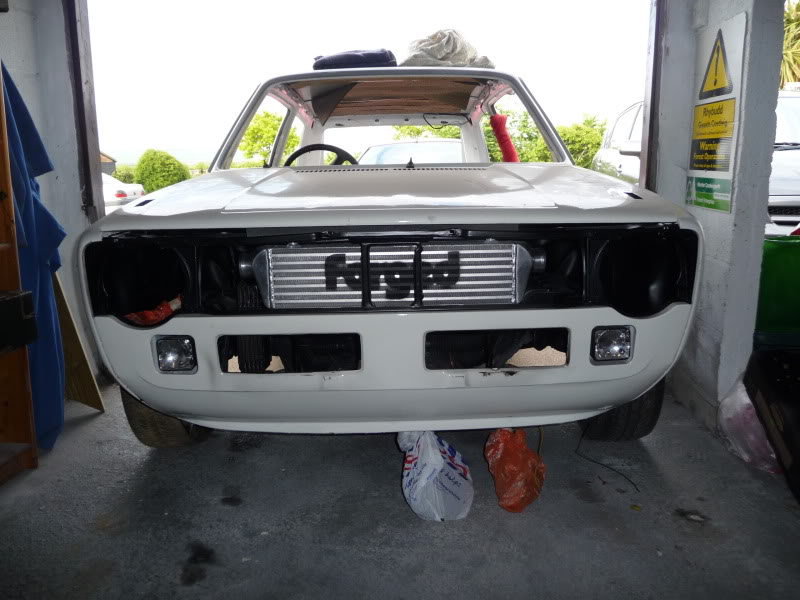
One manky gearbox tidied up
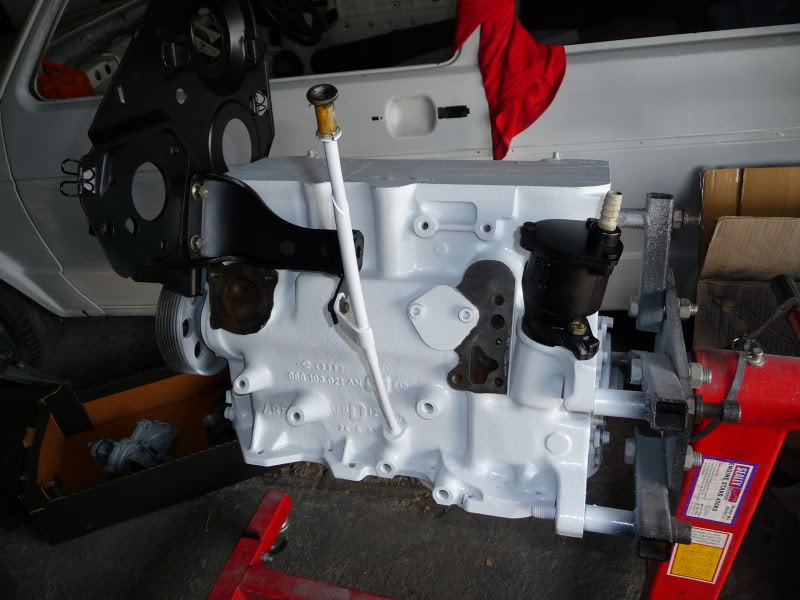
Block well on the way (WAITING FOR GIRDLE!!!!!)
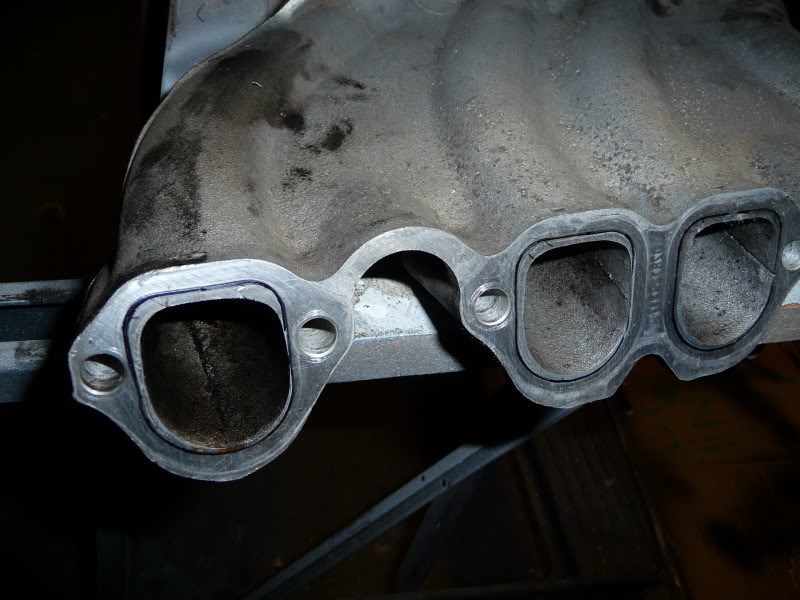
Marked up the manifolds for some port matching and a bit of flow work.
Finally - toys. mmmmwahahahahahahahahahahaha!
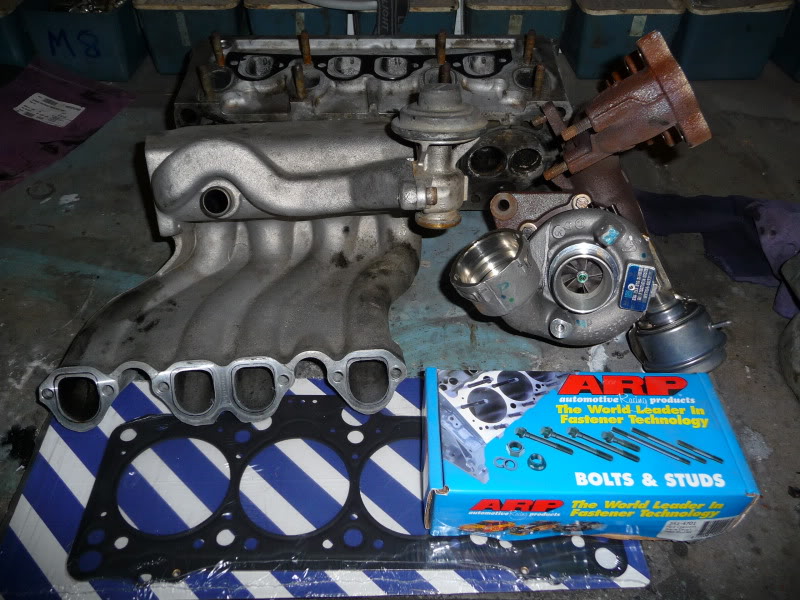
1Y/AAZ head, 1Y manifold, MK4 VNT turbo, MLS gasket, ARP studs
Posted
Settled In
There are too many online users to list.