


Mk1 Driver project VNT TURBO DIESEL

Posted
Settled In

Mk1 Driver project VNT TURBO DIESEL
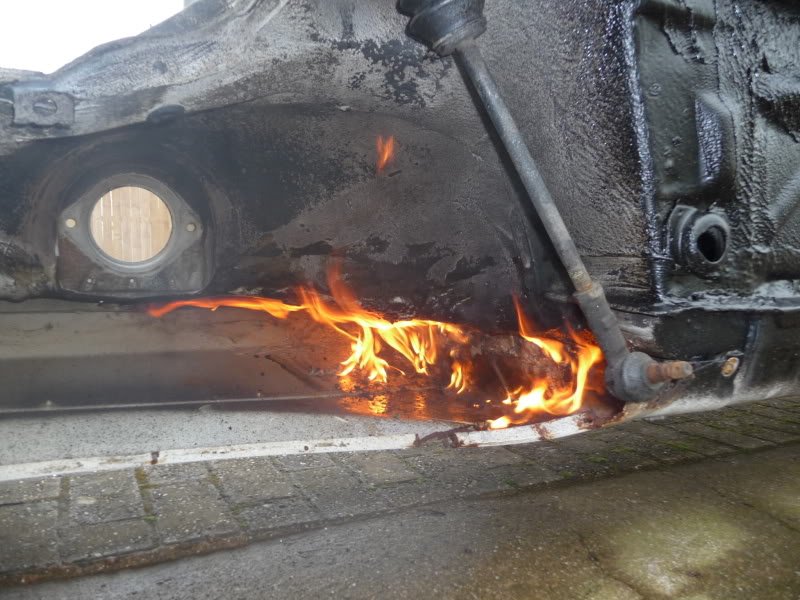
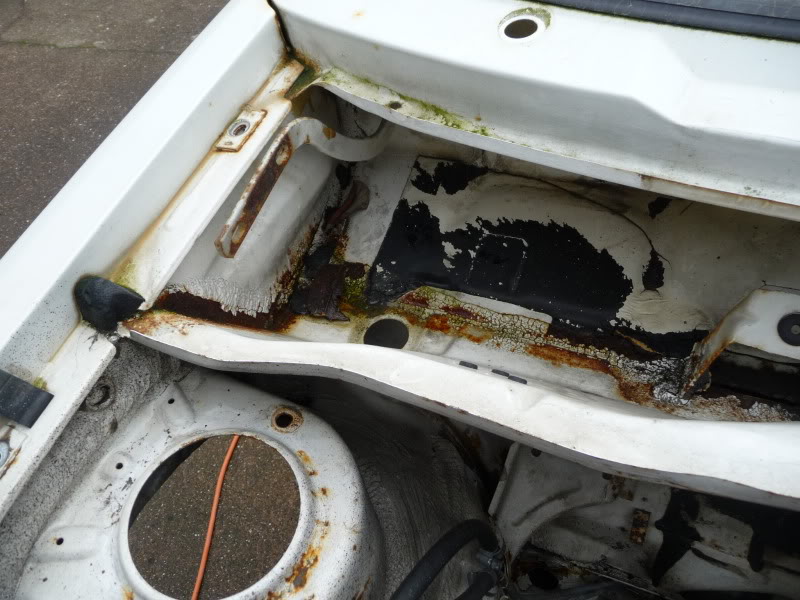
First job involved chopping the rot in the rear arches then I figured I'd get the front wings off.
Apparently some heat applied to the sealer can help…..
Fitted up the tank and rear beam
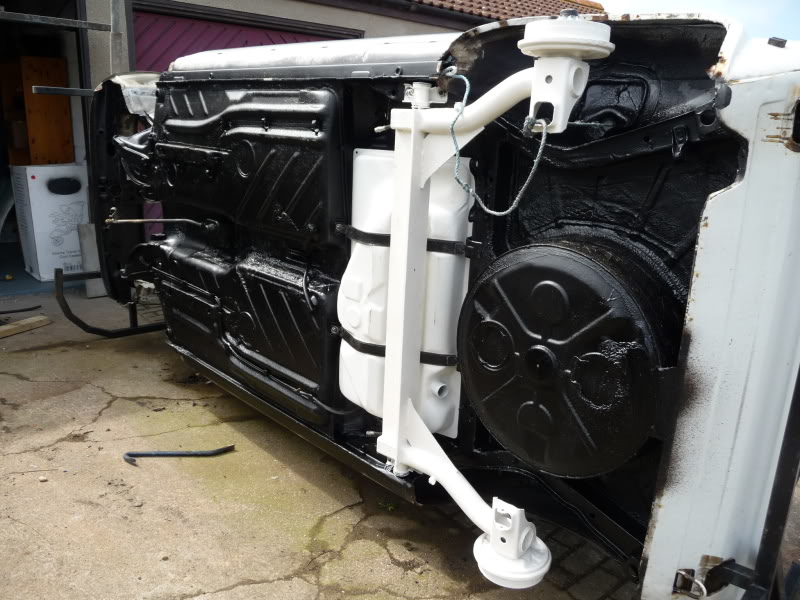
I'm liking this, may as well get a pic whilst it's clean
That's it five hours graft! :cry: Plenty of prep work done as well, welding grinding, wire brushing, painting etc etc etc.
Hope it's not too long before the next instalment.
Posted

Settled In
Posted
Settled In
Looks fine and dandy from the first angle.
Oh dear - Berg cup arches anyone?
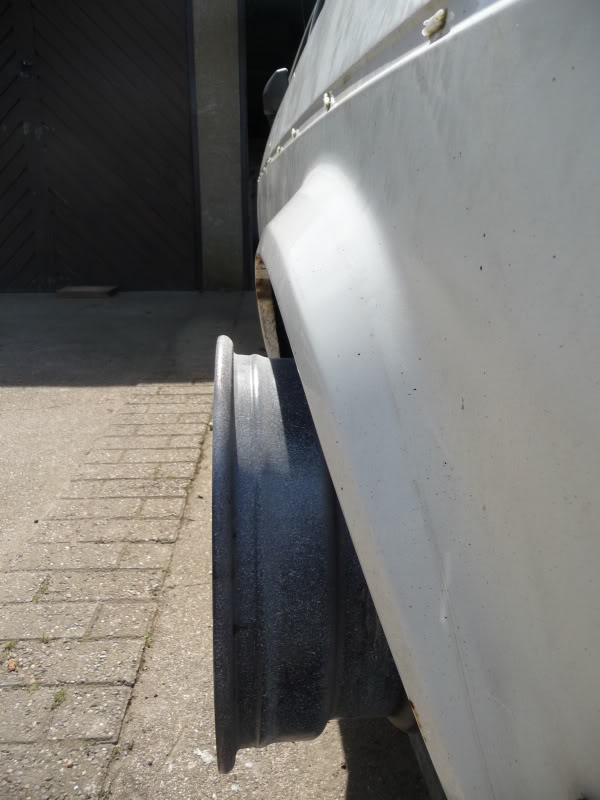
They are 8" x 14 with +12mm offset.
Posted
Settled In
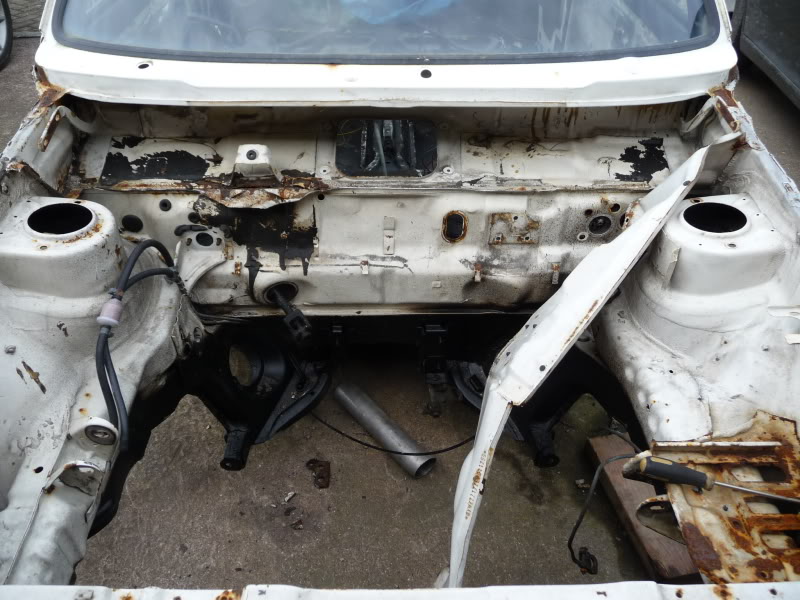
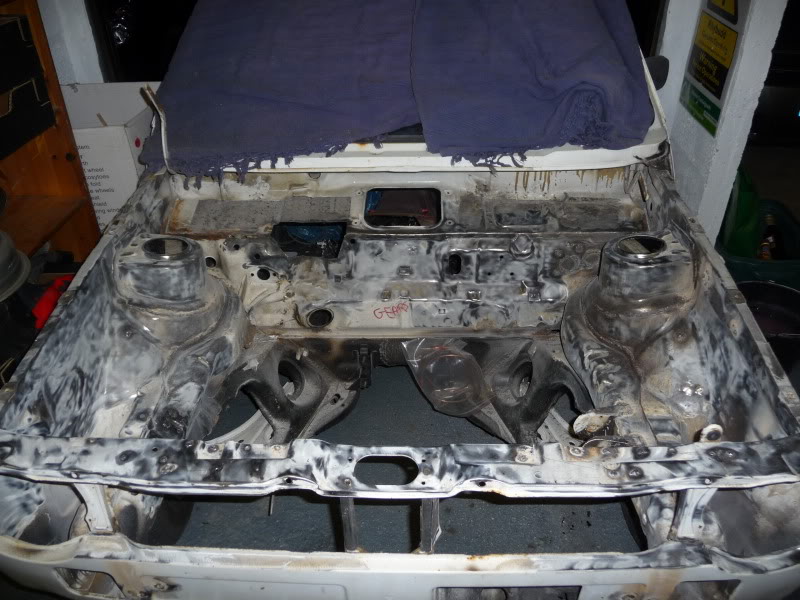
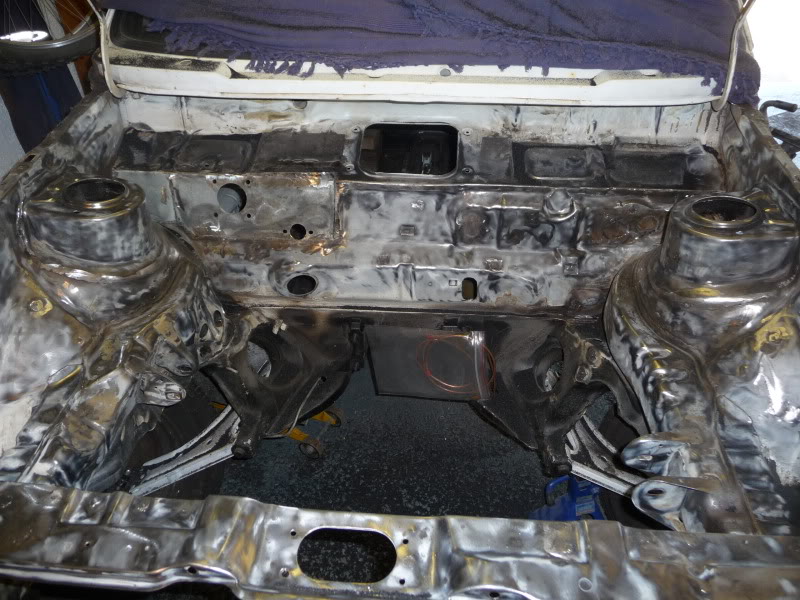
But I'm back on the golf again - mostly attacking the engine bay area.
I need to get all the dirty grinding out of the way so I can get the front suspension on, and the wheels and get it in the garage and dry for bodywork/prep.
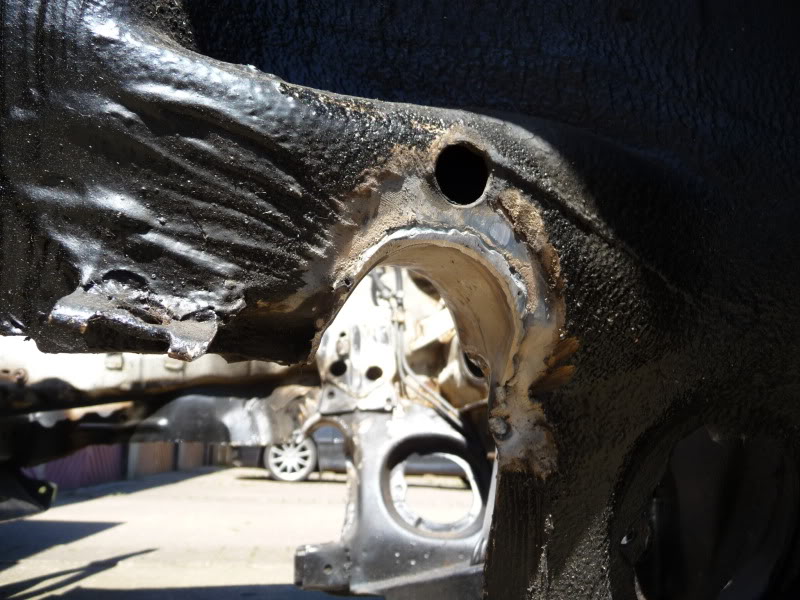
Cutting the clearance notches
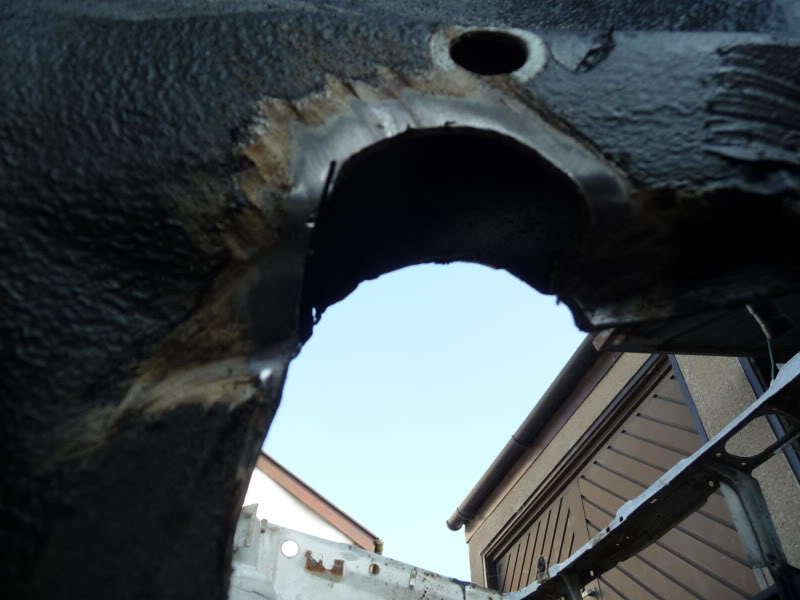
Welded up
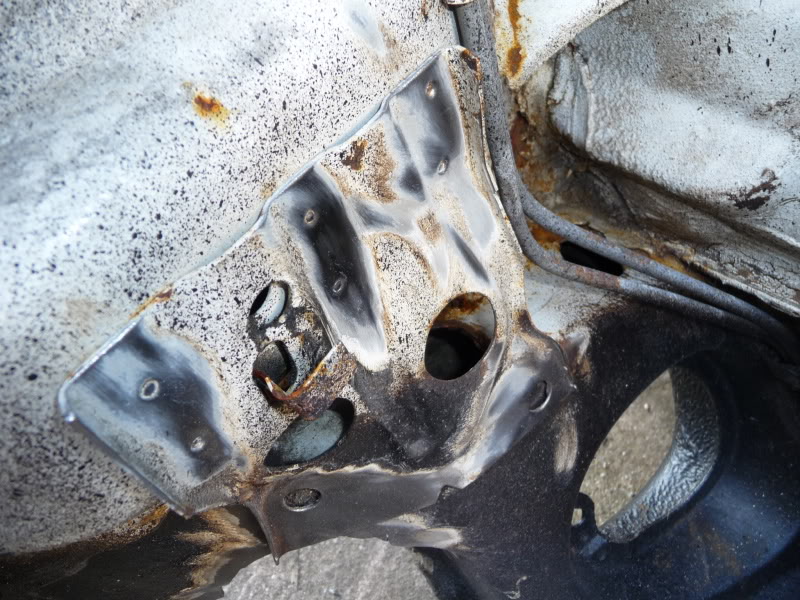
Some rot I hadn't spotted or expected - hidden well behind this reinforcing plate which has been prepped to have the spot welds drilled out
This don't look too clever - rot in the seams
Bye bye scuttle
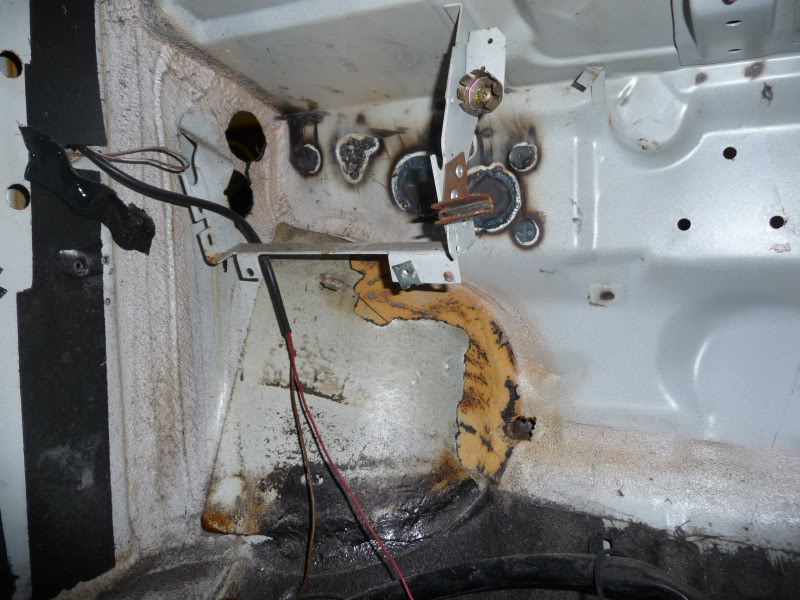
Attacked brackets and the bay in general over the weekend, cut holes for hidden wires, pics to follow.
Gotta get it on it's wheels cos the roll over frames are on the bay.
Posted
Settled In
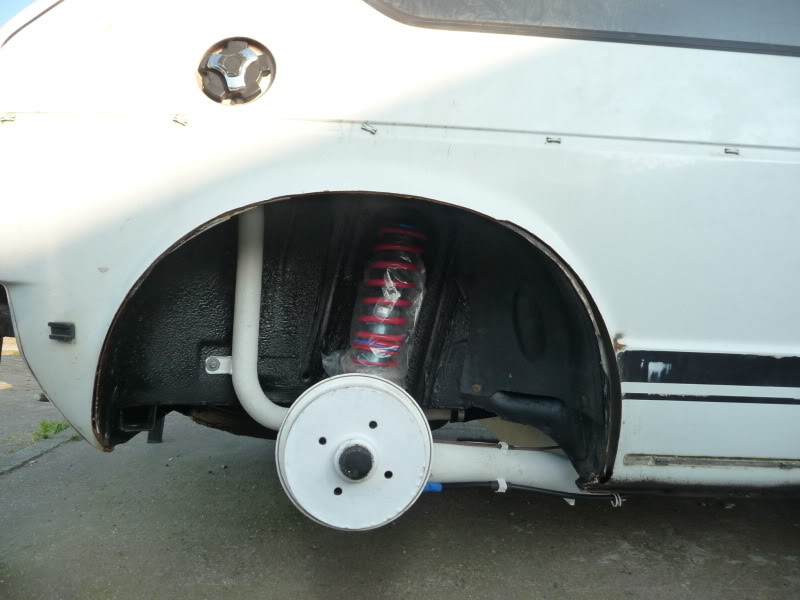
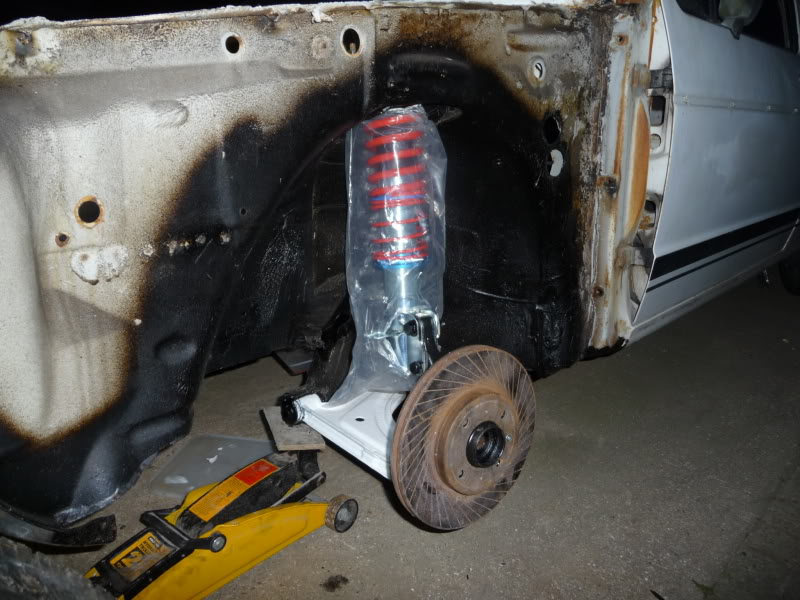
My favourite type of coilovers - free ones :thumbs_up probably a load of carp too.
Action shot! drill in one hand - camera in the other, could have resulted in a trip to A&E or a broken camera. Thankfully just resulted in two nice clean holes to run my loom through

Out of the vinegar and coated with rustbuster epoxy mastic which is da bomb!
Posted
Local Hero

Posted
Settled In
Bit more graft tonight.
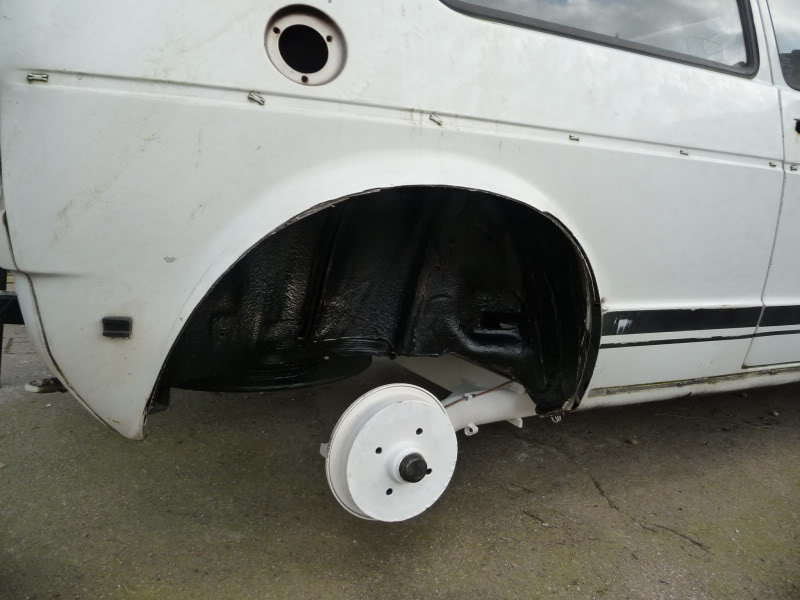
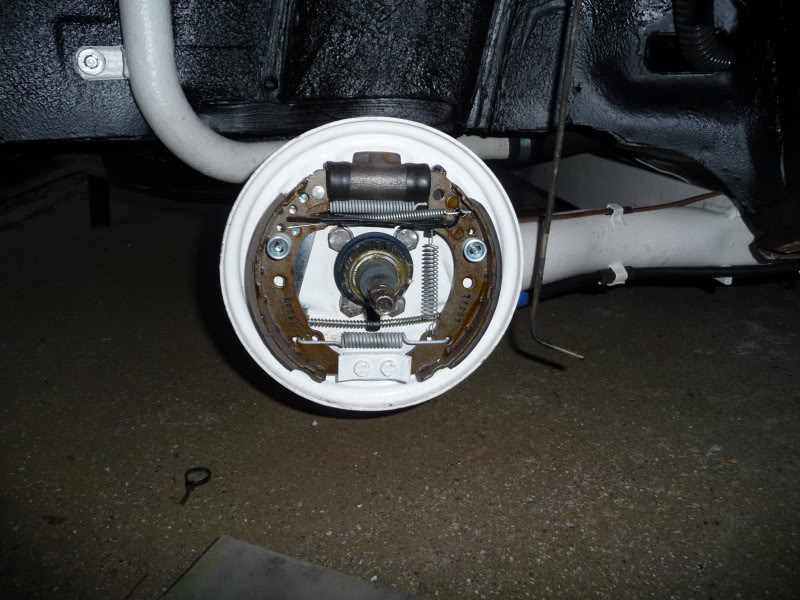
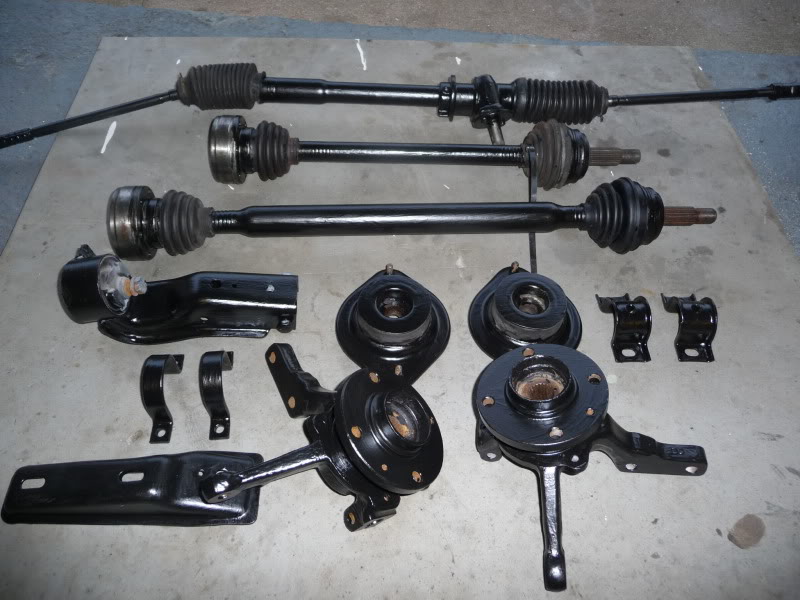
Got the front suspension gubbins bolted up and some free(ish) brake discs courtesy of Lloyd of Retro-Fit fame
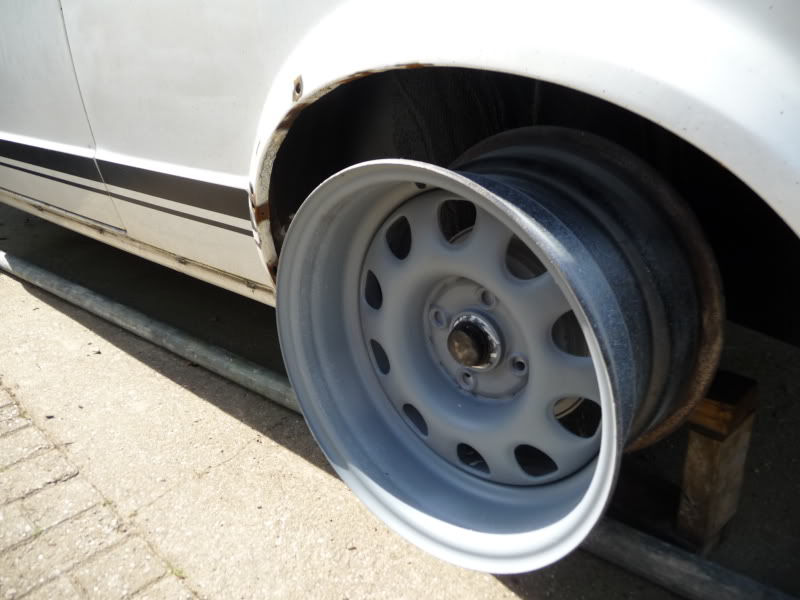
Wheels on, rotisserie off and she's in the dry ;D ;D ;D ;D ;D ;D ;D ;D
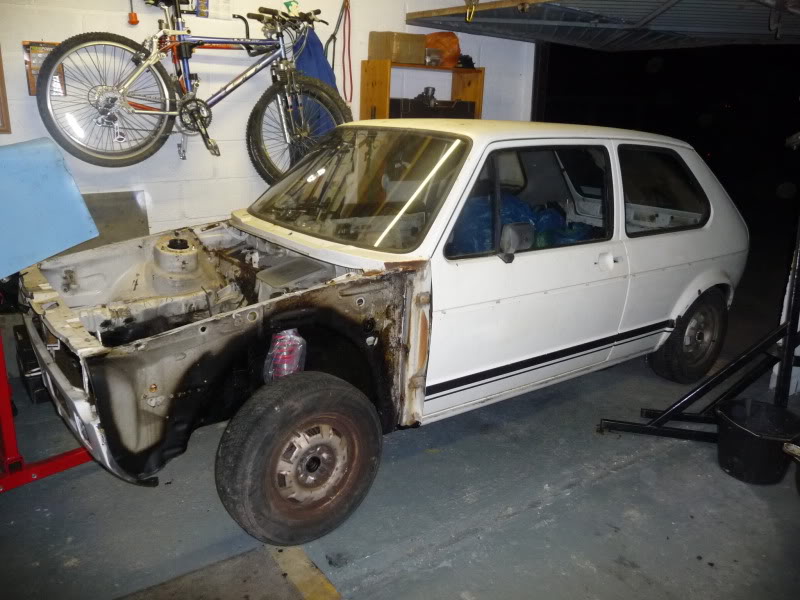
I can get stripping the bay and get the glass out to do the headlining - not sure if I want to drop the doors off yet - should be able to do without the hassle.
Posted
Settling In

Posted
Old Timer

Posted
Local Hero

thnx foxy
Posted
Settled In
The TDI's typically come with 10 or 11 mm pump heads, the TD's have 8 or 9 mm heads.
I'll be fitting the bigger pump heads to the AAZ pump to get more fuel potential.
It'll also have the governor tweaked and the boost enrichment enhanced.
Posted
Settled In
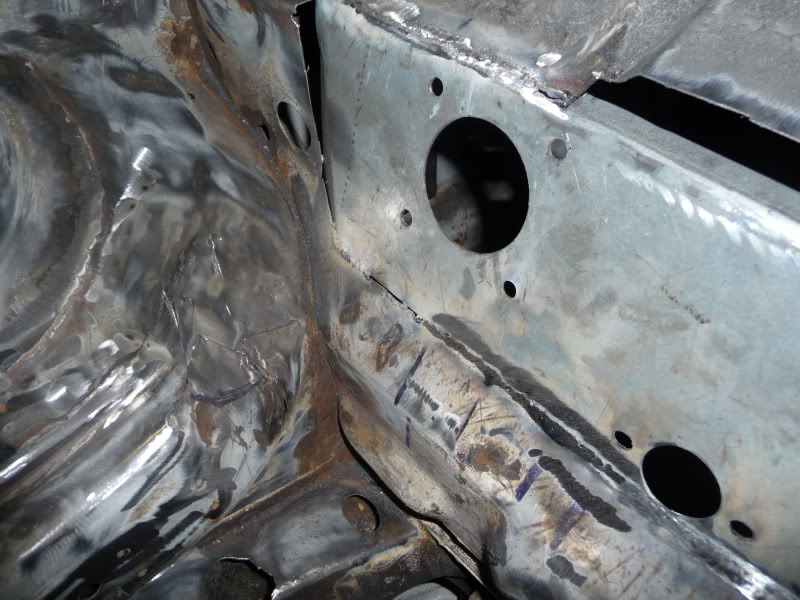
Holes getting plated everywhere
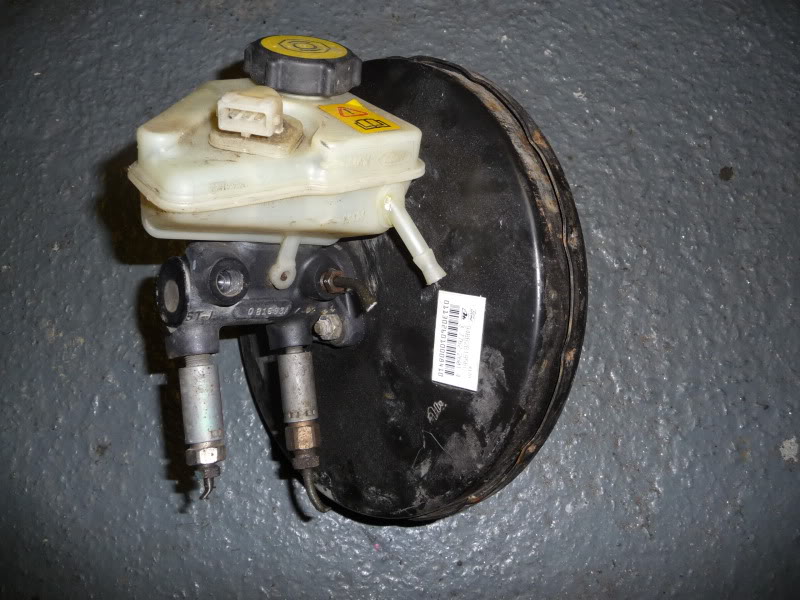
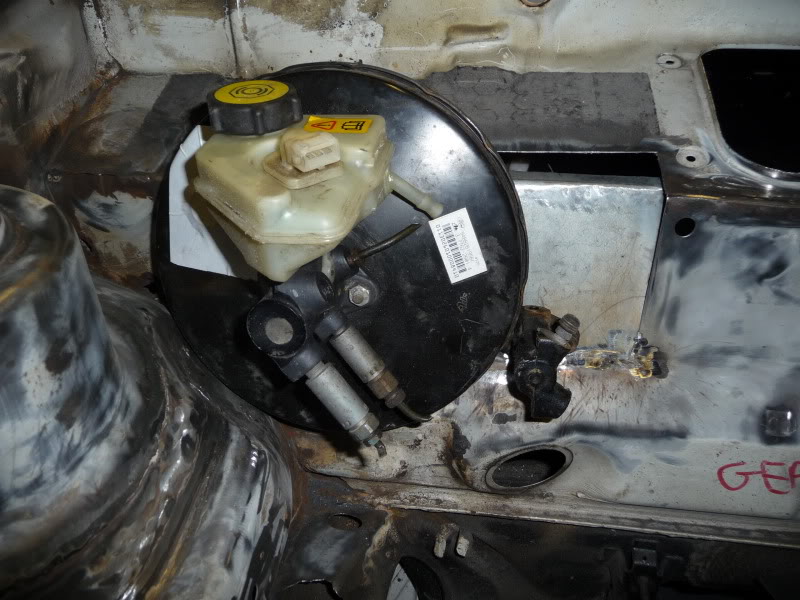
See your 9" 22mm master cyl and raise you 10" and 25mm :music:
choppy chop…this'll come in handy
probably use it to fill this huge hole
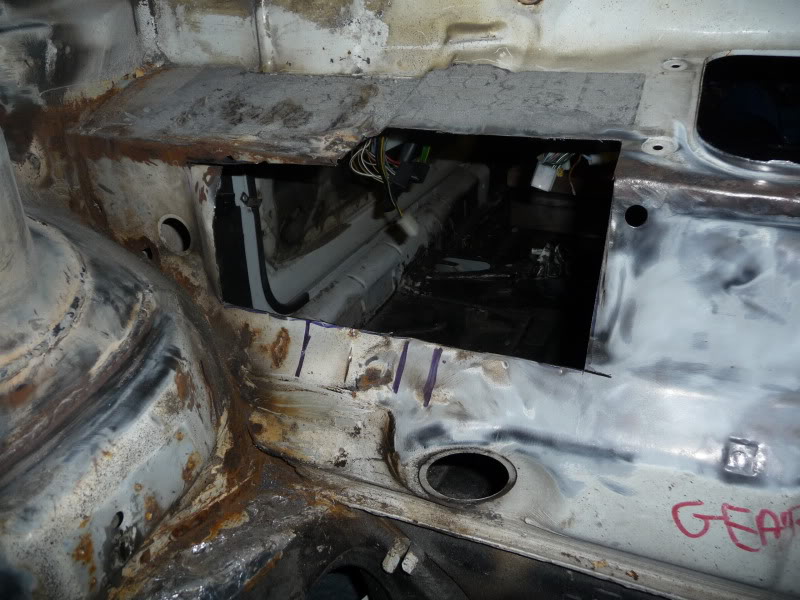
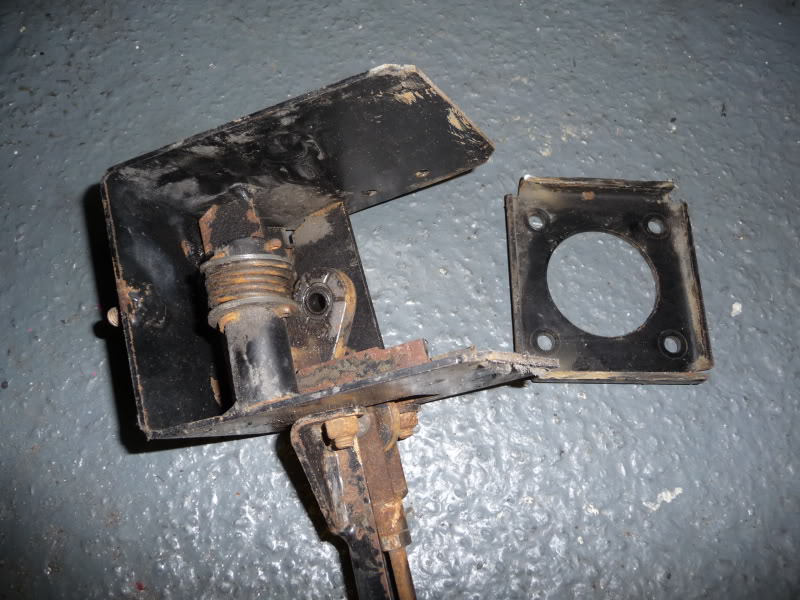
Meanwhile if I just chop this cable change selector housing down a little so it fits in this piece of cardboard…
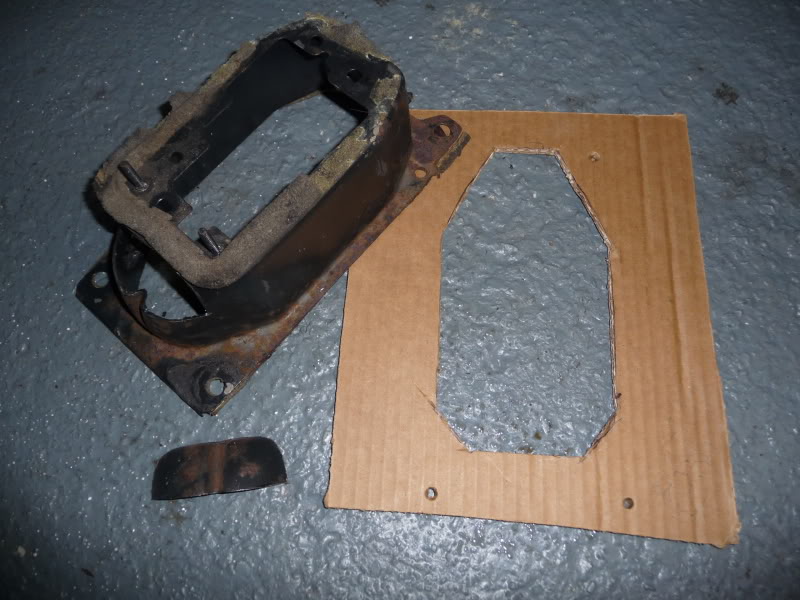
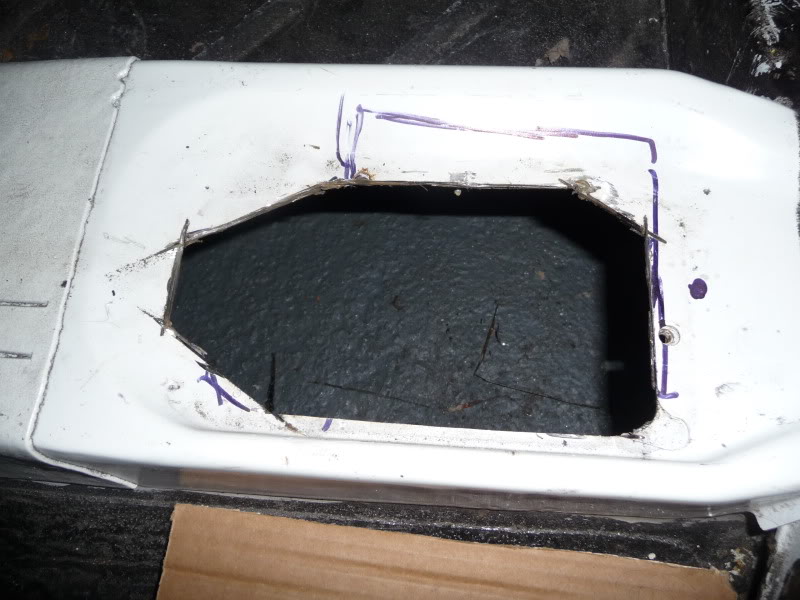
….then it'll probably fit into this hole in my floor
At the moment I'm at the breaking eggs stage of this particular omelette, I've the welder and three grinders plugged in at once, loaded with wire brush, slit disc and grinding disc. lets get medieval }

Posted
Local Hero
keep it up
Posted
Settled In
Just about got enough clearance now to fit this baby in :thumbs_up should haul me up nice.
10" servo with a 25mm master cylinder woohoo! other jobby is the clutch master cylinder.
No, they don't fit the standard pedal box.
still welding up original holes, hours of work. hopefully it should start looking half decent when I get some filler/paint on it.
I was thinking of welding the original chassis number back into the section in the scuttle that's missing - good idea or no?
Posted
Settled In
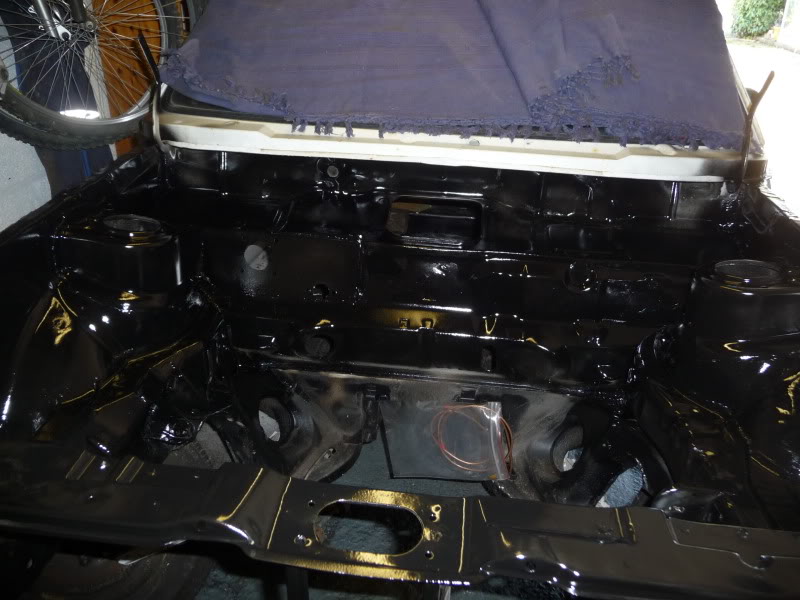
Crack open the rustbuster epoxy mastic and fire up the compressor :thumbs_up
Filler time!
My caddy had a satin black engine bay, I was gonna make this one white (body colour)…..I'm quite tempted to do it black but with a white engine….whadyareckon?
Posted
Local Hero
And can you apply it with a brush?
Rich
Posted
Local Hero
Alex.
Posted
Settled In
Nice work… Was that epoxy mastic the same as what you did the underside with?
And can you apply it with a brush?
No epoxy mastic on the undrside - that was schutz with waxoyl
The epoxy mastic is a low gloss black finish and goes on really well with a brush - there are some brush finished bits (driveshafts/hubs etc) on page 3 of this thread.
The gloss isn't as good with brush finish and there are some brush marks but I had an old brush and was being my usual slapdash painter
Looks great, happy with the result?
very! got some paint on it, so it wont be rusting inbetween grinder sessions. It's only a primer and I have a lot of filling/smoothing to do before a final finish is applied.
It's my second time using this compressor and gun. (Had a ?50 turbine and HVLP before) the epoxy goes on SO EASY - no runs and nice finish, there is a little bit of dust in the paint but as I was sandblasting about an hour before, I'm not surprised!
Posted
Settled In
After two nights of non-activity and severe withdrawal symptoms I managed to get out to the garage last night.
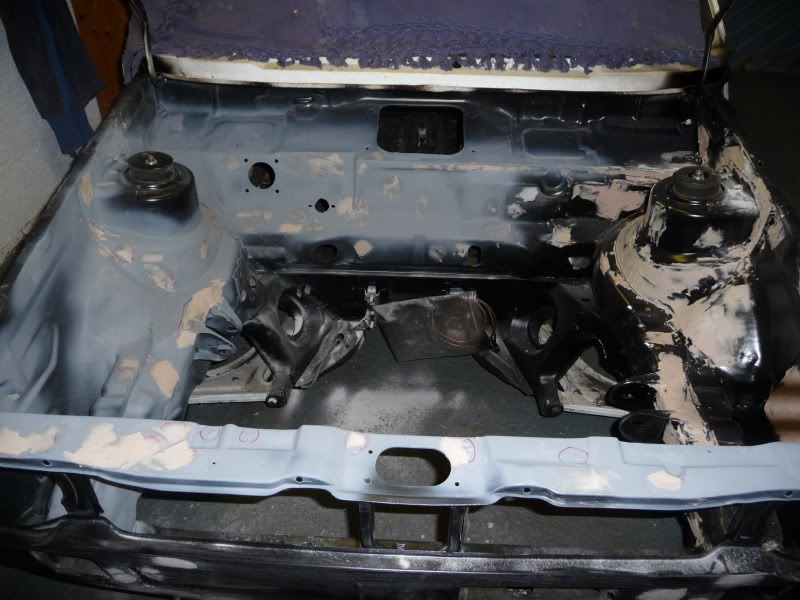
Can happily report that filler sticks to epoxy mastic and it doesn't react to rattle can primer.:thumbs_up
Posted
Old Timer
great for rust prevention too….
nice work
0 guests and 0 members have just viewed this: None.