


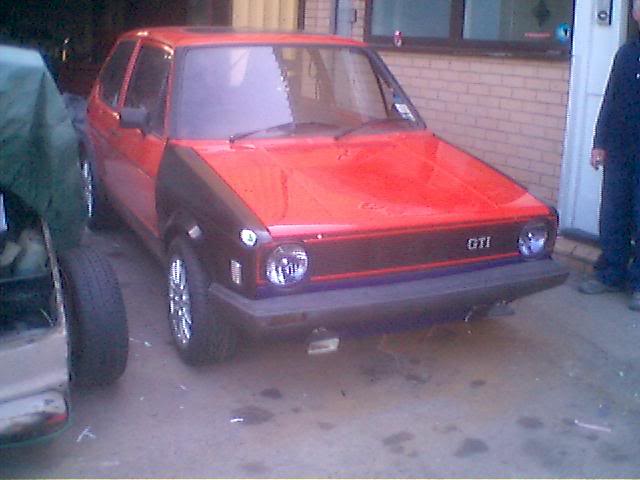
mk1 1600 GTi resto

Posted
#665883
(In Topic #80188)
Settling In

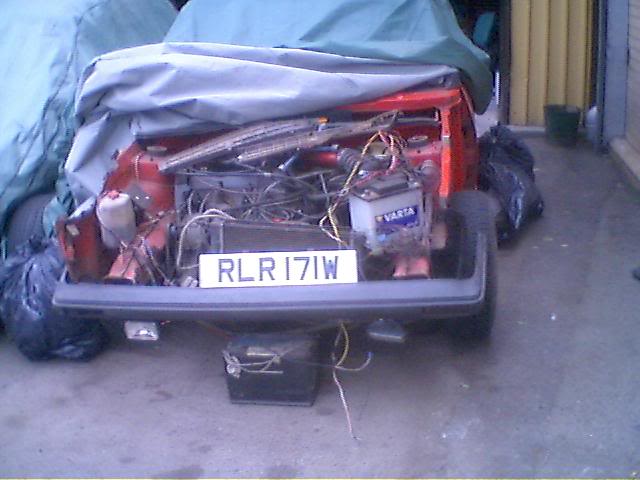
mk1 1600 GTi resto

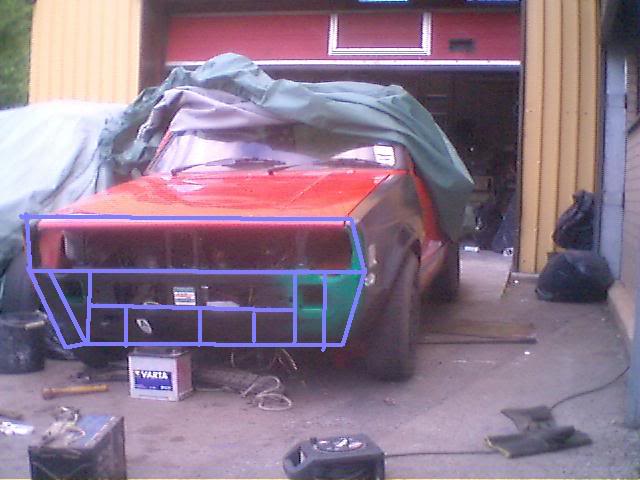
so front wing off and im left with this
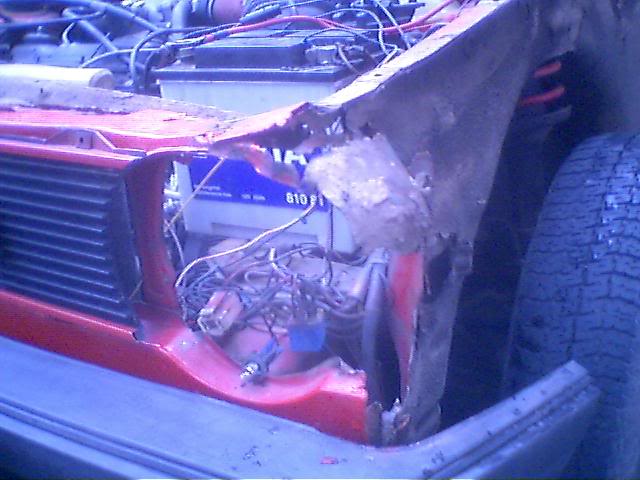
so out comes the grinder and welder and in with the new panel
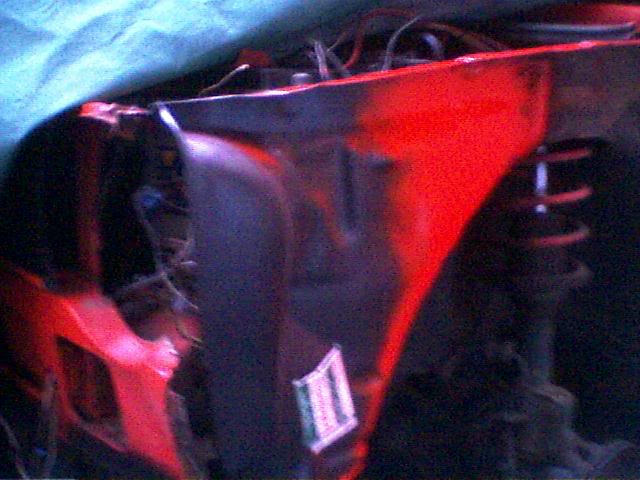
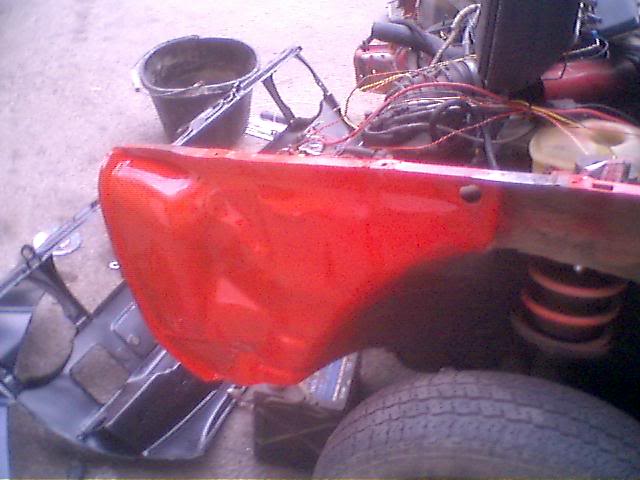
then the drivers side wing came off
oh dear video
http://s34.photobucket…w¤t=65KE0009mp4.flv
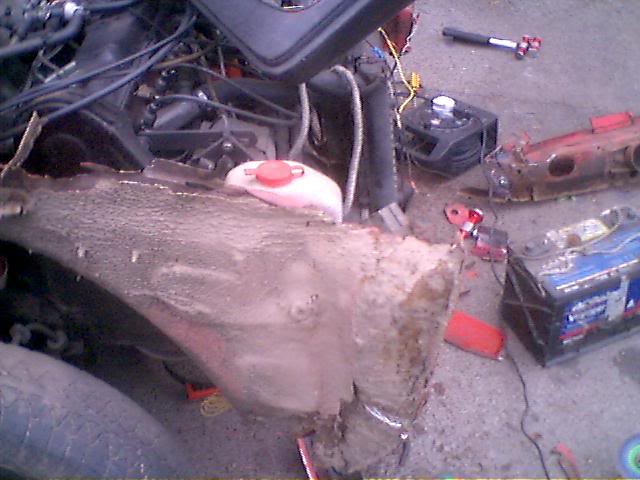
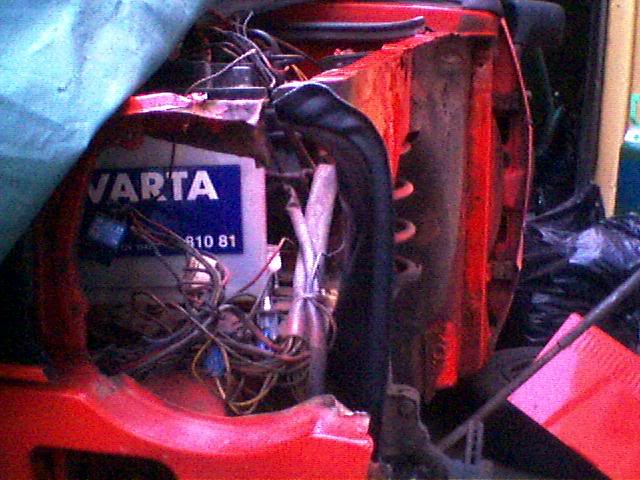
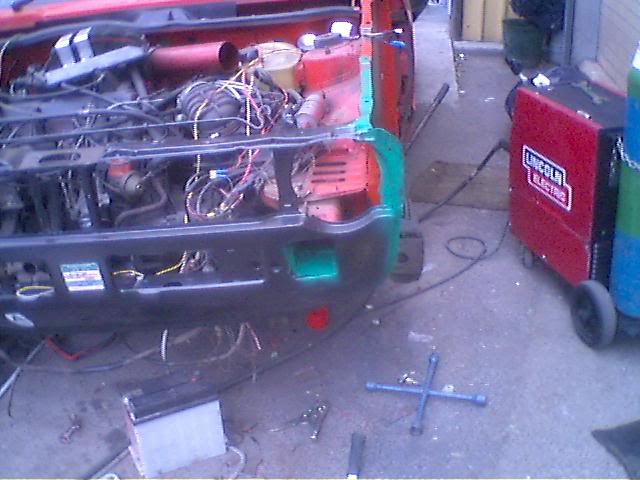
then thought ah bugger it take the whole lot off
back to work tomorow with my newly purchased bargainous welder
600 quid lincoln welder with variable power switch for body work welding, been used a few times, relativly new lance, roll of wire, some new tips some welding gloves all for
170 quid
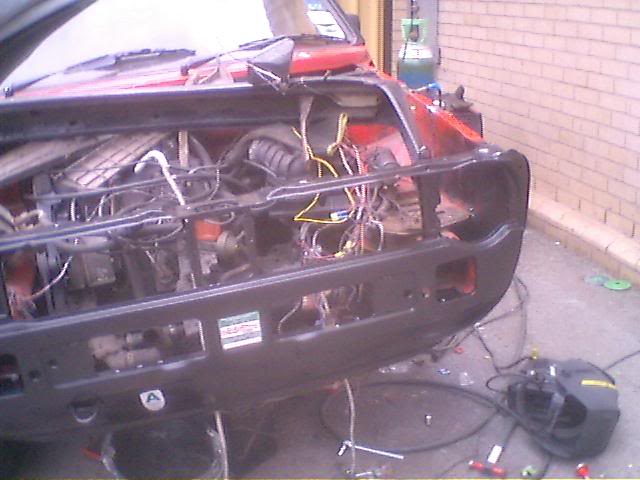
oh and for anyone taking the slam panel of a mk1 golf few words of advice
lots of cutting discs, preferably a 9 inch grinder, took bloody ages to cut that out

Posted
Settling In
got the welding on the inner wing done now, battery tray welded back in
checked to see if the slam panel fitted which it does
aswell as weld the steering rack up and a few other spots of welding
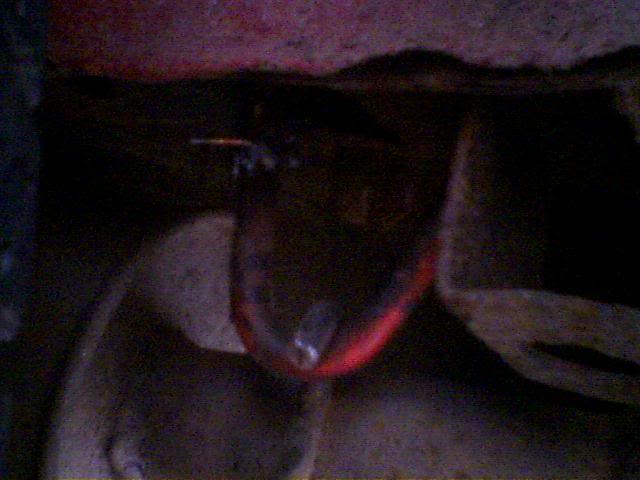
also drained out radiator, that was green and minging in there, got oil filter changed,
then decided to quickly make up an exhaust bracket for the far rear mount on the exhaust, because its a dodgy powerflow back box on there it had some stupid mount welded on by, most probably the same muppet who built the exhaust, and it fell off.
so racked by brains for a bit, and decided how to make an exahust mount. cut the towing eye off the old slam panel and weld it on, so the exhaust will fit on to it
bit of a tight fit, think i might redo it tomorow thow
(re did mount cut one side off for rubber to hook over and onto exhaust
Posted
Settling In
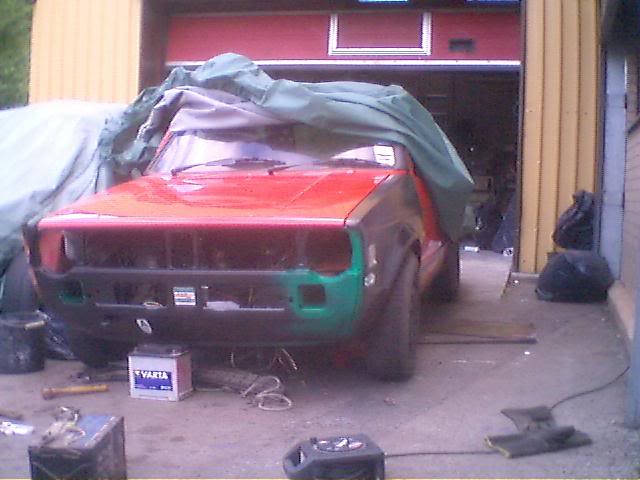
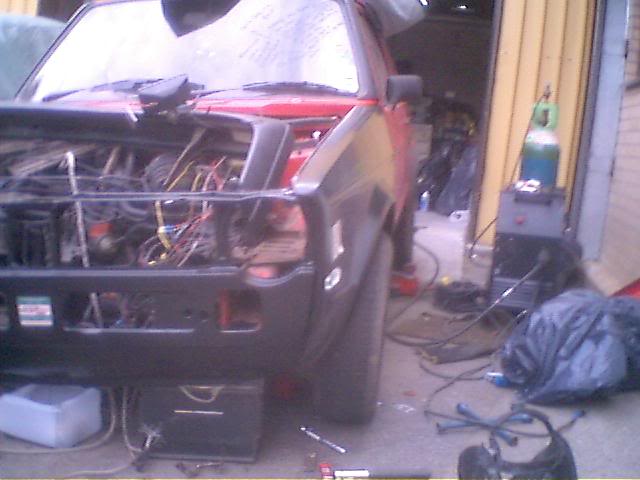
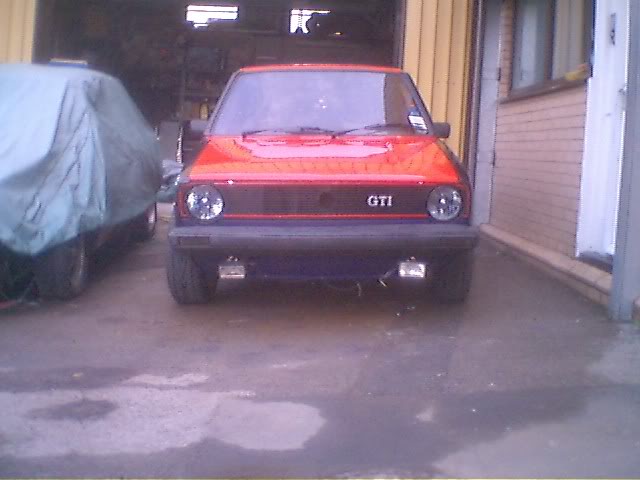
slam panel all in on one side, just got the other inner wing to do, now on monday and it should be rolling again after ive done the big list on the window that is lol
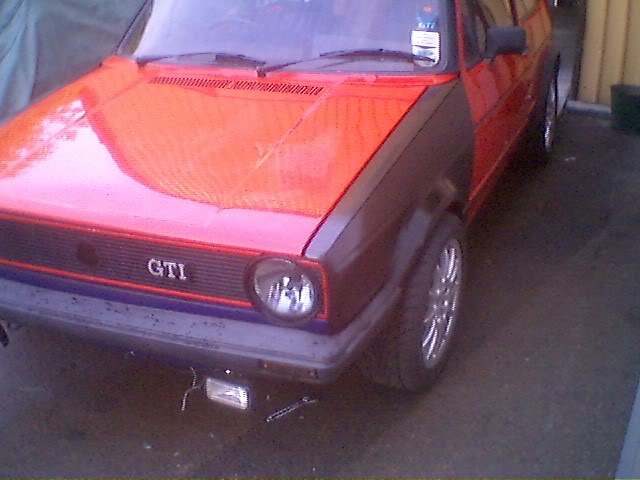
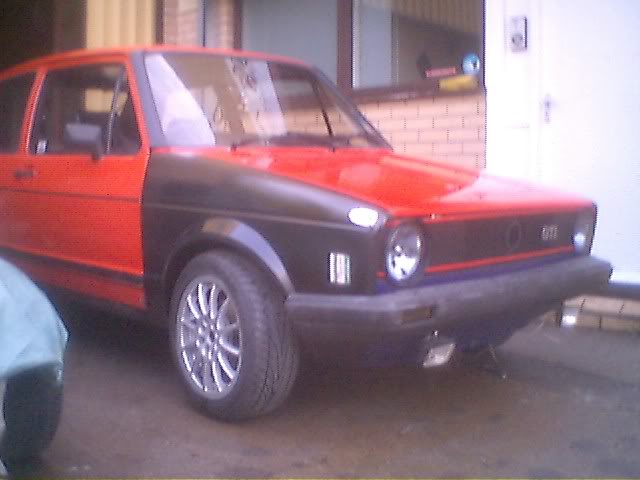
end result
then gotta start moving backwards, sills rear arches rear corners rear valance, then roll it in for paint
Posted

Local Hero

makes me feel slow though as it took me 2 months of weekends to get my front end welded up
 ops:
ops: would I be right in saying you do welding for a living?
Posted

Local Hero


Andy
LINCOLNSHIRE REGION - https://www.facebook.com/groups/467122313360002/
1983 MK1 Golf GTI Campaign Model - Under (looooong) resto!
1962 Rover P4 80
2002 BMW 745i
2008 BMW Z4 2.5Si
LINCOLNSHIRE REGION - https://www.facebook.com/groups/467122313360002/
1983 MK1 Golf GTI Campaign Model - Under (looooong) resto!
1962 Rover P4 80
2002 BMW 745i
2008 BMW Z4 2.5Si
Posted
Settling In
that only took me a week lol, nah not a welder for a living, spray stuff for a living, im only 18, so its all a learning curve reallyPhillTMK1GTI said
:clap: nice work
makes me feel slow though as it took me 2 months of weekends to get my front end welded up
would I be right in saying you do welding for a living?
busy is not the word lol, its flat out for the past week to get it done for bvf, that was before my fuel line exploded :evil:
when i got some free time, well when i push it into my mates spray booth to spray, gunna grind down all the welds, and then TIG weld the front slam panel to the inner wings properly then get it sprayed.
Posted
Local Hero
you have much trouble getting the wings to fit flush?
Posted

Local Hero
Look forward to more pics.
Cheers
1981 1600 GTI (coming to a road near you soon…)
1983 1100 C
1983 1100 C
Posted
Settling In
but i had so little metal to work with originally was kinda hard. the passenger side didnt fit at all when i first tryed it on spent ages getting it to fit. then i took the bolt out of the door pillar that held the old wing on :roll:
 ahwell fitted fine after that. forgot i had it in there as i litterally pulled the wings of with my hands lol
Posted

Old Timer

keep it up go to the top of the class :notworthy:
p.s dont like those rims, gets some wide 13's ats classics rock my world 8O

Posted
Settling In
yes its going mars red again, after ive bare metalled it, its had a dodgy respray, didnt realise how bad, would like to find the person that did it.dojodubber said
looks like your doing some good work there old chap, what colour you gona spray it orginal mars?
keep it up go to the top of the class :notworthy:
p.s dont like those rims, gets some wide 13's ats classics rock my world 8O
it wasnt keyed or primed, just a blow over, its flaking off on swage lines and its a massive orange, with all the orange peel on it, disgusting work, as a paint sprayer id be ashamed to call it my work.
gotta go mars red ive bought the paint for it now lol
13s and on the floor looks cool but its not what im going for, over done tbh and sick of seeing ats cups and classics everywhere so its staying on those rims, and you cant get 13" eagle F1s :wink:
eventually something like this till i can afford adaptor plates

but eventually gunna put some old skool dub rims on there
going onto a set of these

Posted
Old Timer
i think i might be doing something similar too soon.
a few questions…
did you do any work to the arm under the battery holder?
how much did the wing, and front section cost, or was it the original ones?
did you touch the front cross member?
cheers, Andrew

Posted
Settling In
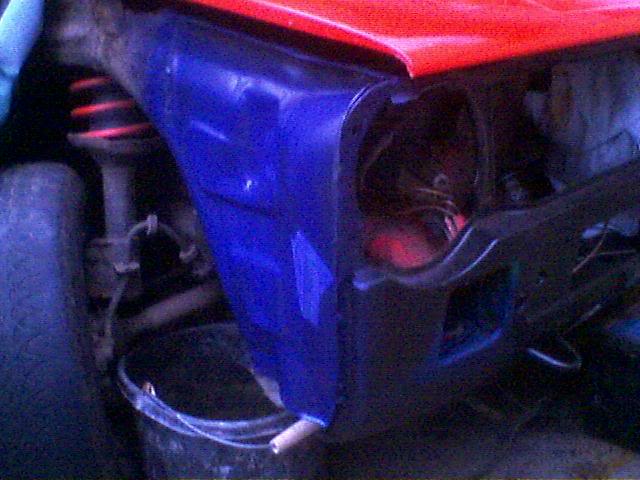
you mean the bumper brace where the bumper is sitting in heremarsredgti said
nice job mate.
i think i might be doing something similar too soon.
a few questions…
did you do any work to the arm under the battery holder?
how much did the wing, and front section cost, or was it the original ones?
did you touch the front cross member?
cheers, Andrew

yeh previous person welded slam panel on there with stupidly thick welds and not very good either so had to cut the bottom out, and fabricate a new bit of metal in there, then put some good thich welds on it, did that on both sides also had to fill some holes with weld.
pm me for details on what body panels you need
front cross member? the bit that sits belows the impact arms, new one came on slam panel, had a whole new front end on it basically.
there complete arses to get of, had to cut mine off from top corners first, then,
thats how your looking at cutting it out plus a bit more comeplete nightmare, still better to do yourself, much more sense of achievment
Posted
Settling In
the horrible noise it makes when trying to go into reverse is the CV. which i just had replaced but have found out that, the cv i was supplied with was the wrong one, and regardless it was still fitted, and when tightened up, noticed the wheel wouldnt turn, so ive been driving around with the main nut holding the discs,cv, driveshaft loose and about to come out
not at all amused with said garage for fitting it, lets just hope it gets down now
0 guests and 0 members have just viewed this: None.