


Kamei Retro Racer mk1 build

Posted
Settled In

Kamei Retro Racer mk1 build
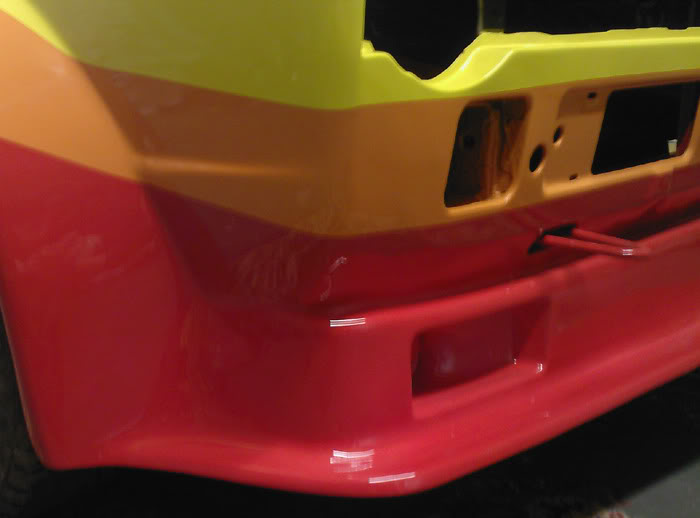
More presents arriving:
Lexan Polycarbonate windows

Decal set:
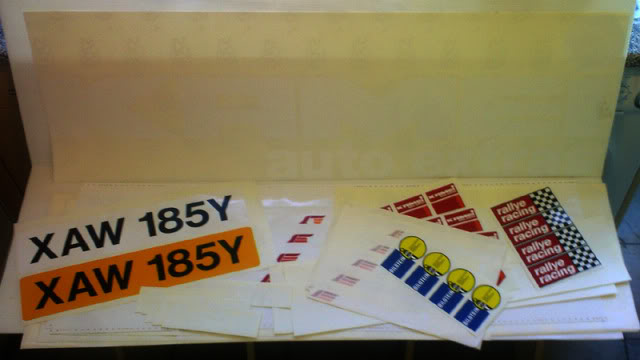
(you can just about make out the writing on the sheets stood upright) ^ ^ ^
Just a few rear pillar decals to get made & a decision to be made when they are all on in the new year
on how many of the rear ones i go with or to keep it uncluttered with just the main one.
Lexan Polycarbonate windows
Decal set:
(you can just about make out the writing on the sheets stood upright) ^ ^ ^
Just a few rear pillar decals to get made & a decision to be made when they are all on in the new year
on how many of the rear ones i go with or to keep it uncluttered with just the main one.

Posted
Newbie

WANT THIS MODEL! Are they still being made?
milky said
good detective skills chaps 8)
all i could find was another model pic, taken from this thread….
http://www.automotiveforums.com/vbulletin/showthread.php?t=883251
Posted
Settled In
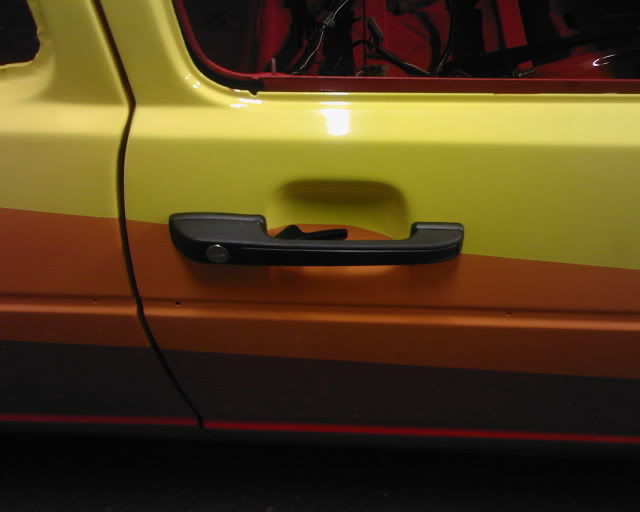
popped some new handles on her:
Posted
Settled In
anyone know if you can get these obsolete parts from anywhere that go on the driverside engine mount:

also need the round ones that go on the passenger side gearbox mount
also need the round ones that go on the passenger side gearbox mount
Posted
Settled In
Kamei Historical thread coming soon....
Posted
Settled In
Just had a cool update…..
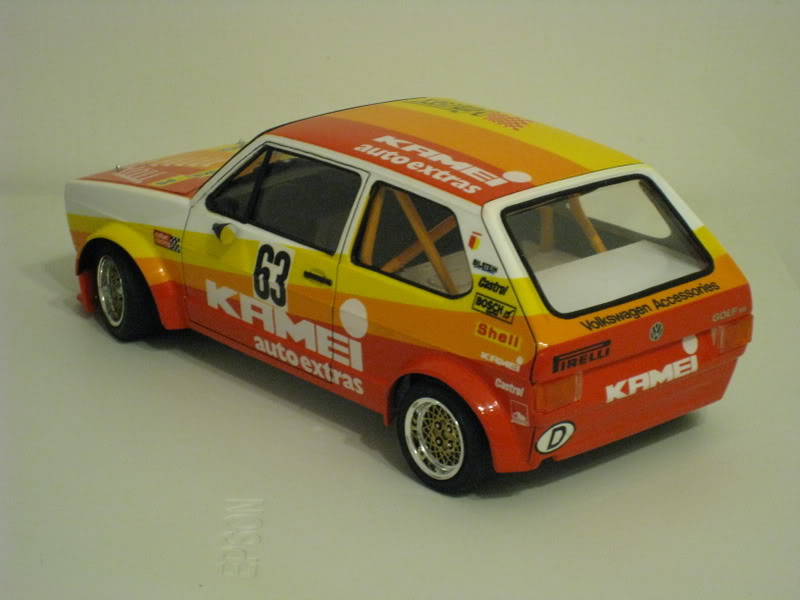
Nicholas's VWMS Blue one is now done with the graphics me & mike sorted (ignore ride height as not setup):


Haven't had time to sort out rear quarter decal specifics yet for mike to make for us.
But damn am i chuffed it worked out so well & finishes it off for Nicholas.
Nicholas's VWMS Blue one is now done with the graphics me & mike sorted (ignore ride height as not setup):
Haven't had time to sort out rear quarter decal specifics yet for mike to make for us.
But damn am i chuffed it worked out so well & finishes it off for Nicholas.
Posted
Settled In
I am putting together a historical thread on the Kamei car, there will be stuff in there not seen anywhere before so pop in as it updates to take a look:
http://www.clubgti.com…php?p=1856196#post1856196
http://www.clubgti.com…php?p=1856196#post1856196
Posted
Old Timer

some great pics there,that opening pic is fantastic i want mine to look like it ha ha :mrgreen:
what is the kit thats on it :wink:
what is the kit thats on it :wink:
Posted
Settled In
The blue one above? I can find out.
Its a full on race car racing in the uk's premier saloon car clubmans championship the "BARC DMN saloons" . It will be on itv this season!!!!!
Its a full on race car racing in the uk's premier saloon car clubmans championship the "BARC DMN saloons" . It will be on itv this season!!!!!
Posted
Old Timer
yes please the blue one,when will it be on itv then will you post the dates on here would be great to see it in action :wink:
Posted
Settled In
testing was at brands on the 26th of feb

1st race is 28th of march at brands.
1st race is 28th of march at brands.
Posted
Old Timer
top stuff!will the first race be on tv then?
Posted
Settled In
as far as i know though not sure of the air date
Posted
Settled In
Front half of cage was checked after paint had a few days to dry then it was all wrapped up so as not to scratch anything during install like the rear half with some spare padding i had left over from laying my house flooring :
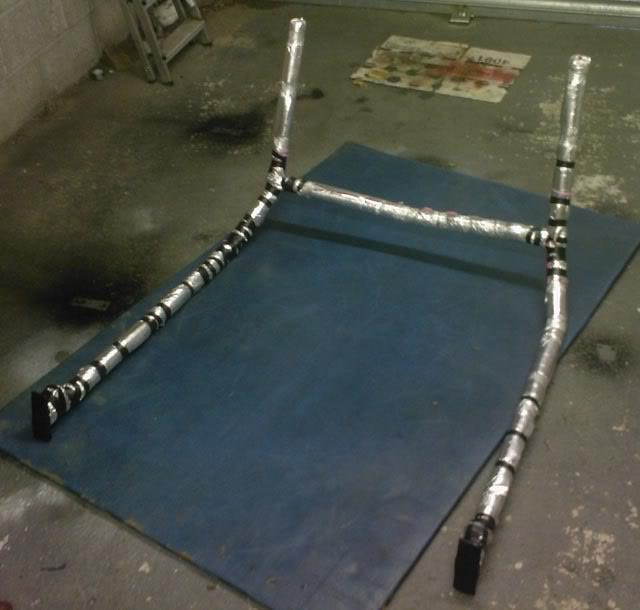
Then after a bit of measuring i realised the hole at the bottom of the winscreen was about 2 inches wider that the legs on the front cage, Hmmm……
So it went in happy through the hole with some tetris style moves, it did not touch the sides
 :
:
Little bit of jiggling & it is now upright in the car.
Next job will be to trial fit dash to cut out holes (by heater vents) to go around cage.
Then after a bit of measuring i realised the hole at the bottom of the winscreen was about 2 inches wider that the legs on the front cage, Hmmm……
So it went in happy through the hole with some tetris style moves, it did not touch the sides
:
Little bit of jiggling & it is now upright in the car.
Next job will be to trial fit dash to cut out holes (by heater vents) to go around cage.
Posted
Settled In
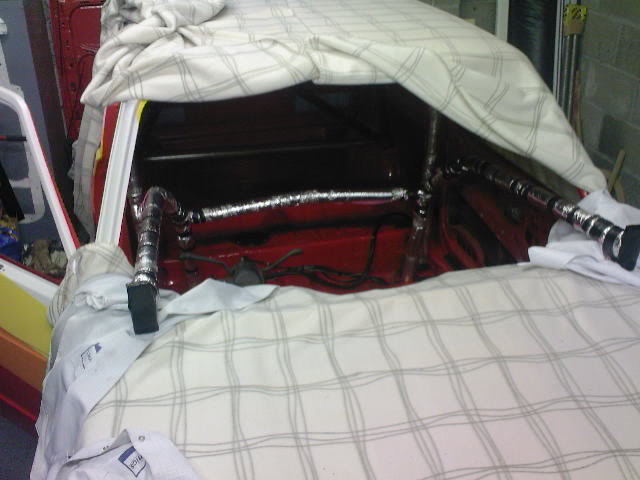
Put the dash back in to measure up:
Have cut some of the soft stuff away to check the cage starts to fit into the dash though i need to cut the metal piece below the side vents away next.
Dash was then cut/modified to allow the front cage uprights to go through it where the side vents would be.
The cage is now bolted inside to the rear half, the back is now all bolted down to the chassis with extra beefy bolts. I only put 1 for now into each main hoop legs to allow them to pull the feet down to the floor while i start the bolting the front feet down.
The main hoop bolts will be a pain to do as they nearly all have to be cut down to size due to the lip by the sill on the inside making it tight.
this is an early pic:
showing the floor plate, image 4 bolt holes drilled into it and trying getting to the rear bolts with a nut/washer especially over the sill lip).

& you have the seat bars also to climb around while holding a spanner (with a nut/washer taped to it) to slide along inside & trying to screw the bolt down into it while puting a pulling bar in a spare bolt hole to pull it all into line lol.

Have cut some of the soft stuff away to check the cage starts to fit into the dash though i need to cut the metal piece below the side vents away next.
Dash was then cut/modified to allow the front cage uprights to go through it where the side vents would be.
The cage is now bolted inside to the rear half, the back is now all bolted down to the chassis with extra beefy bolts. I only put 1 for now into each main hoop legs to allow them to pull the feet down to the floor while i start the bolting the front feet down.
The main hoop bolts will be a pain to do as they nearly all have to be cut down to size due to the lip by the sill on the inside making it tight.
this is an early pic:
showing the floor plate, image 4 bolt holes drilled into it and trying getting to the rear bolts with a nut/washer especially over the sill lip).
& you have the seat bars also to climb around while holding a spanner (with a nut/washer taped to it) to slide along inside & trying to screw the bolt down into it while puting a pulling bar in a spare bolt hole to pull it all into line lol.
Posted
Settled In
Here's an early pic showing some of the blending in at the front:
Finally got everything bolted down on the cage & only had to cut down four bolts.
With the main hoop i had to make a wooden tool that held the nut in place while shoved into the box section at the back holding it until the bolt gripped then i would wedge a large screw driver against the nut to stop it turning while tightening, worked a treat.
Passenger side by where the windscreen fits looks fine though the driver side looks a fraction more out so if it touches the screen i might try a strap on it to pull it in a tiny bit (i was thinking if it didn't move i could remove the cage bolts on one half of the roof bar sleeve on that side for it to give a bit then re do them in situ?).
Fitted the rear side lexan polycarb windows in:
Posted
Settled In
Dash cut uinto, just have to tidy it up to look better at some point around the vent area:
And i just fitted the rear Lexan Polycarb window which was hard work on my own, got some sore thumbs now but happy with it:
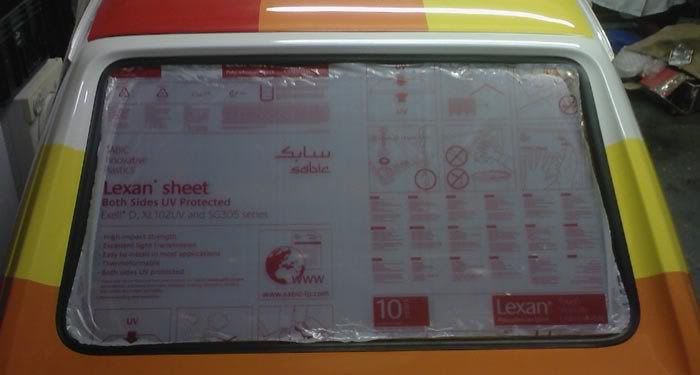
And i just fitted the rear Lexan Polycarb window which was hard work on my own, got some sore thumbs now but happy with it:
Posted

Local Hero

8) coming together very nicely!
I've been following this closely, top quality work :clap: hope to catch it at a show when it's finished
I've been following this closely, top quality work :clap: hope to catch it at a show when it's finished
Posted
Settled In
Cheers
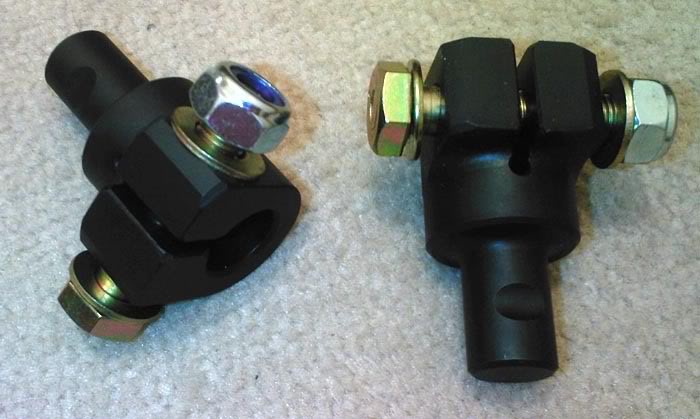
Oops forgot to add i picked up these to fit to the centre tunnel:
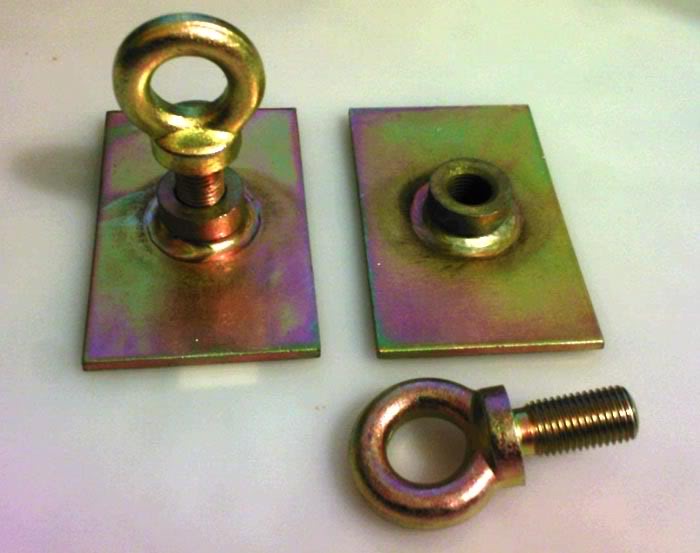
(Bolt is screwed into wrong side of plate in above pic)
Oops forgot to add i picked up these to fit to the centre tunnel:
(Bolt is screwed into wrong side of plate in above pic)
Posted
Settled In
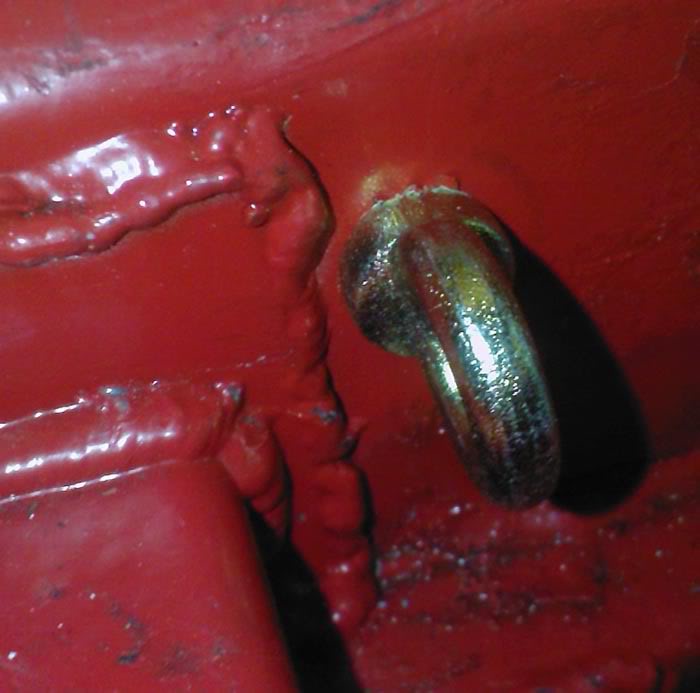
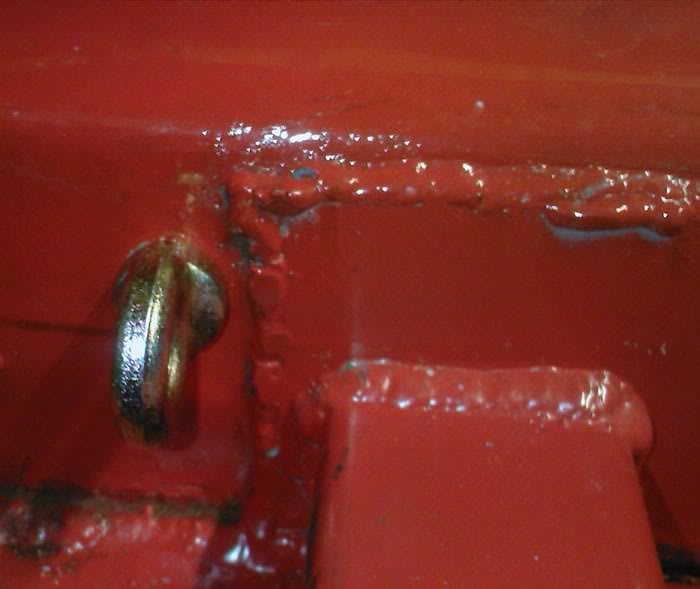
Eyelets threaded into the original factory belt points (inside car on inner sill):
Driver side:
Passenger side:
I won't be drilling the tunnel until i trial fit the seats again which are having new runner plates made.
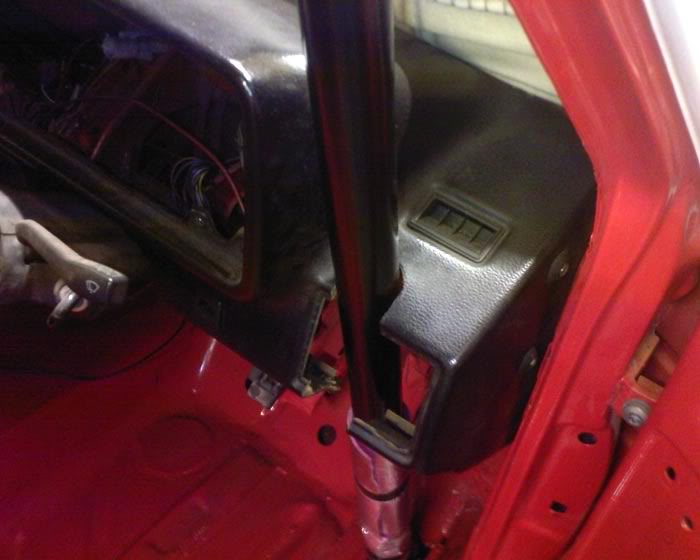
Cage front passenger side (looks ok):
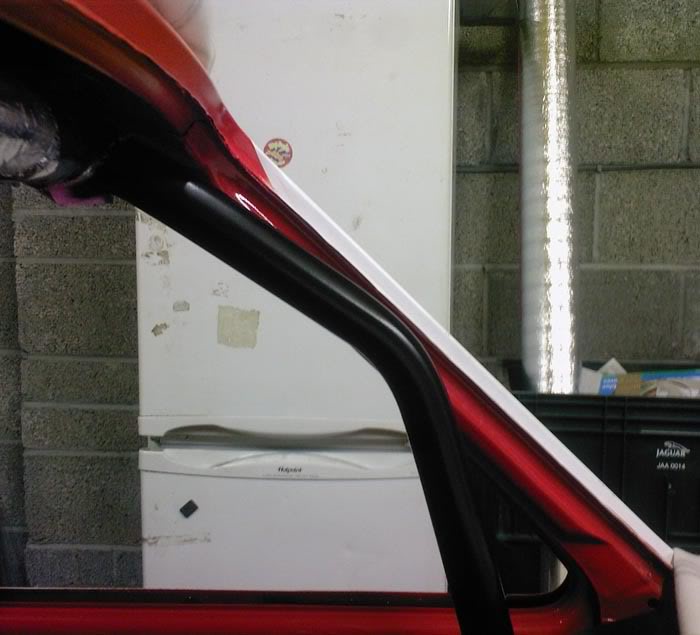
Cage front drivers side (looks a bit further out so not so good):

I am hoping the bar will pull in a bit after i get a ratchet/strap on it cage is sitting with a very slight twist in it.
If it doesn't shift after the strap/ratchet on it i will try removing the nuts from the sleeve then if that doesn't help it move i can trim a fraction off the end of the front half where it goes into the sleeve so it has a bit more room to move though hoping not to have to do that as we are only talking of about a cm.

(clicky, old pic to show sleeve)
Picking up a ratchet from a friend this week to see how it goes.
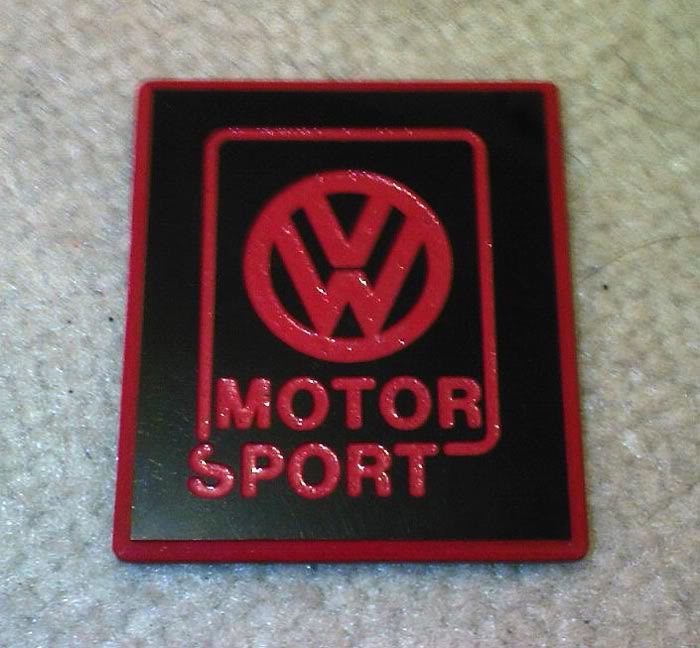
Been doing some sorting out & found these expensive paper weights :redfaced:, hope i get to use them some time:
Also found this chunky badge though not sure when or where i bought it from?
Driver side:
Passenger side:
I won't be drilling the tunnel until i trial fit the seats again which are having new runner plates made.
Cage front passenger side (looks ok):
Cage front drivers side (looks a bit further out so not so good):
I am hoping the bar will pull in a bit after i get a ratchet/strap on it cage is sitting with a very slight twist in it.
If it doesn't shift after the strap/ratchet on it i will try removing the nuts from the sleeve then if that doesn't help it move i can trim a fraction off the end of the front half where it goes into the sleeve so it has a bit more room to move though hoping not to have to do that as we are only talking of about a cm.

(clicky, old pic to show sleeve)
Picking up a ratchet from a friend this week to see how it goes.
Been doing some sorting out & found these expensive paper weights :redfaced:, hope i get to use them some time:
Also found this chunky badge though not sure when or where i bought it from?
0 guests and 0 members have just viewed this: None.