Printed circuit foil
Posted
#1554733
(In Topic #208539)
Settled In

has anyone tried this?
https://www.werk34.de/product_info.php/info/p19935_Printed-circuit-foil--for-Golf-MK1-Cabrio-1983-92--with-Airbag-and-MOTOMETER-Speedo.html
over the years i collected several clocks and for my restoration, i made a good set of MFAs from several pairs. during transportation from one place to another a nice mechanic left that set hanging from the steering column where they were eventually smashed to smithorines. i bought new casings to repair it but it had to much internal damage and did some pretty made things.
i had other bits left to make up a ok set of non MFA, the only down side is that only one bulb works in the top part of the clock, has anyone tried using the werk34 printed circuit foil?
i also saw you could buy conductive pens and retrace the copper lines anyone tried this?
Posted
Moderator


I've not tried them (the circuit board) but I've been recommending this company for the past 3 years and so far I've only had positive feedback on a wide range of parts! 
Sent by a smartphone and not a smartperson!
Play Guess the Asking Price 'SEASON 4' as of Sunday the 29th of October 2017.
https://vwgolfmk1.org.uk/forum/index.php?page=topicview&id=chat%2Fmk1-golf-chat_2%2Fguess-the-asking-price_2
OLD.
https://vwgolfmk1.org.uk/forum/index.php?page=topicview&id=chat%2Fmk1-golf-chat_2%2Fold-guess-the-asking
Ever wondered who's behind the scenes of this forum?
https://vwgolfmk1.org.uk/index.php?page=committee
Mike
There's me building mine 28 years ago, almost finished!

Be proud of your VW Golf Mk1, it's very special!
Play Guess the Asking Price 'SEASON 4' as of Sunday the 29th of October 2017.
https://vwgolfmk1.org.uk/forum/index.php?page=topicview&id=chat%2Fmk1-golf-chat_2%2Fguess-the-asking-price_2
OLD.
https://vwgolfmk1.org.uk/forum/index.php?page=topicview&id=chat%2Fmk1-golf-chat_2%2Fold-guess-the-asking
Ever wondered who's behind the scenes of this forum?
https://vwgolfmk1.org.uk/index.php?page=committee
Mike
There's me building mine 28 years ago, almost finished!

Be proud of your VW Golf Mk1, it's very special!
Posted
Local Hero

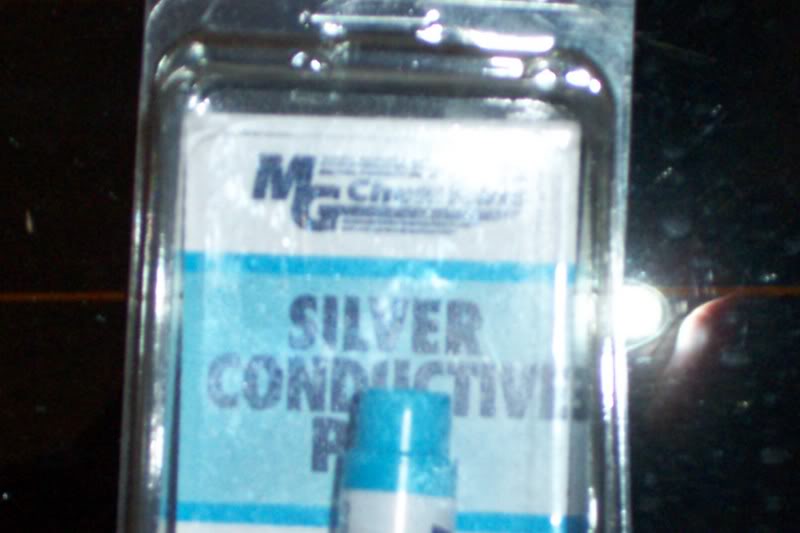
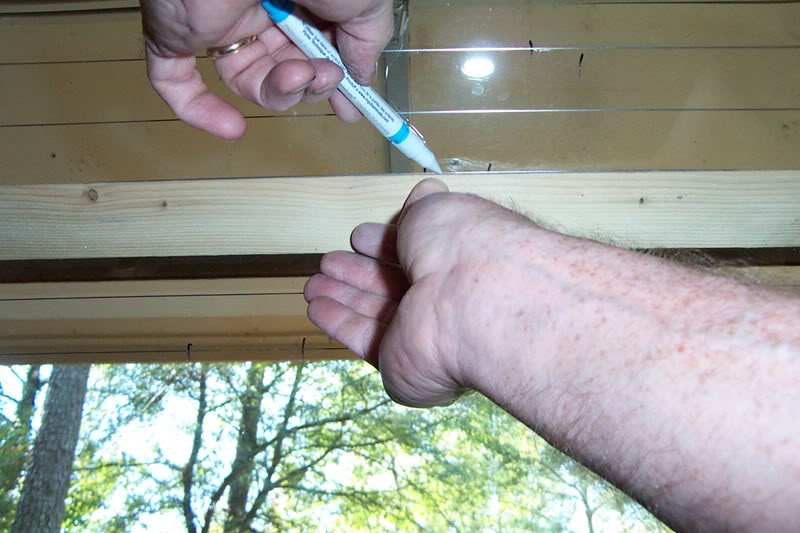
Yes I have used conductive pens. They work best on "Defroster" line repair. They are usually silver in color.
Now the issue with Mylar/copper foil runs is that it can be very brittle over the years and delaminate.
It is the lamination that gives the copper foil strength.
I clicked on the link, and I have to ask it says Cabriolet 1982-1992, with airbag and MotoMeter speedo.
Over here the Cabriolets didn't have airbags until 1990.
They also switched to MotoMeter speedos in 1990 as well. So if that really works, the it would surprise the hades out of me.
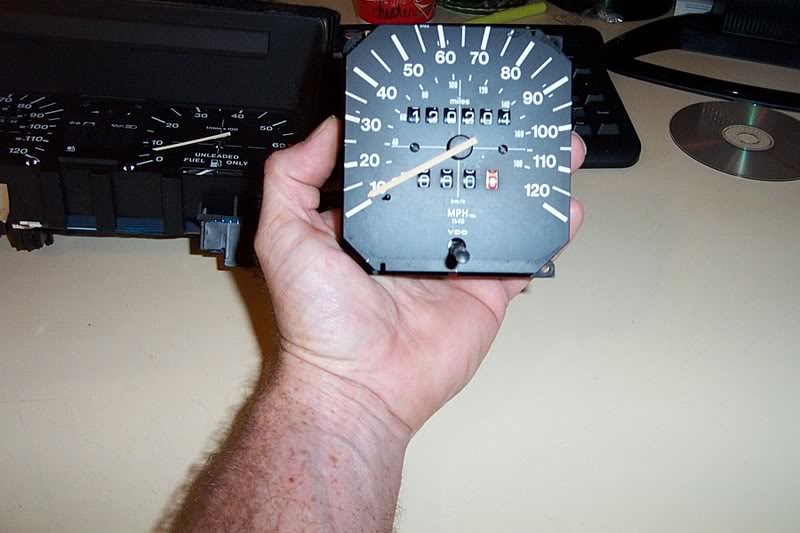
The Face of your Speedo will say VDO or MotoMeter.
Here is the US VDO face:
MotoMeter Face:
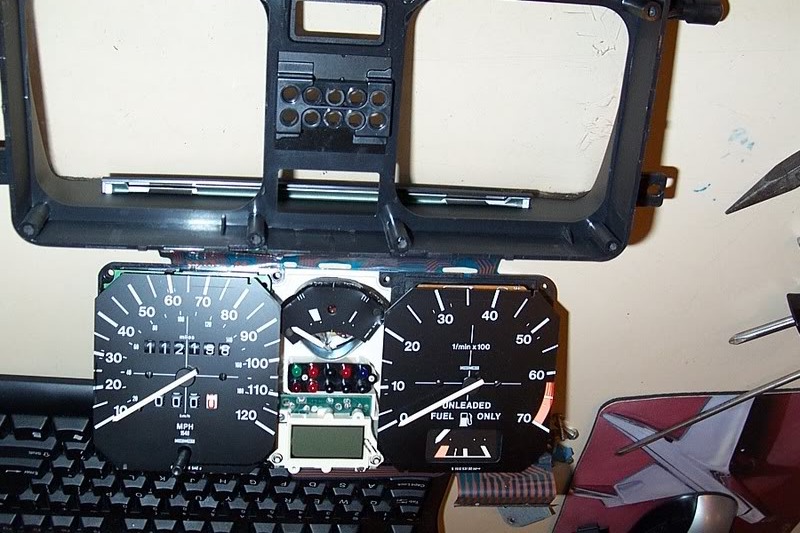
I personally would be leary if you have the VDO gauge set, and no Airbag. Although the Air Bag is just a couple of LED's and shouldn't be that much of a show stopper.
I have repaired Mylar Foil Breaks in the past by Carefully scraping the Mylar off the break. I then used Epoxy To Stabilize the tear, and Painted over the lines with the conductive paint. While it did last for a good long time on the car I did it on, Sold it after about 1 year, so I can't tell you the longevity of it. You may have to use a couple of passes of the pin for total coverage, and don't cross lines.
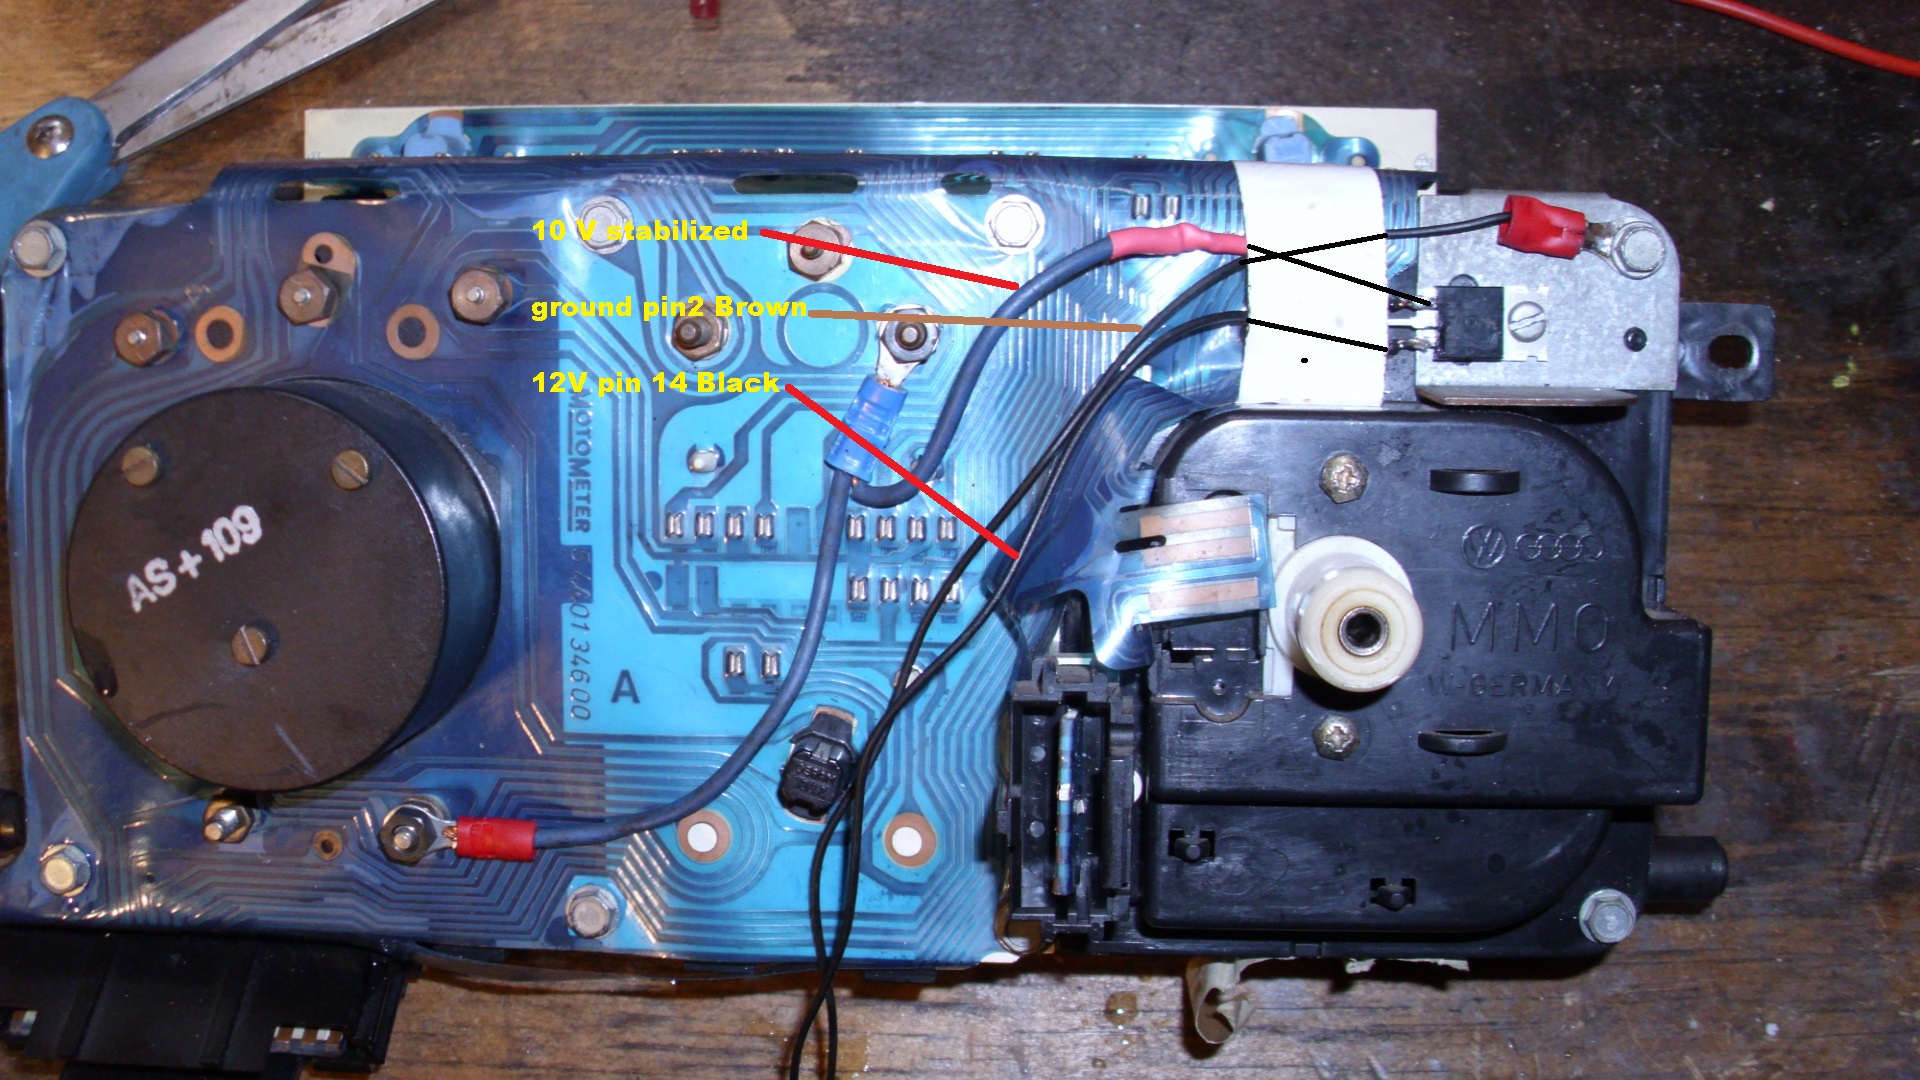
I have also Back Fed circuits on the cluster by attaching 12V and Ground to the 10V stabilizer, to the pins on the connector side. I have a how-to on that in the Archive Section.
Now in the parts stores over here they sell a "Permatex" Professional Defroster Repair Kit. In that kit comes "conductive paint" in a small vial and a brush, along with Conductive Glue. The Glue is to repair the Broken Tabs off the back of the Glass.
With the Conductive Pen's and or Conductive Paint, you may have to build up areas, and I would suggest that after the repair of the mylar that you use a good Cellophane Tape (3m) to again stabilize the repair to the existing mylar…
If you also look at the connector of your cluster (under the shroud) it is labeled as to what the pins do.
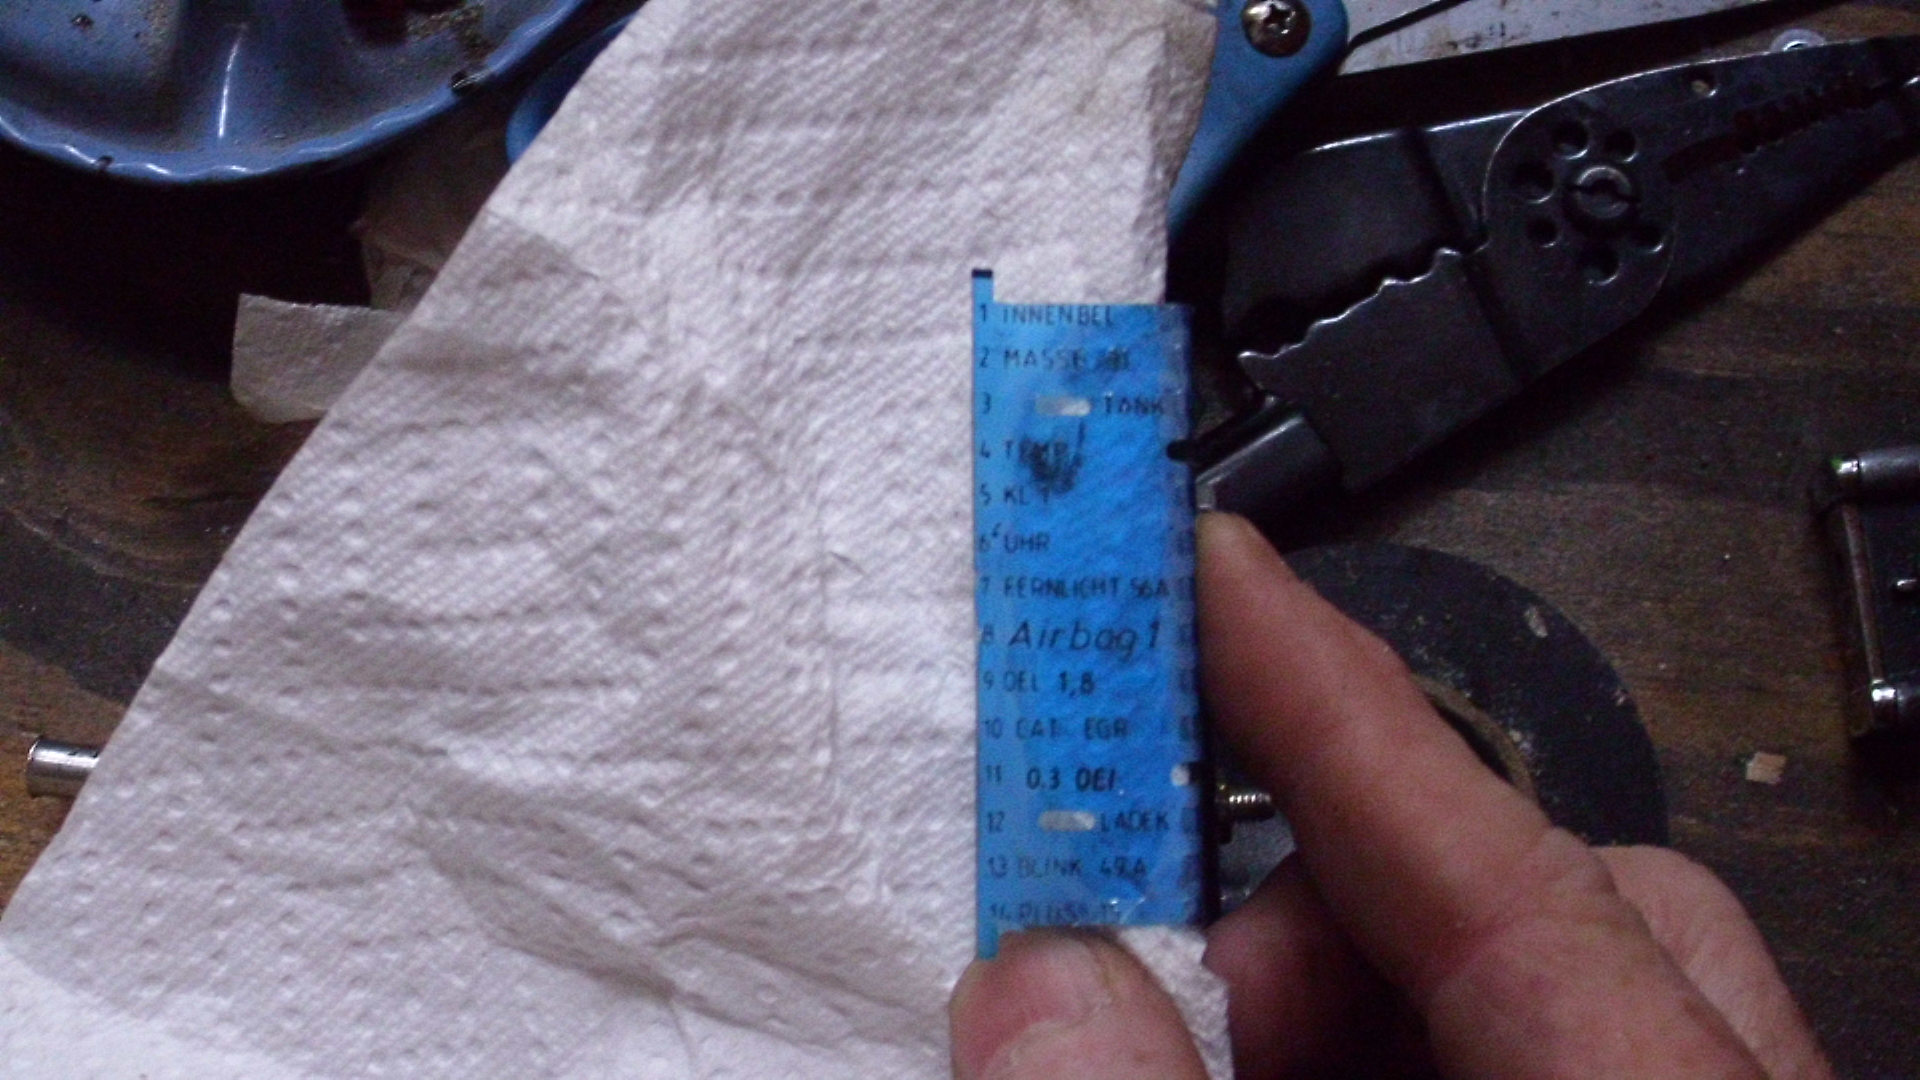
So if you go with the new versus the repair, you may have to move some pins around, which isn't that hard to do as the connectors are hinged on the sides to allow insertion or re-positioning of the pins.
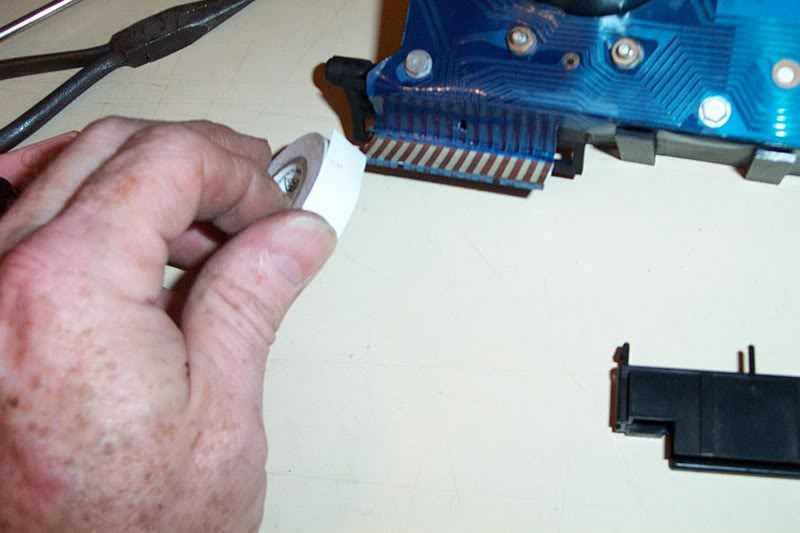
Taking the shroud off the connector and placing one strip of electrical tape on the pin side of the plastic tongue.
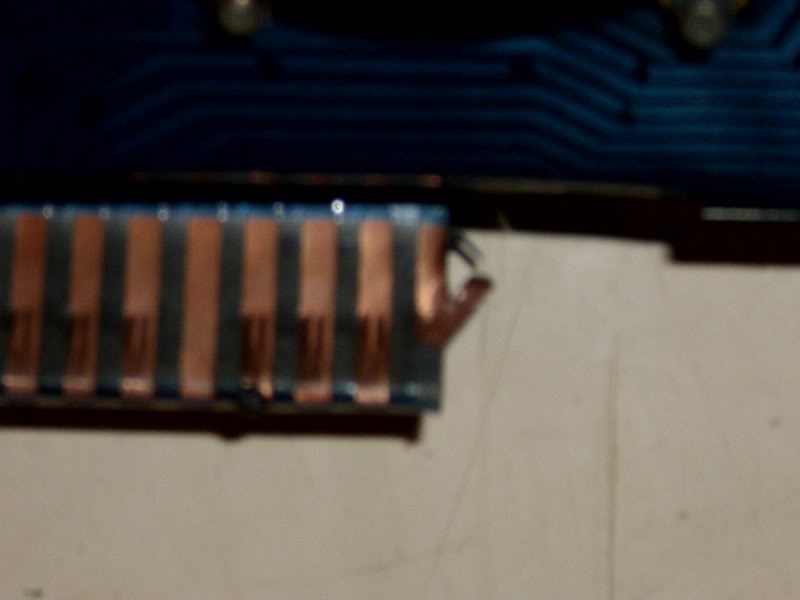
I have also had to use "Super Glue" to re-glue Foil that have come loose from the mylar.

I would see if they can take a photo of the Mylar Connector as to the pins so that you can compare theirs to yours. Prior to the install.


Now the issue with Mylar/copper foil runs is that it can be very brittle over the years and delaminate.
It is the lamination that gives the copper foil strength.
I clicked on the link, and I have to ask it says Cabriolet 1982-1992, with airbag and MotoMeter speedo.
Over here the Cabriolets didn't have airbags until 1990.
They also switched to MotoMeter speedos in 1990 as well. So if that really works, the it would surprise the hades out of me.
The Face of your Speedo will say VDO or MotoMeter.
Here is the US VDO face:

MotoMeter Face:

I personally would be leary if you have the VDO gauge set, and no Airbag. Although the Air Bag is just a couple of LED's and shouldn't be that much of a show stopper.
I have repaired Mylar Foil Breaks in the past by Carefully scraping the Mylar off the break. I then used Epoxy To Stabilize the tear, and Painted over the lines with the conductive paint. While it did last for a good long time on the car I did it on, Sold it after about 1 year, so I can't tell you the longevity of it. You may have to use a couple of passes of the pin for total coverage, and don't cross lines.
I have also Back Fed circuits on the cluster by attaching 12V and Ground to the 10V stabilizer, to the pins on the connector side. I have a how-to on that in the Archive Section.

Now in the parts stores over here they sell a "Permatex" Professional Defroster Repair Kit. In that kit comes "conductive paint" in a small vial and a brush, along with Conductive Glue. The Glue is to repair the Broken Tabs off the back of the Glass.
With the Conductive Pen's and or Conductive Paint, you may have to build up areas, and I would suggest that after the repair of the mylar that you use a good Cellophane Tape (3m) to again stabilize the repair to the existing mylar…
If you also look at the connector of your cluster (under the shroud) it is labeled as to what the pins do.

So if you go with the new versus the repair, you may have to move some pins around, which isn't that hard to do as the connectors are hinged on the sides to allow insertion or re-positioning of the pins.
Taking the shroud off the connector and placing one strip of electrical tape on the pin side of the plastic tongue.

I have also had to use "Super Glue" to re-glue Foil that have come loose from the mylar.


I would see if they can take a photo of the Mylar Connector as to the pins so that you can compare theirs to yours. Prior to the install.
What do Divorces, Great Coffee, and Car Electrics all have in common?
They all start with GOOD Grounds.
Where are my DIY Links?
They all start with GOOD Grounds.
Where are my DIY Links?
Posted
Settled In

wow, that was more than i expected, i have about 5 clocks there all vdo, i figured there wouldnt be masses of difference. i think the current set i have in the car are from a cab as the coloured strip for illumination is red. i didnt change it over because i new it would just come back out again.
Posted
Local Hero

Looked this up on a 93 and a 88 Cabriolet at
http://www.oemepc.com/
Just looked at the ETKA
155.919.059 with MFA
155.919.059A with shift light
155.919.059B Conductive foil (assume VDO)
155.919.059G Motometer/Airbag
http://www.oemepc.com/
Just looked at the ETKA
155.919.059 with MFA
155.919.059A with shift light
155.919.059B Conductive foil (assume VDO)
155.919.059G Motometer/Airbag
What do Divorces, Great Coffee, and Car Electrics all have in common?
They all start with GOOD Grounds.
Where are my DIY Links?
They all start with GOOD Grounds.
Where are my DIY Links?
Posted
Newbie

Just jumping in here guys, but was wondering can the white dash connector be opened to add a pin, as i was wondering could i add a glow plug indicator led to my existing petrol dash, as I am doing a diesel conversion.
My connector is a 14 pin with some empty slots.
Car is 82 1.5GL.

Thanks for any help
J.D
My connector is a 14 pin with some empty slots.
Car is 82 1.5GL.

Thanks for any help
J.D
Posted
Local Hero

Yours looks to be a older connector that to replace pins, you have to have a pin extractor.
It is a tool that has a tongue and a push rod that you place in the front to unlock the catch and then a pusher that will push the pin
out the back. I have had to on occasion take a paper clip and flatten it to use as a lock pick, then wiggle and pull the pin out the back.
For pins they used to sell them at tandy/radio shack over here in the States, and there where a couple of Electronics parts stores that sold them.
I have even seen them at a Computer Store that had a "Robot/Drone" section.
So all you need to do is to source the pins. Since you don't have the Pin crimper you would strip a bit of the wire and solder it to the pin, then
bend the crimps over a to clear the way to insert it.
What do Divorces, Great Coffee, and Car Electrics all have in common?
They all start with GOOD Grounds.
Where are my DIY Links?
They all start with GOOD Grounds.
Where are my DIY Links?
Posted
Newbie

Thank you Briano for your quick reply.
Just thought I could open the connector which would make it a lot easier.
JD.
Just thought I could open the connector which would make it a lot easier.
JD.
Posted
MOTY 2013

thats a later 14 pin plug, dead easy to swap pins. look closely at the back, find the clips, release those and it will hinge open. then the pins simply pull out  just be careful, dont pull on the plug otherwise you'll pull ALL the wires out
Hello my name is John and I'm a dub addict.
My wiring diagrams and other documents have moved here:
VAG Documents & Downloads
You'll need to sign into google/gmail for the link to work! (its free!)
My wiring diagrams and other documents have moved here:
VAG Documents & Downloads
You'll need to sign into google/gmail for the link to work! (its free!)
Posted
Newbie

Thanks Rubjonny for your reply.
I was hoping that was the case, as it looked like it was in two parts, but I did not want to force it.
J.D.
I was hoping that was the case, as it looked like it was in two parts, but I did not want to force it.
J.D.
0 guests and 0 members have just viewed this: None.


