


High Beam Warning Light not working but not the bulb!

Posted
#1642591
(In Topic #229657)

Settled In


I have sourced the correct LED, and replaced this in the cluster following the guide on this forum (including the orientation of the led). Having refitted the cluster today for a test it still doesn't work.
Trying to diagnose this, there is no power at the pin (blue and white wire) on the plug that attaches to the cluster. I have traced this back to the fuse box (pre CE1 ceramic fuse type), and removed and cleaned the plug.
All electrics otherwise work correctly, including both headlights on high and low beam, its only the warning light which is dead.
I have dismantled and checked the stalk, and tried a spare light switch.
One oddity is that with the ignition off, and the light switch set to headlights, the illumination for the light switch turns off, and if you pull and release the indicator stalk, the light switch illumination comes on and off, and the high beam warning light flashes for a moment as you release!
As this happens a relay can be heard clicking, this relay is the load reduction relay, i have tried a new spare and it made no difference.
I'm currently searching for my spare mk1 stalks, but short of that i'm stumped!
Posted

Local Hero

Power to the led comes from the blue white wire that is tied directly to S3 (f3) it goes from the stalk to the d22 pin on the fuse panel then over to the left head light high beam on the 7" bulb which is where it derives the power from.
When it is at rest, the headlight switch is by-passed and the stalks are not powered power is applied to the flash of the hi-beams by current from the main primary power line not switched (30) 56a on the stalk.
It then powers the head lights through 56b (or actualy connects the power source to the ground via the head lights. The load reduction relay is out of the circuit at this point…. only the switch is supplying power. The indicator in the Cluster is supplied power from the left 'HI' beam.
When you have the key in and in the run position the load reduction relay connects the 30 main line to the "X" or load reduction relay to power all accessories,,,this is why when you turn the car to start, the head lights go out as well as the blower and other things….
So when you turn on your headlights via the head light switch you dual power things a wee bit as the load reduction relay connects power to the switch at the X leg of the ignition switch.
I will link a X relay test to determine the load reduction circuit functioning.
The "X" Circuit from the Ignition Switch. | VW Vortex - Volkswagen Forum
I think you have a earthing issue with the head lights, so I would look for the ground wires on the bulbs and measure them to frame ground first…
I would possible run or splice new grounds to them…but I would insure the grounds are clean and shiny and 0 ohms to frame ground.
If you haven't replaced your primary grounds from the battery to frame and frame to engine/tranny now would be a good time to do it as it will eliminate spurious things from happening.
You can test basic ground issues by connecting a battery jumper pair as such…then test your hi's key out.
Connect a jumper from the main ground post on the battery to a good frame point (strut tower strut nut works good) then connect another jumper from the battery negative to the engine/tranny lifting eye.
See what happens.
with no key in a flash of the lights power is straight from the battery, and when the Lights power on, your cluster should light…. If it doesn't then you have a ground issue or a broken wire or bad fuse panel or fuse.
Adding an additional frame ground to pin 2 (brown) of your cluster insures that you have a good ground point at frame to the cluster with out running through the main ground wire…Only helps….
What do Divorces, Great Coffee, and Car Electrics all have in common?
They all start with GOOD Grounds.
Where are my DIY Links?
They all start with GOOD Grounds.
Where are my DIY Links?
Posted
Settled In
I have previously cleaned up the earths that i know of in the engine bay, and i made a replacement earth for the alternator to engine during the last lockdown, at the same time testing for resistance between the engine and battery. But of course the wiring loom will have a separate earth.
If the headlight earths were poor though would the headlights not be dim?
I have had a study of the wiring diagrams in the Haynes but to be honest i'm used to the later style wiring diagrams they used, i need to spend a bit of time learning them!
Posted
Local Hero
Relaying the headlights to the battery often saves the hi-current on the headlight switch, and other switches as you are using a relay to source power from the battery straight to the lamps and you get 13.75V to your lamps and not the wimpy 11.5. It was one of the better things I ever did to improve the headlights….
So don't discount the Grounds of the head lights or that your cable appears to be good from the frame to the battery…ONLY VW is one step above early Lucas systems that I grew up with, so much so that my Dad called Lucas, the Lord of Darkness (2 fuses for the entire electrical system of the car, and the wires were there to protect the fuses by releasing all the smoke in them at the most inoperative times… So since my Dad called Lucas Lord of Darkness Bosch is his Prince.
1958 Austin Healey Sprite MK1
1960 Austin Healey Sprite MK1
1967 MG Midget MK1
1972 Rover 3500S .
I learned alot about things on those…..Then
1980 Westy VW Diesel, and well they did fix a few things but alas the German Bosch vs American's were at war with each other…. Speed forward, 1989, 1990, 1992, 1993 Cabriolet taught me more than the 45 years of the computer industry did.
What do Divorces, Great Coffee, and Car Electrics all have in common?
They all start with GOOD Grounds.
Where are my DIY Links?
They all start with GOOD Grounds.
Where are my DIY Links?
Posted
Settled In
 Now its got a modern blade fuse box in it, it seems to do as its told!
My Golf comparatively has been brilliant electrically, i removed everything that had been changed/added when i was recommissioning it, and removed the fuse box to clean all connections, this is the first wiring problem I've had in the 5 years its been on the road.
I spent an hour going through it this evening before the light had gone looking for earths/connections, the brown earth wires from the lights disappear into the loom sheaving by the battery. The loom will then earth either to the multi earth point under the dash or to the battery negative?
I need to clean up the earth strap from the gearbox to body this weekend, i didn't realise VW hid it under the airbox to make it awkward!
I've been studying the Haynes aswell tonight, the positive side of K1 on the diagrams (the high beam warning light) seems to come straight from the fuse S3, after the led there is then a resister before it grounds? I did wonder if this resistor could have failed but that wouldn't explain the lack of power on the blue/white wire.
Posted
Local Hero
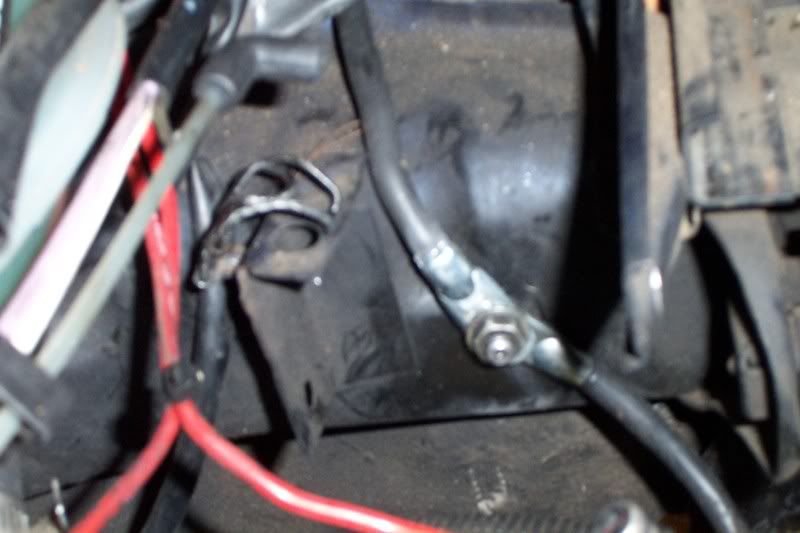
Here is what it looks like.
https://www.werk34.de/de/massekabel-minuspol-an-batterie-550-mm-971.171.235-f.html
I used 2 off the shelf cables from the battery with 2 extra leads so I could Crimp all the others to 2 places to rid them off the clamp, I did Hammer the flat ends flat to make better contact then used a large fender washer between them for maximum contact , followed by another large flat washer, lock washer and the nut and that was after I cleaned the Stud on the frame, and use a tad of Dielectric grease. After I affixed them together, I used battery protective Spray all over that ground connection point the washers and the nut to prevent corrosion from re-occurring….


I can't remember the exact lengths as I had the double-stud engine/tranny mounting bolt…..So you can measure yours as you take it off, and get two of equal lengths to the frame mount.
Prior to the protective paint.
What do Divorces, Great Coffee, and Car Electrics all have in common?
They all start with GOOD Grounds.
Where are my DIY Links?
They all start with GOOD Grounds.
Where are my DIY Links?
Posted
Settled In
I also added in temporary earths for the bulbs which made no difference.
I went back to the dashboard and worked my way through with the 12v tester and multimeter, i was now getting 10v at the high beam warning light wire but no light! So i added in a temporary cluster earth which made no difference.
From this i narrowed it down to the clocks, i followed the tracks around the circuit board to find the relavent resister, so narrowed it down to this and i've ordered a assorted box of resisters.
To be thorough though i turned the led around and gave it a test, it sodding works!
 I followed the guide on here for fitting it, and triple checked the orientation so i'm not sure whats happened. But the dash is back together and all working.
Just a shame the heater matrix showed that its sprung a leak whilst i had it warming on the drive!

Posted
Local Hero
What do Divorces, Great Coffee, and Car Electrics all have in common?
They all start with GOOD Grounds.
Where are my DIY Links?
They all start with GOOD Grounds.
Where are my DIY Links?
Posted
Local Hero
MatsOldCars said
To be thorough though i turned the led around and gave it a test, it sodding works!
You had it in backwards na na na na na na…..

What do Divorces, Great Coffee, and Car Electrics all have in common?
They all start with GOOD Grounds.
Where are my DIY Links?
They all start with GOOD Grounds.
Where are my DIY Links?
0 guests and 0 members have just viewed this: None.