83 mars red engineless driver full resto
Posted
#1456906
(In Topic #192645)
Settled In


20vt 14 months in
Picked up this little beaut oct last year, looked pretty clean but there were a few rusty surprises lurking as per usual.
My first mk1, my first car project and seeing as it was engineless i decided to follow the crowds and go 20vt with it. Mainly due to the fact its been done by so many and makes advice plentyful!
Been working on her 14 months now and almost ready for engine start but its been a relatively steep learning curve…
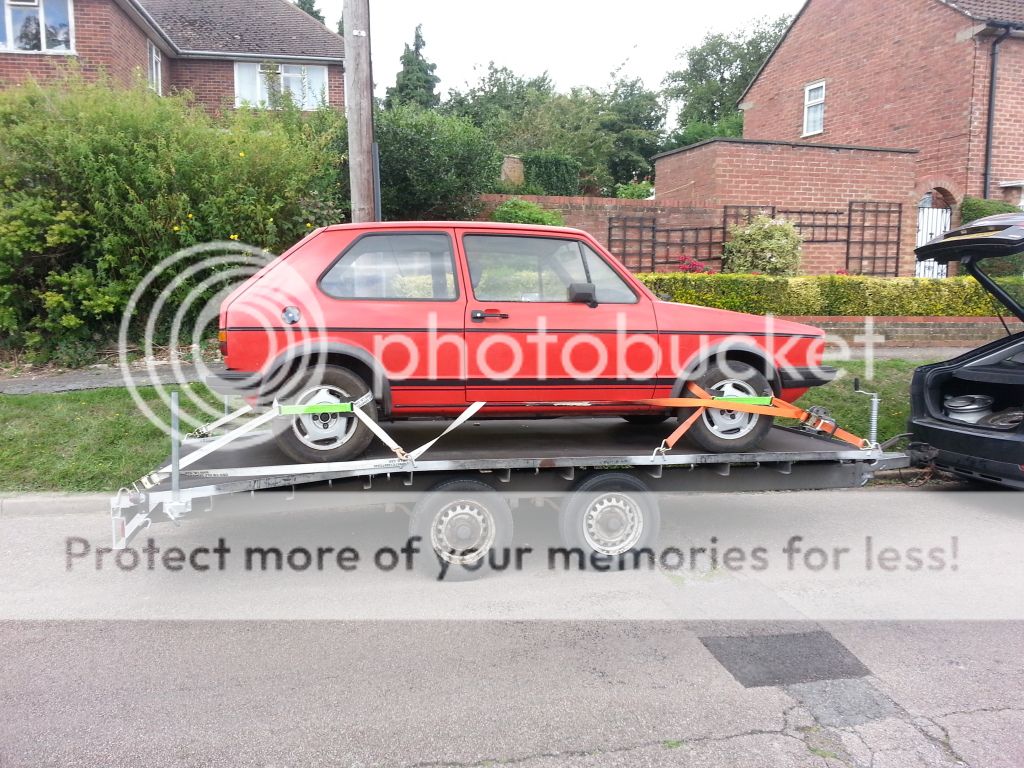
Picked her up…
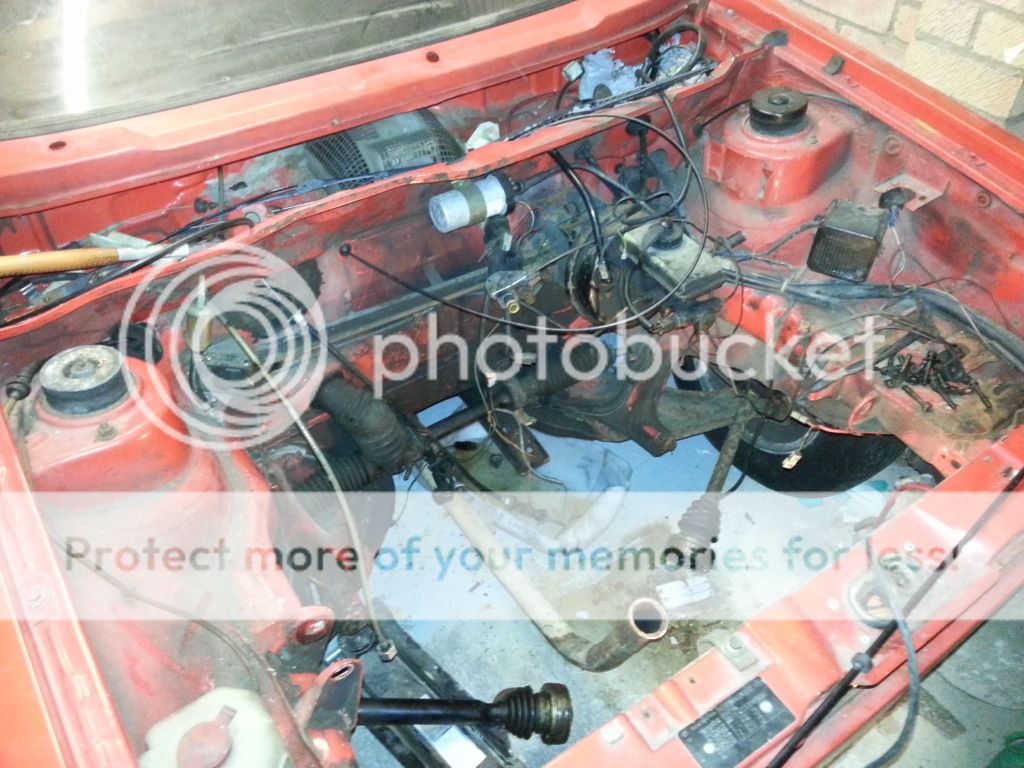
Empty bay
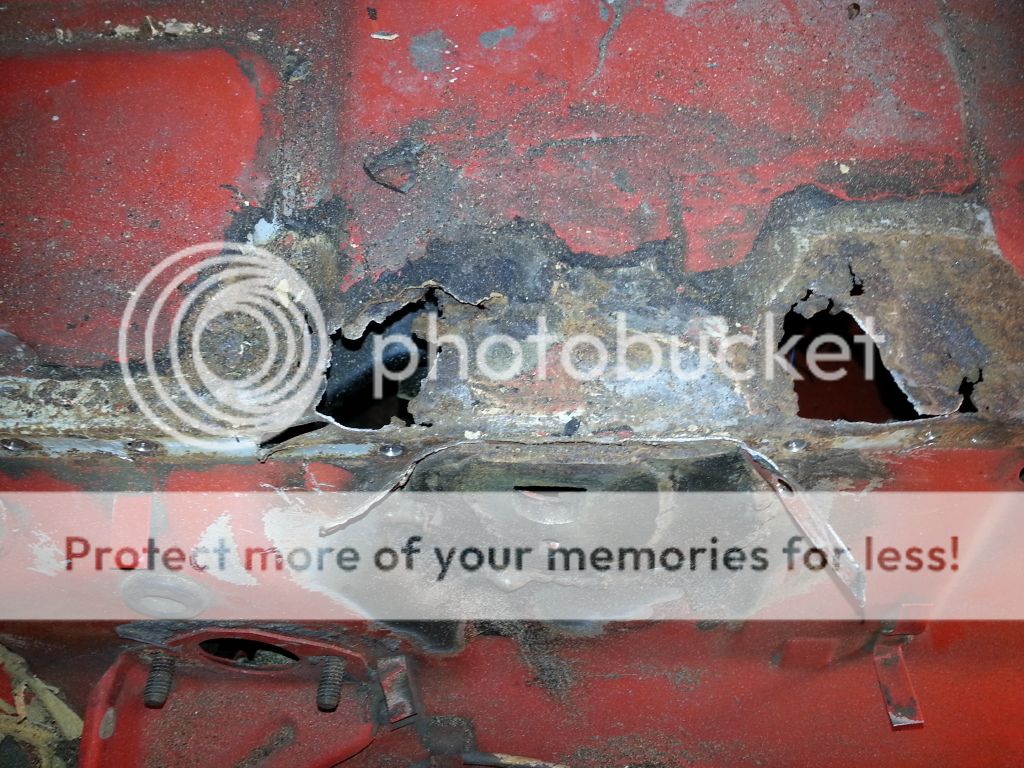
Fair sized hole once i dug into the filler and sealant
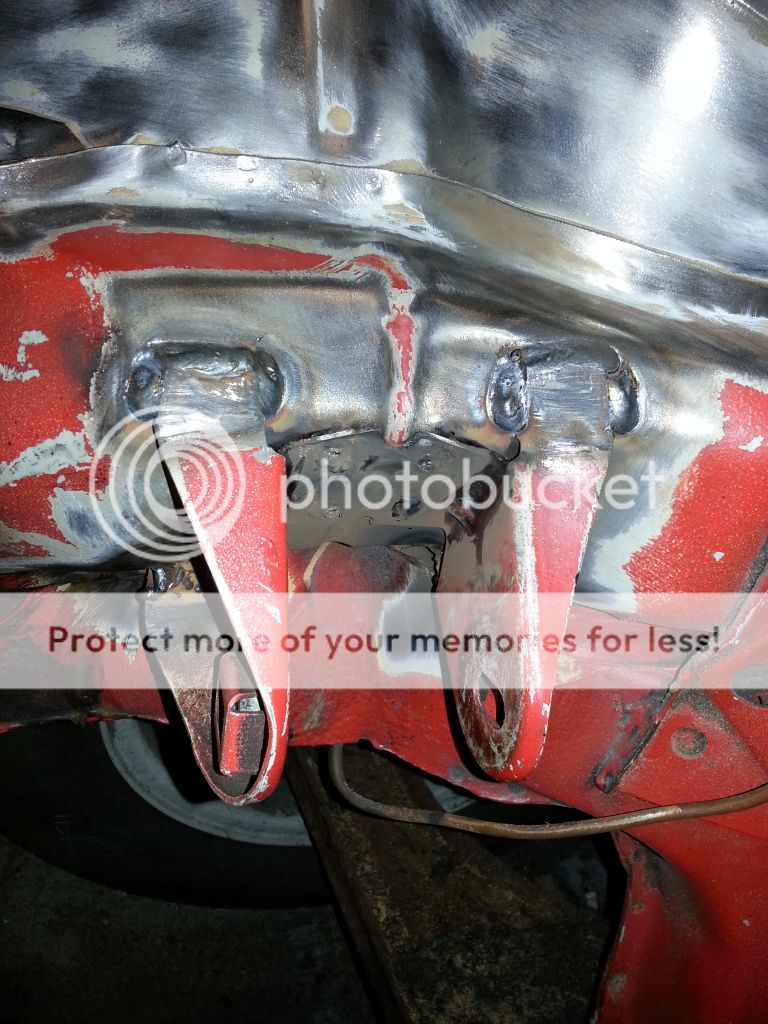
Due to corrosion i had to remove the scuttle to repair this. Bit of fab work, my first attempt at welding…ever. just join the dots so i was told!
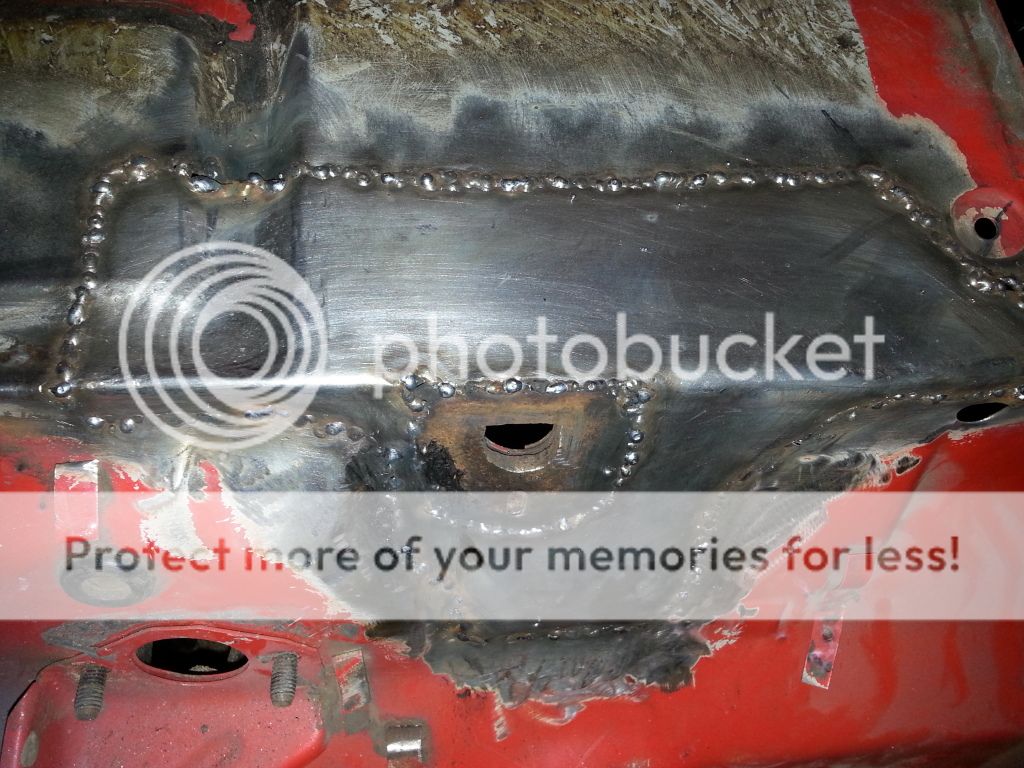
Then i found out to there was a difference between a small bolck and a big block lol this bit was welded by a good friend seeing as how important it is!
Posted
Settled In


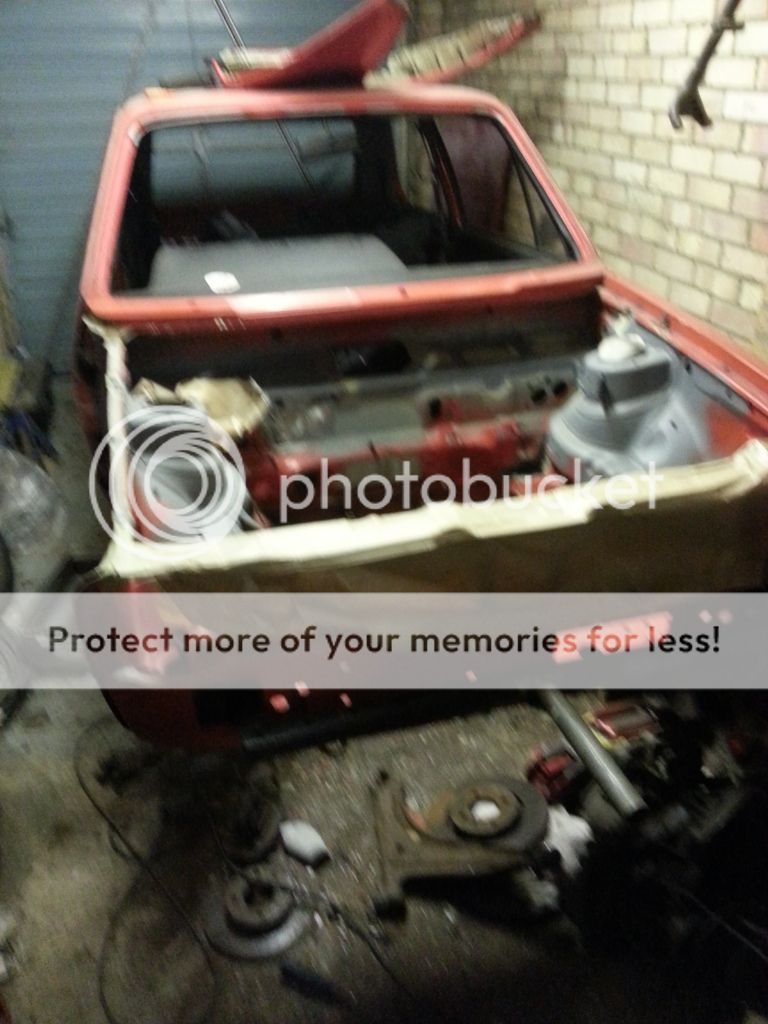
With most of the engine bay prepped for a dust over with a rattlecan, i moved on to the underside
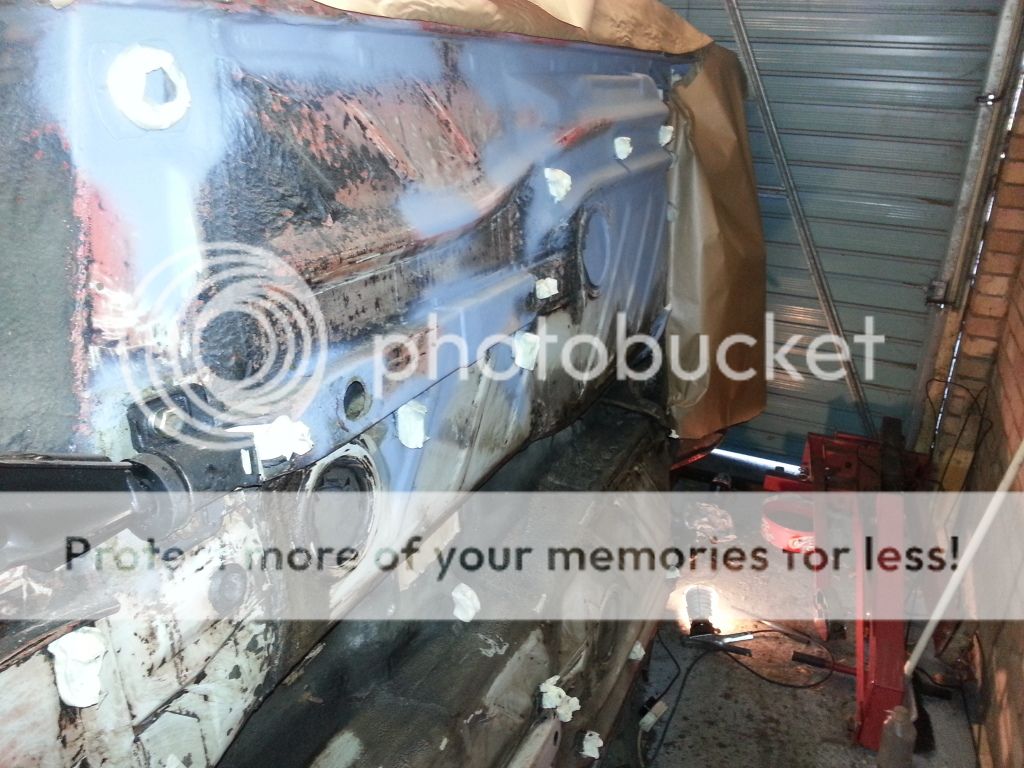
Spent a month scraping underseal and treating the various areas of surface rust. The car had been off the road in a garage for the last 10 years, and thanks to an oil leak on the engine, almost the whole of the underside has a nice covering of corrosion preventative compound keeping it safe from rot
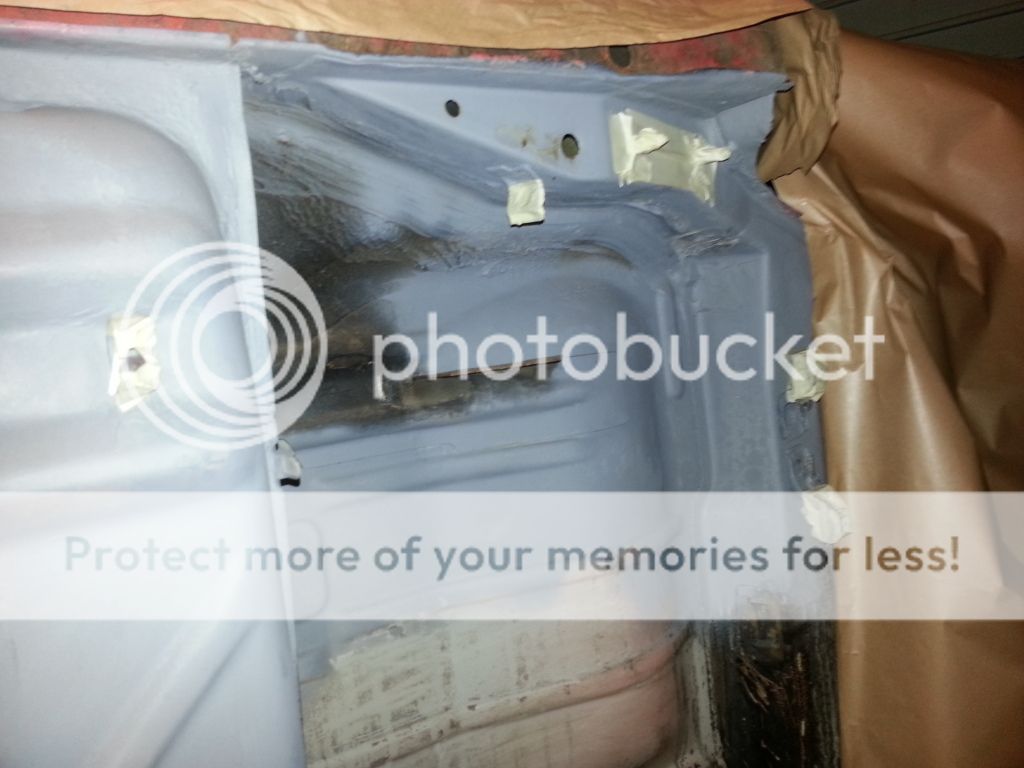
2 new inner rear arches, keeping as much original material as possible
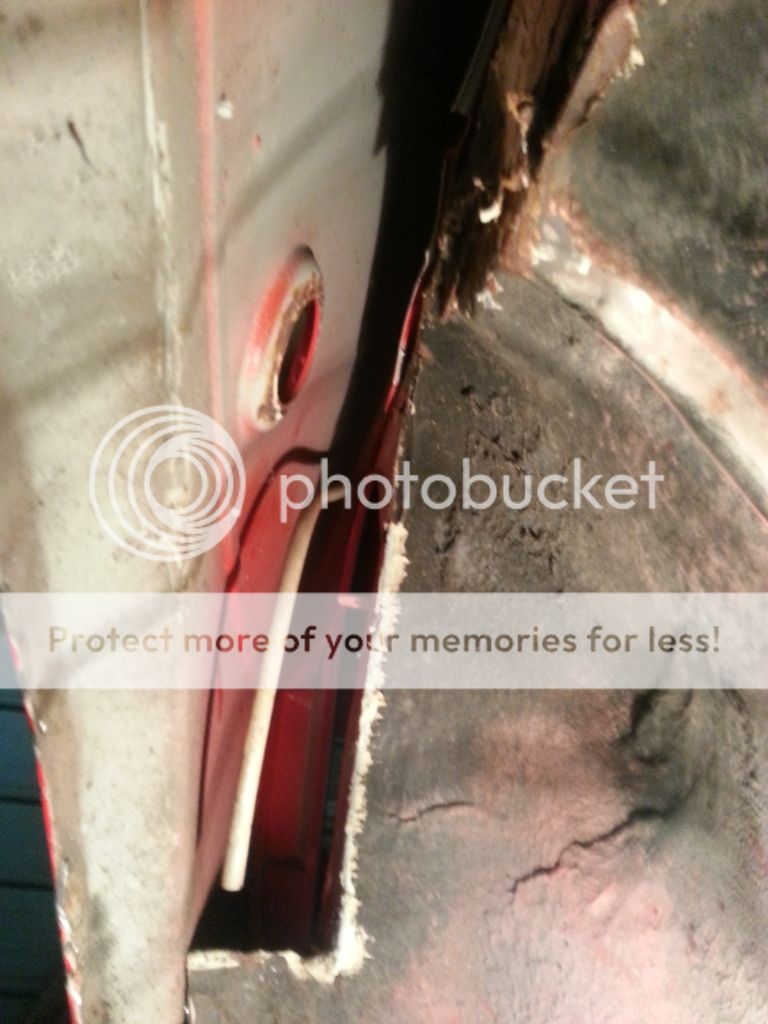
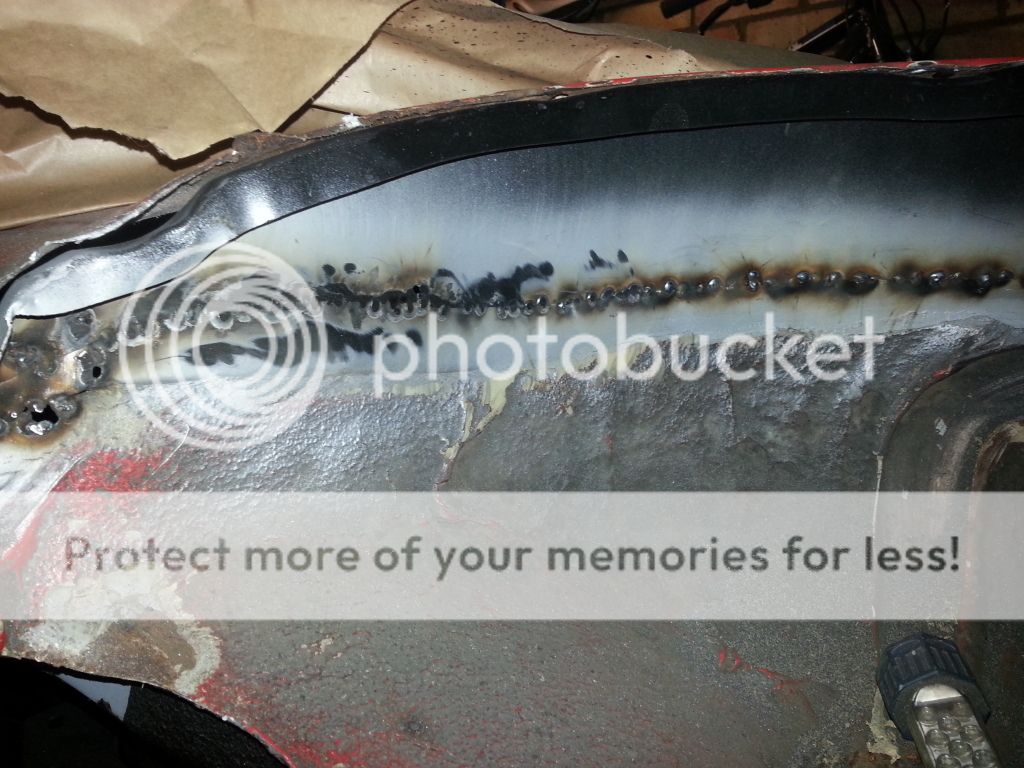
Posted
Settled In


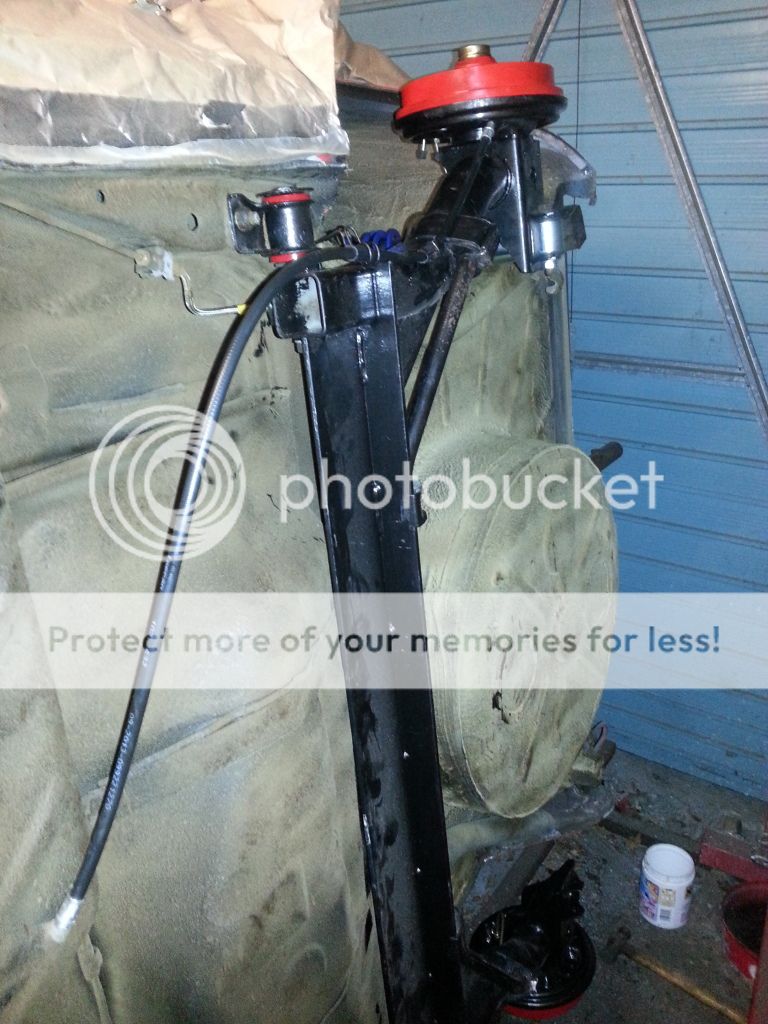
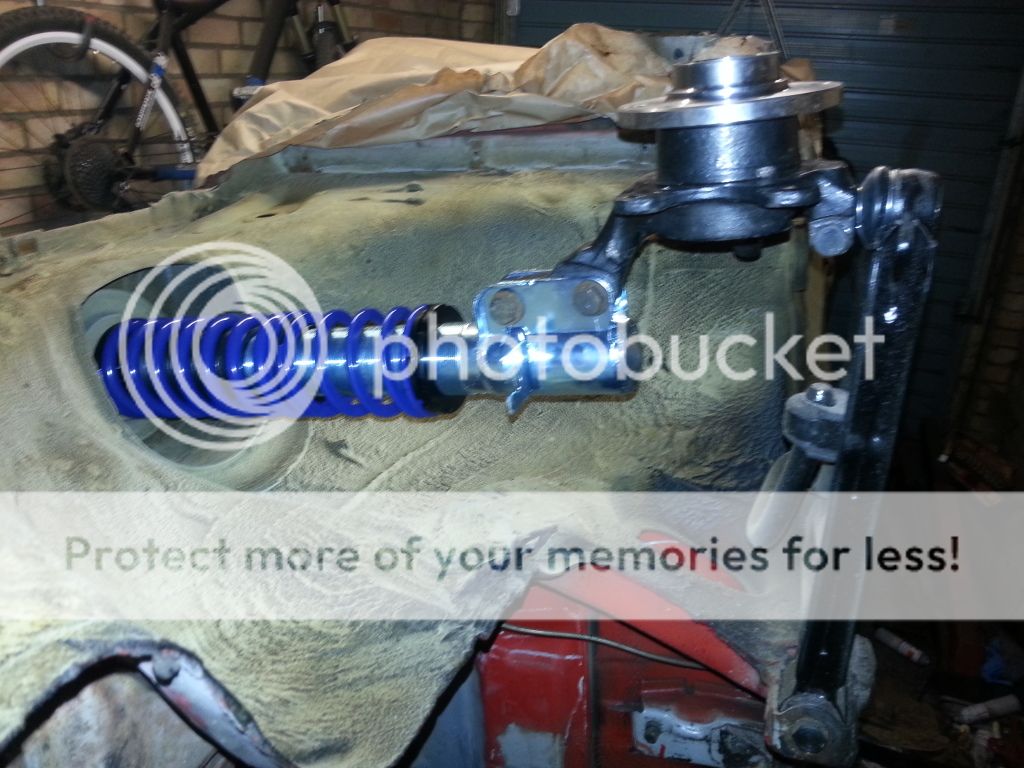
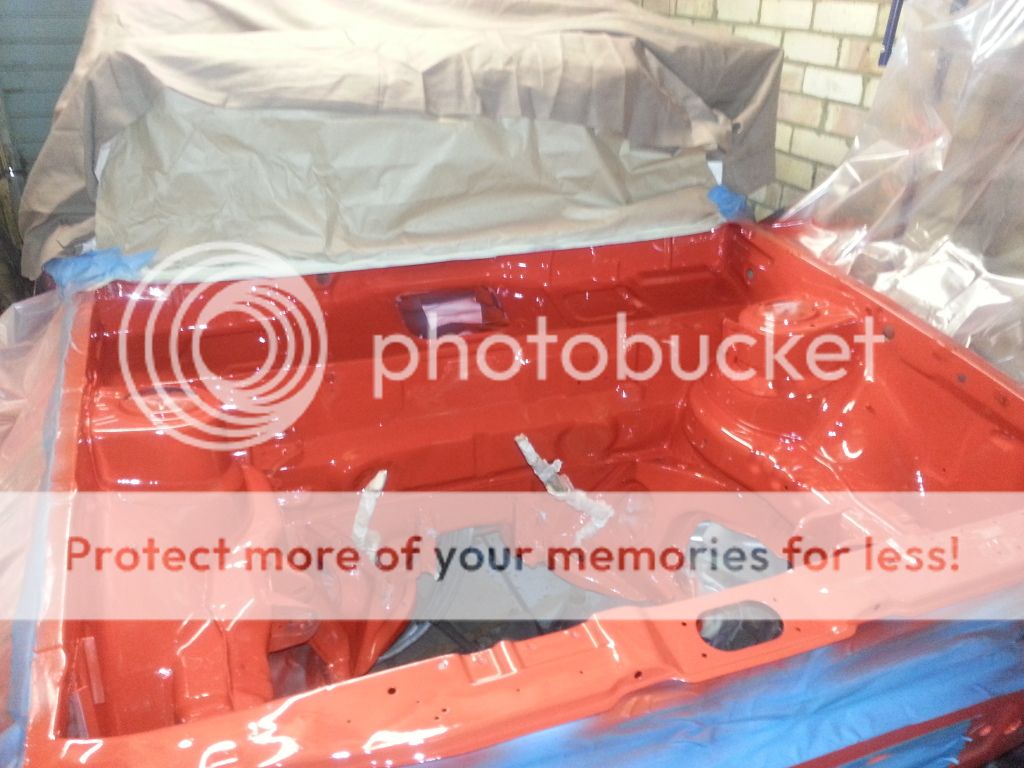
I turned her the right way up and welded up a few bulkhead holes i no longer required. Didnt want to go full smooth.

but from a bit of a tidy up with a rattlecan blow in, a few hours scimming filler, highbuilding and sanding…
Posted
Moderator


Andy.
Posted
Settled In


Spent hours looking through peoples build threads, gives me motivation and inspiration when mines not going so good, thought id repay the favour!
Both rear arches done, progressing with the welding from dots to small runs to keep the heat and distortion to a minimum
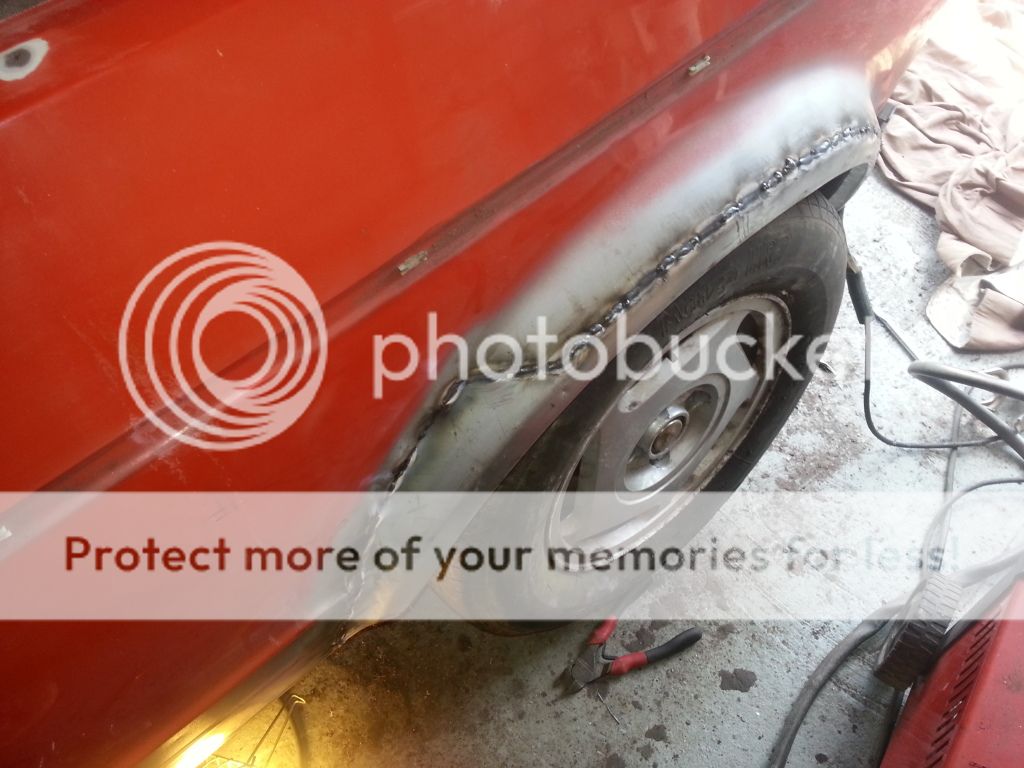
For reference, the above was one of my mistakes, for anyone replacing rear arches, dont pick the swage line of the arch to cut and weld to, makes it extremely difficult to skim smooth before painting!
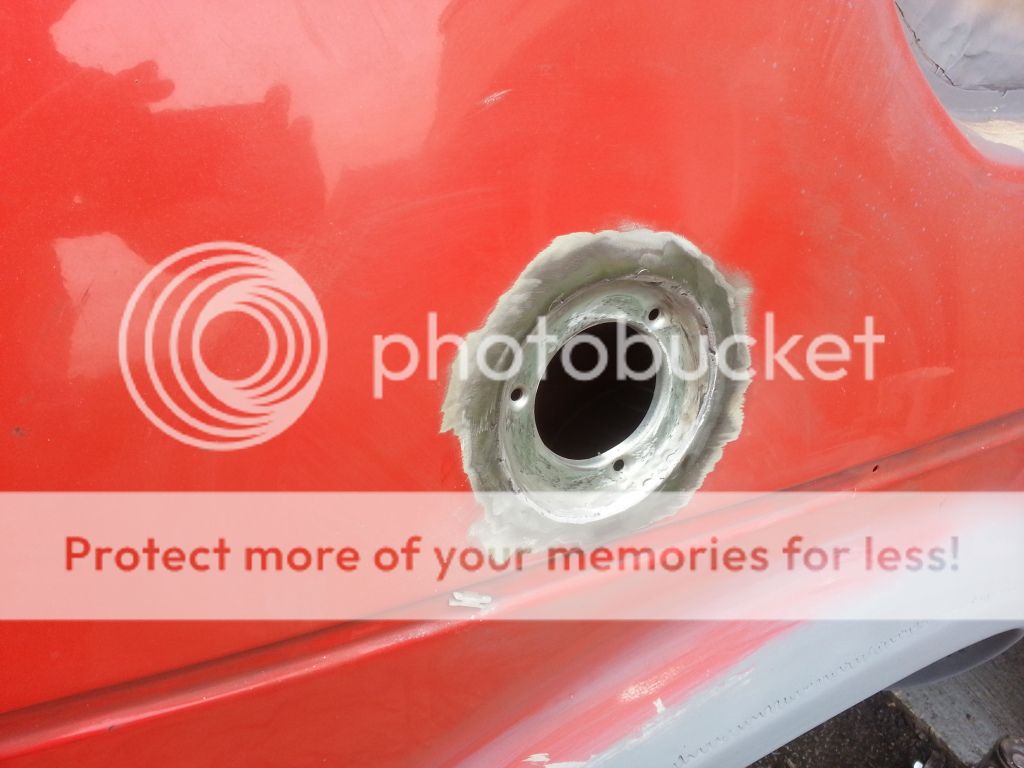
Fuel filler
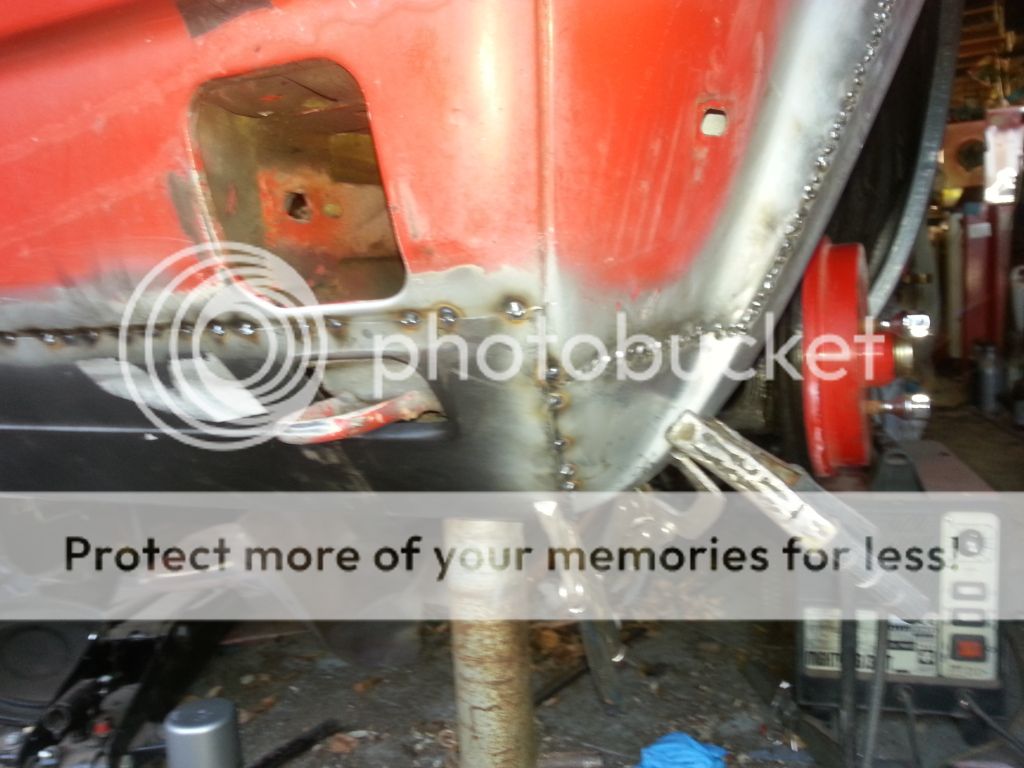
rear valance tacked prior to seaming
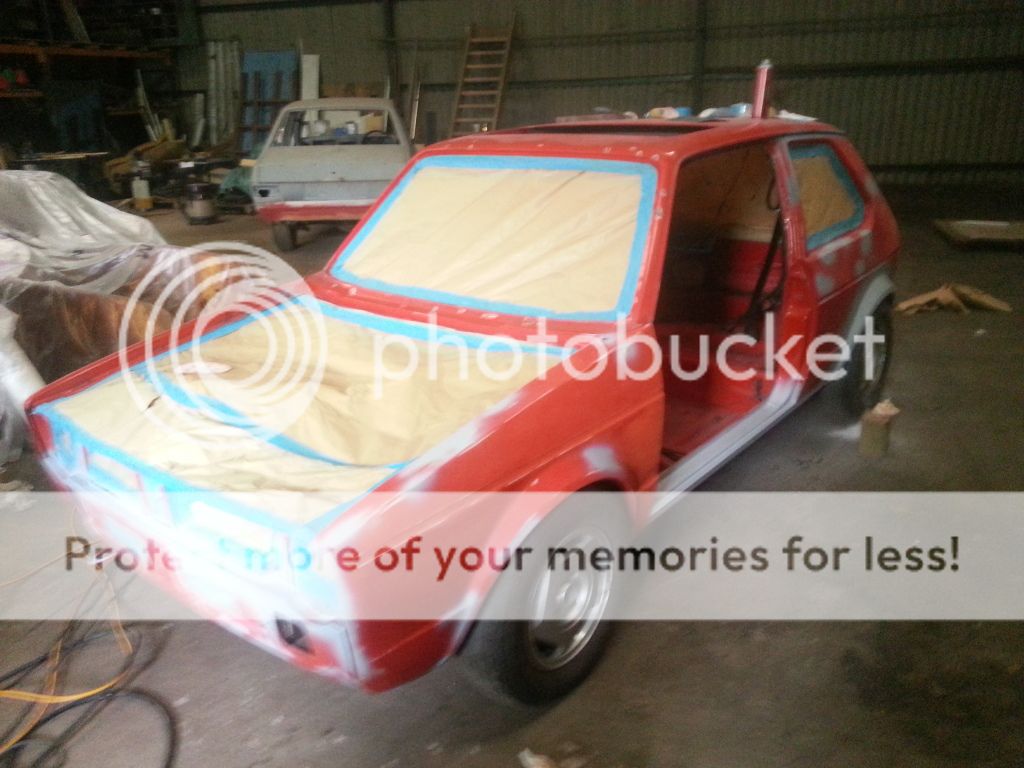
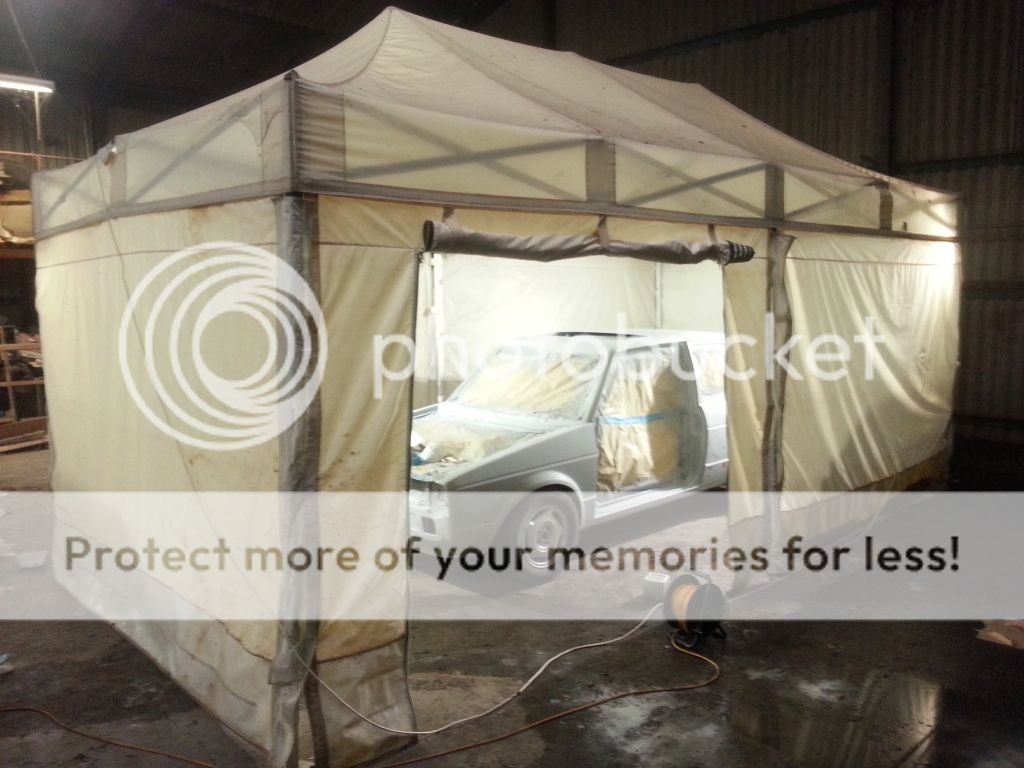
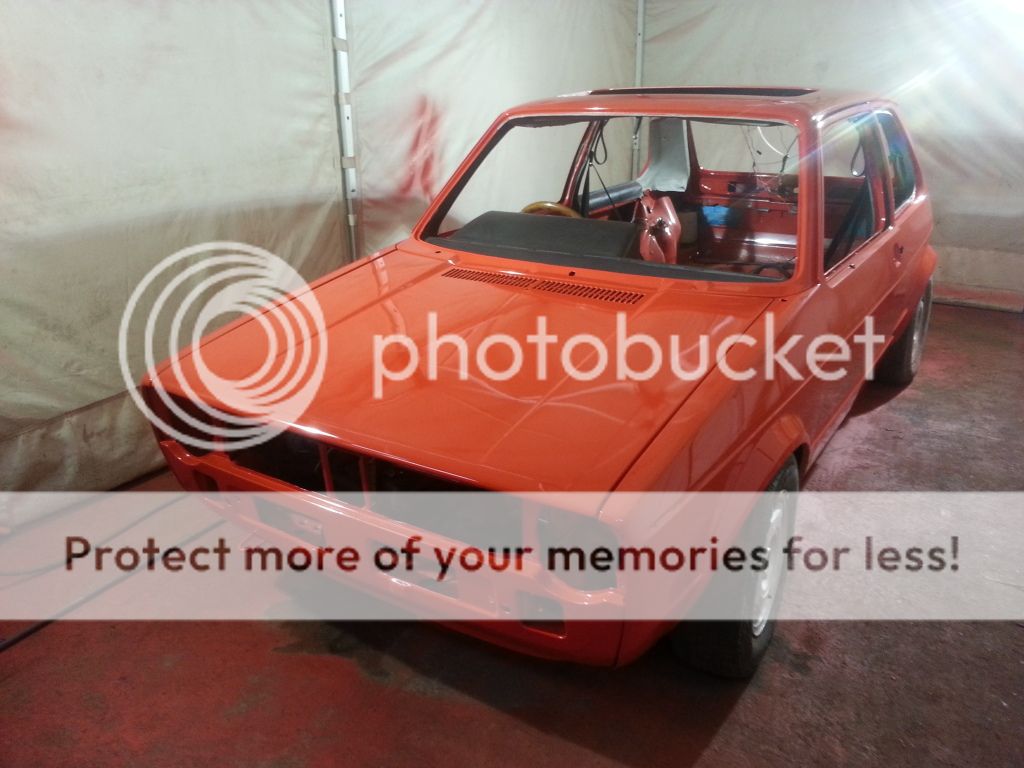
off to prep for paint, an epic solid 2 weeks working late of treating minor rust patches, etching, skim filling, panel prepping, high building, block sanding, re-high building, DA sanding, topcoating 3 coats….
Posted
Moderator


Posted
Settled In


All showing now
Posted
Moderator


Posted
Settled In


Youve got some serious skills dude!
Posted
Local Hero


Looking forward to your updates
Andy
LINCOLNSHIRE REGION - https://www.facebook.com/groups/467122313360002/
1983 MK1 Golf GTI Campaign Model - Under (looooong) resto!
1962 Rover P4 80
2002 BMW 745i
2008 BMW Z4 2.5Si
LINCOLNSHIRE REGION - https://www.facebook.com/groups/467122313360002/
1983 MK1 Golf GTI Campaign Model - Under (looooong) resto!
1962 Rover P4 80
2002 BMW 745i
2008 BMW Z4 2.5Si
Posted
Settled In


Really happy with the finish of the paint, especially for a DIY job. Not perfect for sure but im very pleased and i still have the final g10 compound and polish to do.
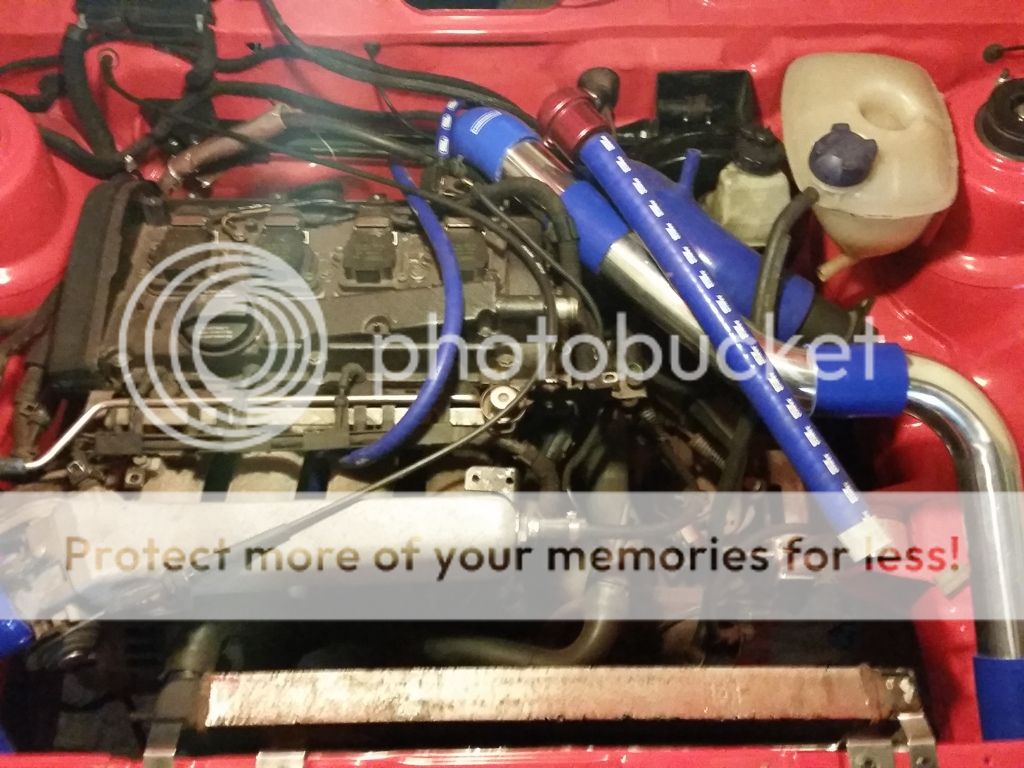
Looks very different in the light! Engine and gearbox in, solid G60 flywheel and sachs clutch. CDA gearbox with an 02J shift tower and selector, Epytec mounts, ebay special intercooler for now
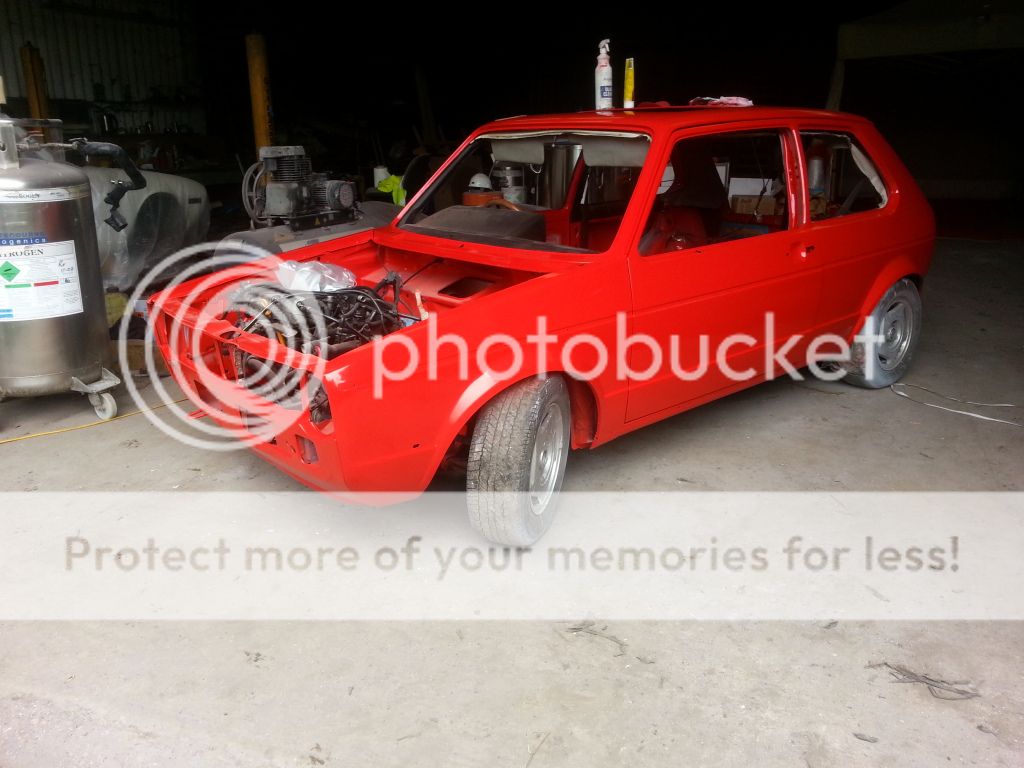
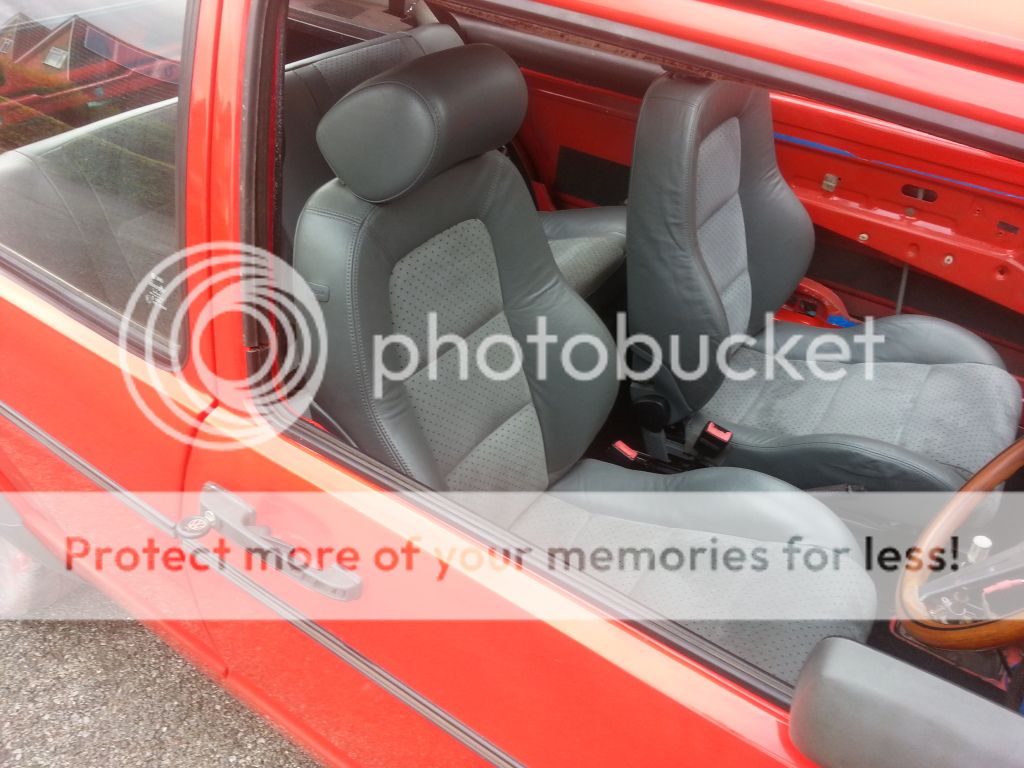
Audi TT front seats, retrimmed rear bench with the remaining alcantara and grey leather, not to everyones taste but i like it
Posted
Old Timer

matt
Posted
Settled In


Hats off to people who paint cars for a living, there is a serious amount of work that you just dont see!
Posted
Settled In


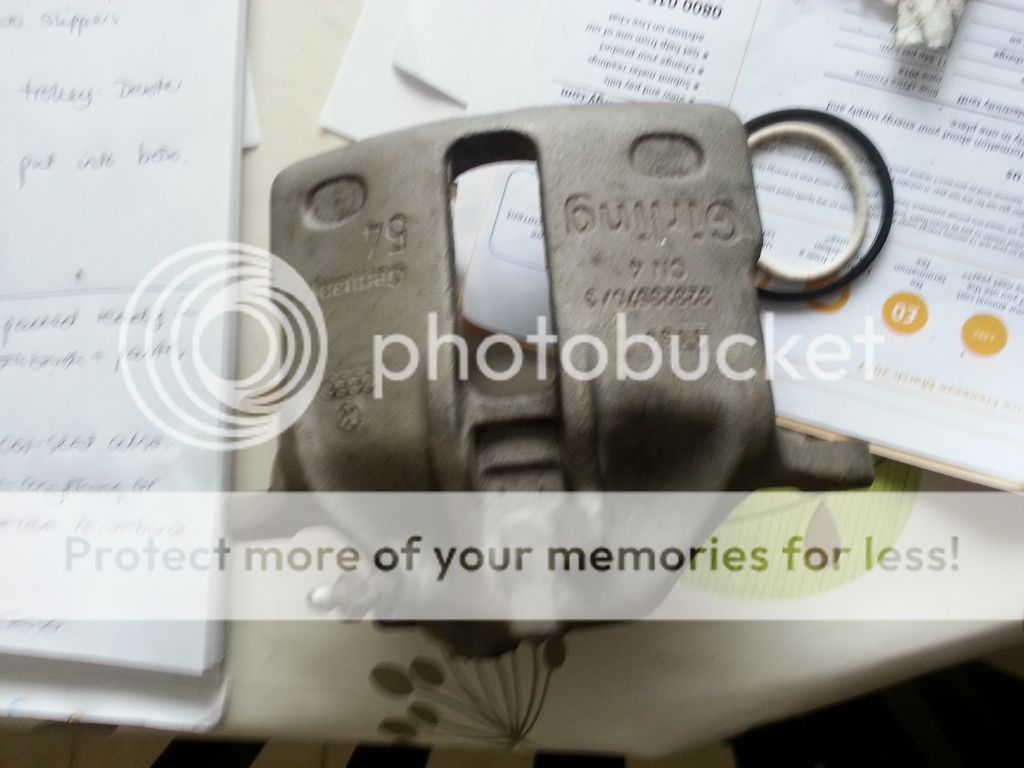
Dont tell the wife…
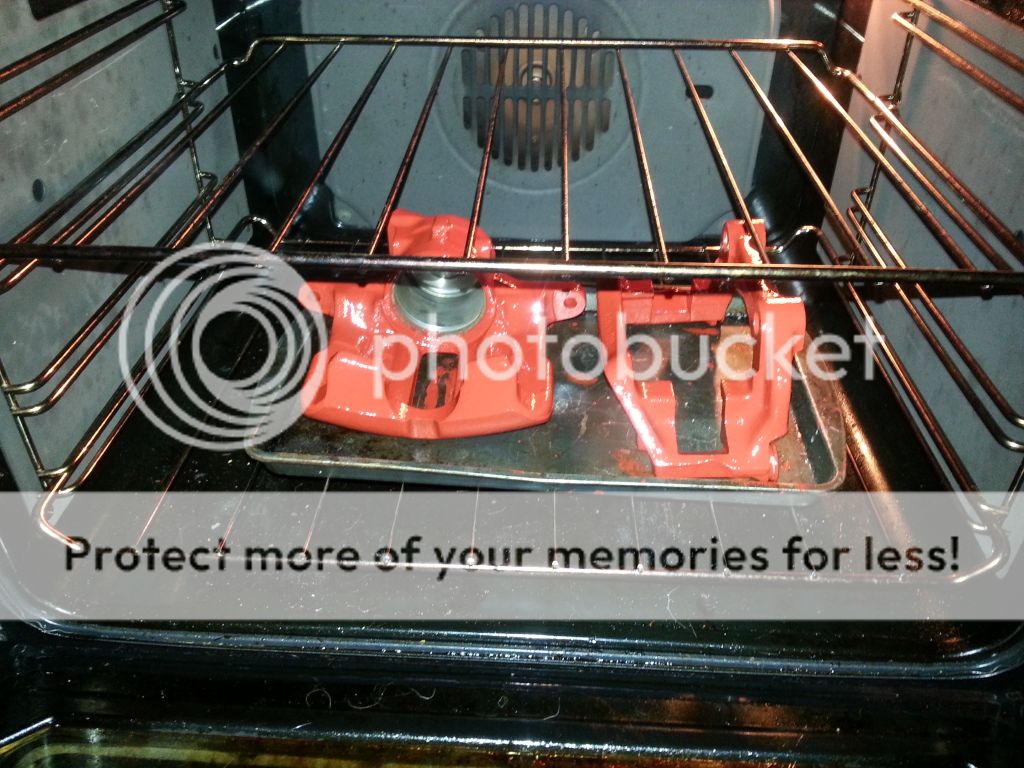
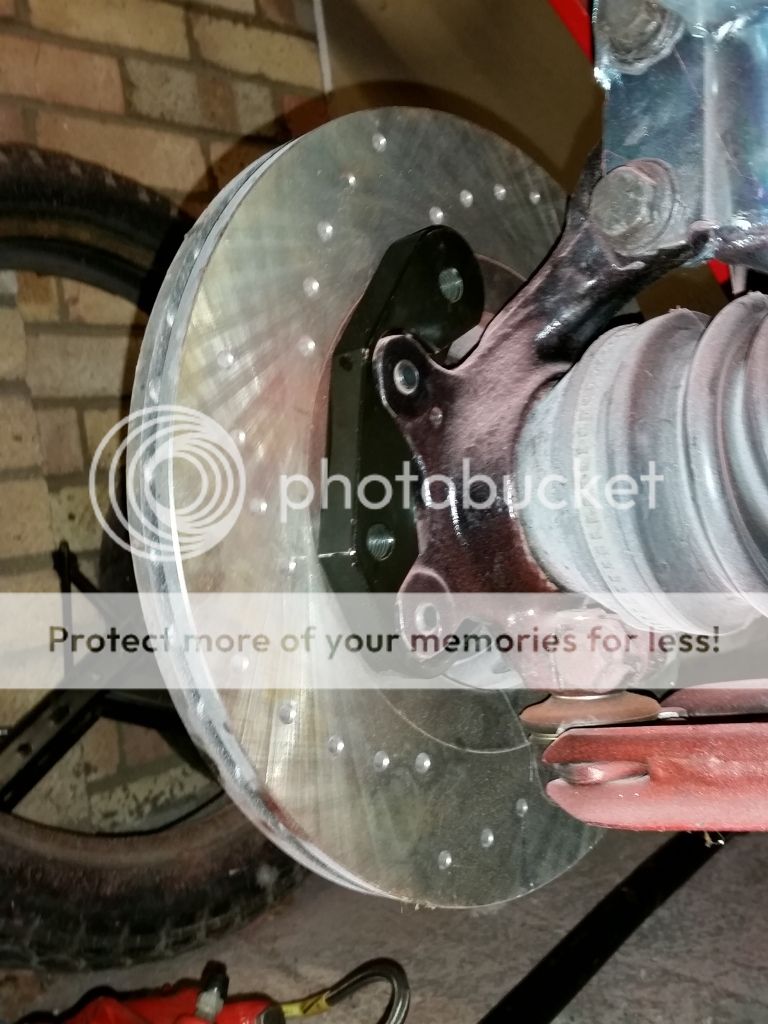
Epytec 280 adapters with german made 280 vented discs ( the overspray will be sorted soon enough, but its a driving car, not a show car
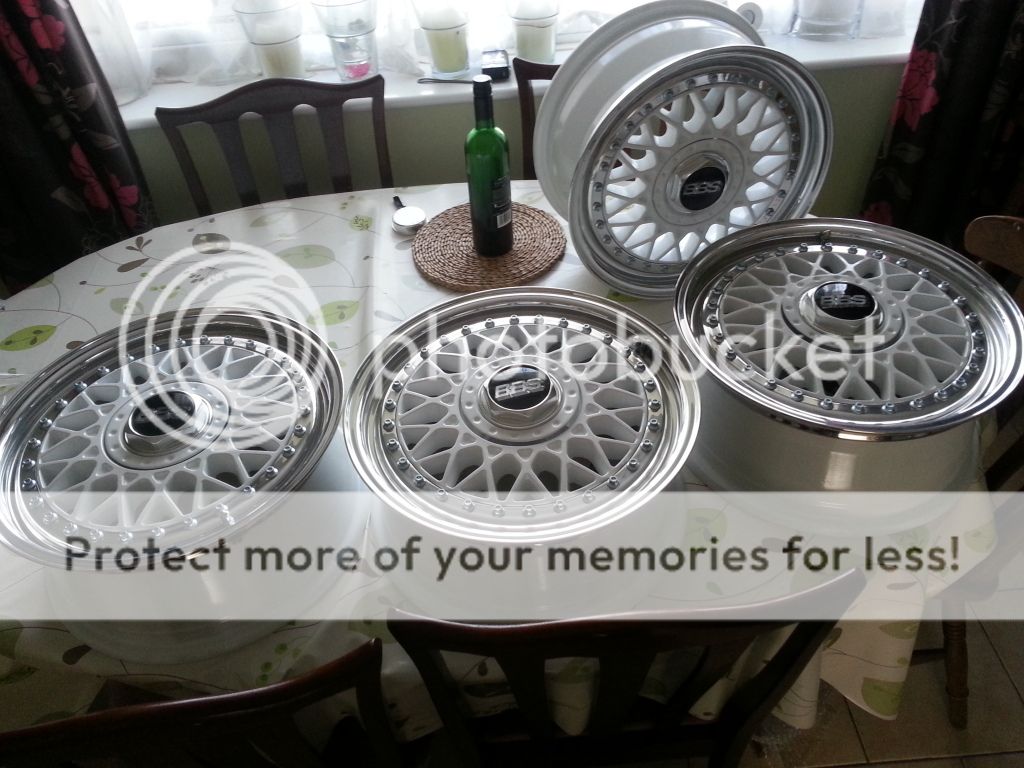
Wheels and wine!!
Posted
Moderator


Those wheel look fantastic as well!!
Posted
Settled In


Onto downpipe, would love a ready made bolt on jobby, but since the start of the build the money pot has shallowed so needs must…
Who needs a welder? Aluminium bodge tape works a treat lol trial fitting angles and bends. Laser cut at work 12mm stanless K03 flange made as couldnt find a 316 grade stainless ready made one. 3 inch pipework down to the bottom bend.
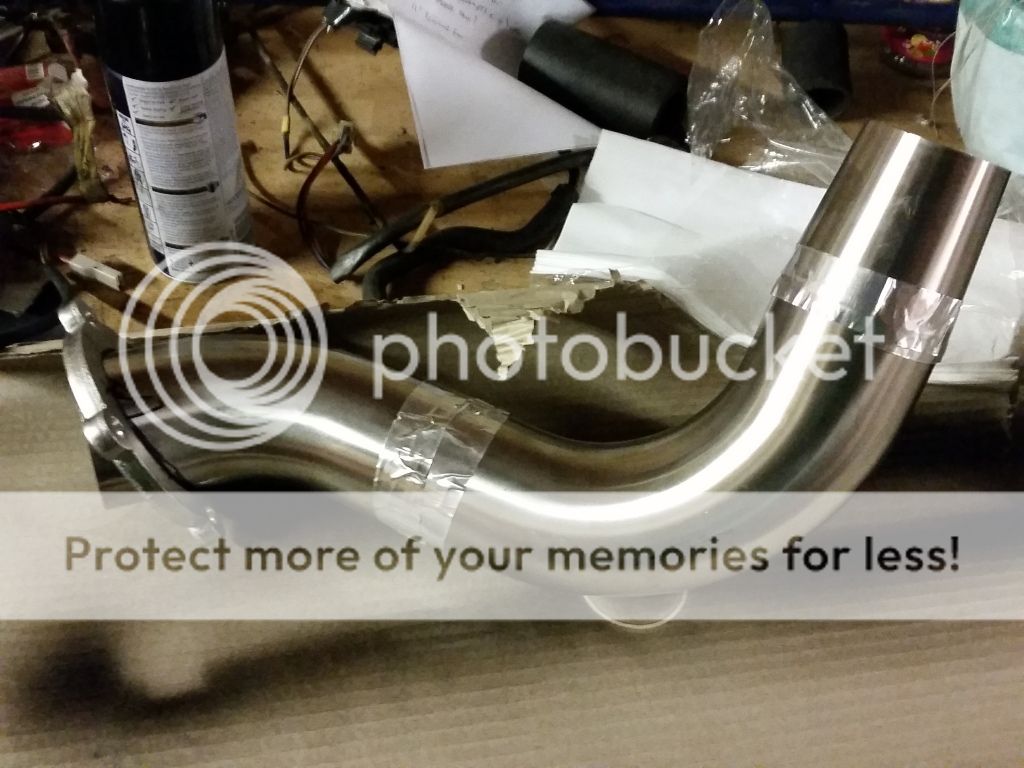
A lot of filing due to the angle it exits, didnt want to add too many cut in bits as its the hottest point.
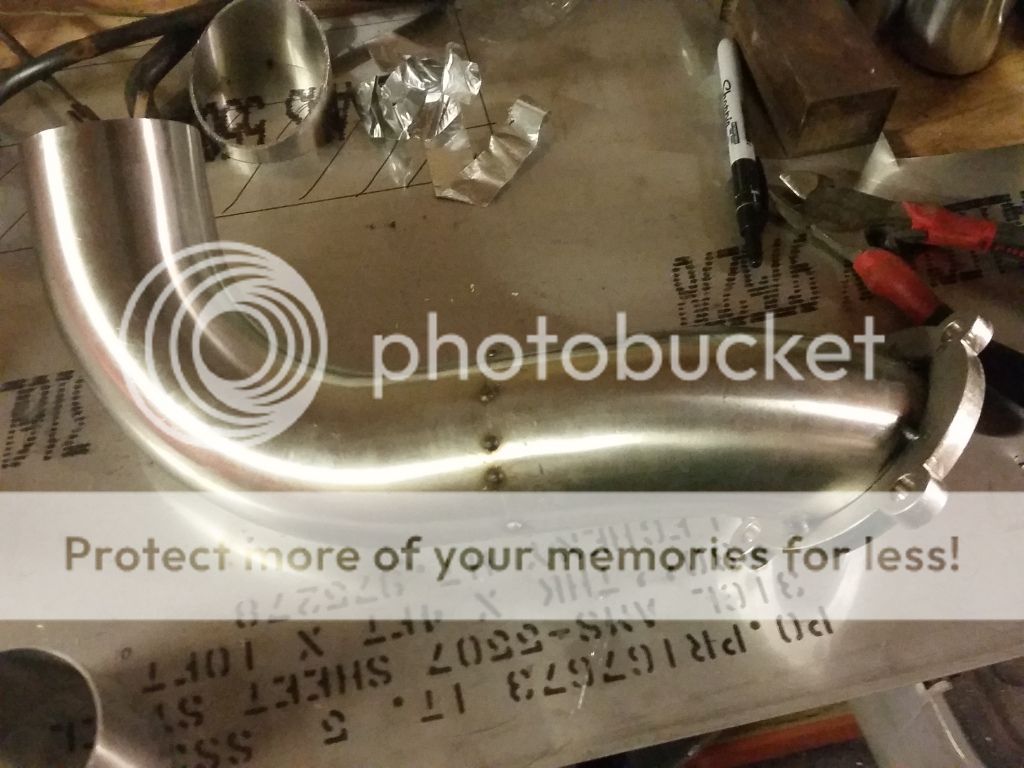
tacking and trialling next, very close but going to heat blanket the boot
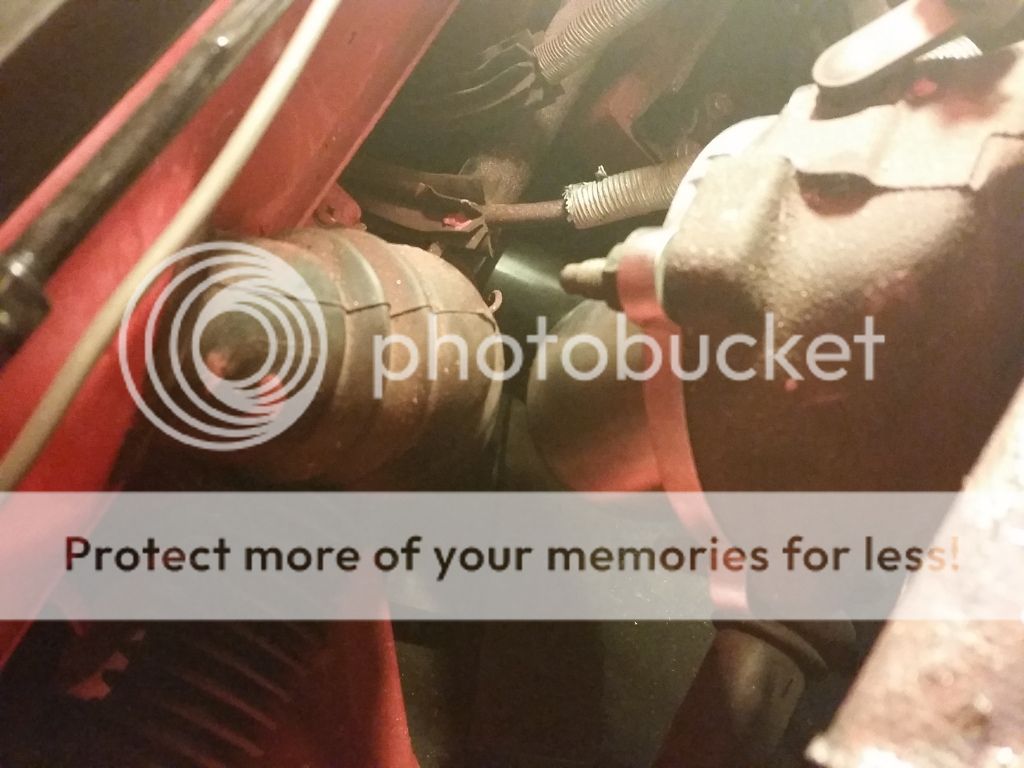
finally tacked and ready for tigging! Over to a mates for that soon!
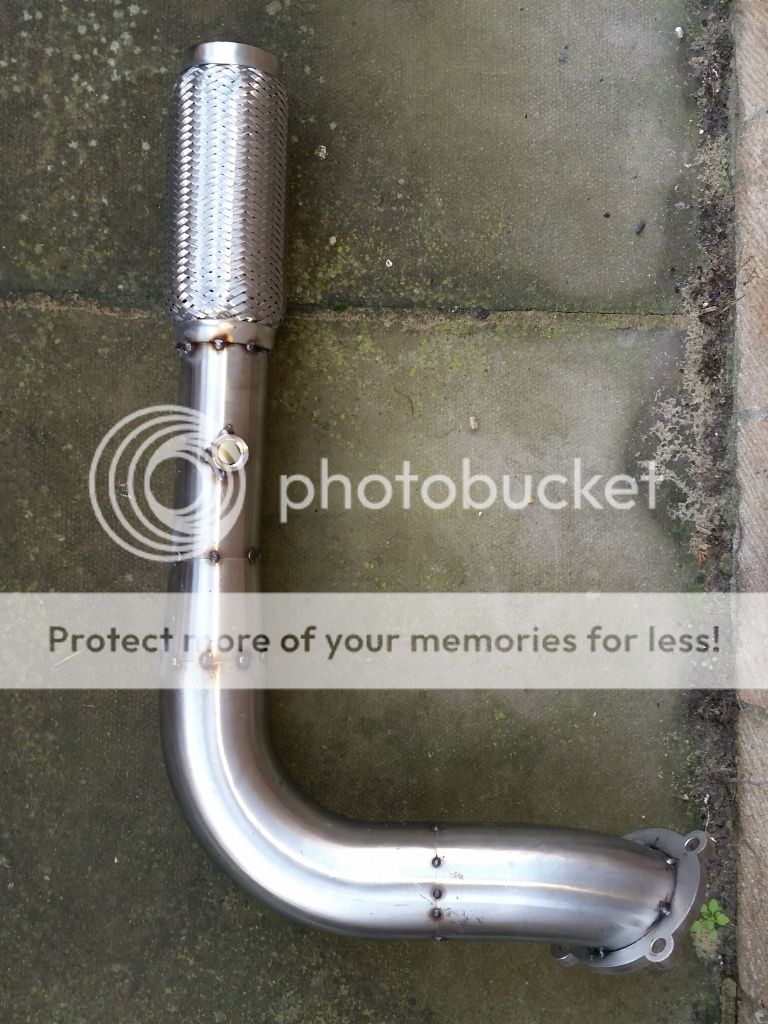
Posted
Moderator


You can use that aluminium tape on the steering boot as well, as an extra precaution.
Posted
Settled In


Got bits of an aircraft APU exhaust blanket im going to mod eventually. Ali tape and heat mat will do for the time being though
Posted
Old Timer

Matt
Posted
Settled In


Mocked up a boost pipe, again just to get her running
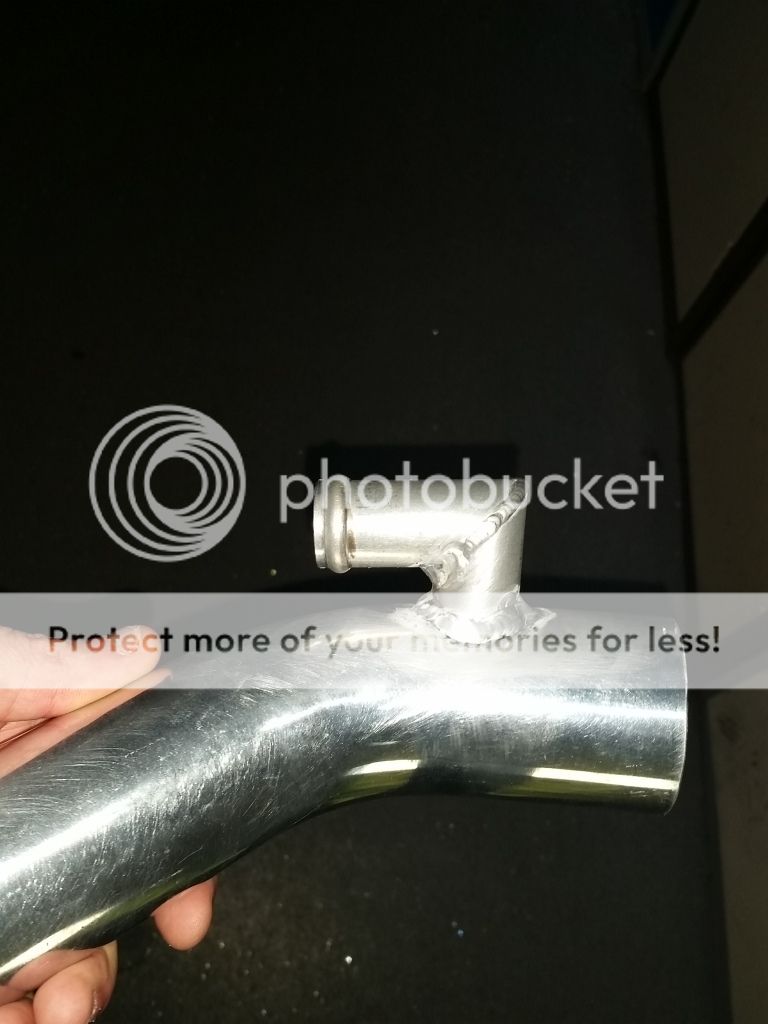
Temp fitted the downpipe now its back from welding
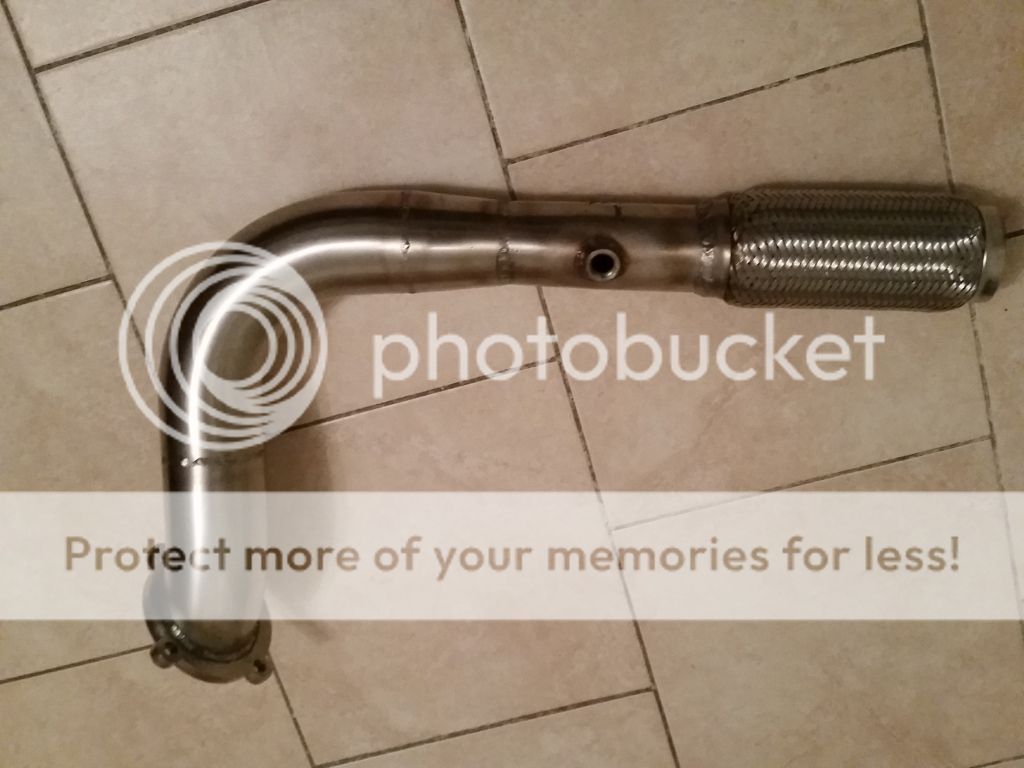
Connected the battery, no smoke or fire yet! But the wiper motor was getting very hot and starting to smell, guessing somethings ceased on the mech. Had me panicing that something was starting to go up in smoke!
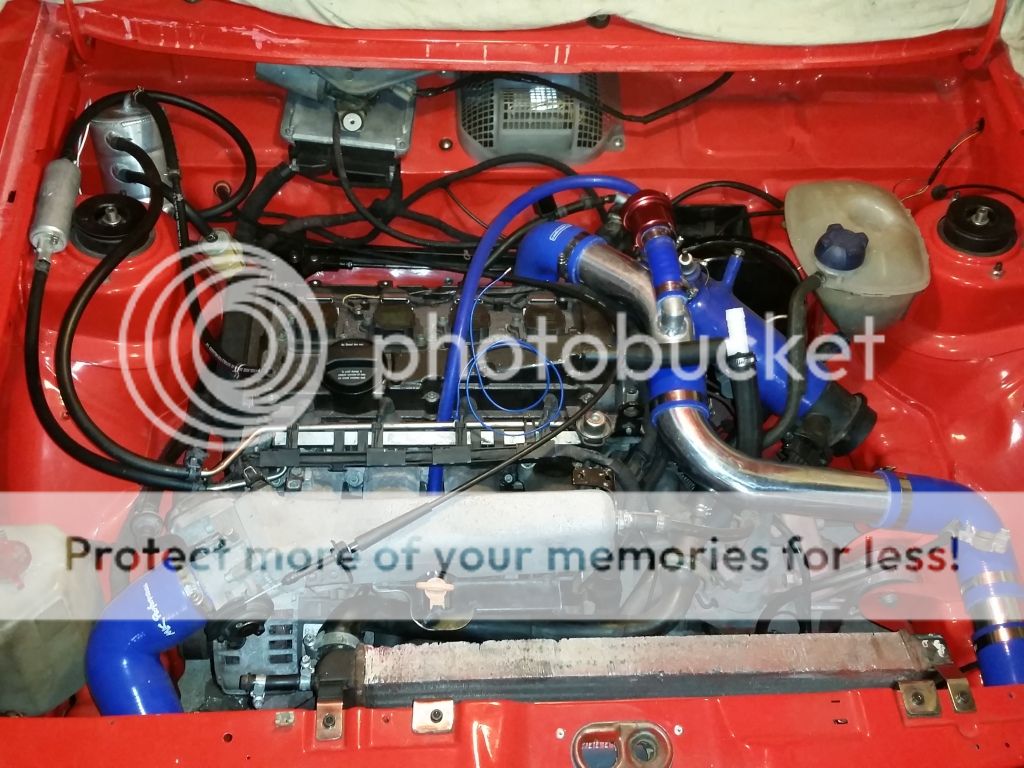
Primed both fuel pumps…..but it wont fire
Got a 16989 fault on her, could be a duff ecu
My only hope at the minute is that the battery just doesnt have enough! Monitoring the voltage accross the ecu and its dipping to 7.0 volts during cranking.
So charging the battery tonight and we will try again tomorrow! Fingers crossed…..
0 guests and 0 members have just viewed this: None.


