83 Gti set to get full resto
Posted
MOTY 2013

My 83 Gti set to get full restoration
Hello my name is John and I'm a dub addict.
My wiring diagrams and other documents have moved here:
VAG Documents & Downloads
You'll need to sign into google/gmail for the link to work! (its free!)
My wiring diagrams and other documents have moved here:
VAG Documents & Downloads
You'll need to sign into google/gmail for the link to work! (its free!)
Posted
Moderator


Posted
Moderator


Been sorting a few loose ends out before she goes to the painters in a couple of weeks time. Started by sorting the scuttle area out, never got any before pics unfortunately. Here it is primed and sealed.
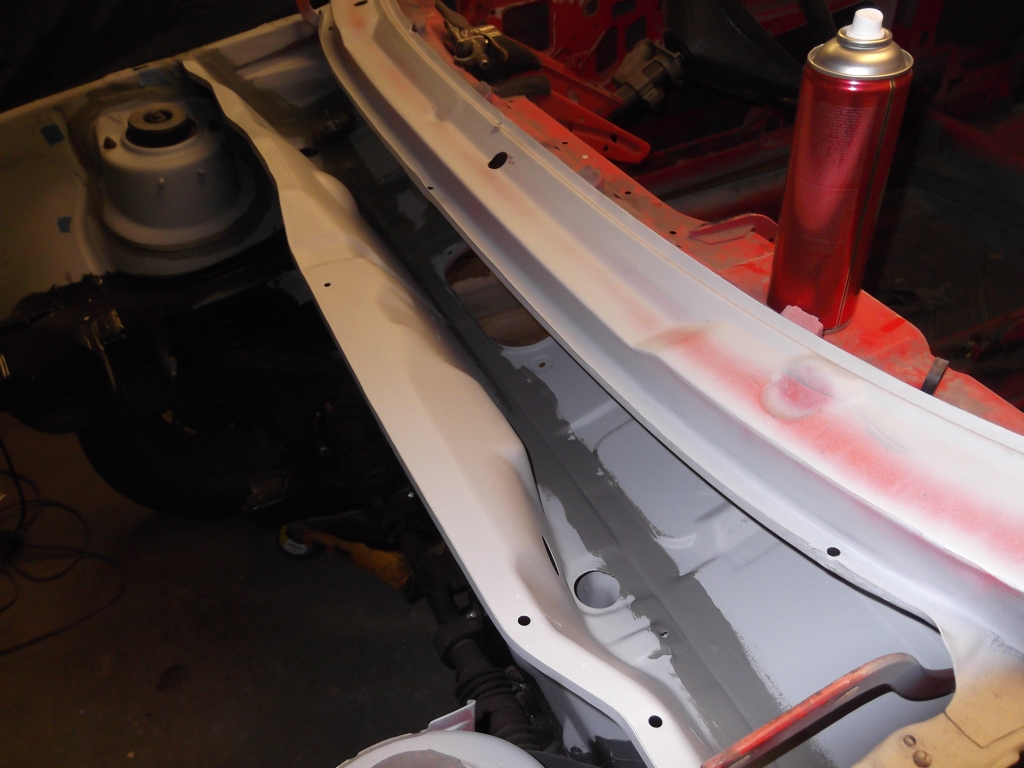
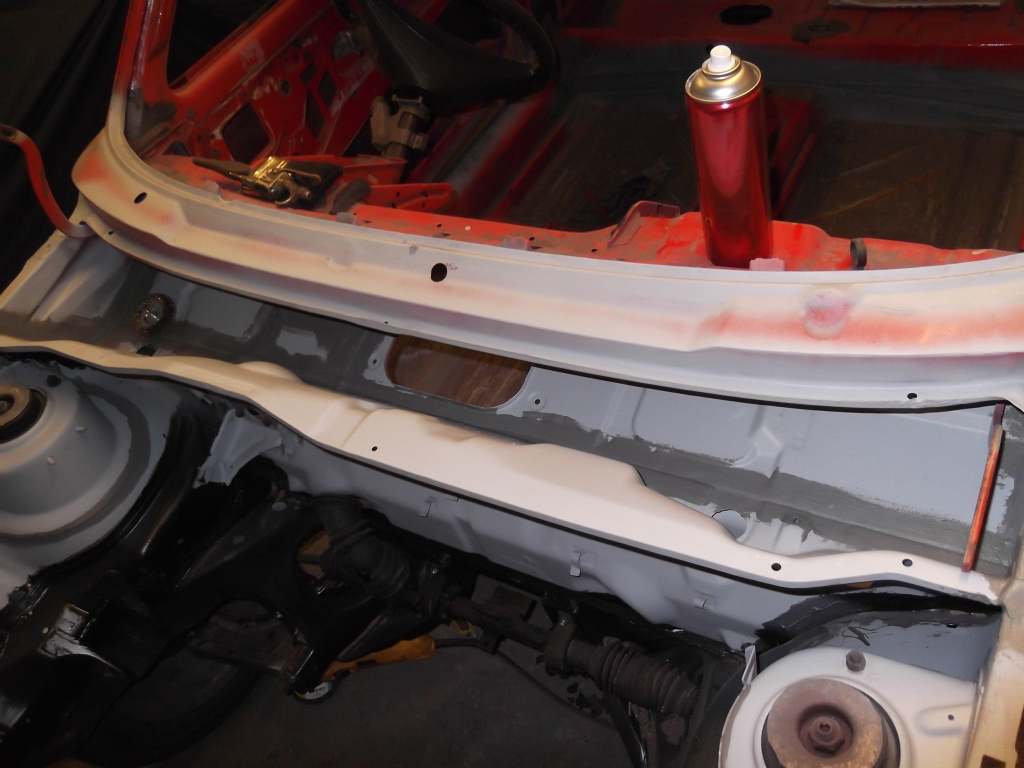
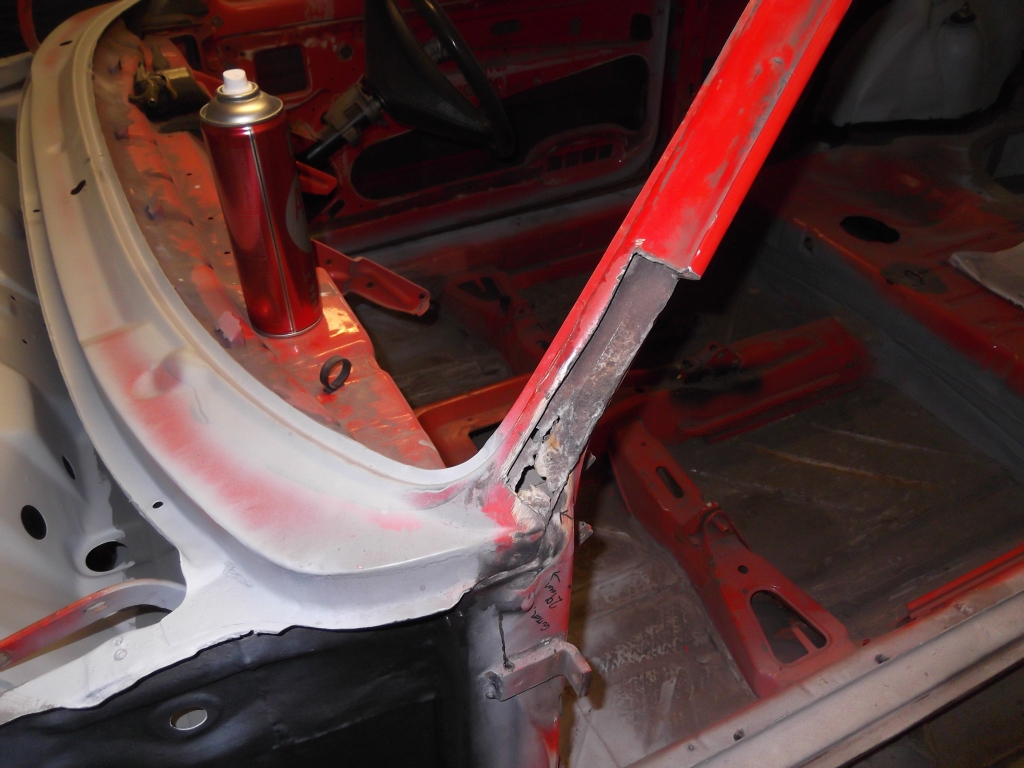
Earlier today I made a start on the 'A' pillar, I was going to leave for the bodyshop to sort out, as I wasn't sure which way to tackle it but then thought 'what the hell' and made a start the same as I have for the rest of the build
Here is the nasty bit before I started
Spare 'A' pillar I bought on ebay
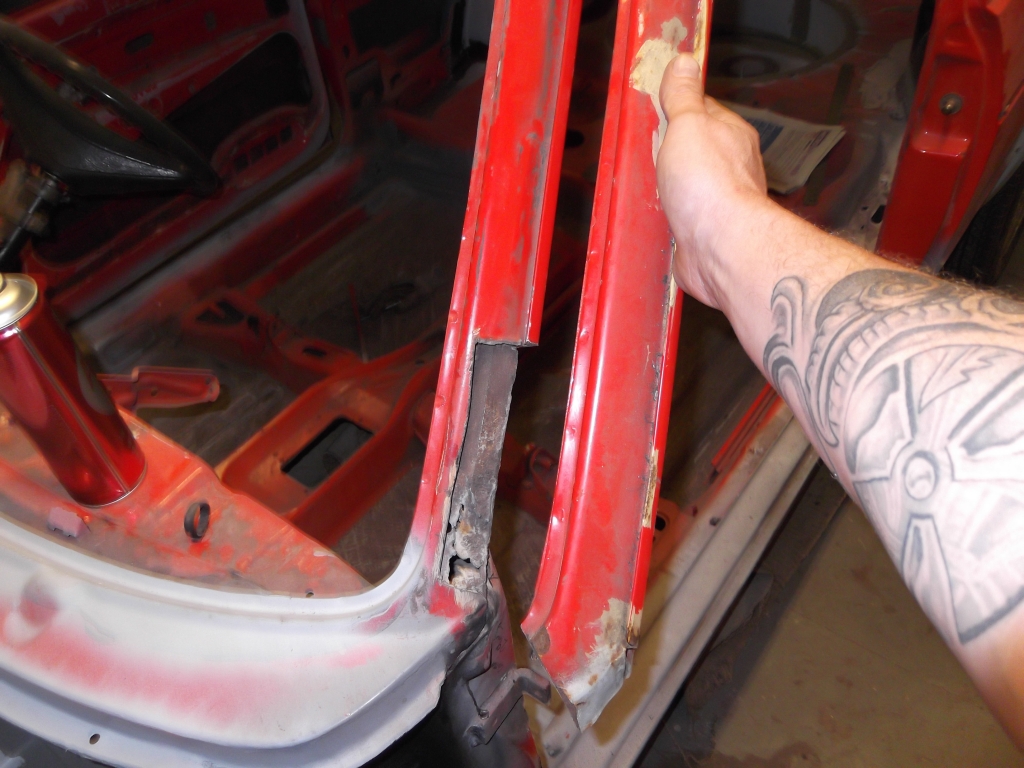
At this point I still wasn't sure which way to tackle it, I just knew I didn't want a bodge job and it needed to be done in layers as the pillar is made of three different pieces, so after a bit of head scratching I decided to unpick the welds on the new spare pillar
Drilled out the spot welds and started unpicking the gutter, made a new tool for the job out of an old screwdriver.
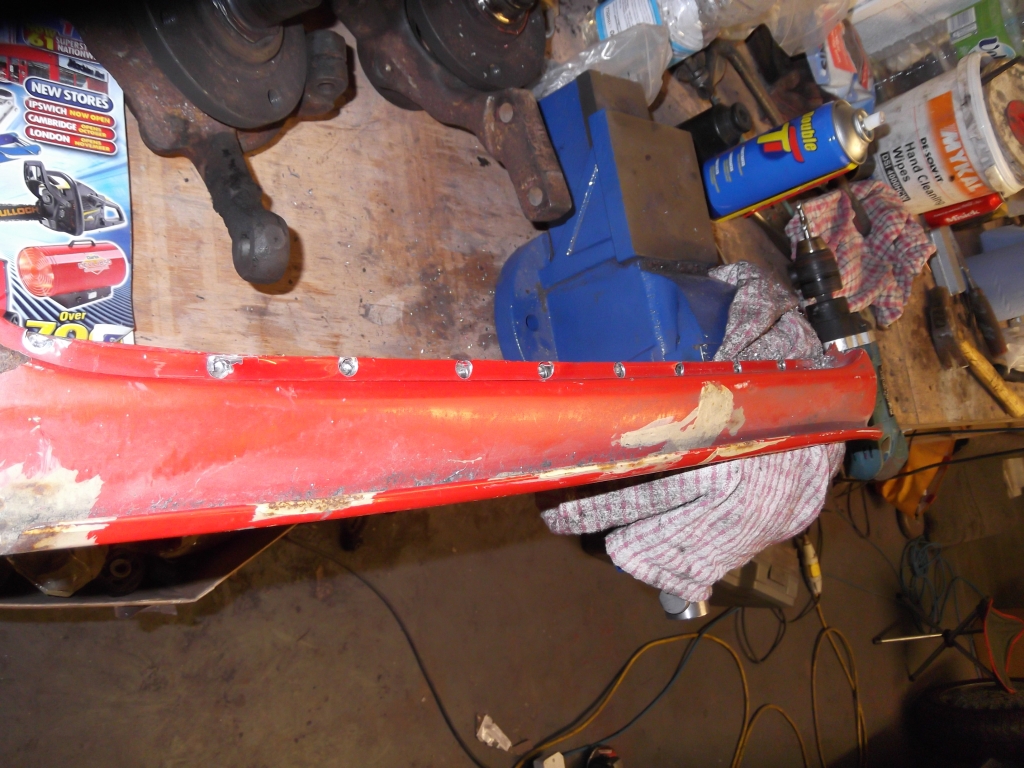
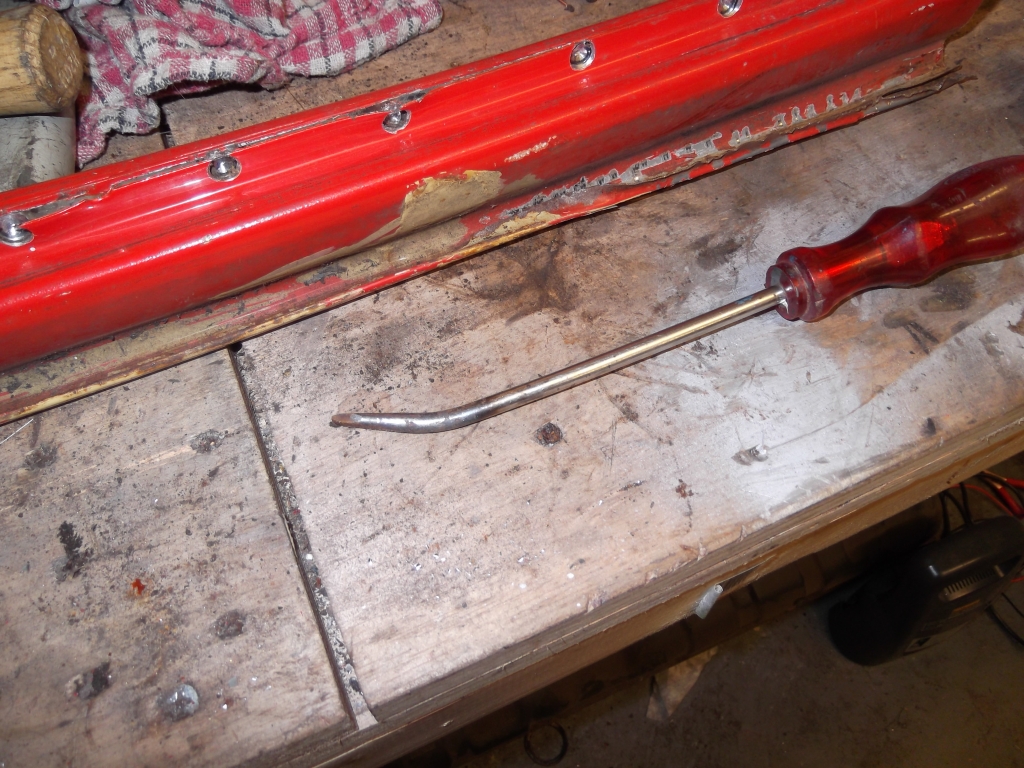
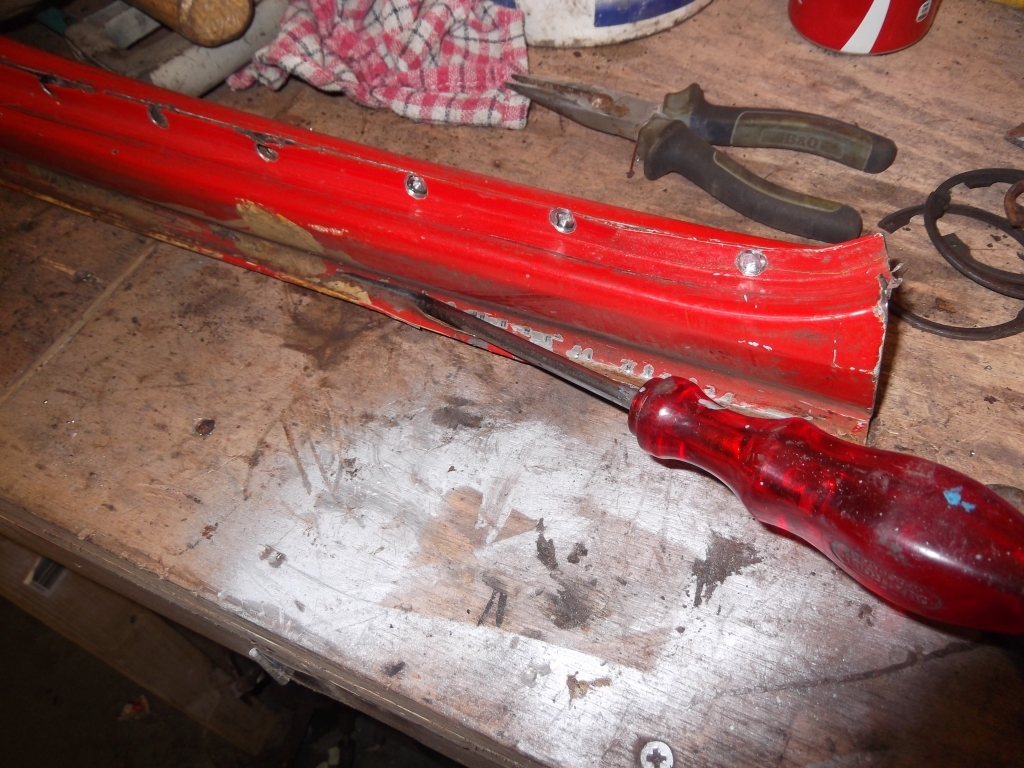
you can see in this pic the three layers of the pillar
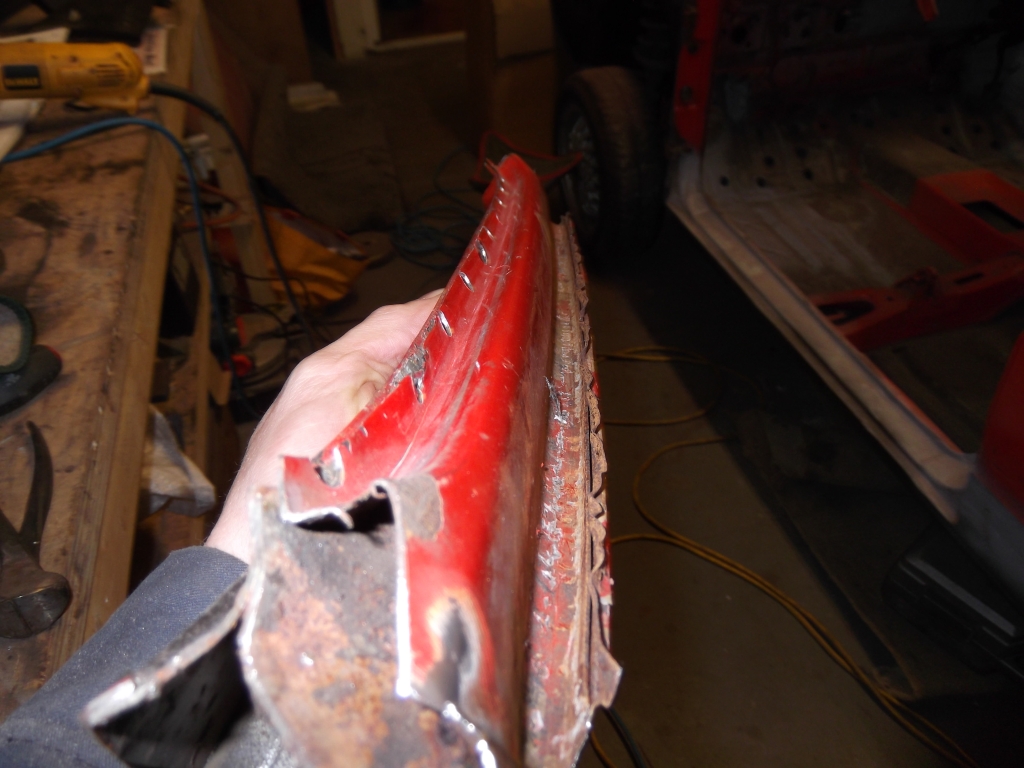
Top layer removed then cleaned up
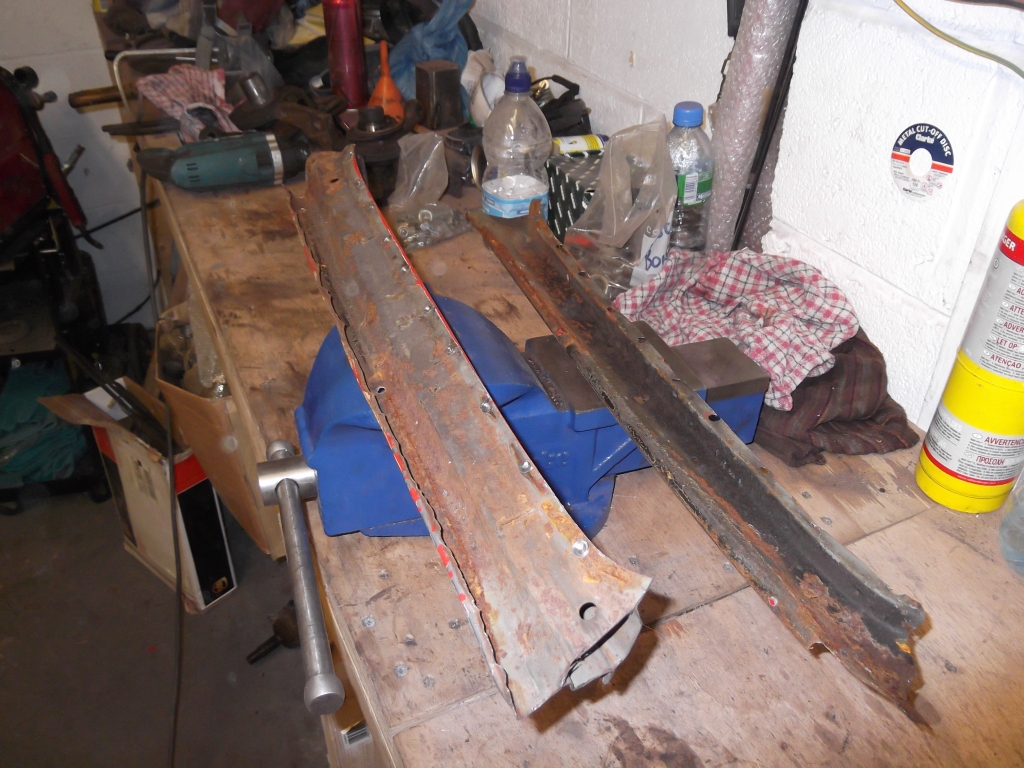
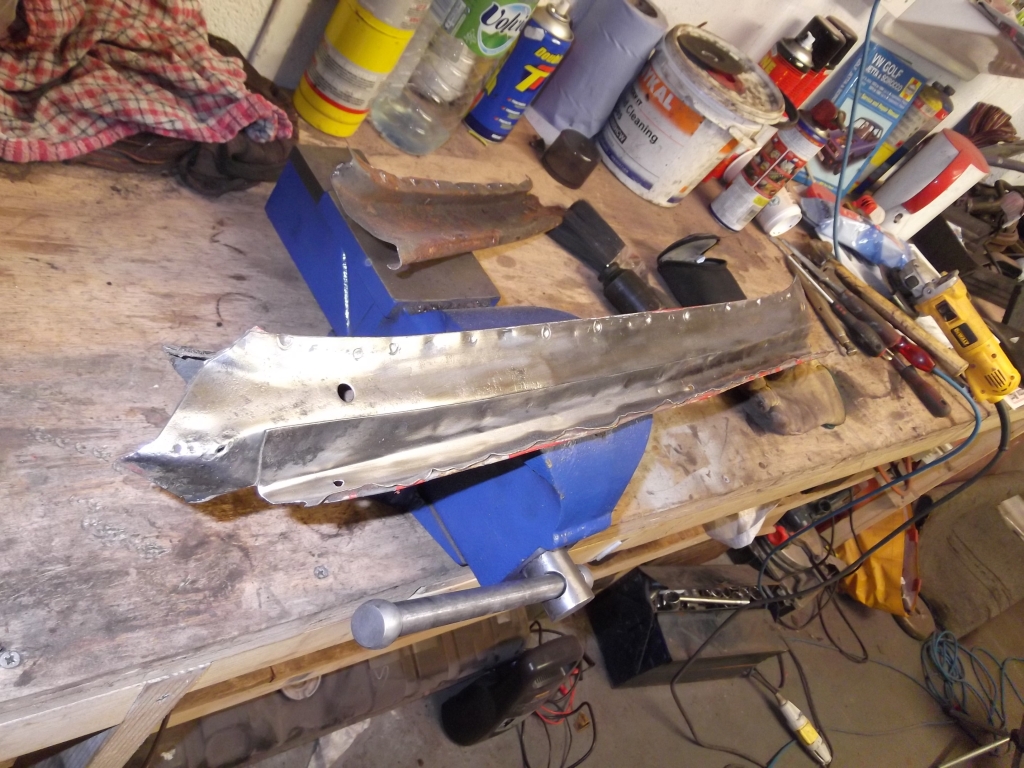
As I now know how the pillar is made up, I decided to remove the two outer layers and leave the inner attached to the car as there is no rot there anyway.
Here is the section to be removed
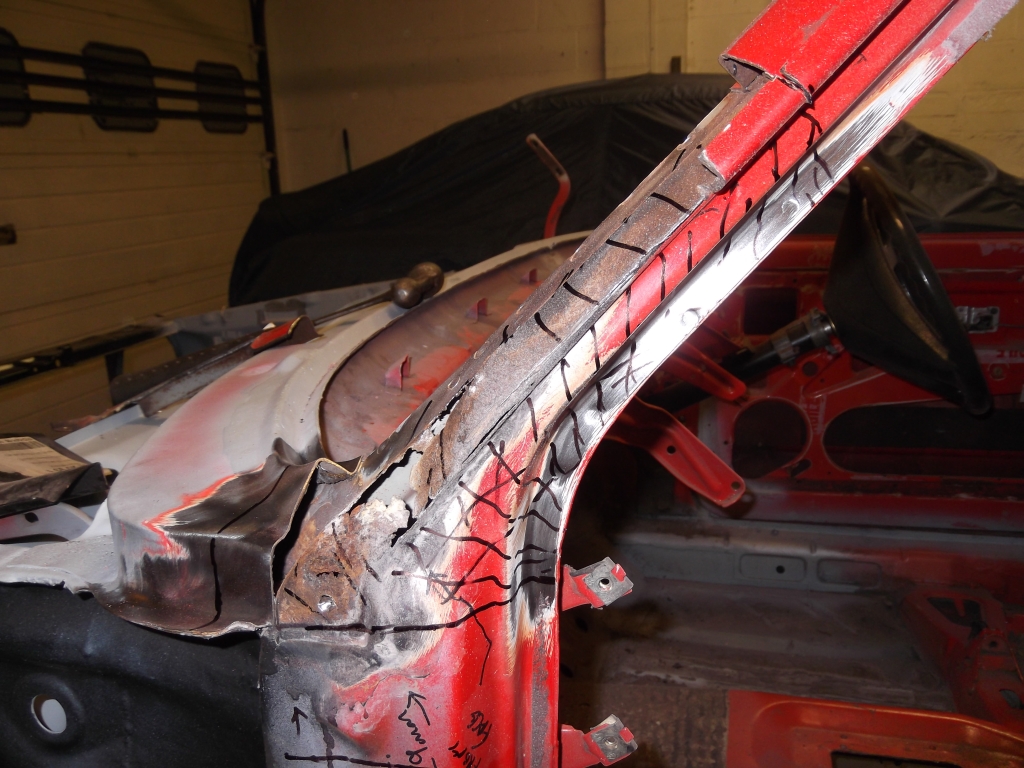
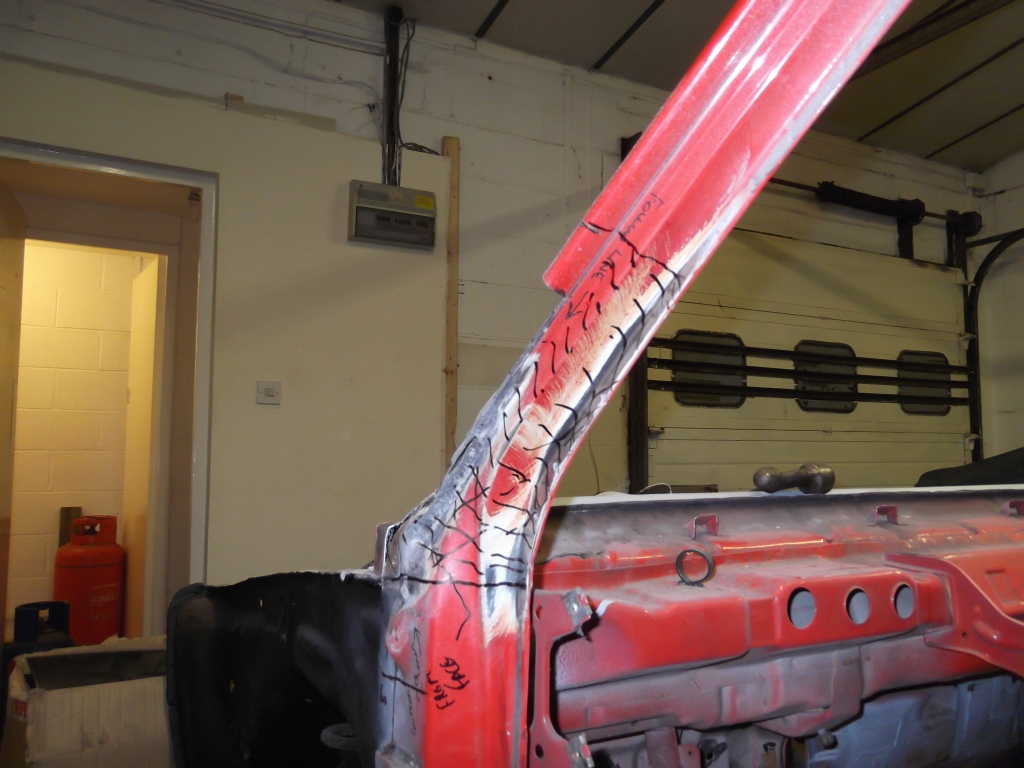
I also decided to remove a bit more from the bottom of the windscreen/scuttle, I didn't take it right back as the repair panel I've got isn't deep enough where the windscreen sits in. I'marked it up and I will weld the same piece back in.
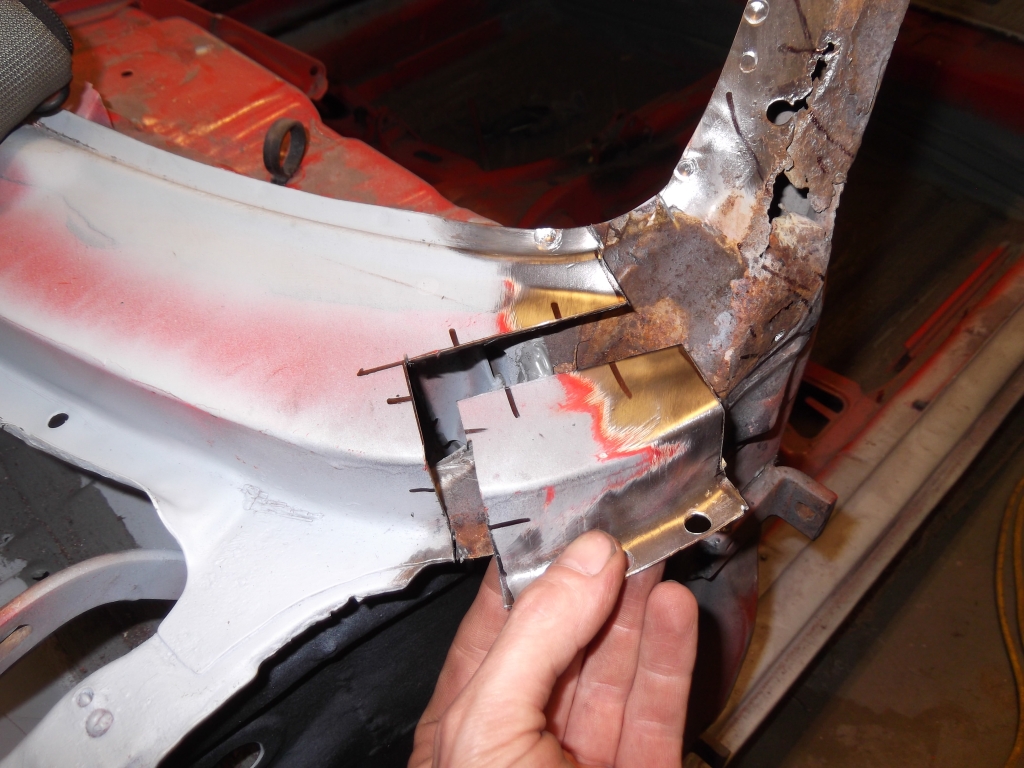
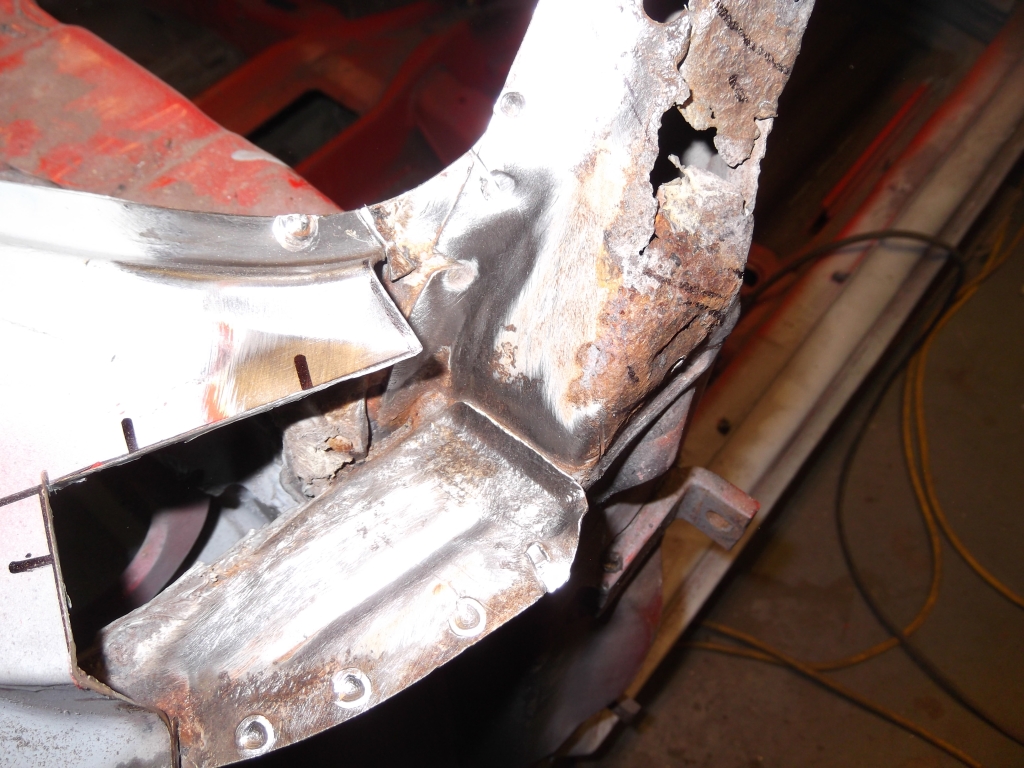
Outer pillar removed, leaving the inner layer attached
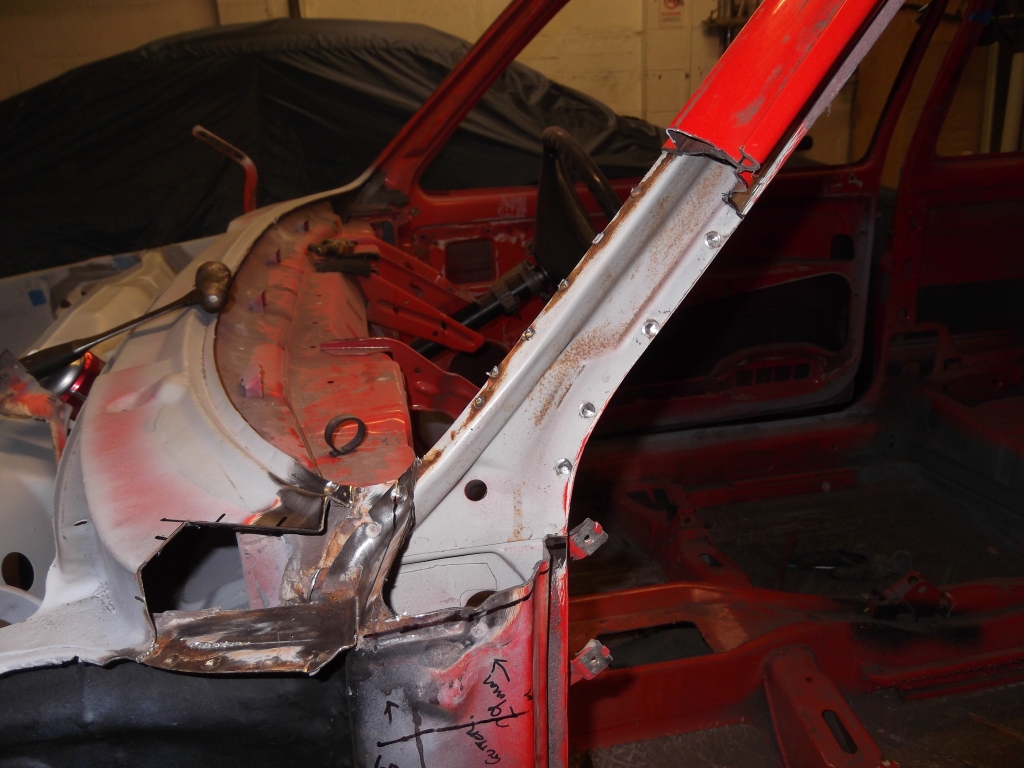
Repair piece cut out, cleaned up and treated with rust eradicator. Never got any more pics but there's a few more bit cleaned and treated.
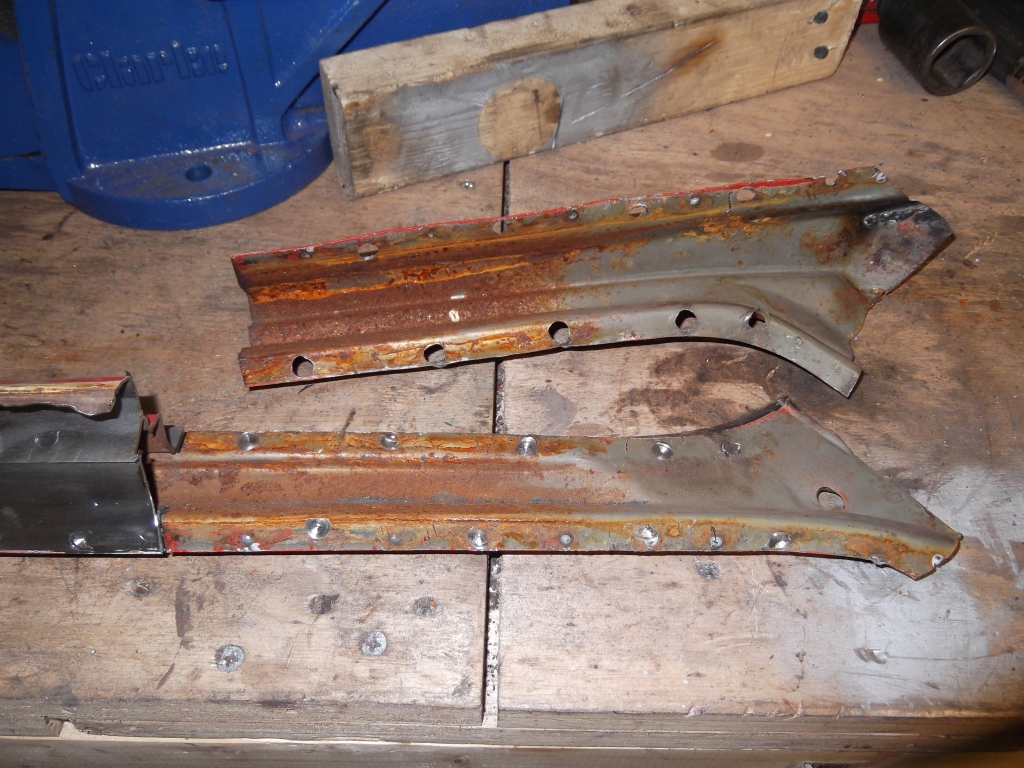
That's where I got up to today, I'll get back down tomorrow after work and get some more done, I reckon a few more hours will have it done
Left to do:
Clean the floor inside the car back to bare metal and etch prime.
strip and sort out the N/S door
The bit that the door check strap bolts to has snapped off inside the door frame so need to cut a piece out so I can get in to weld it back on.
That's it, I think
Cheers for reading
Andy.
Posted
Old Timer

Not long to bodyshop now man
Posted
Moderator


Posted
Old Timer


Posted
Old Timer

Posted
Settled In

Can't wait to see it painted, keep the pics flowing
83 Candy White Campaign http://vwgolfmk1.org.uk/forum/index.php?page=topicview&id=projects%2Fyour-mk1-golfs_2%2Fmk1-golf-restoration_2 89 Caddy pick up http://vwgolfmk1.org.uk/forum/index.php?page=topicview&id=projects%2Fyour-other-cars-and_2%2Fcaddy-barn-find Mk1 Scirocco project completed
Posted
Moderator


watson said
Your updates never fail to impress - top work.
Cheers Watson, means a lot mate!!
hubbadubba said
Fair play to you mate, just been checking this out, it's gonna be awesome when it's done, before you know it you'll be sneaking out to the garage at stupid hours to have another look at a pristine finished car and remembering all the hard work that went in and problems encountered and overcome, I know I did and I hadn't tackled all the welding either just the strip and rebuild.
Can't wait to see it painted, keep the pics flowing
Cheers mate, yeah I can't wait for that time to come mate, must be really satisfying to see the end result
Got a bit more done tonight. Got the first part of the repair piece fitted.
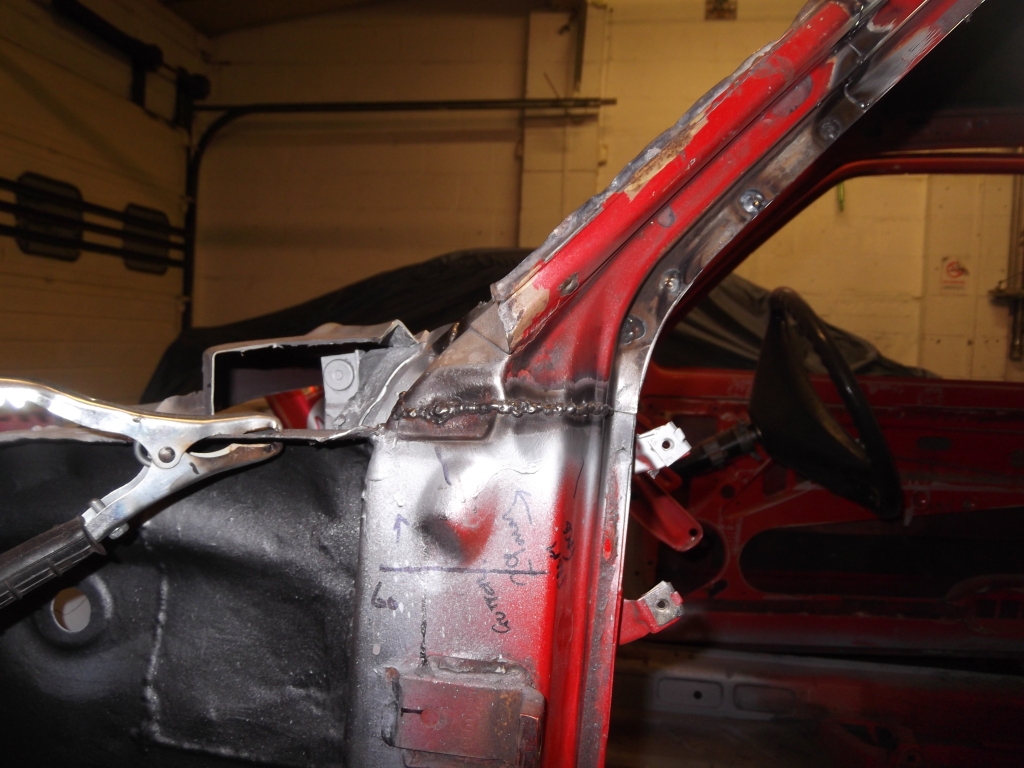
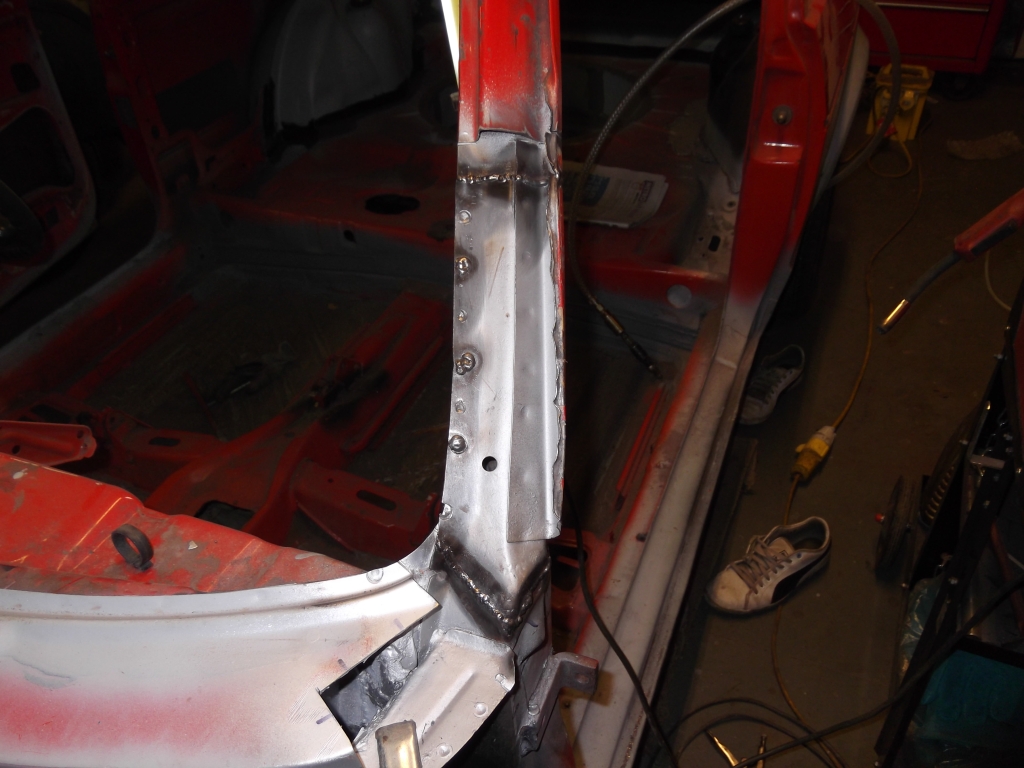
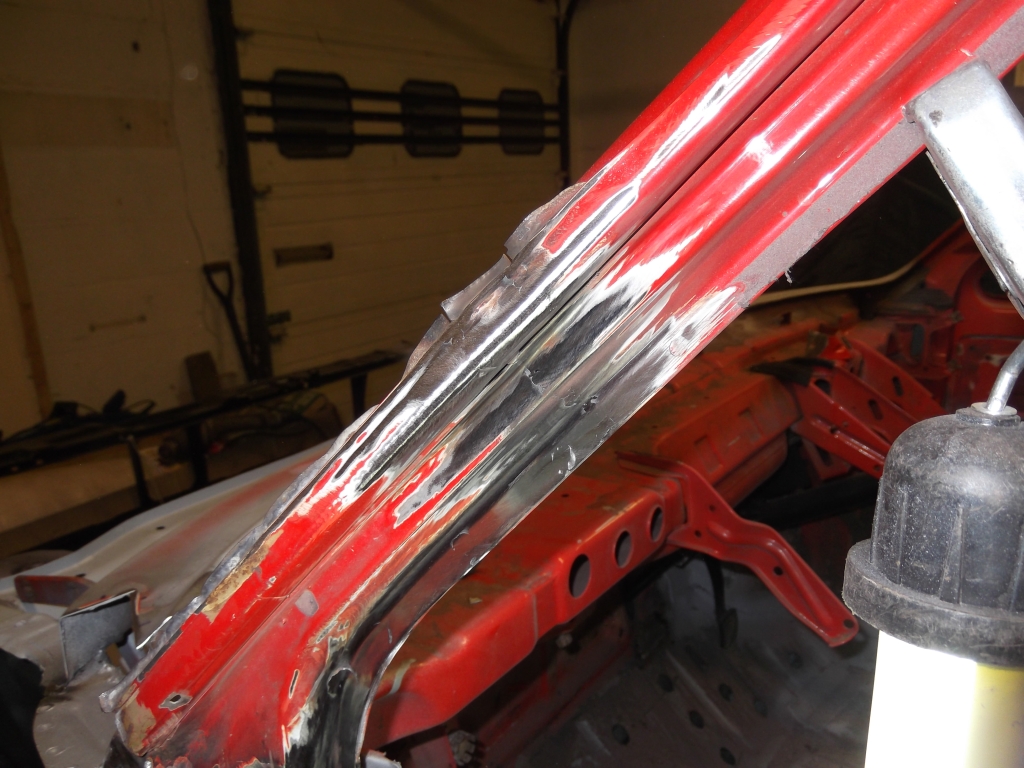
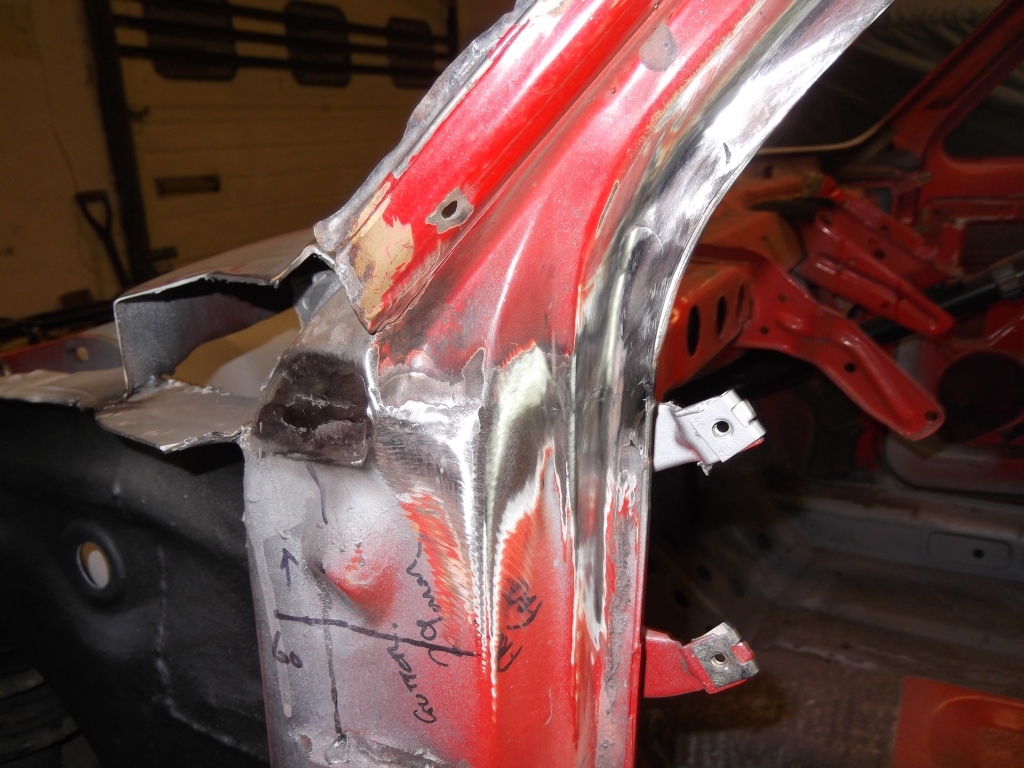
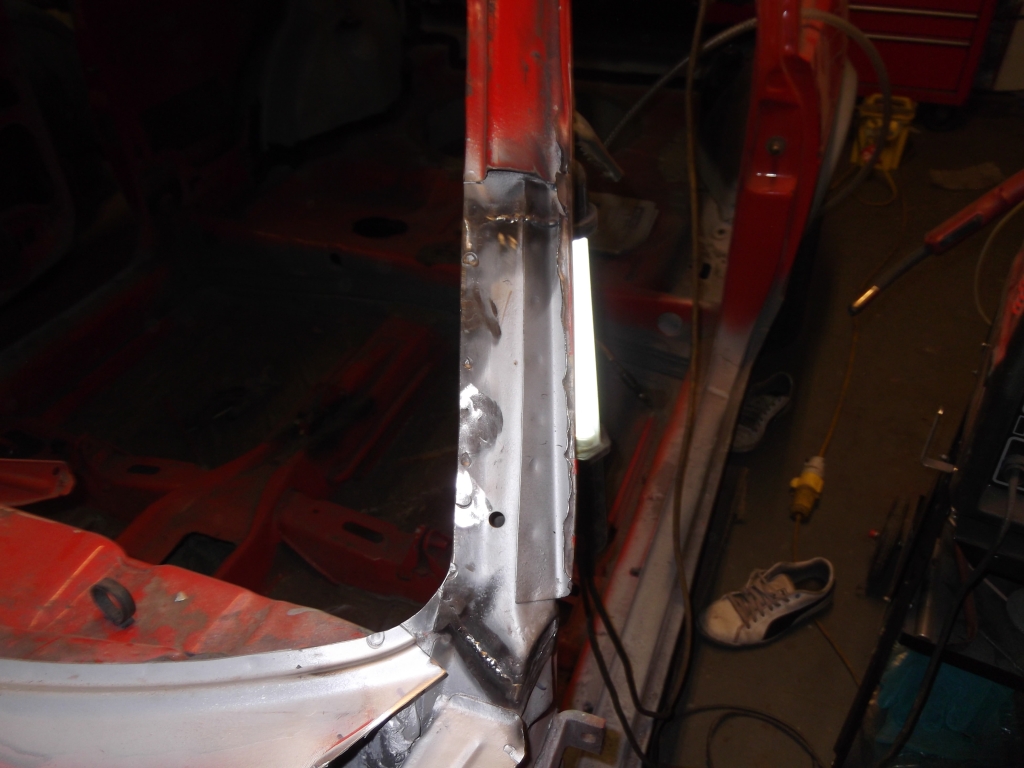
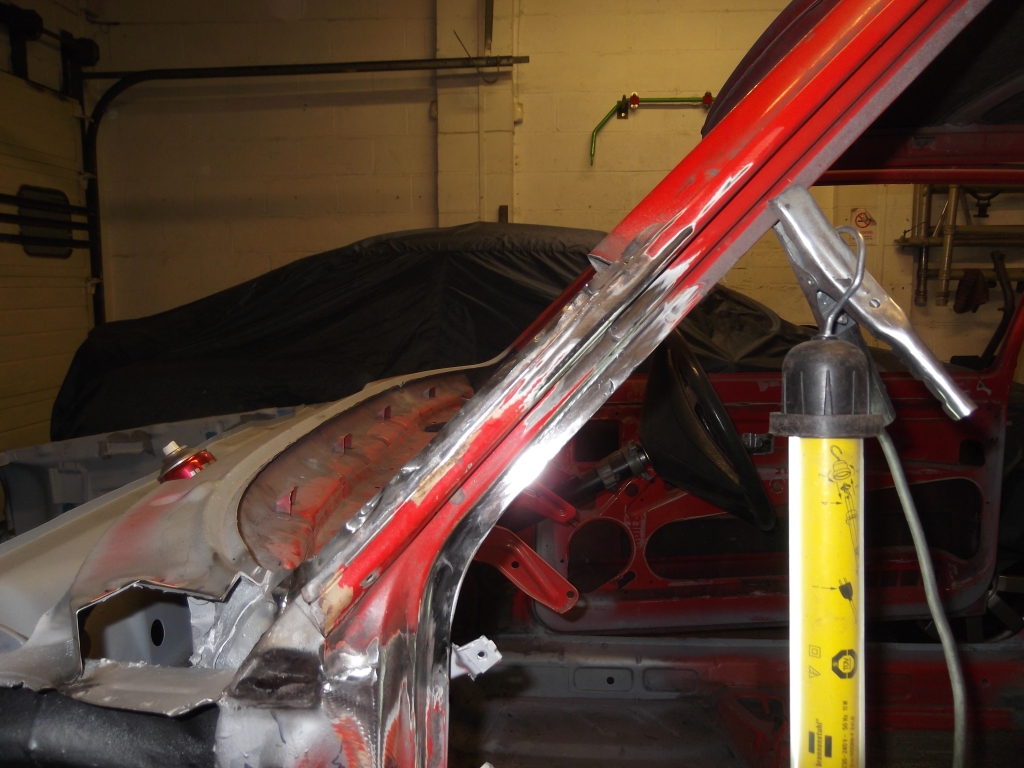
I think I've managed to keep the lines ok. Still got the outer to do which I'll do tomorrow after work
Spoke to the bodyshop today and they are delayed by six weeks
Posted
Old Timer


Posted
Moderator


browner01 said
great work mate, cant get a better repair than that!
Cheers Bud
Posted
Old Timer

Posted
Moderator


Posted
Old Timer

Very jealous of you're welding, those welds are so neat, mine looking like pigeon poo.
Posted
Old Timer

Posted
Moderator


Got the A pillar finished tonight after work
trial fitting outer skin
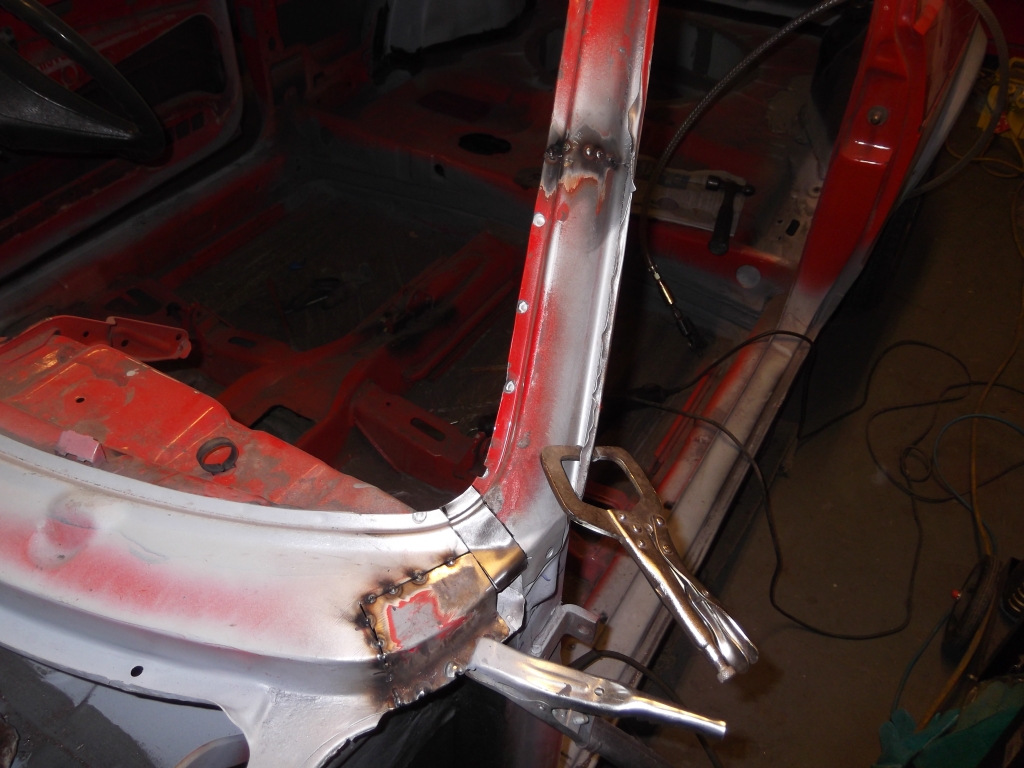
Bottom of windscreen/scuttle tacked up, then welded.
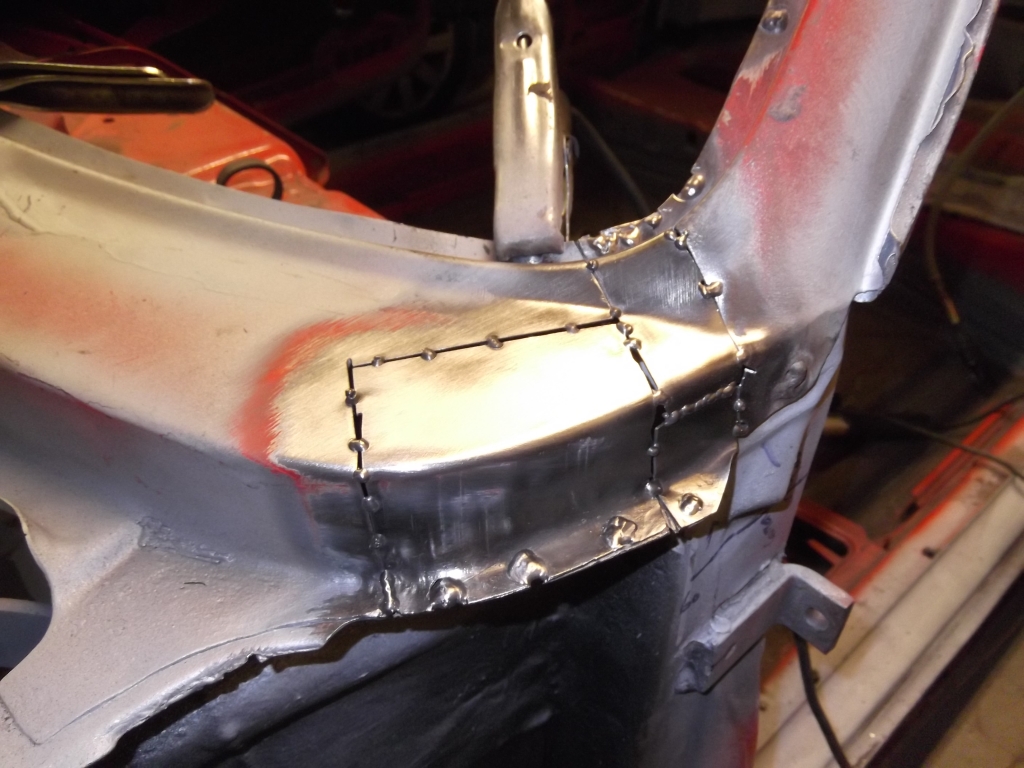
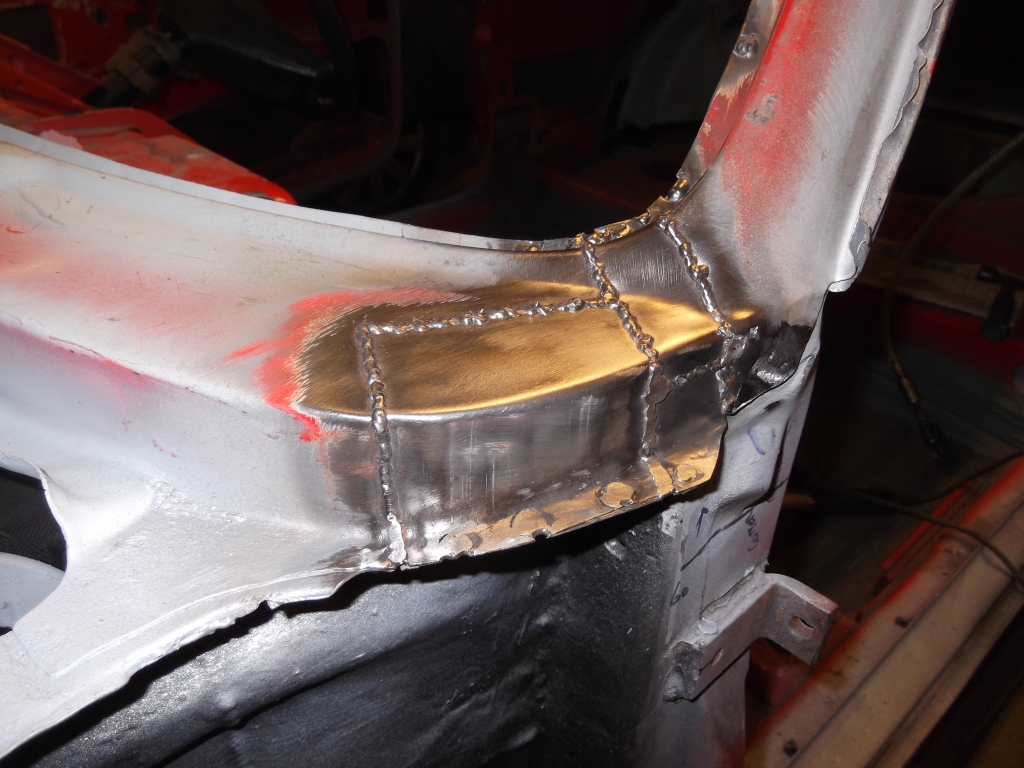
All welded up and dressed back a bit
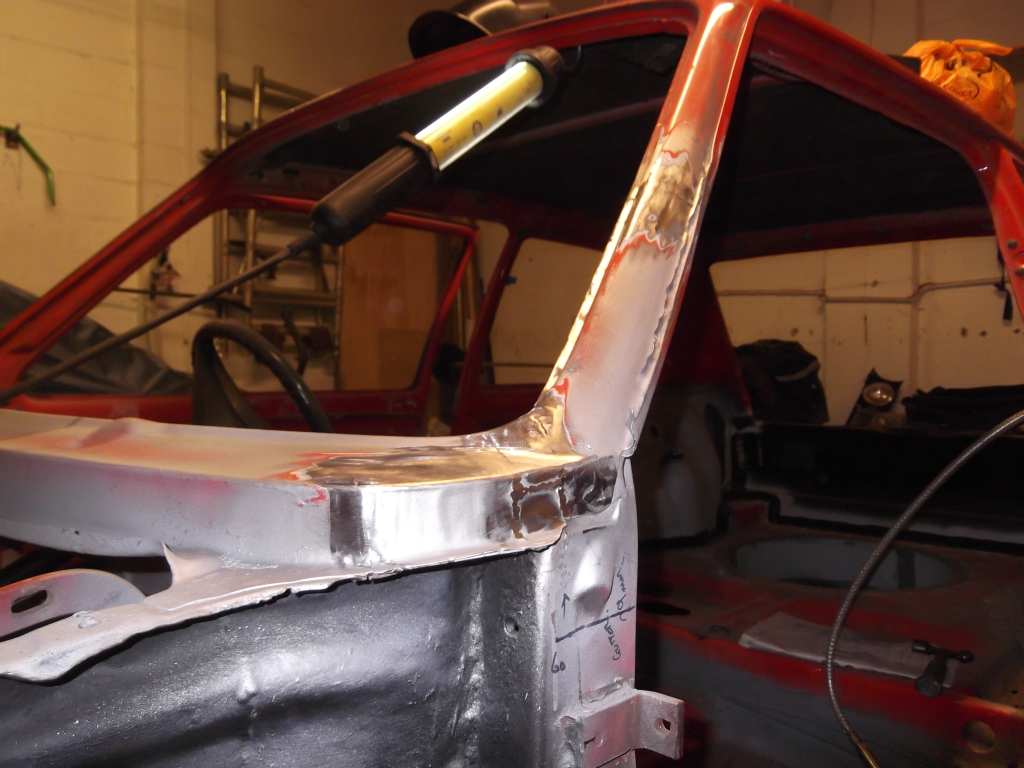
Bit more dressing, gutter straightened up and primer applied, could do with the tiniest skim of filler for some minor flat spots but I'm going to leave that for the body shop
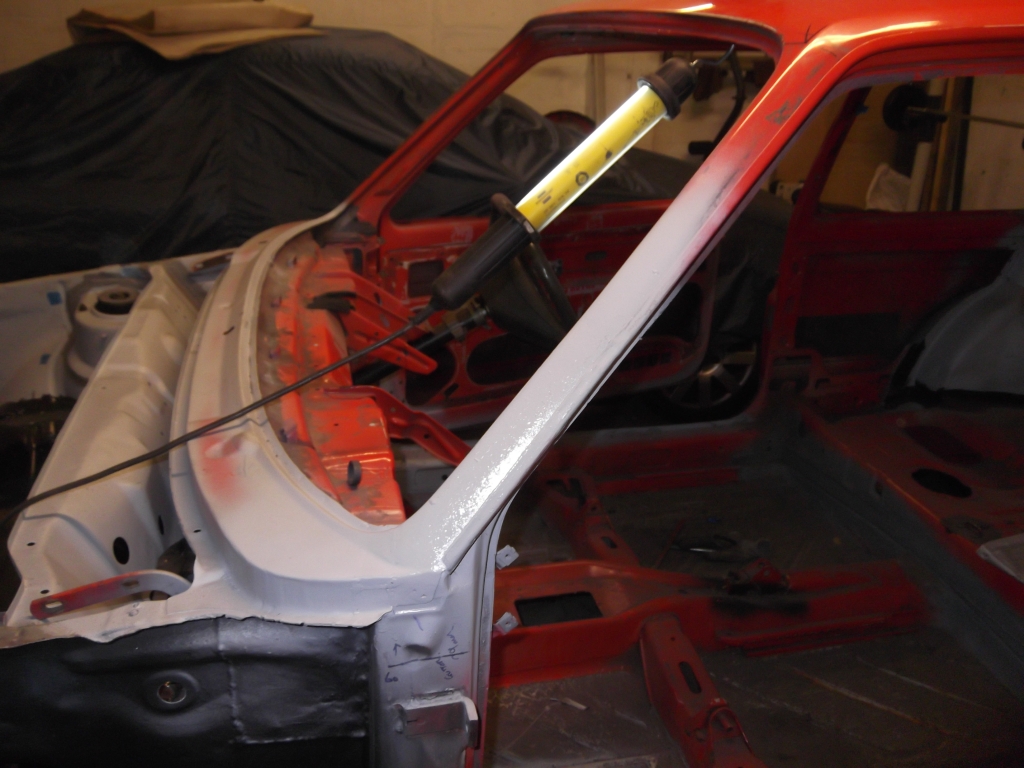
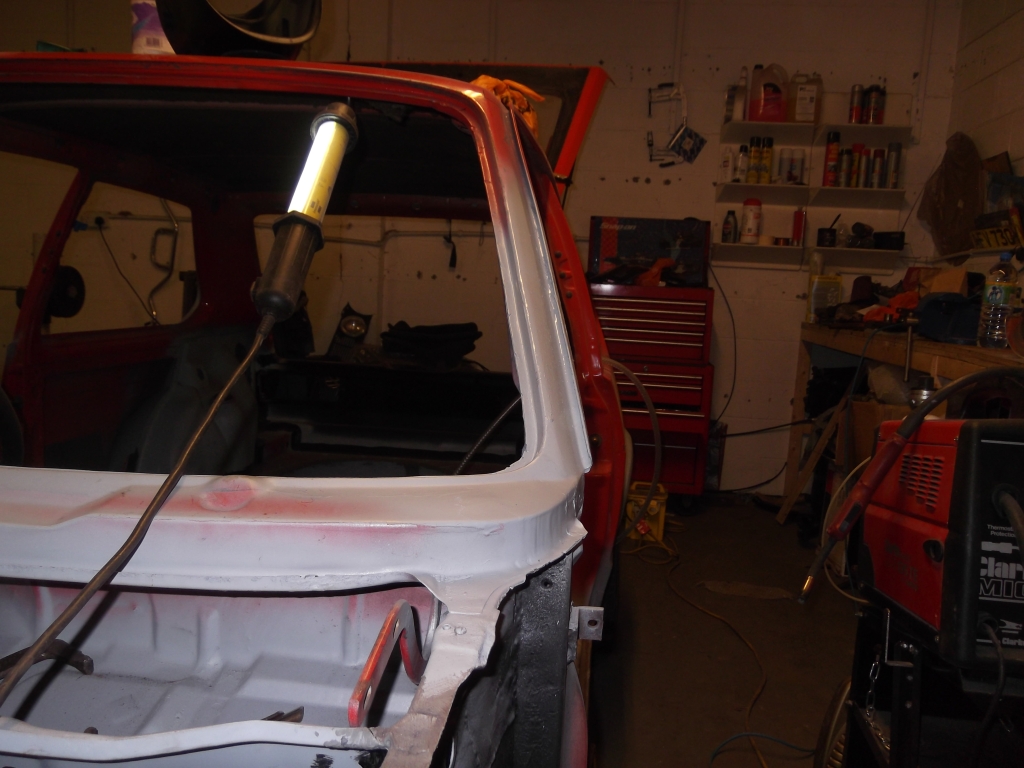
That's it for now peeps
Andy
Posted
Old Timer

Posted
Old Timer

Posted
Moderator


Posted
Old Timer

Melteddrummer said
Cheers lads, you're too kind though, the pics don't show the amount of head scratching that was had
Think there's always head scratching moments with these cars, you can stare for hours at them wondering " how the hell do I fix that" or "why the hell did I start this". But you're producing a top notch car Andy, you should be proud of what you've achieved
0 guests and 0 members have just viewed this: None.


