83 Gti set to get full resto
Posted
Old Timer

My 83 Gti set to get full restoration
Posted
Local Hero


I don't think mine does - I'll have to check! I know I've got the quarter panel itself and the quality/shape looks rubbish so not looking forward to doing that
Andy
LINCOLNSHIRE REGION - https://www.facebook.com/groups/467122313360002/
1983 MK1 Golf GTI Campaign Model - Under (looooong) resto!
1962 Rover P4 80
2002 BMW 745i
2008 BMW Z4 2.5Si
LINCOLNSHIRE REGION - https://www.facebook.com/groups/467122313360002/
1983 MK1 Golf GTI Campaign Model - Under (looooong) resto!
1962 Rover P4 80
2002 BMW 745i
2008 BMW Z4 2.5Si
Posted
Moderator


Brad. said
Good ladlook oem when they're on
had a quick look around my new shell yesterday, doesn't look too bad


Are you putting a project thread up for the new one then Brad? be nice to have a look at her!
Hairyarse said
Nice work Andy. Lucky to have the rear quarter on that arch panel, must have made it much easier.
I don't think mine does - I'll have to check! I know I've got the quarter panel itself and the quality/shape looks rubbish so not looking forward to doing that
Cheers Andy. Just looked at the receipt for the panel and it's an extra large one from VW Heritage, can't even remember buying it
http://www.vwheritage.com/vw_spares_Wheel-arch-rear-outer-Golf-Mk1-3-door-Right-side-XL-171809838A_act_shop.product_pID_27396891_lang_EN_country_GB.htm?crumbStartPage=1&crumbStartRow=1
Posted
Local Hero


Now, where did I put my arch panel……
Andy
LINCOLNSHIRE REGION - https://www.facebook.com/groups/467122313360002/
1983 MK1 Golf GTI Campaign Model - Under (looooong) resto!
1962 Rover P4 80
2002 BMW 745i
2008 BMW Z4 2.5Si
LINCOLNSHIRE REGION - https://www.facebook.com/groups/467122313360002/
1983 MK1 Golf GTI Campaign Model - Under (looooong) resto!
1962 Rover P4 80
2002 BMW 745i
2008 BMW Z4 2.5Si
Posted
Old Timer

Thing I'm not looking forward to is buying all the seals for her, hardly any came with it
Posted
Moderator


Brad. said
I think I will be mate yeah, see how camera happy I get.
Thing I'm not looking forward to is buying all the seals for her, hardly any came with it
Good luck with it then mate, I'll be watching with interest. I'm after a series 1 myself, when this one is done
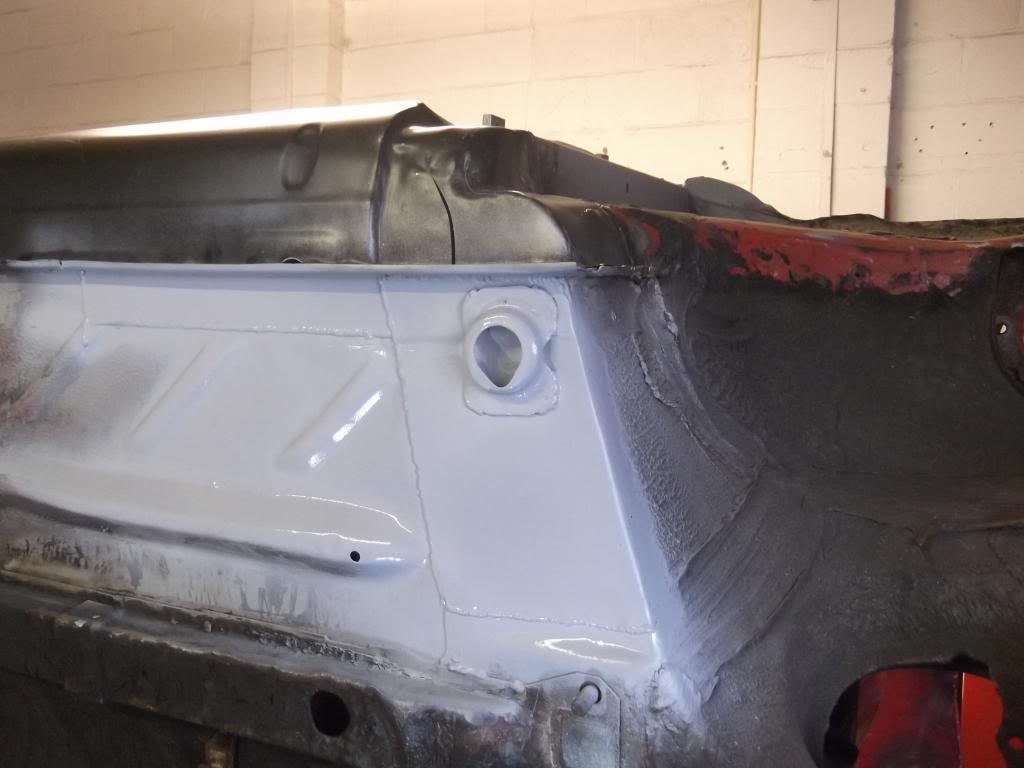
Was down the unit earlier to have a tidy up and welded the jacking point on while I was there, had to turn it 90 deg because of the raised bit of the sill lip, still ok though.
Posted
Local Hero

Seeing the state of some of the cars that get restored on here makes me feel ashamed of the fact it is taking me so long to sort out the piddly bit of welding on mine!
I am getting a little more confident with the welder now though, so hopefully, I should progress over the next few weeks!
I haven't touched mine over the winter but saw a mate out and about in his recently finished project the other day and was a little jealous, so… better pull my finger out!
My Build Thread
All My Build Photos - https://www.flickr.com/photos/pix-al/albums/72157622794406840
My other hobby - www.pix-al.co.uk
All My Build Photos - https://www.flickr.com/photos/pix-al/albums/72157622794406840
My other hobby - www.pix-al.co.uk
Posted
Moderator


Another small update. Been fixing the floor at the O/S/R today.
Started like this, cut the rot out, as per..
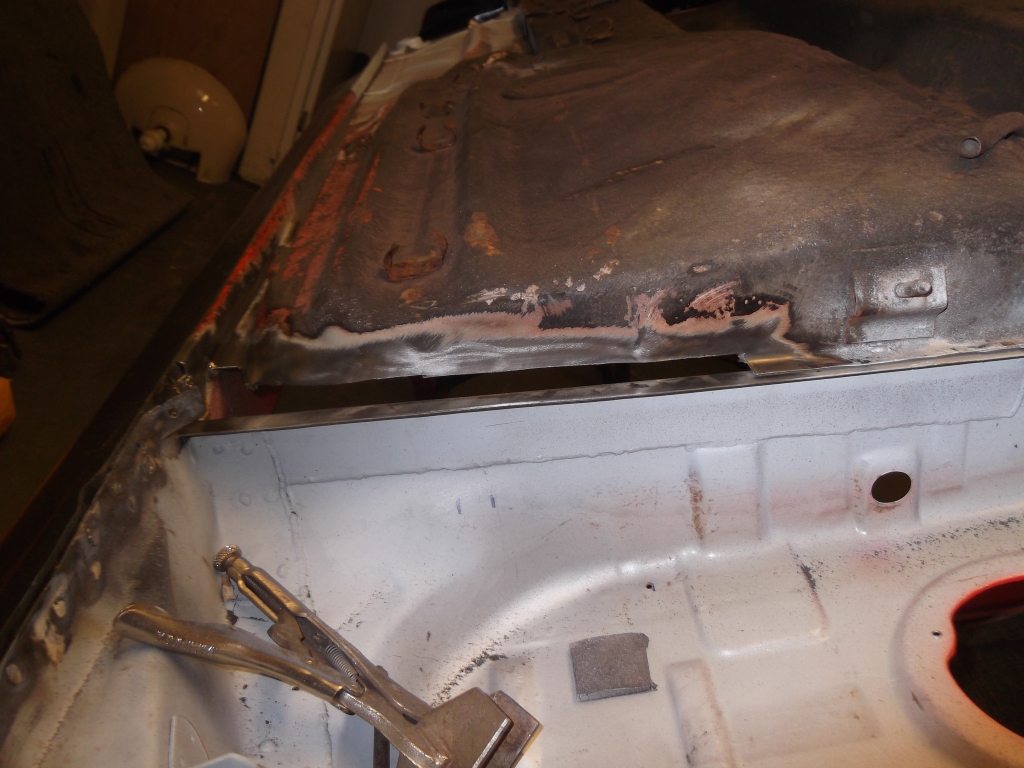
Fabbed an angle out of 1.2mm steel and fixed to the floor, put a few slices in to bend it round the corner..
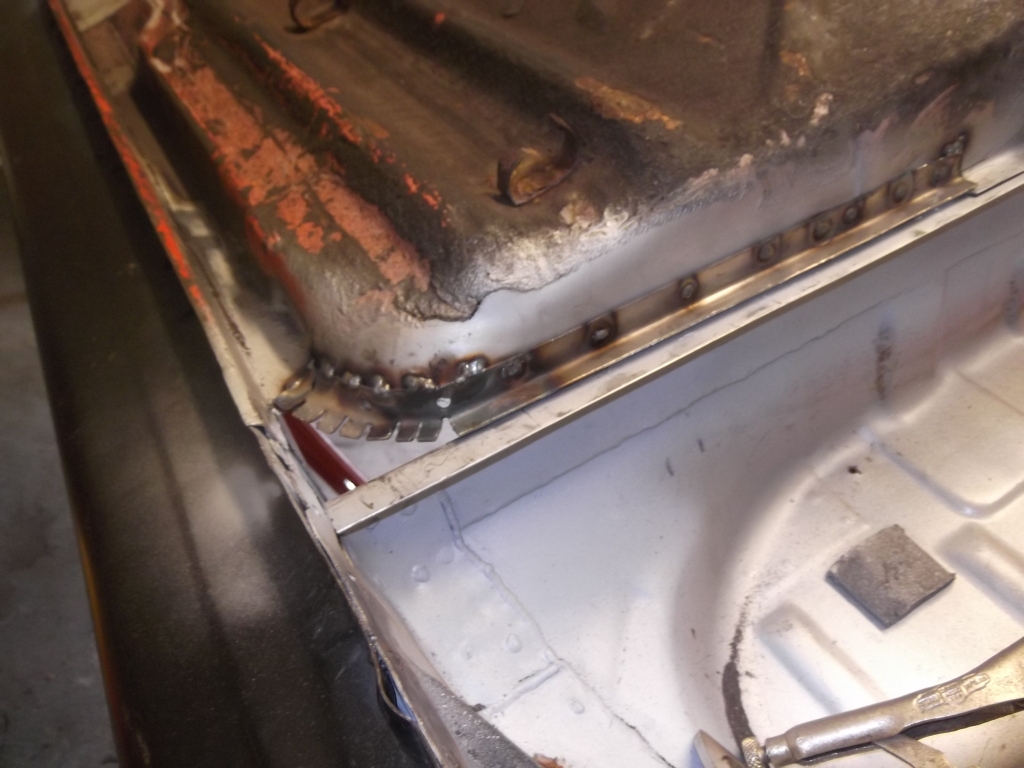
Next I made a piece to fit beneath the angle
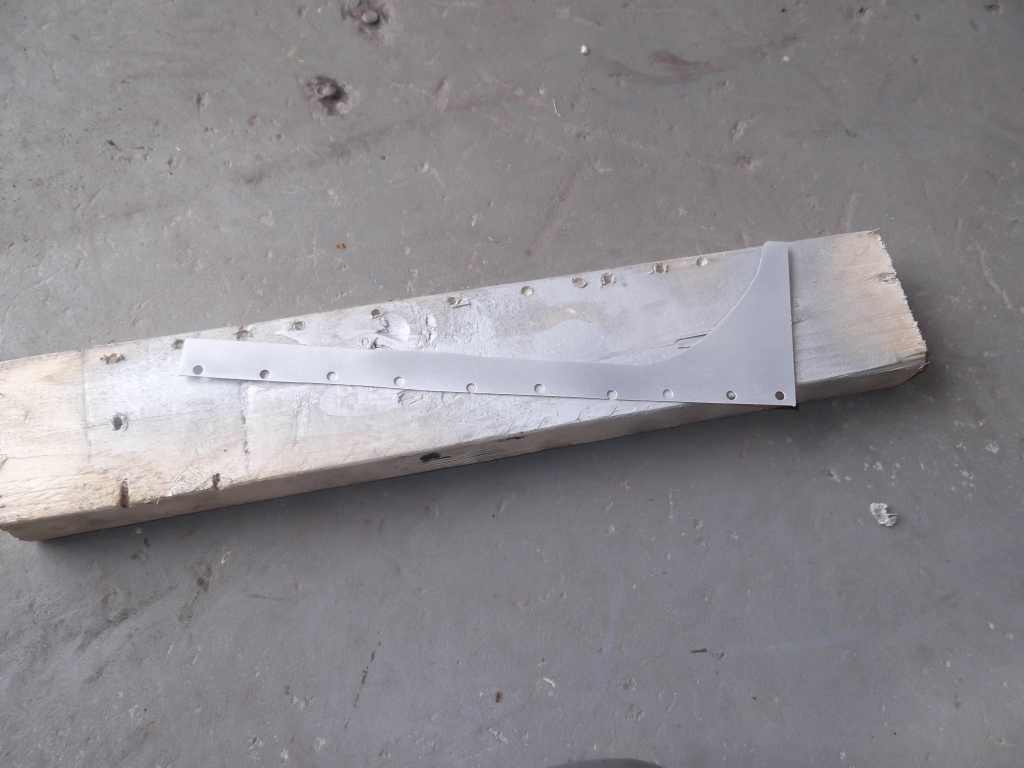
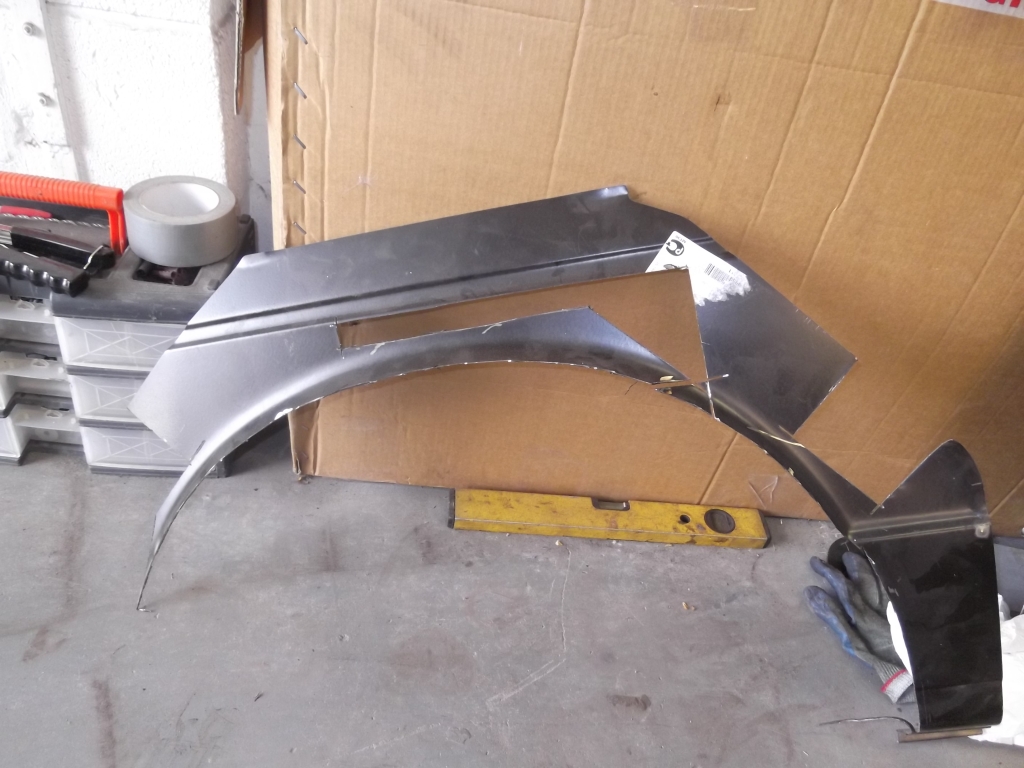
Knew the remains of the arch panel would come in handy
All welded up
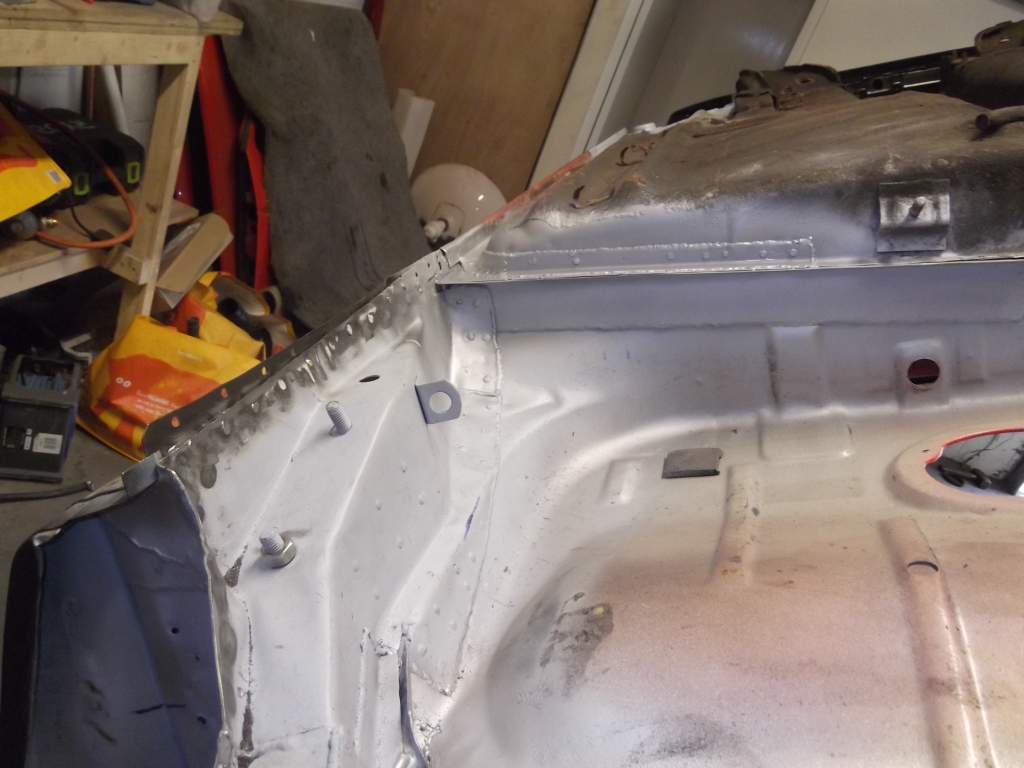
Next is to sort out the sill lip as the different repair panels all run at different angles, my plan is to trim off the excess and weld on a new lip with a return edge to follow on to the original.
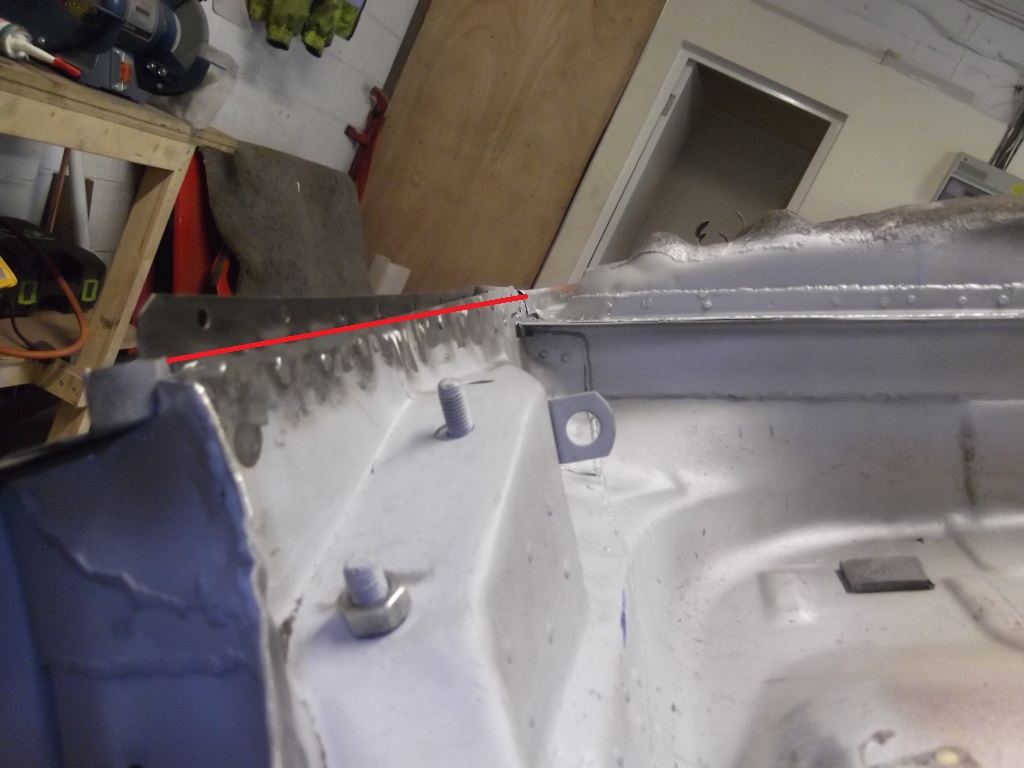
That's it for today peeps
Posted
Local Hero

Melteddrummer said
Thanks Al for the kind words. What needs doing to your car? Get that welder out mate and get her fixed!!
My car needs practically no work compared to yours!
Link to my build thread is in my sig (just fixed it as it appear to have broken after the forum change all those months ago!)
My Build Thread
All My Build Photos - https://www.flickr.com/photos/pix-al/albums/72157622794406840
My other hobby - www.pix-al.co.uk
All My Build Photos - https://www.flickr.com/photos/pix-al/albums/72157622794406840
My other hobby - www.pix-al.co.uk
Posted
Old Timer

Posted
Moderator


Cero said
Well done Andy another fair bit done. Only issue is I don't like seeing you fitting those new sills on with the car on the rotisserie, I was always told have the car on its wheels, that way nothing can move when you do your final weld. But anyway I'm still enjoying it and learning new tricks
I never knew about having to have the car on it's wheels for the sill work, Hope everything is ok
Posted
Local Hero


Melteddrummer said
I never knew about having to have the car on it's wheels for the sill work, Hope everything is okI now know for next time

I wouldn't worry too much as its an empty shell with only its own weight to support.
Maybe if it was a cabby then possibly there could be issues with dropping off both sills in one go etc.
As a double check fit the doors on and see how the gaps are.
Posted
Moderator


Learning all the time!!
Posted
Moderator


Been finishing off the sill lip on the O/S/R tonight after work.
Started like this
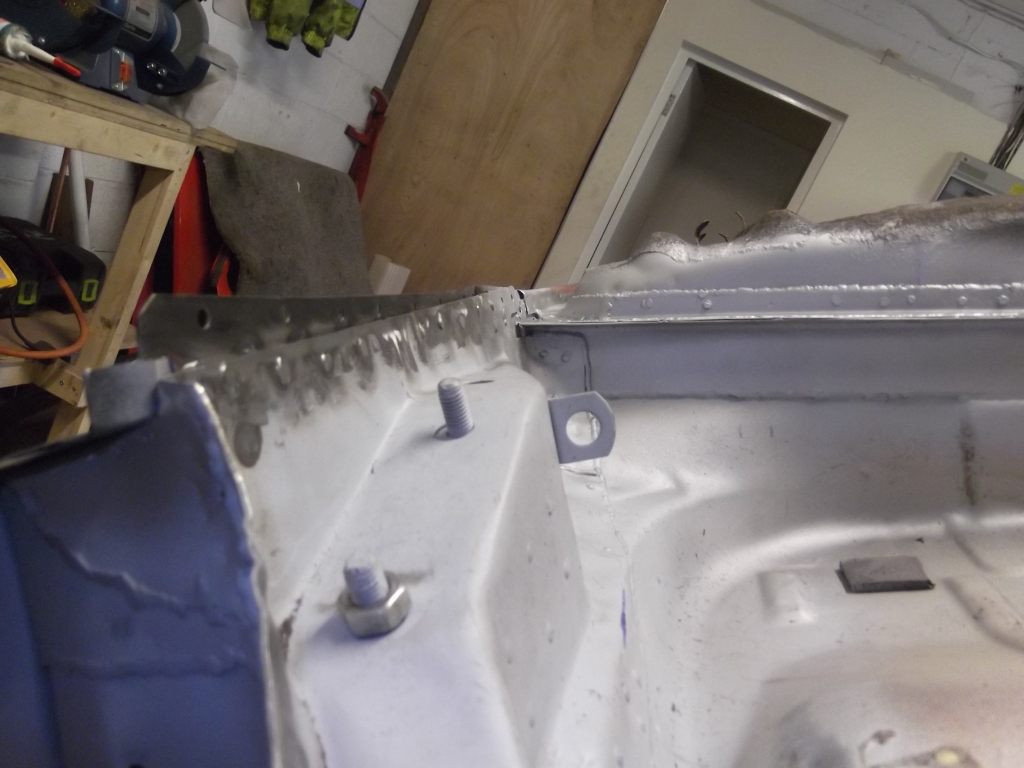
Trimmed off excess and applied weld through primer as per.
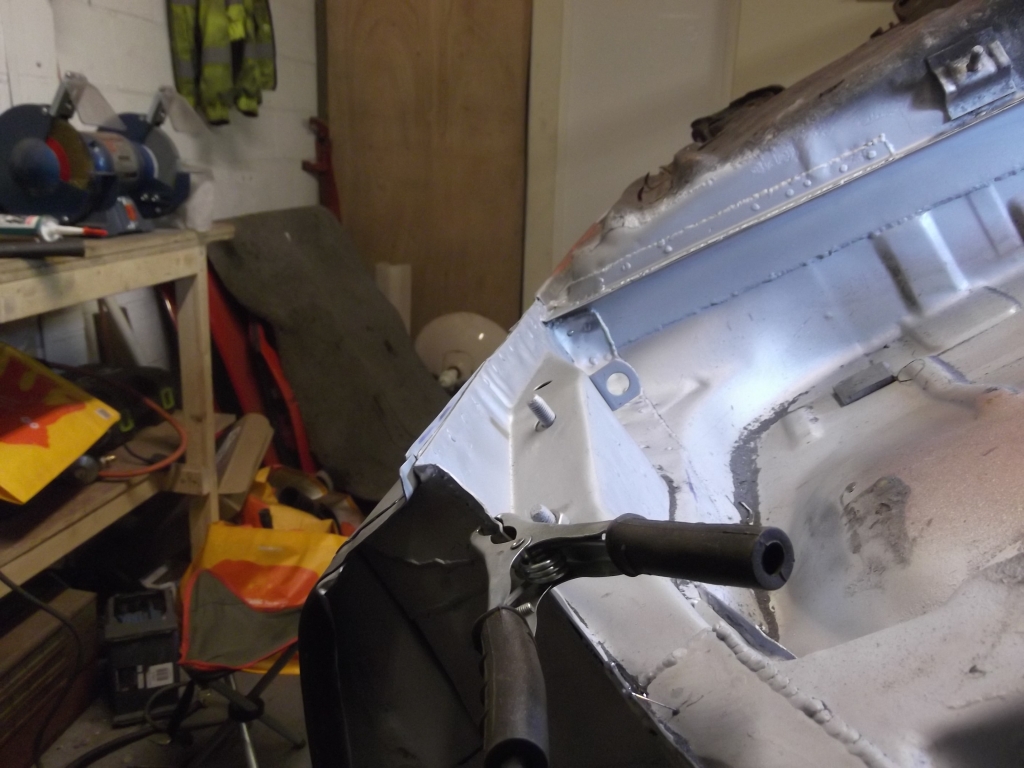
Made new sill lip then applied W/T/P as per
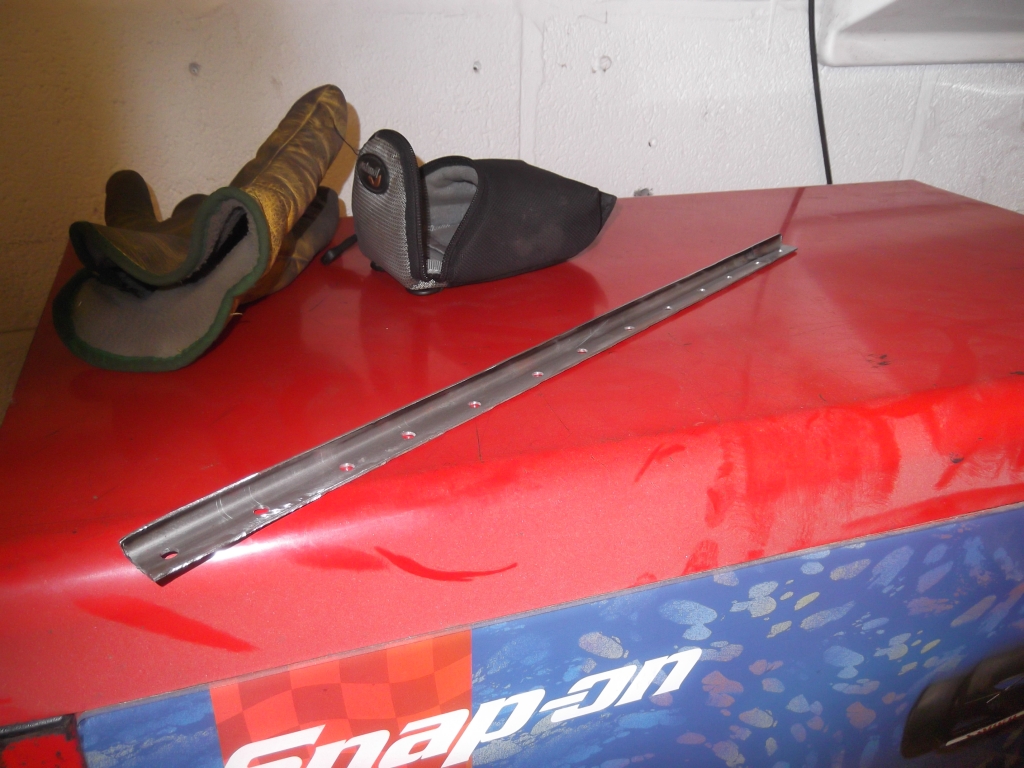
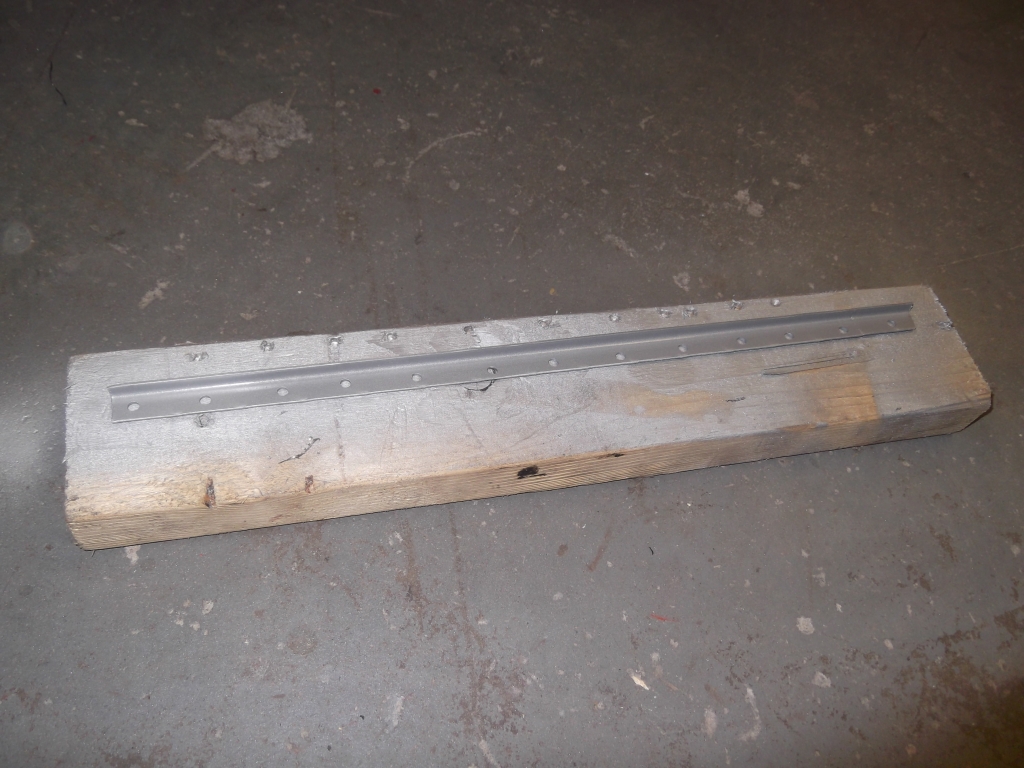
Welded to car, not sure whether to fully seam weld this or not, opinions please?
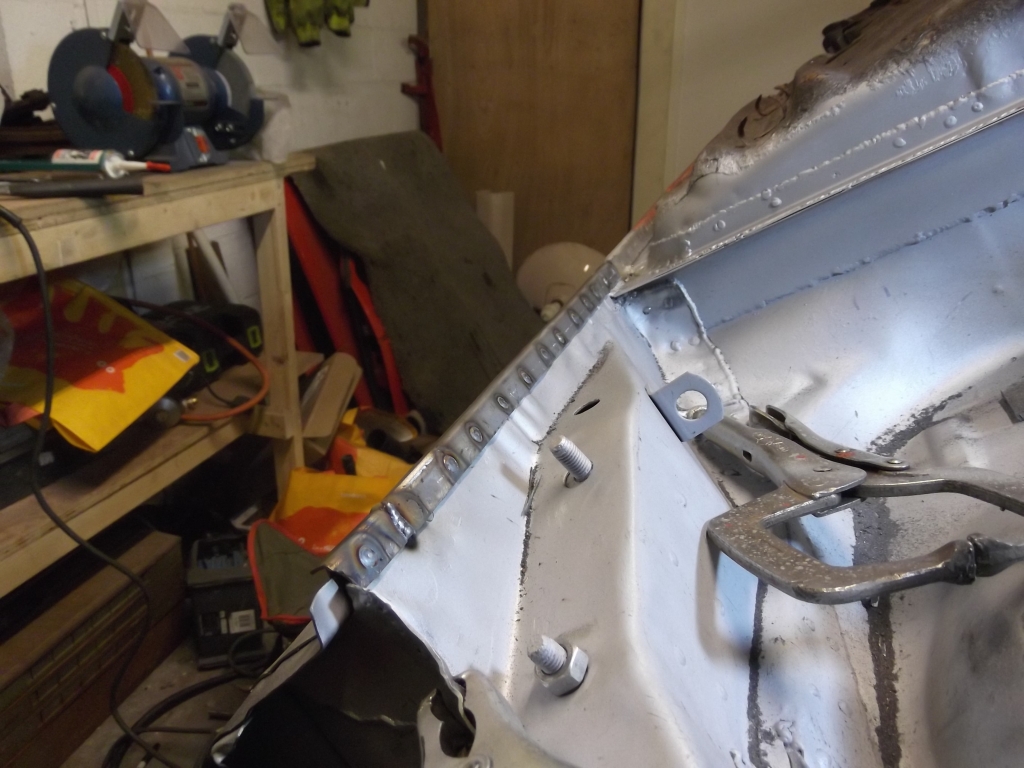
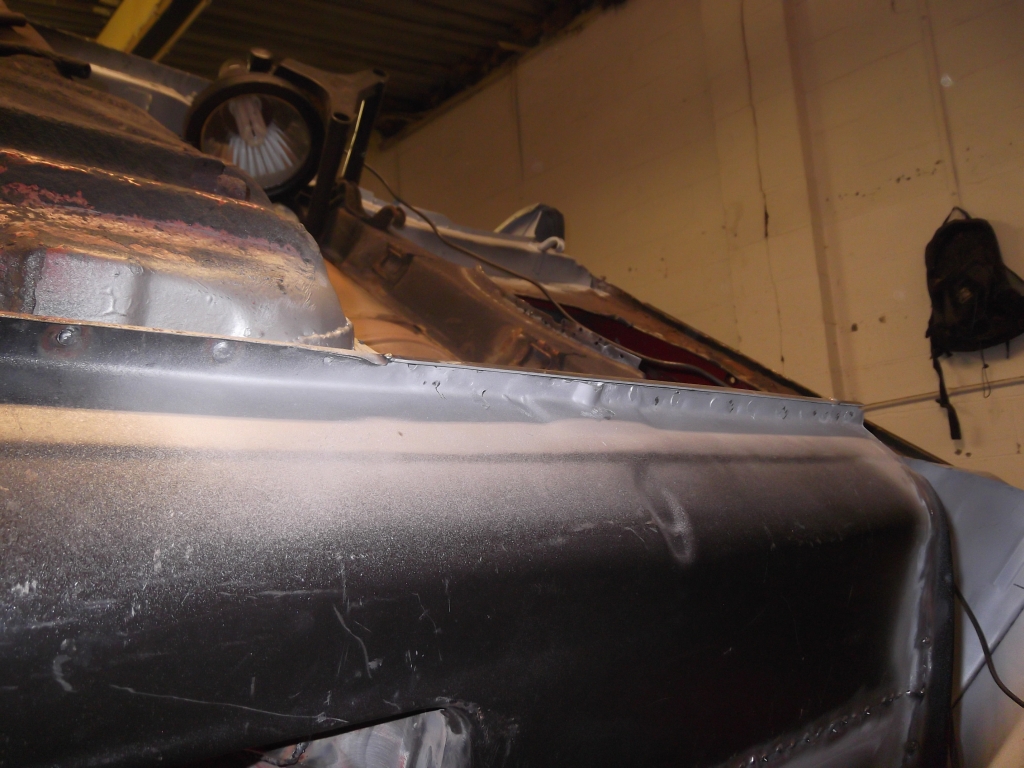
That's it for tonight's installment
Posted
Old Timer

Posted
Moderator


Posted

Secretary


Cant wait to see your finished car its going to be a cracker.
First Golf, lots of work. I've started so I'll finish!
Posted
Old Timer

Melteddrummer said
That's what I thought mate. By the time it gets painted then undersealed and a coat of wax, I doubt they would even pick it up. The strength is in the repair I did previous anyway, isn't it?
Exactly !
Posted
Moderator


Macca said
Just finished reading your whole thread mate. Top effort, you've put a lot of time in effort into the car. A lot of the bits that you have cut out and fixed were the same on mine. Its surprising how the same coloured golfs all seem to go at the same points.
Cant wait to see your finished car its going to be a cracker.


Cheers Macca, yes certainly a lot of hours gone into this car and still nowhere near done
Posted
Moderator


Anyway, this was the hole I found behind the accelerator pedal, cut the rot out, cleaned the area, made repair piece and welded in, as per usual
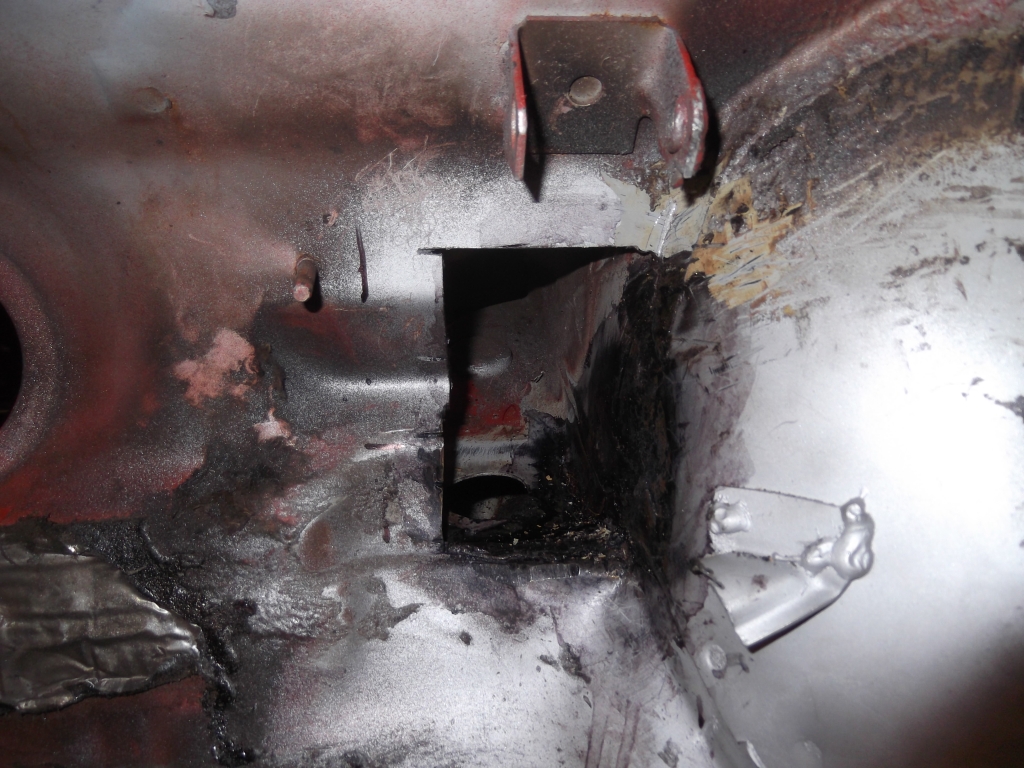
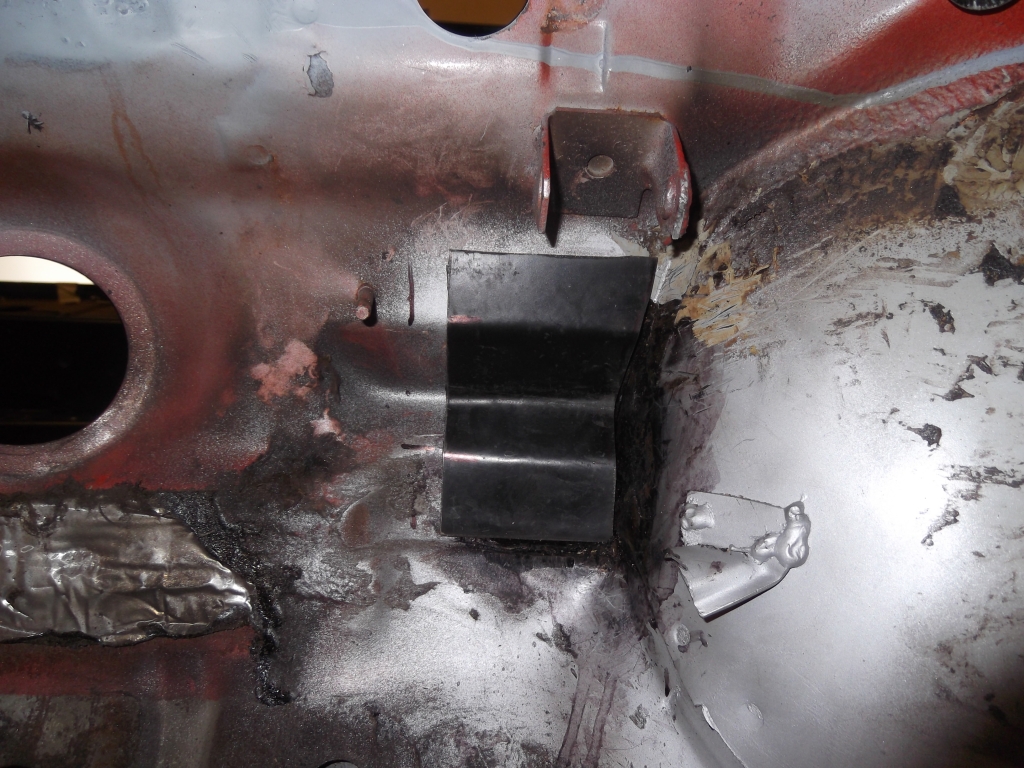
From in the bay
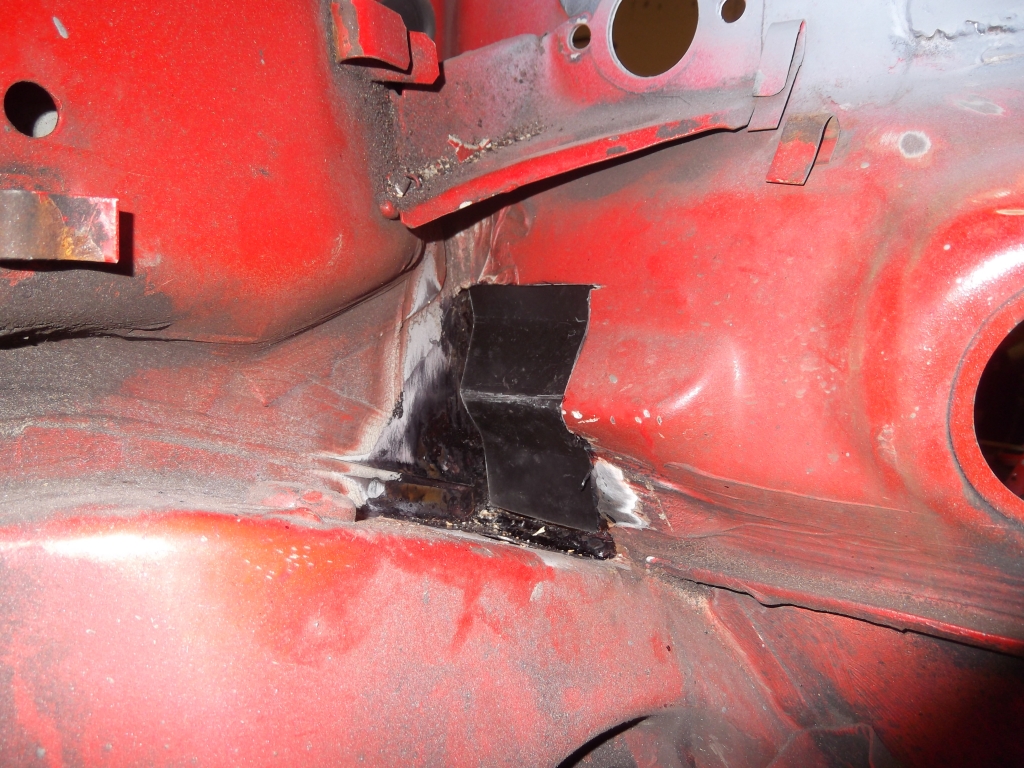
Etch primered
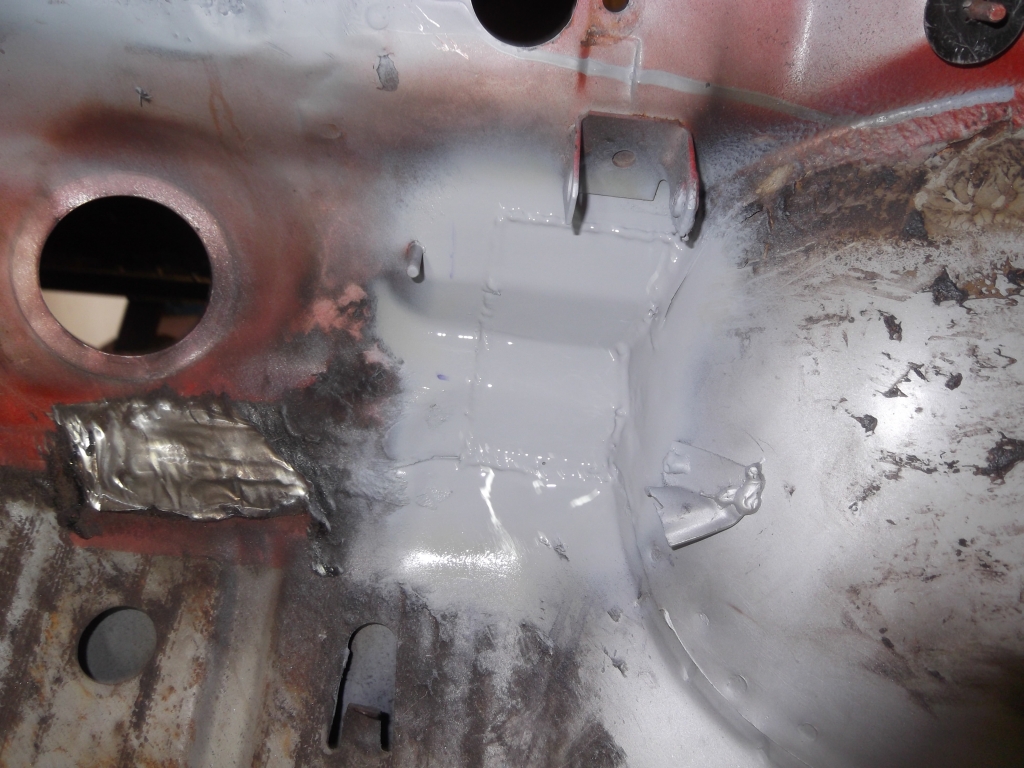
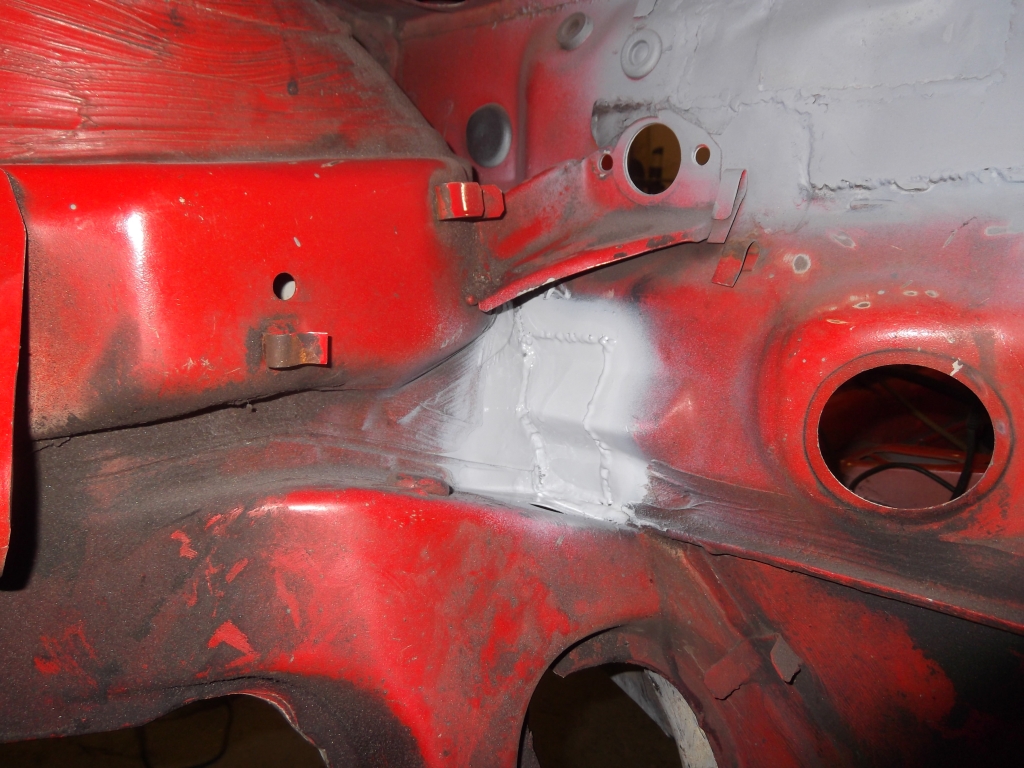
Found ANOTHER nasty little area, still not sure how I'm going to tackle this, I'm thinking of cutting a hole in the foot well to get access from inside as I don't really want to remove the steering rack/wishbone mounts
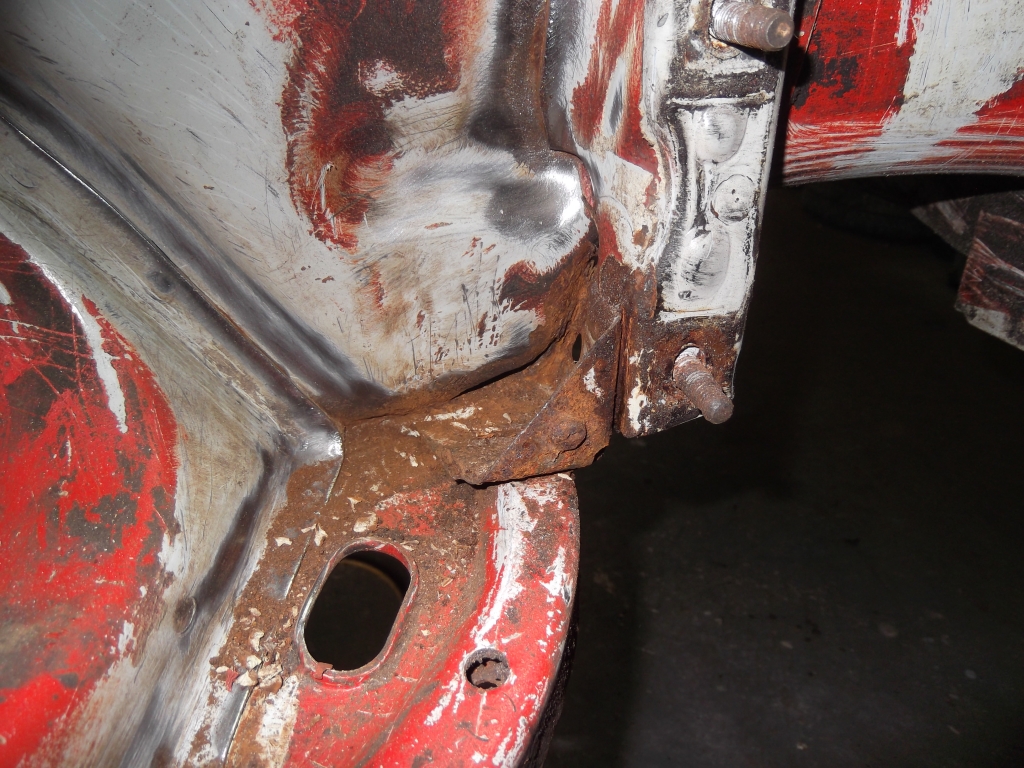
Also found ANOTHER little hole in the opposite side from the last one I've just fixed
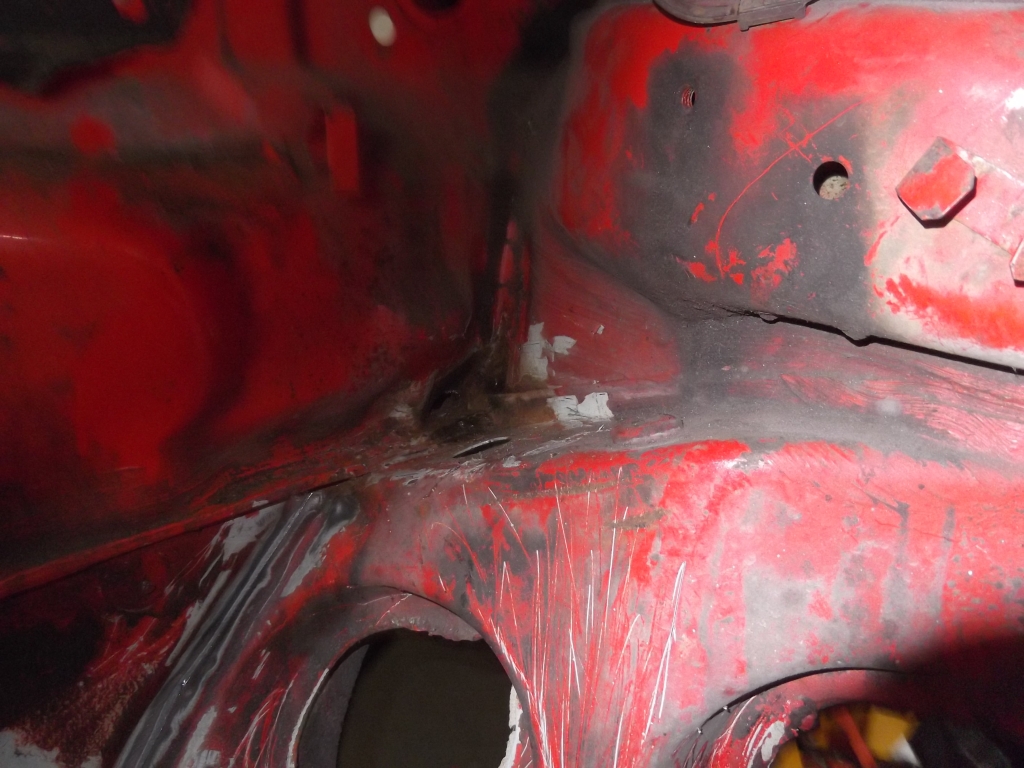
From inside
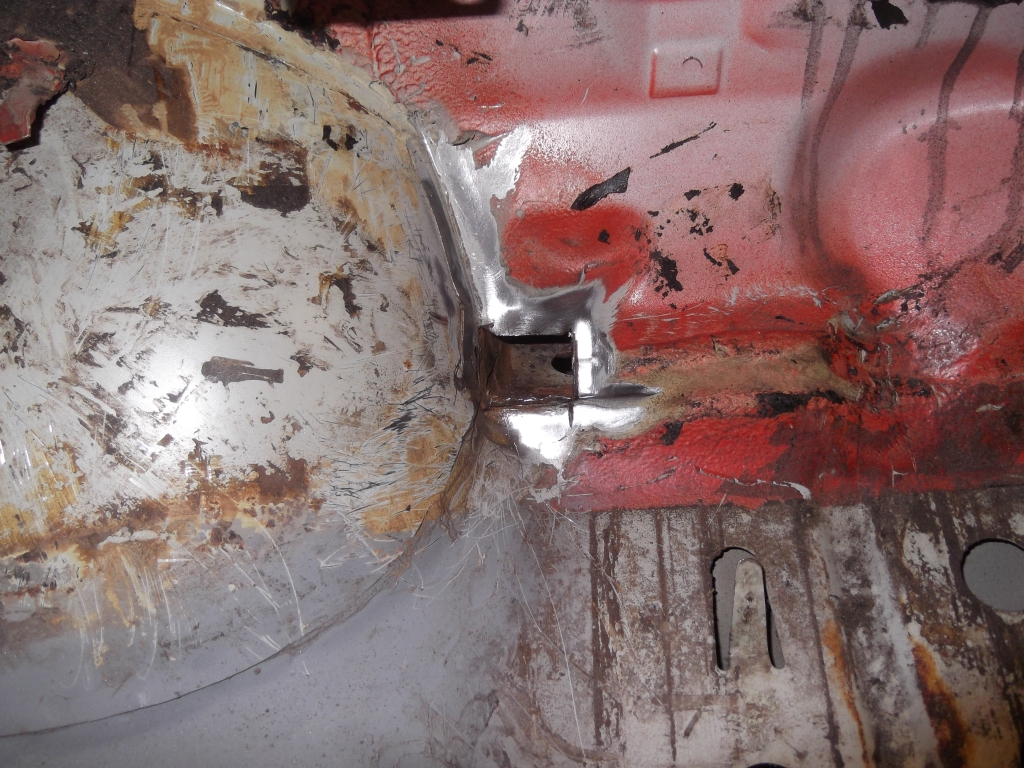
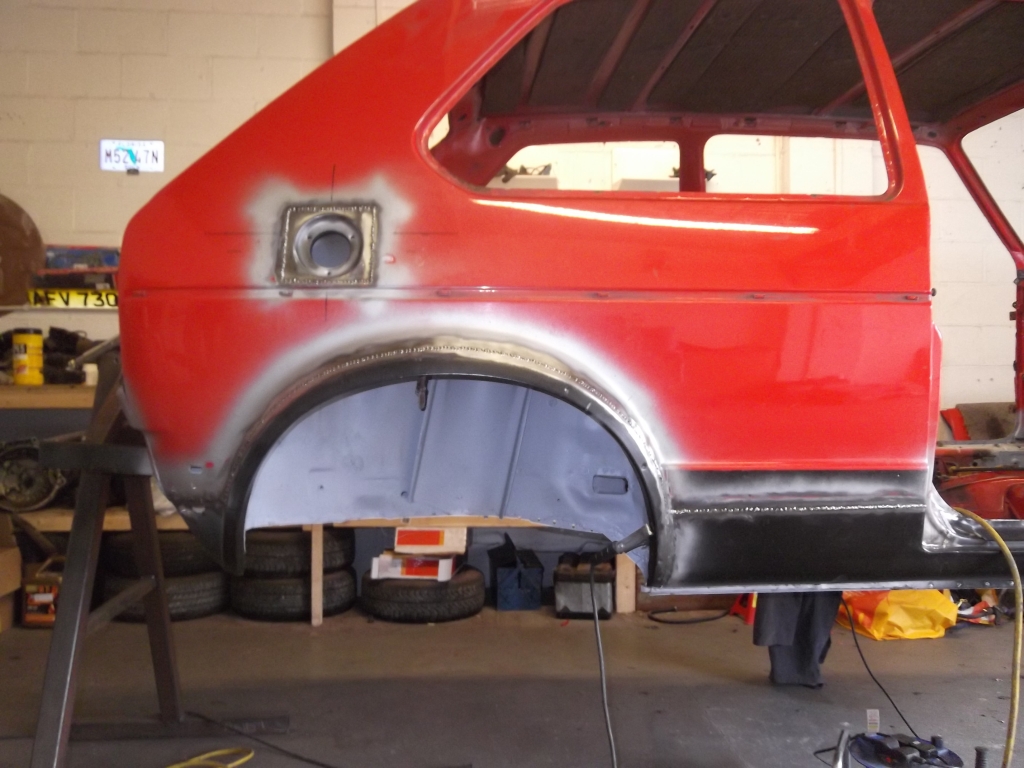
On a more positive note, The rear O/S arch and sill are nearly finished. I also have repaired the fuel filler, I've been working on the nasty bits while the spot welds were cooling off on the arch/sill/fuel filler areas, so as to keep continuity.
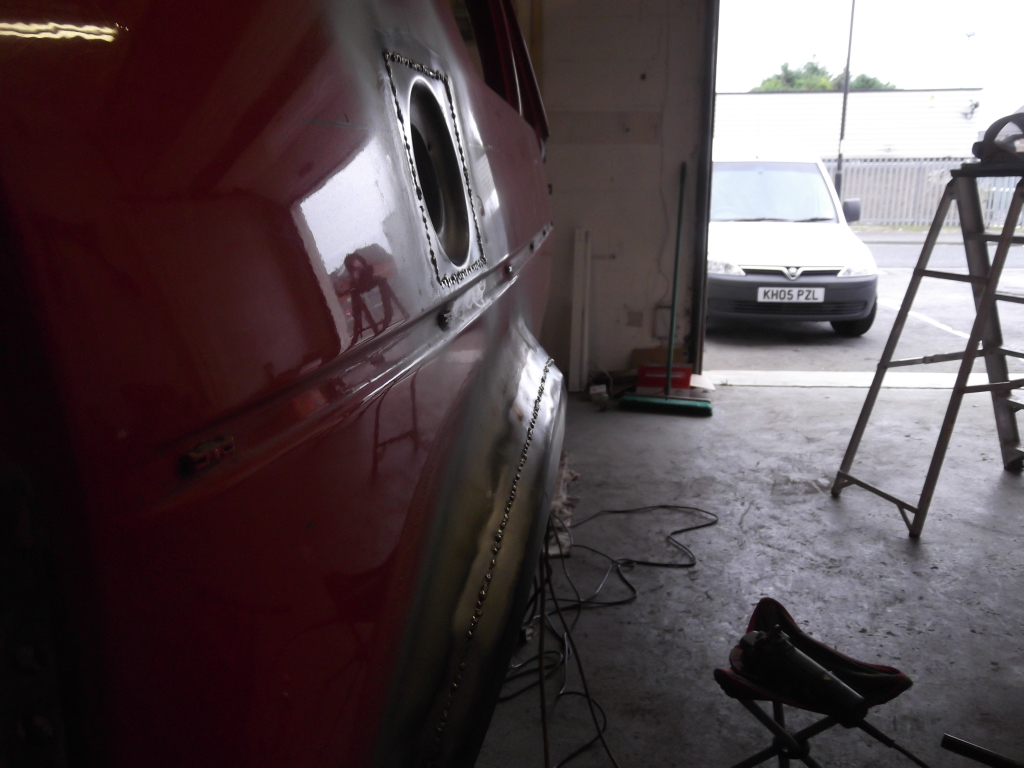
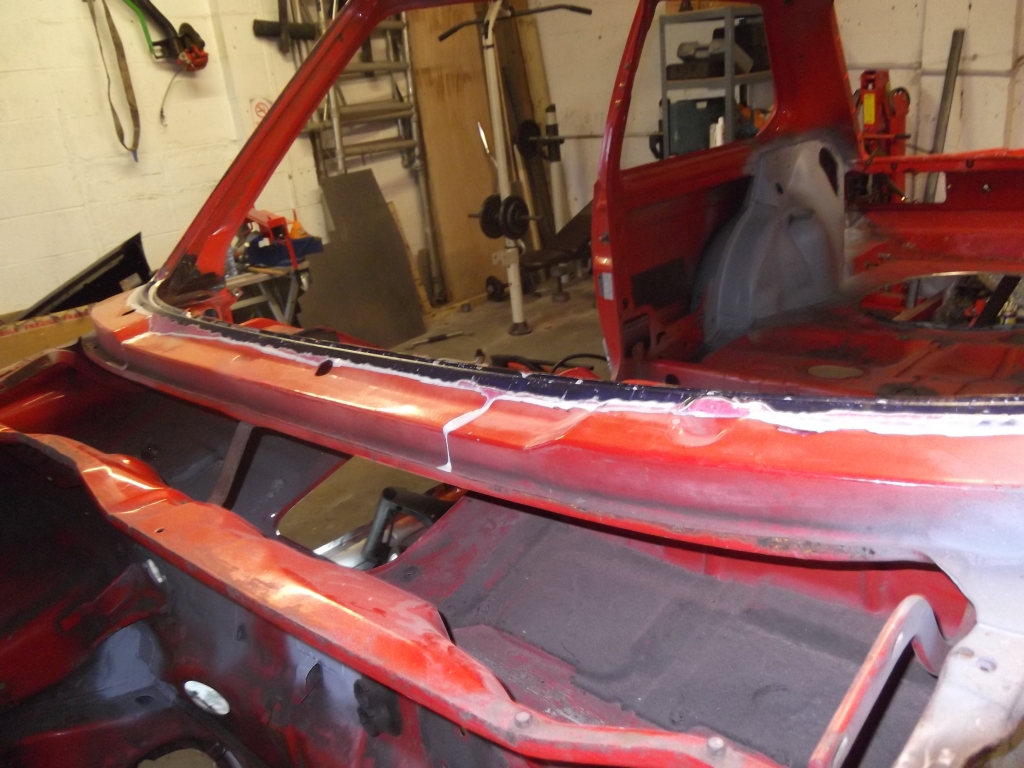
I have also been treating the surface rust that I found around the bottom of the windscreen, removed the paint with one of those fibre wheel thingies, good bit of kit those!!
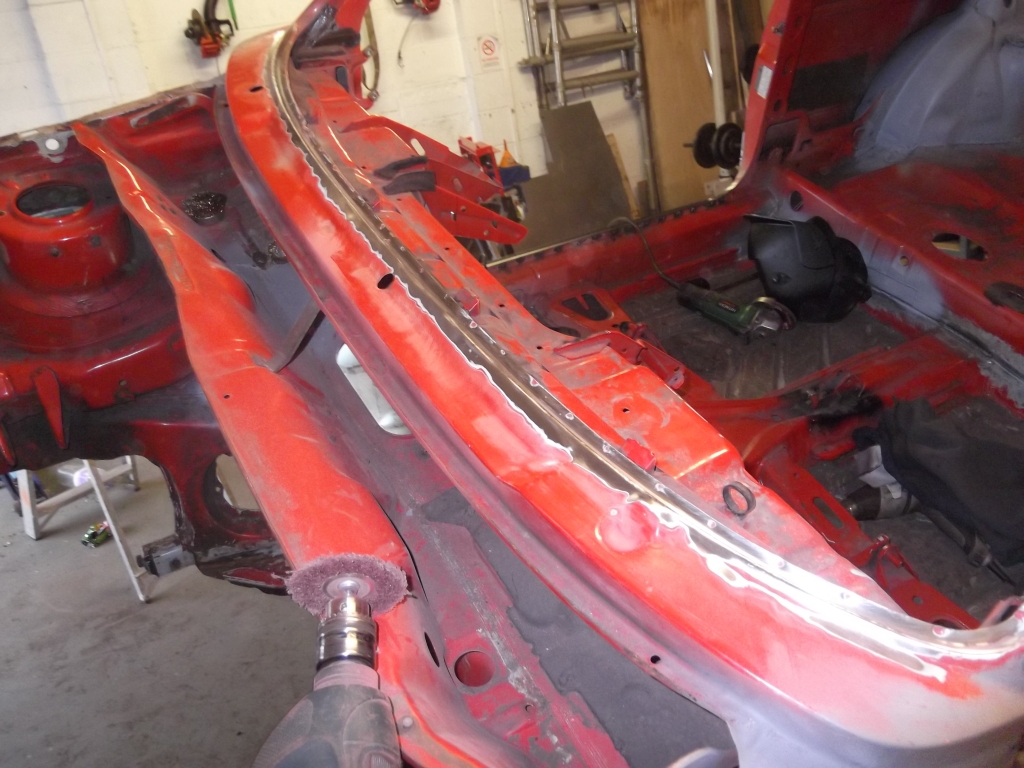
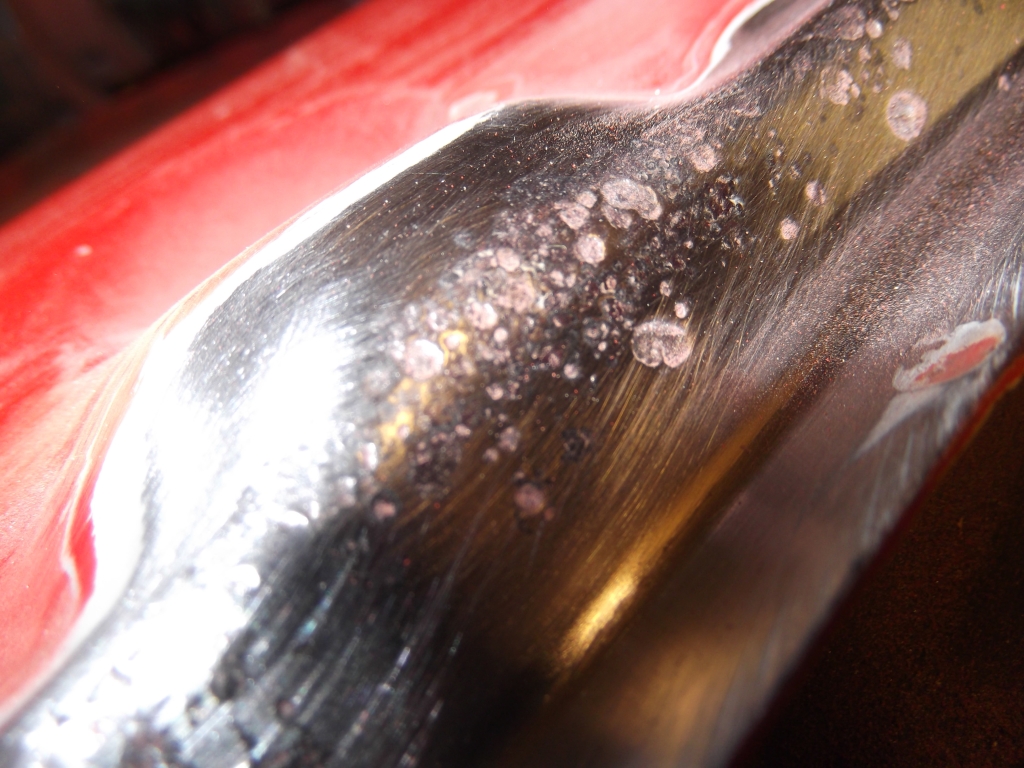
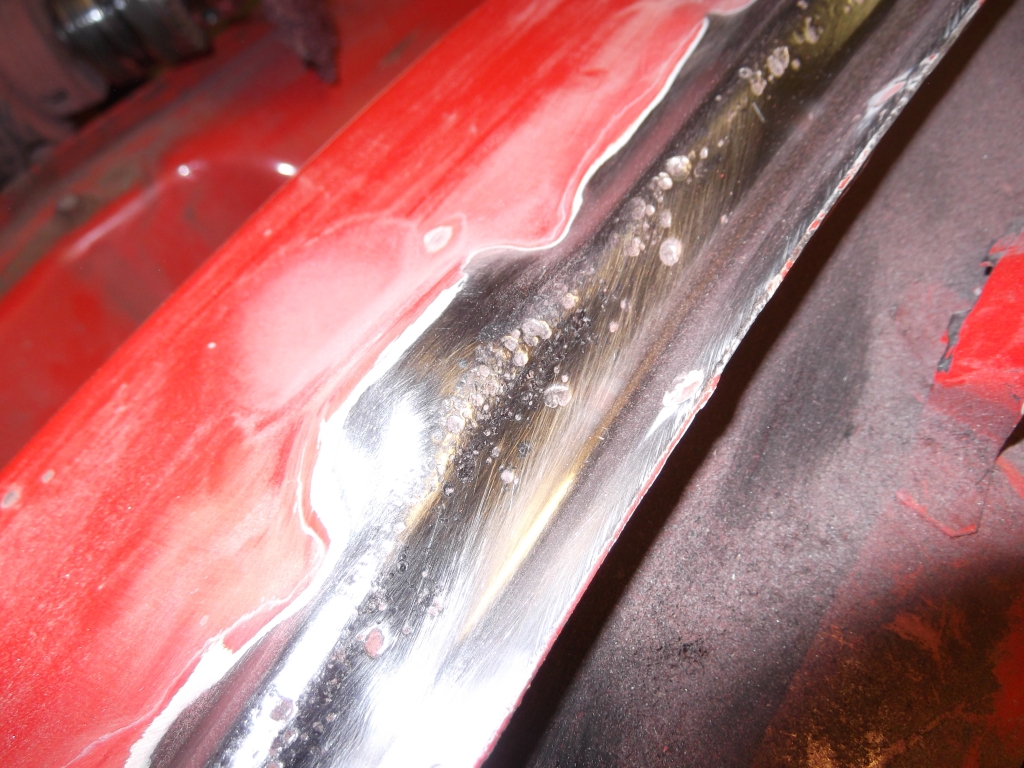
Done a final polish with a wire wheels the applied Kurust
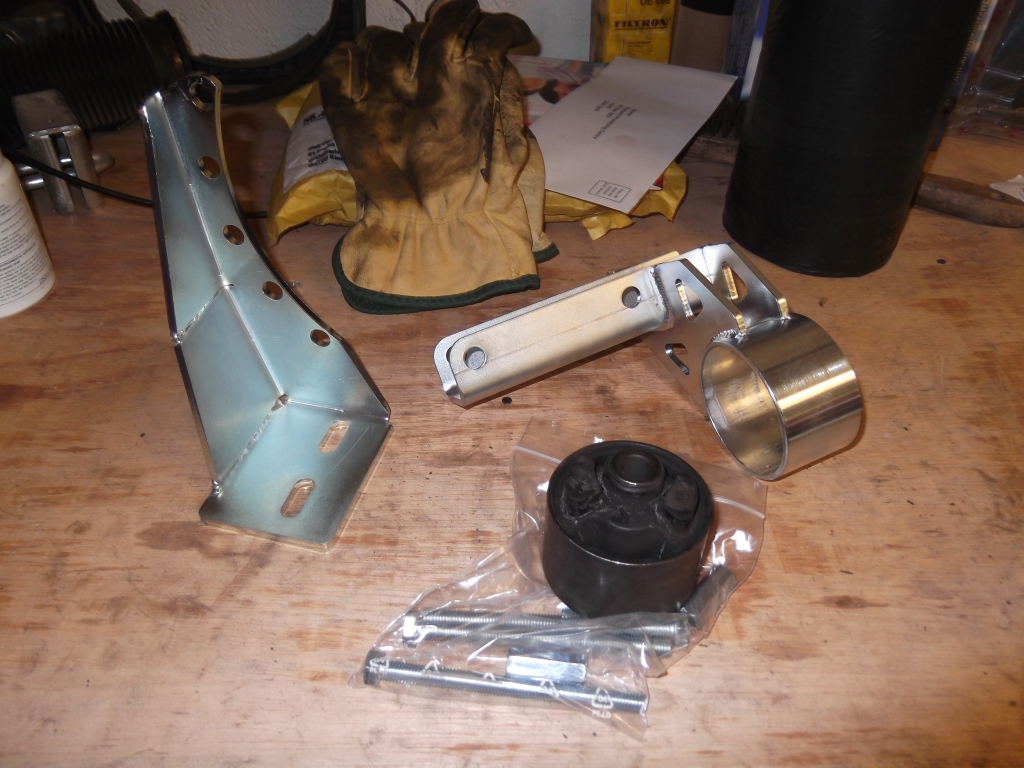
Had a parcel tonight when I came in too, my new engine/gearbox mounts arrived from Epytec, they look really good quality, just need a gearbox to attach them too now
That's it for now peeps.
Cheers, Andy.
There are too many online users to list.


