Chuck Norris Tough sills / Jacking points
Posted
#1670124
(In Topic #240653)
Newbie

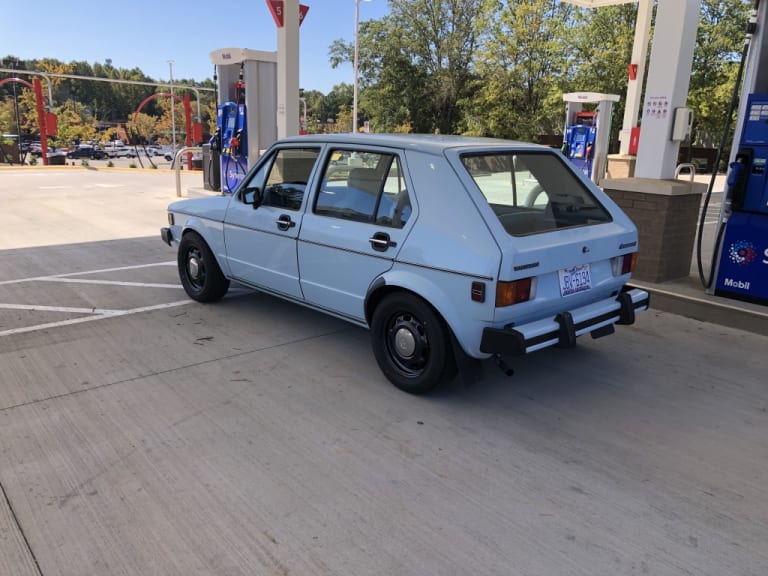
I recently spent some time really improving the underside of my 1979 Golf and I wanted to share what I'd learnt to hopefully give confidence to you guys if you’re in the same position as I was.
Firstly, my car had crushed jacking points on both sides from many years of being jacked up and down over its long life. I think this is fairly common as the area in question is very soft.
My first task was to straighten out the crushed sills. I got access to a friend’s 2 post lift for this job, then welded some stout washers to the middle of the dented areas, right on the edge of the sill seam.
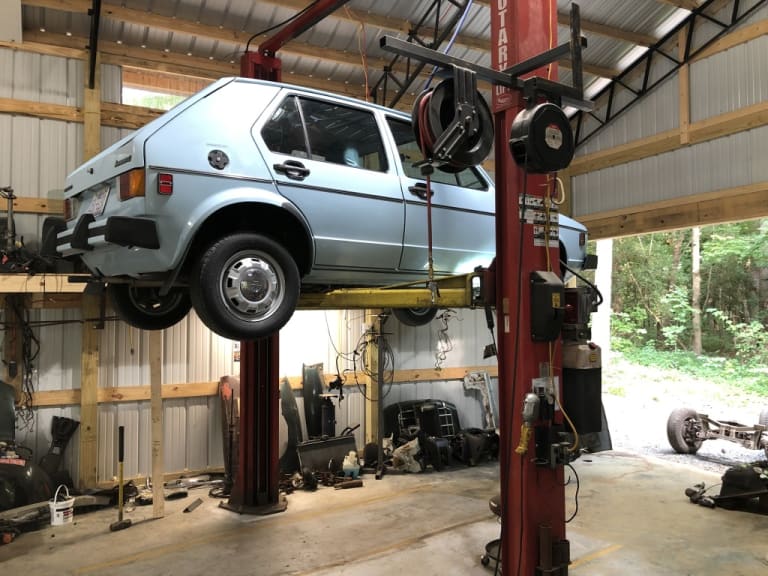
I attached a chain to the washer with a small bolt and around the bottom of the lift arm and back up to the washer to make a loop. Using a steel rod or pry bar, applying downward pressure between the lift and the chain, the bodywork starts to straighten back out nicely.
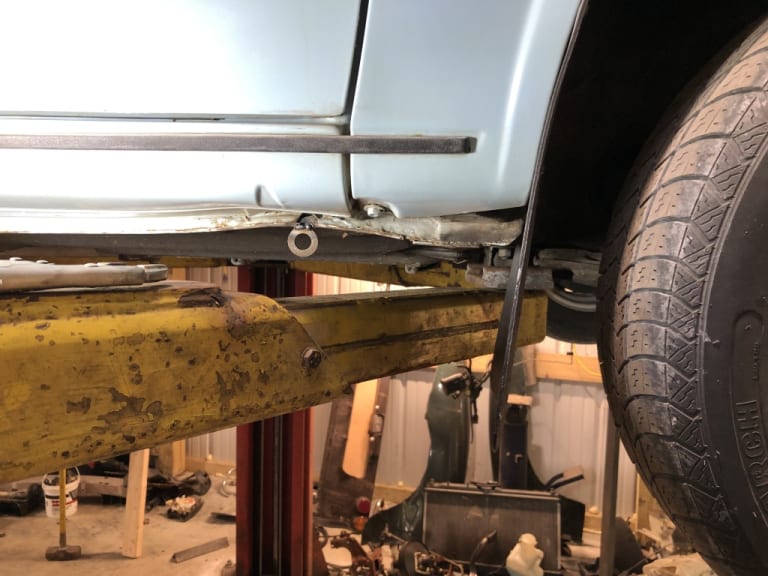
Then weld another washer in front or behind the washer, and repeat…… keep going until the sill is pulled straight. It doesn’t take as much effort as you’d think. Go slowly, switching between the washers – take your time.
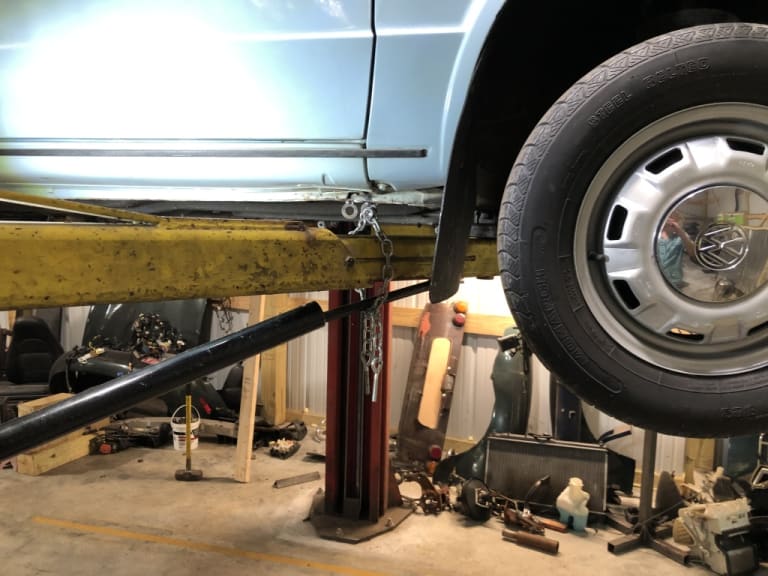
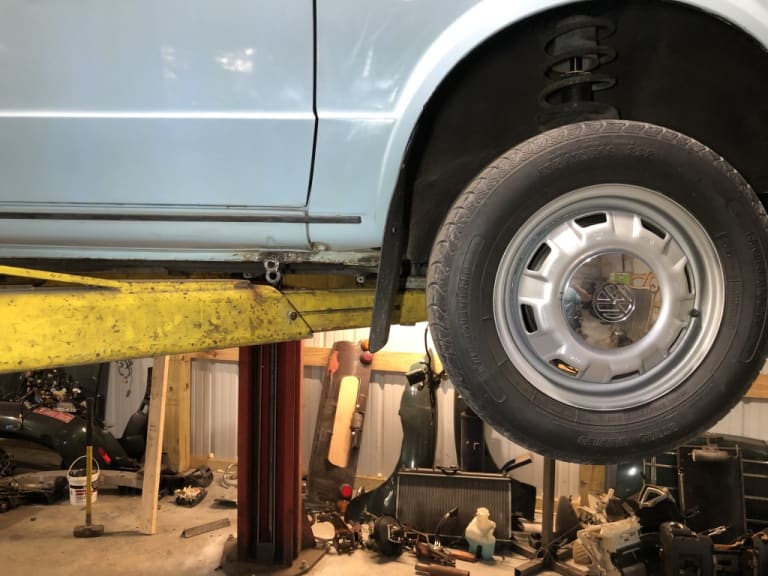
See if you can persuade a back street garage into use of their lift for a fee. You can get the washers welded on and then drive to the garage all ready to go. Here are the results.
Now that you have your sills straight, you can move to the strengthening stage. I went to a steal outlet and bought 20 foot of 1" x 1" with 3/16” material thickness angle iron, much cheaper than the hardware shops. It’s pretty stout stuff. Get them to cut it into smaller lengths and it will fit in your car.
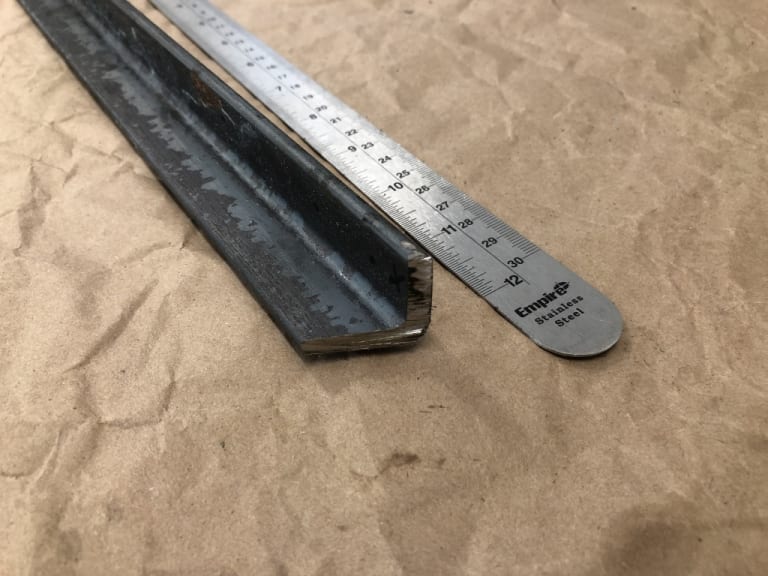
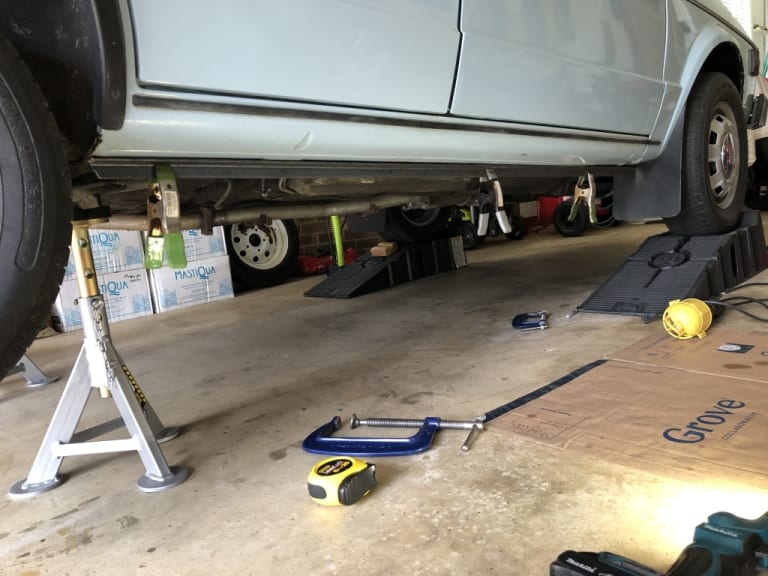
Next cut it to rough lengths of your sill seams and clamp it in place to get the length and angle of your final cut to match the original seams. The idea is that you are going to weld one side of the angle to the vertical seam and the other to the outer horizon part of the adjacent bodywork, tying it all together for strength.
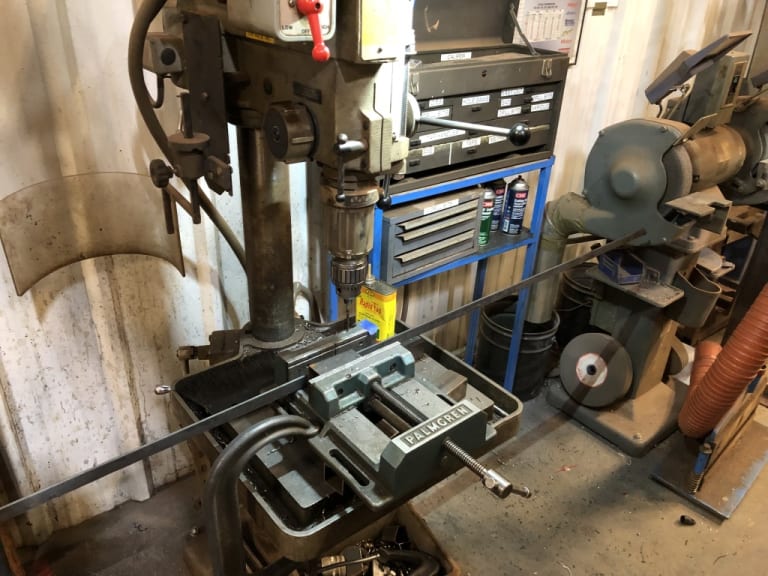
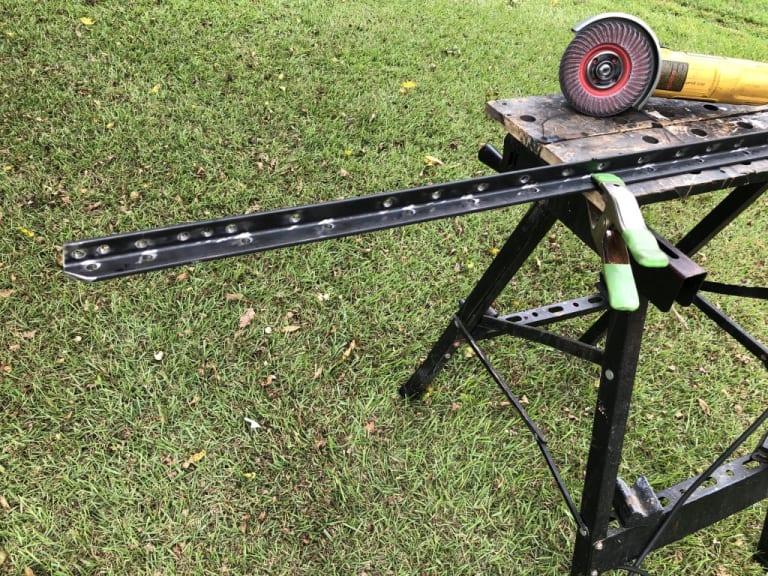
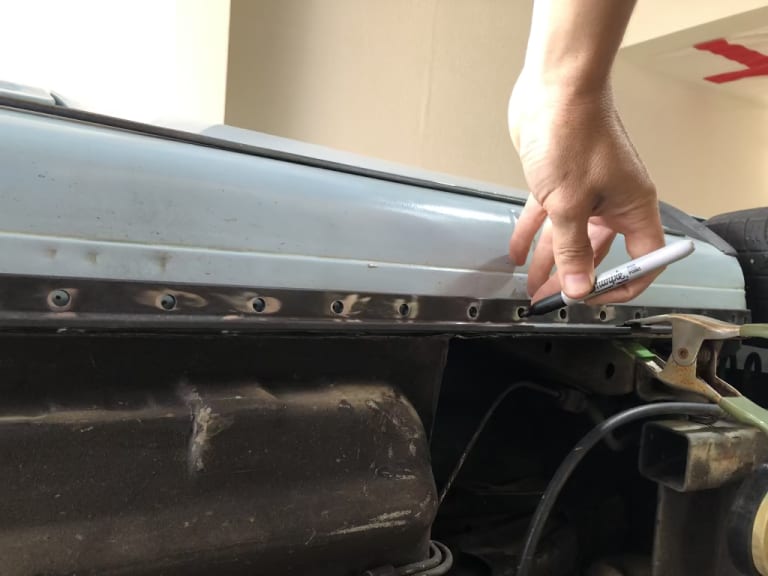
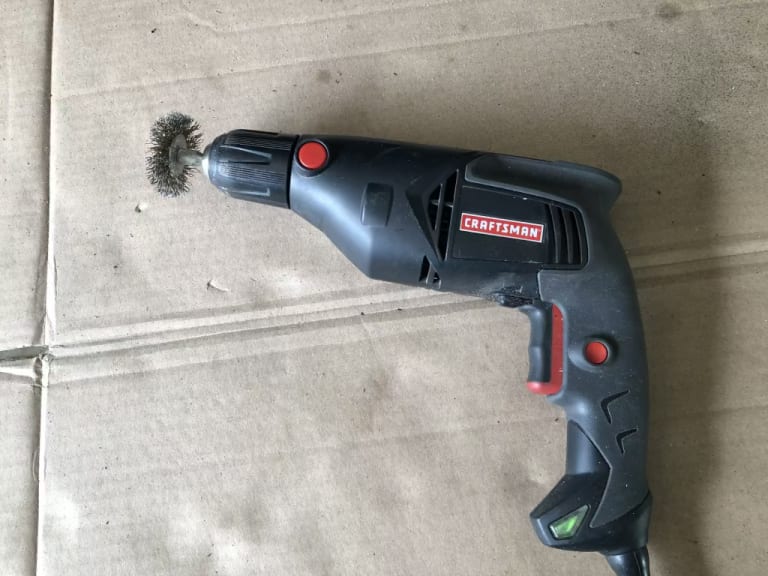
Now armed with your two lengths of angle iron, start drilling small holes around 5mm in diameter along the length of each at a distance of around 80mm – 100mm apart, on the vertical and horizontal sides. You are going to use these holes to plug weld against the seam and the underside of the body. Remember all of this is under your car and not really visible. When complete, clamp them in place again and make a mark on your car corresponding to each hole. This is where you will need to remove the paint in preparation for the small welds. I used a drill with a small wire wheel. It’s a bit of a messy job.
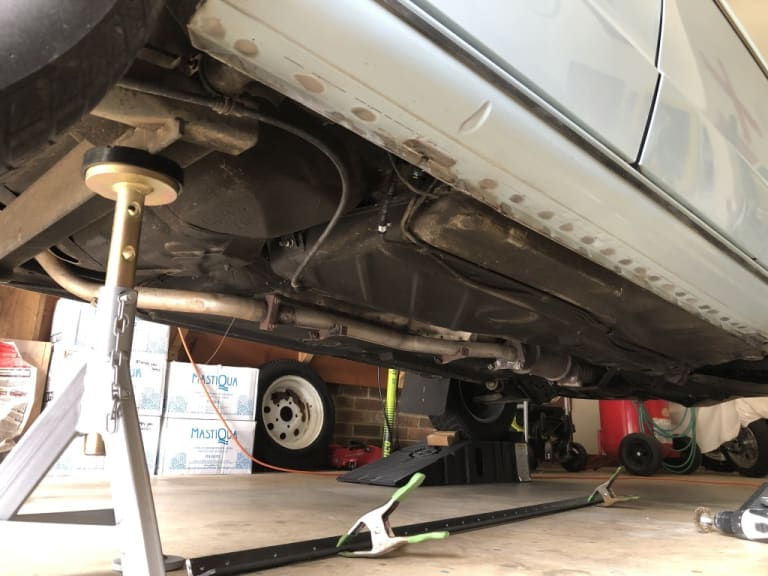
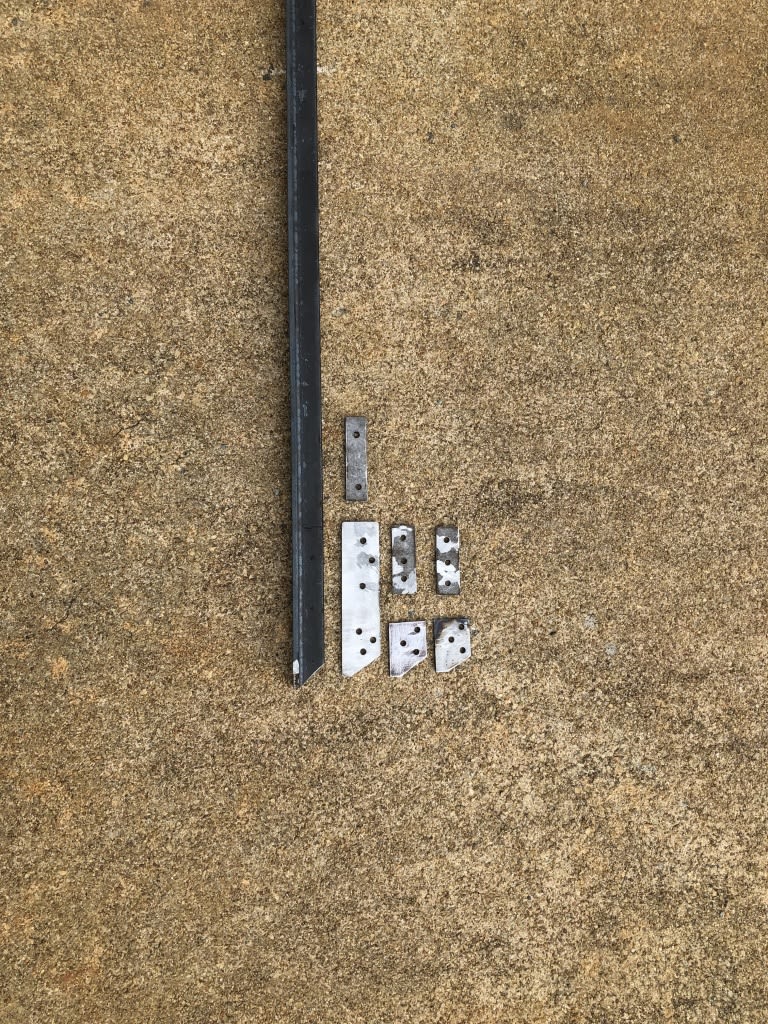
You may have already noticed that the bottom of your car isn’t flat. They step up at the front a fair bit. You will be able to bend the angle iron to the shape of your car a bit, using a car jack as you go, but at the front I opted to fill this gap by cutting sections of thin steel plate to build up the gap between the steel and the bodywork.
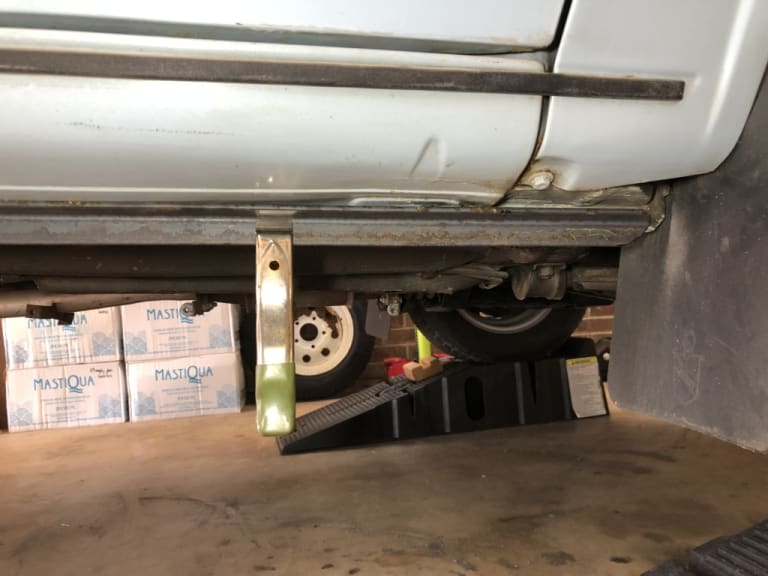 .
.Here they are laid out. Once again, you drill each piece and weld them to the car starting at the top, and then layering onto each other working down to form a horizontal surface for when you come to weld the angle iron in place.
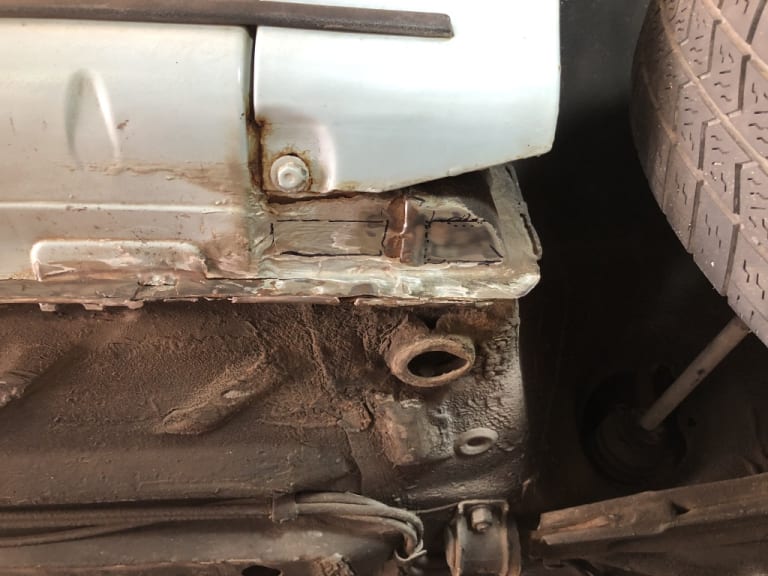
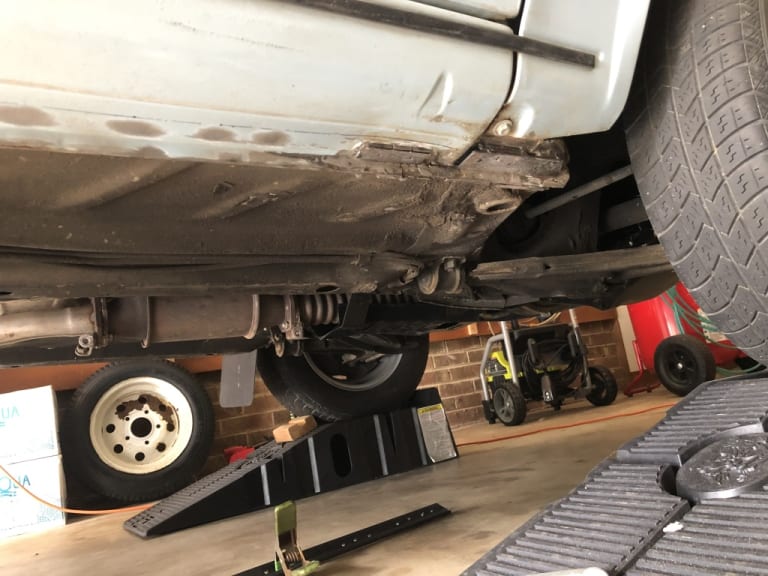
With the underside ready and your plates welded in, you can now start welding the length of angle in place. I started at the front and worked back. I used a jack and clamps to hold a short length in place while I weld, then move everything reward as I go. Make sure the angle iron is pressed up hard and is clamped to the vertical seam.
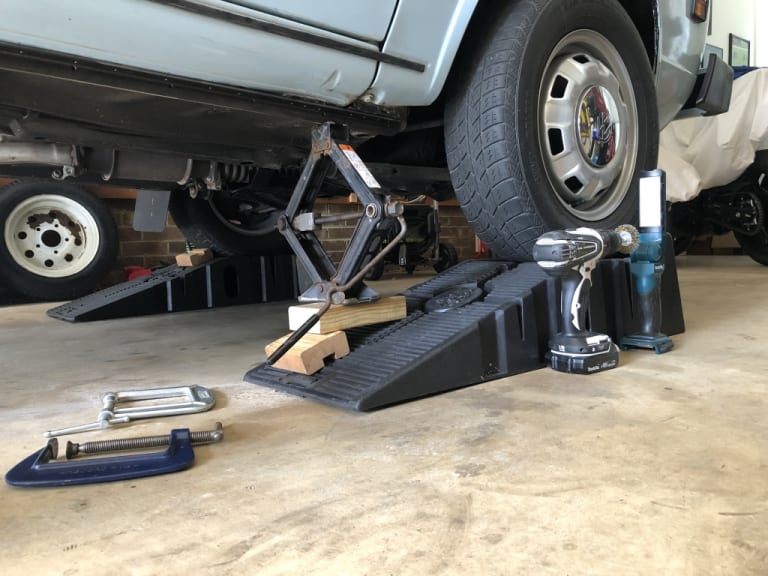
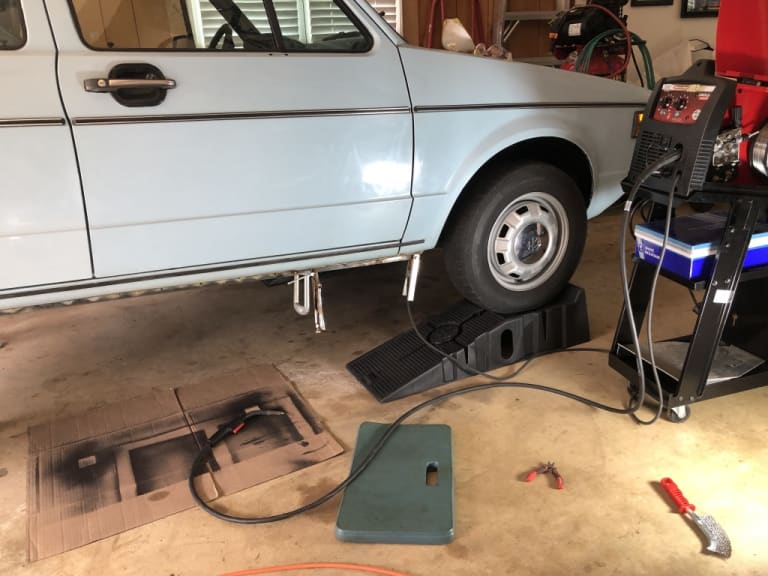
Eventually you’ll get to the rear. I had to bend my length of angle slightly inward towards the car too, just at the very rear though. Just use a car scissor jack against a wall, another car wheel or another heavy object. Mostly the clamps will do the job fine.
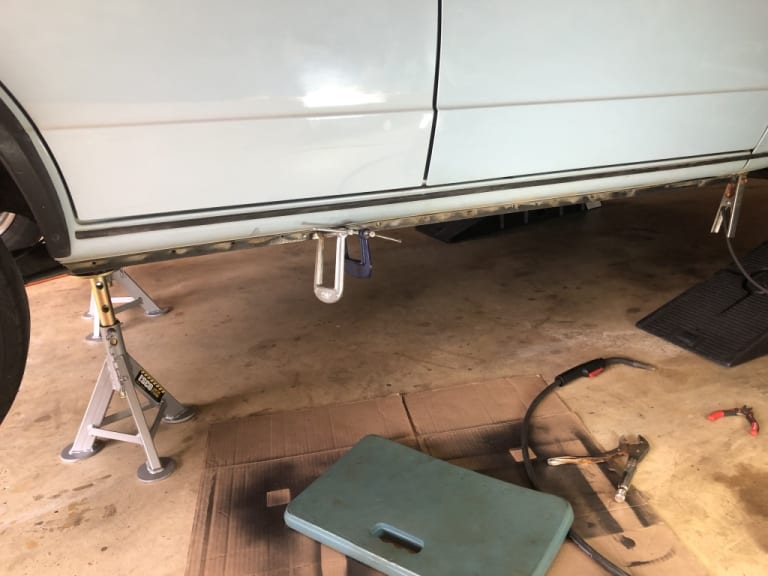
Once you’ve done this, the next task is to seal it up. I used an underbody auto sealer (3M is good). Start off with sealing the plug welds then completely cover all the joints with the stuff and press it into all the nooks and crevasses with your thumb and fingers. Let it dry, then tape off a nice straight edge on the outside to paint. I painted mine black, which made it completely disappear. Once complete, repeat on the other side.
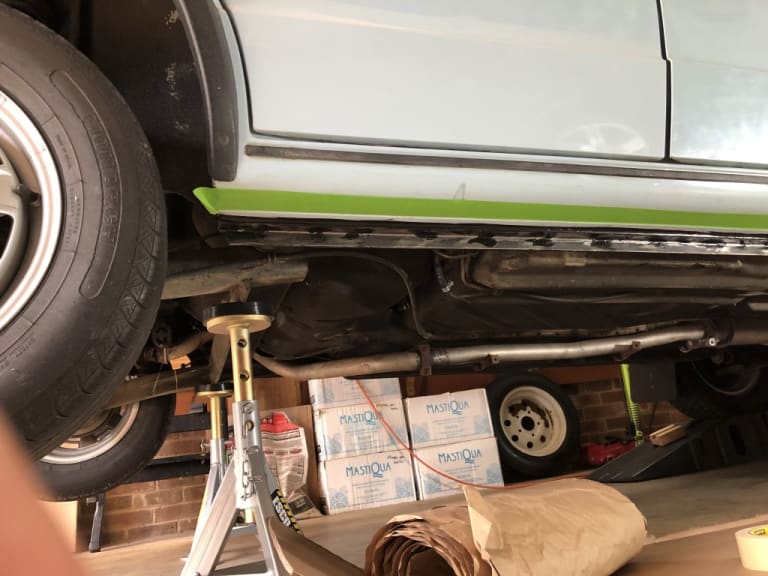
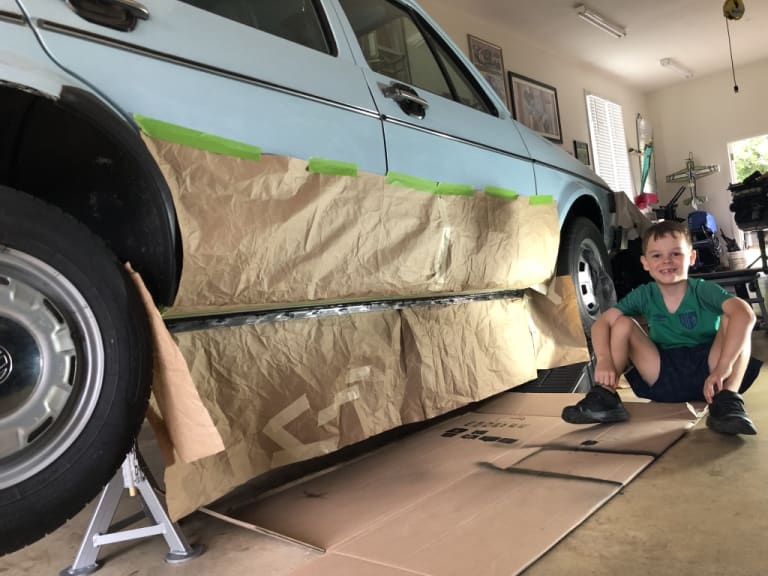
If you get this done, you will forever have VERY strong sill seams and you’ll be able to jack your car anywhere along its length without fear of damage. For testing, I was able to jack the side of my car up with one jack without any creaking or bending. It’s been the best thing I’ve done on this car, as I’m always working on it and I jack it up regularly. It's also a visual improvement having a nice straight lower edge. I hope this helps you guys in some way. Feel free to add comments and improve on what I’ve shared.
 Last edit: by ChrsLN
0 guests and 0 members have just viewed this: None.


