Wiper motor upgrade to mk2 / mk3 and wiper mechanism service
Posted
#1673460
(In Topic #242242)
Local Hero


I started off with a mk2 wiper motor from Classic VW part number 191955113A.
First remove the plastic caps from the wiper arms. I used a small flat head screw driver to carefully pry them off.
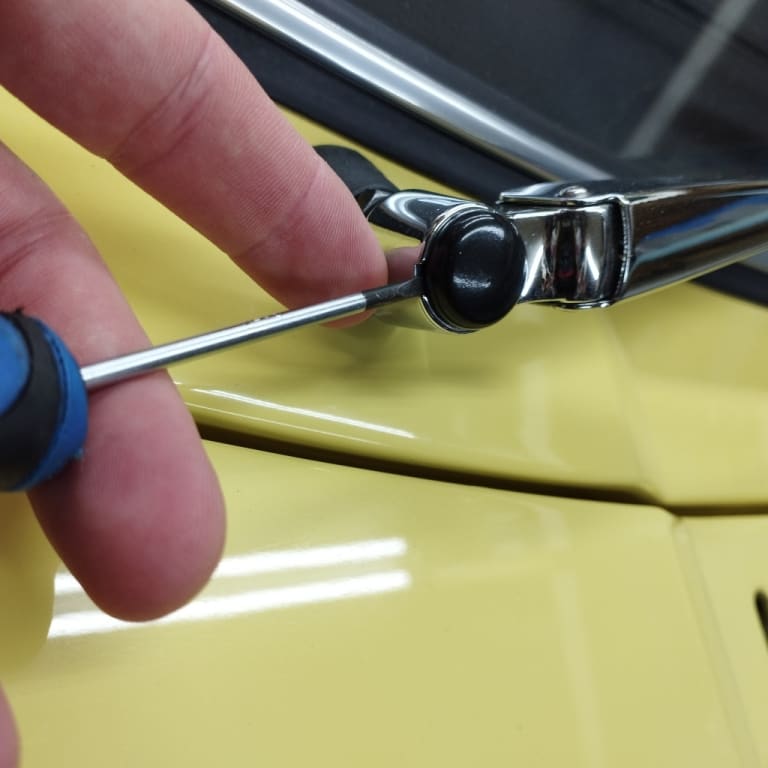
Posted
Local Hero


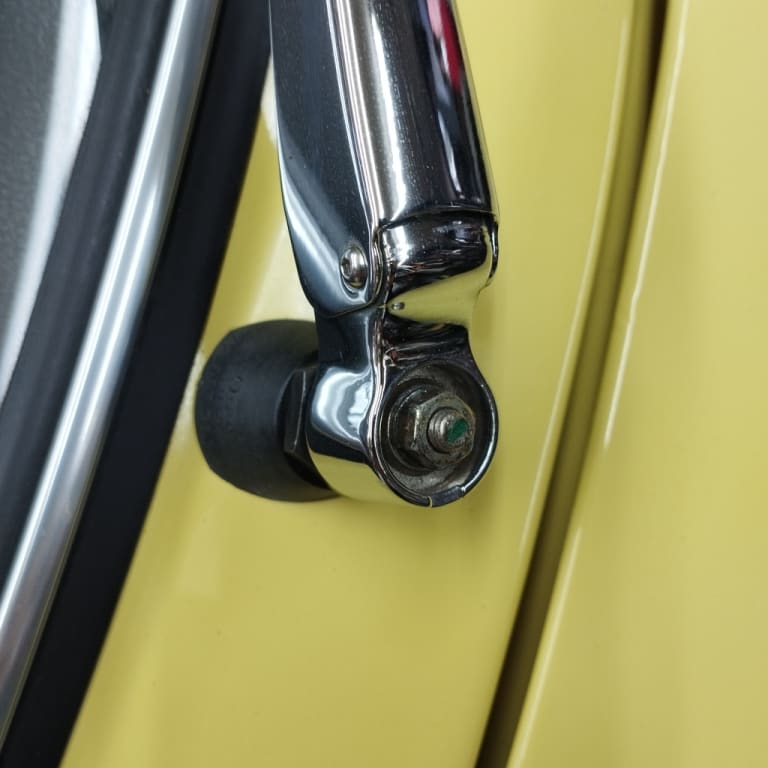
Don't remove the nut completely, use a ball joint remover tool to release the wiper arms from the splines.
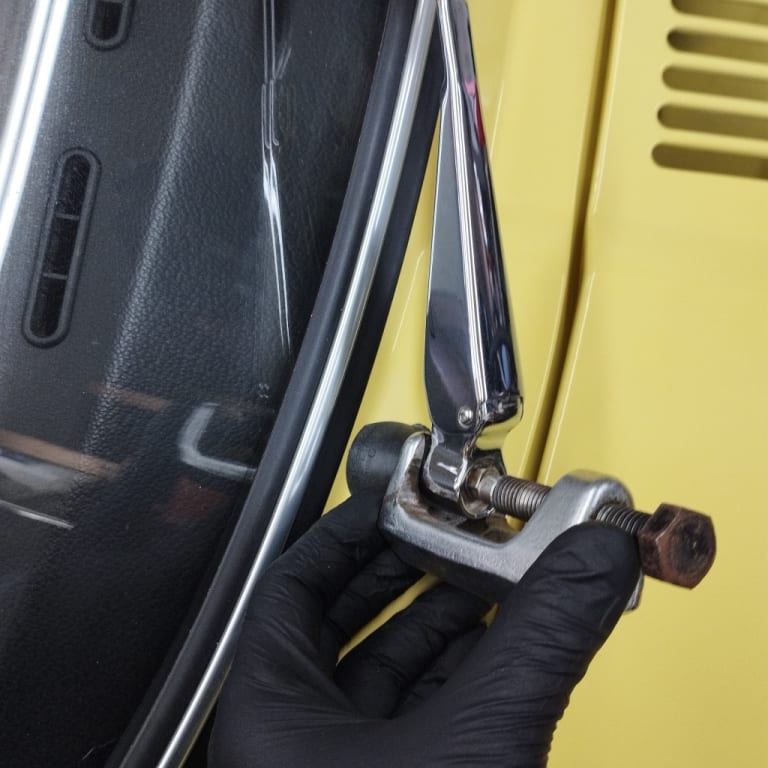
Once the wiper arms have been released from the splines you can remove the 10mm nut and slide the arms off.
Posted
Local Hero


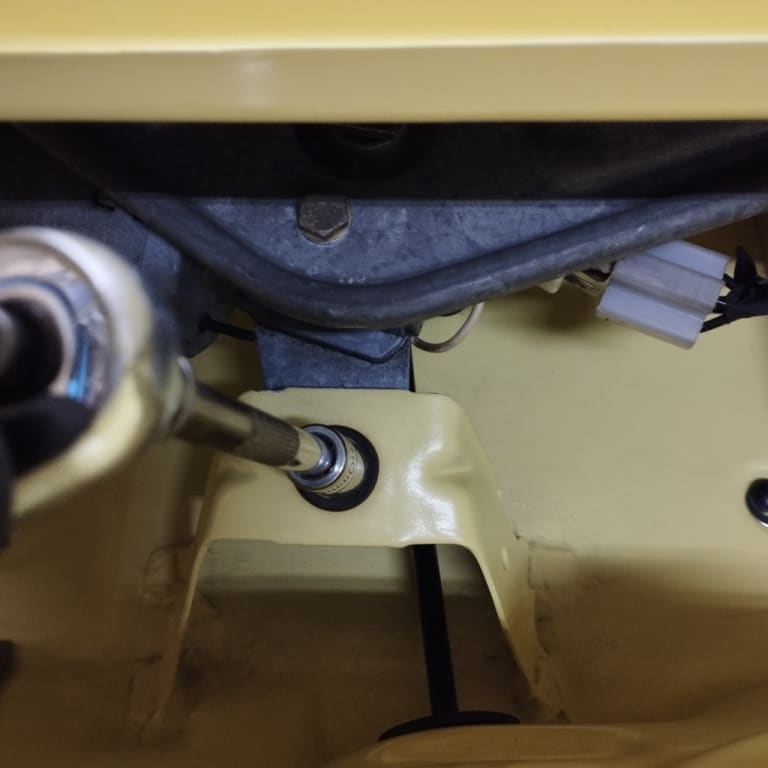
Next disconnect the battery and remove the white wiper motor connector.
Posted
Local Hero


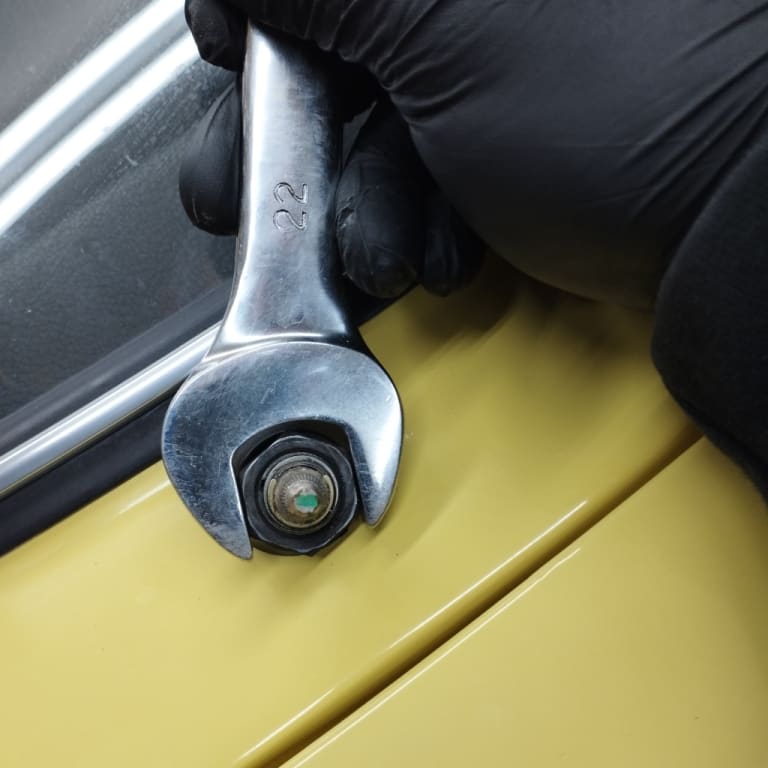
Once both nuts have been removed you can slide the entire wiper motor mechanism out from under the scuttle.
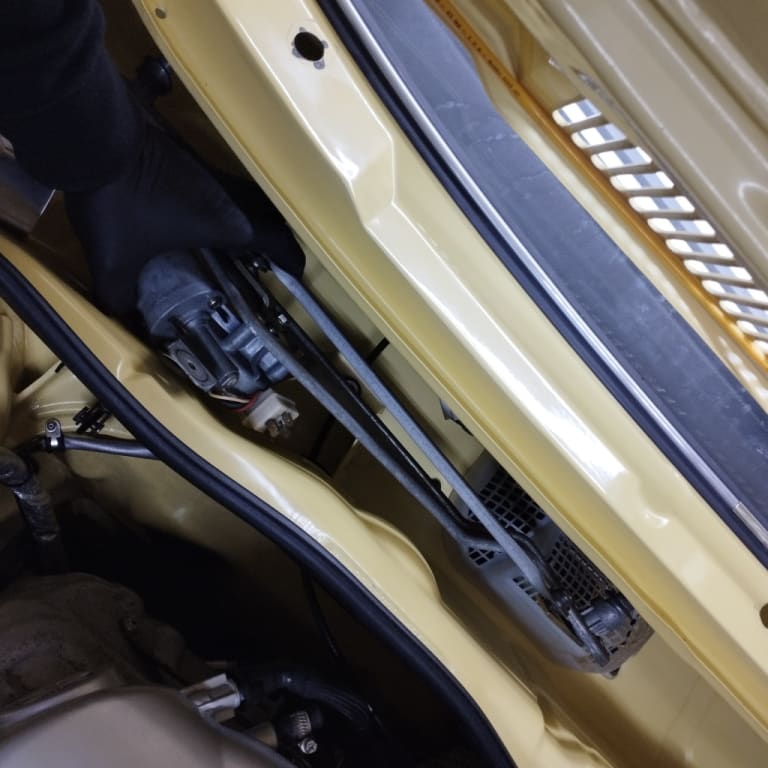
Remove the 10mm nut from the centre of the wiper motor first and then the 3 x 10mm bolts which hold the old motor on to the mechanism. Ensure that the mechanism doesn't move or make a note of how it is orientated so it's easier to set up when you're finished.
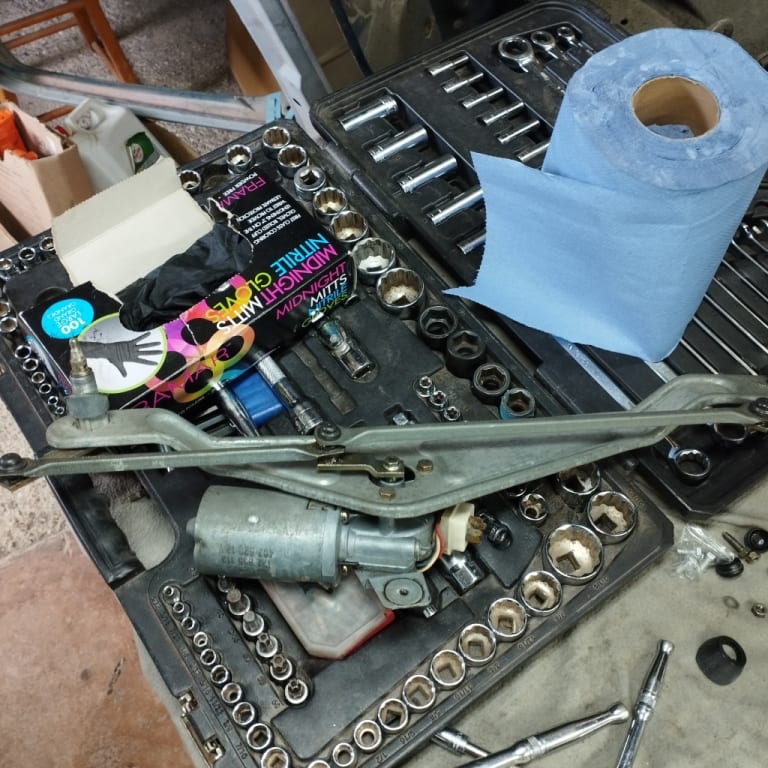
 Last edit: by Rich.
Posted
Local Hero


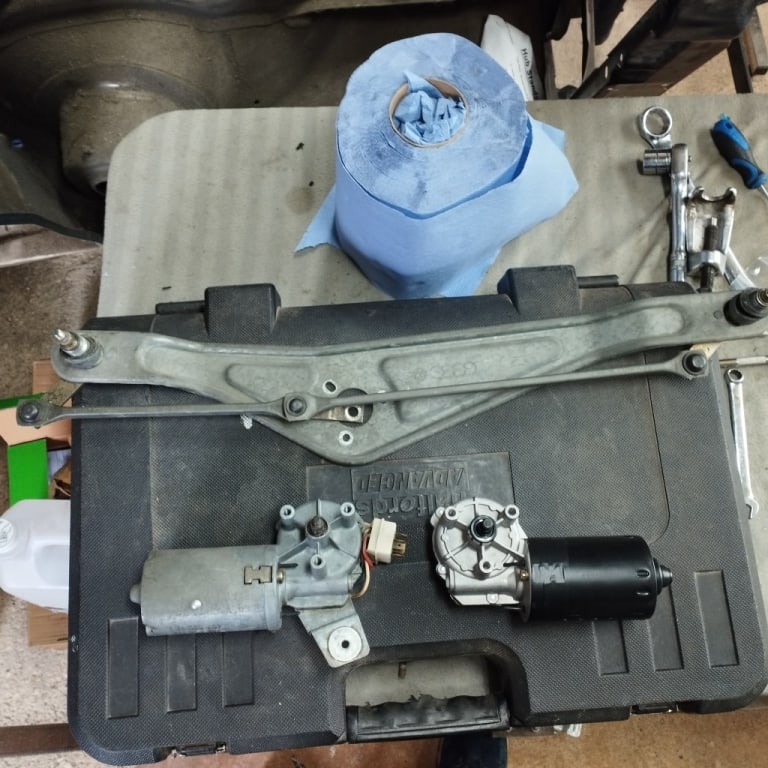
As the entire mechanism is out I set about re greasing the spline shafts and ball joints.
To remove the spline shafts from the wiper mechanism there is a circlip on each side.
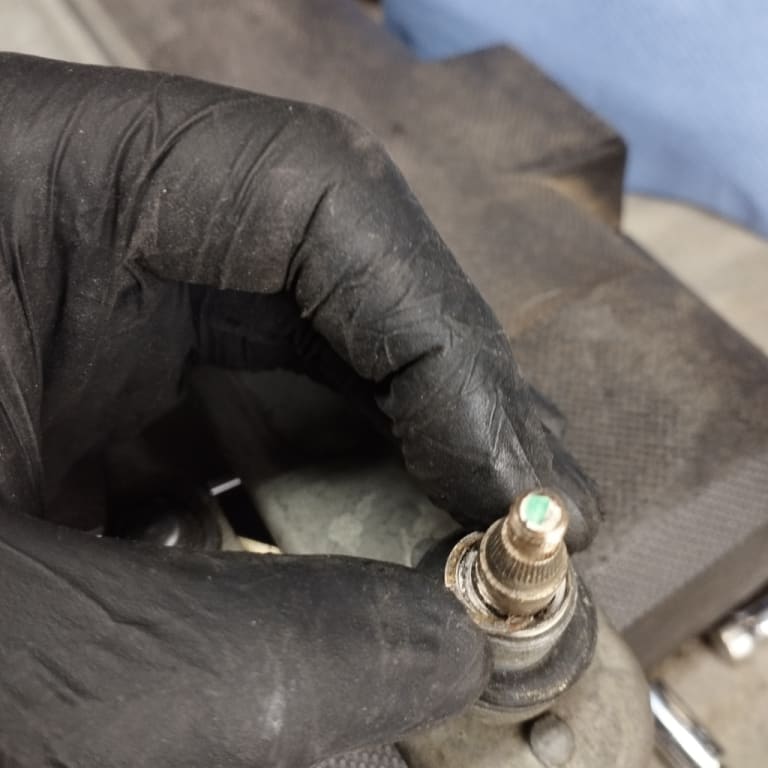
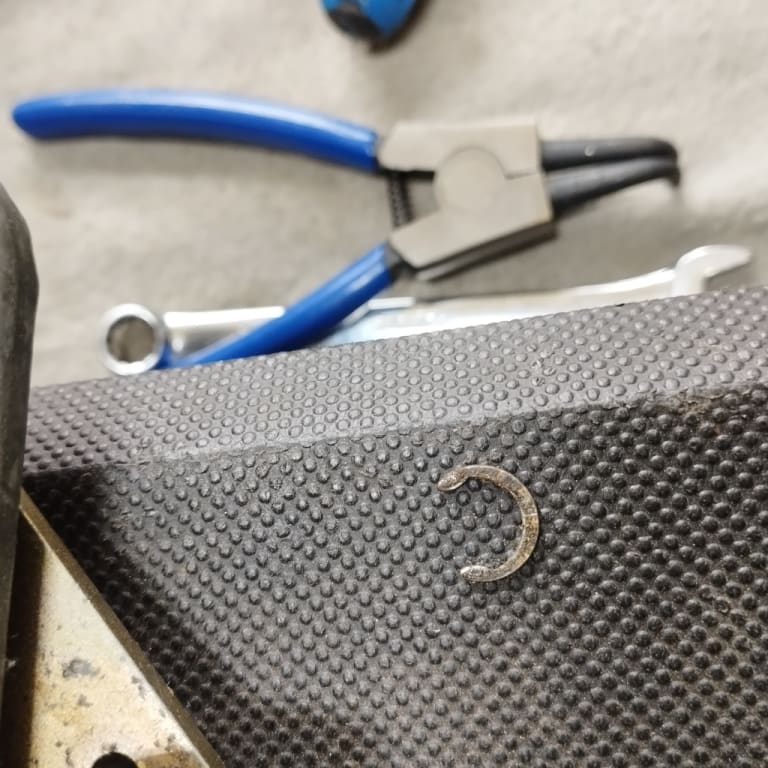
Posted
Local Hero


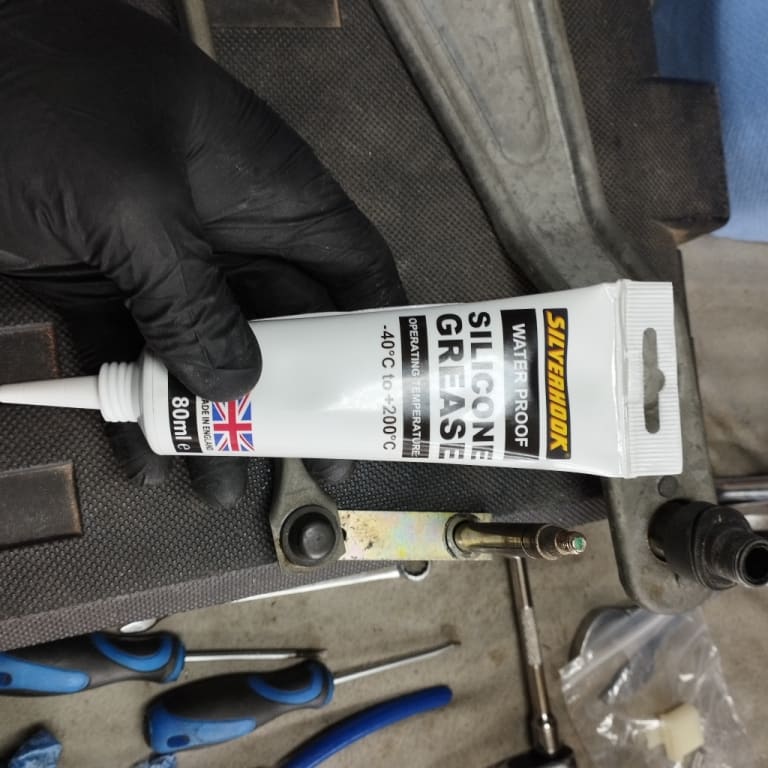
I cleaned the shaft removing the old grease and then recoated with silicone grease or white lithium if you prefer it.
For the ball joints I cleaned the old grease off and re coated articulating the joint so the grease covered evenly.
Now reassemble the spline shaft into the mechanism ensuring to add the various washers and finally the circlip.
 Last edit: by Rich.
Posted
Local Hero


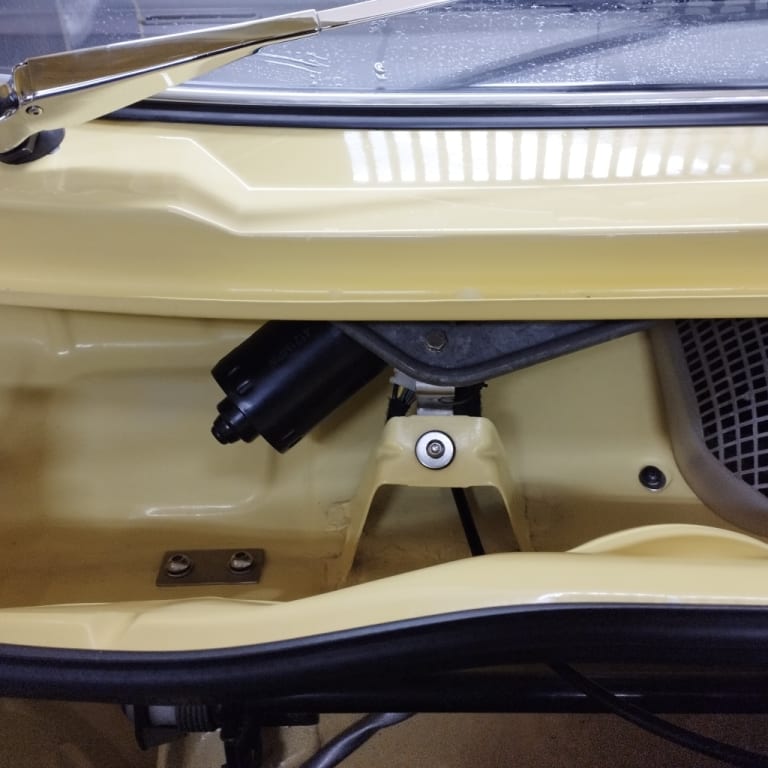
The motor I had used had an 8mm threaded shaft so I couldn't use the stock nut. I used a 13mm serrated washer nut with an internal 8mm thread which did the job:
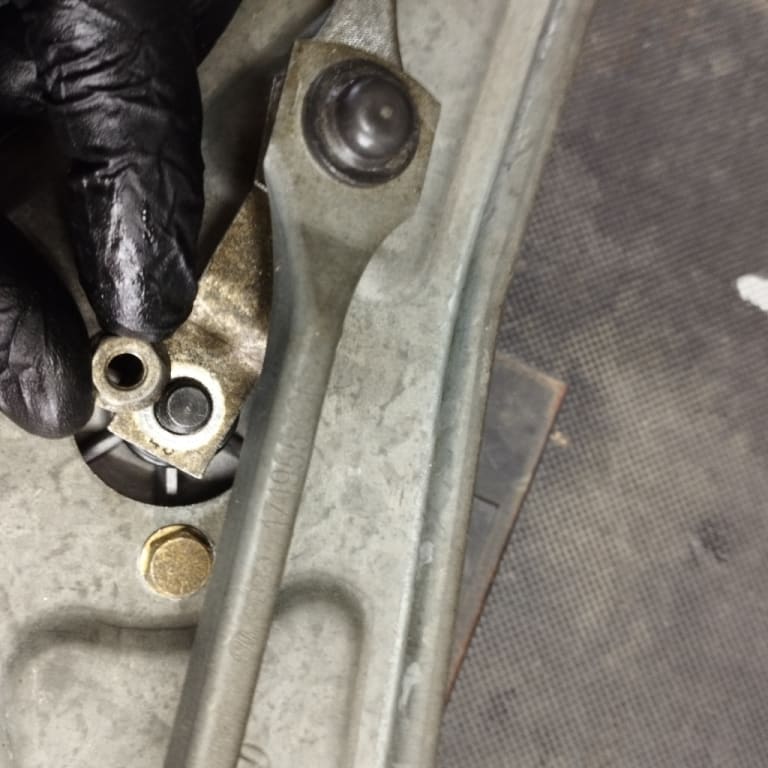
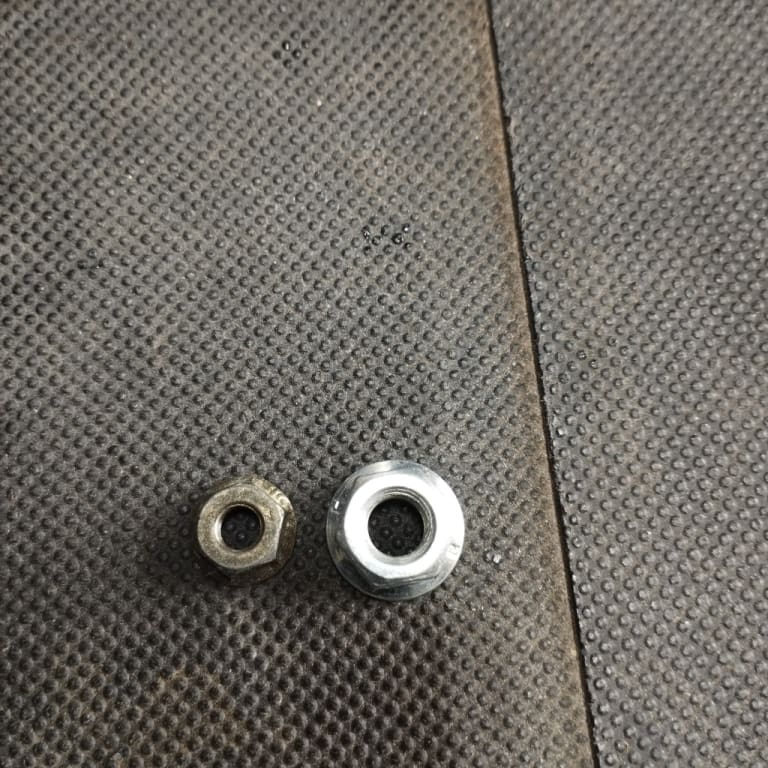
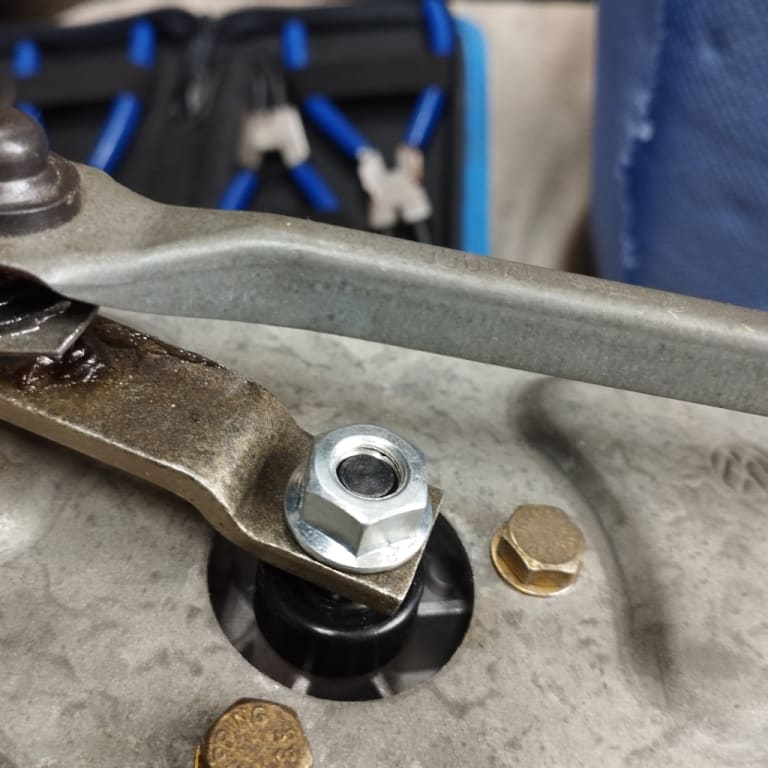
 Last edit: by Rich.
Posted
Local Hero


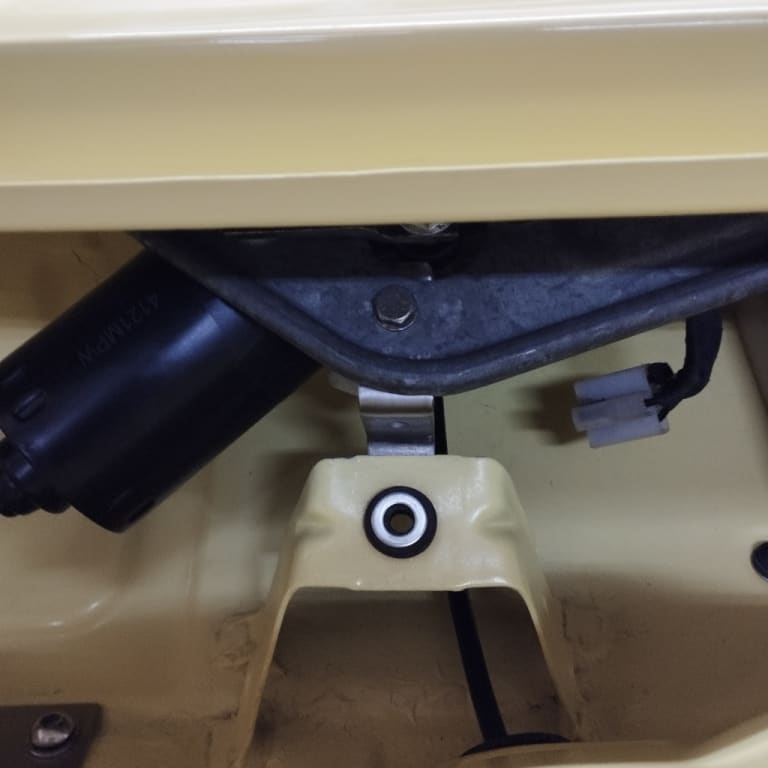
I decided to make a stainless bracket using a cardboard template to work out the folds I needed.
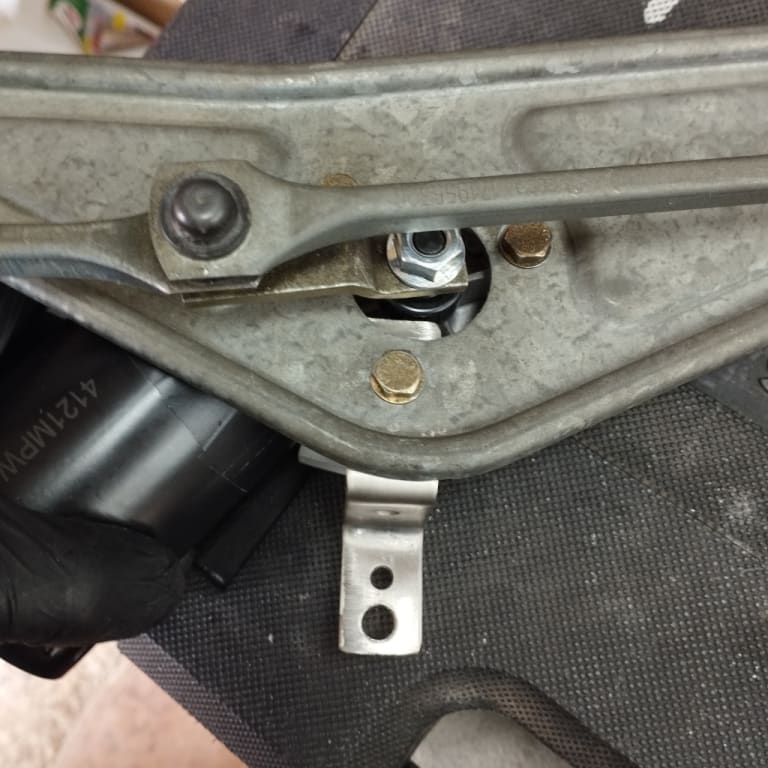
Posted
Local Hero


Next is the wiring. People suggest to get hold of an off cut from the donor mk2 or mk3 but I bought a new connector from classic vw and made my own loom.
My new connector didn't have any numbers to indicate the positions but I found a picture online which gave me the correct colours left to right.
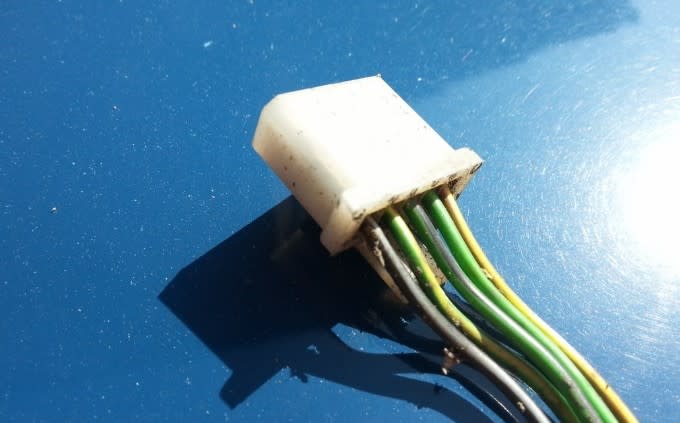
I copied these on my loom.
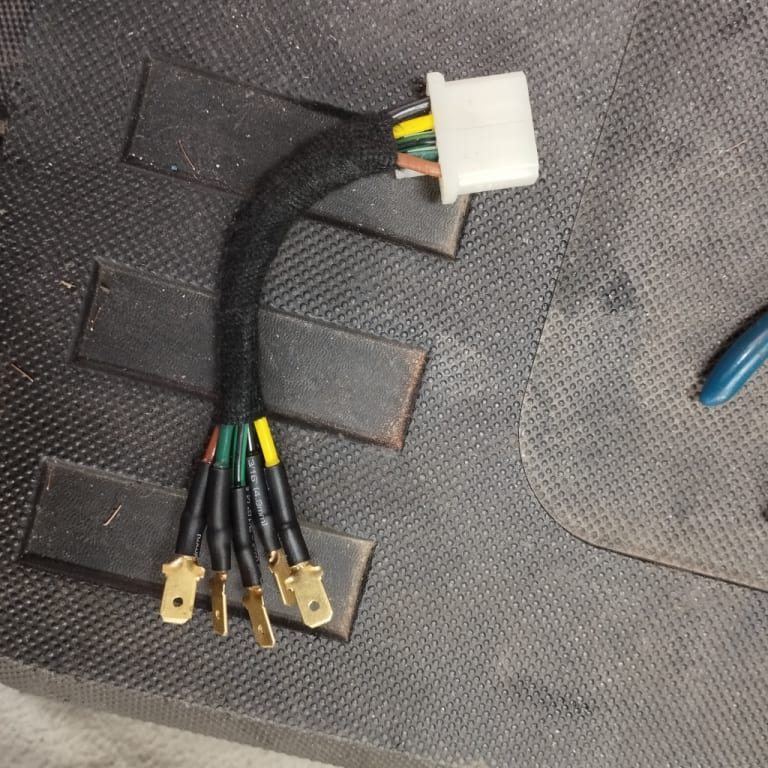
With the connector retaining clip facing down the colours were left to right:
Black / White
Green / Yellow
Green / Black
Green
Brown
I decided to un pin the mk1 white wiper connector and directly connect the spade terminals covering them in adhesive heatshrink. Match the colours from your wiring loom tail you made to the mk1 wiper wires.
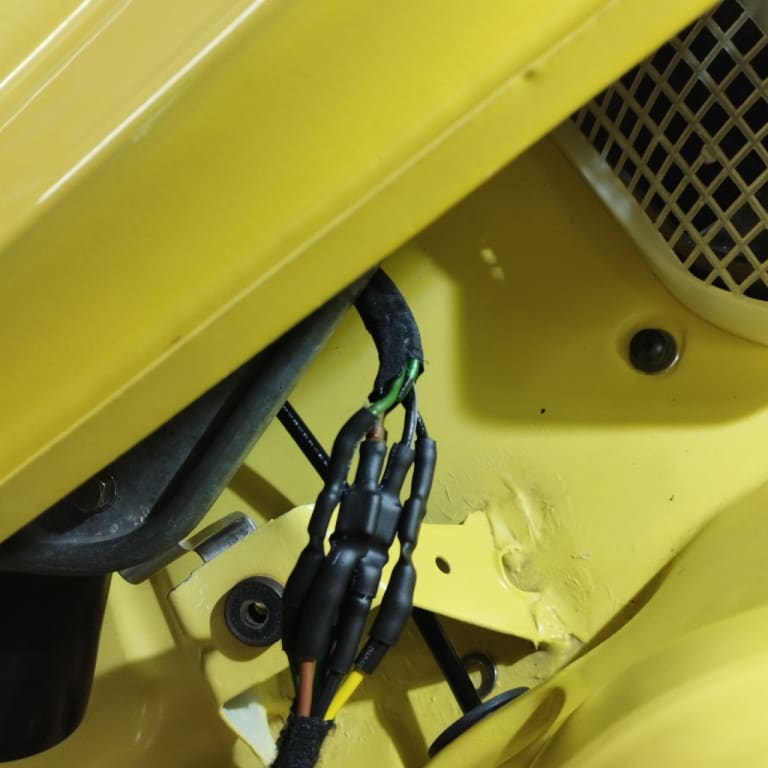
I then covered the heat shrunk wires in tesa tape and connected the plug to the motor.
 Last edit: by Rich.
Posted
Local Hero


Without the wiper arms connected try the wipers with the stalk to ensure they are rotating correctly and it returns to the correct resting point.
Now you can attach the wiper arms with the washer and 10mm nut.
Run the wipers to gauge their position and adjust as necessary until you have the desired sweep.
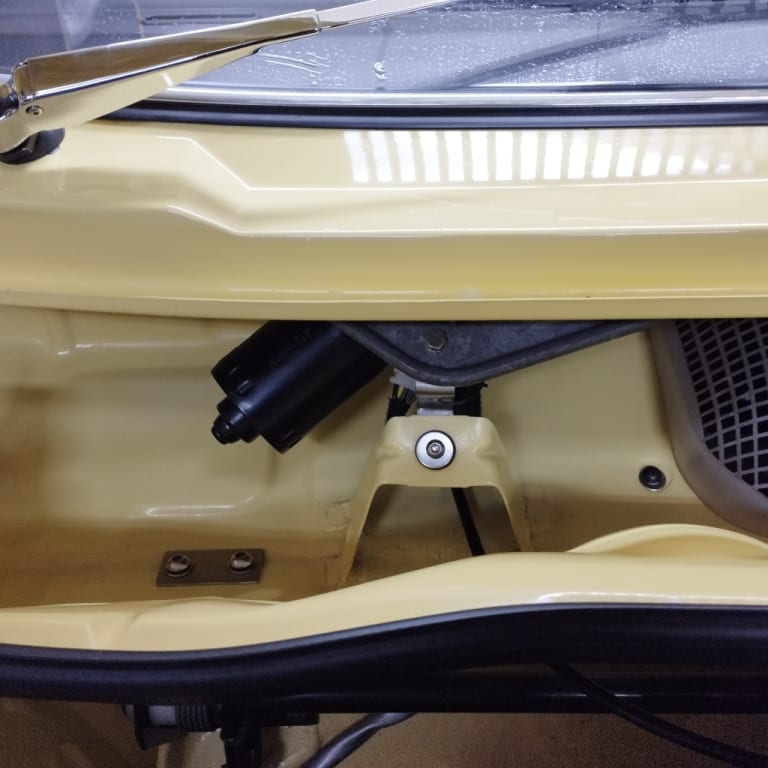
Finally add the plastic caps and stand back and admire your quick wiper action
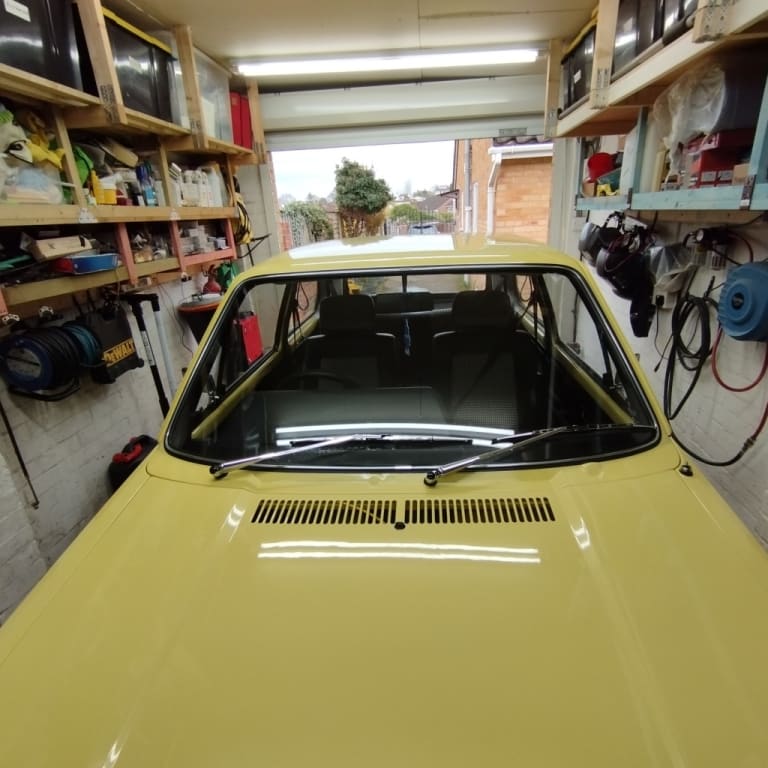
 Last edit: by Rich.
Posted
Old Timer


Posted
Newbie

This fellow has made a similar bracket but he riveted it straight to the mechanism, but I think your bracket would be easier to make!
Posted
Local Hero


Bartem said
Great write up! question, how did you mount the bracket on the motor side? Only on one of the bolts that mounts the motor? And if so, wouldn't that offset the motor because of the extra height of the bracket, or did you shim out the other paws?
This fellow has made a similar bracket but he riveted it straight to the mechanism, but I think your bracket would be easier to make!
Thank you 👍🏼 😁,
2 ways you can do it, as you said shim with washers on the other 2 mounting location to ensure the height matches your bracket thickness
Or
I checked the motor worked first and ground some alloy off the leg where the bracket was mounted ensuring the height matched.
Obviously your warranty would be void doing this to the motor but in hindsight the shims would do the same.
0 guests and 0 members have just viewed this: None.


