Speedometer revival tear down & LCD swap
Posted
#1598905
(In Topic #217457)
Old Timer

As long as your LCD display has not bled and the printed circuit board has not got any tears etc you should be able to rescue them
Here is a guide on the tear down and what actually fixed my Cluster
My LCD stopped displaying anything and was just blank, mpg indicator did not work along with the ignition on LED light
Start by removing the instrument cluster from the car, it's pretty simple to do and be careful with the wiring/plastics they are old and fragile. Removing the steering wheel makes access easier.
Remove all 3 bulbs by turning them 90 degrees anti clockwise
Remove the 2 wiring connectors and the vacuum unit (1 screw)
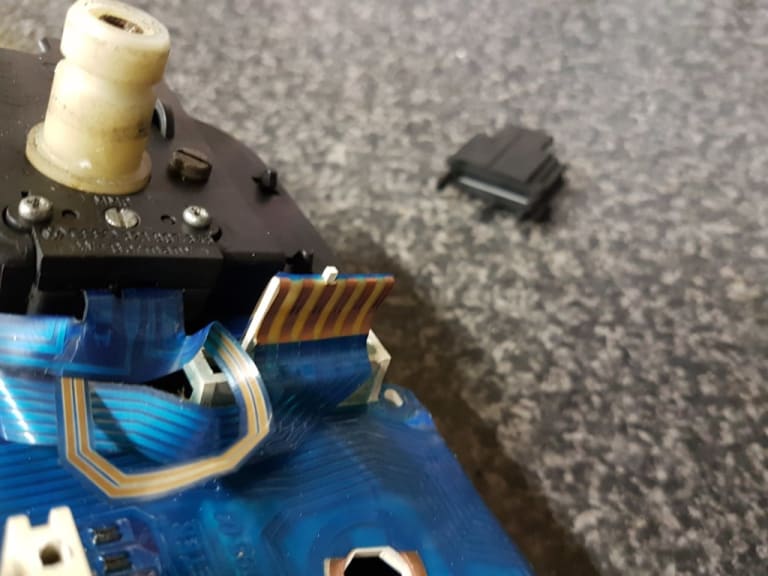
Now remove the mfa speedo sensor (2 screws)
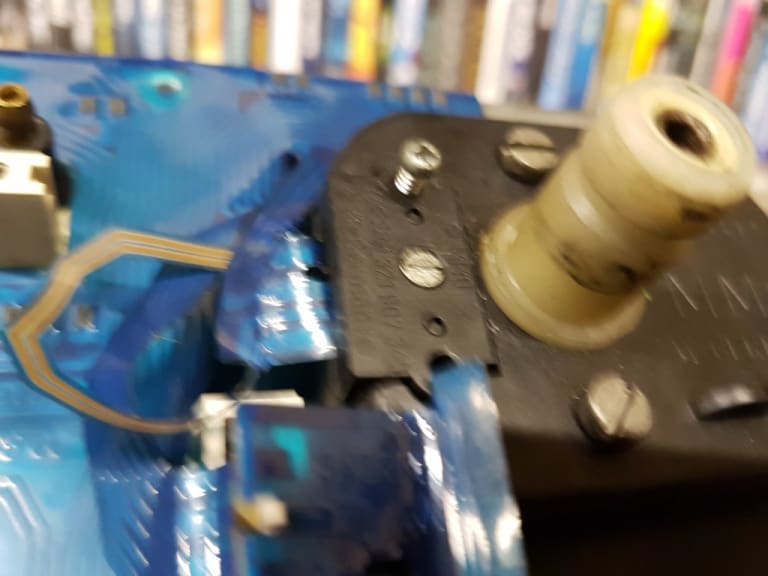
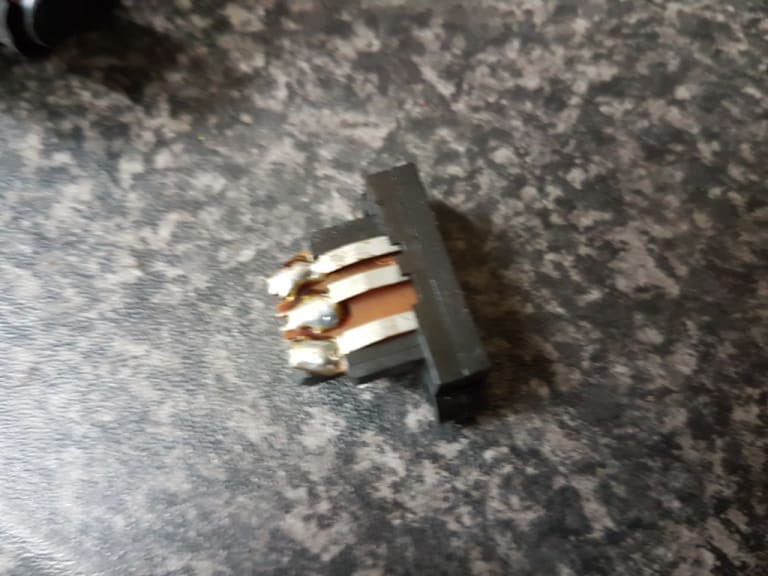
Now remove all 8 rear screws on the back they are 6mm
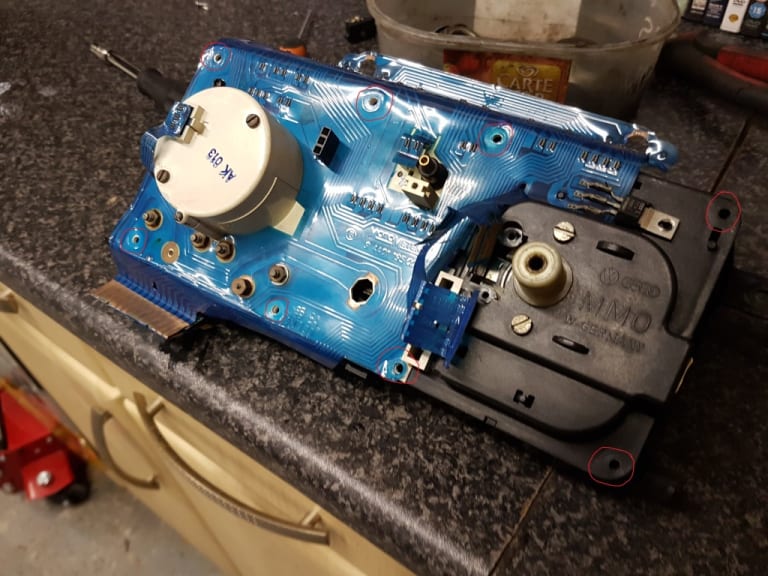
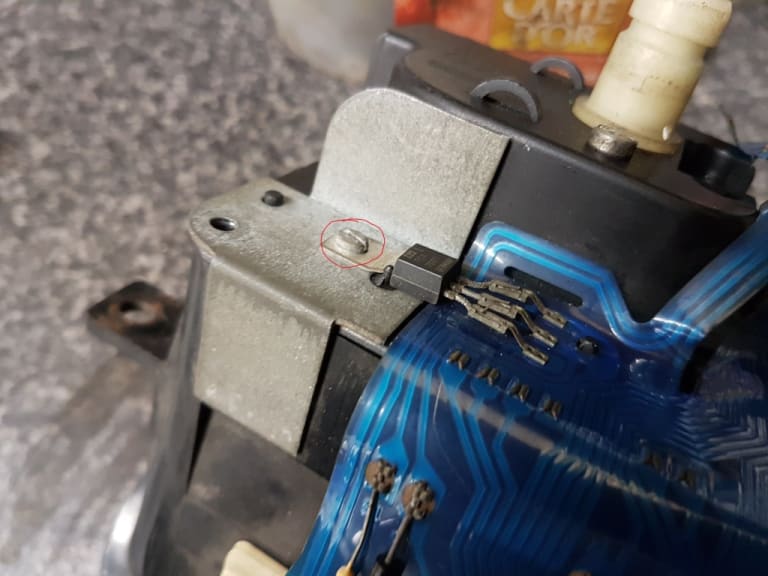
now this screw and the metal bracket under it along with the two screws on the back of the speedo drive
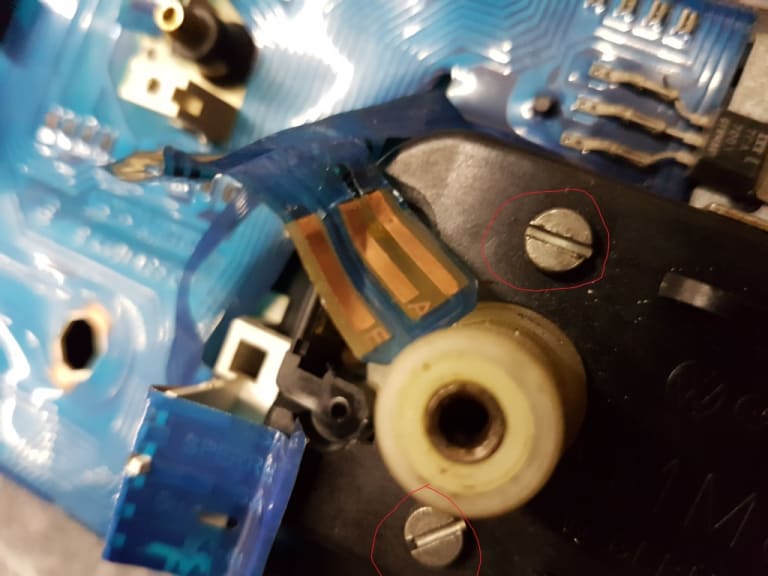
Remove these nuts and little wshers from the back of the rev counter bit. Now the front of the speedo should now be free but be careful with the printed circuit board
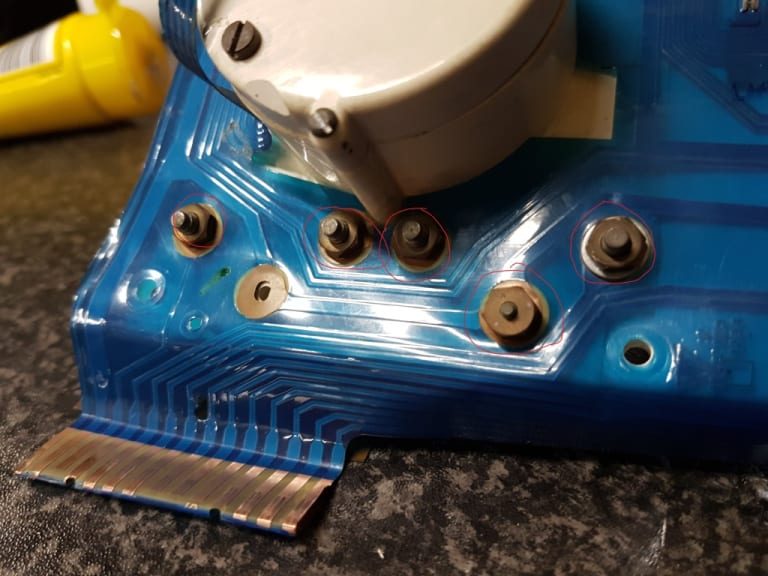
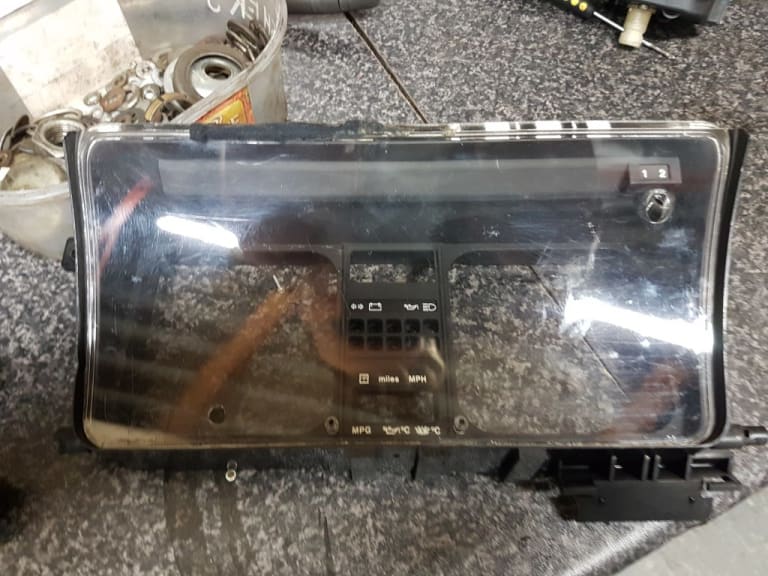
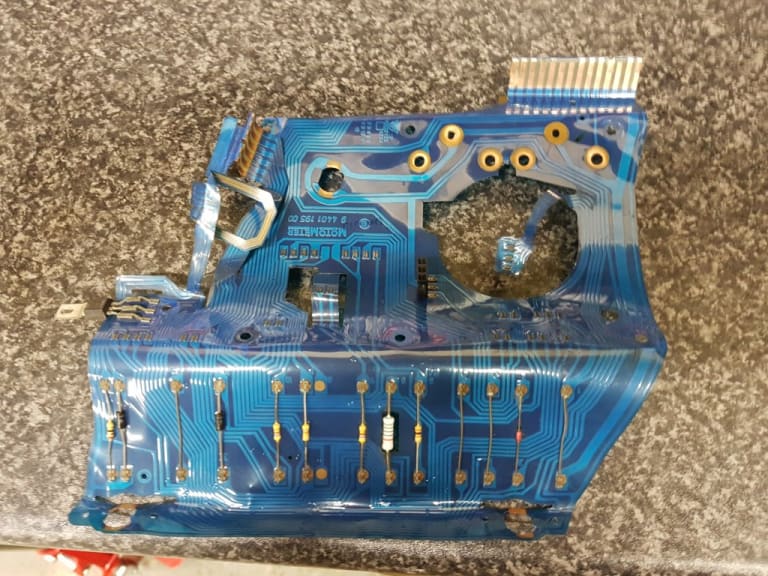
now you can remove the printed circuit but be careful with it, there are several black connectors under it that need to be removed carefully. Its seems hard work but it's quite simple to do just take your time.
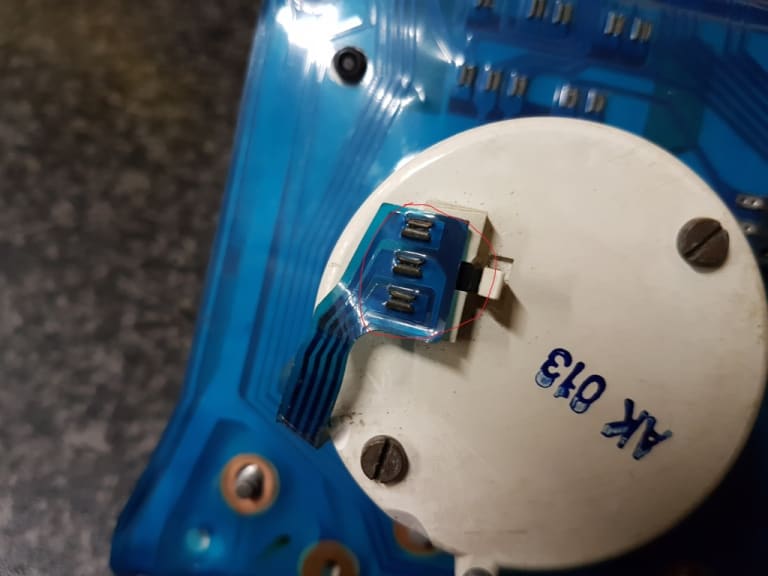
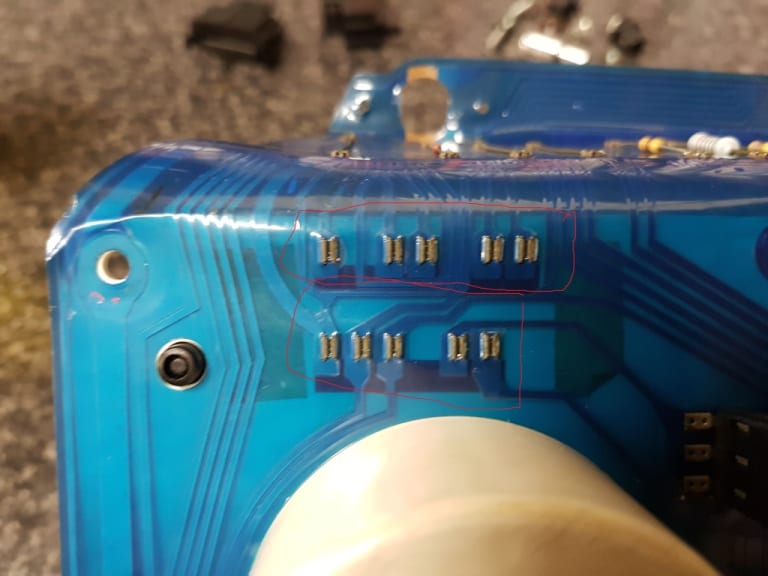
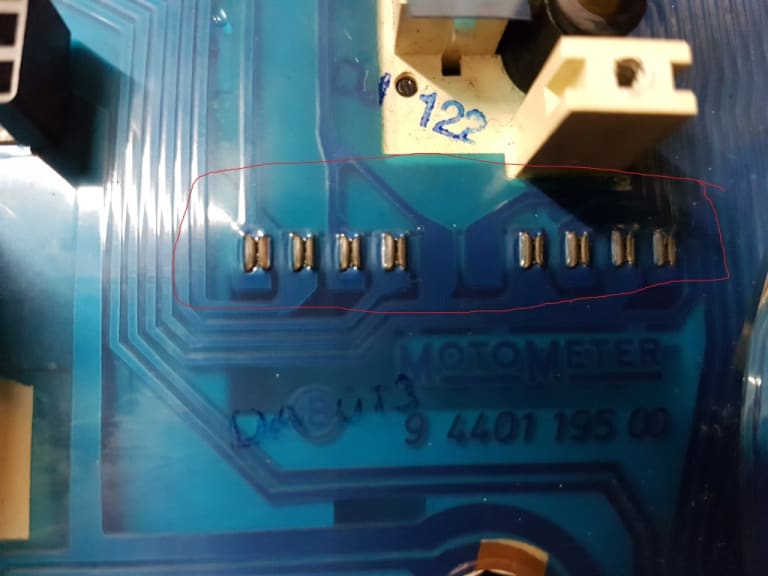
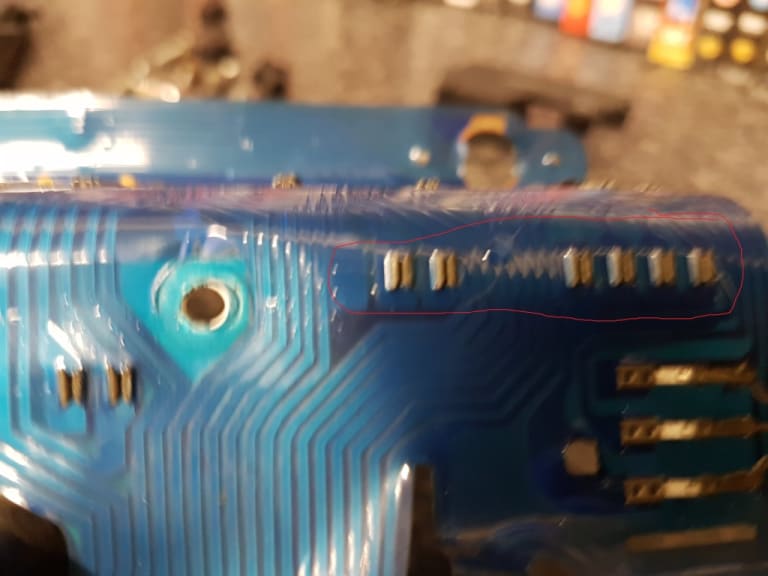
remove 3 screws from the back of the rev counter and remove it. be care as you are also removing the fuel gauge and temperature gauge. Don't catch the needles on owt
Then remove the MFA 1 2 selector there is a small white clip at it's base
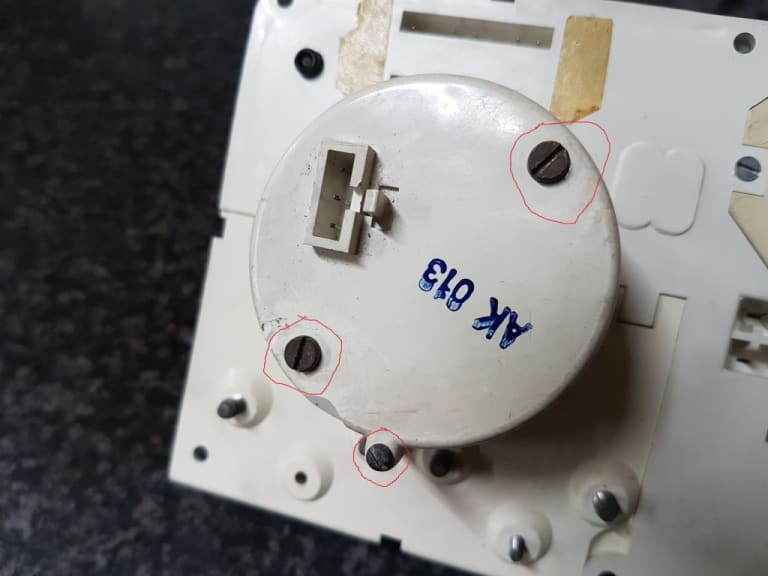
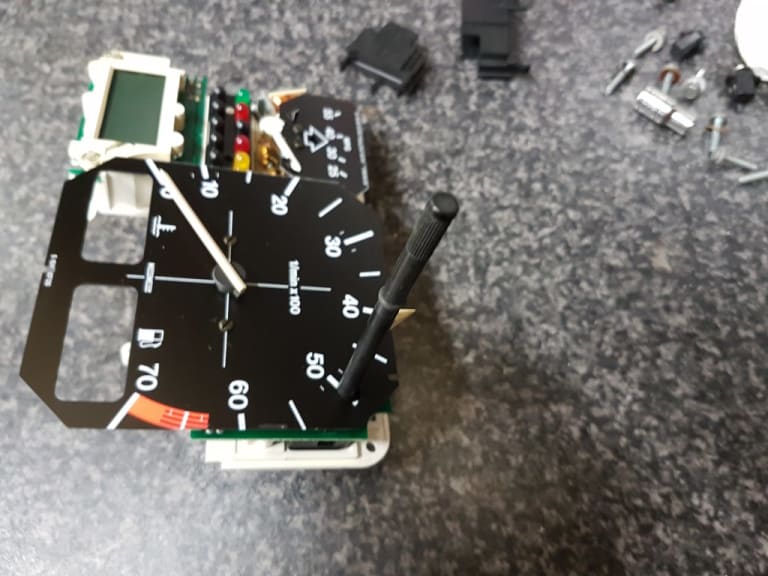
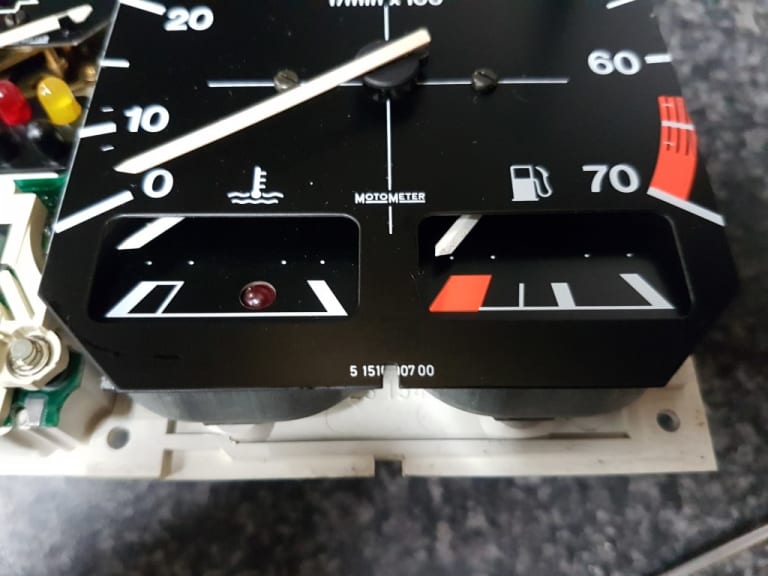
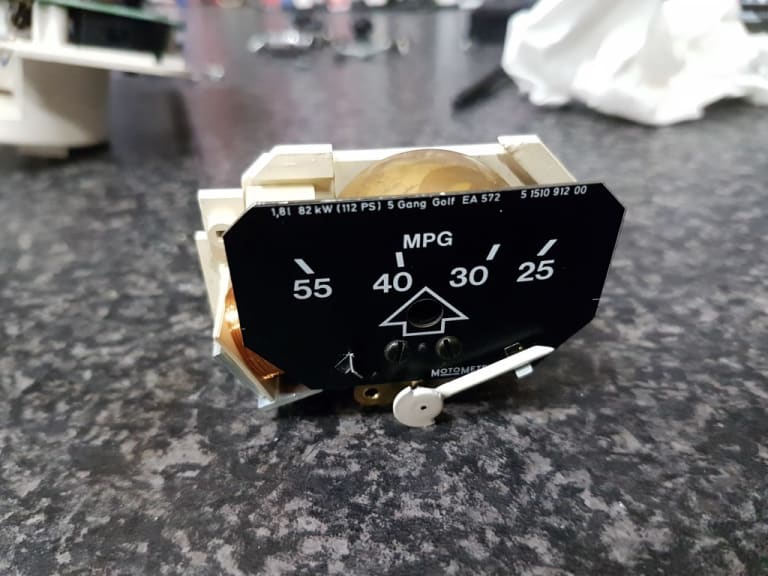
Now remove these 3 screws at the back of the economy meter then there is about 3 screws holding the circuit board to the remains on the cluster
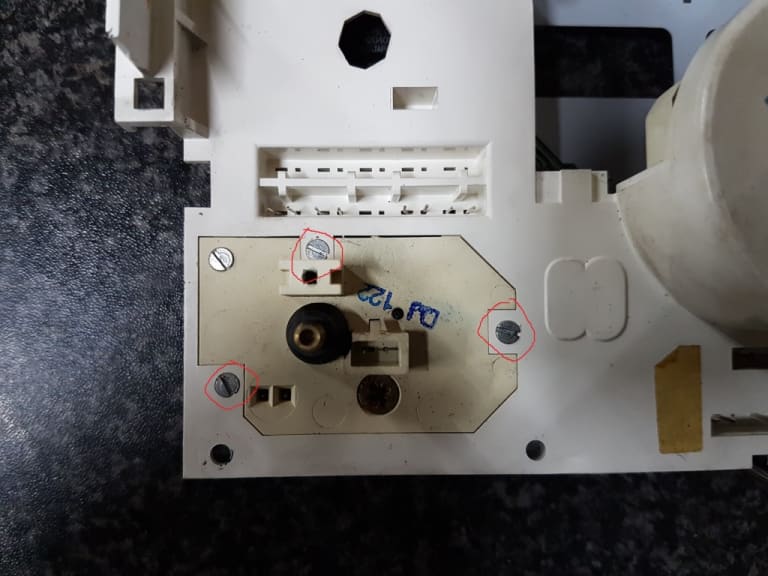
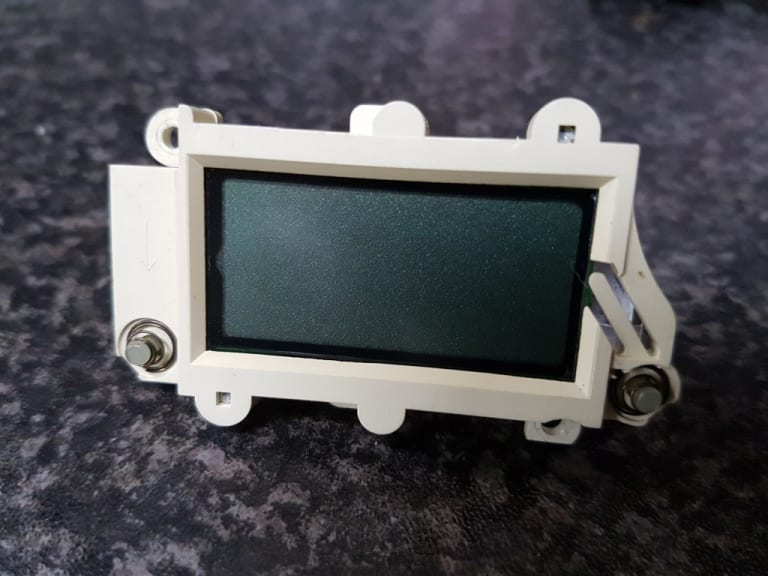
remove these two screws to liberate the LCD. My circuit board was not very clean and the contacts very dull so used brasso on the contacts.
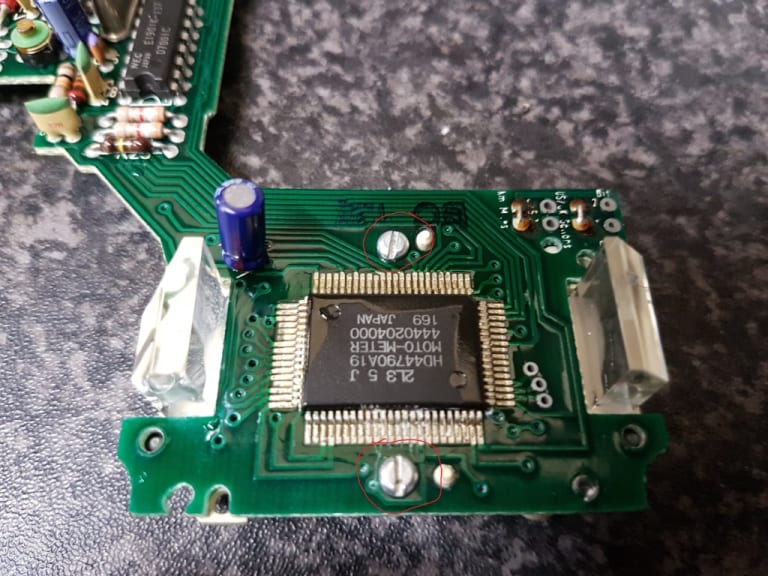
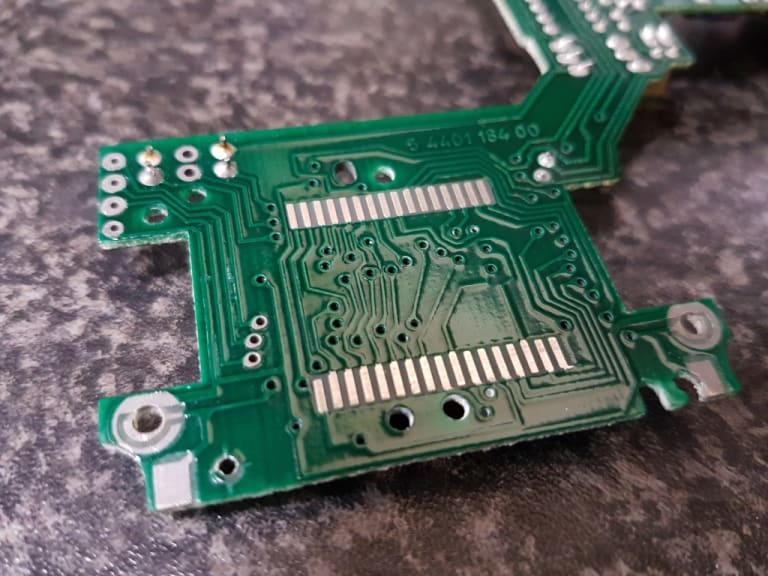
Now the main issue with my board was the capacitors were all weeping onto the circuit board. Removed them and cleaned the board before soldering new ones in place.
Now you can actually use ones with higher voltage rating as this wont hurt it really. For example 12v replace with a 16v.
What must be the same is the µF rating
there are 6 in total 4 small 10uf 16v and 2 large 100uf 10v
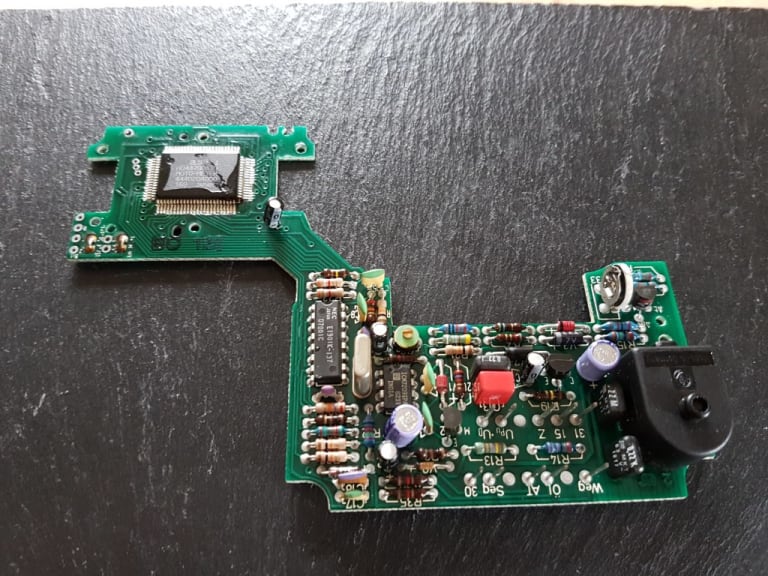
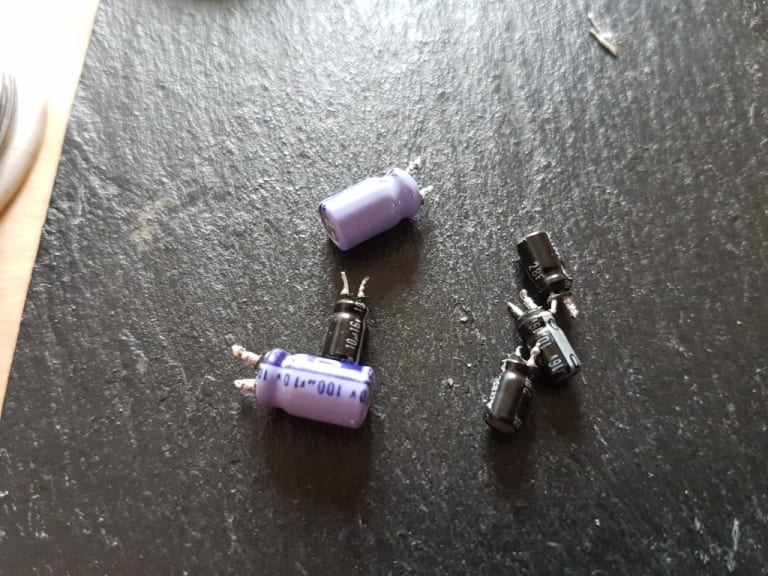
Put back together in then in my car and everything works even the mpg gauge when in 5th
Not to say this will work for everyone but I'm happy. Hopefully it will help others with the teardown and also wanting to replace the LCD
Here is a guide on the tear down and what actually fixed my Cluster
My LCD stopped displaying anything and was just blank, mpg indicator did not work along with the ignition on LED light
Start by removing the instrument cluster from the car, it's pretty simple to do and be careful with the wiring/plastics they are old and fragile. Removing the steering wheel makes access easier.
Remove all 3 bulbs by turning them 90 degrees anti clockwise
Remove the 2 wiring connectors and the vacuum unit (1 screw)

Now remove the mfa speedo sensor (2 screws)


Now remove all 8 rear screws on the back they are 6mm

now this screw and the metal bracket under it along with the two screws on the back of the speedo drive


Remove these nuts and little wshers from the back of the rev counter bit. Now the front of the speedo should now be free but be careful with the printed circuit board


now you can remove the printed circuit but be careful with it, there are several black connectors under it that need to be removed carefully. Its seems hard work but it's quite simple to do just take your time.


remove 3 screws from the back of the rev counter and remove it. be care as you are also removing the fuel gauge and temperature gauge. Don't catch the needles on owt
Then remove the MFA 1 2 selector there is a small white clip at it's base


Now remove these 3 screws at the back of the economy meter then there is about 3 screws holding the circuit board to the remains on the cluster


remove these two screws to liberate the LCD. My circuit board was not very clean and the contacts very dull so used brasso on the contacts.


Now the main issue with my board was the capacitors were all weeping onto the circuit board. Removed them and cleaned the board before soldering new ones in place.
Now you can actually use ones with higher voltage rating as this wont hurt it really. For example 12v replace with a 16v.
What must be the same is the µF rating
there are 6 in total 4 small 10uf 16v and 2 large 100uf 10v


Put back together in then in my car and everything works even the mpg gauge when in 5th
Not to say this will work for everyone but I'm happy. Hopefully it will help others with the teardown and also wanting to replace the LCD
Posted
Local Hero

Caps leaking after 20 years of service, go figure…
If the Cap tops are bulged and not flat that it also another sign they are toast….
I have seen that on a quite a few LCD Displays for Puters, and LCD TV's power supplies, the cheap bean counters used close rated voltage caps, and they aren't kindly to surges….. so upping from 12V to 35 or 50, and a LCD that I got for free, was fixed for pennies, and sold for dollars.
Great Post-it.
What do Divorces, Great Coffee, and Car Electrics all have in common?
They all start with GOOD Grounds.
Where are my DIY Links?
They all start with GOOD Grounds.
Where are my DIY Links?
0 guests and 0 members have just viewed this: None.


