Replace front suspension original parts
Posted
#1369503
(In Topic #171562)
Old Timer

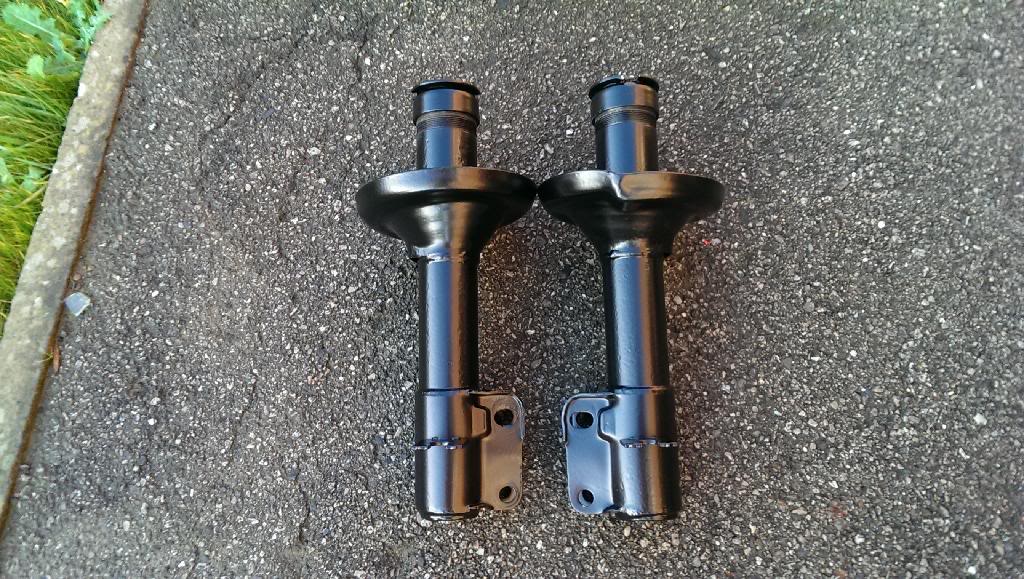
2 strut housing's from here http://www.classic-vw.co.uk/mk1-golf-powder-coated-front-strut-housing-1046-p.asp these are great value for money
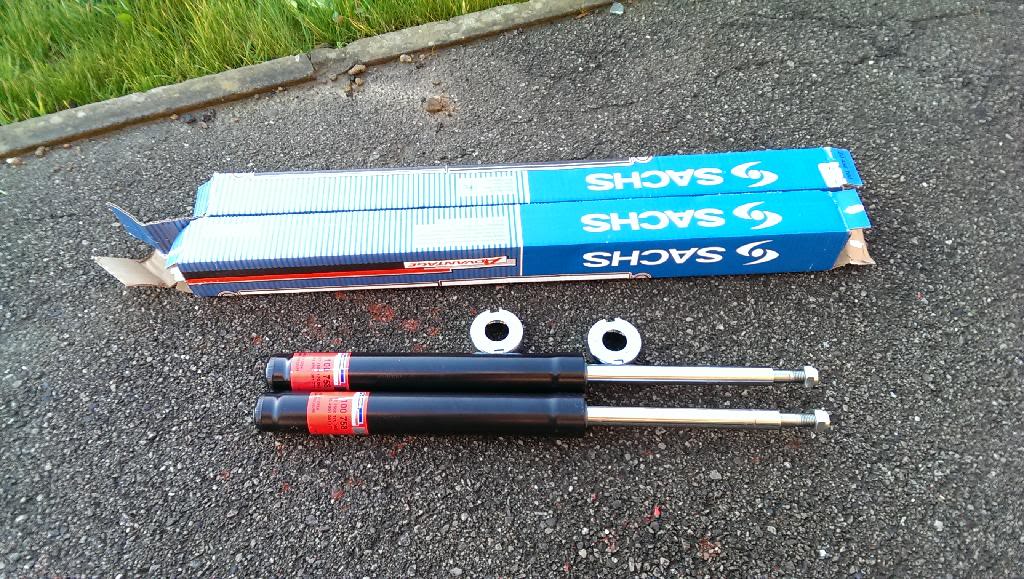
2 new gas strut inserts from here http://www.vwspares.co.uk/product_info.php?products_id=2089
When you take your car apart and get to your shock inserts. Some models usually older ones have serviceable front shocks and all that's needed is fresh oil. I used the same stuff that's recommended for topping up the hydraulic hood pump.
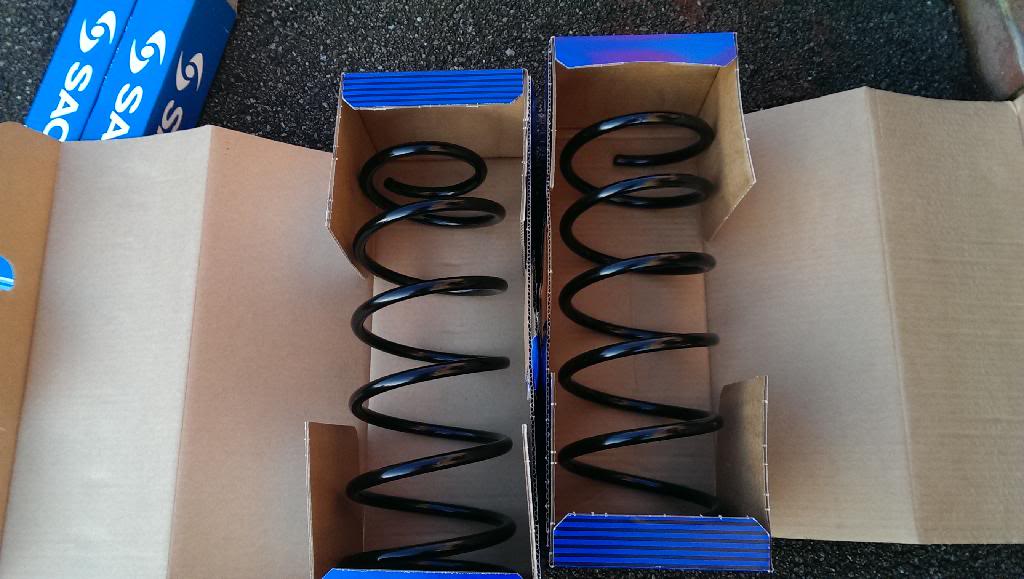
2 new coil springs http://www.eurocarparts.com/ecp/c/Volkswagen_Golf+Cabriolet_1.8_1990/p/car-parts/suspension-and-steering/suspension/coil-spring/?627443850

bump stops caps x2 http://www.vwspares.co.uk/product_info.php?products_id=501
bump stops x2 http://www.vwspares.co.uk/product_info.php?products_id=499
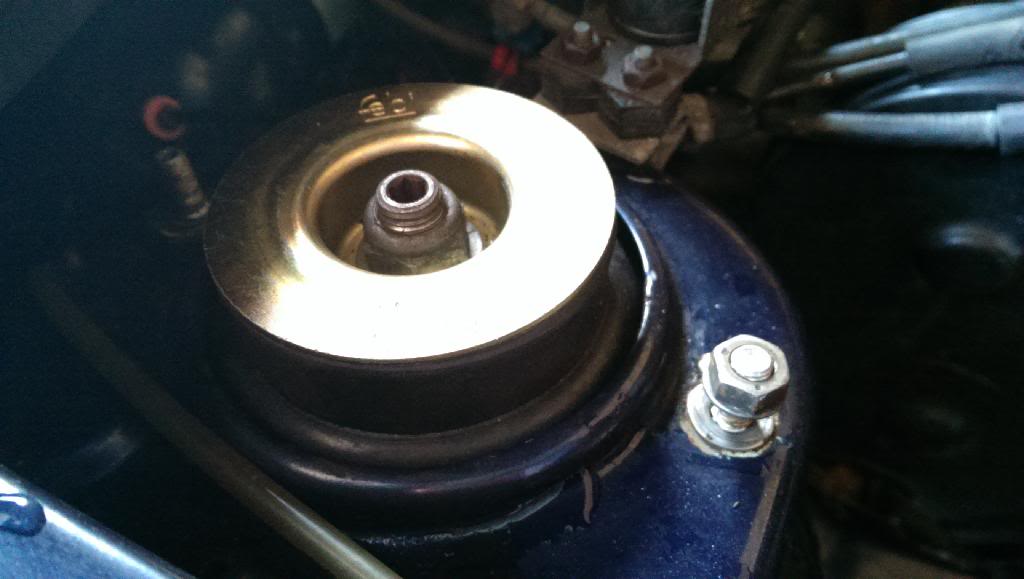
2 new top mounts http://www.vwspares.co.uk/product_info.php?products_id=547
Take the front wheel off on whichever side your starting on and support with an axle stand.
Before taking the 2 bolts out of the bottom of the strut clean with a wire brush and mark with a paint pen the position of the strut so you dont mess the tracking up. Then remove the two bolts.
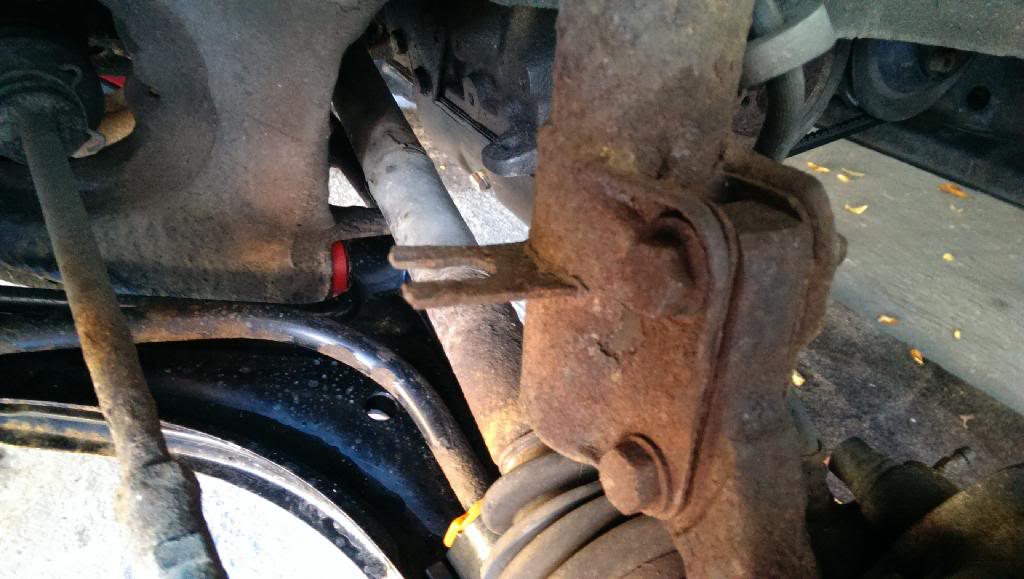
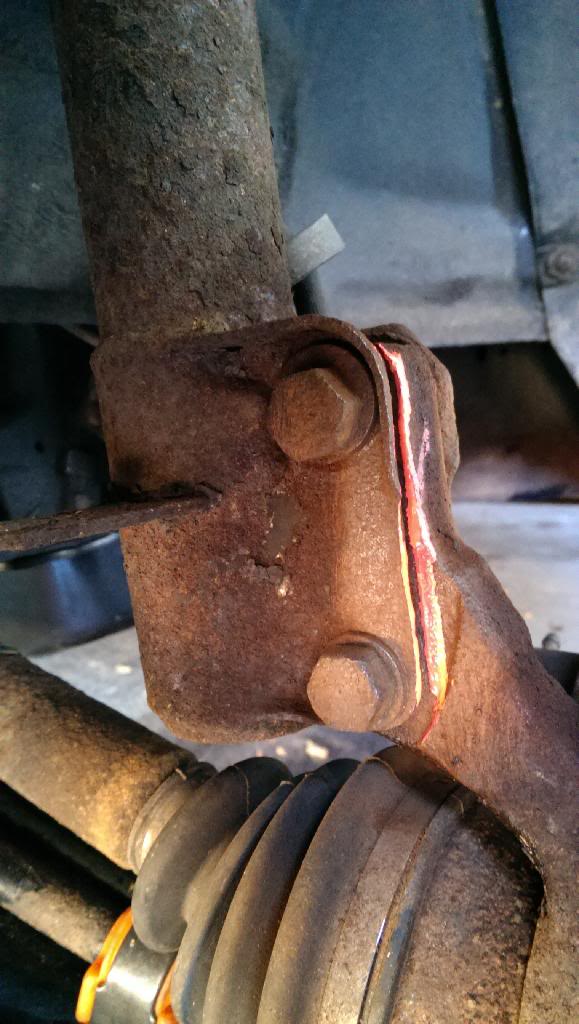
Remove the brake line and then the two 13mm nuts holding the top mount
I did not need them because mine were in fab condition but the eccentric bolt etc can be found here
https://www.vwheritage.com/shop/golf-mk1/171407265/eccentric-bolt-for-front-strut-housing-mk1-golf-jetta-sciro
http://www.classic-vw.co.uk/mk1-golf-camber-washer-171407267-4954-p.asp
https://www.vwheritage.com/shop/golf-mk1/133513471/bolt-m12x1-5x50-mk1-golf-front-lower-strut-bolt
https://www.vwheritage.com/shop/golf-mk1/N0111351/nut-m12-x1-5-various-uses
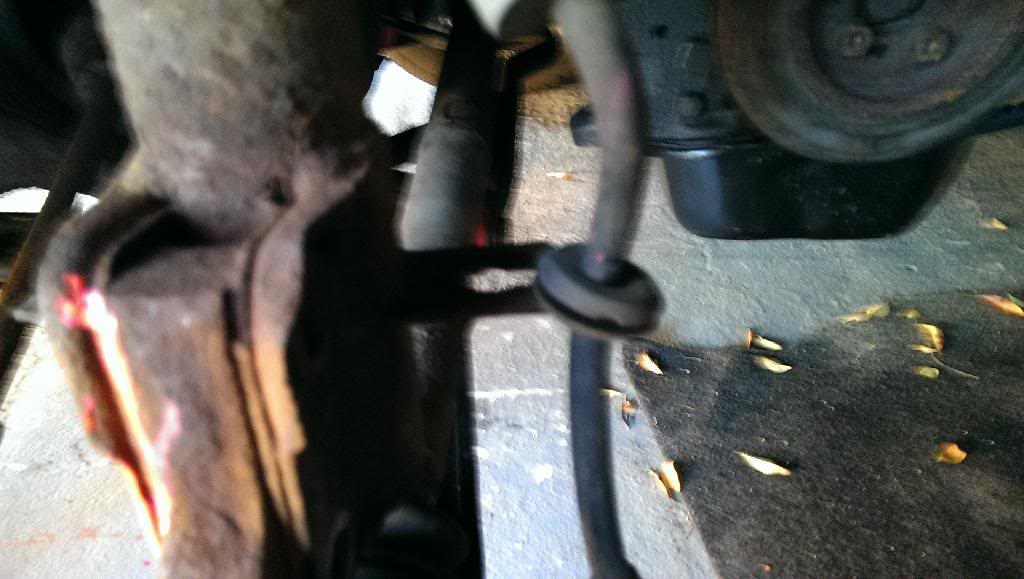

The strut should now be free, use spring compressors to avoid a broken nose, making sure you have compressed the springs tension. Use an allen key and spanner to release the top mount
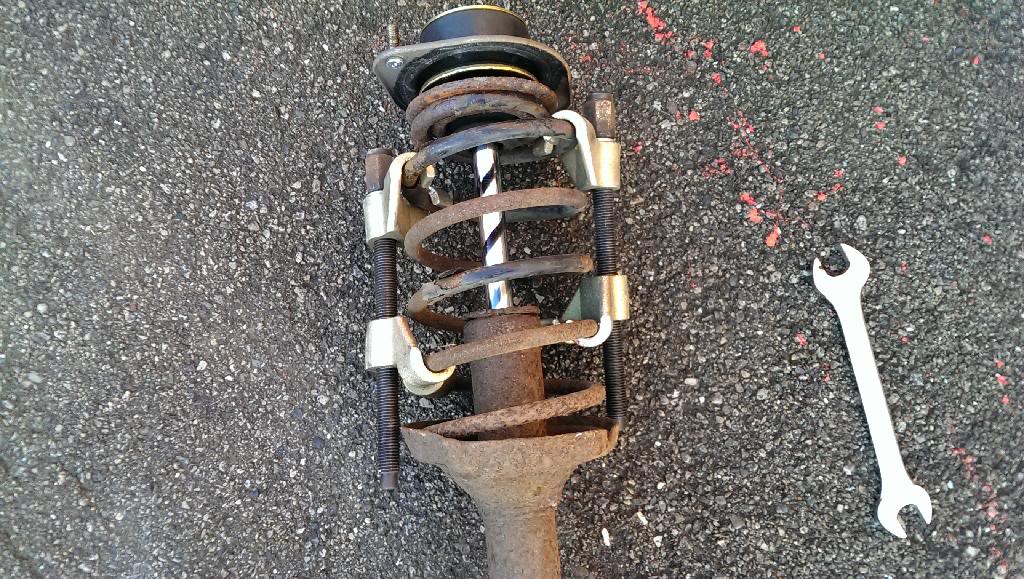
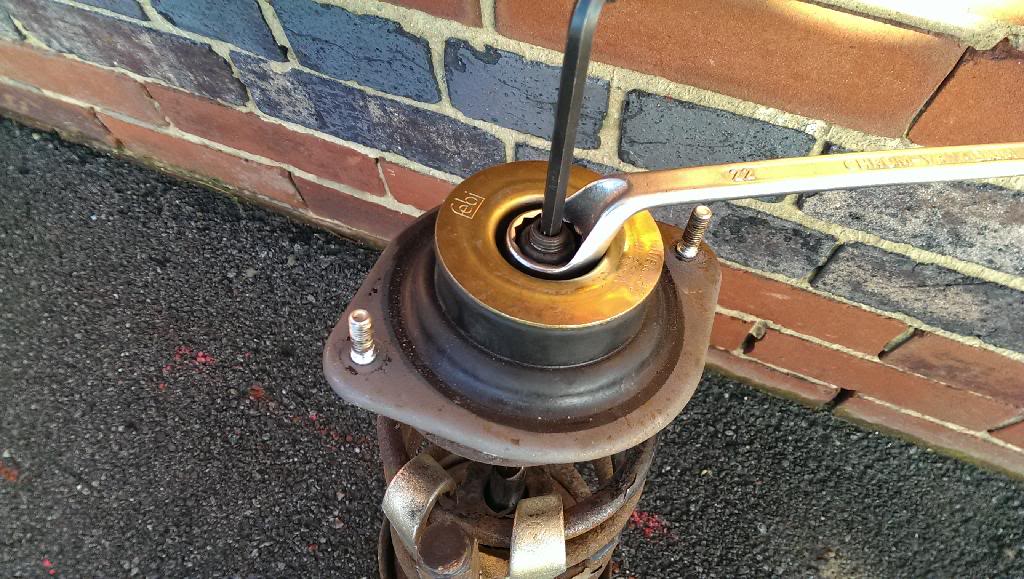
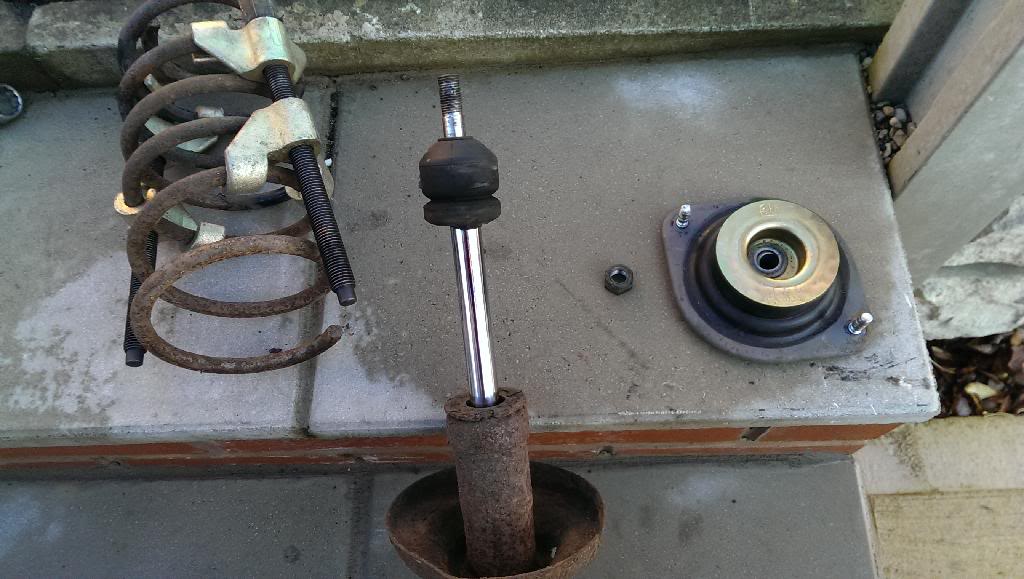
You should now compress your new spring and do the reversal of what you just did. If your reusing your old strut housing you will need to remove the shock absorber cap.
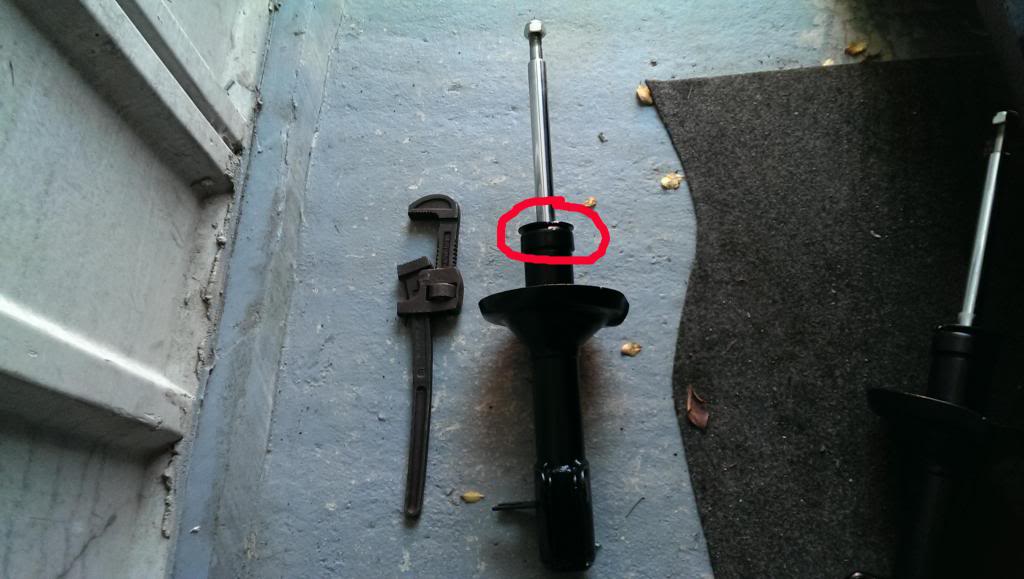
If you are reusing the strut housing you need to take the top cap off above. I didn't even bother trying as my old ones had holes in the bottom support for the spring.
You have to put it in a vice, use penetrating fluid and a lot of brute force, sometimes this is not enough and some heat is required….
Compress the new spring refit the top mount, not forgetting the bump stop and cap.
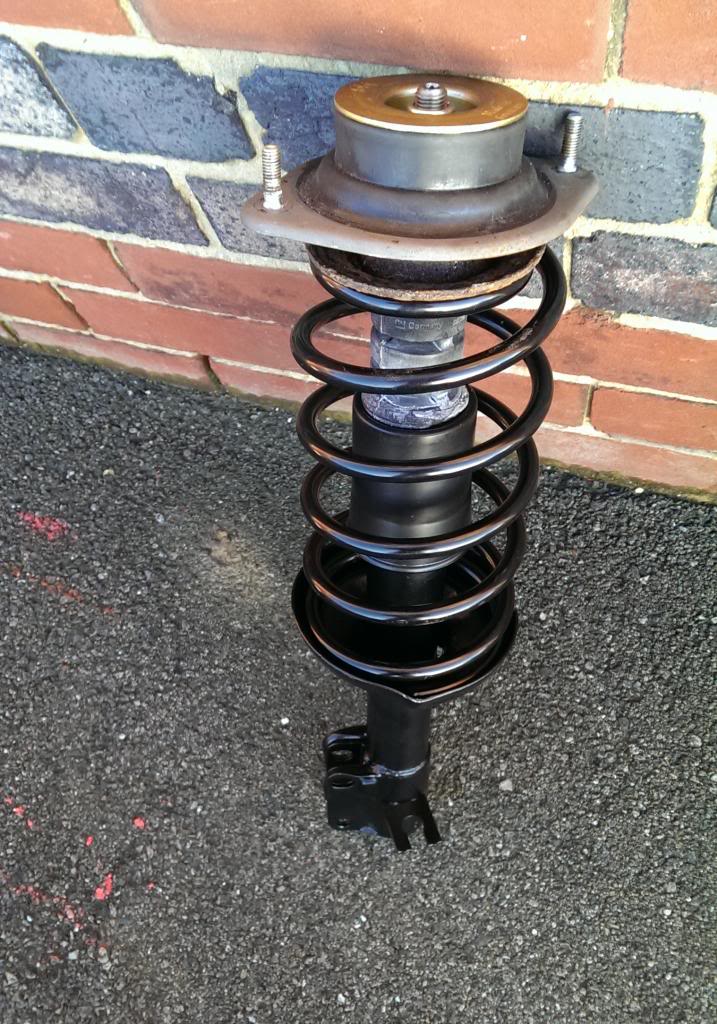
Make sure when putting the strut back on the car it lines up with the paint or mark you made earlier
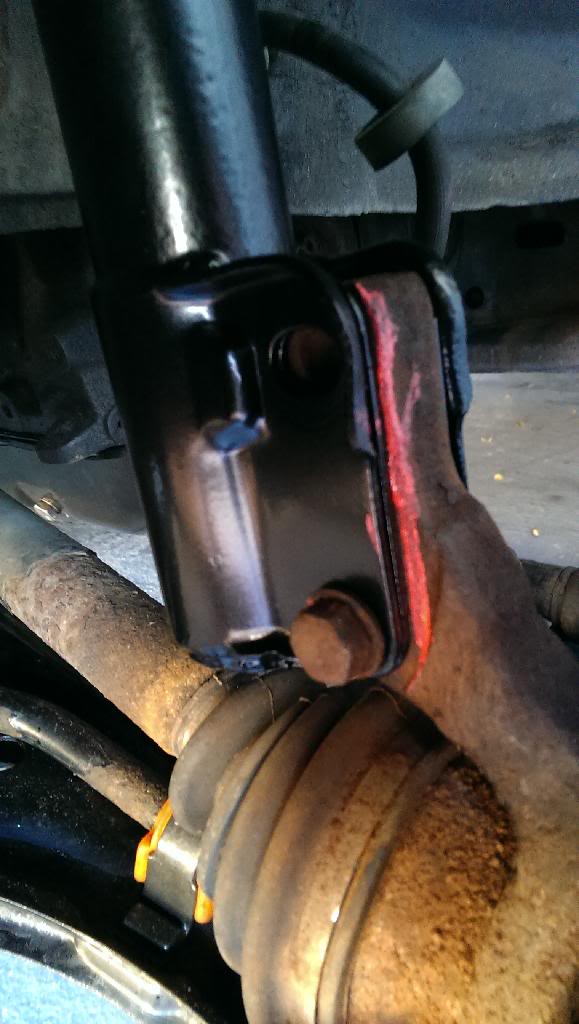
Just the other side to go…………..
Now go for a drink chill out, jobs a good un.
I know the parts are from different places because that's where I found them the cheapest. No one place sells all the parts and if they did they seem to be over pricing one or two items.
 Last edit: by satans_creation
Posted
Old Timer

'83 1.3 Golf Driver GT - Project thread
Instagram - matt.semp
Instagram - matt.semp
Posted
Old Timer

Shocks (mine came with lower platforms)
Springs
Upper platform
Bump stops
Top mounts lower and upper
Spacer tube
Washers and nuts.
There is a nice diagram on the vwheritage site.

Posted
Old Timer

thanks for the write up.
-z
 Last edit: by zorg
i pressed the little red button
Posted
Settled In

Sticker Pig
Posted
Old Timer

The ride on a car is very important especially when its a daily runner.
Thanx Shane
Posted
Settled In

I just chop the chips🍳🍳🍳
Posted
Settling In


Posted
Old Timer

Posted
Settling In


Is there a knack to fit bump stop and dust cover together as well. All new but didn't want to force them and ruin
Posted
Old Timer

Posted
Local Hero

Just don't lye the strut down or turn it upside down once you have done this or the antifreeze will dribble out.
1988 Mk1 Golf GTi Cabriolet 1.8cc DX, K-jet. Daily drive. 317,000 miles and counting
1978 Mk1 Scirocco GLS 1.6cc FR, Webber carb. Weekend toy.
1978 Mk1 Scirocco GLS 1.6cc FR, Webber carb. Weekend toy.
Posted
Regional Host NE


Re:
And most importantly do not forget to prime the shockersmark1gls said
Pour a couple of cap full of neat antifreeze into the strut before fitting the shock, it will help with heat transfer and stop the shock rusting into the strut housing.
Just don't lye the strut down or turn it upside down once you have done this or the antifreeze will dribble out.
Sent from my SM-G955F using Tapatalk
Do not know a lot but willing to help if possible
1989 Sapphire Blue Mk1 Cabriolet KR
1985 Atlas Grey Mk2 GTI 2.0 ABF
1989 Sapphire Blue Mk1 Cabriolet KR
1985 Atlas Grey Mk2 GTI 2.0 ABF
Posted
Settling In


Posted
Local Hero

I also have learned over the years that if you take off the whole strut assembly, that is by removing the Pinch bolt on the lower ball joint and separating it from the control arm, (yes you have to undo the outer tracking rod and remove it from the Spindle). The whole shooting match comes out, and you can effect replacement or repair of it without throwing your alignment out.
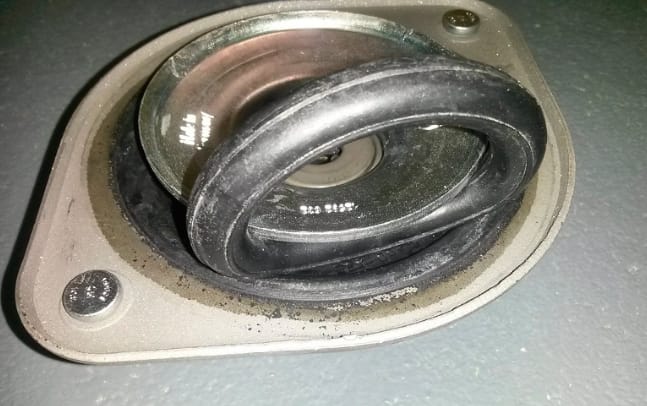
Also I used to use 3m Window weld on the lower side of the mount about a week before the jog to extend the life of the mounts, I also tack welded the studs to the bottom of the mount, I had 2 new mounts spin one of those as I was tightening it and I was left with the issue of not being able to get it off, or tighter. I ended up worming my arm up the strut tower, and getting my wire welder up through there to hit the heads of the studs, I had used a pair of Vice-Grip pliers on the studs nut to keep it firmly up as I welded it. So now I advocate doing it prior to installing any new mount.
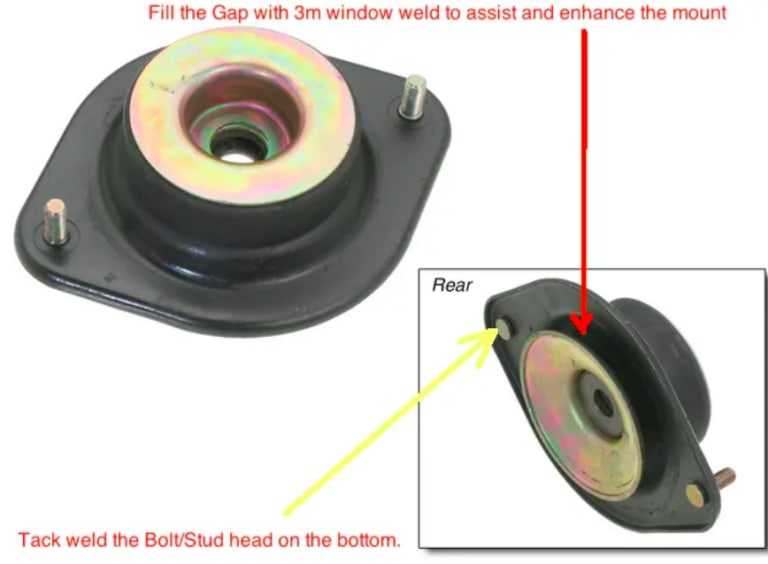
But since then I have another easier trick to fill the gap.
Some guys simply buy these exhaust rubber straps:
Dimensions:45 x 69 x14 mm
Opel, FIAT, SEAT
OE Referencenumbers: 4387294, SE138115514A, 1473296, 1134920082, 852707, 852712, 8952181
EAN: 0741187265140
Then insert them between the bottom of the mount and the metal to fill the gap, doesn't need a week to two weeks to fully cure as the urethane 3m window weld does and does the same thing by limiting travel of the front mounts
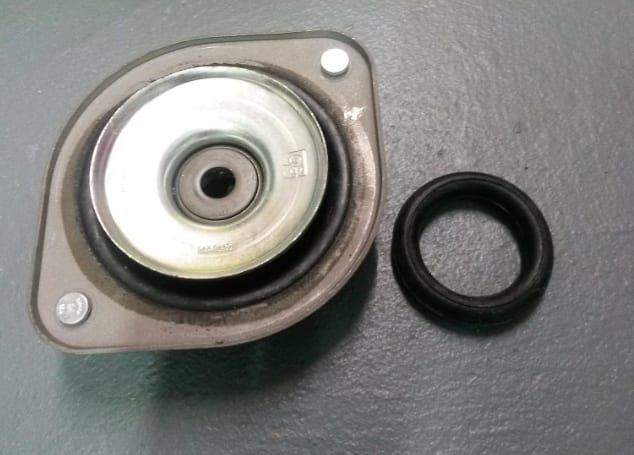
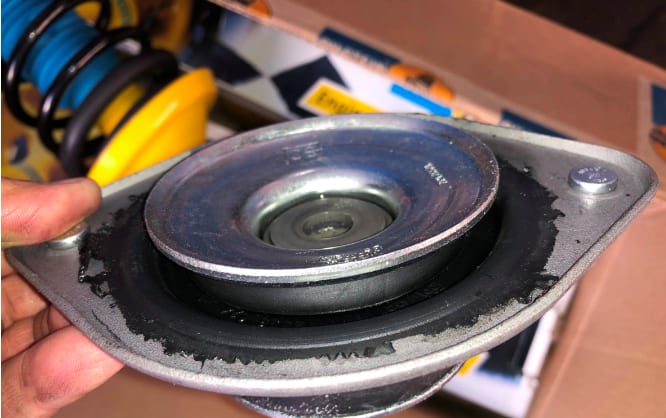
Yes you have to remove the brake caliper and suspend it from the thing using a metal wire, but saves you the step of the alignment or tracking as y'all call it.
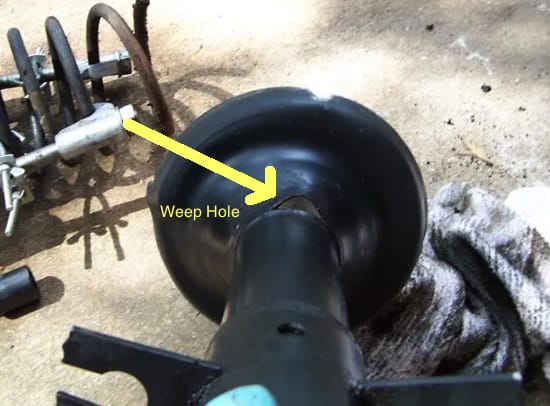
One last trick… is make sure on your oem struts that you clean out the weep holes on the mount as that allows water not to pool in the lower mount and rot it away.
What do Divorces, Great Coffee, and Car Electrics all have in common?
They all start with GOOD Grounds.
Where are my DIY Links?
They all start with GOOD Grounds.
Where are my DIY Links?
Posted
Local Hero

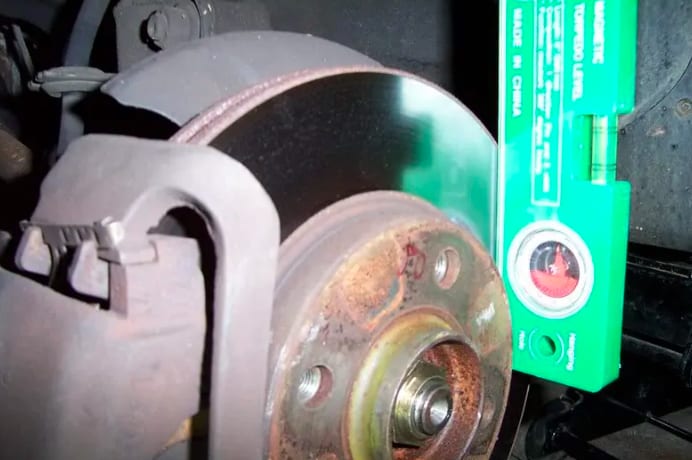
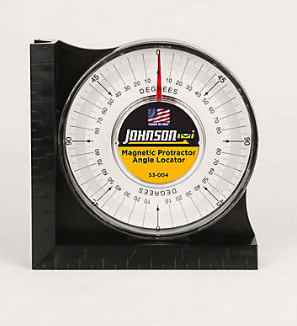
Since my eyes got older I went for a bigger version.
What do Divorces, Great Coffee, and Car Electrics all have in common?
They all start with GOOD Grounds.
Where are my DIY Links?
They all start with GOOD Grounds.
Where are my DIY Links?
0 guests and 0 members have just viewed this: None.


