GUIDE: Setting your cam and ignition timing (and fitting a t
Posted
#818805
(In Topic #97853)
Settled In

GUIDE: Setting your cam and ignition timing (and fitting a t
1. Cam timing
2. Ignition timing
As the top of your engine rotates (the camshaft, valves etc), the bottom half of the engine is also turning (rods, pistons, crank etc). The two sections rotate at a ratio of 1:2 which means the top of the engine rotates once for every two revolutions of the bottom end.
Think about the 4-stroke cycle, the induction (sucking of air in from the inlet valve) occurs while the piston moves down the chamber. Then as the piston moves up both valves are closed. The third stroke is the combustion, again, both valves shut as the piston heads down the bore. The final stroke is exhaust where the exhaust valve is opened. So you've got one inlet valve transition and one exhaust valve transition in the timie for two full piston up/down strokes.
The timing of the camshaft against the crankshaft is vital, if the valves were to open when the piston was at the top of its stroke then the valves could hit the top of the piston and the result is usually a destroyed engine (this is what happens when a cam/timing belt snaps). Note that this is called an INTERFERENCE engine when the valves would hit the pistons if the timing was wrong (the Golf is), whereas on some cars (such as mk3 supras for exmaple) they are NON INTERFERENCE which means even if the belt snapped the pistons would never hit the valves because there is a small clearance between the two.
OK so we've covered the importance of cam timing so now onto ignition timing. As the piston heads up the chamber on the compression stroke (when it has an air fuel mix in the chamber that will be ignited on the following combustion stroke) a spark is required (usually!) to create the explosion to force the piston back down the chamber. The spark normally occurs as the piston is still heading up in the cylinder so that the 'flame front' has time to develop and is in full flow by the time the piston is ready to head back down the cylinder. Note that the spark can occur directly at the moment the piston reaches the top of its stroke on some engines.
Some terms you will have probably heard are TDC (top dead centre) BTDC (before top dead centre) advacne, retard and a number of degrees relating to timing. Here's what they are
TDC - This is the point where the piston is at the top of the cylinder, it occurs twice in every revolution of the camshaft as discussed earlier. There's also BDC (Bottom dead centre) which is when the piston is directly at the bottom of the chamber, again, occurs twice for each cam revolution.
BTDC - Before top dead centre usually goes hand in hand with an angle e.g. 6 degrees BTDC. This refers to the number of degrees (remember, 360 in a circle) of rotation on the crankshaft before the piston is at TDC. As mentioned, the spark plug fires a spark BEFORE the piston reaches TDC and the number of degrees BTDC changes the characteristics of the explosion.
Advance and retard - Again, this refers to ignition timing. If you make the spark occur sooner i.e. when the piston is even further down the chamber on its way up, you are said to be advancing the timing. For instance, if the spark occurred at 3 degrees BTDC and you changed it to 6 degrees BTDC then you have advanced the timing by 3 degrees.
Conversely, if you were to make the spark occur later on i.e. when the piston is further up the chamber, it is said to have been retarded. The spark os never normally set to occur ATDC.
Hopefully now you understand that cam/crank timing is very important and that this is fixed a a 2:1 ratio which never changes. The alignment between the cam and the crank prevents interference engines from destroying themselves. Also, you should appreciate that ignition timing is a variable that can be changed and this controls when the spark to ignite the air/fuel mix occurs. Ignition timing is measure in degrees before top dead centre.
Right, onto the guide…
Posted
Settled In

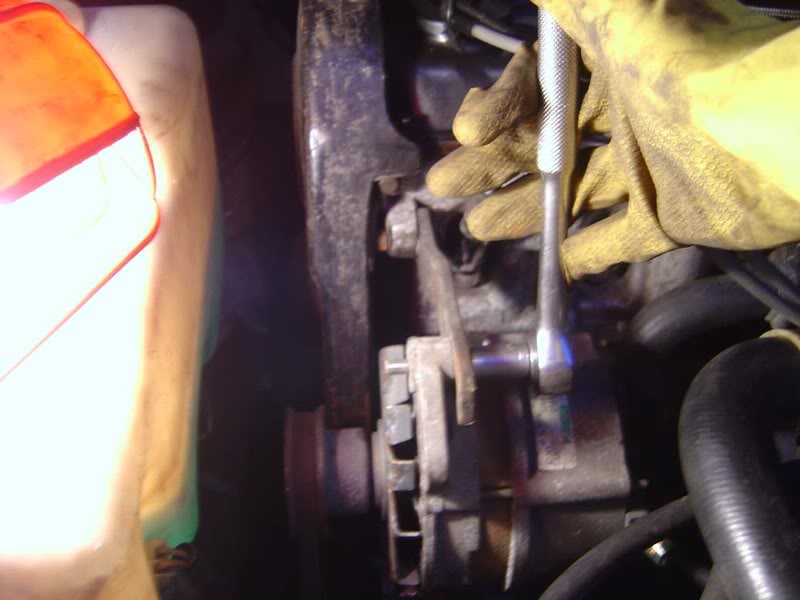
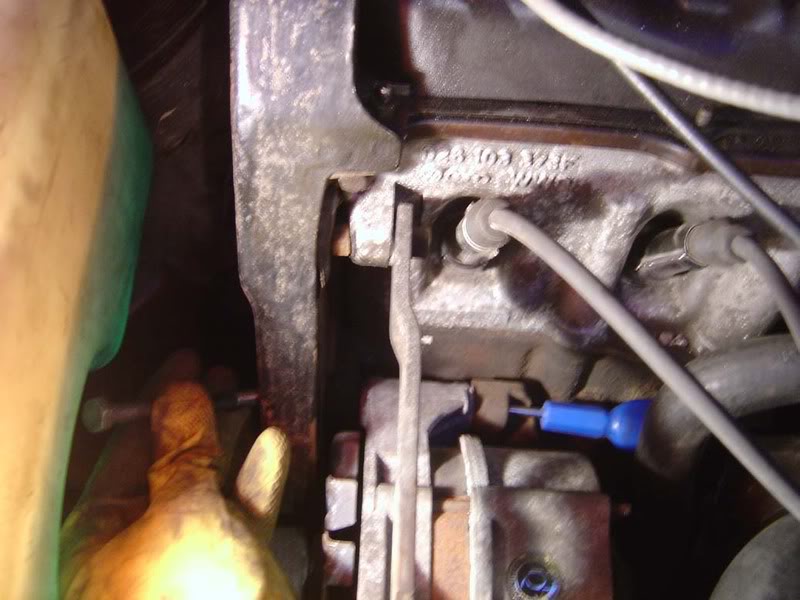
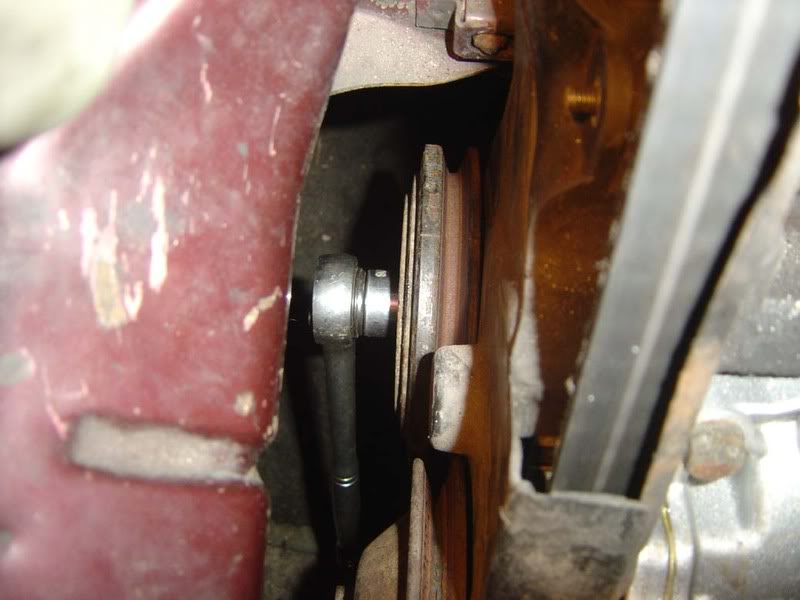
Step 2 - Now remove the long bolt (should be an allen key bolts but mine was replaced with a 13mm) that holds the alternator onto the block. This is easiest using a 1/4" drive ratchet to fit through the hole without the socket catching. A scredriver through the threaded hole will help remove the nut (first picture) With this removed, you can push the alternator forward and slide the fan belt off (second picture)

Posted
Settled In


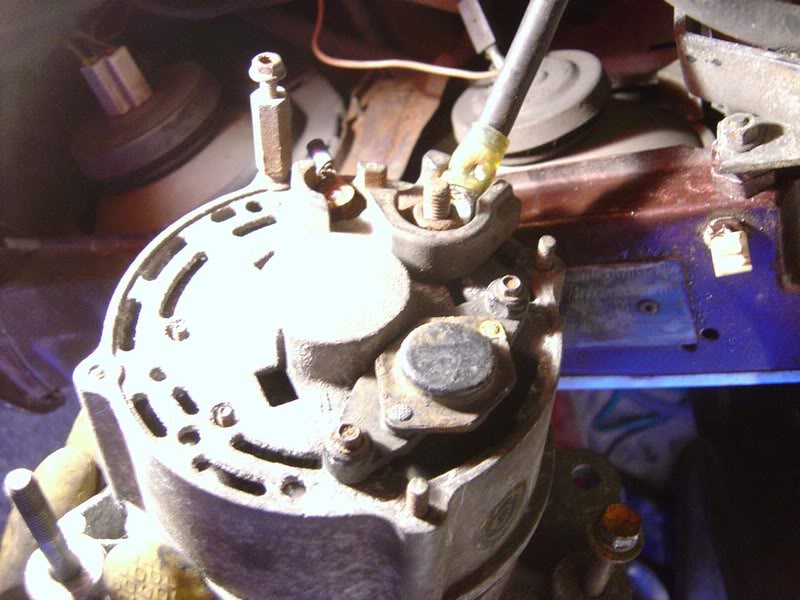
Step 4 - Remove any wiring to the alternator (this could be just a connector or some bolted on wires depending on the model) then remove the alternator from the car.
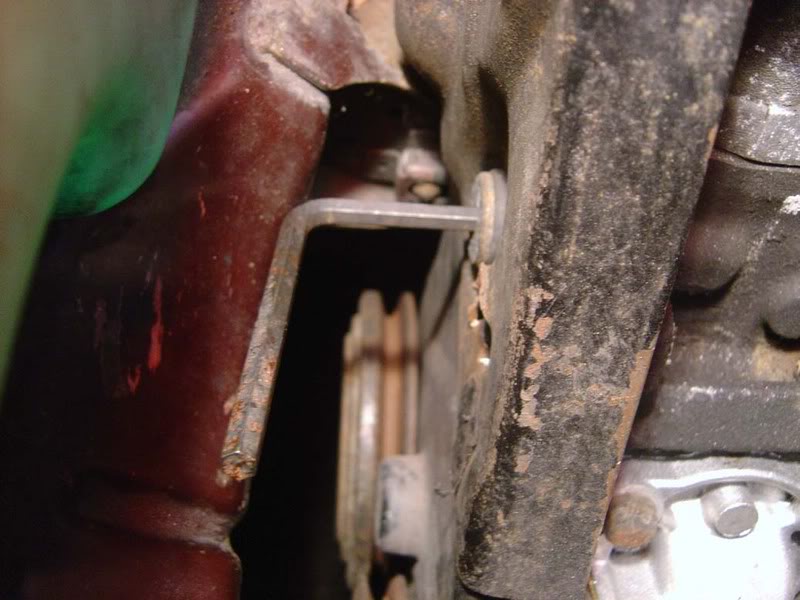
Step 5 - Use an allen key to remove the bung from the upper timing belt cover

Posted
Settled In


Step 7 - With a little wriggling the upper cover should now lift clear of the engine giving access to the cam pulley
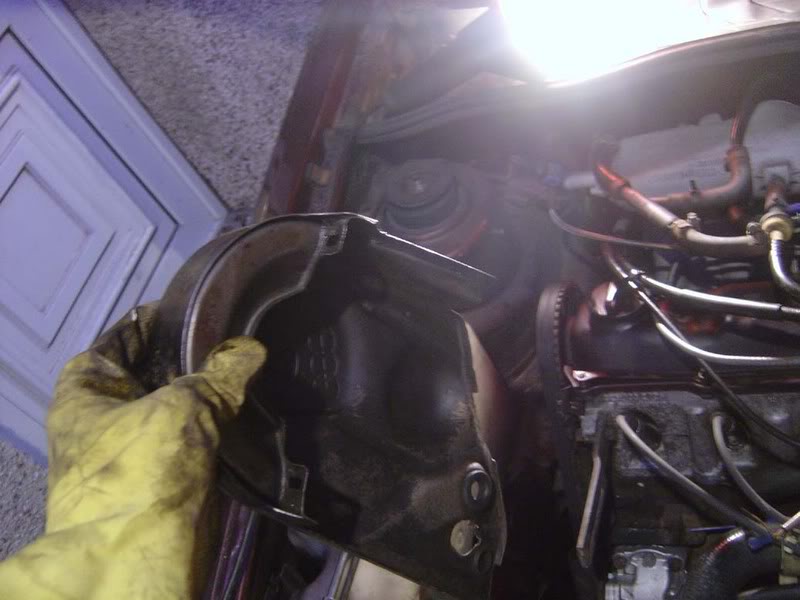
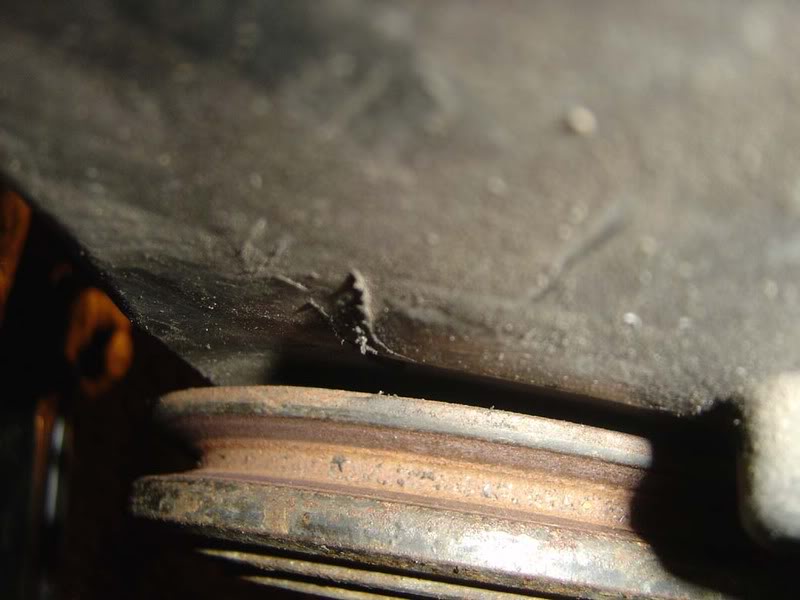
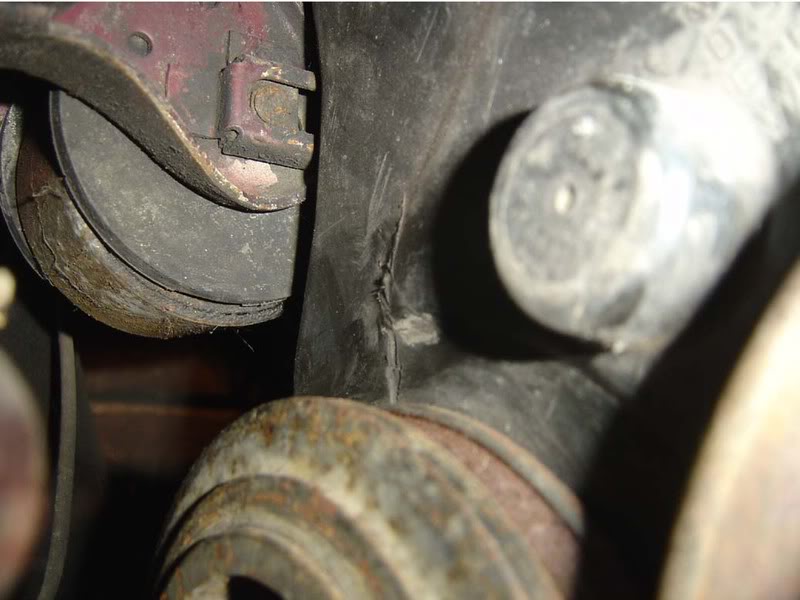
Step 8 - If you look down towards the crank pulley you should see a timing mark on the lower case. Mine had been 'enhanced' by someone previously but there's an arrow just beneath the scratches you can see in the picture.
There are timing marks in various places such as the gearbox, dizzy cap, timing covers etc and we will use them shortly. The second picture shows the arrow a little better but it's difficult to see this when you're working on the car
Posted
Settled In

When rotating the crank pulley you should go in the direction of normal engine rotation which is clockwise if you were facing the crnak pulley.
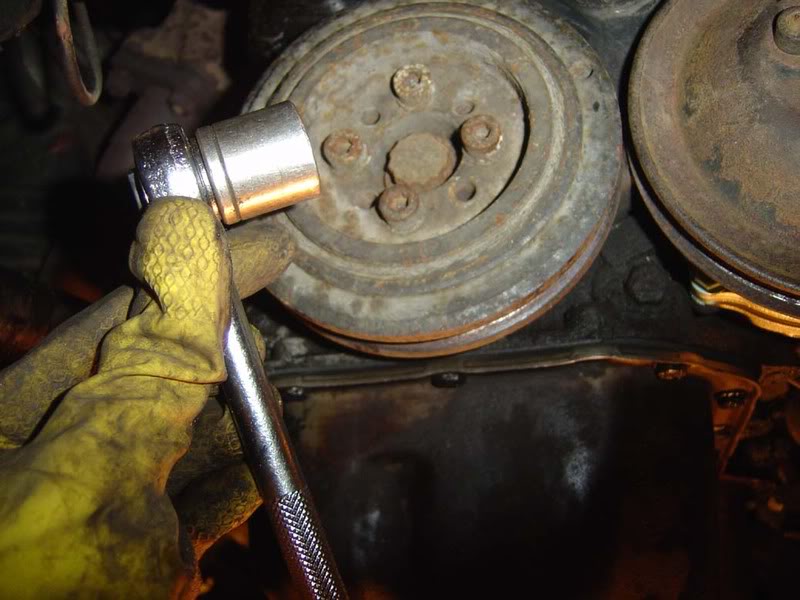
Step 10 - If you haven't got the mark on the timing cover or for some other reason can't line up the pulley in the method shown, don't worry we are going to use another check point now. Use the gearbox inspection hole. There may be either a bung or a sensor in the hole so remove this then you should see a bolt which marks TDC when in the centre of the hole as shown.
You may also have another marking further round, this is six degrees BTDC This is often easier to use than the crank marking and if your crank pulley is in the wrong place it is a good reference point to fall back on, the flywheel (if correctly fitted) should alway line up TDC correctly
Posted
Settled In


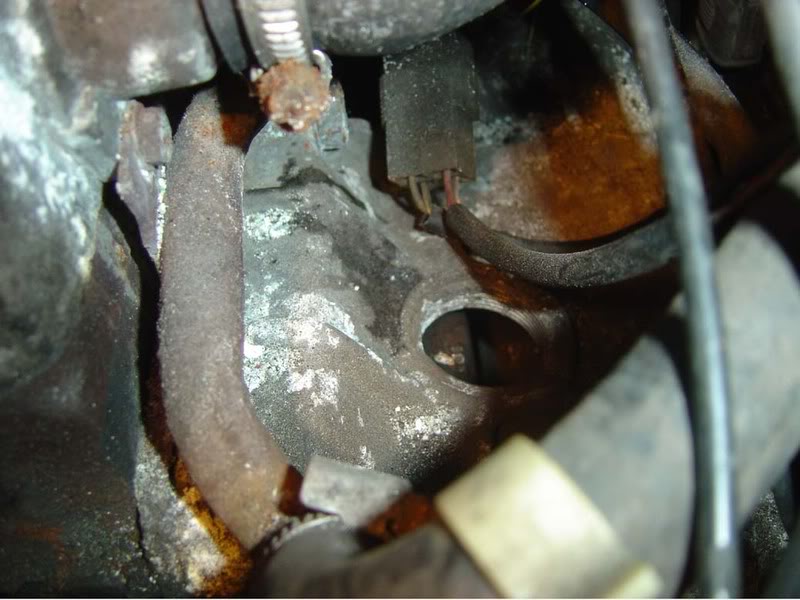
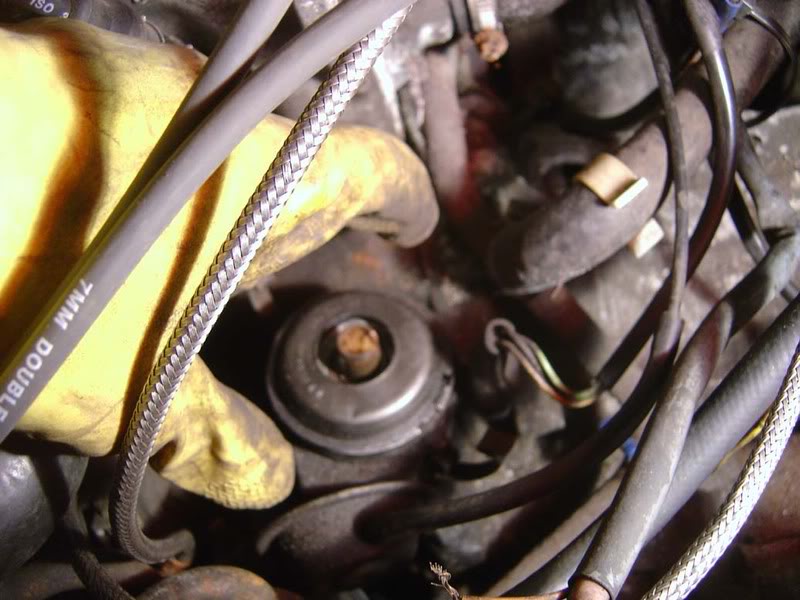
Step 12 - With the cap removed you will have access to the rotor arm and dust cover, remove both (they simply pull up)

Posted
Settled In


Step 14 - Slacken the distributor bolt which is a 13mm. It's a bit tight so a spanner will have to suffice here
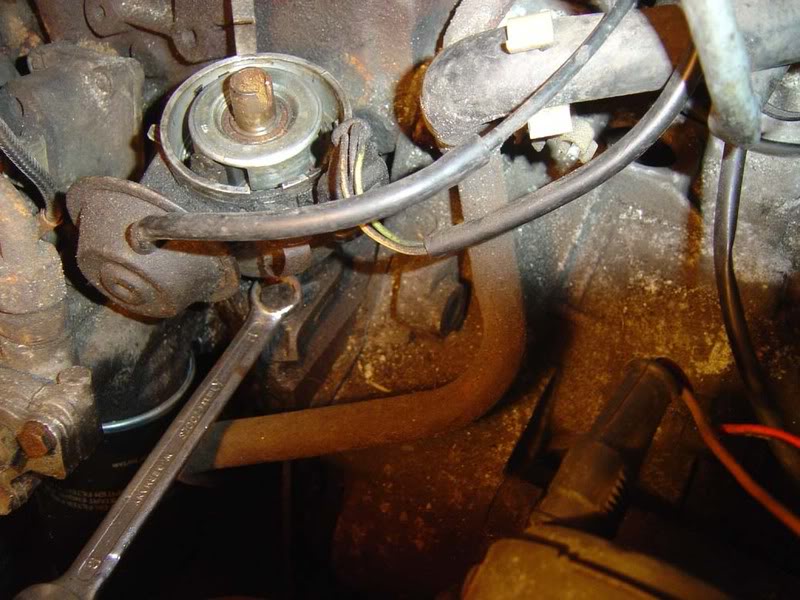
Step 15 - Normally, when you are only doing the ignition timing you would just loosen the bolt but for the cam timing we will remove it completely. Also remove the finger that clamps the distributor down by tightening the bolt as shown. If your rotor arm is pointing at #1 cylinder's HT lead then you will not need to change the dizzy so don't bother to remove it.

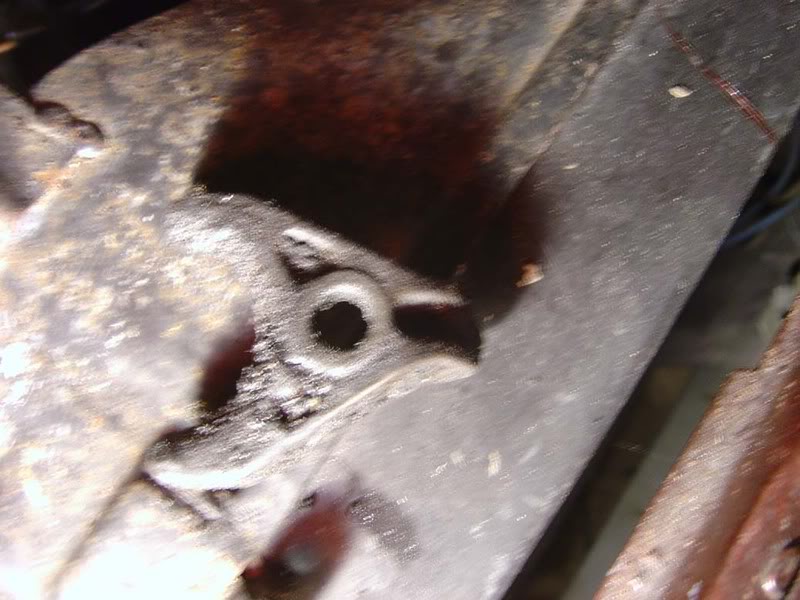
Posted
Settled In

Note: I am removing the distributor because I already know the timing is way out, make sure you've checked all the matchmarks (see the rest of this guide for checking timing marks) before you go ripping bits off.
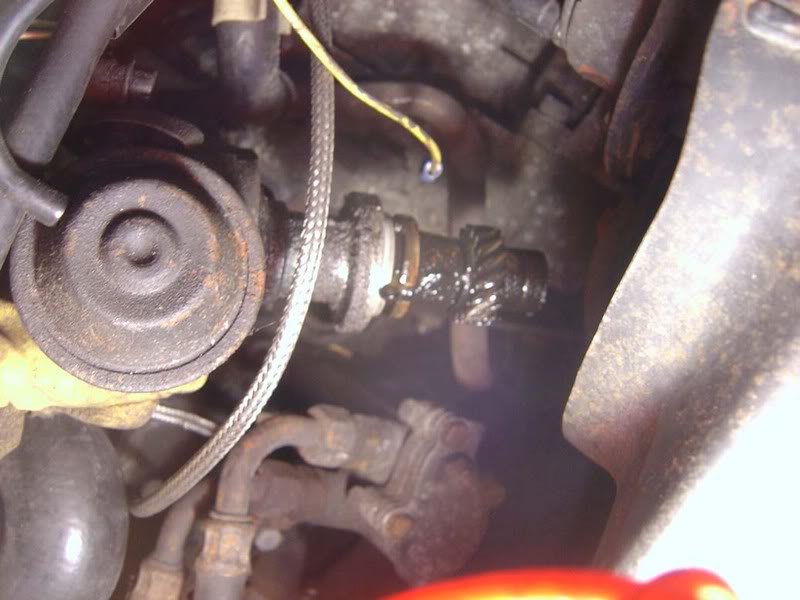
Step 17 - Use a 15mm bolt to slacken off the bolt for the cam belt tensioner

Step 18 - Now rotate the tensioner toward the back of the engine bay. There is an eccentric bearing which means as you rotate the wheel it will slacken or tighten the cam belt, rotating away will make it loose so you can slide it off the cam shaft
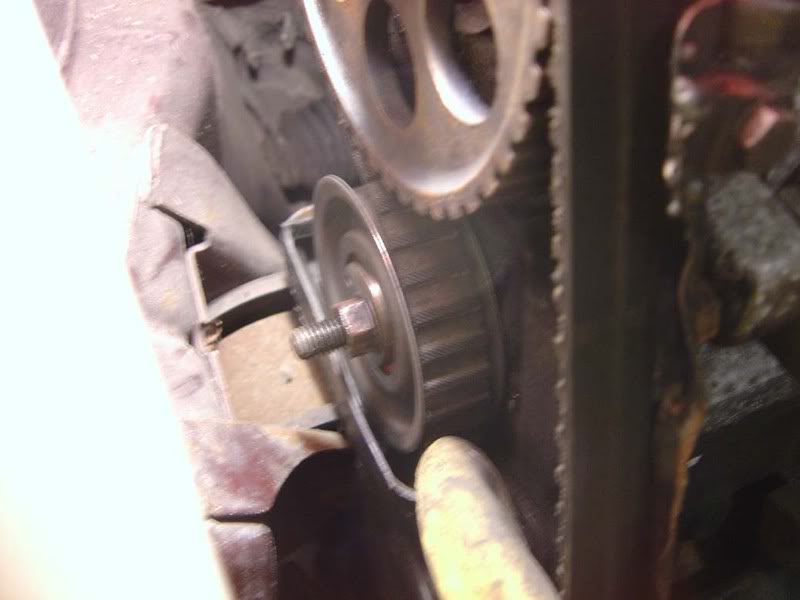
Posted
Settled In


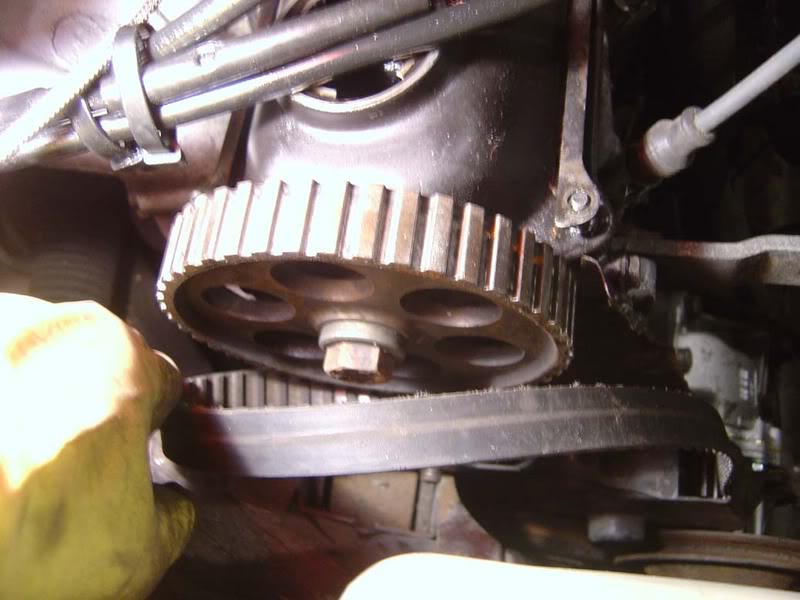
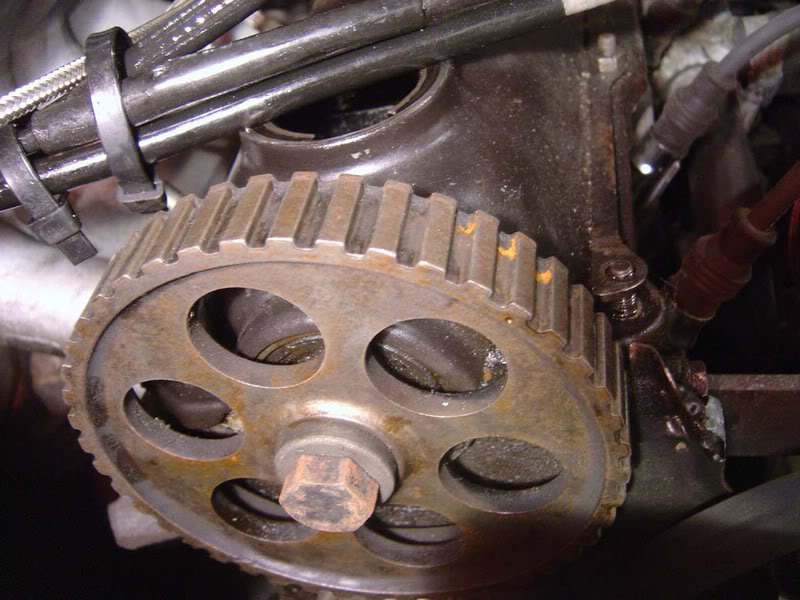
Step 20 - Have a look at the cam pulley, you should find a little dot on the outside of the cam pulley and another one on the inside (the side facing the engine/gearbox) 180 degrees out of phase (ie half way round the pulley)
Posted
Settled In

Note: If you are just changing your cam belt, NEVER rotate either the top or the bottom of the engine while the belt is removed because you will simply want to remove the old belt then refit the other in exactly the same place. We are only showing how to do this if your car isn't set up correctly (although it's worth knowing in case you make any mistakes when fitting the belt!)

Step 22 - Now remove the 3 allen key bolts holding the water pump pulley on
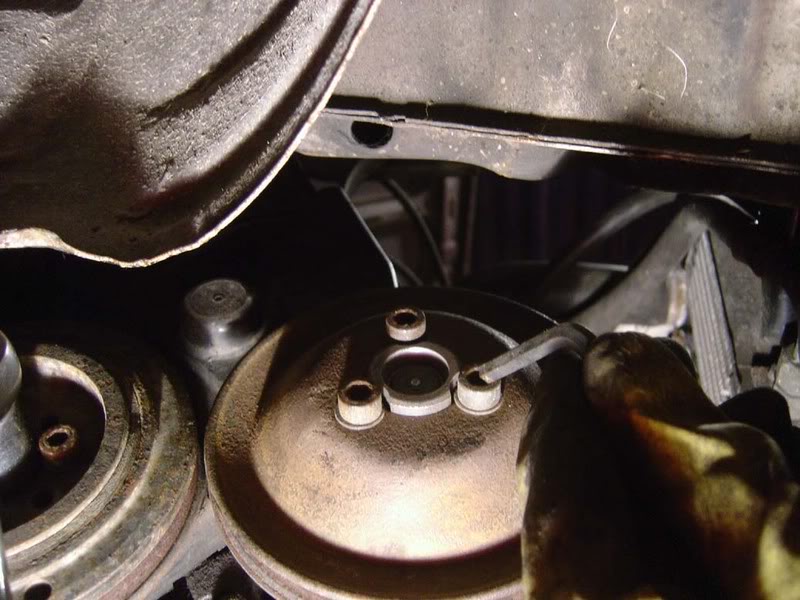
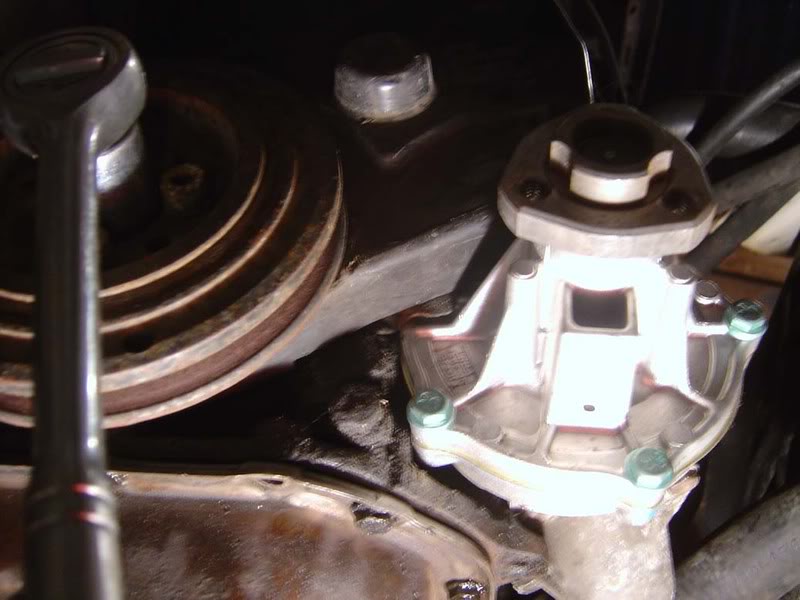
Step 23 - This gives you better access to the lower timing cover as shown here
Posted
Settled In

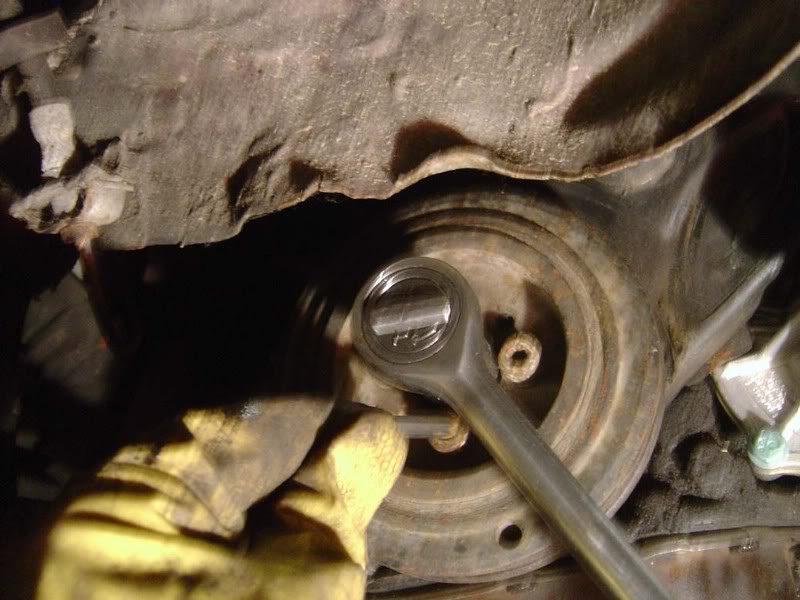
Step 25 - Now slide the pulley off the crankshaft
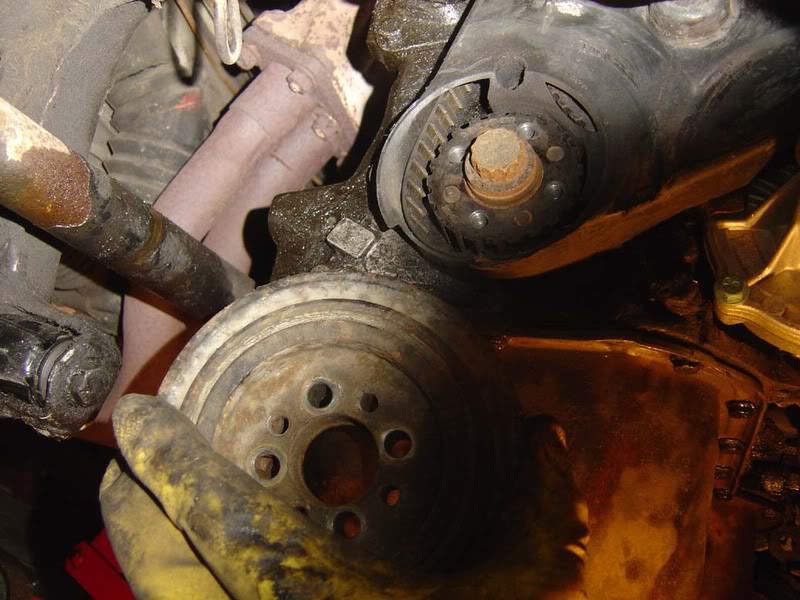
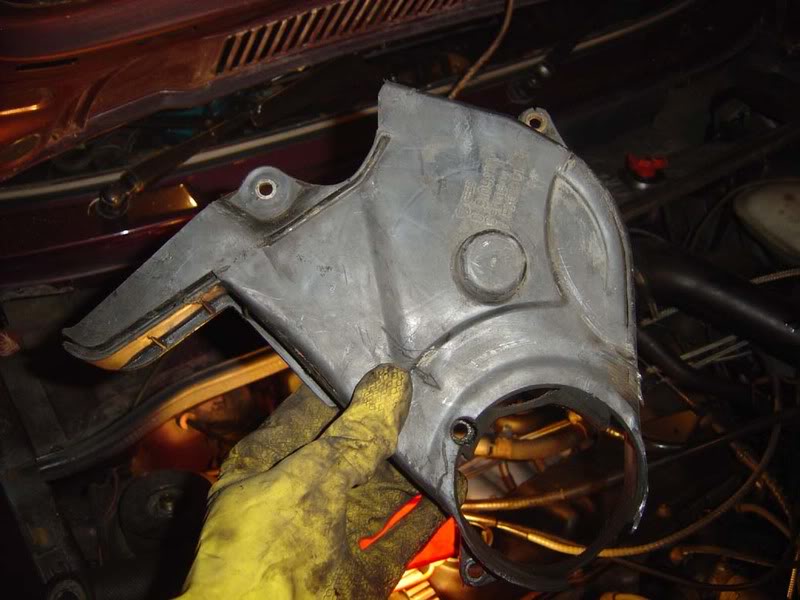
Step 26 - Look round the bottom pulley and if you find any 10mm bolts fitted, remove them. You should find one holding the cover to the water pump and one behind where the crank pulley was (I didn't have them fitted on mine). Remove the bolts and work the cover free (don't snap it!)
Posted
Settled In

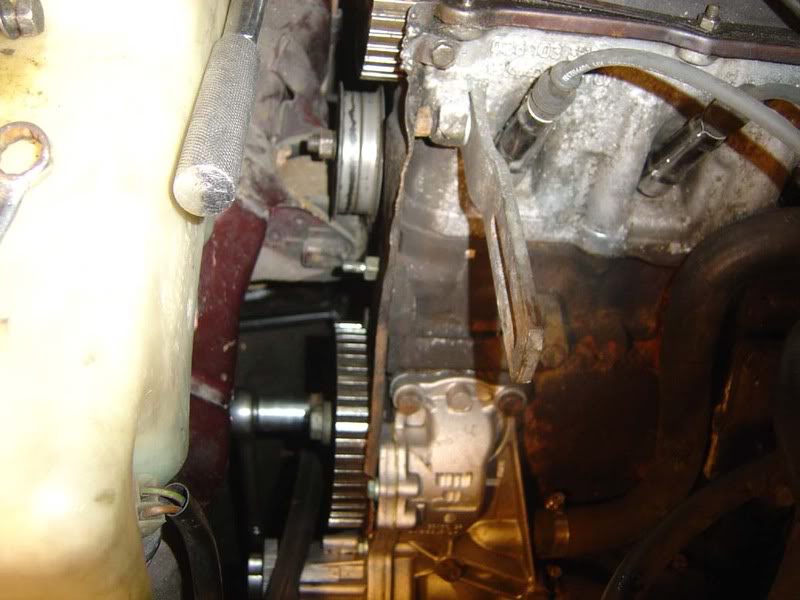
Step 28 - Now to start the real timing up, check that gearbox mark is still bang on in the centre as in step 10
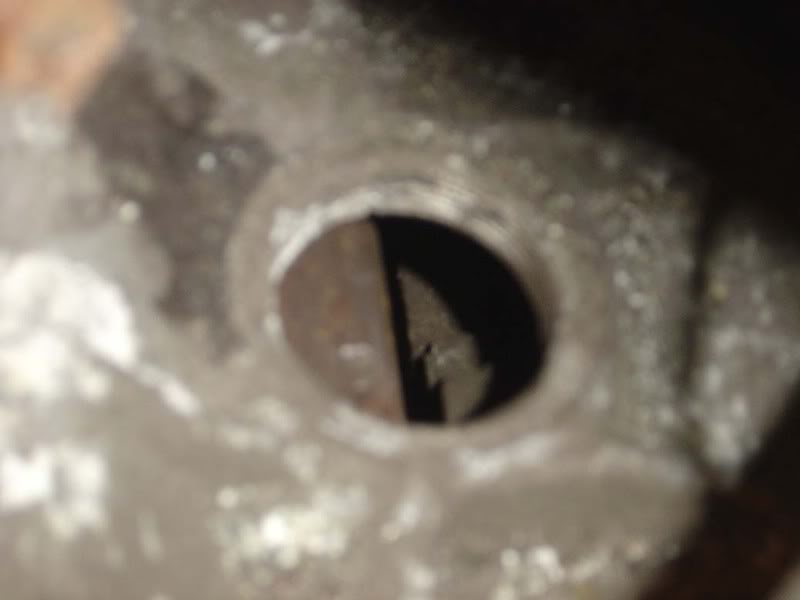
Step 29 - Remove the HT lead and spark plug from cylinder #1 (driver's side)
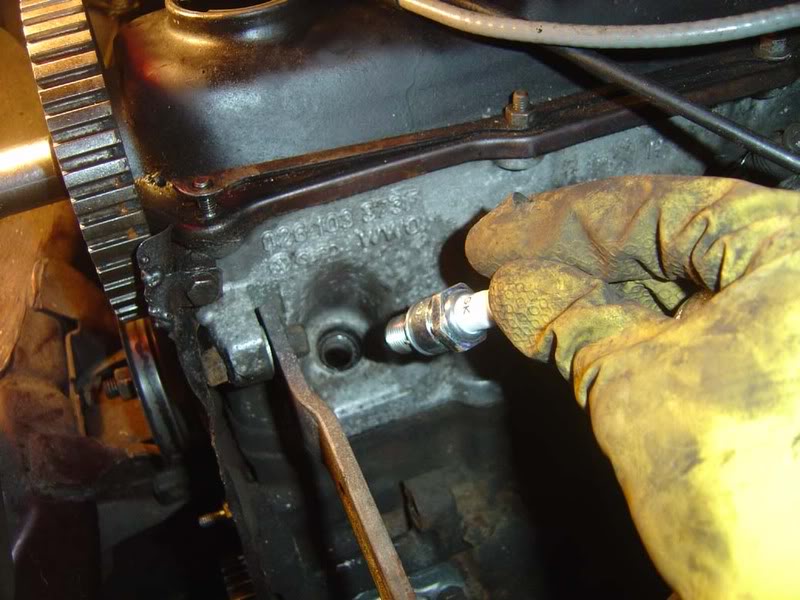
Posted
Settled In

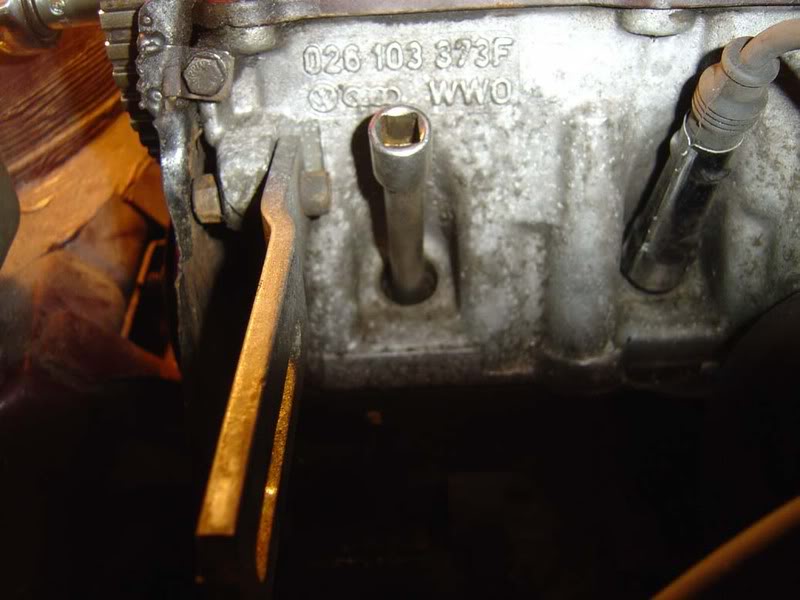
Step 31 - Rotate the engine via the crank pulley bolt slightly one way and then slightly the other way (you normally only turn clockwise but you're only moving about 1/8th of a turn so no big deal). You should see the bar move up and down as the piston changes direction. Ensure that when the mark on the gearbox (shown in picture) is in the middle, the piston is at the highest point
Note: If not, then your matchmarks on the flywheel against the crank are wrong which is pretty much impossible with the flywheel dowels correctly inserted so I'm going to assume this is correctt, if not post up and ask for more help!

Step 32 - Now we've confirmed that we are at TDC by the flywheel and piston position (and if you're luck the crank pulley should have tallied too!) so we are going to move onto the next pulley which is for the intermediate shaft. This is aligned using the crank pulley so pop one or two of the hex bolts loosely into here
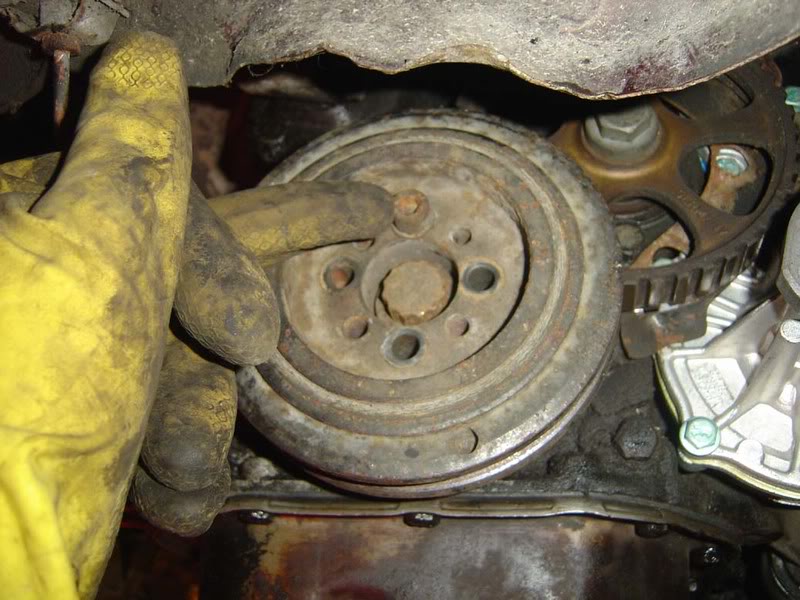
Posted
Settled In

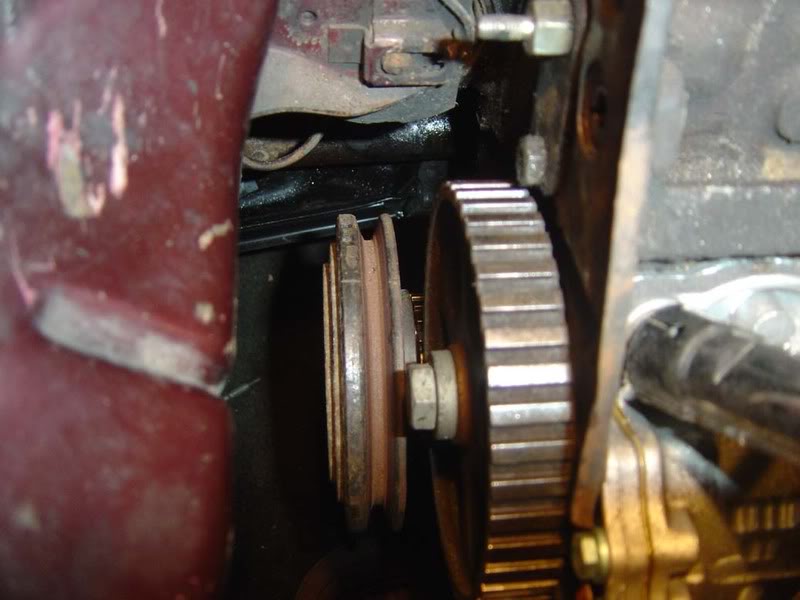
Step 34 - Time for a neat trick, grab yourself a small mirror (ask a passing girl for a make up mirror, they're perfect!) and angle it as shown. This gives a great view of the crankshaft pulley marking and the intermediiate shaft pulley.
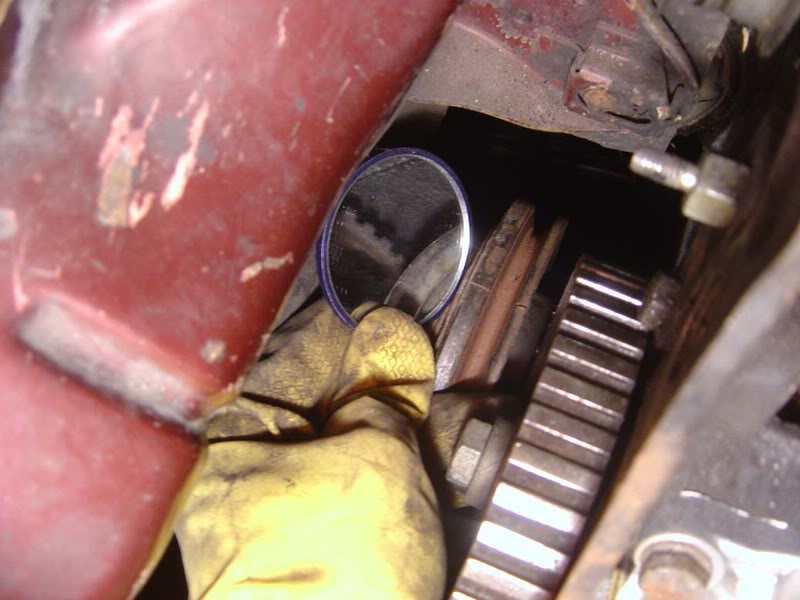
Step 35 - Another one of those all-important timing marks features here, the intermediate pulley must line up perfectly with the crank pulley. On the intermediate pulley there are several markings and a line which should line up with the line on the crank pulley (there are a lot of lines!). See picture closely for the two lines

Posted
Settled In

There is a mark on the cam pulley on the INSIDE of the cog. My car was set up using the one on the outside which meant the timing was 180 degrees out!! The dot can be seen if you look closely on the first picture in line with where the cam covers usually sit
Hopefully you won't need to move the cams but if you do just rotate the bolt (picture 2) until the dot is in line with the cam cover flange
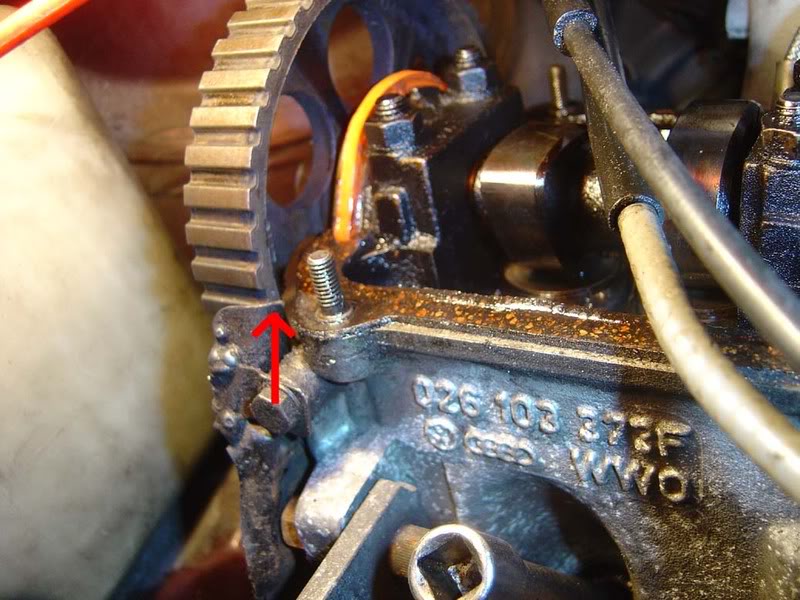
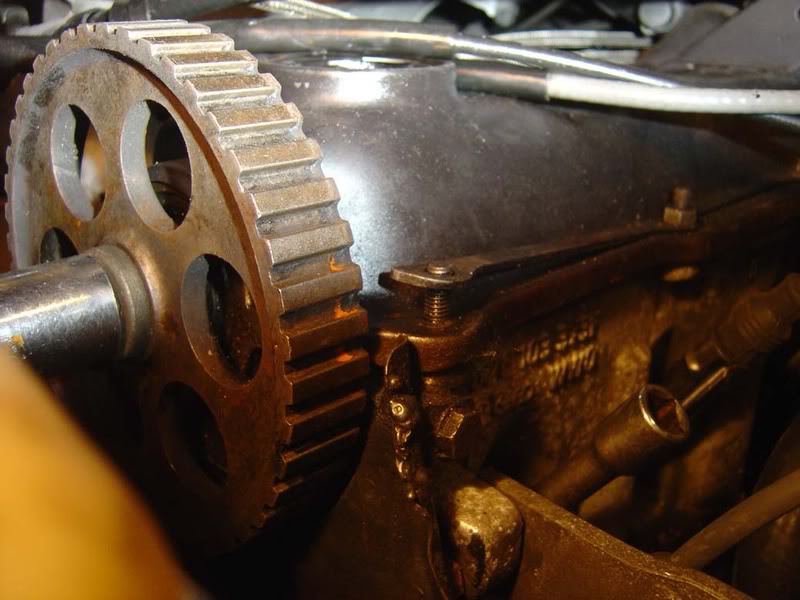
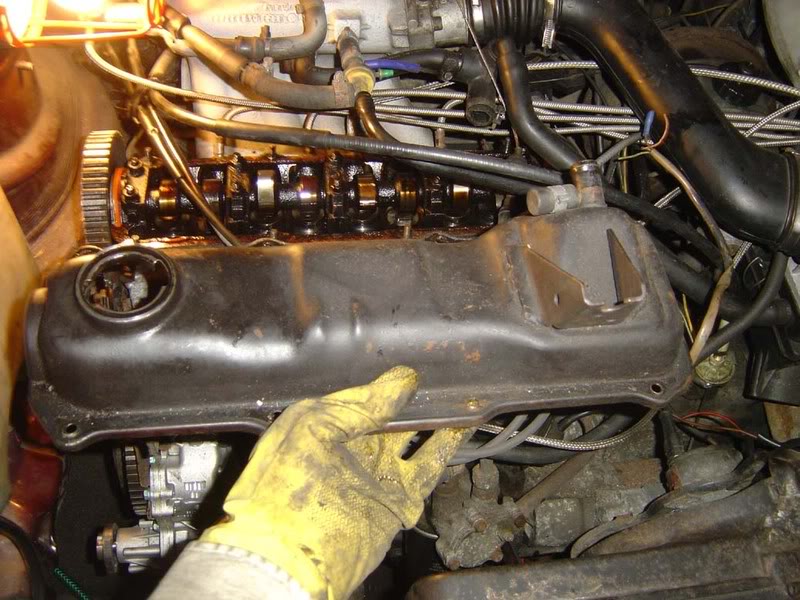
Step 37 - To determine whether or not your cam pulley has been correctly fitted you really need to remove the cam covers (otherwise you might be aligning the dot incorrectly so I suggest you do this before you start rotating the cams). Take out the 10mm bolts around the cover on both sides (8 in total)
Note: Look for any wires such as shown here on one of my cam studs, this one is a ground connection that needs to be refitted when you put the covers back on


Posted
Settled In

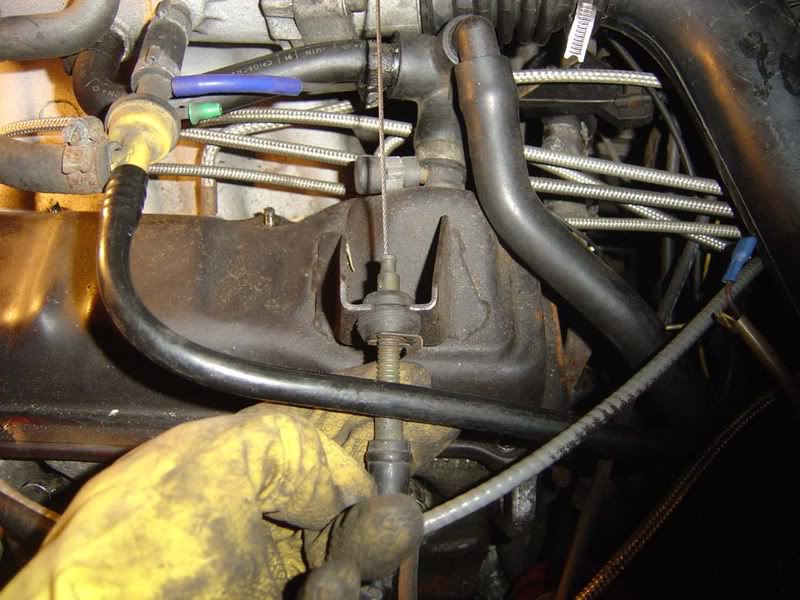
Step 39 - Loosten the clamp then remove the PCV hose (it recirculates gas which is produced as a bypass of combustion into the intake in case you wondered) from the cover

Step 40 - Now you should be able to lift the cover cleanly up off the gasket and remove it from the car
Posted
Settled In

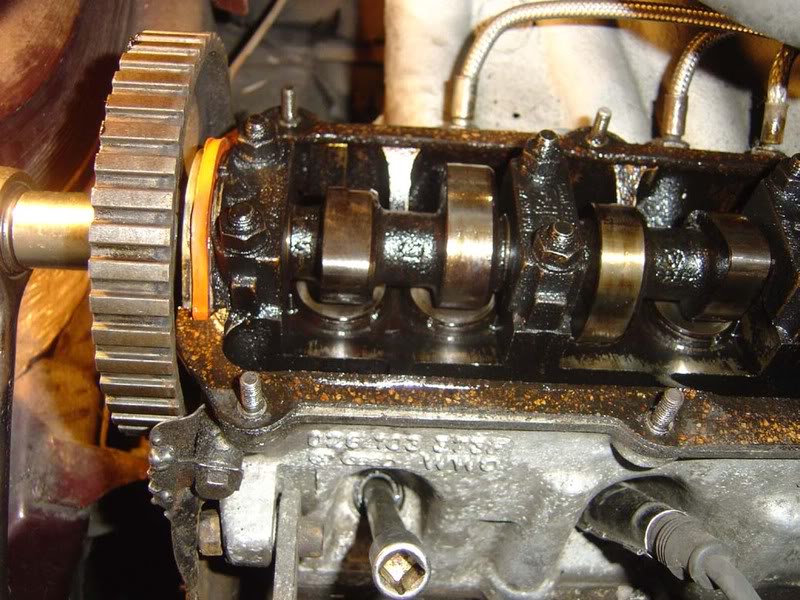
Step 42 - Once you have reached this stage you should know that
1. Your engine is a TDC based on the flywheel and spark plug hole test
2. Your crank pulley is in the right place
3. Your intermediate pulley is in the right place
4. Your cams are facing the right way
5. Your camshaft pulley marking is correct
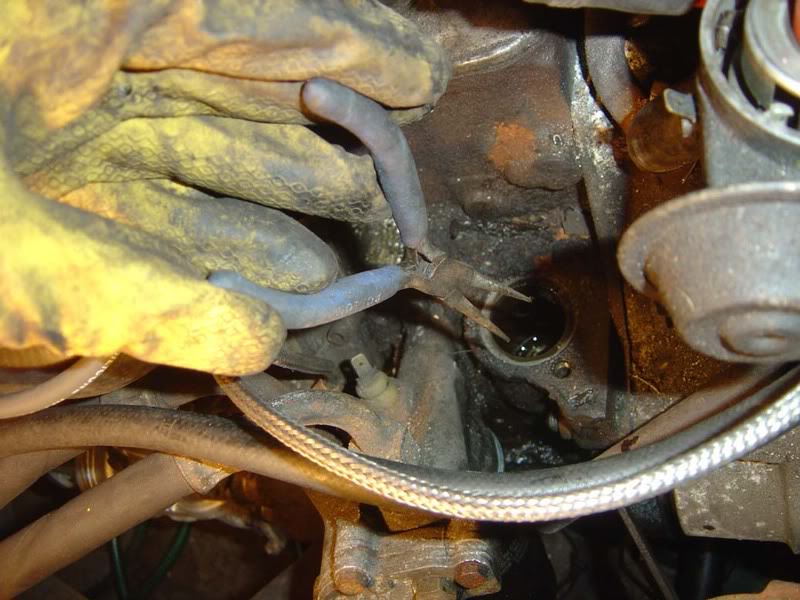
So we've almost finished getting the cam timing sorted, the last thing to do is put the distrubtor back in. Look down the hole where the dizzy sits and you should see this …

Step 43 - With a pair of pliers you can rotate the metal bit (which is connected to the oil pump if you see the other guide it will become clear) very easily so it is inline with the two slits either side. This should sit parallel to the crankshaft when in the correct position
Posted
Settled In


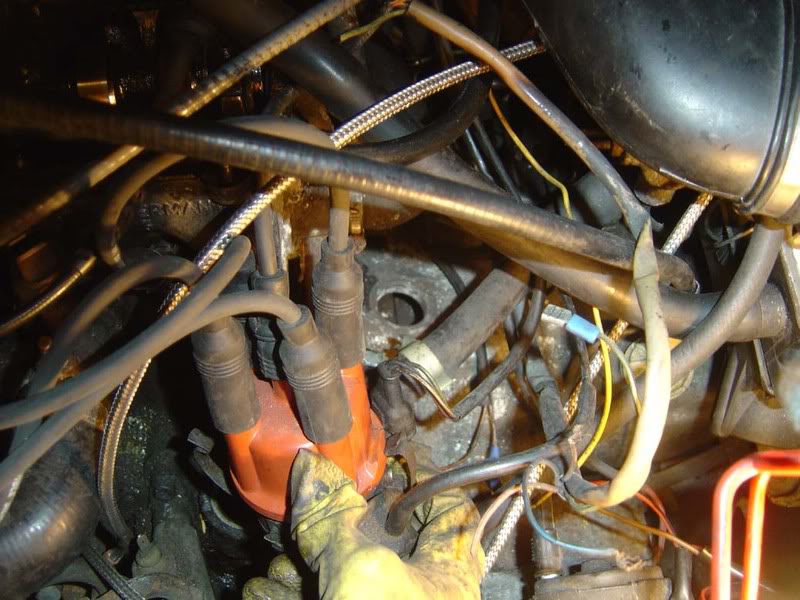
Step 45 - Ensuring the rotor arm lines up with the mark on the distrbutor housin (obviously refit the rotor arm to do this by pushing it on), ease the distrbutor gently into place, it's a little fiddly but not too bad

Step 46 - Note the position of the rotor arm and ensure thta when you fit the dizzy cap into place that HT lead for cylinder #1 is in line with the rotor arm (mine wasn't so I ahd to rotate each of the leads round one place)
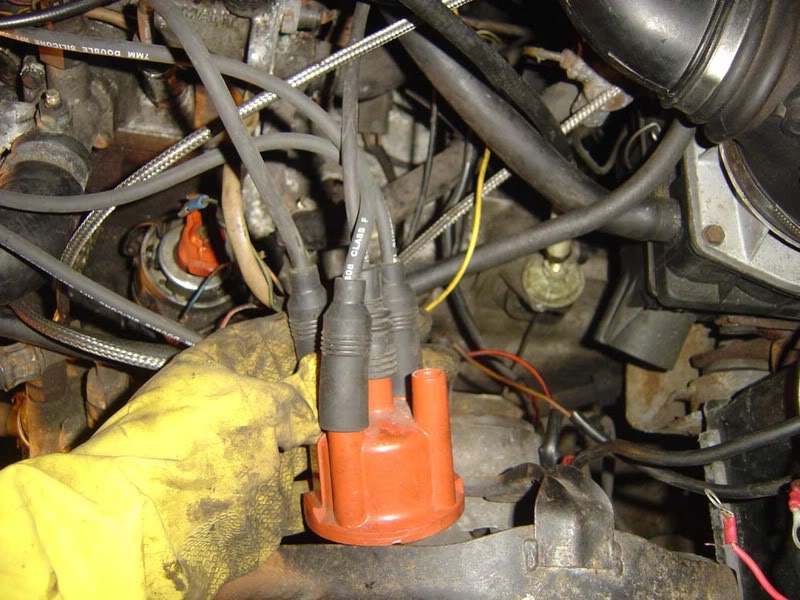
Posted
Settled In

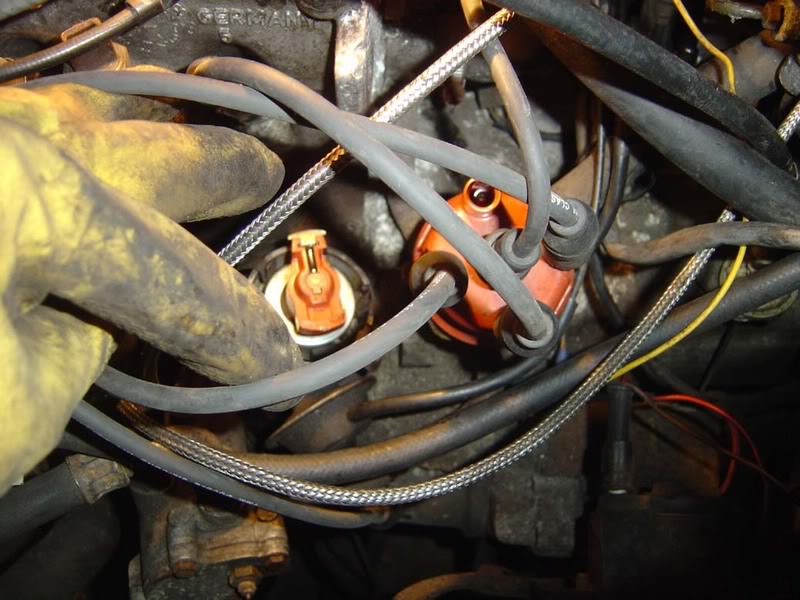
Step 48 - Clean up and refit the clamp/bolt for the distributor body
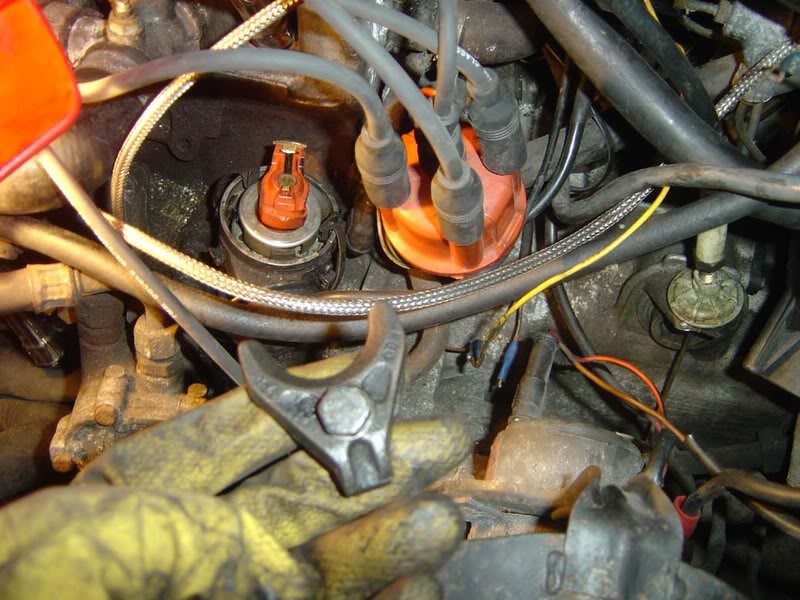
Step 49 - Now refit the distrbutor cap
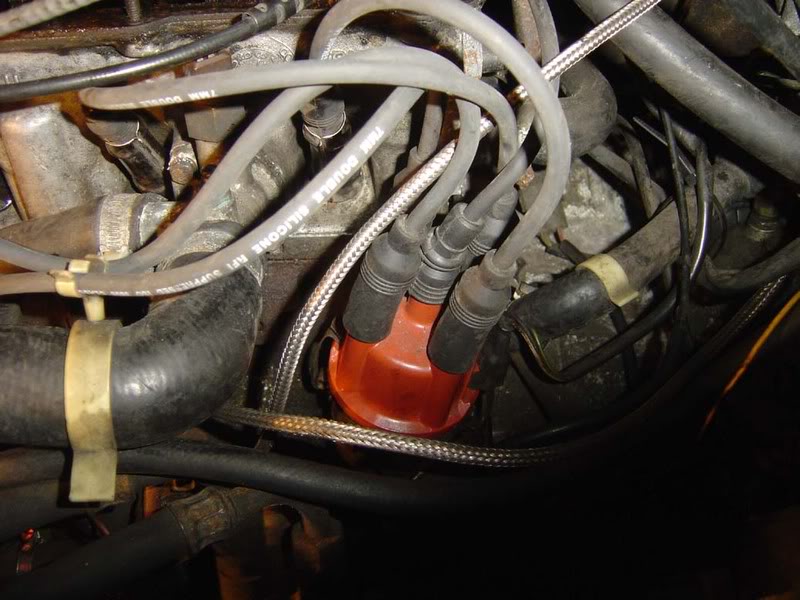
Posted
Settled In


Step 51 - You've now lined everything up to TDC. It's quite a lot of information to take in but there's nothing that is actually that difficult to do, just make sure everything lines up with all the matchmarks provided and keep going back and double checking all your work every time you change another component.
Back to the cam belt side of things now, I refit all the bolt sto the crank pulley at this stage (as shown in the picture so you don't wonder why it appears in the next sequence). This was a mistake because we haven't fitted the lower timing belt cover yet so DON'T do this yet, simply move to the next step
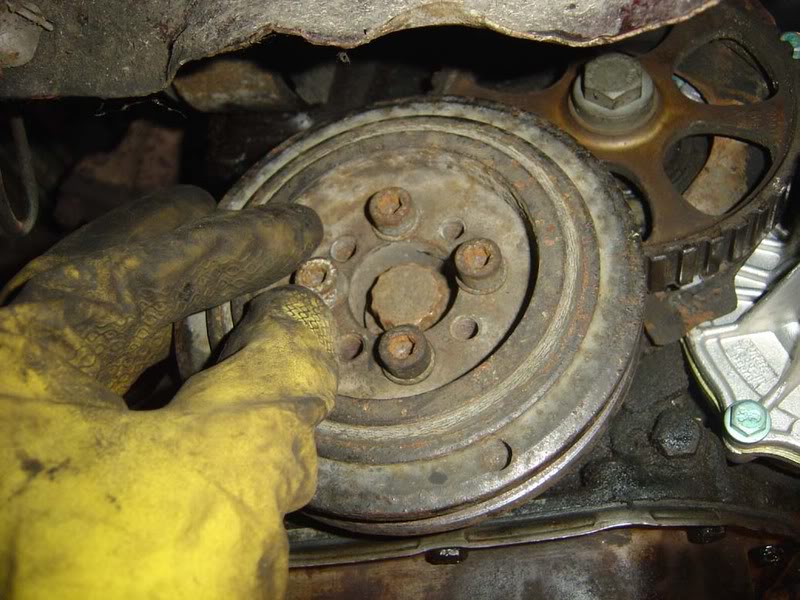
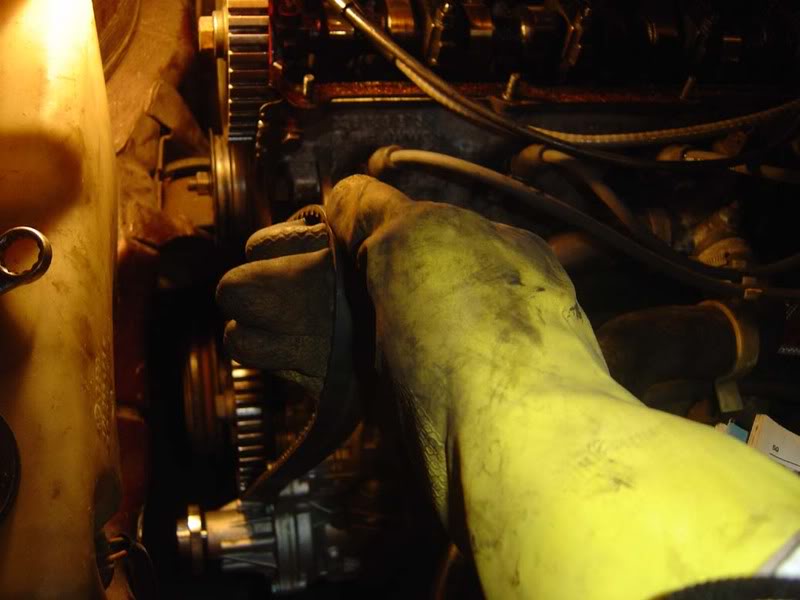
Step 52 - Hook the timing belt round the underside of the crank pulley and carefully run it up around the intermediate pulley. Try not to rotate any of the cogs as you do this
0 guests and 0 members have just viewed this: None.


