Roof fitting
Posted
#1552598
(In Topic #208148)
Settling In

Is it possible to tighten my roof or make some kind of adjustment


Posted
Local Hero

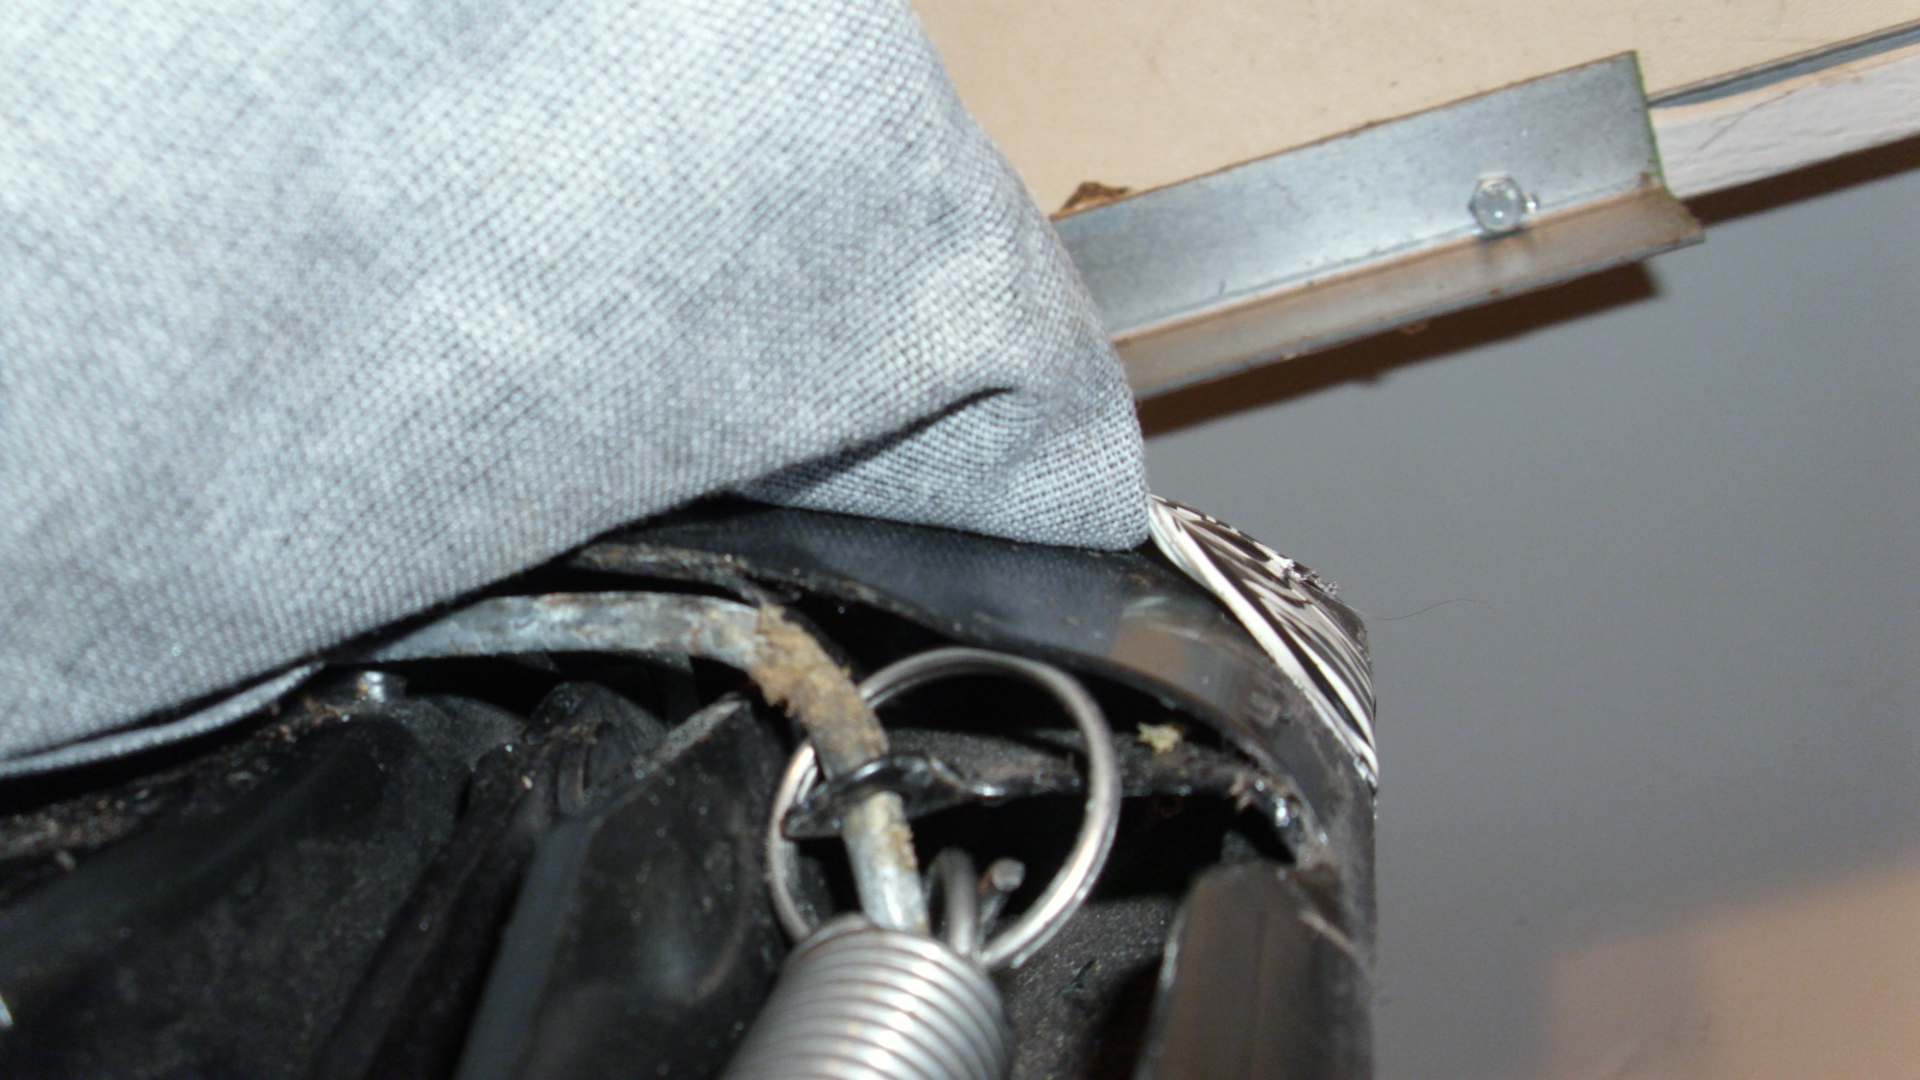
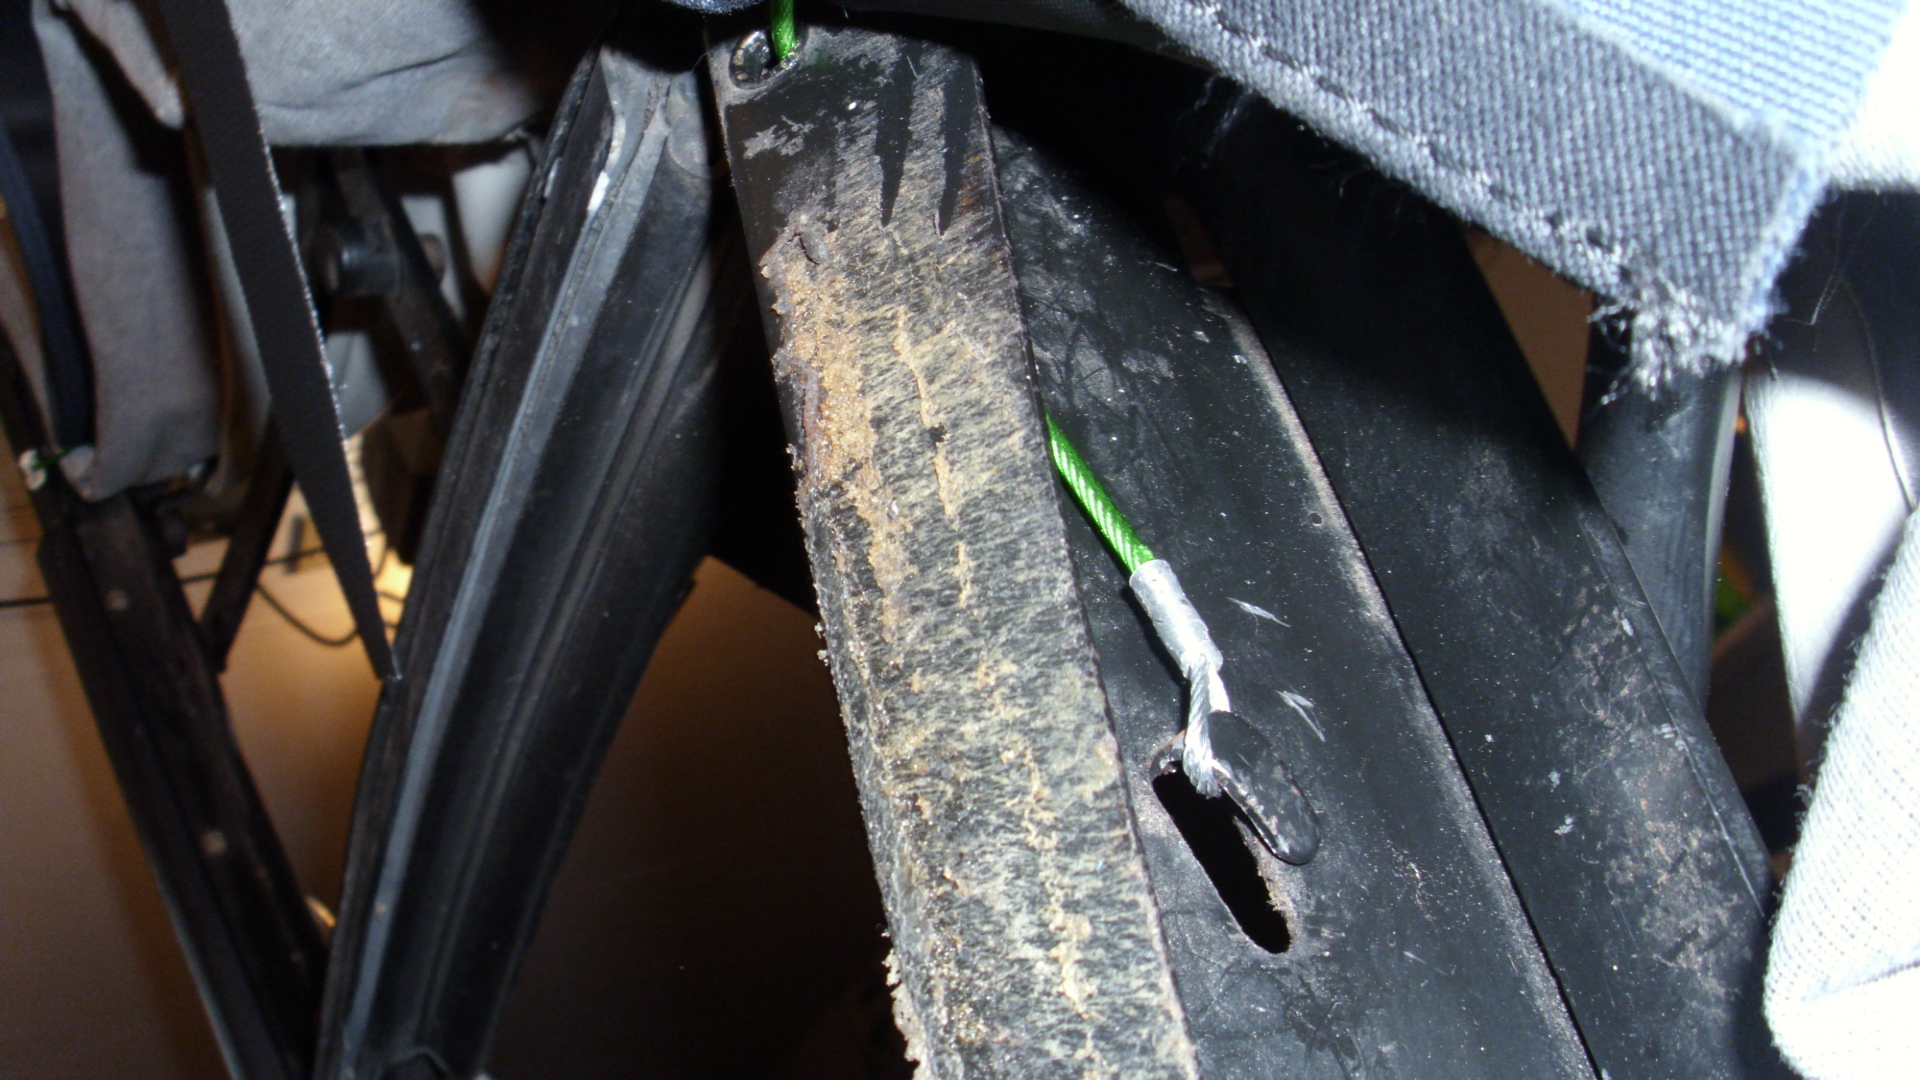
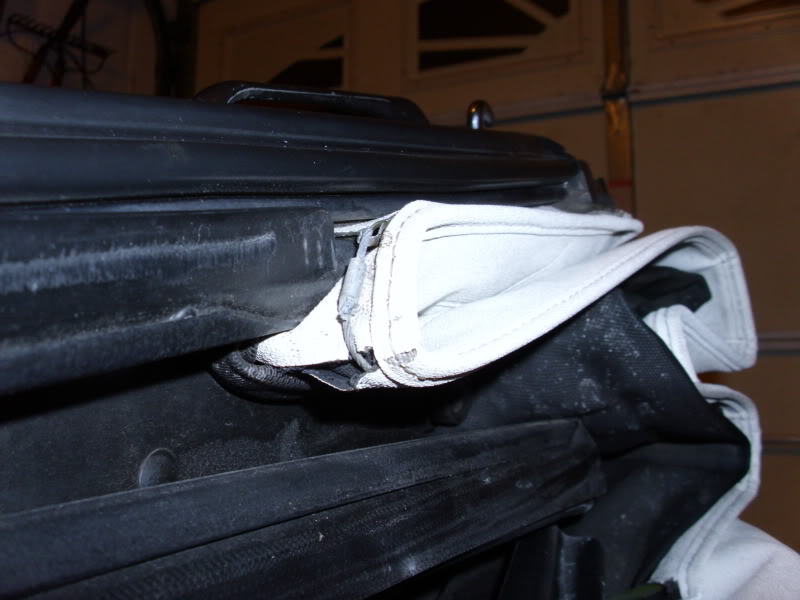
I guess your side tension cables have snapped, there should be a wire running inside the roof lip and goes into the metal part of the C pillar where it attached to a big spring, there is a tab and a looped bit of wire near the front of the roof frame.
If you pull the sides of the roof is there any tension there or pull on the wire.
It is possible to feed/push a new wire through but is a little fiddly and loop a bit of string on the end of the wire not going through the roof so if the pull it out to far you can pull it back through, work from the front to the back and the roof needs to be unlatched and left up to take the tension of it.
There is a few guides on making your own cables as I found the ones I bought from ebay only lasted about a year before snapping as I've replaced mine 3 times before making my own out of better quality stainless steel cable.
1988 Mk1 Golf GTi Cabriolet 1.8cc DX, K-jet. Daily drive. 317,000 miles and counting
1978 Mk1 Scirocco GLS 1.6cc FR, Webber carb. Weekend toy.
1978 Mk1 Scirocco GLS 1.6cc FR, Webber carb. Weekend toy.
Posted
Local Hero

What I have found over the years there are 2 types of cable attachments on the Covertible tops.
The Early Style of Vert top which sat higher when collapsed or folded.

The later style that collapsed lower

Both have different lengths of cables that are needed.
The early style needs cables that are 40 inches from loop to loop.
The later styles are 37 1/4 inches to no more than 37 1/2 inches long loop to loop.
The cables that I have seen snap are usually the newer style and break consistently at the front attachment point behind the cable lock ferrule.

I came up with an improvement on the design by using 2 links of flat brass plumbers chain on the front loop. I attach the cable at the front mounting stud or teat, with these two brass links, it allows the cable to bend on the mounting stud keeping the bend strain off the cable, and the cable remains taught.


I have had the same set of cables on 2 different hood swaps. So my cables are about 12 years old and still good.
You can re-new your cables, but it take a little bit more effort.
Tools needed are a piece of heavy wire (has to be flexible) and tape the feed end so it can't pierce the top about 5 foot long.
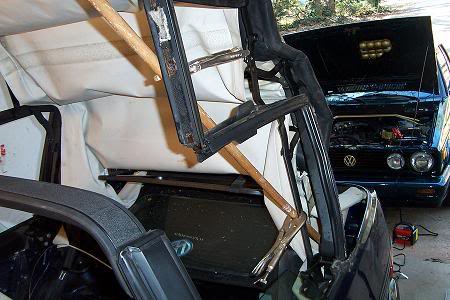
You will raise the top up to mid point, and you may want to safety it with a Broom Stick and a paire of Vice-Grip Pliers.

You will remove your Cable from the front teat/stud. If it is still poking out you can tie a piece of Masons string to the cable so that as you pull it out of the back a guide string is pulled with it. If the Cable is broken and retracted from the hole, then you would need to use a fishing wire, (flexibly stiff wire) to carefully go from the front to the rear or the rear to the front, then tie a piece of masons twine to the fishing tape, or tape it securely, and pull it back through (string need to be about 6 foot to allow you to work it.
Make your cables prior.
I have usually attached the cable to the front, and pulled to the rear as there is more room to work at the back.
Remove your old spring off the finger at the back. Try to bend the finger up at a 90 degree angle to the frame.
Pull the cable to the rear and through the plastic gusset so it is at the back of the frame, keep the string on it.
once you have the cable through the gusset attach it to the spring. Using a hook or pliers pull the spring over the frame finger, and re-bend it down.
Once you have the spring loop over the finger you can cut the twine.
Here is a How do I make my rear cable thread.
Note for the old style you don't need any brass cable, as the spring is at the front of the frame and attaches to the rear finger.
http://www.toplessrabbit.com/forums/viewtopic.php?f=41&t=2656
The Early Style of Vert top which sat higher when collapsed or folded.

The later style that collapsed lower

Both have different lengths of cables that are needed.
The early style needs cables that are 40 inches from loop to loop.
The later styles are 37 1/4 inches to no more than 37 1/2 inches long loop to loop.
The cables that I have seen snap are usually the newer style and break consistently at the front attachment point behind the cable lock ferrule.

I came up with an improvement on the design by using 2 links of flat brass plumbers chain on the front loop. I attach the cable at the front mounting stud or teat, with these two brass links, it allows the cable to bend on the mounting stud keeping the bend strain off the cable, and the cable remains taught.


I have had the same set of cables on 2 different hood swaps. So my cables are about 12 years old and still good.
You can re-new your cables, but it take a little bit more effort.
Tools needed are a piece of heavy wire (has to be flexible) and tape the feed end so it can't pierce the top about 5 foot long.
You will raise the top up to mid point, and you may want to safety it with a Broom Stick and a paire of Vice-Grip Pliers.

You will remove your Cable from the front teat/stud. If it is still poking out you can tie a piece of Masons string to the cable so that as you pull it out of the back a guide string is pulled with it. If the Cable is broken and retracted from the hole, then you would need to use a fishing wire, (flexibly stiff wire) to carefully go from the front to the rear or the rear to the front, then tie a piece of masons twine to the fishing tape, or tape it securely, and pull it back through (string need to be about 6 foot to allow you to work it.
Make your cables prior.
I have usually attached the cable to the front, and pulled to the rear as there is more room to work at the back.
Remove your old spring off the finger at the back. Try to bend the finger up at a 90 degree angle to the frame.
Pull the cable to the rear and through the plastic gusset so it is at the back of the frame, keep the string on it.
once you have the cable through the gusset attach it to the spring. Using a hook or pliers pull the spring over the frame finger, and re-bend it down.
Once you have the spring loop over the finger you can cut the twine.
Here is a How do I make my rear cable thread.
Note for the old style you don't need any brass cable, as the spring is at the front of the frame and attaches to the rear finger.
http://www.toplessrabbit.com/forums/viewtopic.php?f=41&t=2656
What do Divorces, Great Coffee, and Car Electrics all have in common?
They all start with GOOD Grounds.
Where are my DIY Links?
They all start with GOOD Grounds.
Where are my DIY Links?
Posted
Settling In

Cheers for that lads but if the cable is snapped would it be failing out when I tug on it? I've just had a tug and I think it's still intact is there a tell tale sign (I've never had a cabriolet before) .
Posted
Local Hero

It depends, if it is too long then it won't hold tension at the bottom edge, From the pic's it is either too long or broke.
I suspect that if you half raise the hood, then try to pull the cable at the front feel for the spring behind the rear frame to see if it is being pulled.
I suspect that if you half raise the hood, then try to pull the cable at the front feel for the spring behind the rear frame to see if it is being pulled.
What do Divorces, Great Coffee, and Car Electrics all have in common?
They all start with GOOD Grounds.
Where are my DIY Links?
They all start with GOOD Grounds.
Where are my DIY Links?
0 guests and 0 members have just viewed this: None.


