DX to ABF engine wiring loom conversion
Posted
#1181191
(In Topic #141145)
Old Timer

DX to ABF engine wiring loom conversion
Howdy,
I'm going to have a go at converting my ABF k-jet back to ABF Management.
I've got hold of a DX engine loom obviously for the fuse box connector and I have the ABF wiring loom also. A little bit lost and not really sure where to start so feel free to chip in ;-)
I have started stripping the ABF loom down and started trying to label some of the plug connectors so I know what I do and don't need.
ABF engine loom.

ABF ECU connection and other wires
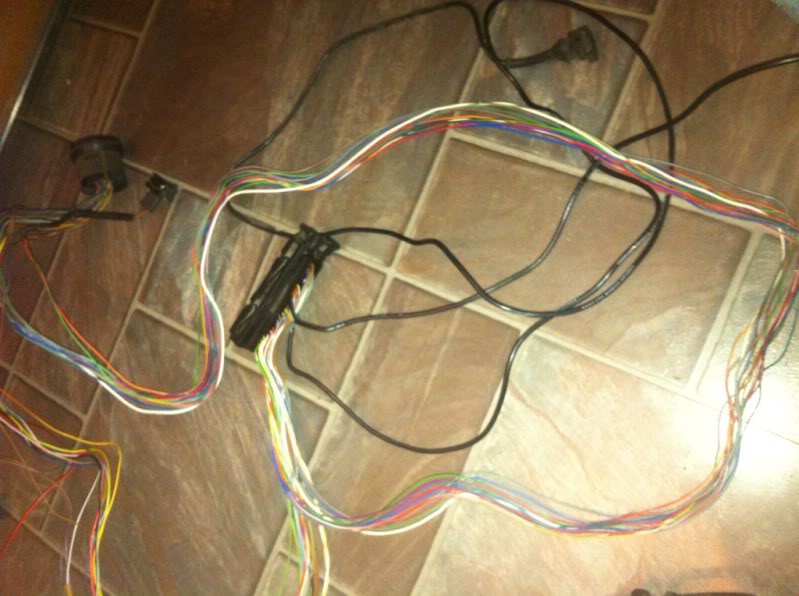
The mess.
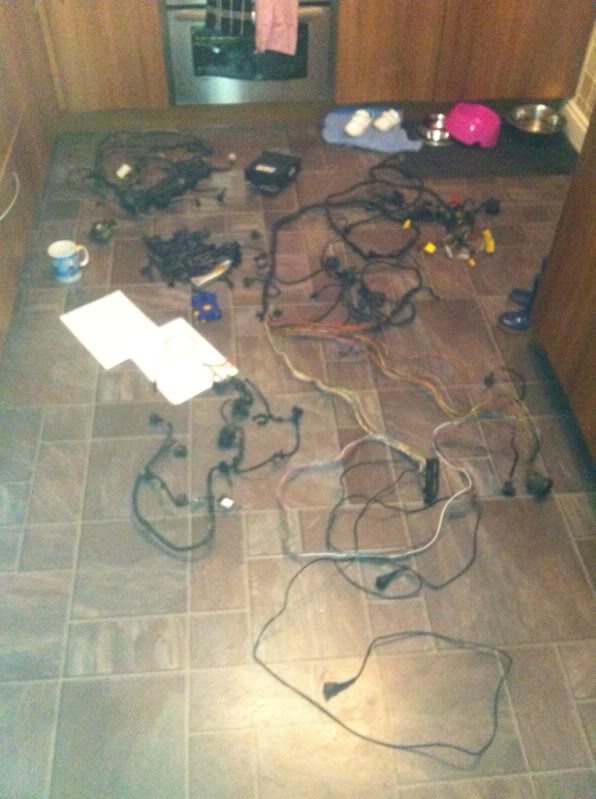
So… What exactly am I to chop?
Do i only need the wires that would go into this connection on the engine loom
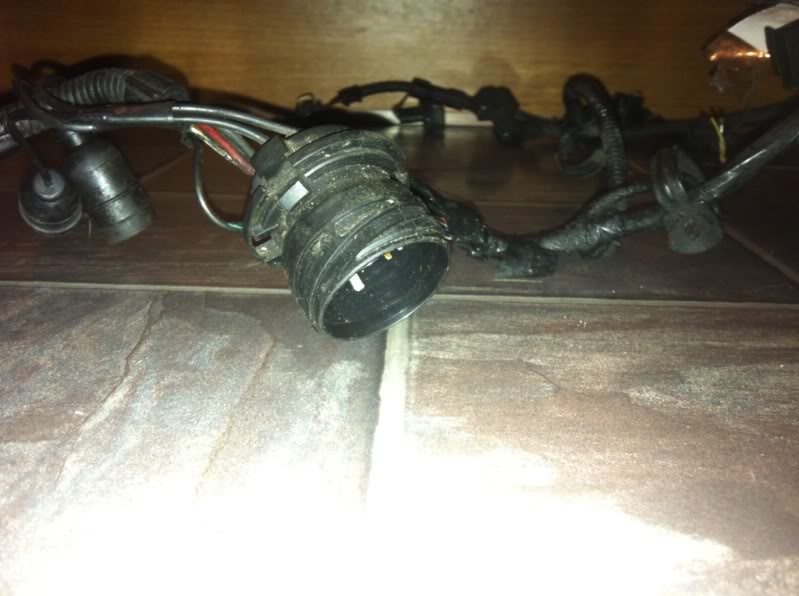
If anyone knows please let me know. Thanks alot
I'm going to have a go at converting my ABF k-jet back to ABF Management.
I've got hold of a DX engine loom obviously for the fuse box connector and I have the ABF wiring loom also. A little bit lost and not really sure where to start so feel free to chip in ;-)
I have started stripping the ABF loom down and started trying to label some of the plug connectors so I know what I do and don't need.
ABF engine loom.

ABF ECU connection and other wires

The mess.

So… What exactly am I to chop?
Do i only need the wires that would go into this connection on the engine loom

If anyone knows please let me know. Thanks alot
Posted
MOTY 2013

see here for a lot of info:
http://www.vwgolfmk1.org.uk/modules.php?name=Forums&file=viewtopic&t=100988
but yeah 1st thing is strip both looms of their outer covers, put a bit of tape every foot or so, that way they keep their shape (bit late for you it seems ) with the abf loom remove everything thats not attached to the ecu or the round plug on the front of the engine, so that'll be the wipers, battery cables, lighting loom and fluid switches if late etc. do the opposite on the mk1 loom, bin everything that is engine specific but leave the sensor wires to the coil, starter motor, oil pressure switches, dash temp and wiper motor loom. keep the 7 pin plug for the tci, you need this for the abf loom later. strip it out with as much length on the wire to pin 6, and leave the 2 coil wires plus the earth to the battery as they are.
you can bin the carbon canister which is the green/yellow and brown/blue plug, near the lambda, also the outside air temp red/wht and brn/wht.
plus theres a plug on the bit of loom on the engine which has a brown and black wire for the breather heater that can go too. when you find the 3 pin plug to the mk3 coil, chop that off too and bin the black and brown wires. keep the green/red you'll need this later. once the battery earth is gone you will have an earth for the ecu, leave this too we'll deal with it later.
next step is to lay the looms in the bay and adjust till you are happy with the abf routing, then tape it to the mk1 loom. remove frm the bay and adjust as necessary, then start joining your ends up! the oil/temp sensor wires are easy just match the colours. behind the fusebox you'll have a purple/white wire which is the mk3 dash mpg signal so that can go, a blue/white wire which is speedo signal again unused. the rev counter wire is green/white to G1/12, this wont work with mk1 clocks so leave that, use the mk1 coil wires instead. the grey/white wire is your diagnostics, keep that for when you wire in the vag-com port.
get your tci loom and put that near the ecu, splice the green/red wire from the old mk3 coil plug to the wire to the tci pin 6. next bare a bit of wire from the wire to the battery -ve, wrap the abf ecu brown wire round this and secure with solder then tape up. replace the ring terminal on this -ve lead if its looking grotty.
for the rest of the fusebox wires see the linky above!
http://www.vwgolfmk1.org.uk/modules.php?name=Forums&file=viewtopic&t=100988
but yeah 1st thing is strip both looms of their outer covers, put a bit of tape every foot or so, that way they keep their shape (bit late for you it seems
you can bin the carbon canister which is the green/yellow and brown/blue plug, near the lambda, also the outside air temp red/wht and brn/wht.
plus theres a plug on the bit of loom on the engine which has a brown and black wire for the breather heater that can go too. when you find the 3 pin plug to the mk3 coil, chop that off too and bin the black and brown wires. keep the green/red you'll need this later. once the battery earth is gone you will have an earth for the ecu, leave this too we'll deal with it later.
next step is to lay the looms in the bay and adjust till you are happy with the abf routing, then tape it to the mk1 loom. remove frm the bay and adjust as necessary, then start joining your ends up! the oil/temp sensor wires are easy just match the colours. behind the fusebox you'll have a purple/white wire which is the mk3 dash mpg signal so that can go, a blue/white wire which is speedo signal again unused. the rev counter wire is green/white to G1/12, this wont work with mk1 clocks so leave that, use the mk1 coil wires instead. the grey/white wire is your diagnostics, keep that for when you wire in the vag-com port.
get your tci loom and put that near the ecu, splice the green/red wire from the old mk3 coil plug to the wire to the tci pin 6. next bare a bit of wire from the wire to the battery -ve, wrap the abf ecu brown wire round this and secure with solder then tape up. replace the ring terminal on this -ve lead if its looking grotty.
for the rest of the fusebox wires see the linky above!
Hello my name is John and I'm a dub addict.
My wiring diagrams and other documents have moved here:
VAG Documents & Downloads
You'll need to sign into google/gmail for the link to work! (its free!)
My wiring diagrams and other documents have moved here:
VAG Documents & Downloads
You'll need to sign into google/gmail for the link to work! (its free!)
Posted
Old Timer

DX to ABF
Hi mate,
Thanks for the reply.
Just having a look at it now, I must say, I've ballsed up big time by not wrapping the loom up every foot or so :-(
Anyway, I'm going to start chopping the loom now so I can start working. What are the two big fat double chore wires used for?D
Thanks for the reply.
Just having a look at it now, I must say, I've ballsed up big time by not wrapping the loom up every foot or so :-(
Anyway, I'm going to start chopping the loom now so I can start working. What are the two big fat double chore wires used for?D
Posted
Old Timer

DX to ABF
Hi guys,
Made a little progress last night. I managed to strip the loom right back and removed all of the none ECU wires (I think)
I'm left now with many wires that need a home.
I have no numbers but I did take pictures and have the colours, maybe you could advise me if they need to be cut and binned or you know where they need mating to?
1. Brown wire, goes from ECU plug and went to a series of earths on a connector.
Battery earth for ECU?

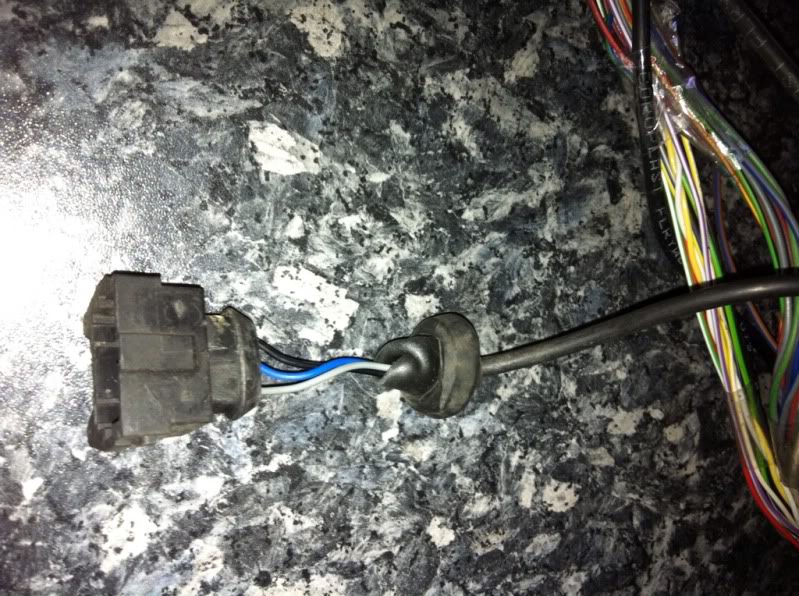
2. Brown connector 3 pin. Yellow-white-black wires. Goes straight to ECU plug
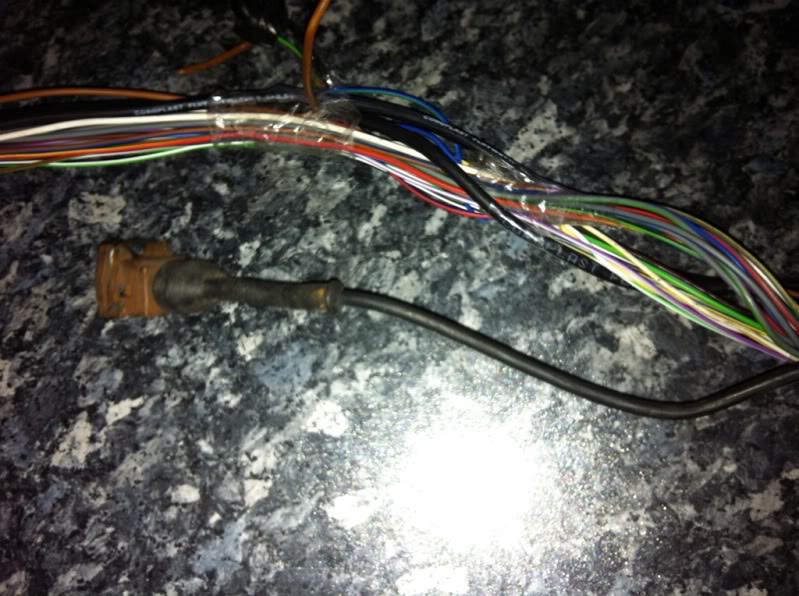
3.Black connector, 3 pin, grey-blue-black wires. Straight to ECU.
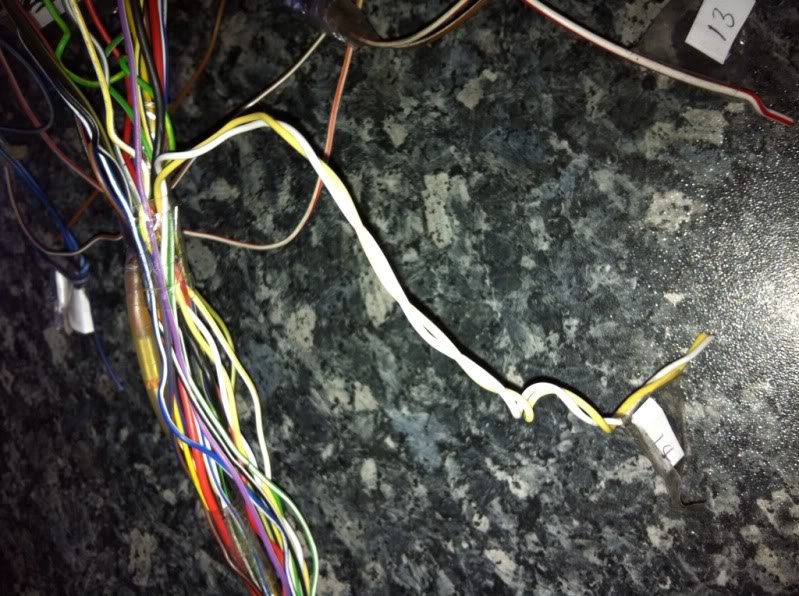
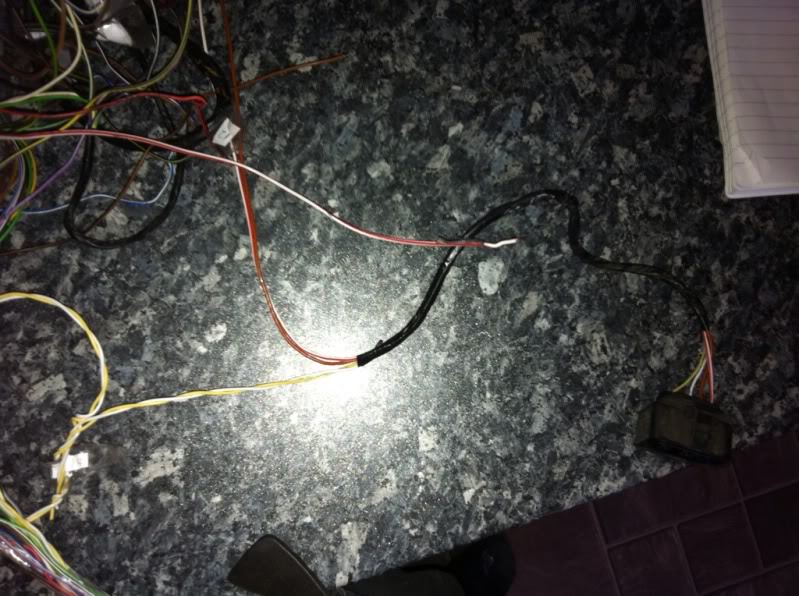
4. A yellow and a white wire twisted together. Goes from ECU plug to 4 pin connector at fuse box end yellow-white-red/white-brown
Made a little progress last night. I managed to strip the loom right back and removed all of the none ECU wires (I think)
I'm left now with many wires that need a home.
I have no numbers but I did take pictures and have the colours, maybe you could advise me if they need to be cut and binned or you know where they need mating to?
1. Brown wire, goes from ECU plug and went to a series of earths on a connector.
Battery earth for ECU?

2. Brown connector 3 pin. Yellow-white-black wires. Goes straight to ECU plug

3.Black connector, 3 pin, grey-blue-black wires. Straight to ECU.

4. A yellow and a white wire twisted together. Goes from ECU plug to 4 pin connector at fuse box end yellow-white-red/white-brown


Posted
MOTY 2013

the chunky red and brown wires are the mk3 battery cables to the fusebox, these are in your mk1 lighting loom so you can bin them.
1. see my post above in the section about the tci conversion
2/3. knock sensors
4. lambda probe (what did you cut those wires for? silly boy )
)
there should be another 2 pin plug near the lambda for the inlet temp sensor, wire colours white/yel and brown/blue
1. see my post above in the section about the tci conversion
2/3. knock sensors
4. lambda probe (what did you cut those wires for? silly boy
there should be another 2 pin plug near the lambda for the inlet temp sensor, wire colours white/yel and brown/blue
Hello my name is John and I'm a dub addict.
My wiring diagrams and other documents have moved here:
VAG Documents & Downloads
You'll need to sign into google/gmail for the link to work! (its free!)
My wiring diagrams and other documents have moved here:
VAG Documents & Downloads
You'll need to sign into google/gmail for the link to work! (its free!)
Posted
Old Timer

DX to ABF
I know, I knew you'd comment on the chopping haha, it had to be done as I didn't take your advice at first with the wrapping every ft or so, the loom was tangled beyond anything you've ever seen. What I did do tho was numbered each wire so I can put them all back together and solder them back up.
There are loads more wires and plug to sort out. Any chance you could keep helping me?
Cheers
There are loads more wires and plug to sort out. Any chance you could keep helping me?
Cheers
Posted
MOTY 2013

of course, piccy it and i'll tell you what it is!
Hello my name is John and I'm a dub addict.
My wiring diagrams and other documents have moved here:
VAG Documents & Downloads
You'll need to sign into google/gmail for the link to work! (its free!)
My wiring diagrams and other documents have moved here:
VAG Documents & Downloads
You'll need to sign into google/gmail for the link to work! (its free!)
Posted
Old Timer

DX to ABF
5. Single brown connector. grey/white wire
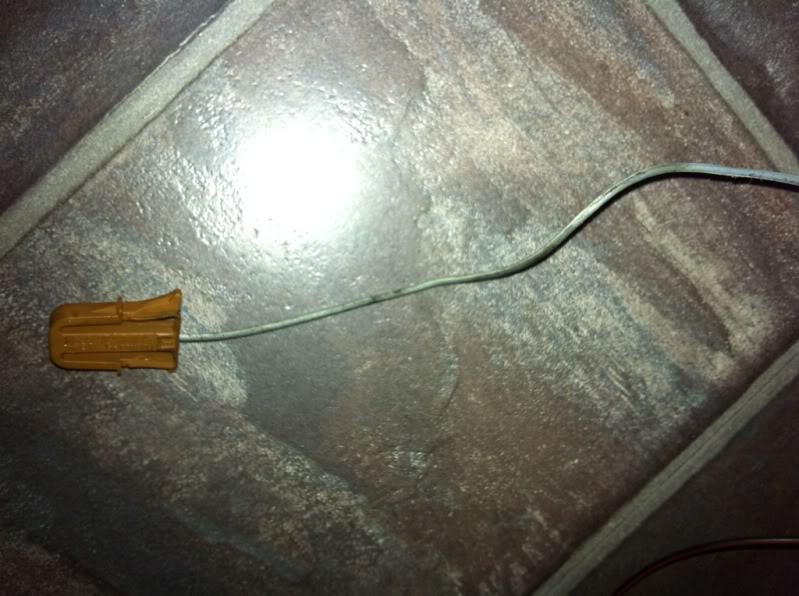
6. 2 pin, red/white wire - brown/white
7. 2x 2 pin yellow/green - black/white
Yellow/white - brown/blue
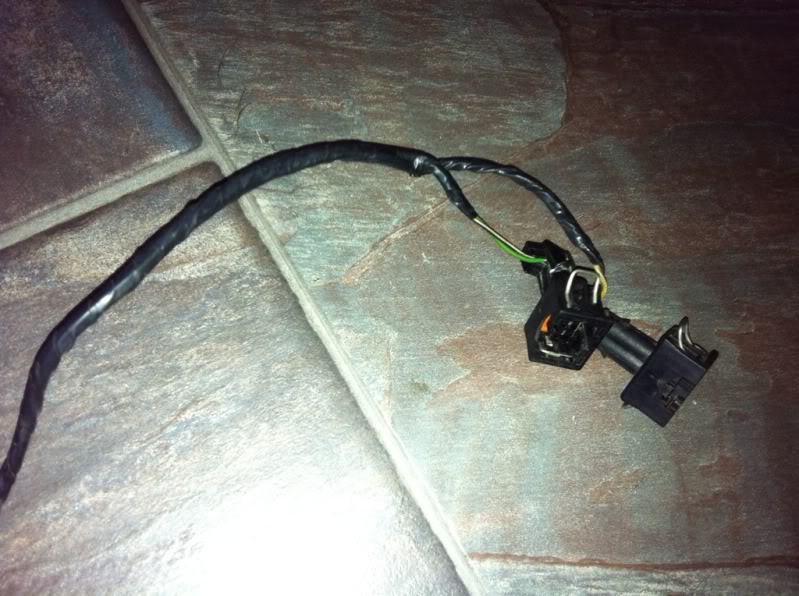
8. 3 pin, purple/white, black/white, green, black
9. 2 pin, blue/brown - brown
10. 6 pin connector with 4 wires
Red (thick battery wire) yellow/black, brown/black, brown / black
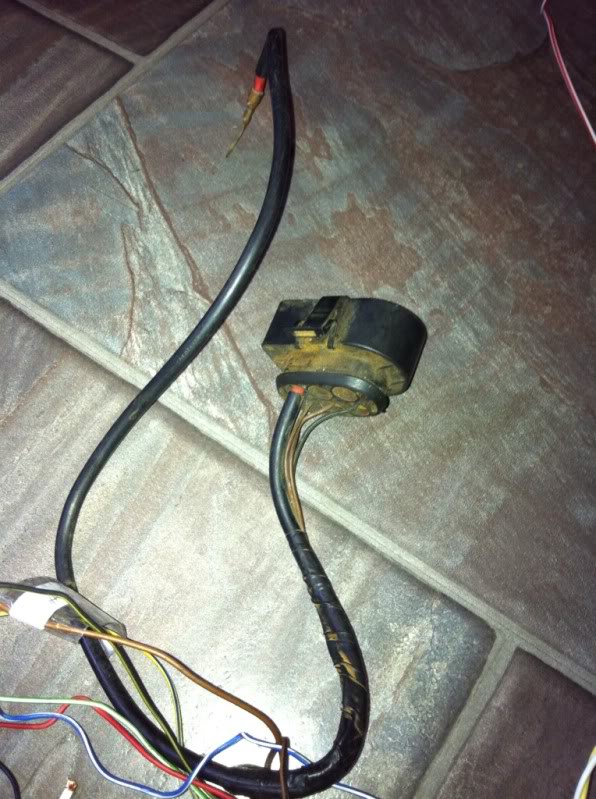
11. Single yellow connector with black/yellow wire
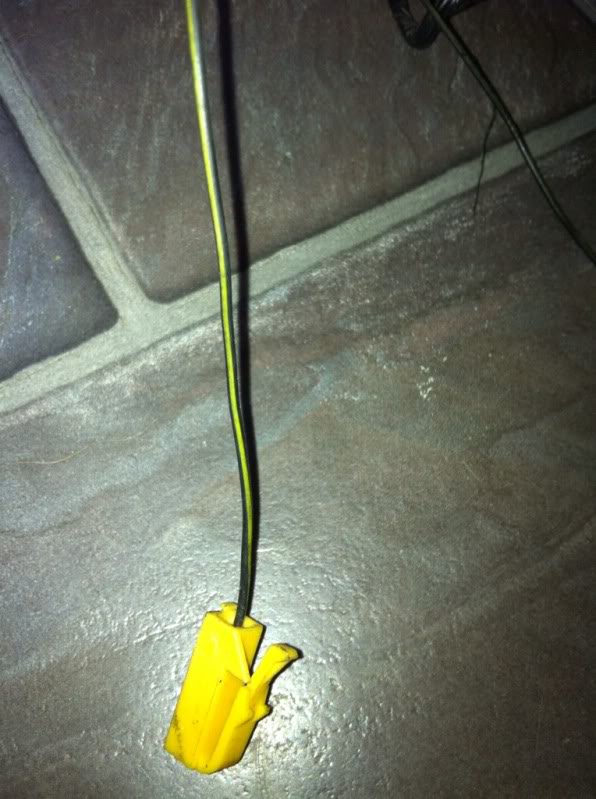
12. Single blue connector with blue/white wire
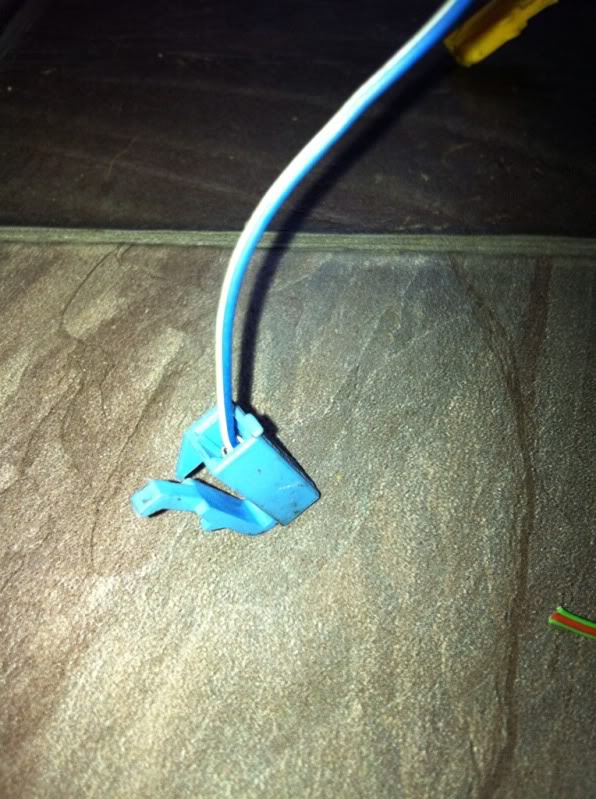
Don't get me wrong, I've read through the added link a few times and it has helped but it is slightly above me at the moment as I don't have any fuse box in front of me so some stuff makes no sense at all at the moment.
Cheers Rubjonny

6. 2 pin, red/white wire - brown/white
7. 2x 2 pin yellow/green - black/white
Yellow/white - brown/blue

8. 3 pin, purple/white, black/white, green, black
9. 2 pin, blue/brown - brown
10. 6 pin connector with 4 wires
Red (thick battery wire) yellow/black, brown/black, brown / black

11. Single yellow connector with black/yellow wire

12. Single blue connector with blue/white wire

Don't get me wrong, I've read through the added link a few times and it has helped but it is slightly above me at the moment as I don't have any fuse box in front of me so some stuff makes no sense at all at the moment.
Cheers Rubjonny
Posted
Old Timer

DX to ABF
I'll get pics of the others that I've put up tonight, I can't make them out on my phone at the moment :-(
Posted
Old Timer

DX to ABF
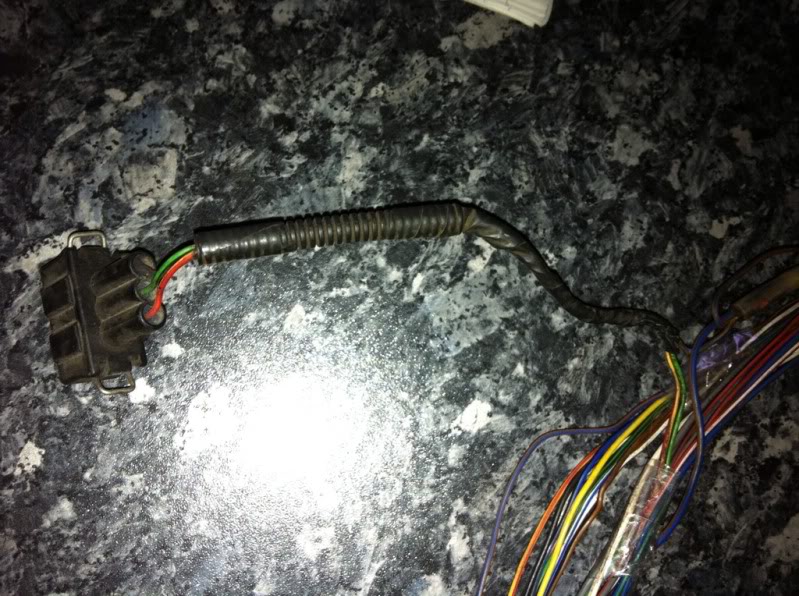
13.

Posted
MOTY 2013

5. diagnostics -> keep
6. outside temp sensor -> bin
7. yel/grn & blk/wht is the carbon canister purge valve -> bin
yel/whit and brn/blue is the inlet air temp sensor -> keep
8. mk3 dash plug -> bin
9. brake fluid level -> bin
10. rad fan control unit -> bin (keep mk1 rad+fan and use the wires for it on the mk1 lighting loom)
11. for the rad fan control unit, this will be binned along with plug 10 above
12. ecu speedo signal -> bin
with the diagnostics wire 1 find a post-96 mk3 in the scrappy and find vag-com port behind the slidey panel next to the ashtray. trace the wires back and remove without cutting the grey and yellow wires, cut the red/white and brown off with as much length as you can, these you splice to your ciggy lighter wiring or any live and earth back there. once you find the end of the grey and yel wires you'll see they plug into a jumper block above the fusebox, take that as well.
btw, this is a later loom so it will have an immobiliser if the ecu came with the same car as the loom. do you have any of the interior loom? you'll want the immob box with the matched key. plus the key reader coil from the ign lock and the wiring for the immob box but its dead easy to wire in. it will have an earth and a black wire which is ign live, then a wire to the plug 1 above and another wire to the diagnostics jumper block.
Hello my name is John and I'm a dub addict.
My wiring diagrams and other documents have moved here:
VAG Documents & Downloads
You'll need to sign into google/gmail for the link to work! (its free!)
My wiring diagrams and other documents have moved here:
VAG Documents & Downloads
You'll need to sign into google/gmail for the link to work! (its free!)
Posted
MOTY 2013

13. crank sensor -> keep
you'll want to buy a new crank sensor:
http://www.vwsonline.co.uk/car_parts_bristol/037-906-433a.html
id recommend a new ecu temp sensor from vw too but thats your call
you'll want to buy a new crank sensor:
http://www.vwsonline.co.uk/car_parts_bristol/037-906-433a.html
id recommend a new ecu temp sensor from vw too but thats your call
Hello my name is John and I'm a dub addict.
My wiring diagrams and other documents have moved here:
VAG Documents & Downloads
You'll need to sign into google/gmail for the link to work! (its free!)
My wiring diagrams and other documents have moved here:
VAG Documents & Downloads
You'll need to sign into google/gmail for the link to work! (its free!)
Posted
Old Timer

DX to ABF
I'm not sure, I think the only thing I got was the transponder for the key :-s oh dear!
Posted
Old Timer

DX to ABF
It still has the original crank sensor fitted. How come this will be no good?
Cheers bud.
Cheers bud.
Posted
Old Timer

Also, I presume I don't need to buy the Vag.com as I have a snapon solus pro scanner?
Thanks again
Thanks again
Posted
MOTY 2013

did it come with the immob box and the key or a chip? if not then you'll need to get a matched pair. chip or box on its own is no good, though you can at least code the chip/key later as a spare once you get a matched pair.
crank sensors are service items, so if its the original chances are it'll need replacing. its just about the only thing that'll stop an abf running so its really in your best interest to replace it, especially as they are so cheap
crank sensors are service items, so if its the original chances are it'll need replacing. its just about the only thing that'll stop an abf running so its really in your best interest to replace it, especially as they are so cheap
Hello my name is John and I'm a dub addict.
My wiring diagrams and other documents have moved here:
VAG Documents & Downloads
You'll need to sign into google/gmail for the link to work! (its free!)
My wiring diagrams and other documents have moved here:
VAG Documents & Downloads
You'll need to sign into google/gmail for the link to work! (its free!)
Posted
MOTY 2013

some aftermarket fault readers dont work with vws, you'll soon find out though! vagcom cable is only £10 or so from ebay so its no big deal either way
Hello my name is John and I'm a dub addict.
My wiring diagrams and other documents have moved here:
VAG Documents & Downloads
You'll need to sign into google/gmail for the link to work! (its free!)
My wiring diagrams and other documents have moved here:
VAG Documents & Downloads
You'll need to sign into google/gmail for the link to work! (its free!)
Posted
Old Timer

DX to ABF
http://item.mobileweb.ebay.co.uk/viewitem?itemId=320856785472&kw=320856785472
Is this what you mean? I didn't get all of that.
Is this what you mean? I didn't get all of that.
Posted
MOTY 2013

yes exactly that. note that you dont have to get all 3 items together, you can get a matched immob unit and chip/key from any mk3 golf, then match this to your ecu with vag-com.
ecu -> immob matching is easy, but immob -> chip matching is not. if you dont have a matched chip only vw can sort this out for you, but if you have a matched pair then you're away.
most other vw/seat from 96 to around 2000ish use the same system as the mk3, to give you more cars to pinch from. note that from 98 on the immob box plugs changed shape, but they're still compatible (just make sure you get the right loom to match!)
HTH!
Hello my name is John and I'm a dub addict.
My wiring diagrams and other documents have moved here:
VAG Documents & Downloads
You'll need to sign into google/gmail for the link to work! (its free!)
My wiring diagrams and other documents have moved here:
VAG Documents & Downloads
You'll need to sign into google/gmail for the link to work! (its free!)
Posted
Old Timer

DX to ABF
Is this what we are looking for? Had a look in my lock up and found it. I'm sure I have some other bits somewhere too.
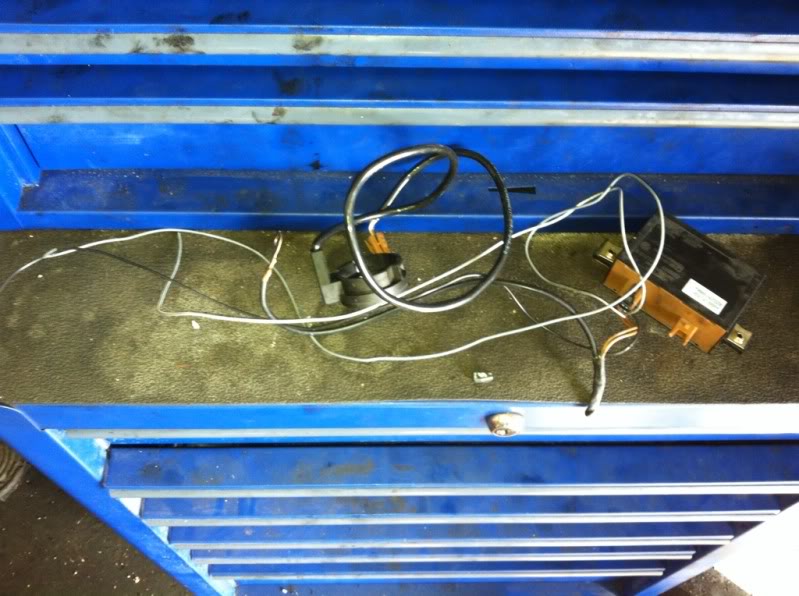
Transponder, chip out of the key from the mk3 and the box?

Transponder, chip out of the key from the mk3 and the box?
0 guests and 0 members have just viewed this: None.


