Cabrio Rear Window Frame Repair - How to!
Posted
#1209616
(In Topic #144526)
Old Timer

Cabrio Rear Window Frame Repair - How to!
For my latest cabrio I realised that new genuine frames are not available any more and I didn't want to shell out for a newly fabricated one. The frame wasn't too bad so I thought I'd try repairing it. I had success and it looks pretty much like new!
Before you throw your old frame away and fork out for a replacement, I'd seriously consider trying this if you're handy with a grinder, welder, and sander.
The frame was in a fairly bad state with the lip rotting away.
First I sandblasted rust from the frame with a spotblast gun:
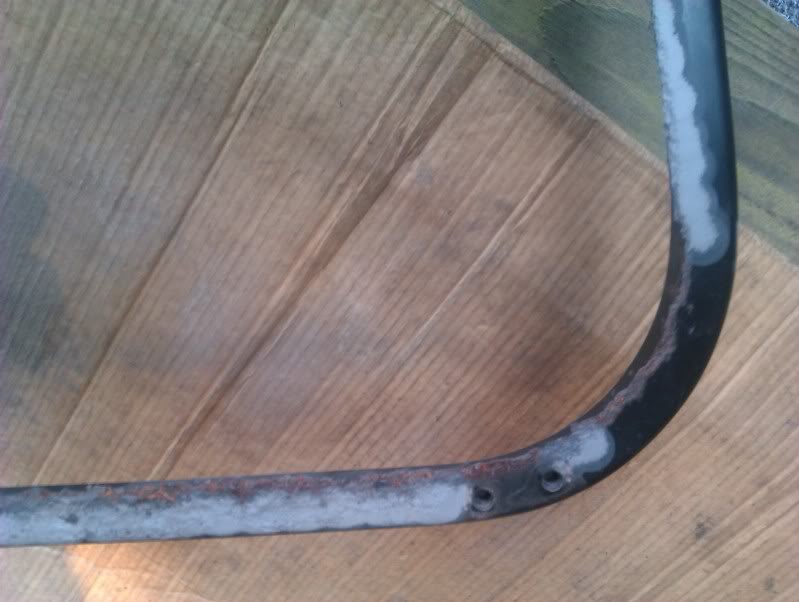
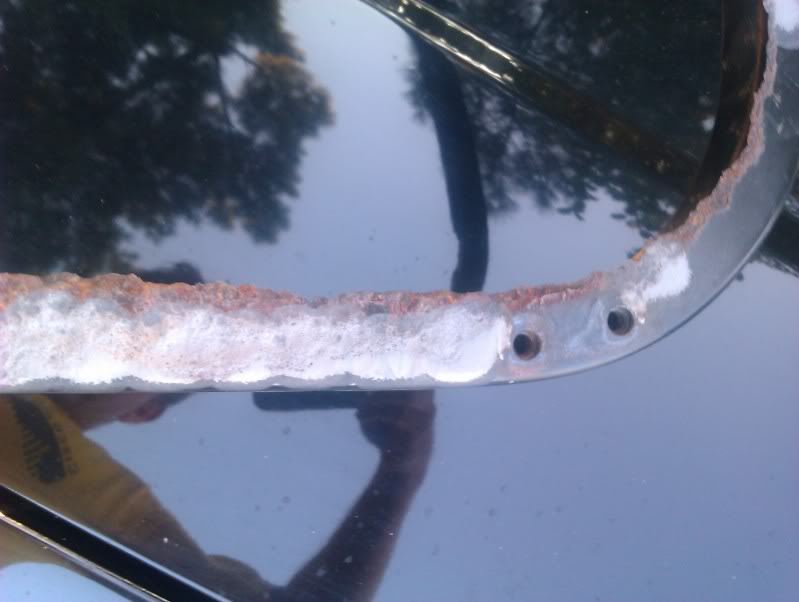
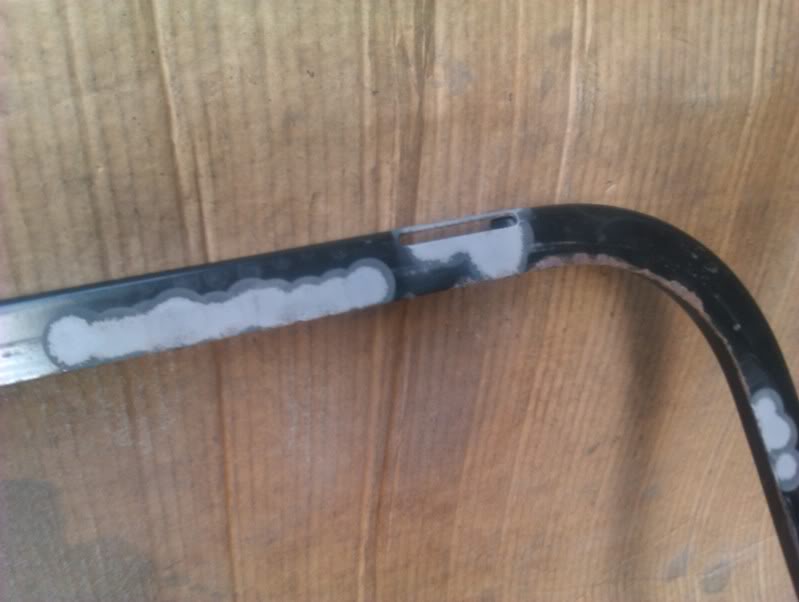
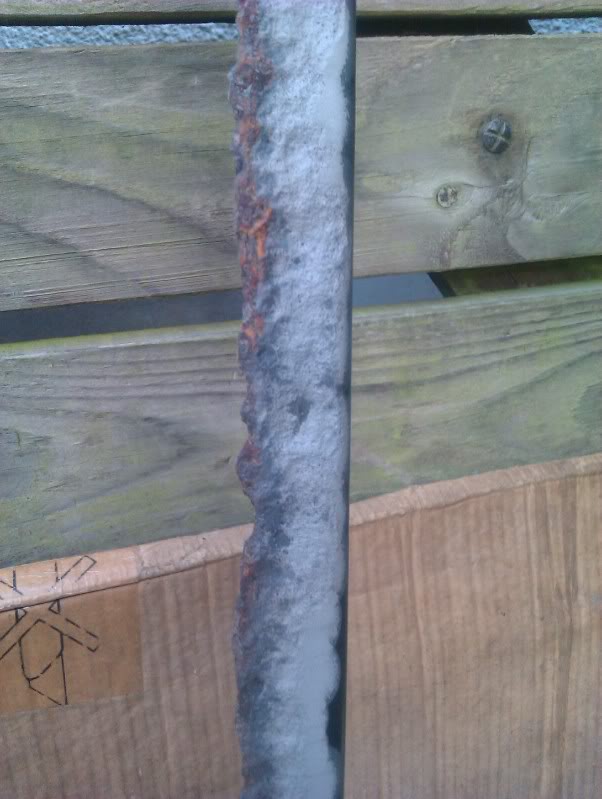
Then cut away rusty sections with a grinder with a 1mm cutting disk:
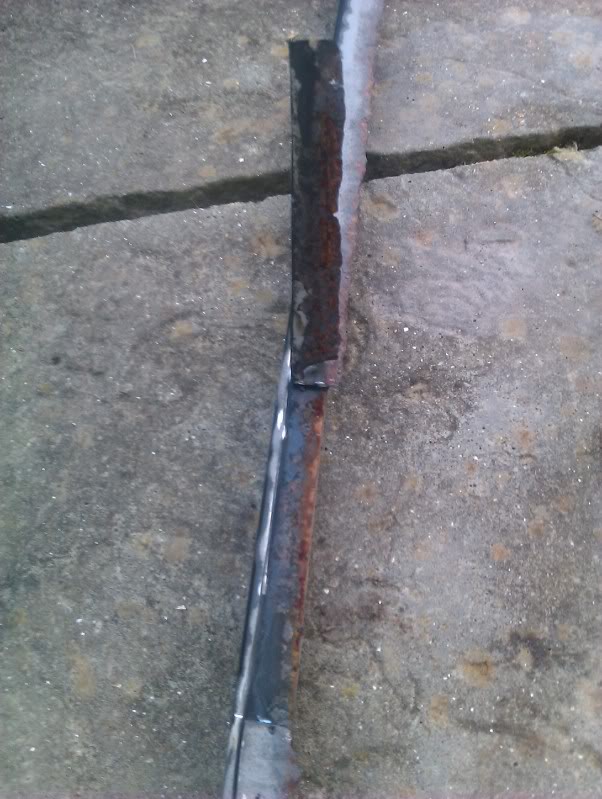
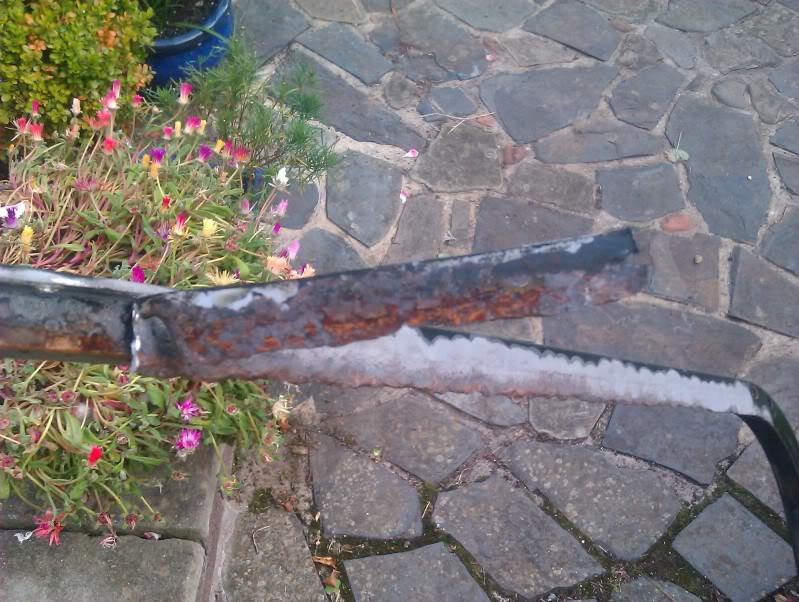
I then cut new metal secctions with the same thickness of steel - its thicker than usual body grade steel
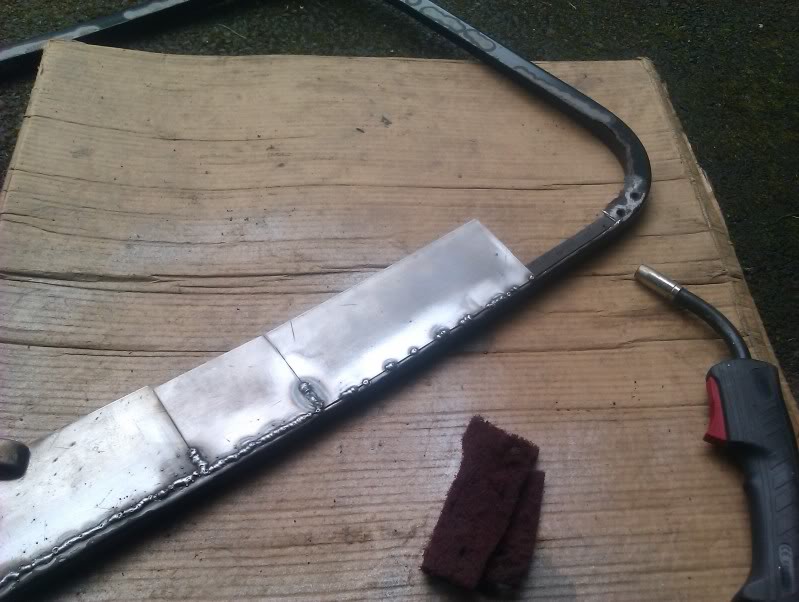
I made sure I didn't do too much in one place at a time to allow the frame to cool enough to stop it warping and also so the plastic part of the frame didn't melt/catch fire!
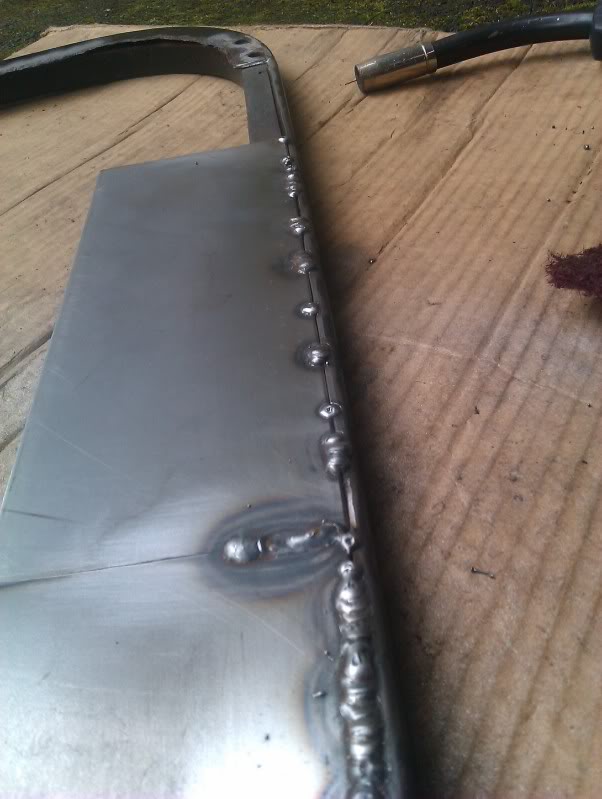
Then I sanded the welds:
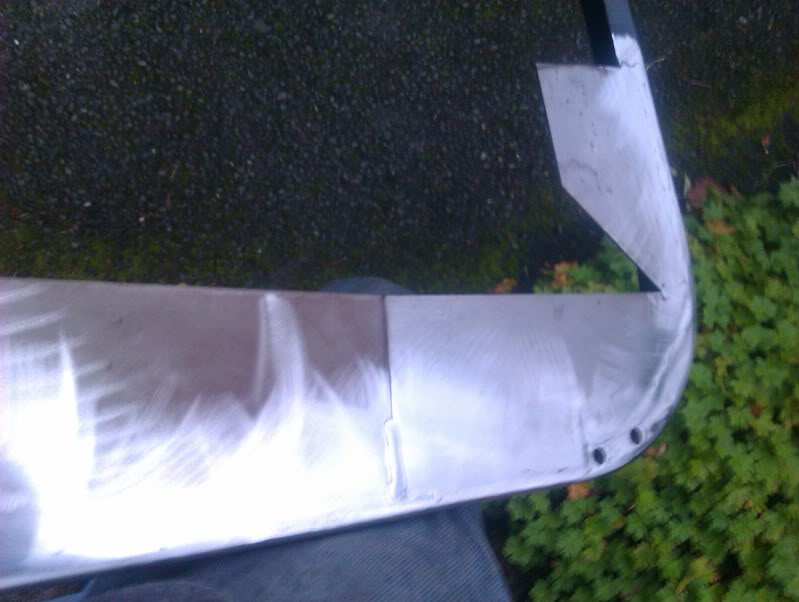
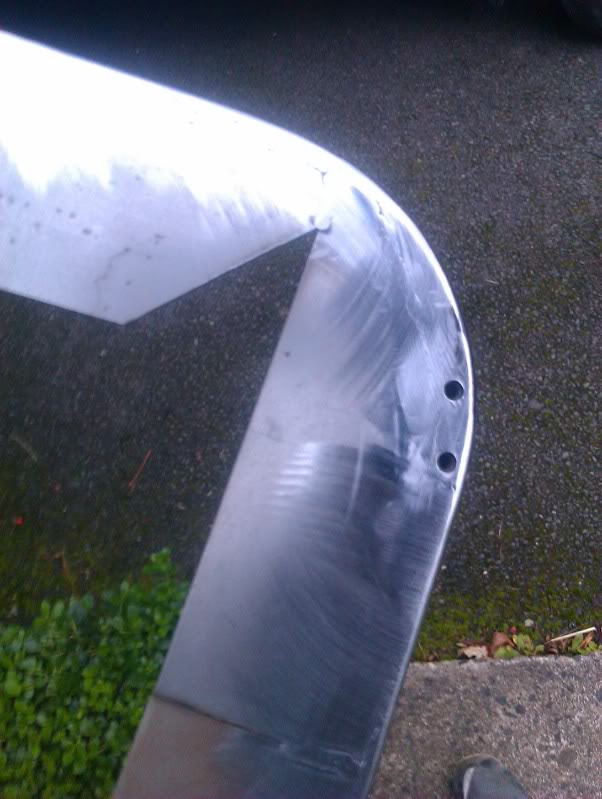
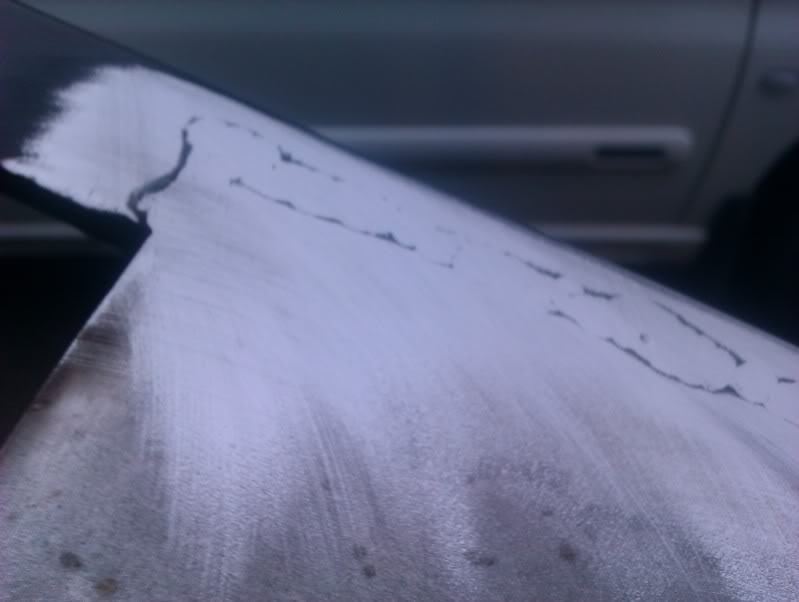
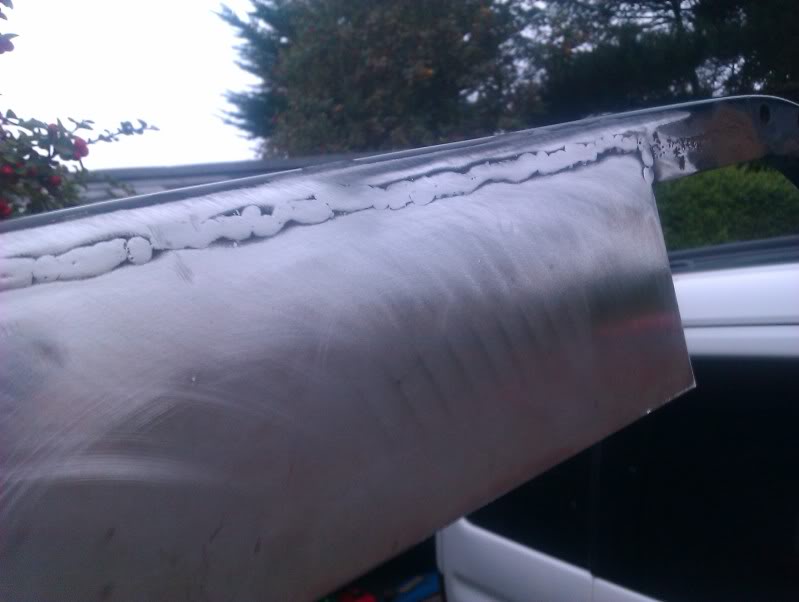
Then cut excess metal away carefully with the grinder to the same dimentions as it would have been originally to ensure the lip protrudes perfectly for the rubber screen seal to seal on.
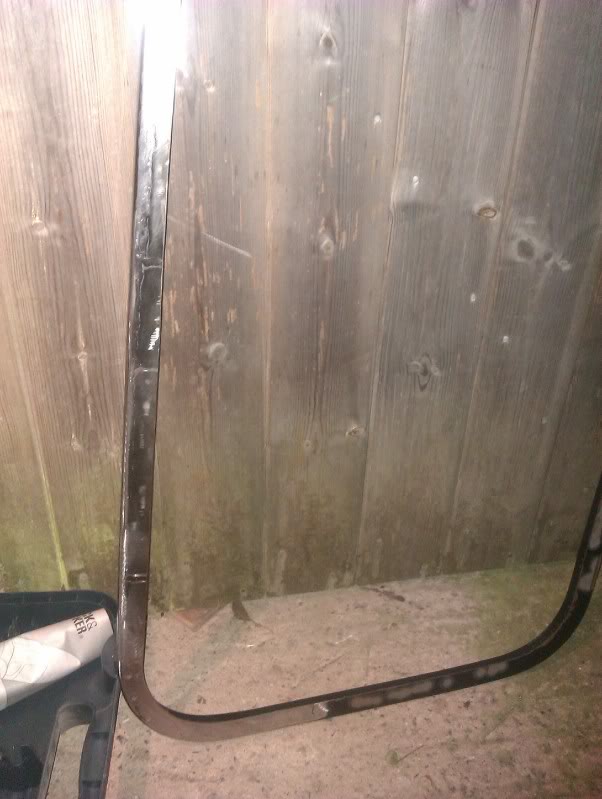
I even used the grinder to do the curves!
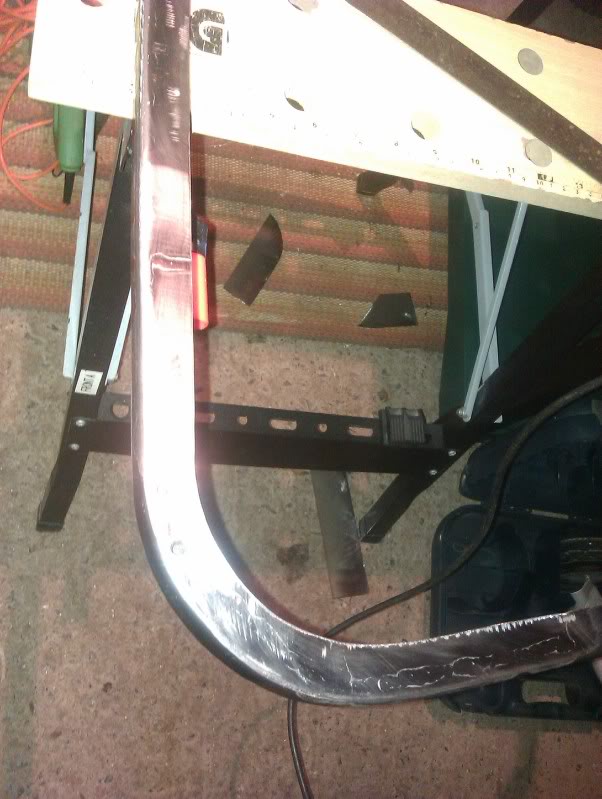

The plastic part of the frame had been coming away from the metal frame a bit so I use tiger seal to bond this back in place.
I then gave it a lick of primer and satin black:
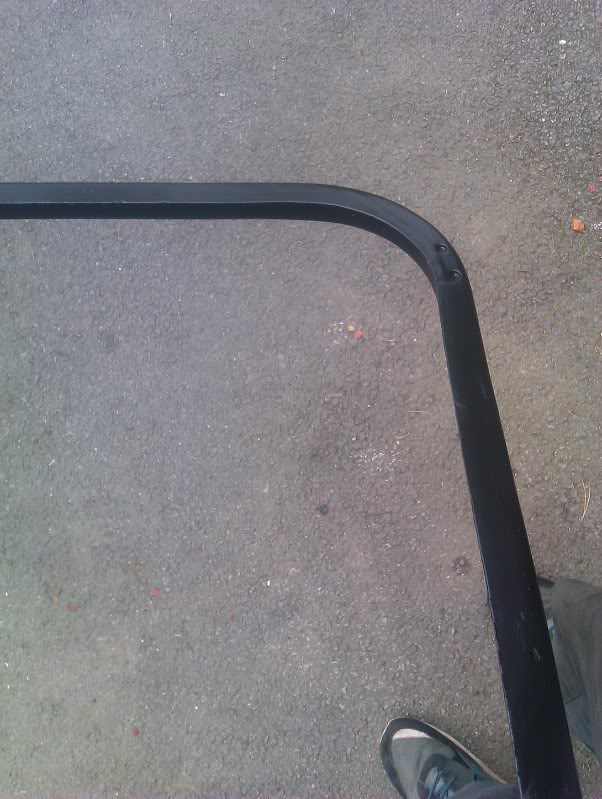
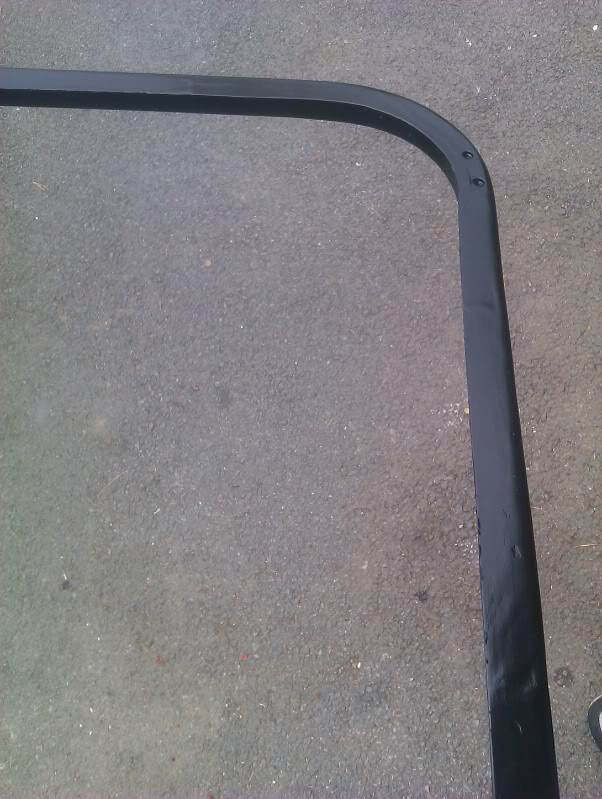
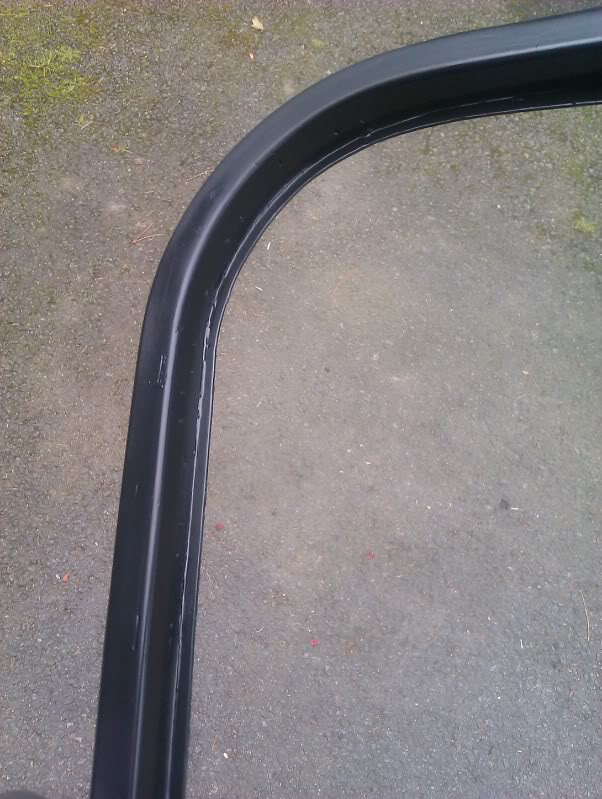
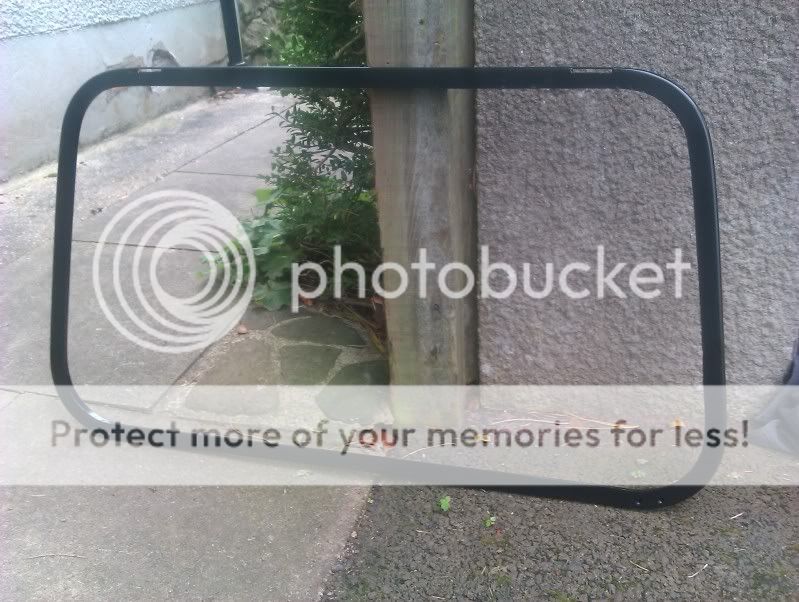
It fitted fine and the repairs are unnoticeable. Hope this might save a few frames from landfill.
Cheers,
Ross
Before you throw your old frame away and fork out for a replacement, I'd seriously consider trying this if you're handy with a grinder, welder, and sander.
The frame was in a fairly bad state with the lip rotting away.
First I sandblasted rust from the frame with a spotblast gun:


Then cut away rusty sections with a grinder with a 1mm cutting disk:


I then cut new metal secctions with the same thickness of steel - its thicker than usual body grade steel

I made sure I didn't do too much in one place at a time to allow the frame to cool enough to stop it warping and also so the plastic part of the frame didn't melt/catch fire!

Then I sanded the welds:


Then cut excess metal away carefully with the grinder to the same dimentions as it would have been originally to ensure the lip protrudes perfectly for the rubber screen seal to seal on.

I even used the grinder to do the curves!


The plastic part of the frame had been coming away from the metal frame a bit so I use tiger seal to bond this back in place.
I then gave it a lick of primer and satin black:


It fitted fine and the repairs are unnoticeable. Hope this might save a few frames from landfill.
Cheers,
Ross
Posted

Settled In

That looks like a really nice job!!
'91 Clipper Cabby
'02 Mk4 Tdi Estate
'67 Riley Elf
'79 Mini Clubman estate
'02 Mk4 Tdi Estate
'67 Riley Elf
'79 Mini Clubman estate
Posted
Settled In

Top work that man.
Mk1 Rivage Cabby on coilovers + VR6 Brakes
Posted
Settled In


Hi,
did the repair last?
i think I need to repair the frame in mine.
How did you get it out?
regards
KP
did the repair last?
i think I need to repair the frame in mine.
How did you get it out?
regards
KP
0 guests and 0 members have just viewed this: None.


