back panel and underside renovation
Posted
#662700
(In Topic #79794)
Local Hero

back panel and underside renovation
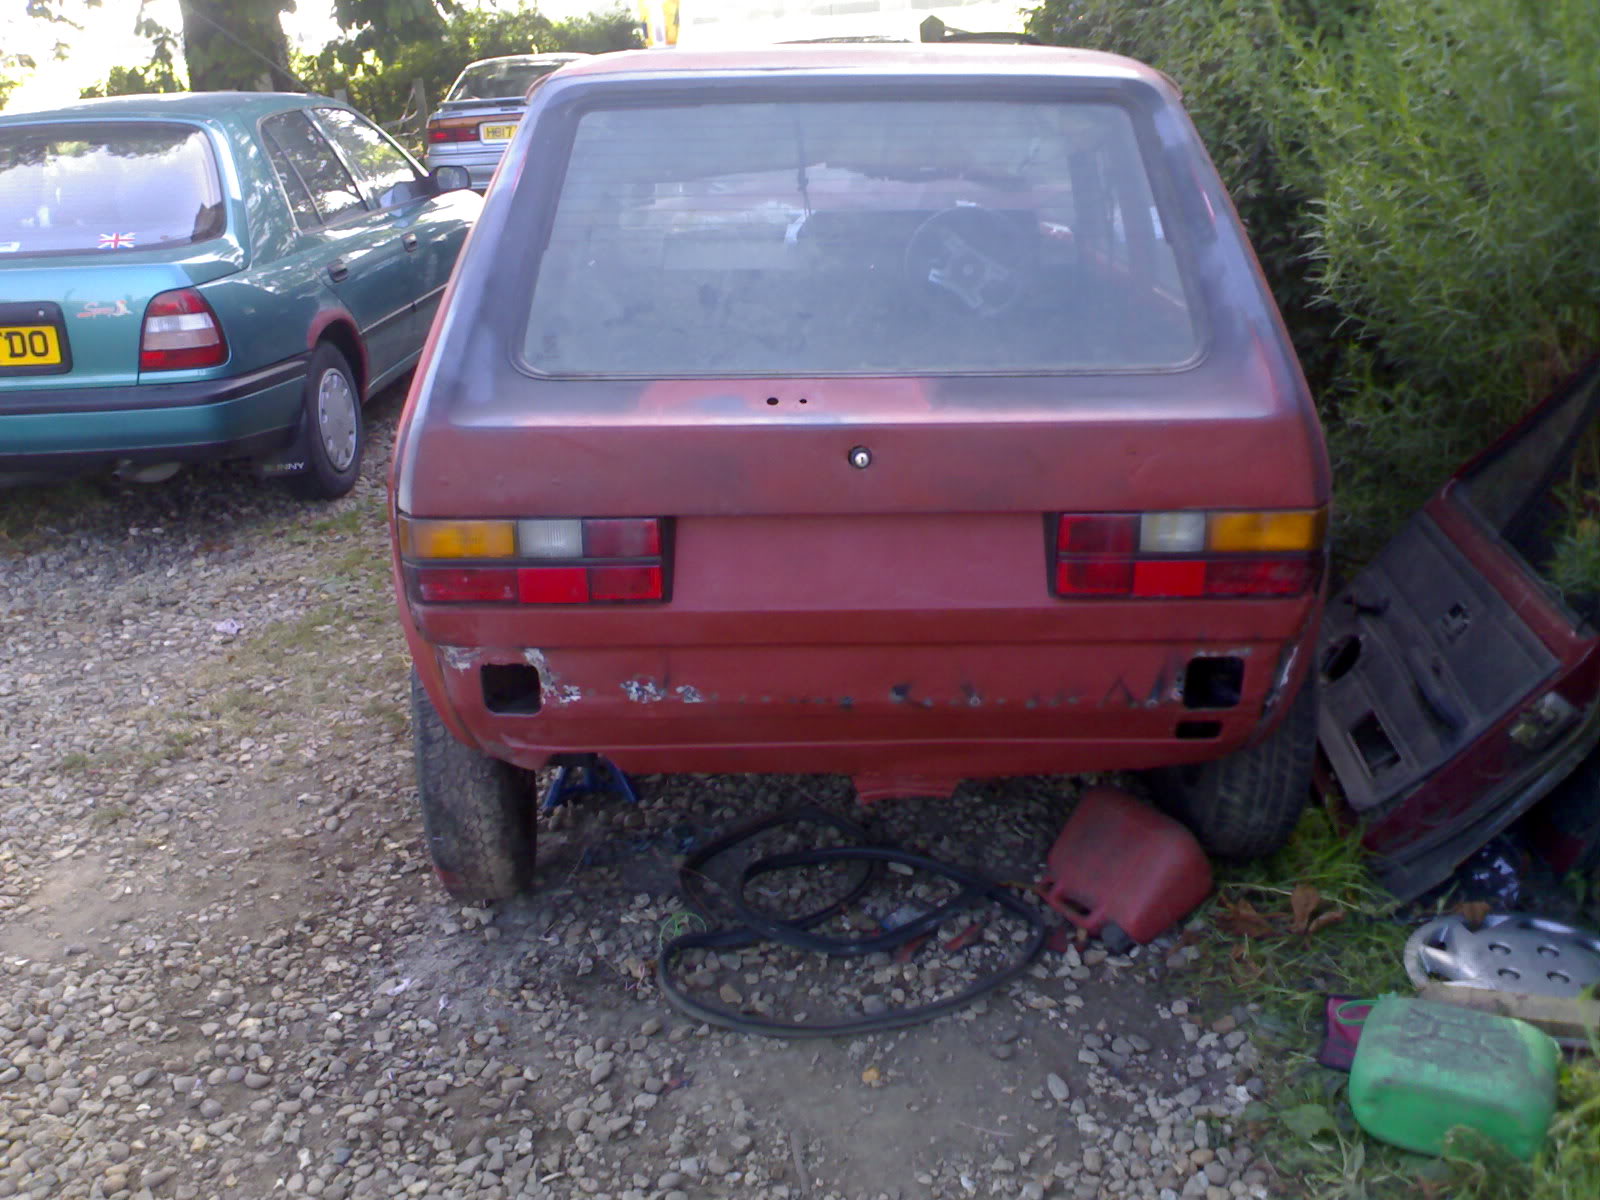
as you know i found a new (used) back panel in good nik from a scrappy and my rear end underside is a lil rotton so here's some pics off my progress:
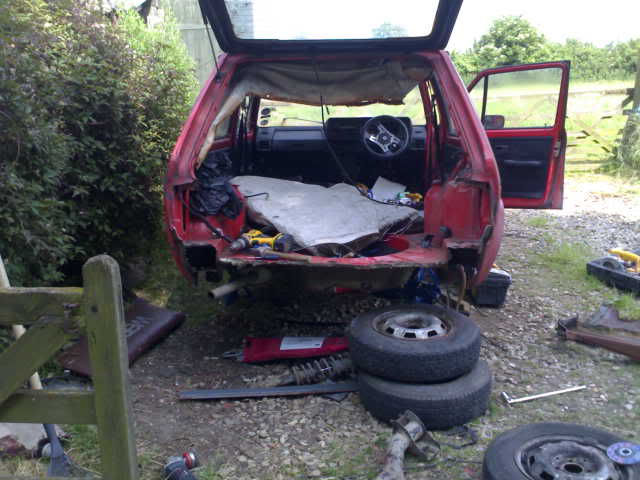
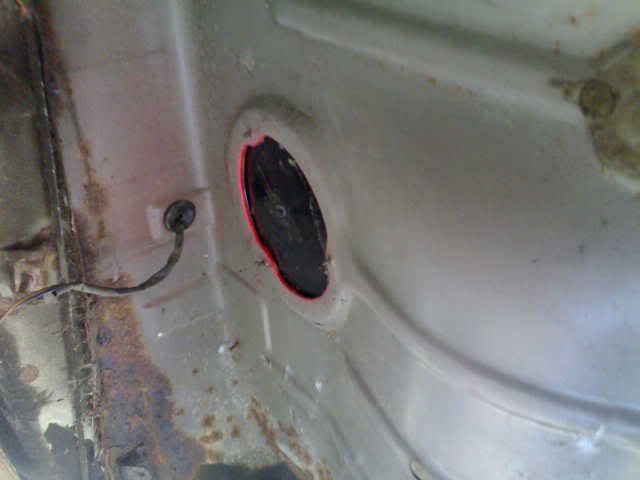
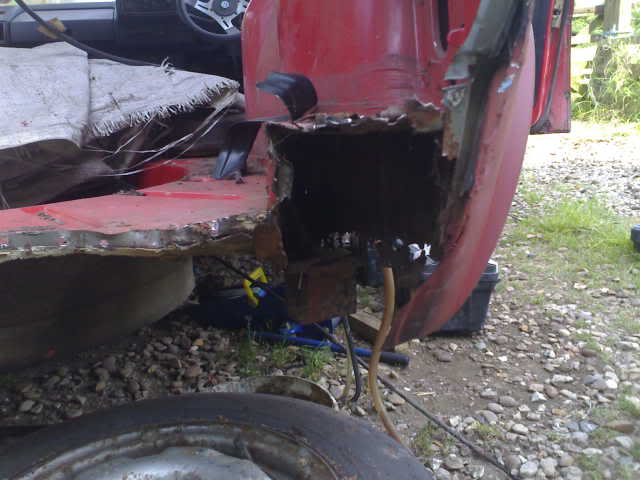
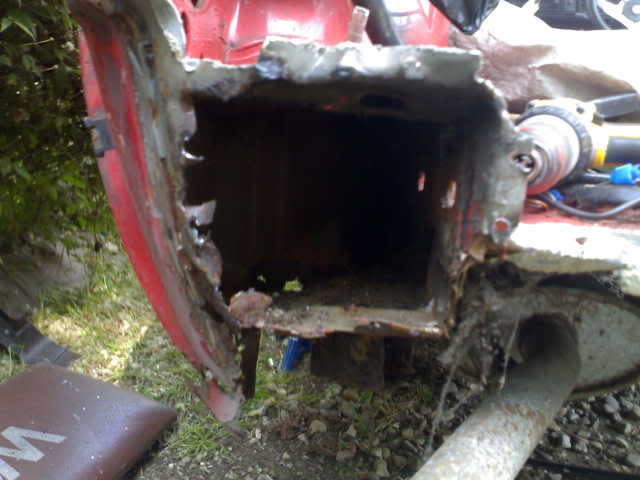
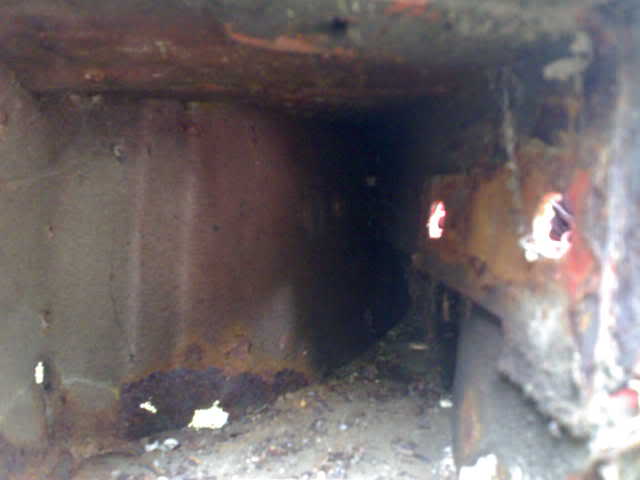
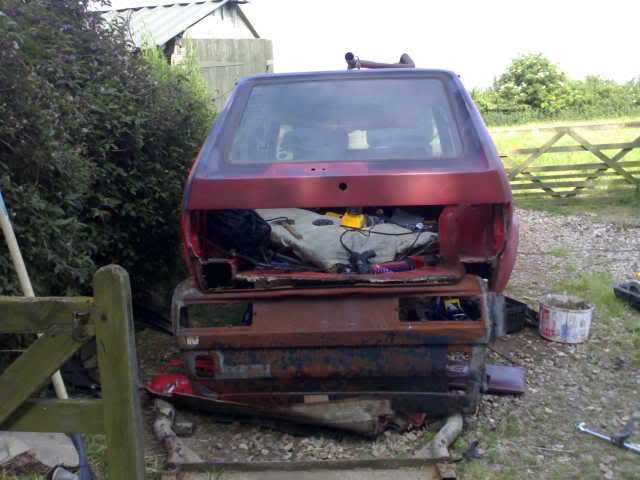
as you can see have now cut off my old back panel. as this panel was spot welded on orriganally (most off it) i wire brushed the weld area down so you could see where it has been welded and drilled these out so i can puddle weld new back panel onn easier and used the grinde up the sides and will trim back as i see fit (add bits iff neccersery) when i weld new back on. but 1st i want to weld on new chassis parts as its easier to gain access whild the rear panel is removed, but these parts taking longer to be delivered than i expected so untill i got these bits progress is halted want to wait till i got these bits done till i do rest off the body work then i got a huge amount off filler to use and hours off sanding (oh joy!!) but as i get bits done will keep you all posted


as you can see have now cut off my old back panel. as this panel was spot welded on orriganally (most off it) i wire brushed the weld area down so you could see where it has been welded and drilled these out so i can puddle weld new back panel onn easier and used the grinde up the sides and will trim back as i see fit (add bits iff neccersery) when i weld new back on. but 1st i want to weld on new chassis parts as its easier to gain access whild the rear panel is removed, but these parts taking longer to be delivered than i expected so untill i got these bits progress is halted want to wait till i got these bits done till i do rest off the body work then i got a huge amount off filler to use and hours off sanding (oh joy!!) but as i get bits done will keep you all posted
hello!
Posted
Local Hero

Posted
Settling In

here here!! good work that man 8)
white 1983 series2 work in progress
Posted

Secretary


Your getting on better than me. Keep it up. Are you replacing the rear chassis legs under the boot like I have to do?
I,ve just order a pile of cutting and grinding discs and some more welding clamps from screw fix, so weather permitting I should make some progress tomorrow :wink:
I,ve just order a pile of cutting and grinding discs and some more welding clamps from screw fix, so weather permitting I should make some progress tomorrow :wink:
First Golf, lots of work. I've started so I'll finish!
Posted
Local Hero

i got some repair peices on order not 100% sure it'll got right to the rear i got the pannels for the rear axle chassis so that'll be ok hope the will go right to the rear other wise i'll be fabracating more bits
hello!
Posted
Local Hero

So long as you've not lost the 'reference' of the flanges for the rear panel, you should be okay. I suspect from the pics, you will have to do minor repairs to these flanges and probably other areas not normally thought of as rot-prone. You should be aiming to do most of the shape of the car in metal, so the minimum of filler is required. Over time, filler absorbs water and will eventually crack any paintwork over the top of it.
Posted

Secretary


rov716y said
i got some repair peices on order not 100% sure it'll got right to the rear i got the pannels for the rear axle chassis so that'll be ok hope the will go right to the rear other wise i'll be fabracating more bits
Hadrian do four chassis repair panels for the rear of the mark 1.
91 22 372 & 91 22 373 are Chassis repair by rear axle
and
91 22 374 & 91 22 375 are rear chassis repair under boot.
:wink:
First Golf, lots of work. I've started so I'll finish!
Posted
Local Hero

its hadrian i use indirectly through hax holdings in spalding they can get every thing i need and cheap too. they can even get the bumpers chrome and black
hello!
Posted
Old Timer

i have a rear floor section new if you want it?
Posted
Local Hero

the floor is in very good condition just lil patch here and there going to have to rub whole under side down and red oxide then under seal just to make sure no rust or rot left anywhere so i wont have to do ought again for a few many year.
hello!
Posted
Local Hero

update:
no have done all the chassis at the rear and hopefully all the welding on the drivers side. she's had new sill new reaer arch new front wing new chassis ( rear axle mount and round inner arch) nearly new inner arch on reaer patches in front inner wing new filler surround both front and rear doors need a good rub down as they starting to rot at the bottoms now passenger side needs the same then gunna park it over the pit to rub the whole rear under side down to metal to redoxide the underseal. got the rear axle to rub down and repaint. the reaer drums need an overhaul as do the front brakes. on removal off the fuel tank the brake lines fell apart in my hands so new fuel and brake lines needed
no have done all the chassis at the rear and hopefully all the welding on the drivers side. she's had new sill new reaer arch new front wing new chassis ( rear axle mount and round inner arch) nearly new inner arch on reaer patches in front inner wing new filler surround both front and rear doors need a good rub down as they starting to rot at the bottoms now passenger side needs the same then gunna park it over the pit to rub the whole rear under side down to metal to redoxide the underseal. got the rear axle to rub down and repaint. the reaer drums need an overhaul as do the front brakes. on removal off the fuel tank the brake lines fell apart in my hands so new fuel and brake lines needed
hello!
Posted

Secretary


Your doing a good job. Hope to be in a position to have mine finished for some of the meets next year. Then I can see fo myself all the good work you have put in :wink:
First Golf, lots of work. I've started so I'll finish!
Posted
Local Hero

HAVE MINE ON THE ROAD FOR AUGUST SOME TIME THIS YEAR BUT FAR FAR FROM FINISHED WILL STILL NEED RESPRAYING AND A FEW BITS HERE AND THERE TITAVATING BUT WILL BE MOT'D (ONE HOPES)
OOH LOOK A FLYING PIG LOL
OOH LOOK A FLYING PIG LOL
hello!
Posted
Local Hero

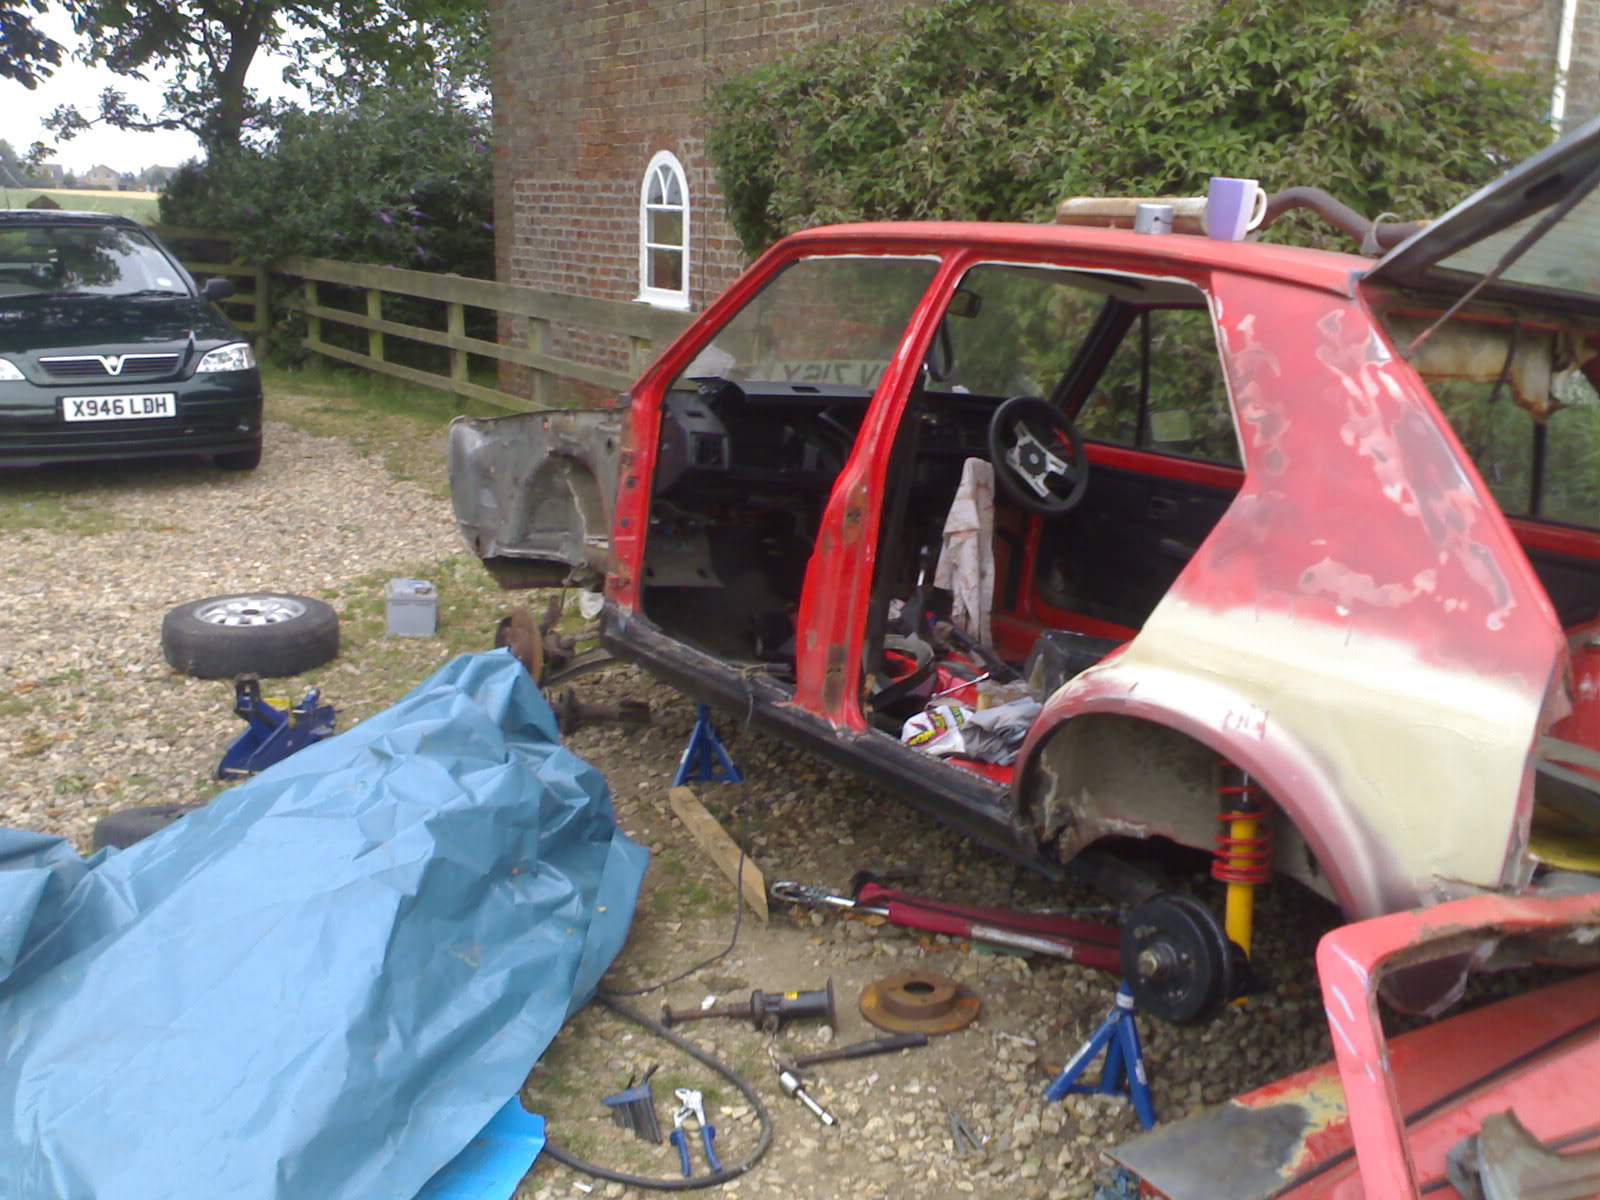
getting on now just finished big bits on passenger side couple off little bits(inner arch) left but waiting for repair panel apperently hex holdings should have it in for wednesday. so crack on with the rear panel (putting new one on) prob got a day off prep work to do for it triming down to dize and patching metal round it so it'll go on snug.

hello!
Posted
Local Hero


You're really getting stuck in!
Andy
LINCOLNSHIRE REGION - https://www.facebook.com/groups/467122313360002/
1983 MK1 Golf GTI Campaign Model - Under (looooong) resto!
1962 Rover P4 80
2002 BMW 745i
2008 BMW Z4 2.5Si
LINCOLNSHIRE REGION - https://www.facebook.com/groups/467122313360002/
1983 MK1 Golf GTI Campaign Model - Under (looooong) resto!
1962 Rover P4 80
2002 BMW 745i
2008 BMW Z4 2.5Si
Posted
Settled In

You seem to be the perfect bloke to ask.
I need to replace my back panel as well and i'm waiting on crazyquiff getting a few in. I was cutting out holes and stuff today with the grinder(as you do), and i was thinking about taking my back panel off. Trouble is that i didn't really know where to cut.
SO, where do i cut along the back panel for my new one to go on?
I don't want to cut too much in case i leave huge gaps.
Thanks
Baz
P.S. my rear panel is complete scrap. should i just cut it out in bits?
Posted
Local Hero

i didn't really touch it with a grinder as thee's a lip all the way around i used a 6mm drill bit and drill all the old spot welds out this also gives me something to puddle weld the new one onto


you can see the lip on them pics should make a start on putting it on today as this is my new rear panel

as you can see covered in surface rust so prob spend a full day cleaning and prepping it and the car but this is just about the last welding the car will need


you can see the lip on them pics should make a start on putting it on today as this is my new rear panel

as you can see covered in surface rust so prob spend a full day cleaning and prepping it and the car but this is just about the last welding the car will need
hello!
Posted
Local Hero

*jumping up and down clapping like a retard*
got the back panel and all welding done now to fill and spray the shell accordingly
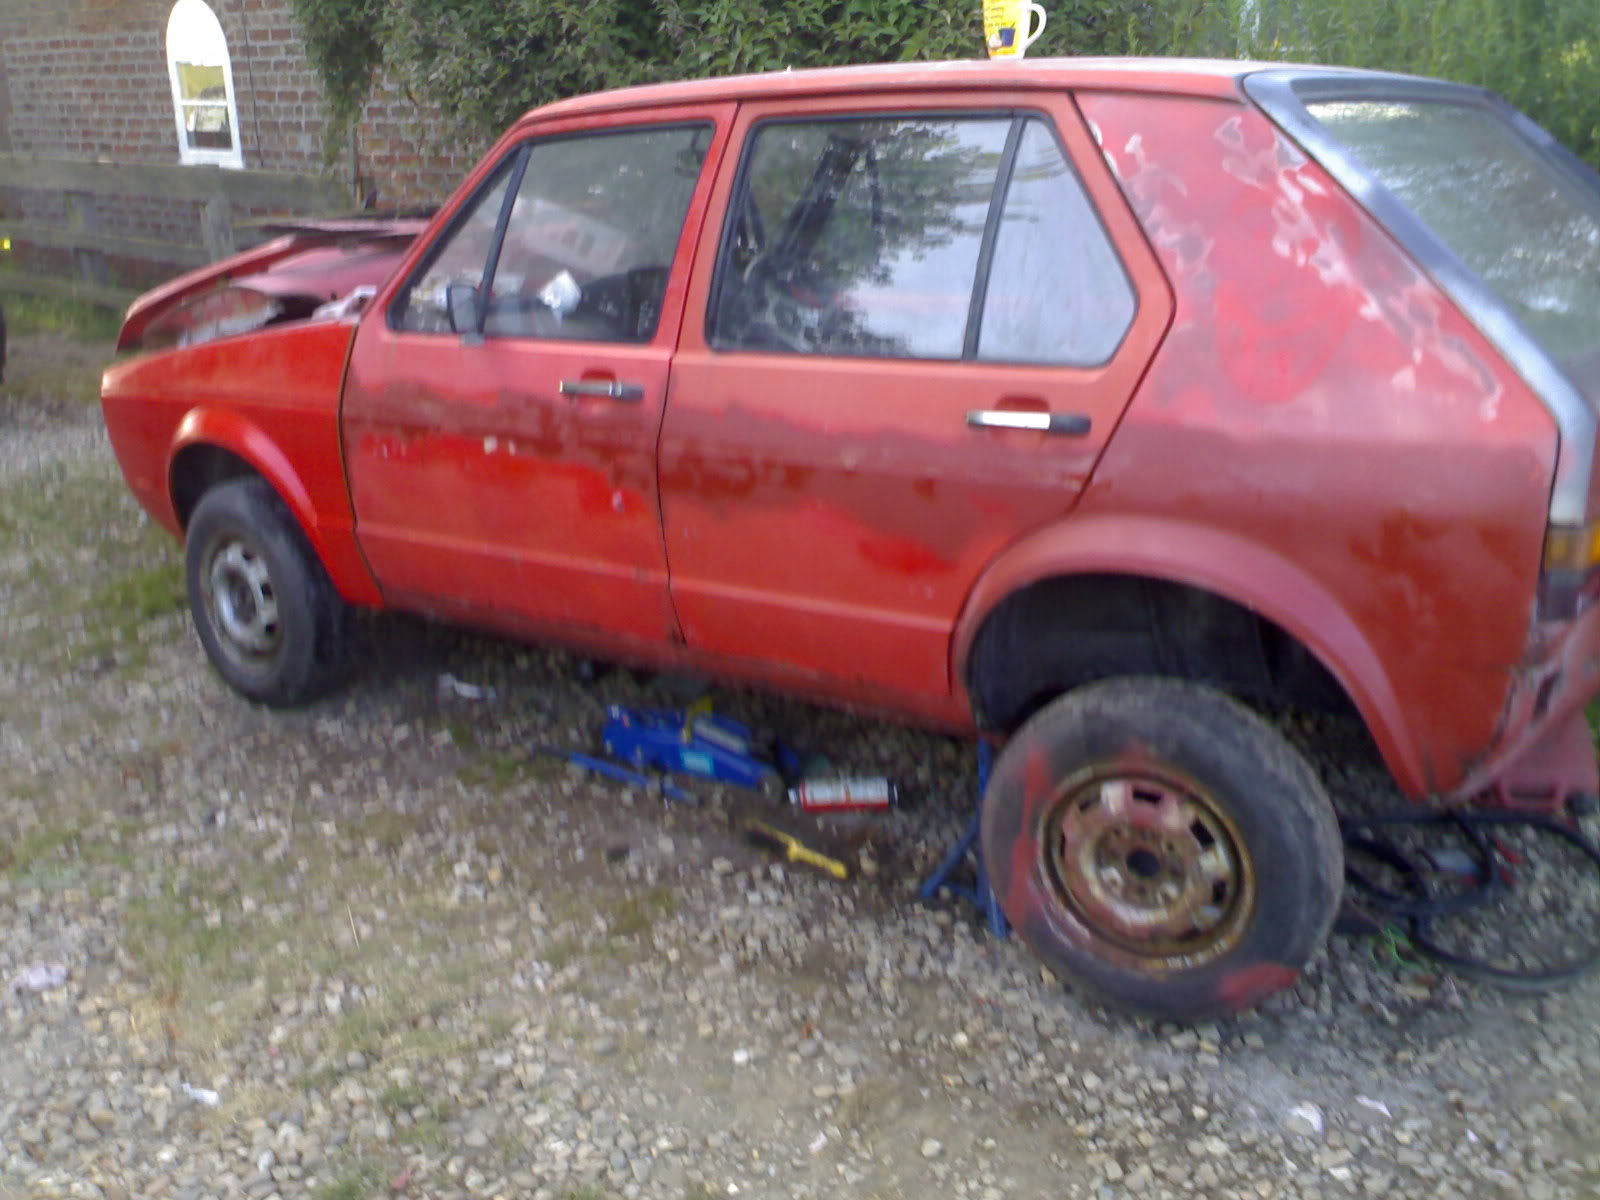
got the back panel and all welding done now to fill and spray the shell accordingly


hello!
Posted

Old Timer

looks brilliant mate. so that is all the main welding done then?
what's next, paint job?, interior….
A.
what's next, paint job?, interior….
A.

Posted
Local Hero

engine painting waxoyl'n interior brakes rest off spension on
oh and wait for my sight to fully come back brother inlaw borrowed welding mask so went ahad today without it big mistake bit off arc eye setting in oh t

 he pain and the water down my cheeks looks like i'm crying
oh and wait for my sight to fully come back brother inlaw borrowed welding mask so went ahad today without it big mistake bit off arc eye setting in oh t
hello!
0 guests and 0 members have just viewed this: None.


