Setting up timing, - pics
Posted
#1262977
(In Topic #151550)
Settled In

after new head gasket
Started this before xmas and really need to get it going again now!!
I have never replaced a head gasket before but can turn a spanner and am prepared to have ago!!
Got head off and didn't align any of the timing marks.
Head got skimmed and I have put it all back together again. Problem is that I can't get it to run right.
Followed all the set up guide on the forum. I can sart it and it will stand and run but its very lumpy. Took it down the road and its juddering alot.
When I turn the idle screw on the back of the throttle body it doesn't seem to be doing owt although when it's right in the engine stalls and the same when I screw it out too far. The rubber gasket seems fine. Doesn't seem to be any air leaks either.
Going back to basics, have I set the timing up correct do you think?
I started by lining up the 'v' mark against the arrow on the gear box. I have since seen on other threads not to do this and to go by the punched dot?? I can't find a punched dot!! This was done with no1 valve at the top.
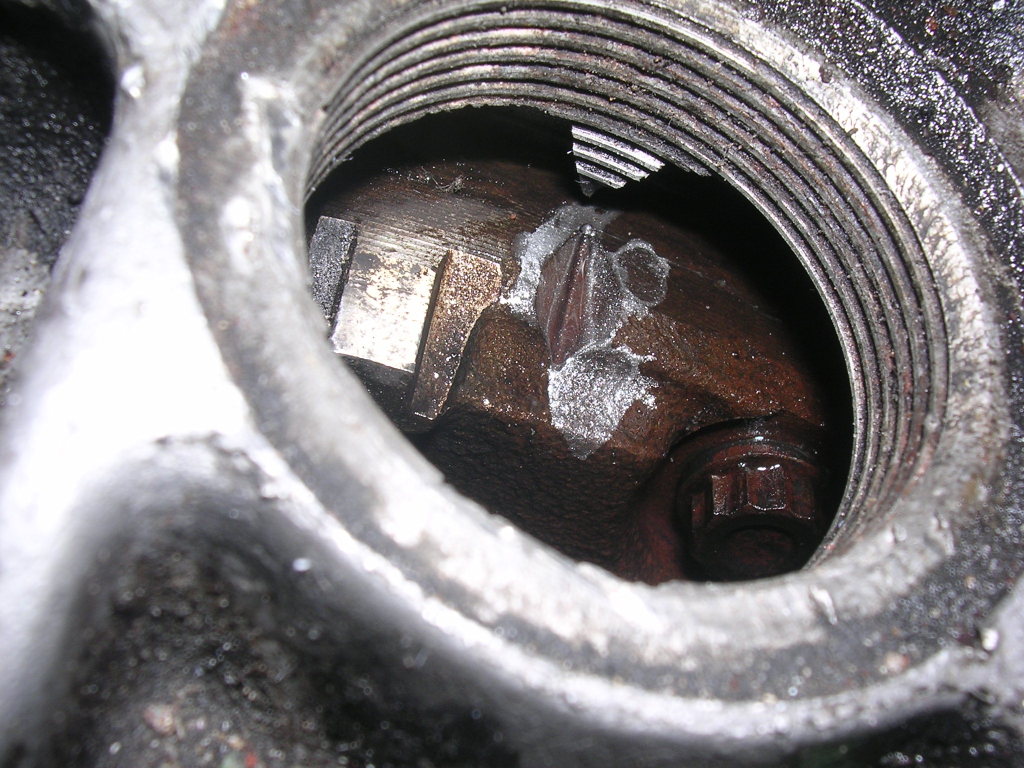
I have then set up the cam belt with the markings as thus:
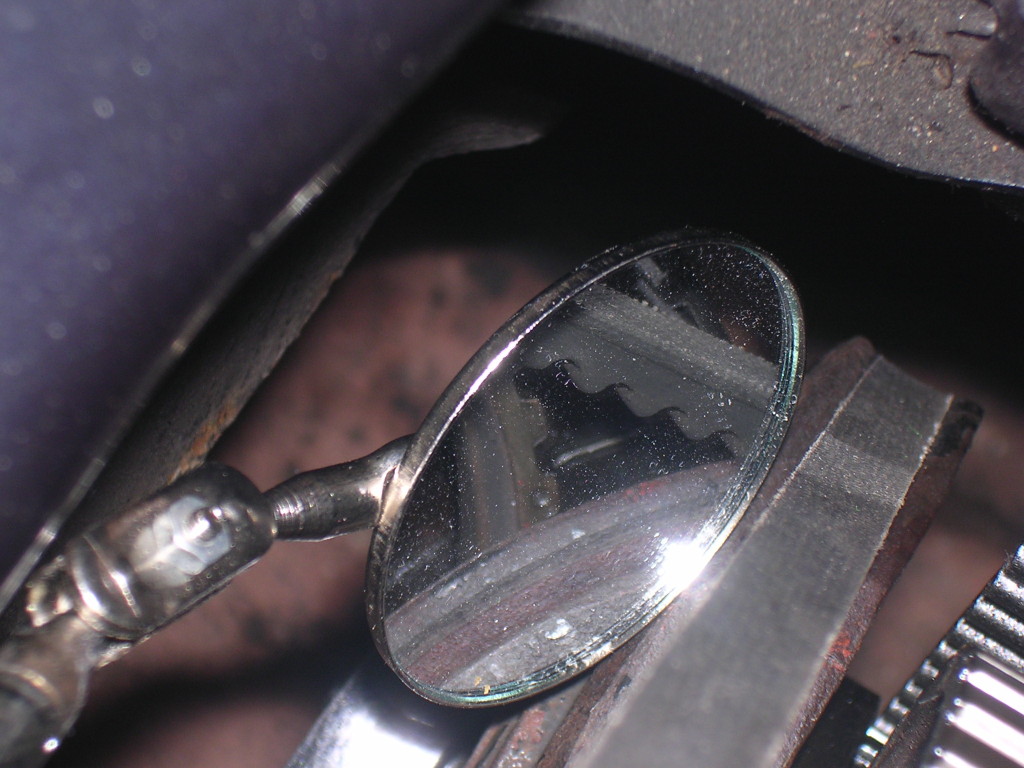
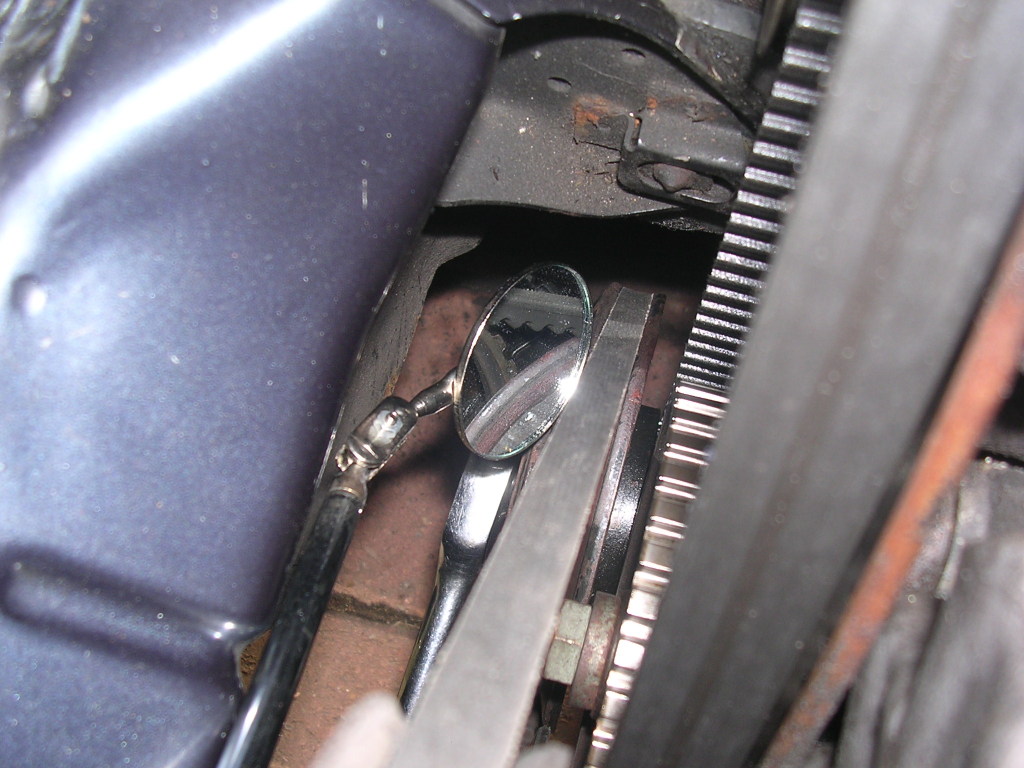
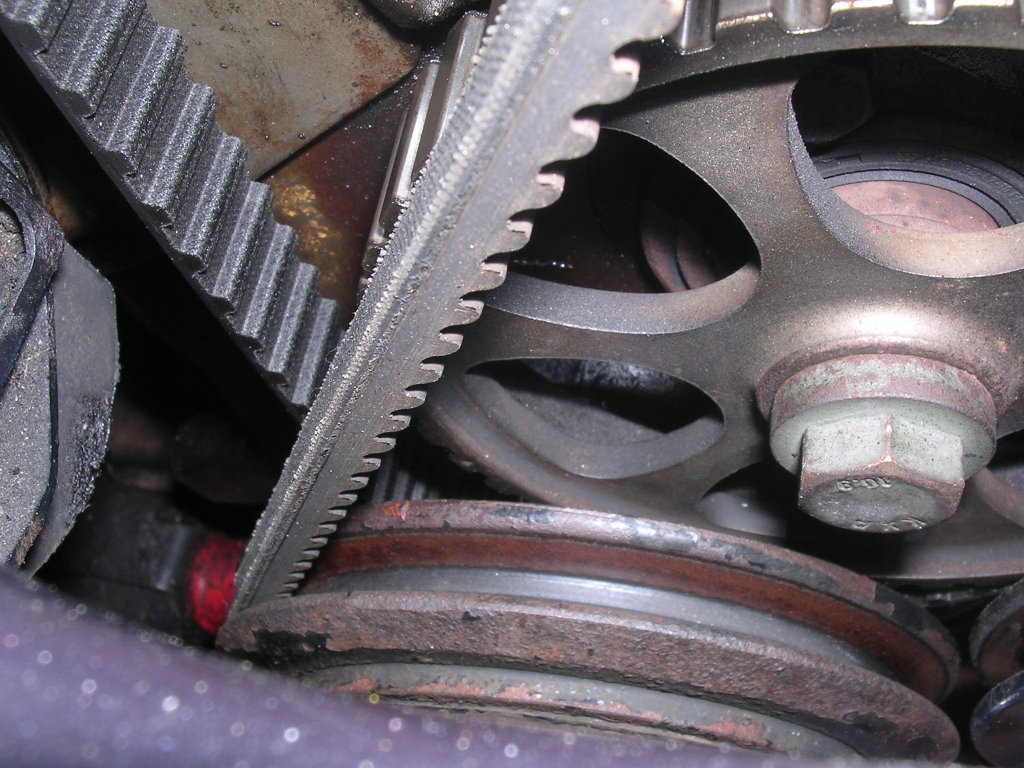
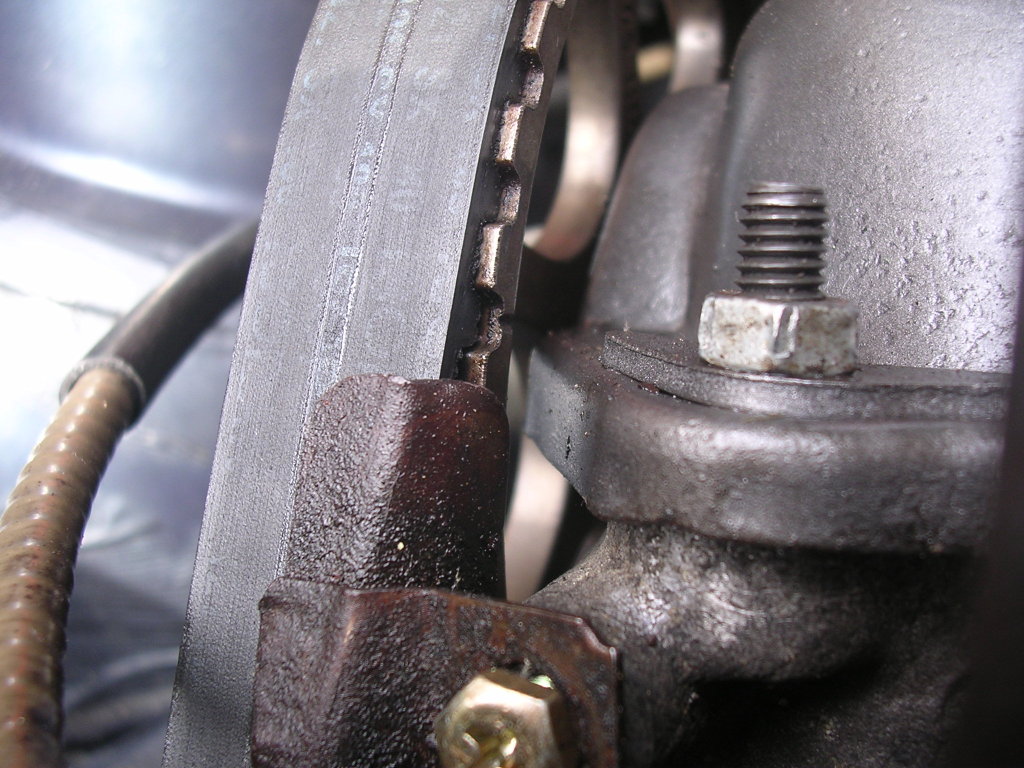
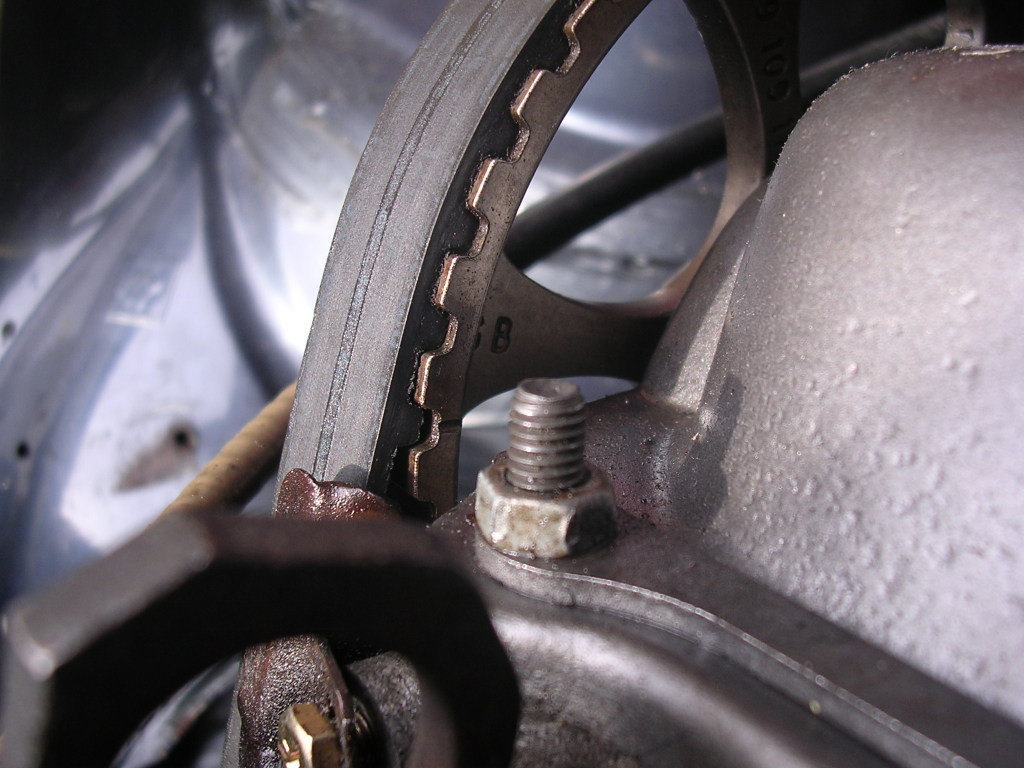
All help and advise needed, I am sick of taking the kids to school on the bus!!
I have never replaced a head gasket before but can turn a spanner and am prepared to have ago!!
Got head off and didn't align any of the timing marks.
Head got skimmed and I have put it all back together again. Problem is that I can't get it to run right.
Followed all the set up guide on the forum. I can sart it and it will stand and run but its very lumpy. Took it down the road and its juddering alot.
When I turn the idle screw on the back of the throttle body it doesn't seem to be doing owt although when it's right in the engine stalls and the same when I screw it out too far. The rubber gasket seems fine. Doesn't seem to be any air leaks either.
Going back to basics, have I set the timing up correct do you think?
I started by lining up the 'v' mark against the arrow on the gear box. I have since seen on other threads not to do this and to go by the punched dot?? I can't find a punched dot!! This was done with no1 valve at the top.

I have then set up the cam belt with the markings as thus:


All help and advise needed, I am sick of taking the kids to school on the bus!!
Posted
MOTY 2013

yup thats where you went wrong, the diamond is 6 or 18degrees BTDC dependign on the flywheel (gti is 6, carb is 18)
the punch mark is further round to the right in that picture hidden inside the casing. you need to tun the bottom end clockwise a few degrees (looking at crank end) then the punch mark will appear.
this is what it looks like (pic shows gti spec diamond @ 6 degrees)

the punch mark is further round to the right in that picture hidden inside the casing. you need to tun the bottom end clockwise a few degrees (looking at crank end) then the punch mark will appear.
this is what it looks like (pic shows gti spec diamond @ 6 degrees)

Hello my name is John and I'm a dub addict.
My wiring diagrams and other documents have moved here:
VAG Documents & Downloads
You'll need to sign into google/gmail for the link to work! (its free!)
My wiring diagrams and other documents have moved here:
VAG Documents & Downloads
You'll need to sign into google/gmail for the link to work! (its free!)
Posted
Settled In

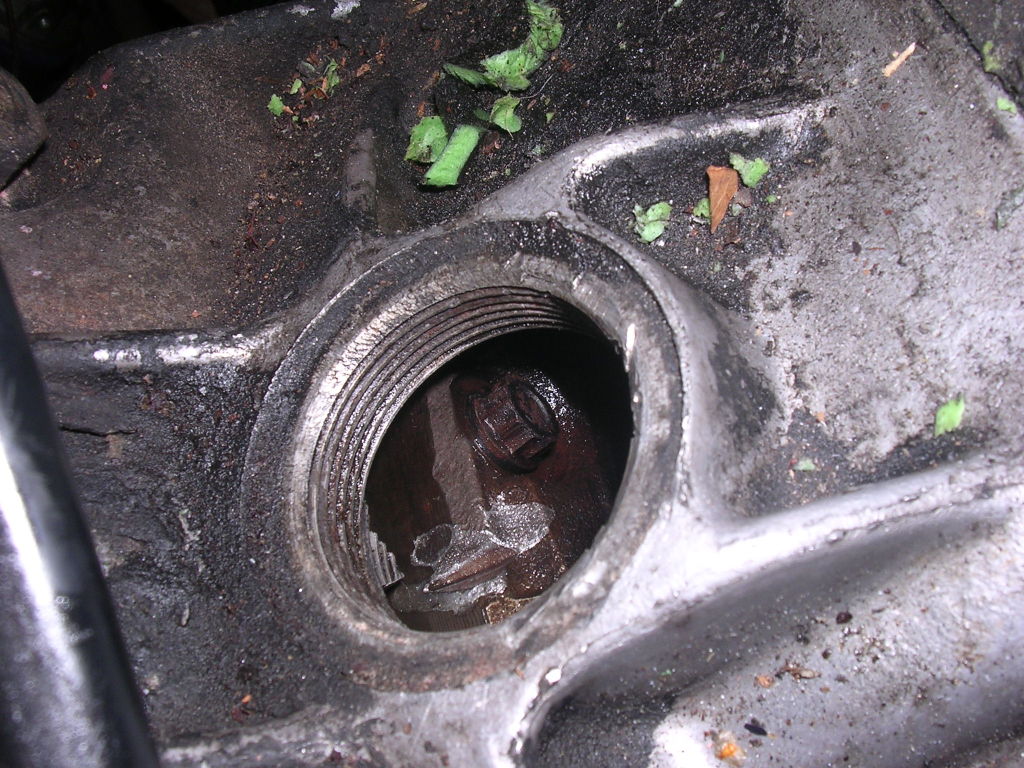
Interesting, that's probably why I have been struggling! Have a look at mine, there is no mark. There is a slight kink in the line if you look closely. An educated guess that that is where it should be and there is a kink in the surface would surely mean thats my mark?

Posted
MOTY 2013

ah i see what you mean now i actually looked and spotted the flywheel bolt is in same spot as my pic! maybe its a replacment flywheel which many years ago had an 0 stamped into it, but now the rust has removed all trace.
you can use the haynes measurement to put it back, use the EV spec:

you can use the haynes measurement to put it back, use the EV spec:

Hello my name is John and I'm a dub addict.
My wiring diagrams and other documents have moved here:
VAG Documents & Downloads
You'll need to sign into google/gmail for the link to work! (its free!)
My wiring diagrams and other documents have moved here:
VAG Documents & Downloads
You'll need to sign into google/gmail for the link to work! (its free!)
Posted
Settled In

I took the cam belt off and set the fly wheel to the kinked line to the right of the timing diamond. I thought it too much of a coincidence that it was there in the same spot as your mark. When I checked the crank shaft pulley mark, it had moved a touch towards the intermitent pulley and looked perfect.
Removed the dizzy and reset that, started her up and bingo, was much better.
Adjusted the timing with the gun and it idles at about 1000rpm.
Only problem now is that it is slightly lumpy. I am as sure as I can be that the timing is now correct. Do you normally have to adjust the idle screw on the back of the throttle body?
I am possibly getting ahead of myself now but…….
When I turn the idle screw on the back of the throttle body, should it change the engine running characteristics straight away? as mine doesn't!
In moving the idle screw, do you then have to adjust the co screw on the metering head? Have read in the other threads that that needs to be done on a machine to set correct but was hoping to get this sorted without spending anymore money!
Posted
MOTY 2013

yeah if you adjust the timing you'll probably have to tweak the idle and co, co is best done on a pro machine if possible but you can get it reasonably close by ear. sometimes if you offer som back pocket tax free moneys they'll let you borrow their machines for a couple minutes!
best bet though is make sure everything is tickity boo first though, rerplace vac lines change the idle screw o'ring, check inlet boots for splits etc then fiddle the co
best bet though is make sure everything is tickity boo first though, rerplace vac lines change the idle screw o'ring, check inlet boots for splits etc then fiddle the co
Hello my name is John and I'm a dub addict.
My wiring diagrams and other documents have moved here:
VAG Documents & Downloads
You'll need to sign into google/gmail for the link to work! (its free!)
My wiring diagrams and other documents have moved here:
VAG Documents & Downloads
You'll need to sign into google/gmail for the link to work! (its free!)
Posted
Settled In

whatisit said
Started this before xmas and really need to get it going again now!!
I have never replaced a head gasket before but can turn a spanner and am prepared to have ago!!
Got head off and didn't align any of the timing marks.
Head got skimmed and I have put it all back together again. Problem is that I can't get it to run right.
Followed all the set up guide on the forum. I can sart it and it will stand and run but its very lumpy. Took it down the road and its juddering alot.
When I turn the idle screw on the back of the throttle body it doesn't seem to be doing owt although when it's right in the engine stalls and the same when I screw it out too far. The rubber gasket seems fine. Doesn't seem to be any air leaks either.
Going back to basics, have I set the timing up correct do you think?
I started by lining up the 'v' mark against the arrow on the gear box. I have since seen on other threads not to do this and to go by the punched dot?? I can't find a punched dot!! This was done with no1 valve at the top.

I have then set up the cam belt with the markings as thus:


All help and advise needed, I am sick of taking the kids to school on the bus!!
Hi there, sorry to hi-jack your thread but I think Im surffering the same problem.
I was checking my timing again today as my car is also running very rough after a rebuild, including head gasket.
I thought that all my timing was correctly set up, but after checking today I noticed that my cam timing mark was lined up to the top of the rocker cover, not the top of the cylinder head.
In picture 5 and 6 above, it looks like yours is also lined up to the top of the rocker cover? Im assuming all your other marks were lined up when you took the photos?
I thought the top of the rocker cover was correct, but when I checked on the auto data program at a mates workshop the picture clearly shows to line up mark with top of the cylinder head.
So, if the the camshaft as lined up with the top of the rocker cover and not the top of the cylinder head wouldnt that make the cam timing out and subsequently make the engine run rough as its out of time??
Posted
MOTY 2013

its definitly top of the head for the cam mark, but the smallest unit of movement is 1 cam tooth either way so you might not get it 100% lined up depending on if its had a bit of a skim on hte head or whatever. if you look at the teeth you'll see where the mark will move to if you pull it a tooth either way  if you convert to the later plastic timing belt covers and sprocket it makes your life easier as you can use the outside OT mark instead which is much easier to line up
 Last edit: by rubjonny
Hello my name is John and I'm a dub addict.
My wiring diagrams and other documents have moved here:
VAG Documents & Downloads
You'll need to sign into google/gmail for the link to work! (its free!)
My wiring diagrams and other documents have moved here:
VAG Documents & Downloads
You'll need to sign into google/gmail for the link to work! (its free!)
Posted
Settled In

Thanks for the reply John, so its defiantly the rocker cover for the cam timing mark? This was how mine was lined up….
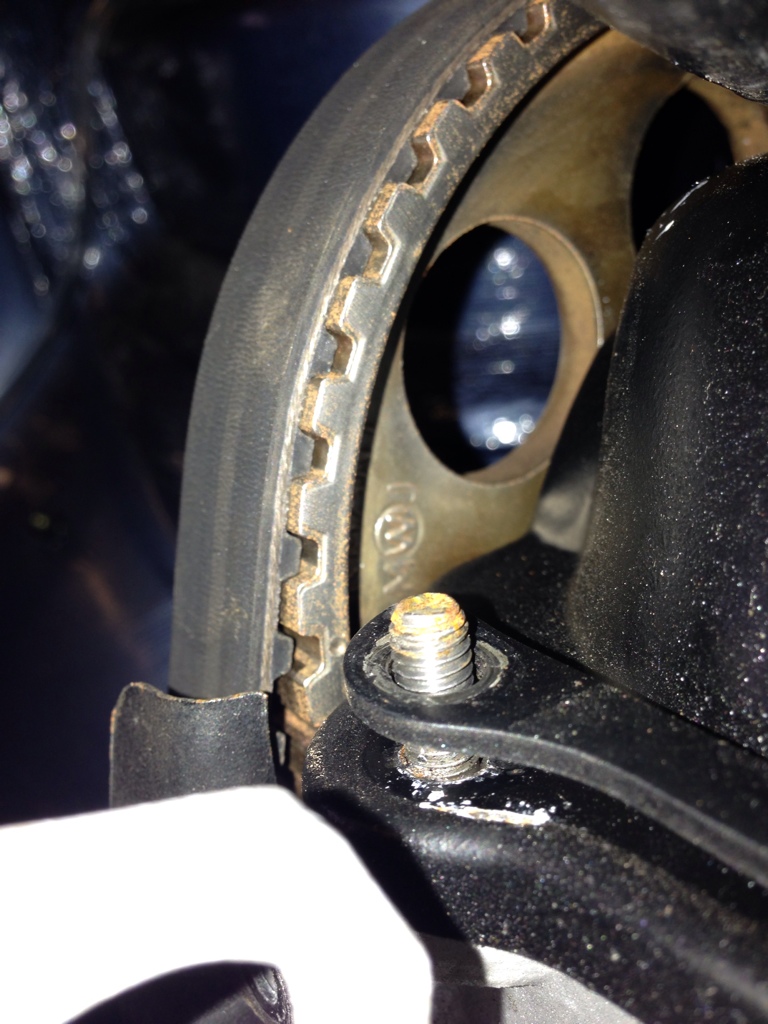
Before I took it all apart thinking it was wrong Is this correct in the photo?
I have found another pulley, which I though was an intermediate pulley, it has the OT mark you mentioned, so is this an Intermediate pulley or a cam pulley??
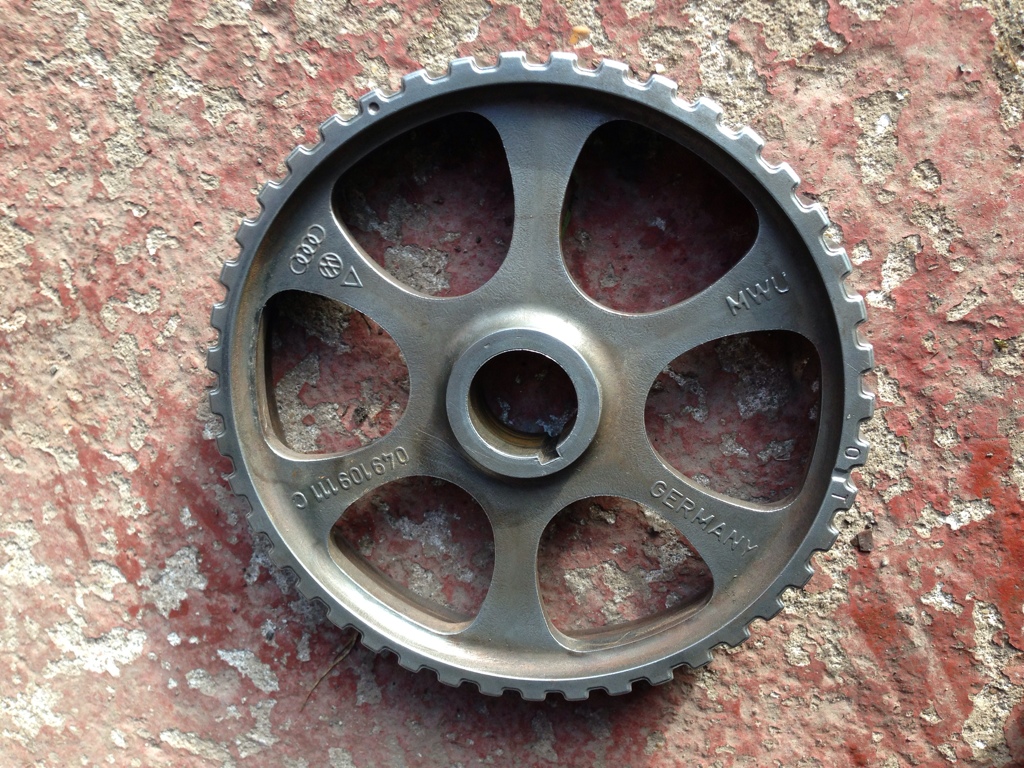
Im using a 3A bottom end, and I did use the DX intermediate pulley but it doesnt line up with the crank pulley, but when I use the pulley in the picture as the intermediate pulley it lines up perfectly with the dot! So what do you recommend I use??

Before I took it all apart thinking it was wrong
I have found another pulley, which I though was an intermediate pulley, it has the OT mark you mentioned, so is this an Intermediate pulley or a cam pulley??

Im using a 3A bottom end, and I did use the DX intermediate pulley but it doesnt line up with the crank pulley, but when I use the pulley in the picture as the intermediate pulley it lines up perfectly with the dot! So what do you recommend I use??
Posted
Settled In

The part number on that pulley is 049109111C if that helps!
Posted
MOTY 2013

doh top of the head! edited  the cam and intermediate shaft sprockets are the same, but they have markings on both sides so they work in both locations. this is why you need to be careful when you remove them to ensure you refit the right way round!
the one above is the later version but the OT mark isnt any good unless you fit late style plastic timing belt cover set.
ignore the markings on the intermediate shaft though, just make sure the rotor arm is roughly pointing at the notch in the dizzy housing. it only needs to be close enough so the engine fires, after that you fine tune dizzy position with a timing light
Hello my name is John and I'm a dub addict.
My wiring diagrams and other documents have moved here:
VAG Documents & Downloads
You'll need to sign into google/gmail for the link to work! (its free!)
My wiring diagrams and other documents have moved here:
VAG Documents & Downloads
You'll need to sign into google/gmail for the link to work! (its free!)
Posted
Settled In

Thanks Jon! Got her all timed up properly today now but the buggger still wont fire and run properly!!
You might be able to help me? Heres what I did today….
Ruled out compression, All reading were well with in tolerance for every cylinder, with the biggest difference between cylinders being 30 psi, which is not ideal but still well within the limit of 45psi (Haynes Guidance Figures)
I re-timed the engine, as the cam timing was a tooth out. So know I know everything is okay on the timing side of things.
I moved onto the metering head. After I had adjusted the timing I tried to start it and it took ages to fire as usual, then fired for a bit but cut of straight away, it then fired first time but just idled at like 100rpm for about 10 seconds and backfired.
I then checked the air sensor flap and it was jammed shut
After closer inspection I could see the plunger was jammed right into the fuel distributor. So I removed it carefully, cleaned it all with petrol, wet rubbed the pin smooth and put it all back together, put it back on the car and again it wouldnt fire, wouldnt even catch a bit. When I checked the flap again it was moving but it was very tough to move, is this because there is now pressure from the fuel pushing on the plunger? Therefore making the flap stiffer?
I removed it all again and noticed that the little bearing inside the metering head flap, where the plunger sits on, was seized and not rolling like it should. Could this of made a difference?
The fuel distributor plunger is now moving nice and freely when off the car, but could the unit still be broken??
Does it matter that the little bearing/wheel thing doesnt turn?
Posted
MOTY 2013

the pin bearing probably wont make much difference, as long as the flap itself moves up and down easily. the metering head will be firm when you try to lift it once the system is pressurised but it shouldnt be that stiff at all. if the metering head pin was stuck then its probably full of gunk inside as well, which isnt going to be easily shifted unless you strip it down and sometimes they dont survive! what you could do is remove the p[ressure regulator from the front of it to check the condition inside, clean that out and replace the orings if required 
Hello my name is John and I'm a dub addict.
My wiring diagrams and other documents have moved here:
VAG Documents & Downloads
You'll need to sign into google/gmail for the link to work! (its free!)
My wiring diagrams and other documents have moved here:
VAG Documents & Downloads
You'll need to sign into google/gmail for the link to work! (its free!)
Posted
Settled In

Thanks for the reply John.
I have access to about 3 or 4 mk2 golf 16v metering heads and fuel distributors, would these work? I've read a couple of threads which say it can be done, and a few which say it can't be done, but no difinitive answer!
Otherwise I'm just going to try and source a good second hand one from a mk1 gti. Are the 1600 and 1800 metering heads the same on the mk1's?
Posted
Settled In

And also have a spare corrado 16v metering head unit too! Which looks mint! It is the newest of the lot being off a 1993 reg'd car.
Could this be used?
Could this be used?
Posted
Settled In

Good to hear you are progressing, makes you wonder how these cars ever run!!
Going to give mine an outing this afternoon, fingers crossed I get there and back!
Many thanks for all your input Rubjonny.
Going to give mine an outing this afternoon, fingers crossed I get there and back!
Many thanks for all your input Rubjonny.
Posted
MOTY 2013

the mk2 16v metering head will put a bit more fuel in than a 1.8 8v. you may be able to adjust it a bit to get everything working ok though, if the car actually runs at all this will at least tell you if the old metering head is to blame.
the corrado 1.8 16v unit is the same as the mk2 16v, but the 2.0 16v is totally different and no good for your application.
the main problem with metering heads in general is there is no easy 'reset' position for the mixture screw, so once you change them it can take a lot of faffing around before you get the screw in a position that allows the car to start!
Hello my name is John and I'm a dub addict.
My wiring diagrams and other documents have moved here:
VAG Documents & Downloads
You'll need to sign into google/gmail for the link to work! (its free!)
My wiring diagrams and other documents have moved here:
VAG Documents & Downloads
You'll need to sign into google/gmail for the link to work! (its free!)
Posted
Settled In

Well, I still haven't got mine running properly. It's proving to be a real PITA!!
Took it out for a 40 mile round trip last night.
1 - Seems to pull okay and does go well go but there is a constant slight splutter for want of a better expression.
2 - When I turn the idle screw it doesn't seem to do owt
and
3 - there is a constant high pitch screech which sounds like it is coming from the camshaft sprocket area, tone alters with revs.
Any advice????????????? cf_emoticons__BangHead:
Took it out for a 40 mile round trip last night.
1 - Seems to pull okay and does go well go but there is a constant slight splutter for want of a better expression.
2 - When I turn the idle screw it doesn't seem to do owt
and
3 - there is a constant high pitch screech which sounds like it is coming from the camshaft sprocket area, tone alters with revs.
Any advice?????????????
Posted
Settled In

Have you set the cam timing properly? As mentioned earlier, I had mine timed up so the cam timing mark was lined up to the top of the rocker cover. When I retimed it so the mark was to the top of the cylinder head with the rocker cover and gasket removed I found it worked much better. When Lining it up to top of rocker cover it could be as much as one tooth out I'd imagine! Which is a good few degrees out.
Has your idle screw rubber o-ring perished? Maybe worth a check.
The sound you describe sounds like the alternator belt slipping? But this obviously wouldnt be from the area you describe. Are you sure its coming from the Cam pulley area?
Has your idle screw rubber o-ring perished? Maybe worth a check.
The sound you describe sounds like the alternator belt slipping? But this obviously wouldnt be from the area you describe. Are you sure its coming from the Cam pulley area?
Posted
Settling In

Constant high pitched squall will be because you have over tensioned the timing belt mate
0 guests and 0 members have just viewed this: None.


