


GUIDE: Changing your stat, coolant and water pump

Posted
#817703
(In Topic #97738)
Settled In

GUIDE: Changing your stat, coolant and water pump
1. It stops water from freezing in winter which will then expand and potentially crack cylinder heads and blocks as well as springing leaks in pipework
2. Dissipates heat generated by the engine by circulating the coolant it through the radiator
3. Prevents corrosion of the metal in the cylinder head/block waterways
4. Via the thermostat it regulates the temperature of the engine and ensures it warms up quickly and evenly by pumping the coolant around
Without coolant in the system the car will overheat and can warp cylinder heads etc. I strongly advise you use deionised water in your anti freeze/water mixture because tap water has quite harsh corrosive properties and will eat away at the cooling system. Don't get me wrong, you can get away with this for years but it simply isn't as effective as it could be.
Thermostats and water pumps are the serviceable items. I'd do a stat every year or so (each coolant change) and a water pump about 3-5 years but while you drain the coolant you can easily c the condition of a pump.
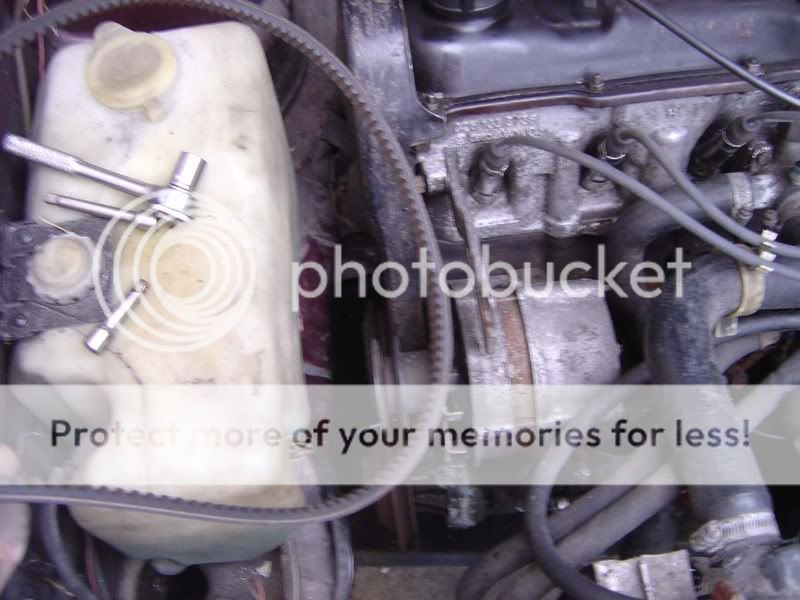
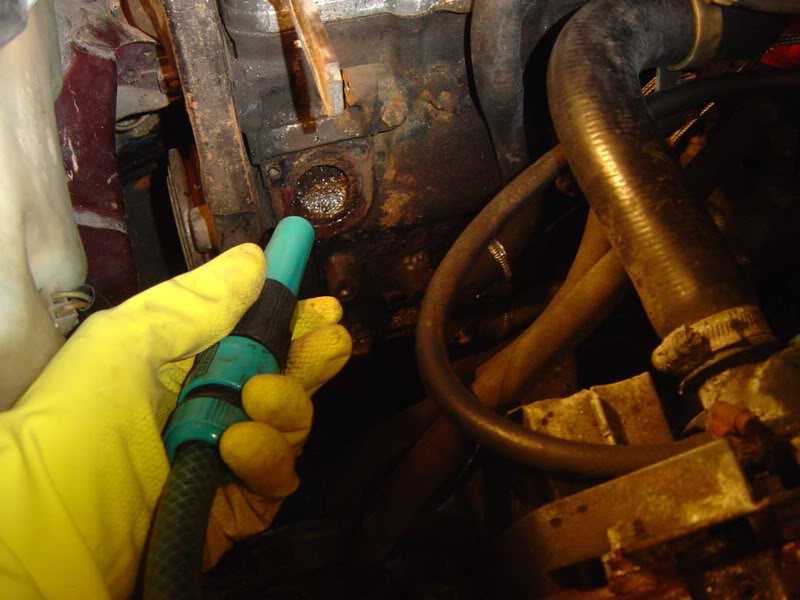
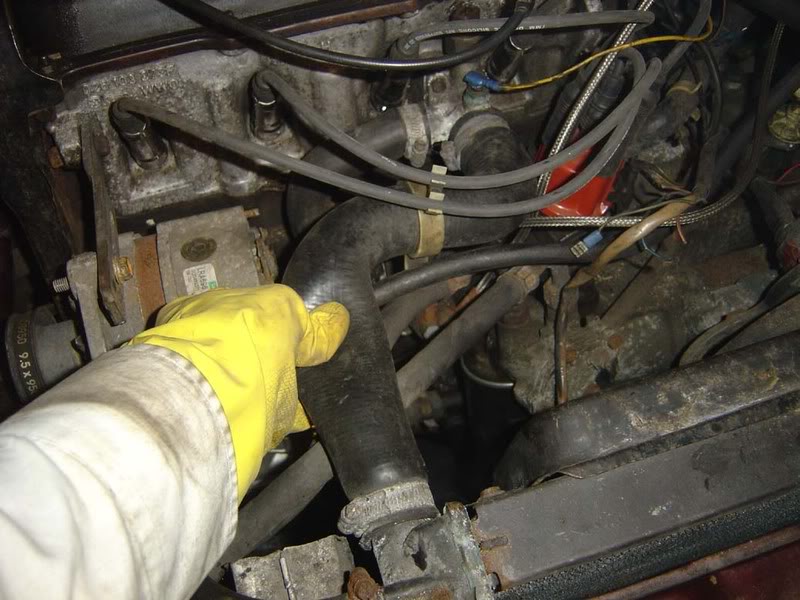
Step 1 - Switch your heaters to warm, take the top of the coolant reservoir and disconnect the bottom radiator hose. To do this you should jack the car up a little so you have easy access, make sure you're working on a COLD system, don't change the coolant on a hot car unless absolutely necessary and if so, take great care when dealing with super heated water.
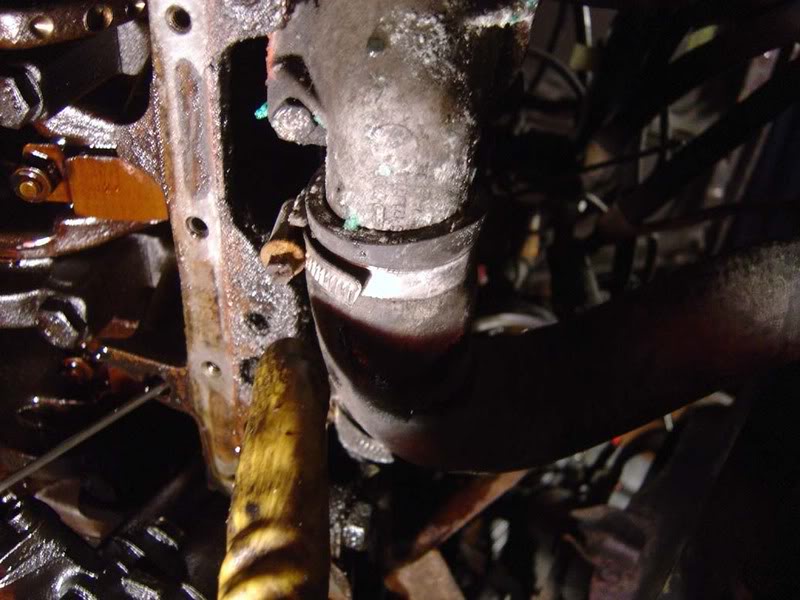
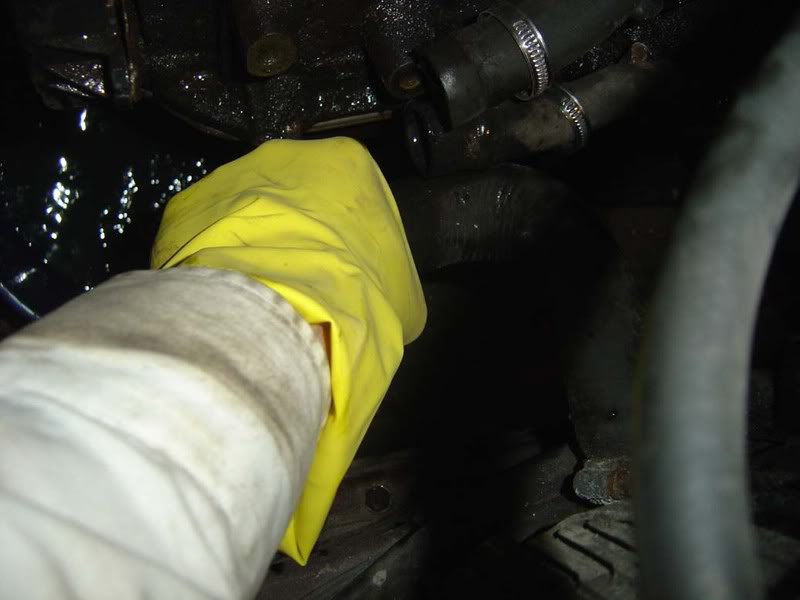
Step 2 - Once you've slackened the jubilee clip and removed the bottom rad hose, coolant will come gushing out so catch this in a bucket or something similar. Remove the two 10mm bolts holding the thermost housing on (do the bolts in stages, don't just slacken one then the other)
Step 3 - With the rad hose off and the 2 bolts out, the stat cover will just pull away

Posted
Settled In
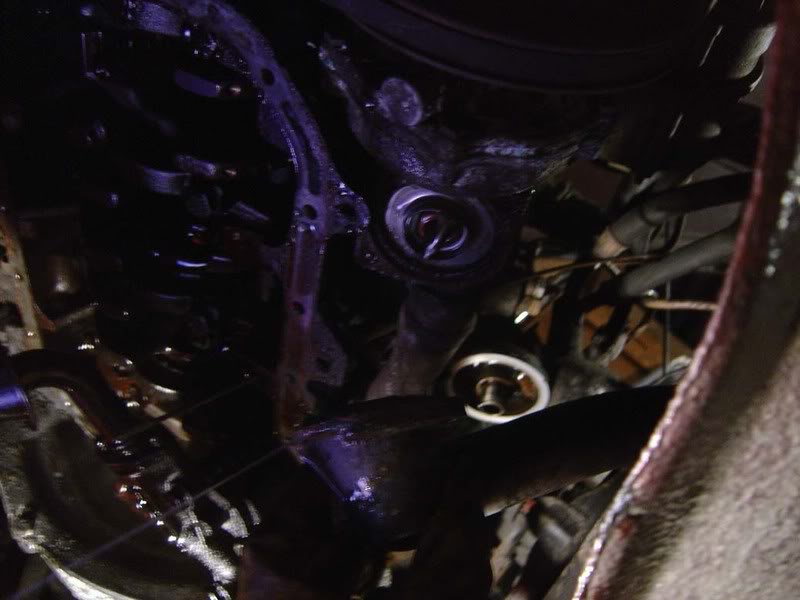
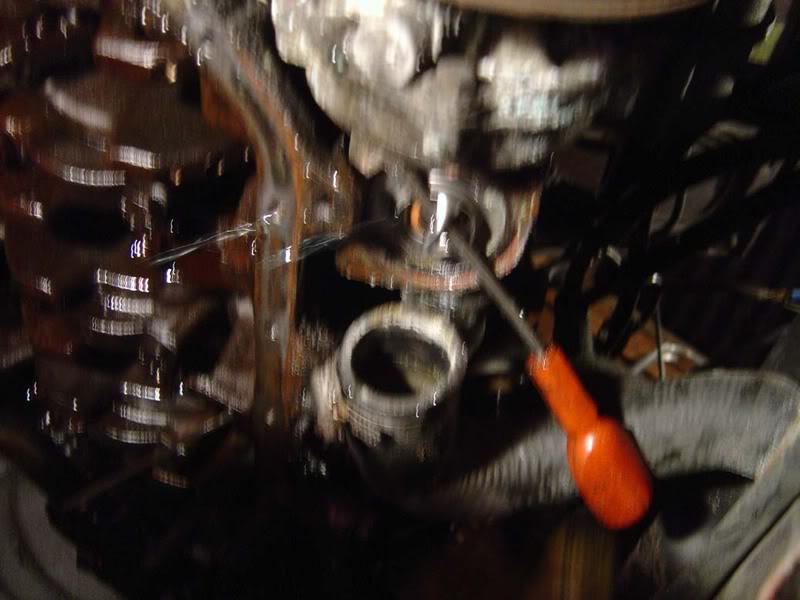
Step 5 - Push the centre of the stat up to allow the coolant to spray out into a suibtable vessel for proper disposal
Alternatively you can remove one of the hoses off the water pump if you want to preserve your stat
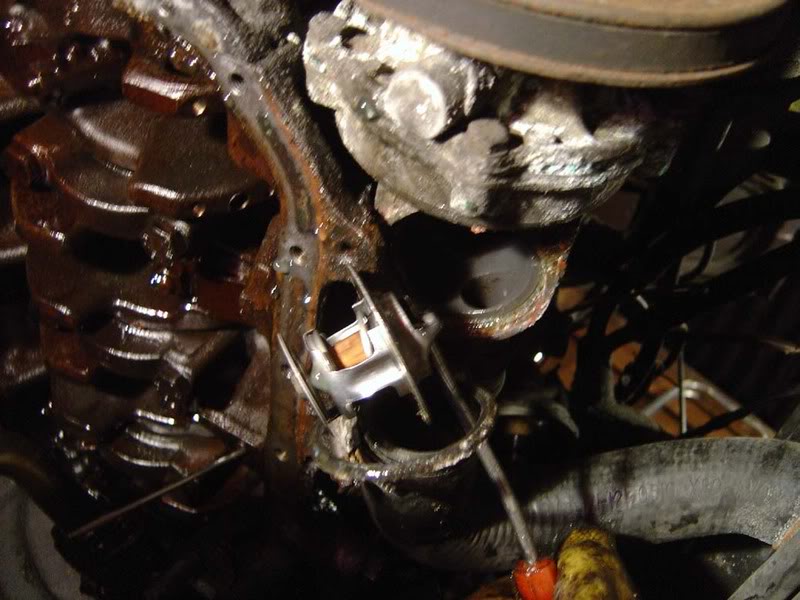
Step 6 - Use a flatblade scredriver to ease the thermostat out of the housing
Posted
Settled In
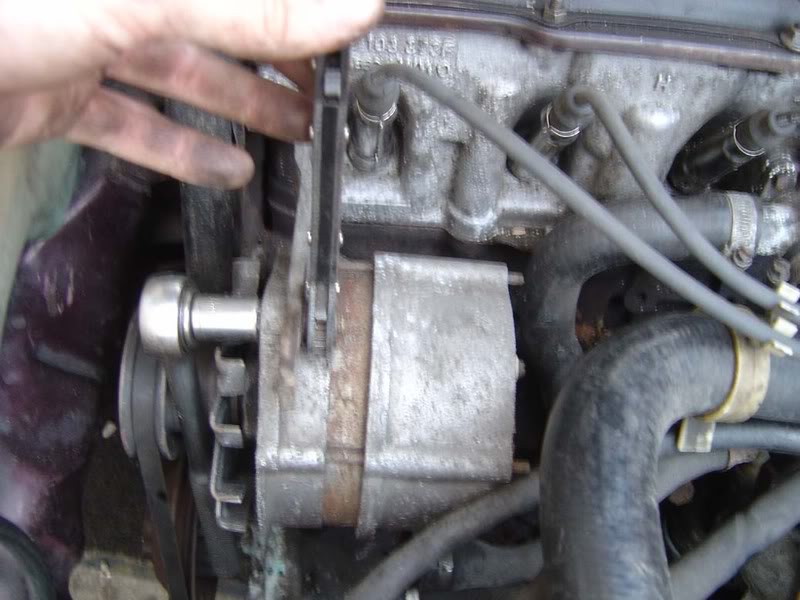
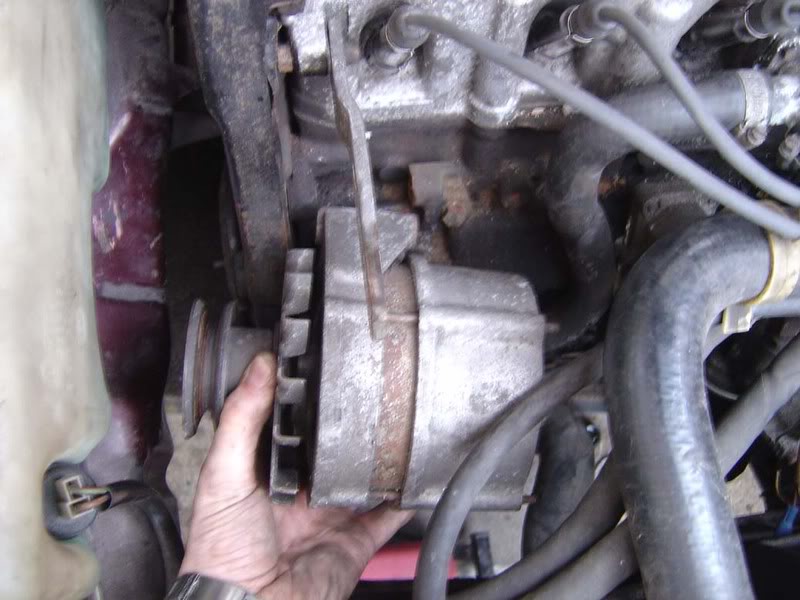
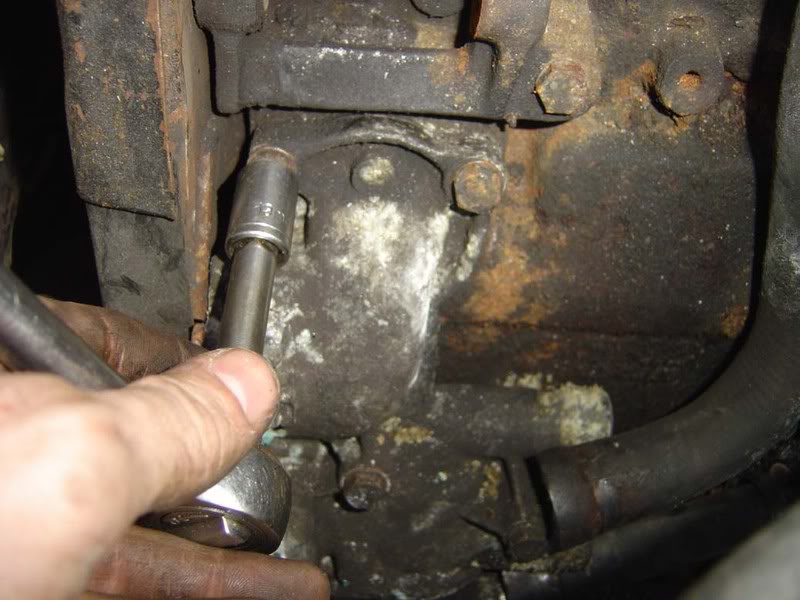
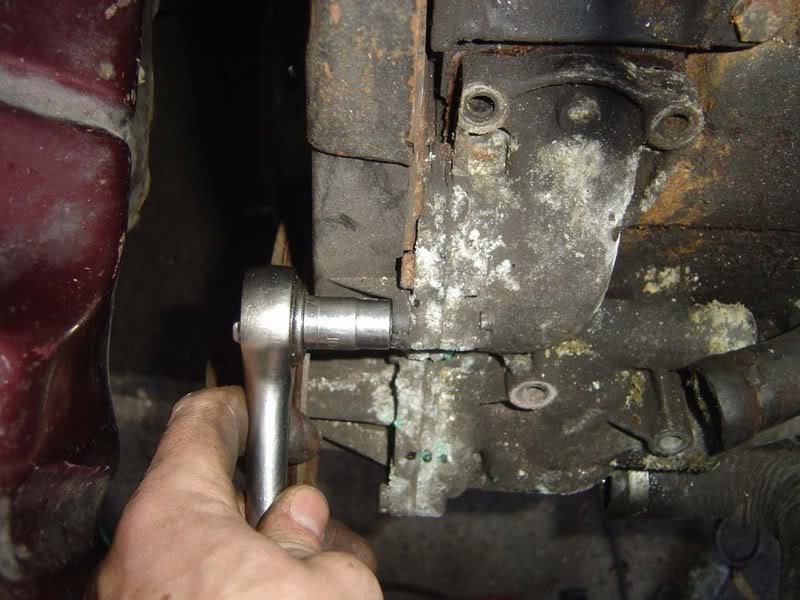
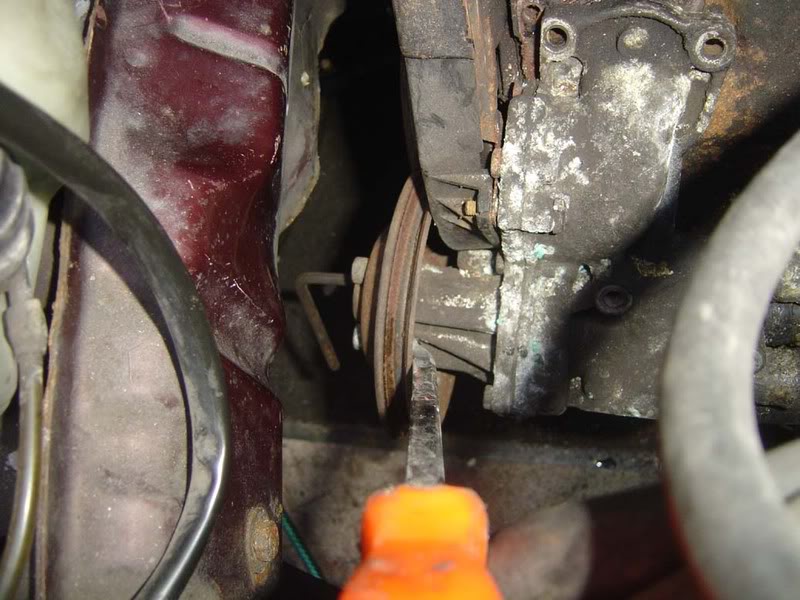
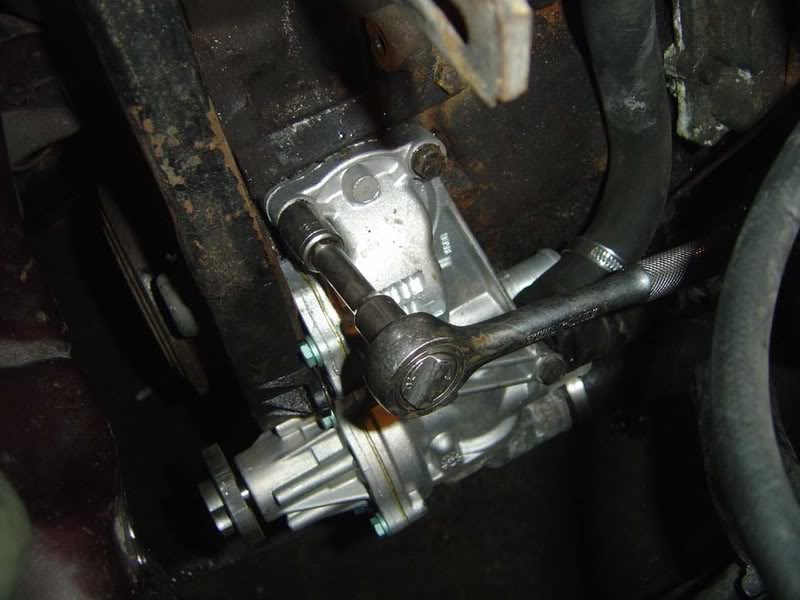
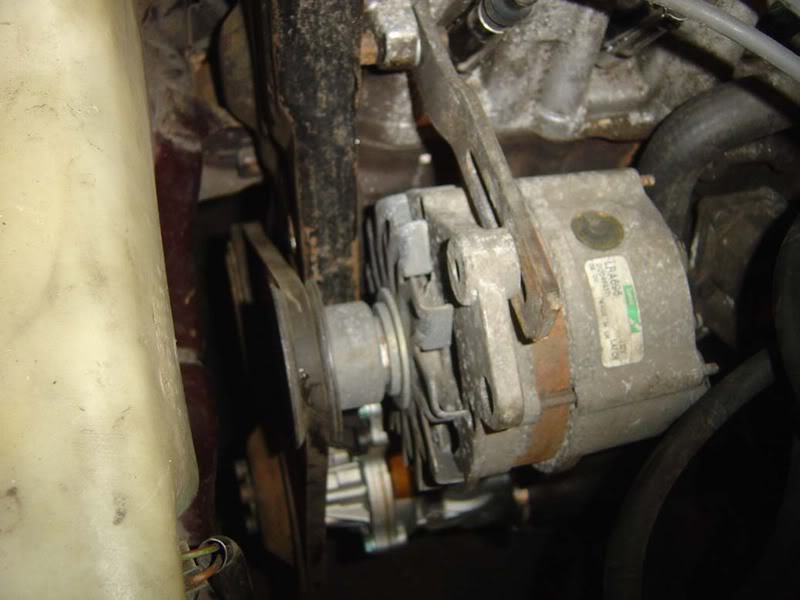
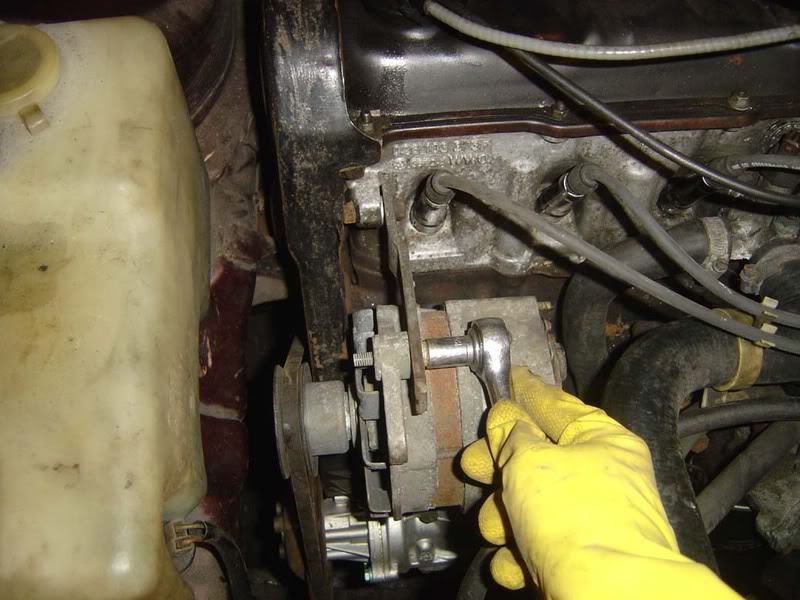
Step 8 - Use a 1/4" drive ratchet with a 13mm socket to remove the pivot bolt (picture 1). Once the bolts is slack a screwdriver may help to push it out (picture 2).
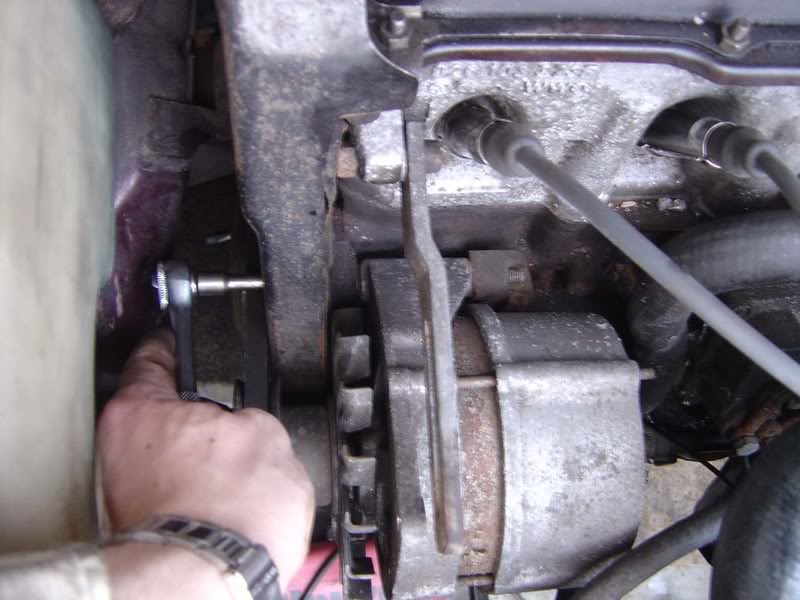
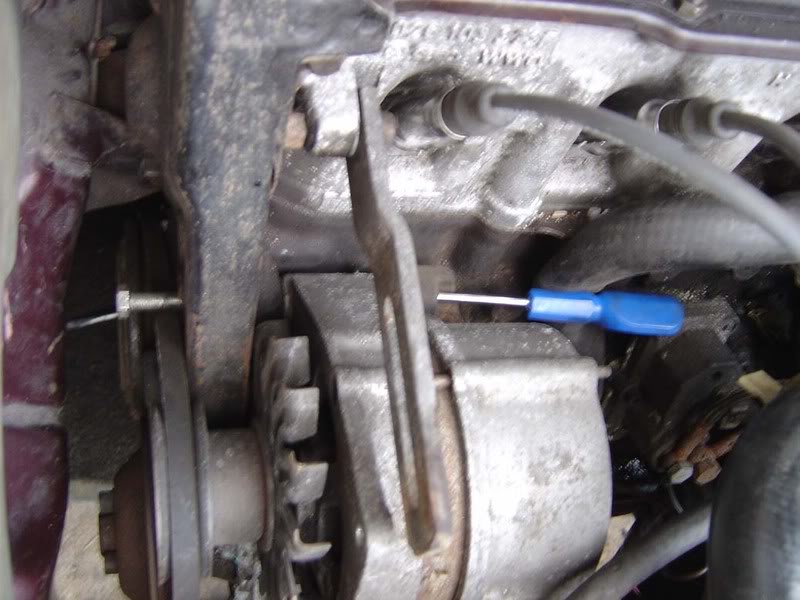
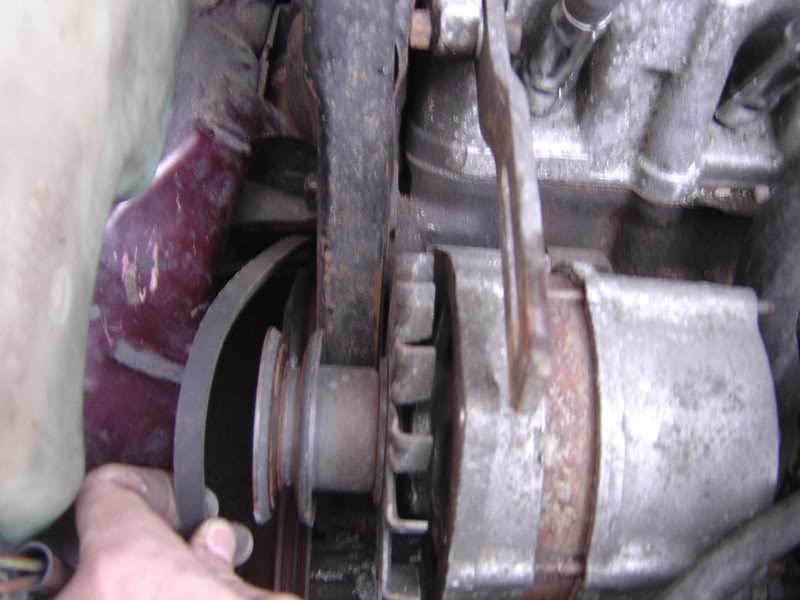
Step 9 - With the alternator slackened off completely, hook the belt over the pulley and remove it
Posted
Settled In
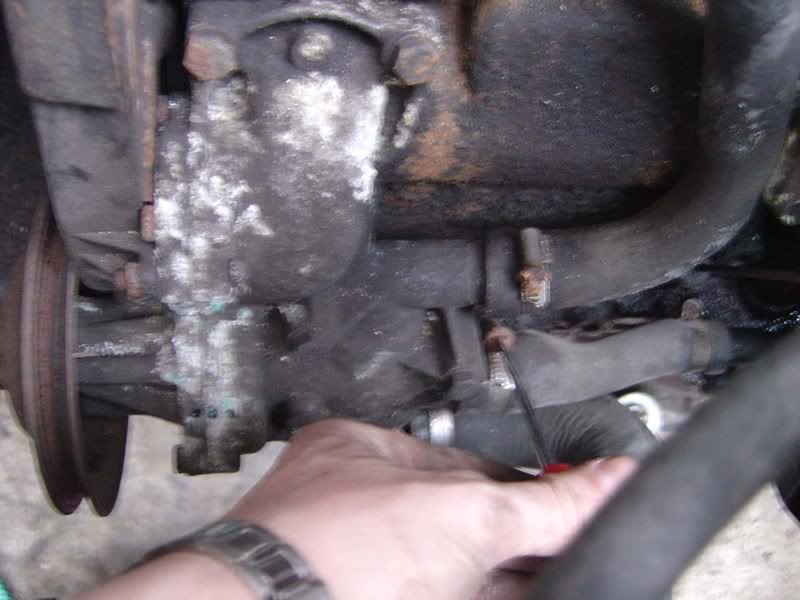
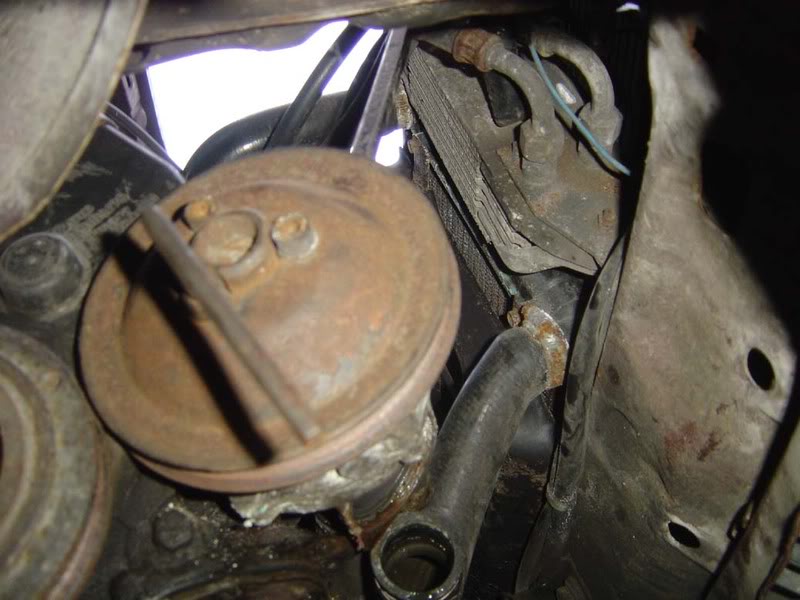
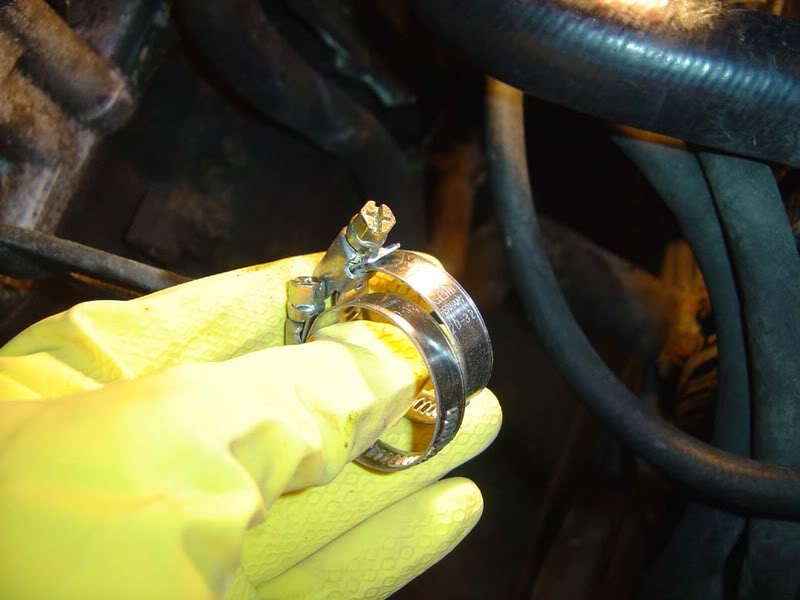
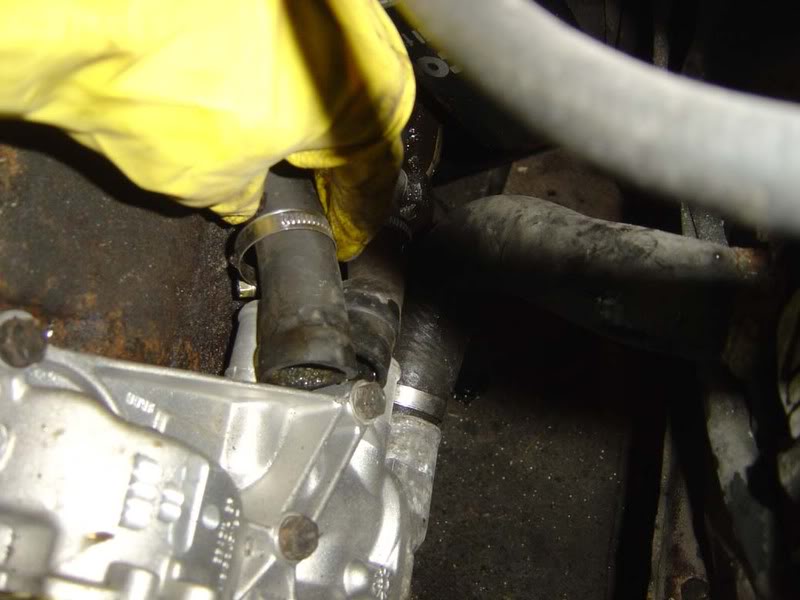
Step 11 - You now have good access to the water pump so we can detach the remaining two connections (we already removed the stat housing). You can do this with a flatblade screwdrive on the jubilee clips (picture 1) if they are in good condition. Mine were badly corroded so I used a 6mm socket (picture 2)

Posted
Settled In
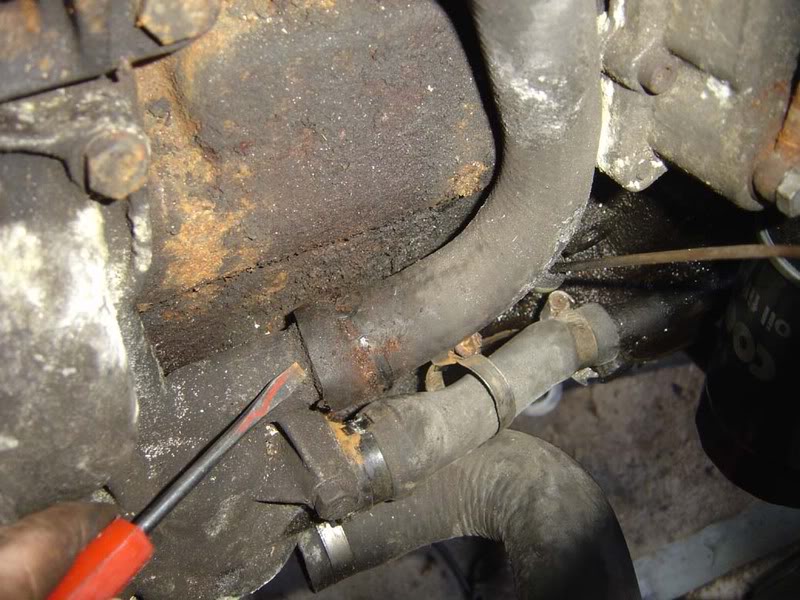
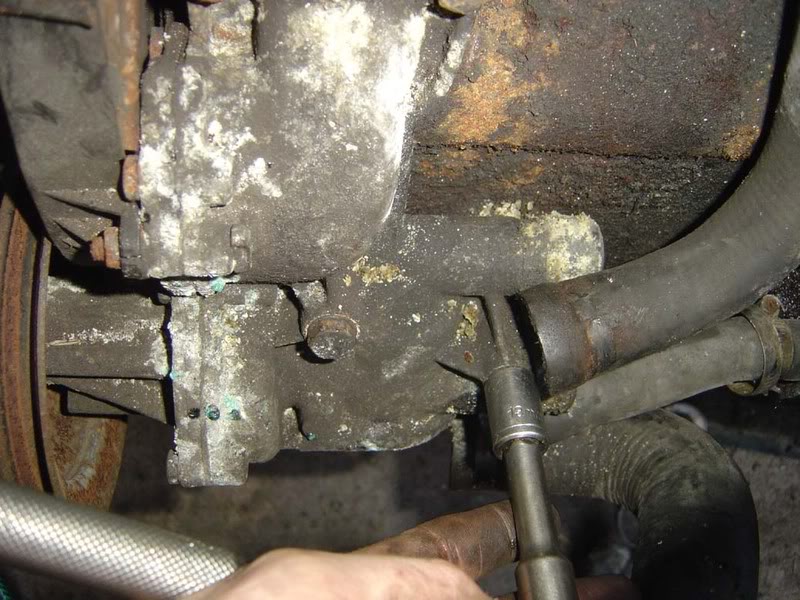
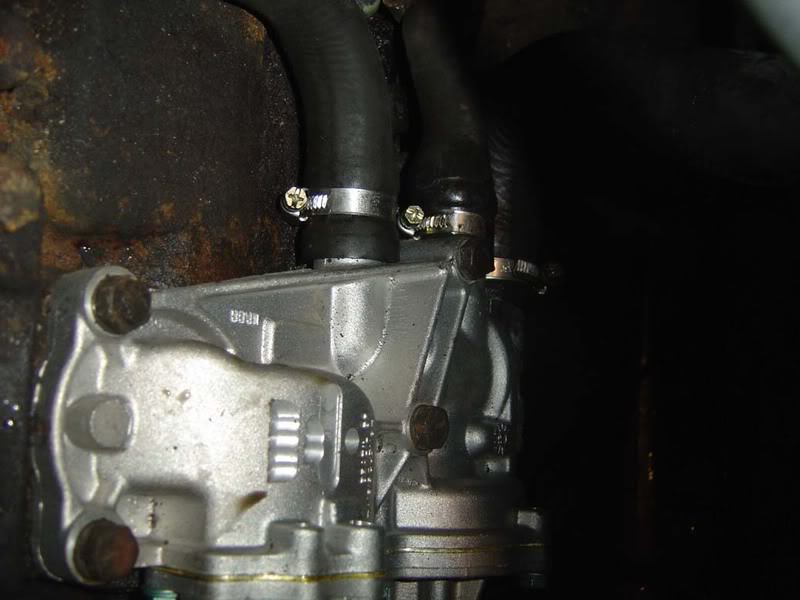
Step 13 - Once the hose is removed you are just left with the 4 big bolts holding the housing to the block and a small 10mm nut attaching the timing cover
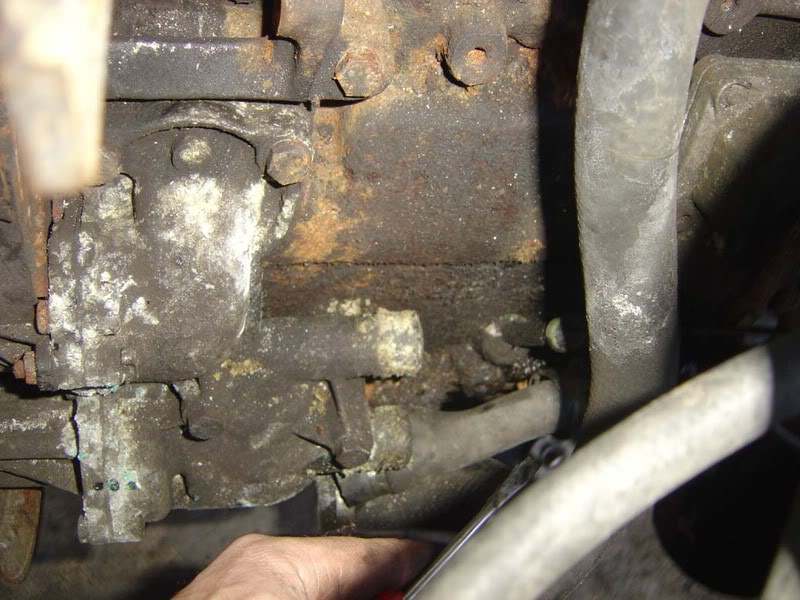
Step 14 - The first picture shows the top 2 bolts to remove (13mm) and the second picture shows the bottom two (one with a socket on and the other in the middle of the picture). Progressively slacken all of these then remove them
Posted
Settled In
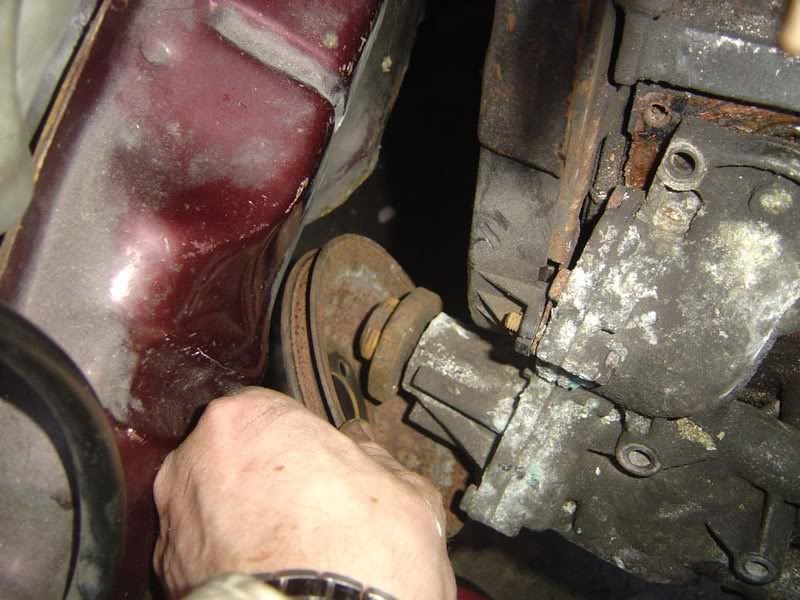
Step 16 - Remove the final fixing which is a 10mm nut holding the pump to the timing belt case
Posted
Settled In
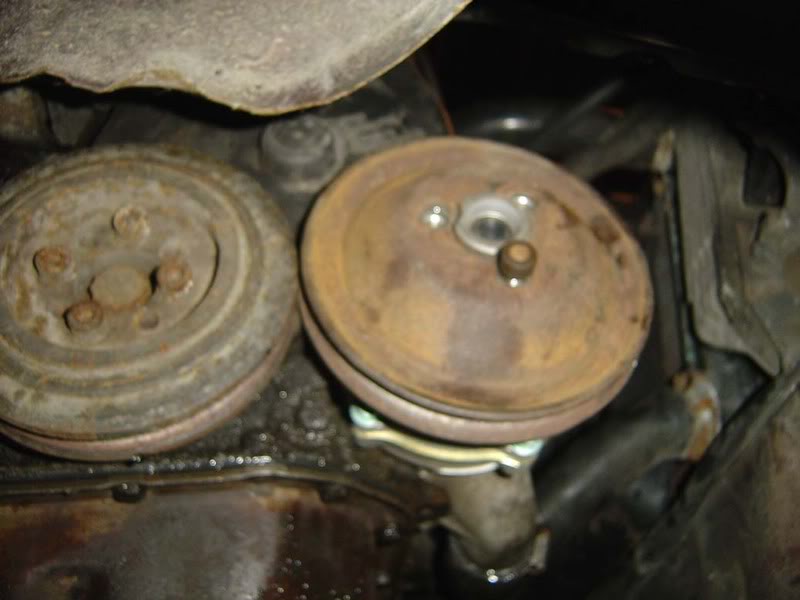
Alternatively, use mole grips or similar to hold two of the allen key nuts whilst you release the third and do this for each one
Once you've removed the 3 allen key bolts you can remove the pulley (third picture) but it may need a tap with a hammer
NOTE: the pump was changed so you might find you are able to removed the timing belt cover's bolt and then take the aseembly away as a whole without separating the pulley
Posted
Settled In
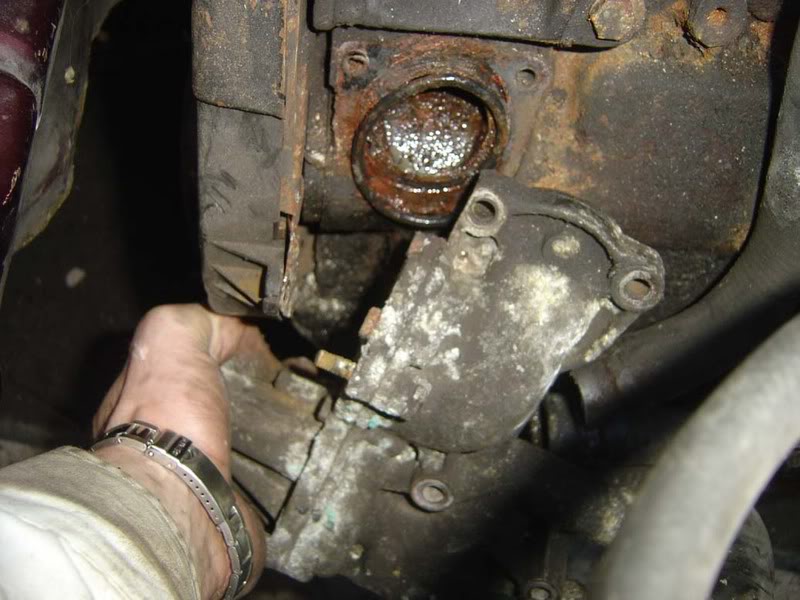
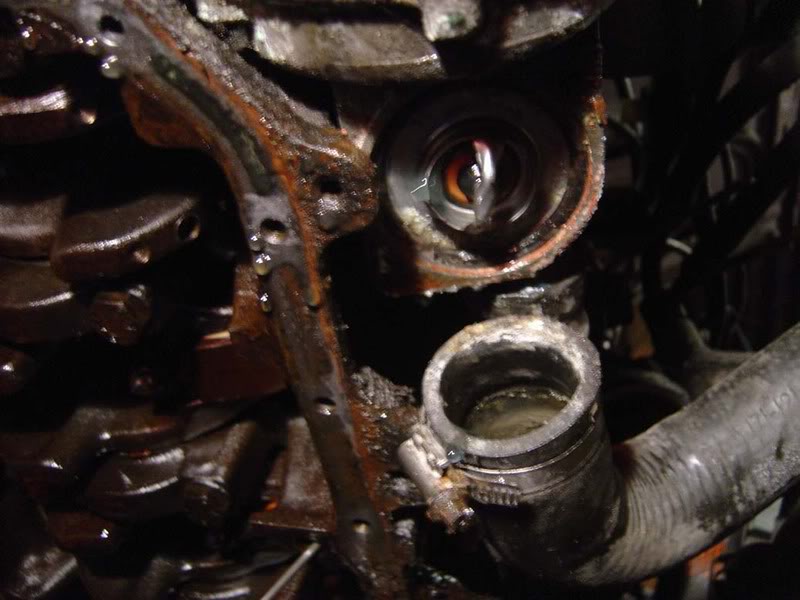
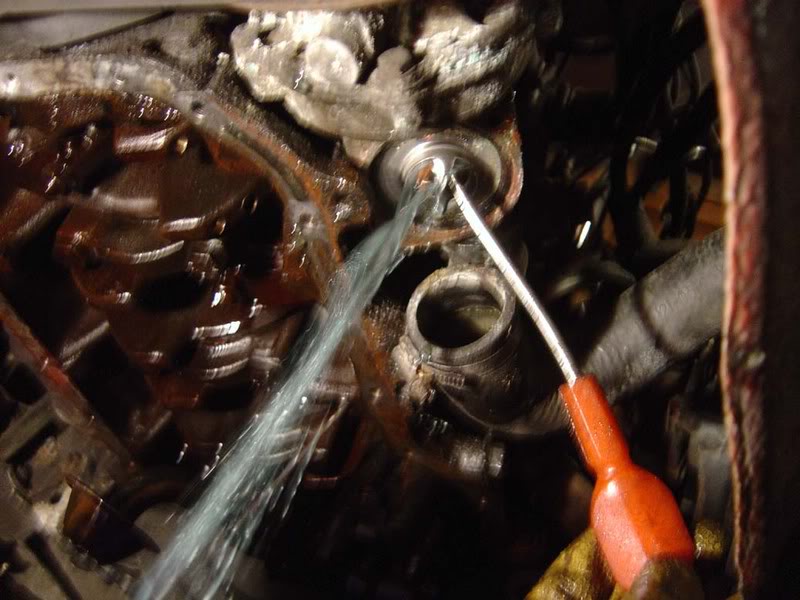
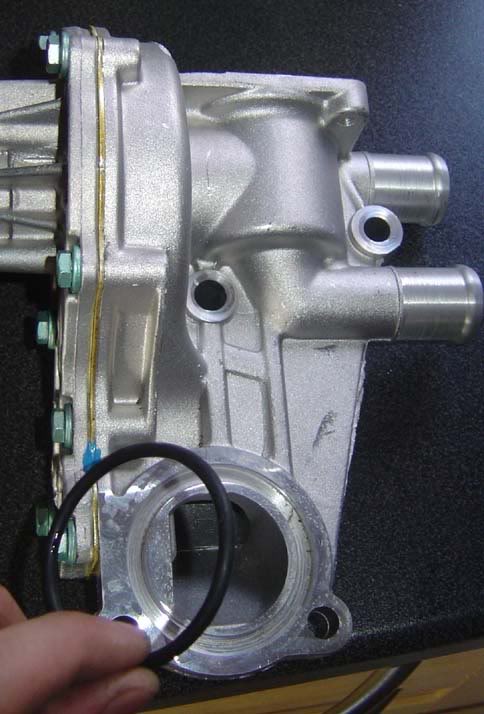
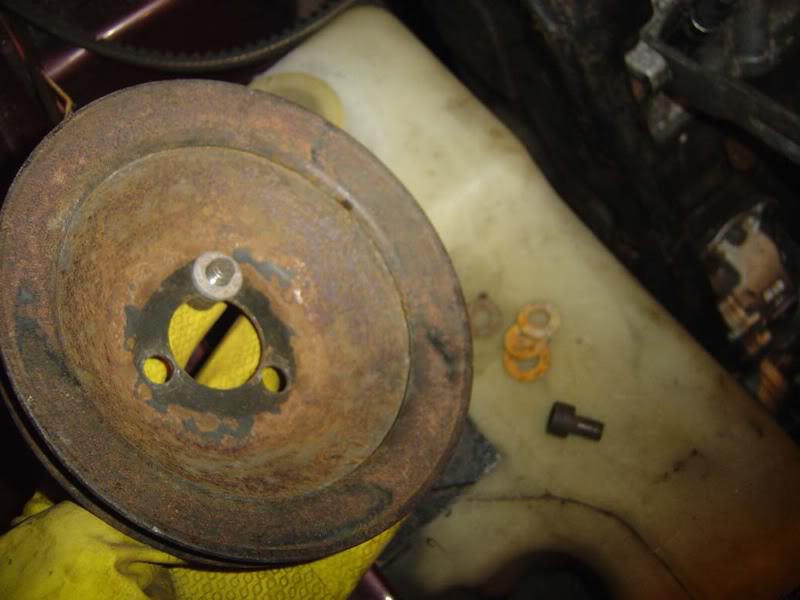
Step 19 - Remove the o ring if it is left behind on the cylinder block as opposed to being on the pump itself
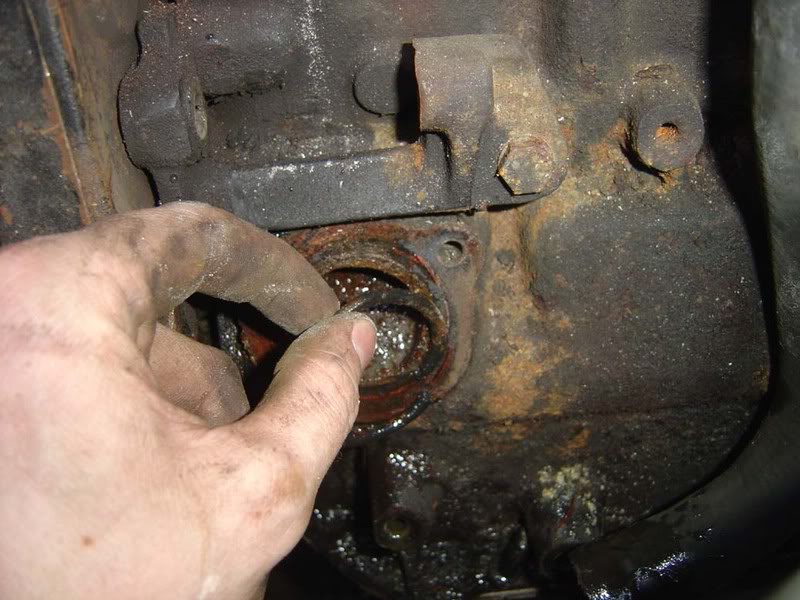
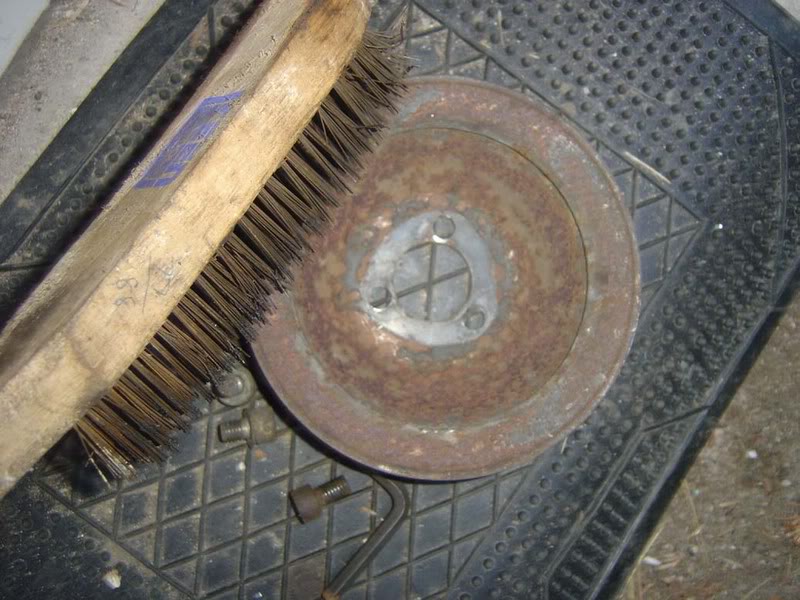
You should use a scouring pad (or wire wool if lots of limescale build-up is evident) to clean the block once the pump is removed. This will improve the ability for the new pump to seal
Posted
Settled In
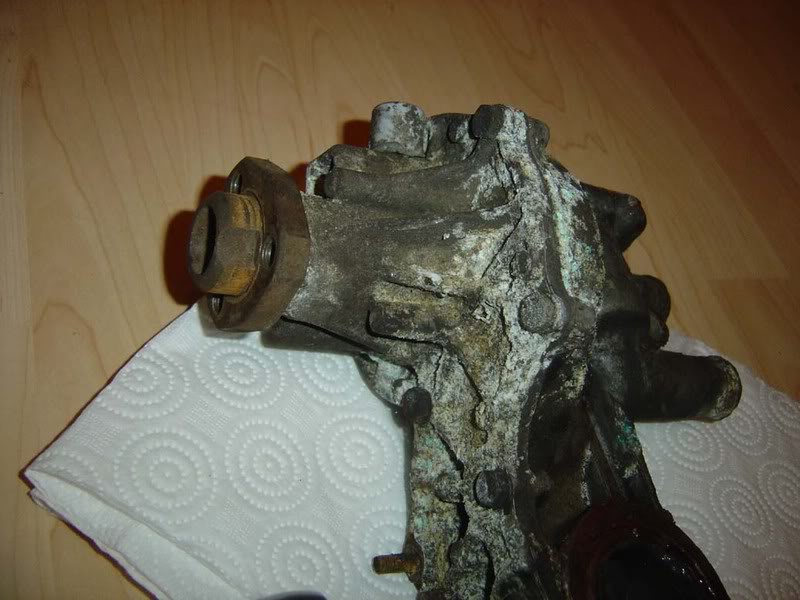
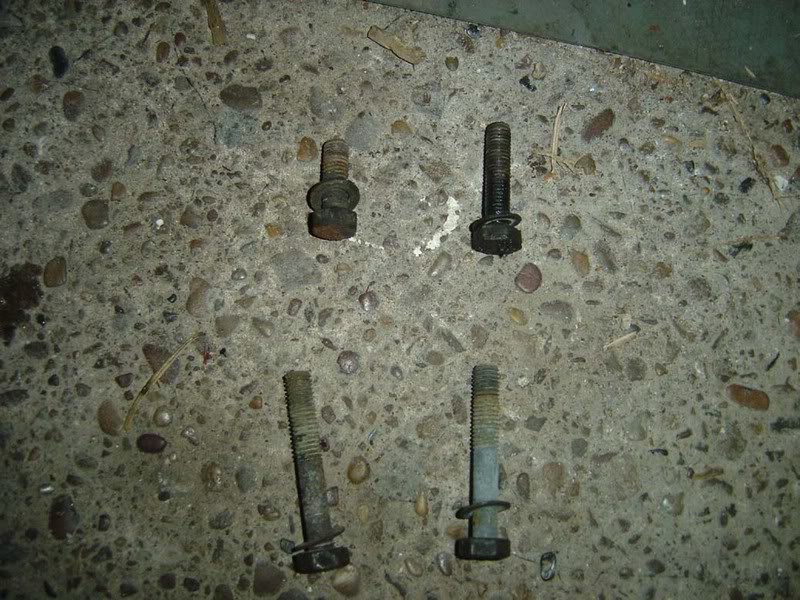
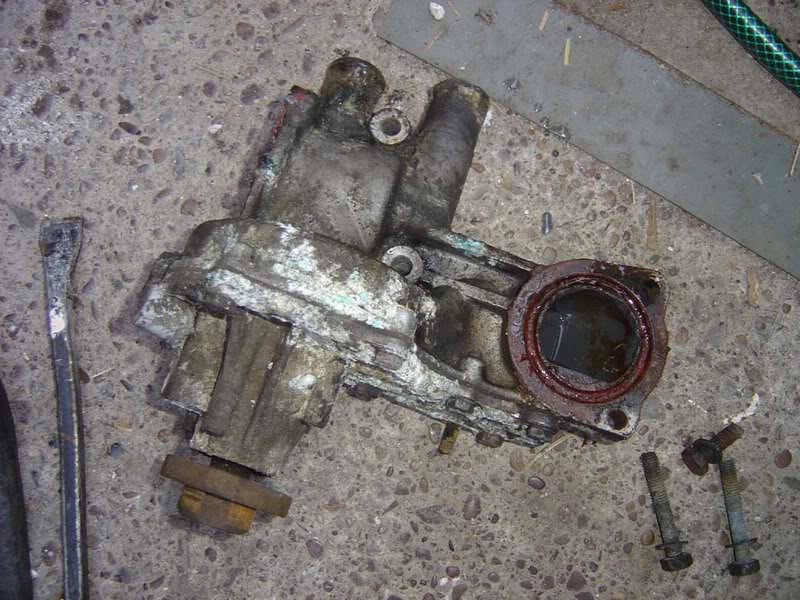
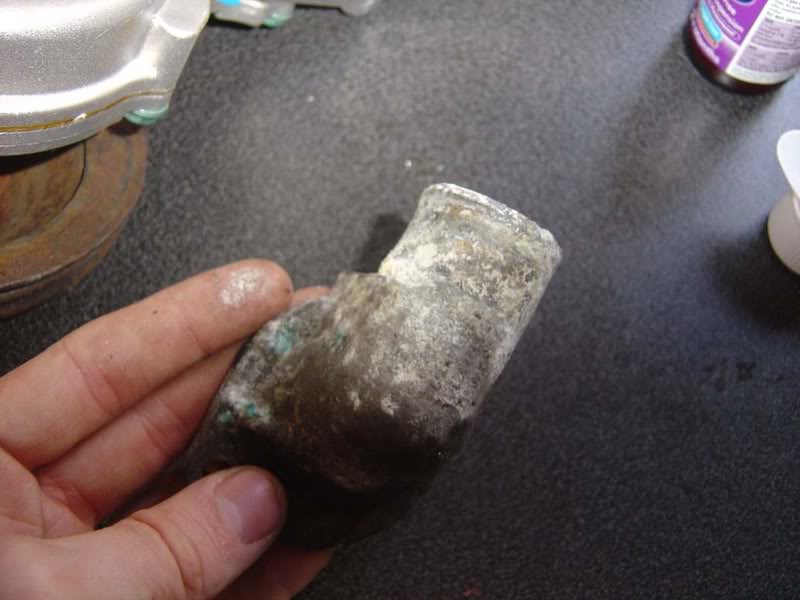
Step 21 - You might well end up with something like this, a whole bunch of broken bolts and not much joy!
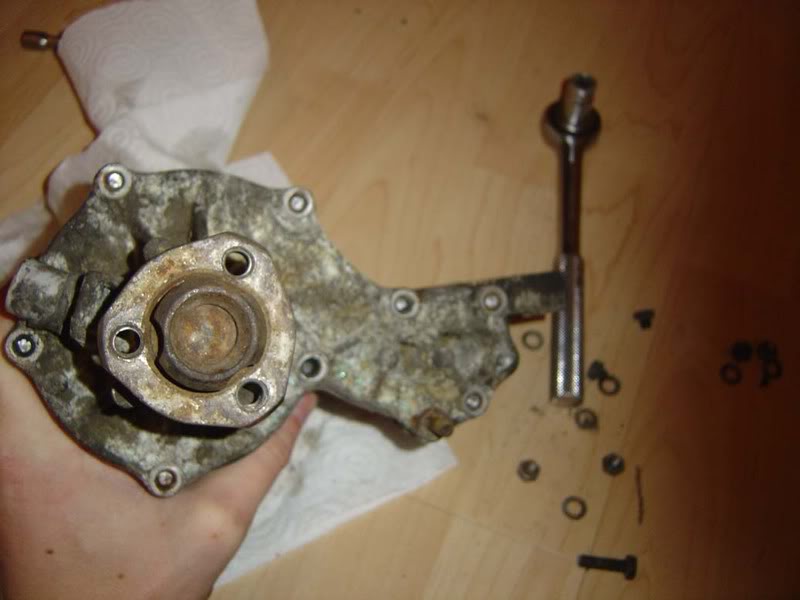
Step 22 - With a bit of persistance and a drill + large haammer I managed to open up mine up to show you the internals
Posted
Settled In
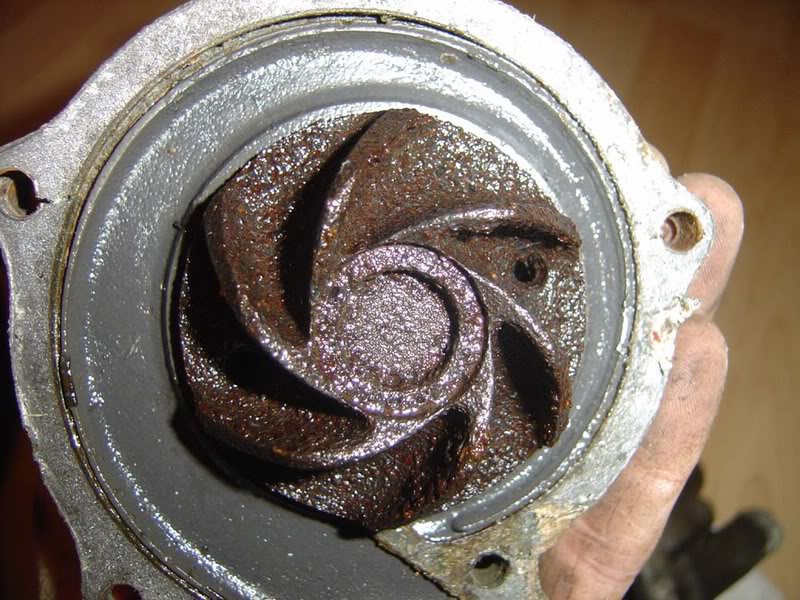
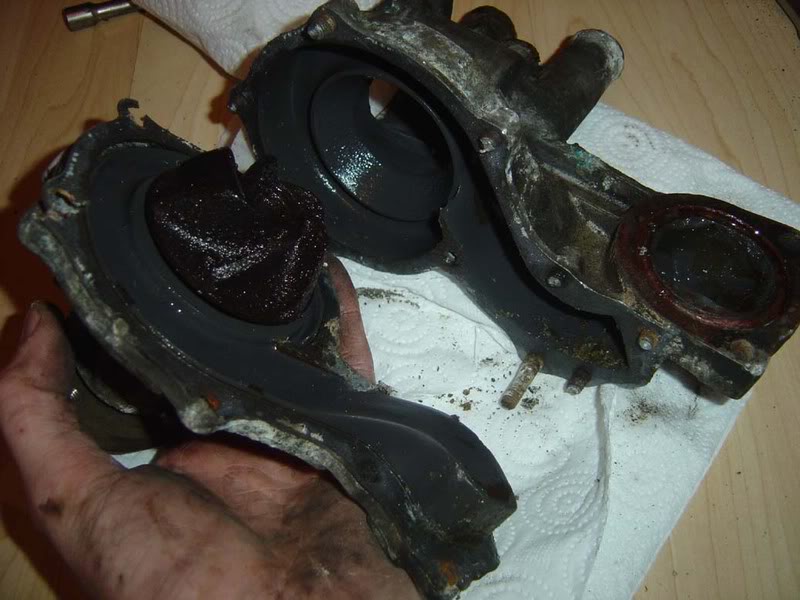
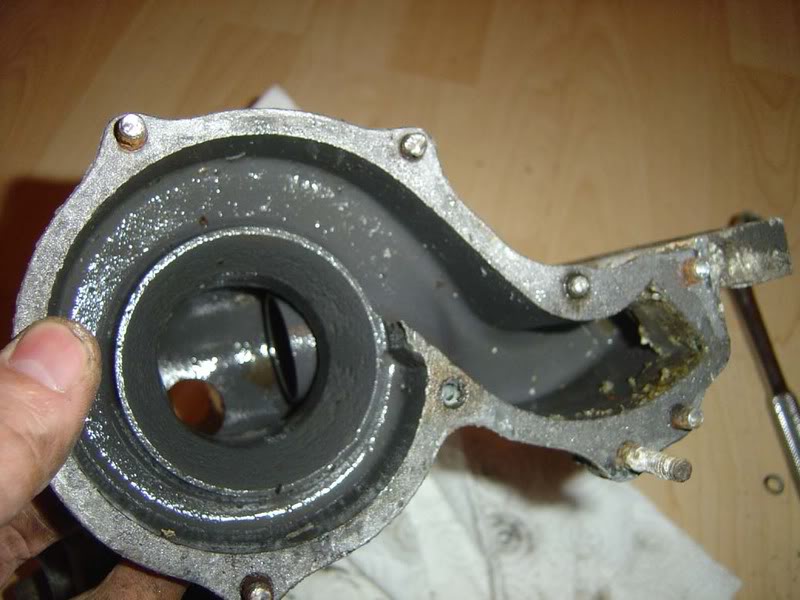
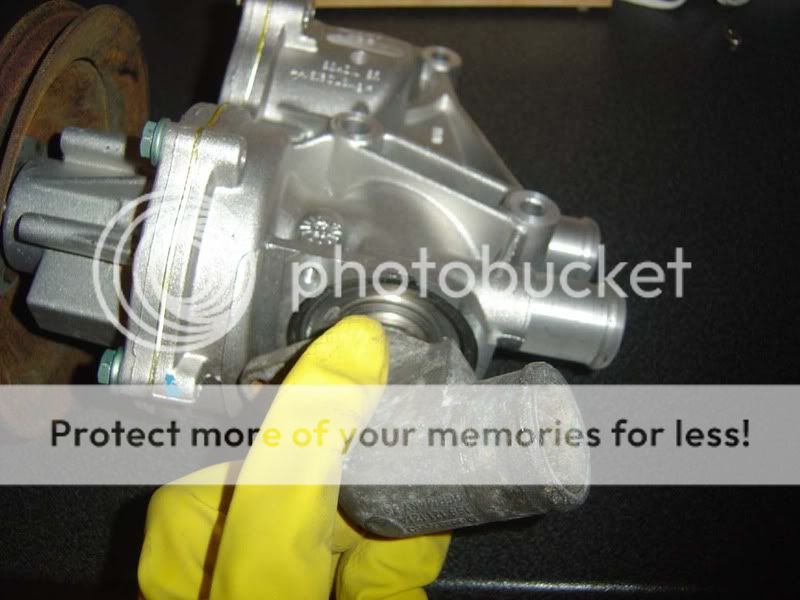
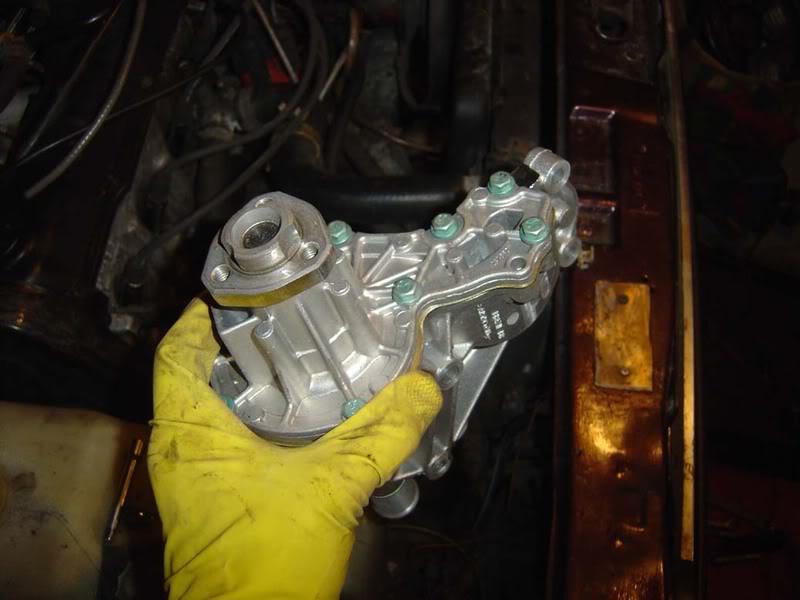
Step 24 - This is the housing (similar to a turbo) that directs the coolant flow
Posted
Settled In
Posted
Settled In
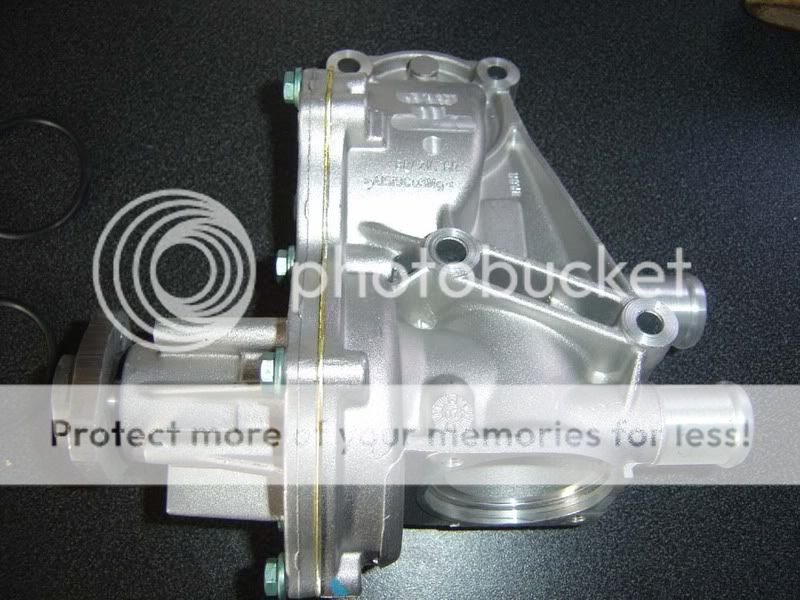
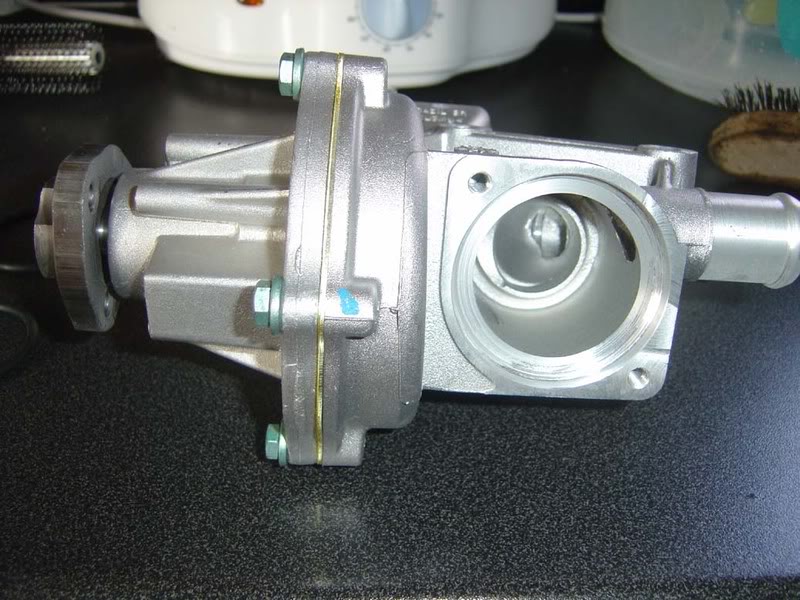
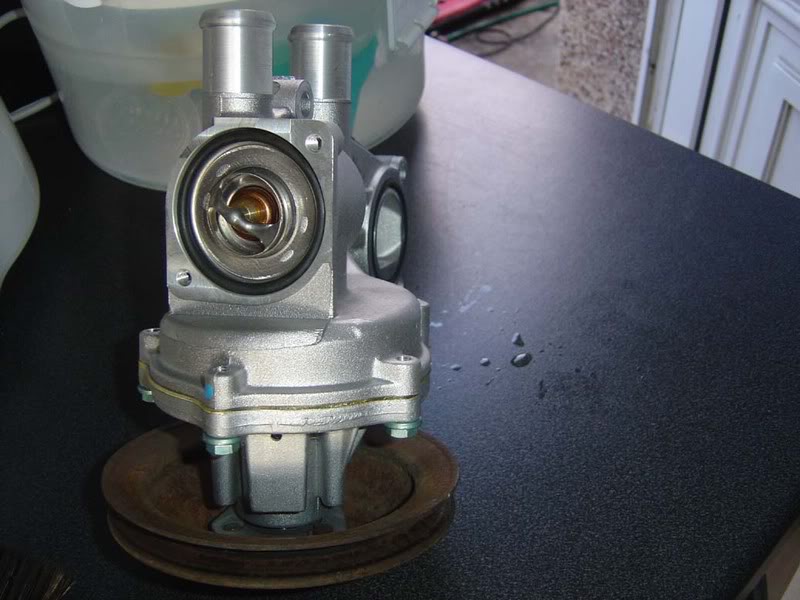
Step 27 - Fit the O ring that mounts between the pump and the cylinder block (included with the pump)
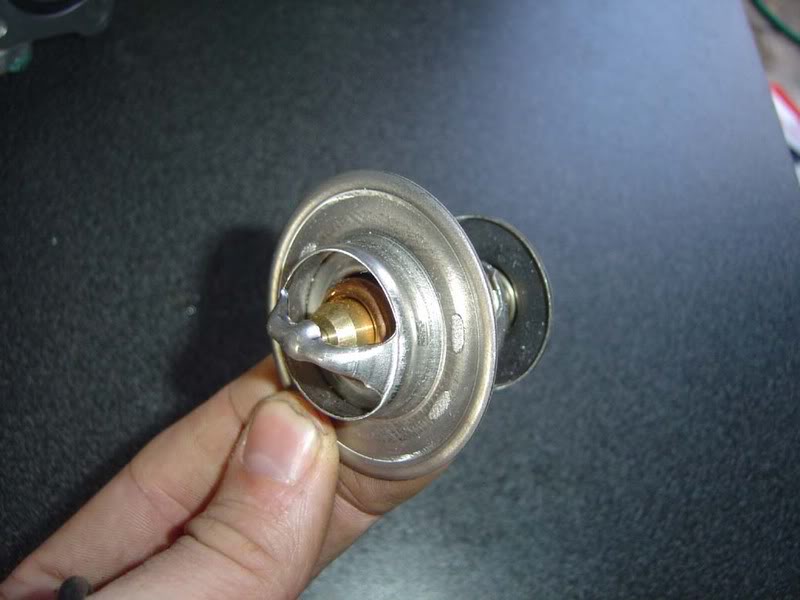
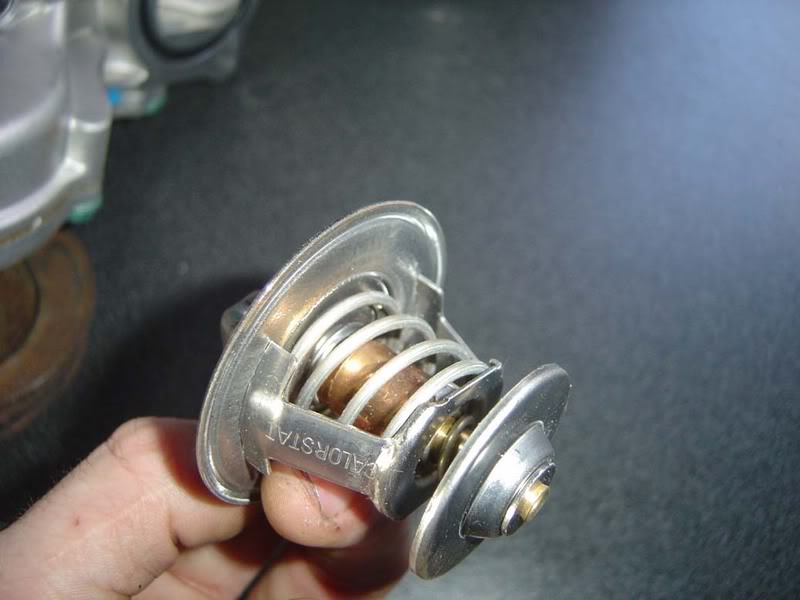
Step 28 - Get yourself a new thermostat (approximately ?5)
Posted
Settled In
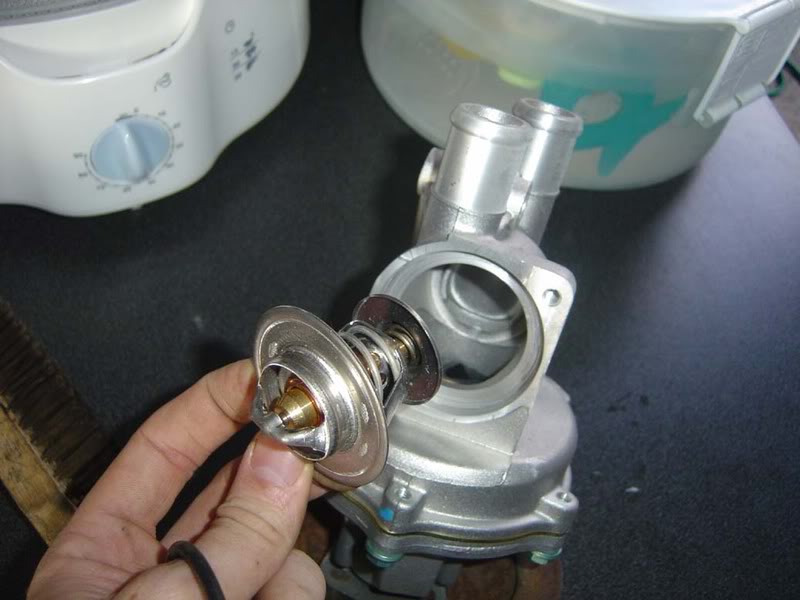
Step 30 - Place the second O ring over the stat
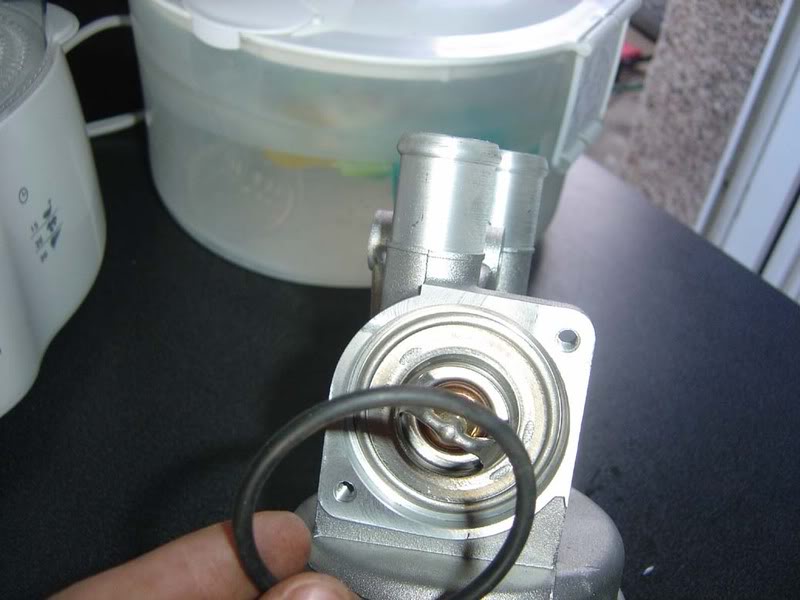
Step 31 - Make sure the seal sits flush all the way round
Posted
Settled In
Step 33 - Fit the housing onto the pump as shown and refit the two 10mm bolts
Step 34 - Replace the jubilee clips on any worn hoses
Posted
Settled In
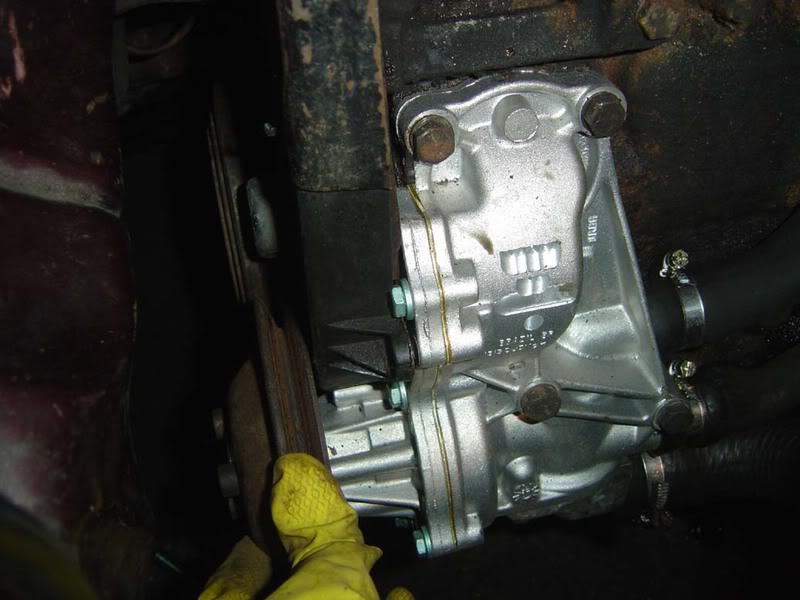
Step 36 - Now offer up the water pump and tighten the four 14mm bolts in stages
Posted
Settled In
Step 38 - Refit the 3 hoses and tighten the jubilee clips
Step 39 - Now it's time to fit the pulley again, use the three allen key bolts you removed previously
Posted
Settled In
Step 41 - Once complete, check that the pulley is free to rotate without interfering with the timing cover
Step 42 - Now slide the alternator back into place and pop the long bolts through. Hook the fan belt over the crank pulley, water pump and alternator
Posted
Settled In
Once done, you can tighten the other long nut you slide through with a 13mm 1/4" socket
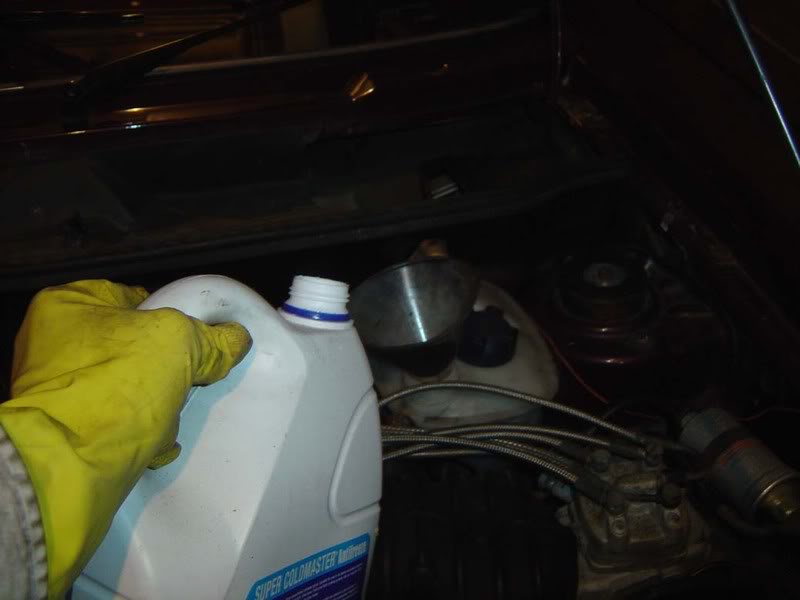
Step 44 - Fill the system with anti freeze and deionised water
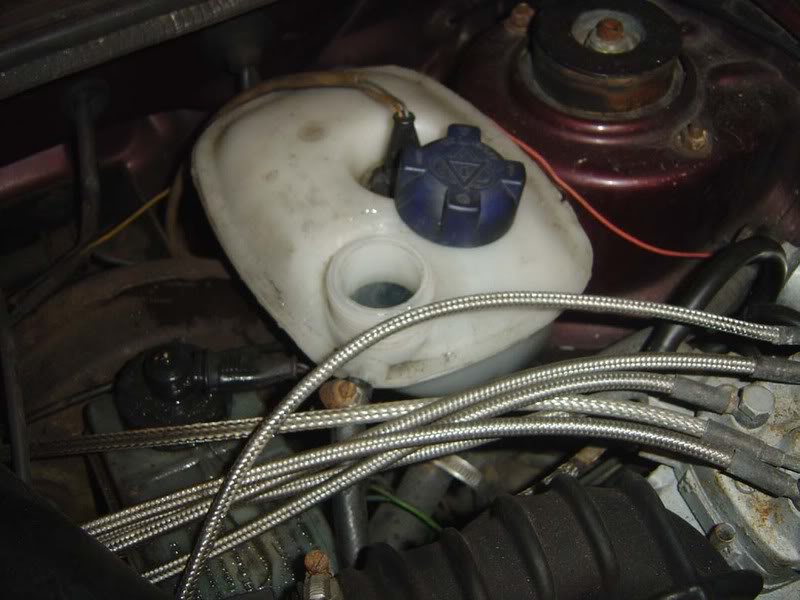
Step 45 - As the car heats up, make sure you get heat in both the top and bottom rad hoses (to show the stat works) and squeeze the top hose to force air out. All the while ensure you have a good level in the overflow bottle
Posted

Local Hero

Posted
Settled In
0 guests and 0 members have just viewed this: None.