Skip navigation

Louie's 83 GTI Build

Post

Back to the top
Yeah I'm using dolphin glaze too. It goes on great but I'm only learning at the moment as I've never done bodywork before. Seem to rub off all of what I'm putting on! Any tips appreciated.

Post

Back to the top
chrisL - My mate said that he uses the Evercoat to start with before the Dolphin Glaze. The Dolphin Glaze is more of a finishing filler for any small imperfections after. Maybe give that a try?

Post

Back to the top
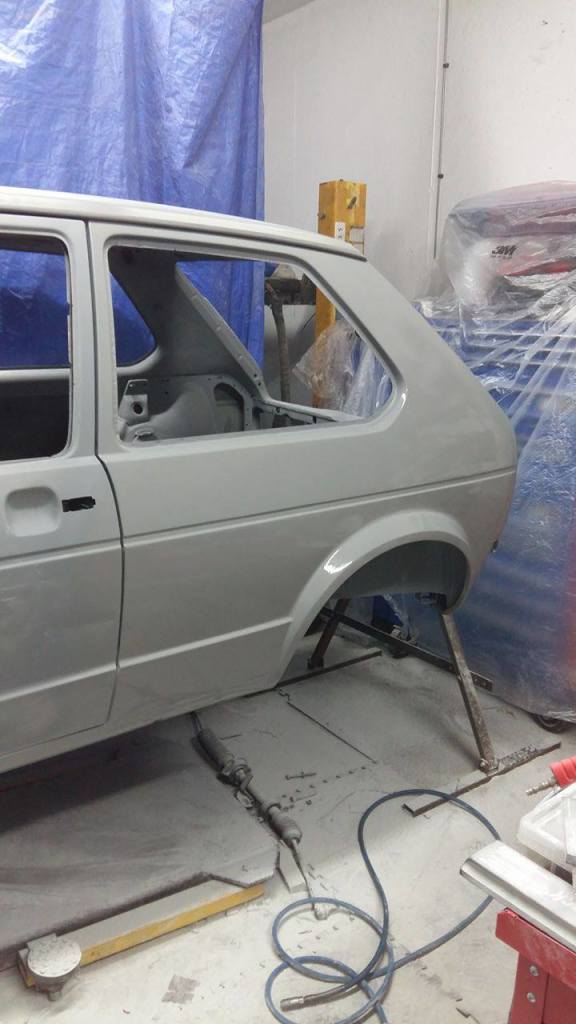
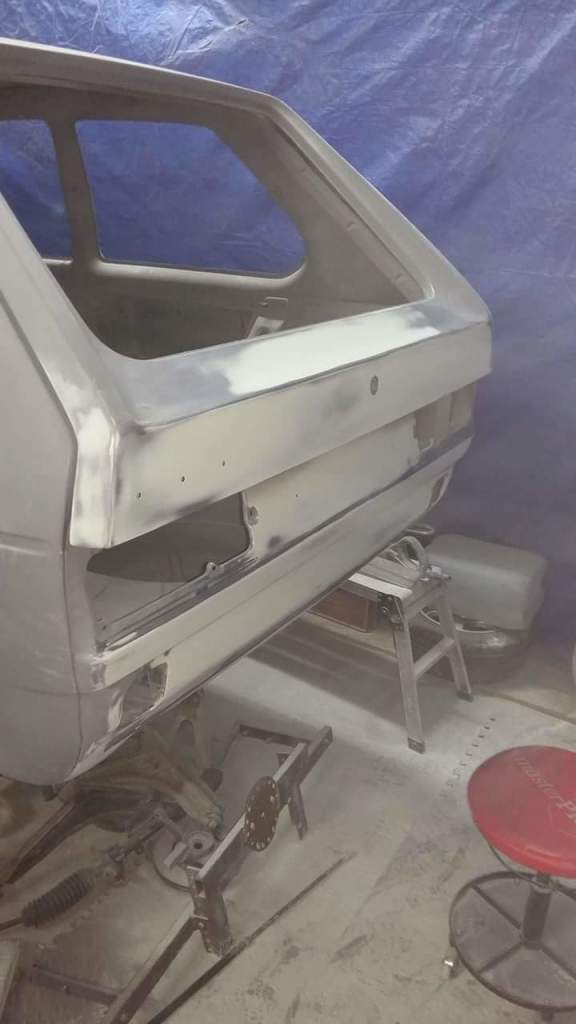
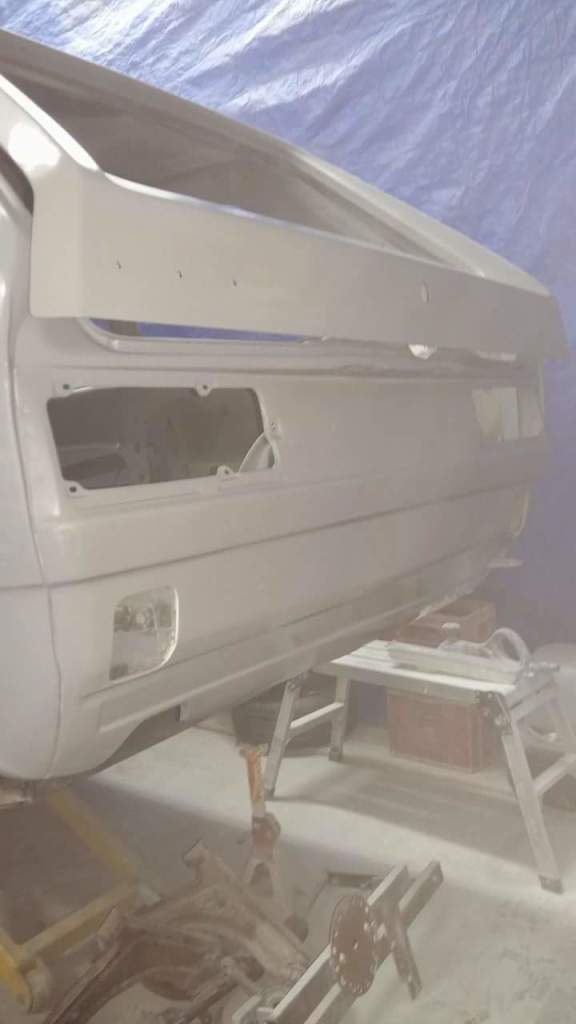
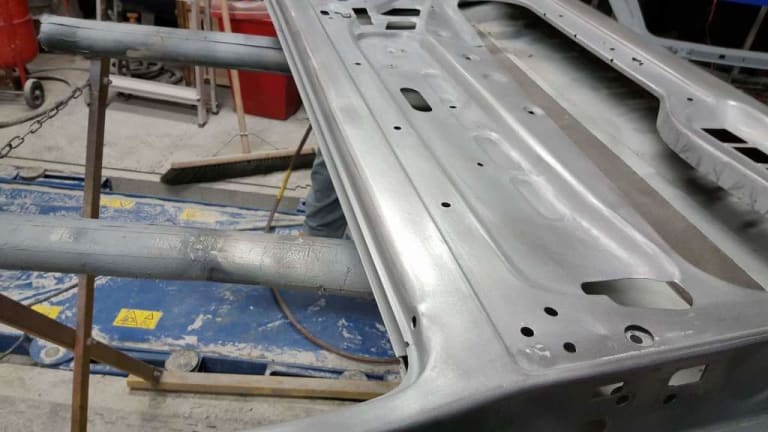
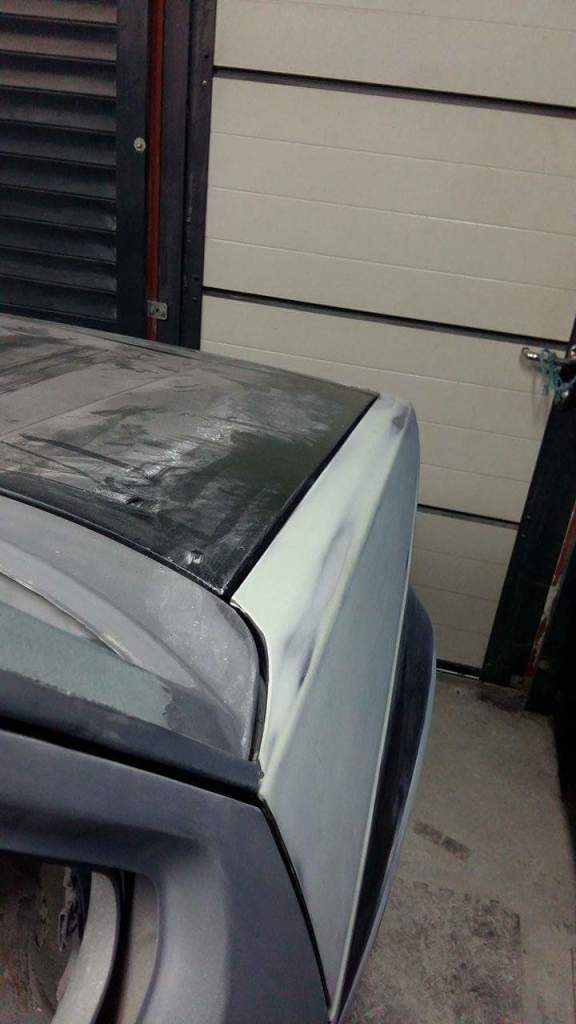
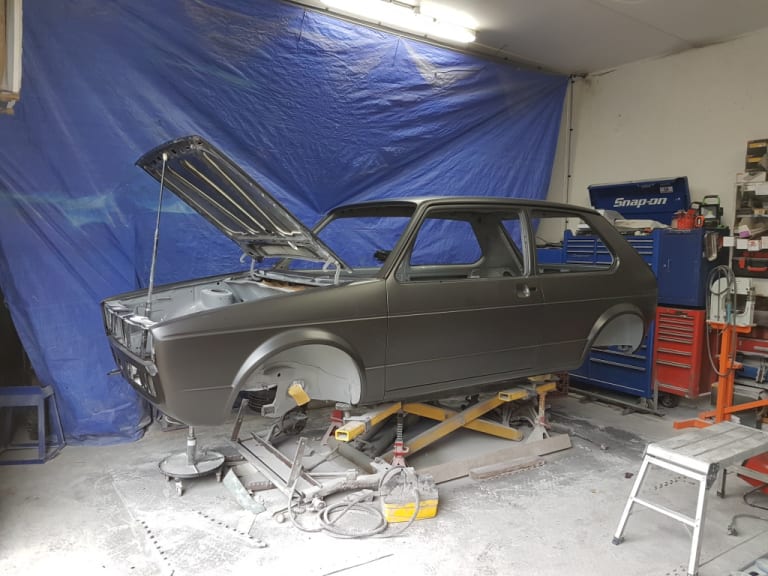
Rear quarter, sill and swage line all complete. Hopefully won't be long until it's the same on the drivers side

Also the engine bay is almost back to bare metal. Hopefully will have the engine bay and interior sorted in the next couple weeks so we can move onto high build priming.


14488884_1124269707649737_837737438_o.jpg

14522082_1124269757649732_1191934965_o.jpg

14454136_1124269694316405_324297414_o.jpg

14456693_1124269727649735_709601173_o.jpg


Last edit: by louiesmall

Post

Back to the top
The reflection in the last picture looks perfect, no ripples or distortion. What is it primed with please and is it from a spray gun or aerosol?

Post

Back to the top
chrisL - Just an etch primer out of a gun mate. Sorry for a very slow reply!

Post

Back to the top
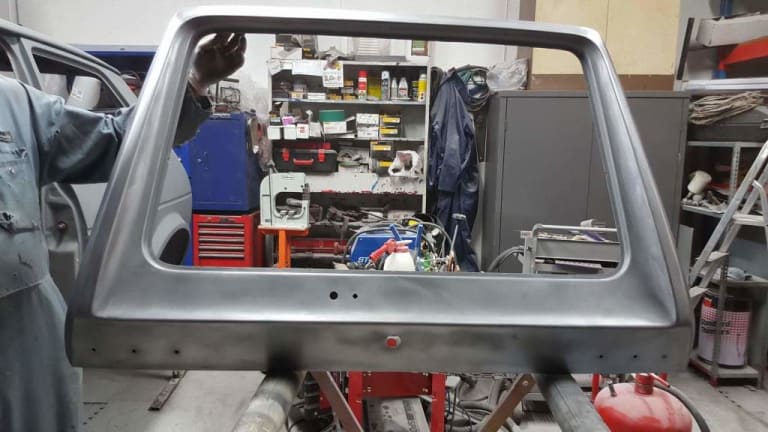
Rear panel and tailgate filled. Didn't require much.

received_1201235606619813.jpeg

received_1201235606619813.jpeg

Post

Back to the top
Forgot to add Doors/Tailgate were soda blasted inside and out. Rubbed down with 180 grit and came up lovely.


received_10154093568453789.jpeg

received_10154093568453789.jpeg

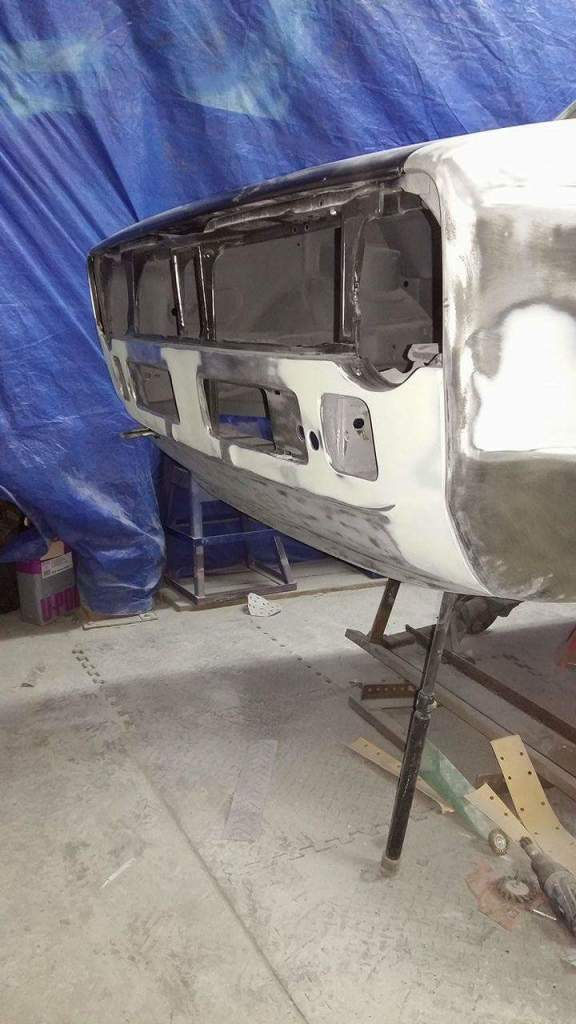
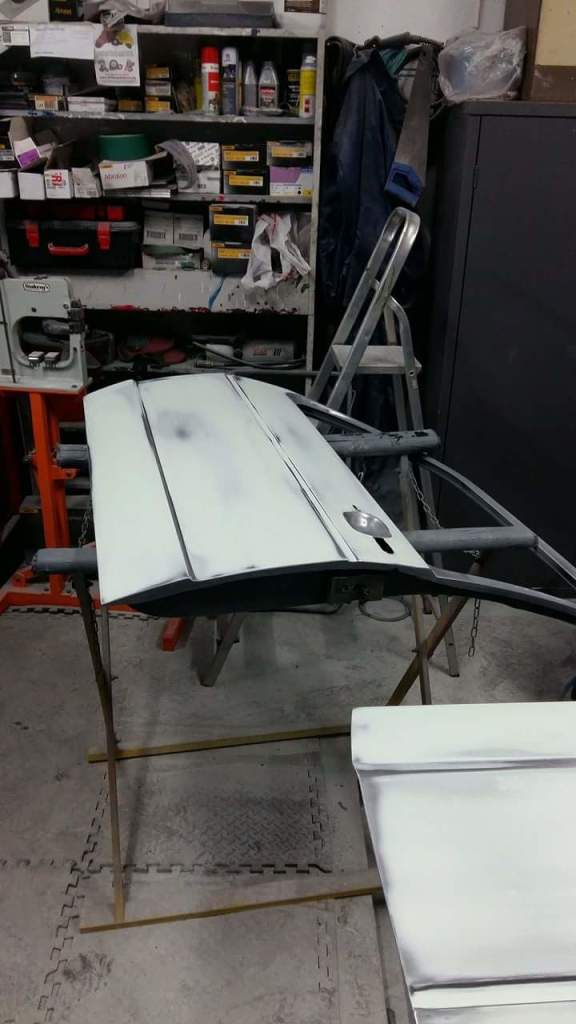
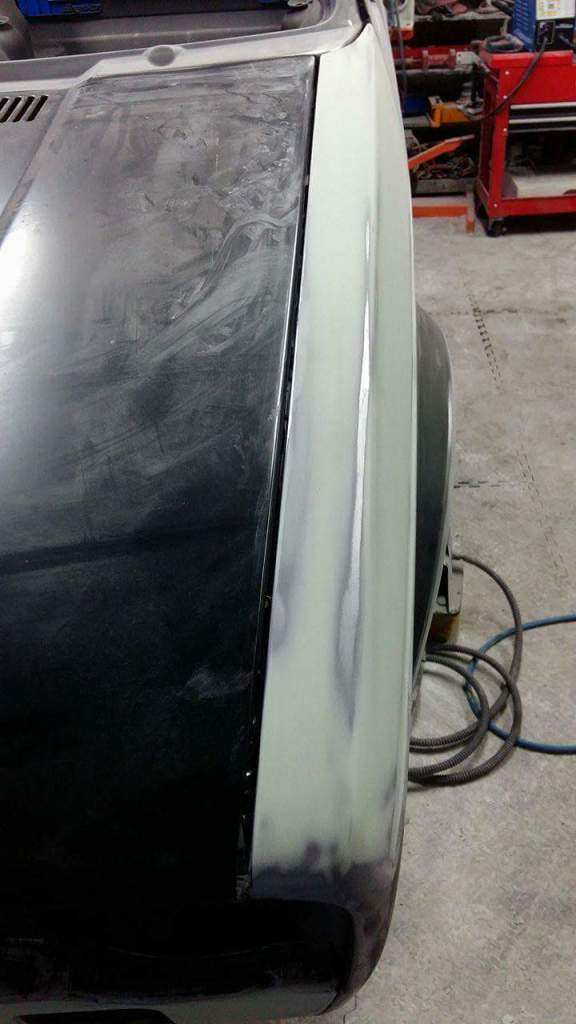
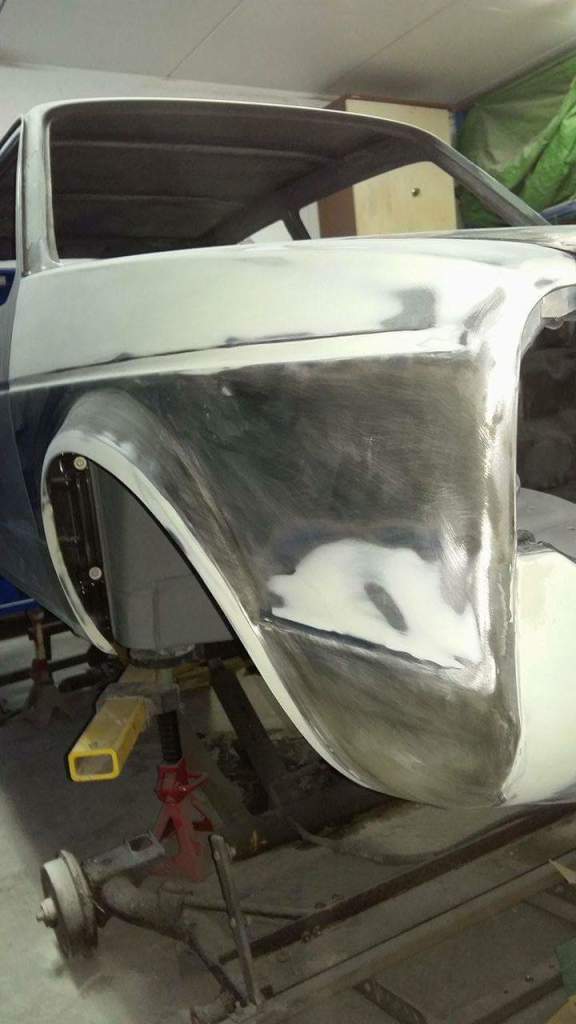
Doors, wings and front panel filled. Still only thin, wings were new and genuine along with the bonnet so both in pretty good condition.
received_10154093568453789.jpeg


received_10154093568453789.jpeg

received_10154093568453789.jpeg

received_10154093568453789.jpeg

received_10154093568453789.jpeg

Next up is polyester primer, high build then colour!

Post

Back to the top
Been waiting for an update! Paint finish will be perfect with all this prep work.

Did you take the new wings down to bare metal? I'm wondering what to do with mine as they come with the coating on already. Also, are you having it sprayed with the wings on? It's what I want to do but not sure what to put on the wing where it bolts down to the top of the inner wing. I don't want any corrosion in there.

Post

Back to the top
Very nice work is is going to be real nice when its finished wish id taken mine down to bare metal when I done it

Jamie

Post

Back to the top
chrisL - We hope so mate, taken long enough! The wings were only taken back to bare metal where filler was required, as they were new genuine they were in great condition. The floors were taken back to bare metal as there was small signs of rust under the E-coat so i'd say depends on your brand as floors were klokkerholm. Undecided on which way to spray as it's going metallic some say to hang the panels on the car, I'm leaning towards all panels off the car but that's just me!

mk1jamie - Cheers pal, it's a crazy amount of time and effort but if you have the space definitely worth it!

Post

Back to the top
.

Last edit: by louiesmall

Post

Back to the top
.

Last edit: by louiesmall

Post

Back to the top
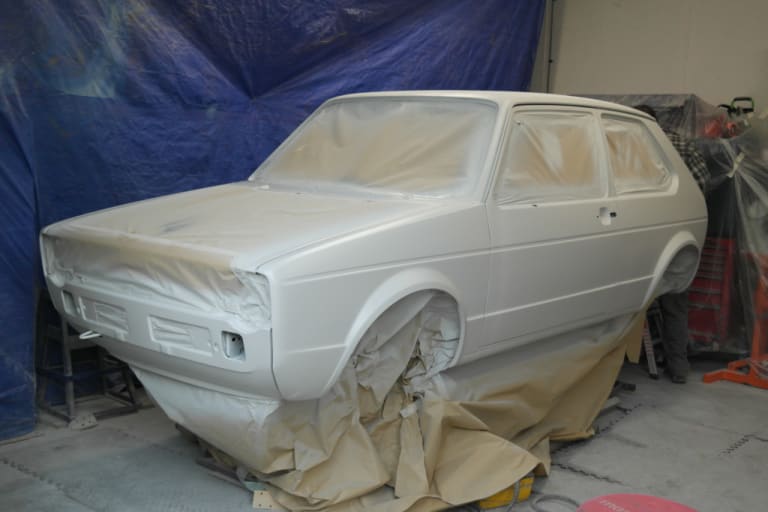
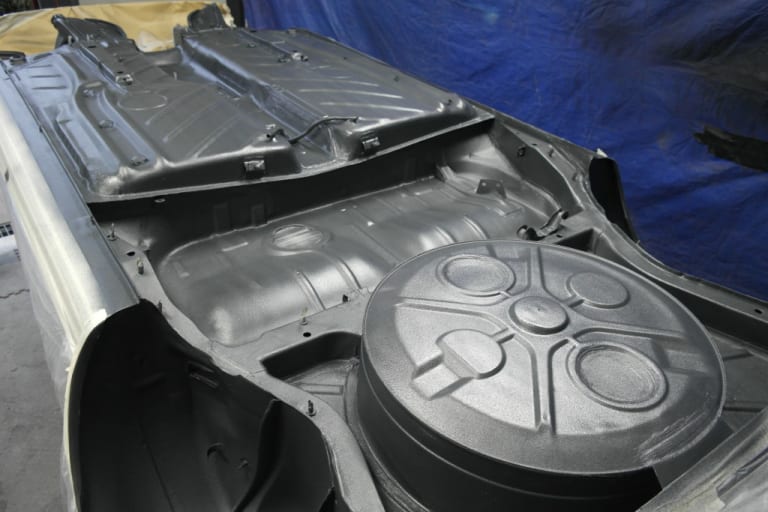
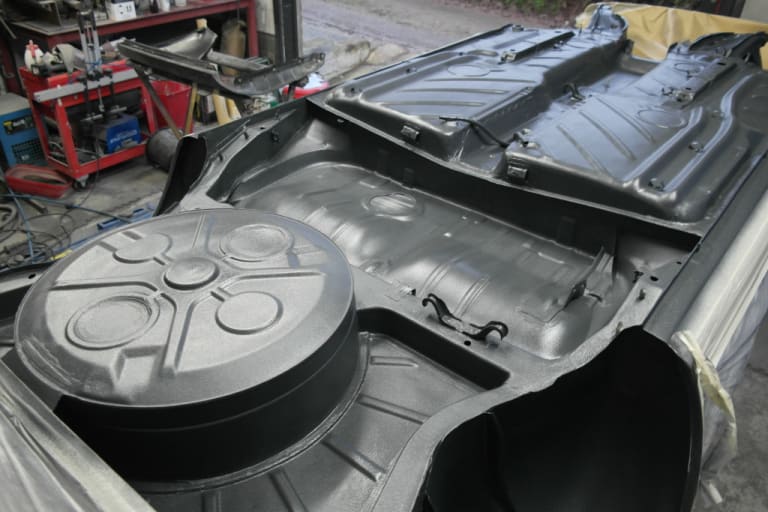
Started off with a polyester high build. This was then flatted off and followed by a 2 pac high build primer.


SAM_7586.JPG

SAM_7586.JPG


Post

Back to the top
Nice Work mate   :thumbs:

Cornish Host.
1980 VW Derby
Clive the Cabby
Ujum the Invisible
Mynx the  Tintop

Post

Back to the top
Great project you have. Love all the photos.

The paint work is looking lovely  :thumbs:

Matt

Post

Back to the top
Cheers for the comments guys it's taken a lot of hard work to get it here but my mates been a hero with it.

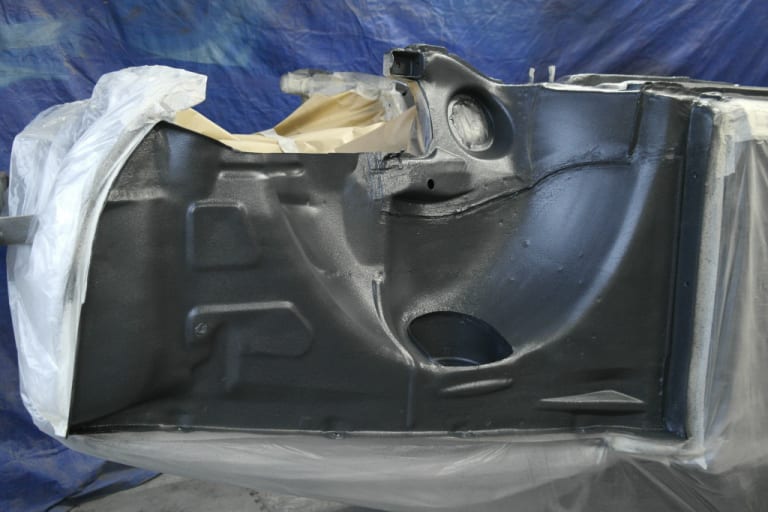
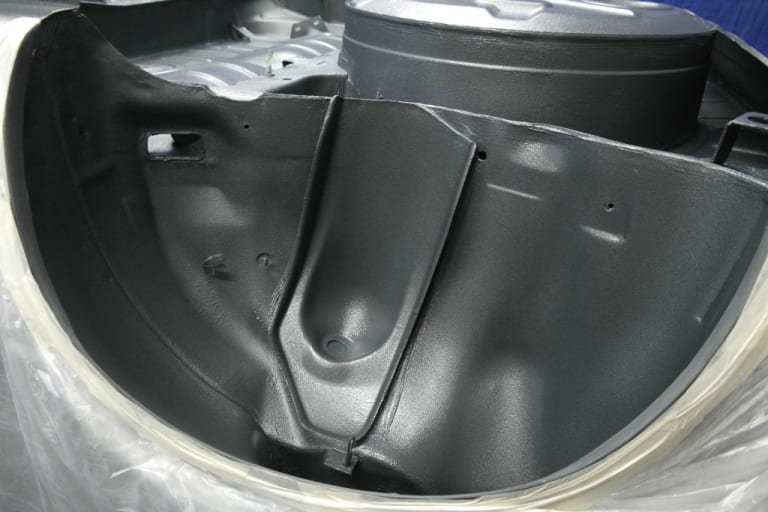
Big step this weekend, raptor is on! All new seam sealer so it's good as new. Insides of the wings in the next couple days. Should have the engine bay in colour next week as well so hoping to progress well in the next month and wrap up paint.
Raptor 1.JPG

Raptor 2.JPG

Raptor 3.JPG

Raptor 4.JPG


Last edit: by louiesmall

Post

Back to the top

Louie's 83 GTI Build

It'll be a shame to drive it and get the underside dirty! Lol  


Sent from my iPhone using Tapatalk

Andy

LINCOLNSHIRE REGION - https://www.facebook.com/groups/467122313360002/

1983 MK1 Golf GTI Campaign Model - Under (looooong) resto!
1962 Rover P4 80
2002 BMW 745i
2008 BMW Z4 2.5Si

Post

Back to the top
The underside is looking very nice  :thumbs:

Matt

Post

Back to the top
I've gone with Raptor as well.

You're cheating though, doing it with the car upside down! You have to have only a few inches from the floor on axle stands and crawl underneath the car.

That way it goes everywhere and you have to throw away your clothes and get a load of hair cut out to get rid of it :P

Cheater!  :thumbs:

Ian

Cornish Host.
1980 VW Derby
Clive the Cabby
Ujum the Invisible
Mynx the  Tintop

Post

Back to the top
Hairyarse - Haha yeah I'm not keen on driving it through the winter!

pazwaa - Cheers buddy!

borednow - Ahh that does sound tempting! haha I'm sure it'll be worth all your hard work once it's on there bud!
0 guests and 0 members have just viewed this: None.