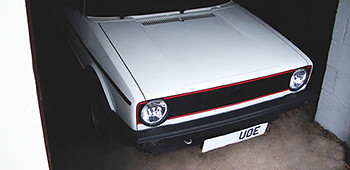
Mynx the Tintop 1400 16v afh bike carb'd restomod
Posted
Moderator


Back up and running and for sale!
pazwaa said
You have been thinkingalways best to have a plan

I do try! Occasionally it even pays off, admittedly not too often, but just occasionally.
So in this weeks installment of 'Will Ian ever get there so this thread stops being updated and I can go on with my life'
So battery issues sorted, popped into Cornish Batteries and apparently they sell batteries!! Imagine my shock!
Told them what I was doing and; apart from the usual strange look that I'm beginning to recognize when I explain my thought processes; they were then extremely helpful. So I ended up with an 80ah 210 size battery with a gel core that doesn't mind being flattened (ideal for the stereo system that'll be going in
I was also talking about the battery tray and he said 'I have just what you need!'
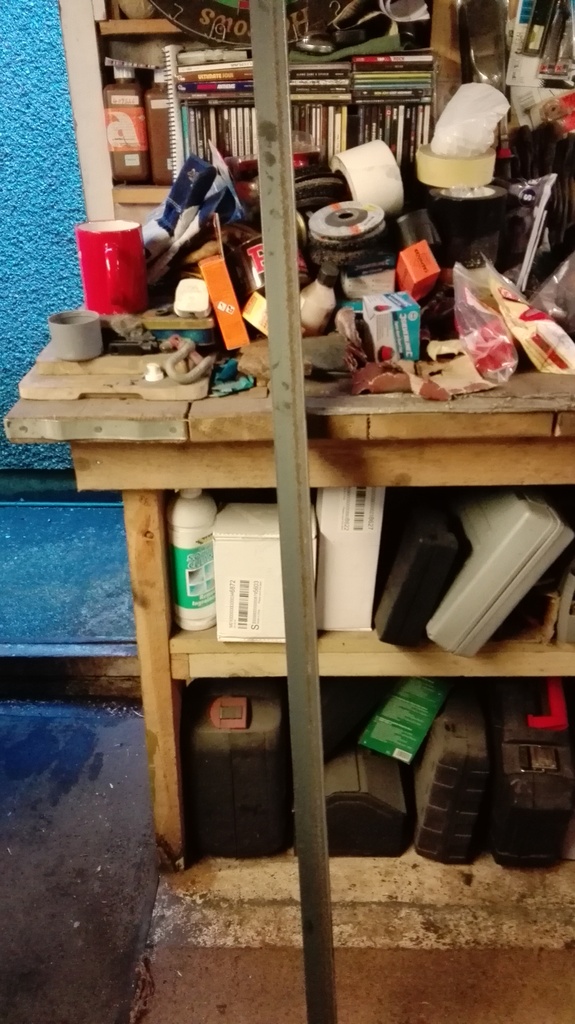
Yup it's a length of angle iron!! Seems I may have found someone with a similarly warped sense of humour to me!!
So after a bit of head scratching, marking, cutting, welding, throwing that away, more measuring with the correct bit of the tape measure, cutting, wleding, linishing, grinding, thinking, welding, later………voila!!
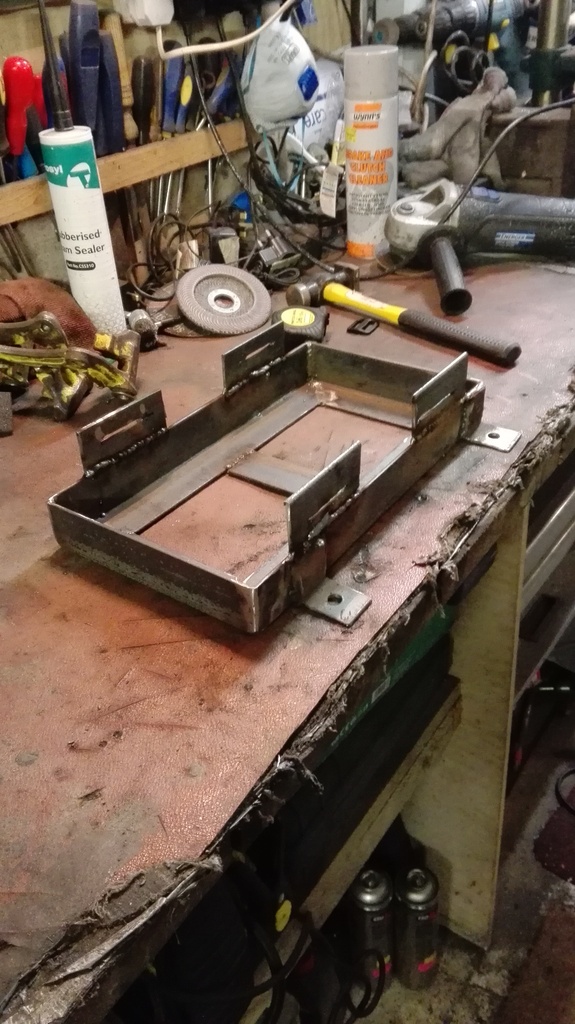
Followed by a bit of paint and some foaminess (so the batteries comfy!)
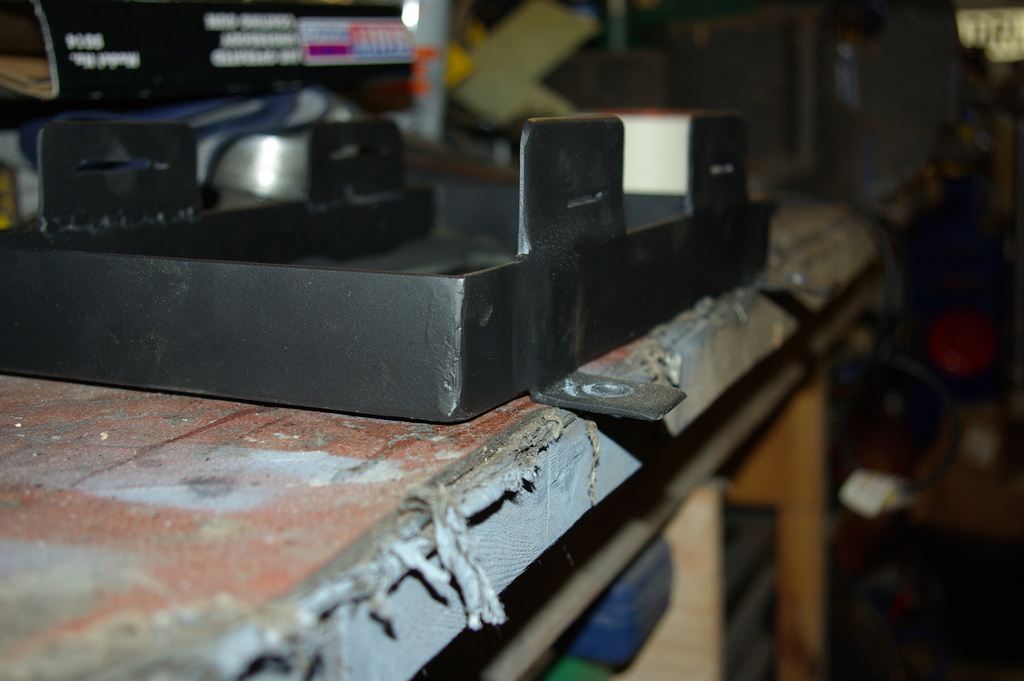
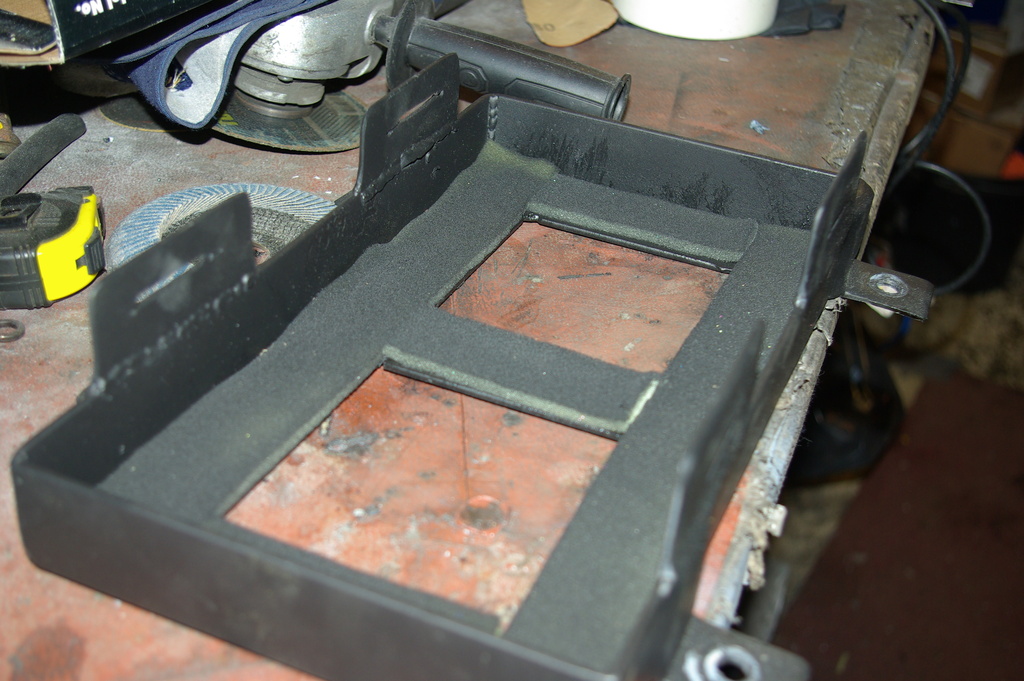
Then it was just a case of mount in the spare wheel well, mark out the holes, drill them out, weld some nuts to some plate, weld them in situ and I have a lovely home made, bespoke battery tray. Only about 10 hours work, I probably should have just bought one
Finally finished all the little bits of stuff underneath and inside so at last, I managed to get the Raptor chucked on, especially as the weather picked up and the temp is now better for it!!!!!!!!!
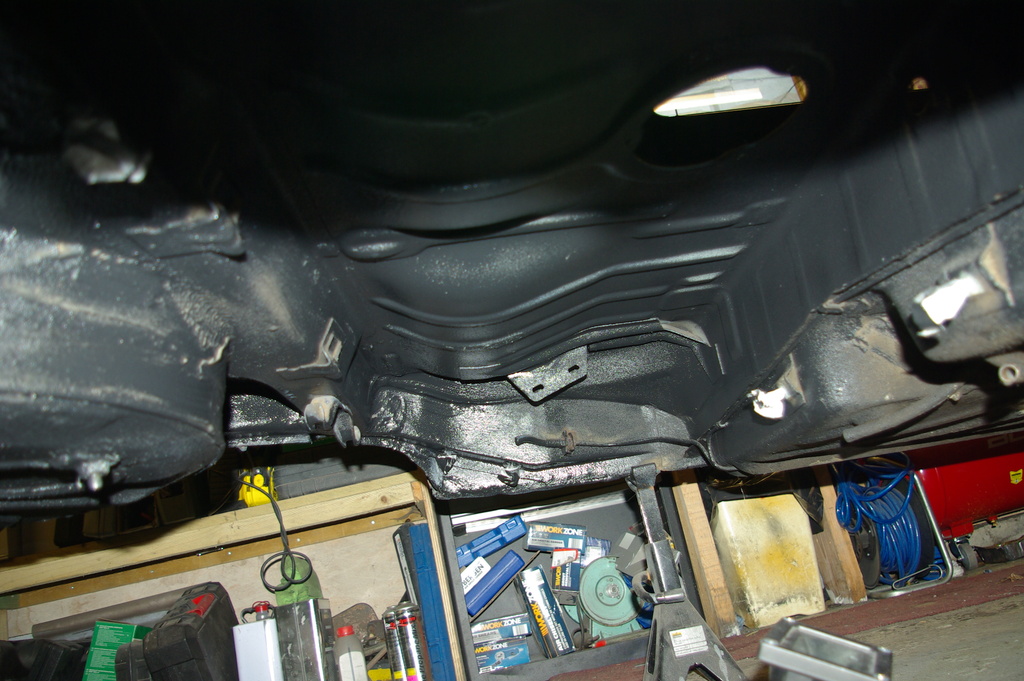

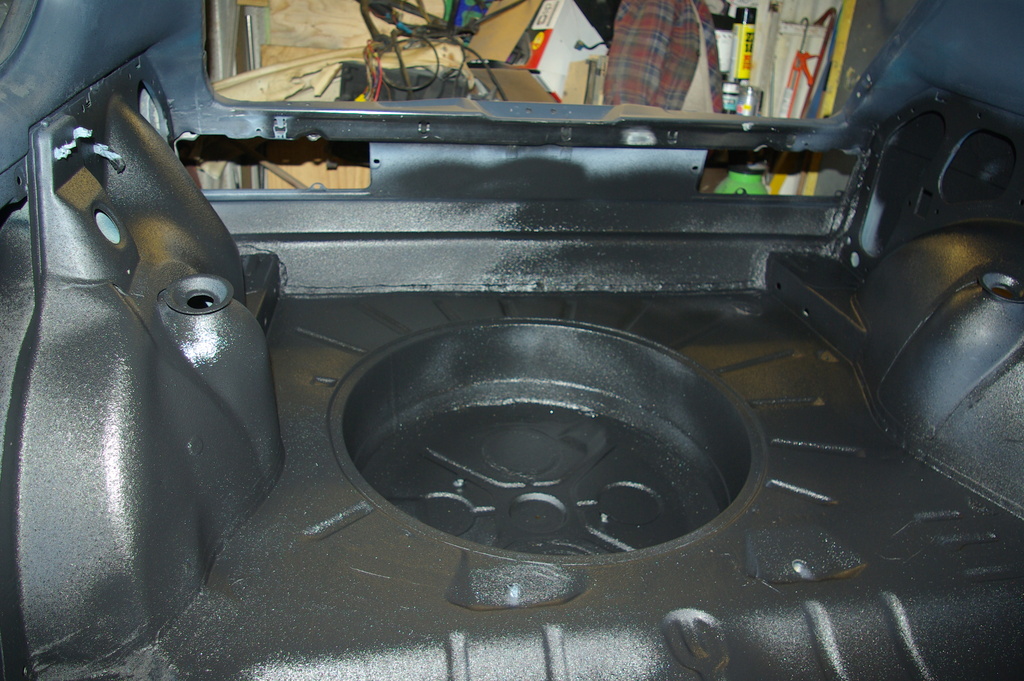
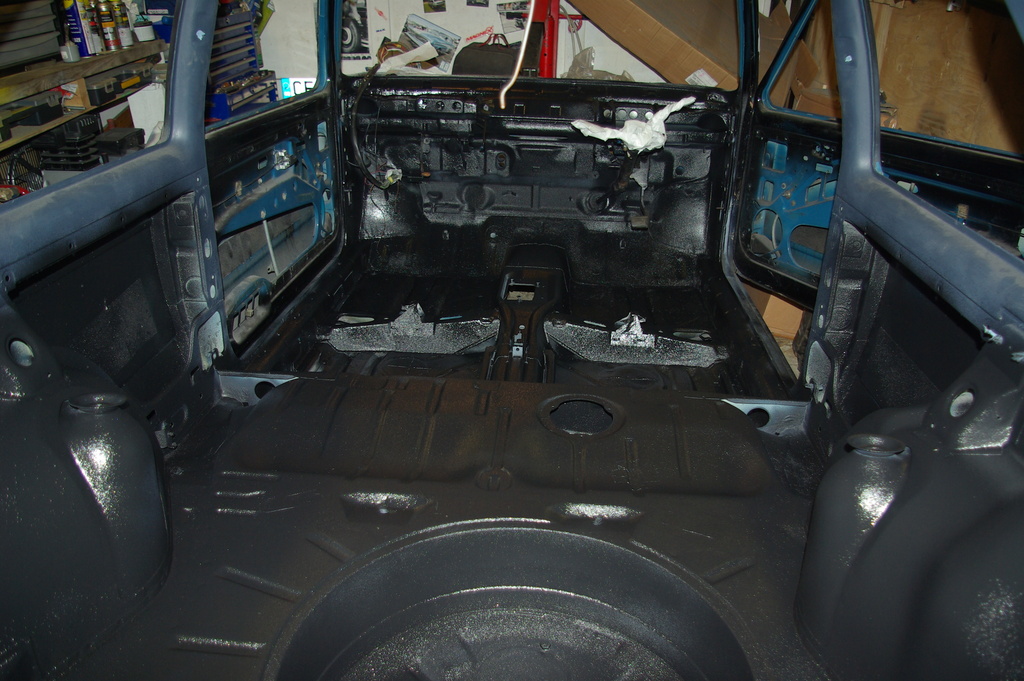
YAY!!!!!!!!!!!!!!!!!!!!!!!!!!!!!!!!
Thats all for this week folks!! Strange how an entire weeks work can be boiled down to a few lines and pictures innnit?
Anyway tune in next week when Ian finally realises all the things he forgot and has to to ruin his lovely black interior paint
Thanks for looking and any comments always appreciated
Ian
Posted
Old Timer

Matt
Posted
Moderator


Posted
Moderator


But I did sneak out yesterday and mount up the battery!
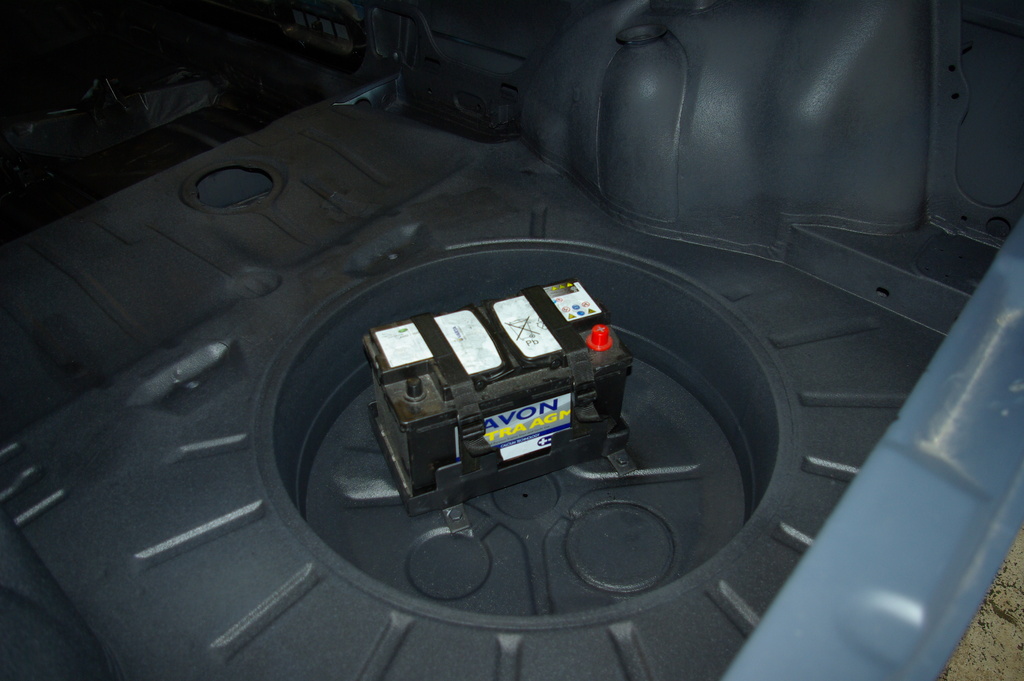
Fits nicely (phew!!!) straps work well and seems very secure, well I hope so as the car nearly came off the axle stands during my checks
De-masked the seat runners and the other bits i didn't want the thick Raptor on and painted them up with tough black too.
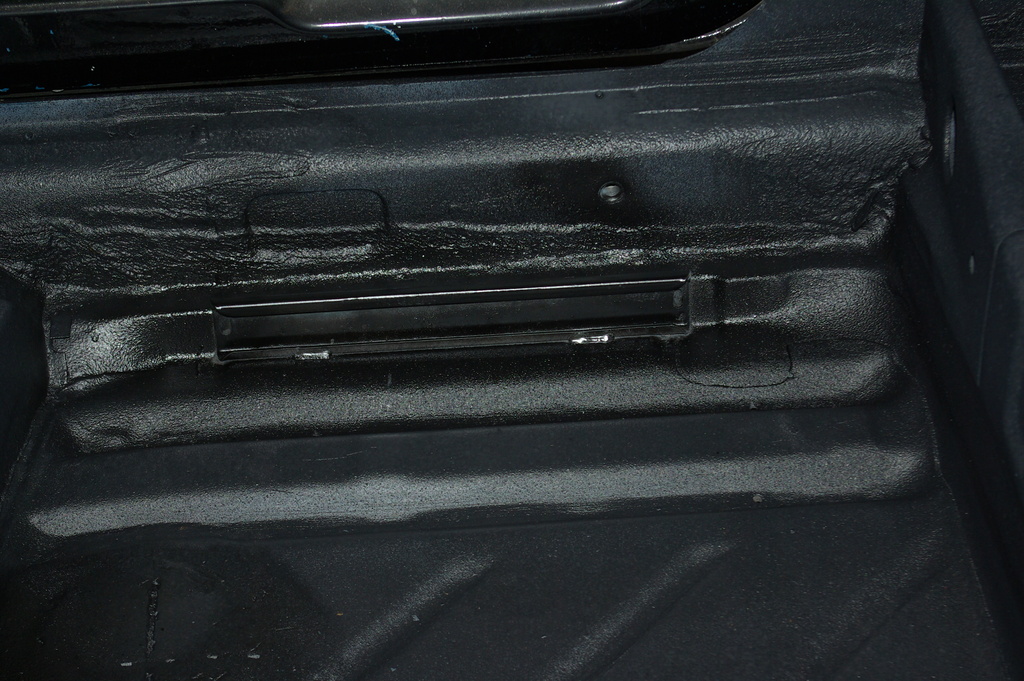
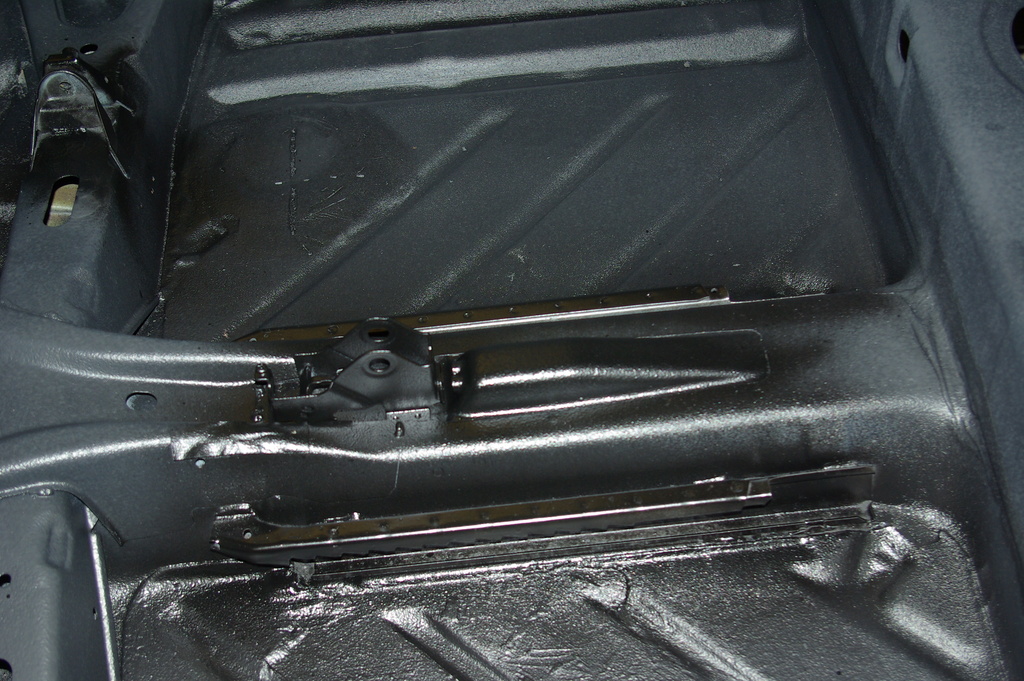
Boring pics of black stuff, Yay!
In other news……..the powdercoaters finally phoned and my initial batch of stuff is done
Watch this space!
Posted
Settled In

Posted
Moderator


Mk1_Golf_Chriz said
Lots of interesting working going on here! What size cable do you plan on running for the positive off the battery to starter/alt?

Cheers mucker
I'm using one from a BWM. A mate had one out of scrap yard but he then decided to retain the battery in the engine bay so he kindly donated it to my cause.
I'll be installing a big fuse right next to the battery in case of any direct earthing issues, after all, safety first! I'd hate it all to burn down due to an electrical fire or something stupid due to an abrasion in the cable. I'm also going for a cut off switch near the peddles while I'm at it. Probably………
Ian
Posted

Old Timer

Good progress, the welding's coming on nice and fair play for giving the lead a try, looks like a good job.
Interesting to see how you get on with the 1400 conversion.
Oh and love the driveway full of mk1's
Posted
Settled In

borednow said
Cheers mucker
I'm using one from a BWM. A mate had one out of scrap yard but he then decided to retain the battery in the engine bay so he kindly donated it to my cause.
I'll be installing a big fuse right next to the battery in case of any direct earthing issues, after all, safety first! I'd hate it all to burn down due to an electrical fire or something stupid due to an abrasion in the cable. I'm also going for a cut off switch near the peddles while I'm at it. Probably………
Ian
Ahh yeah, I've heard about people doing this conversion. Do you know what size fuse you'll end up using? Just very interested in doing this on my own build, and have wiring fresh on the brain at the moment! ha…. Was planning on running some 2 gauge wire to the front, with a fuse inline like yourself, and a kill switch on the negative attached to the body in the boot… hoping thats safe! ha
Posted
Moderator


redpetemk1 said
Just read through this, you don't muck about do you!?
Good progress, the welding's coming on nice and fair play for giving the lead a try, looks like a good job.
Interesting to see how you get on with the 1400 conversion.
Oh and love the driveway full of mk1's
 redpetemk1
Cheers mate. The plan is to do the best I can and not cut any corners. It's nice to have a blank canvas and the only design brief being 'do what I like as long as I can use it for everything except work'. Opens up a whole world of possibilities.
Mk1_Golf_Chriz said
Ahh yeah, I've heard about people doing this conversion. Do you know what size fuse you'll end up using? Just very interested in doing this on my own build, and have wiring fresh on the brain at the moment! ha…. Was planning on running some 2 gauge wire to the front, with a fuse inline like yourself, and a kill switch on the negative attached to the body in the boot… hoping thats safe! ha
Sounds about right to me. I'm going with the kill switch up front as I'm probably shaving the boot lid lock as it's broke and I ain't got a key that works it
http://www.ebay.co.uk/itm/MEGA-FUSE-HOLDER-HEAVY-DUTY-100-500AMP-INCLUDING-A-FUSE-OF-YOUR-CHOICE-/122096792700?hash=item1c6d89347c:g:INsAAOxyFrNRya3z
I do have a spare holder if you decide to go with one.
Posted
Moderator


Bought some wheels
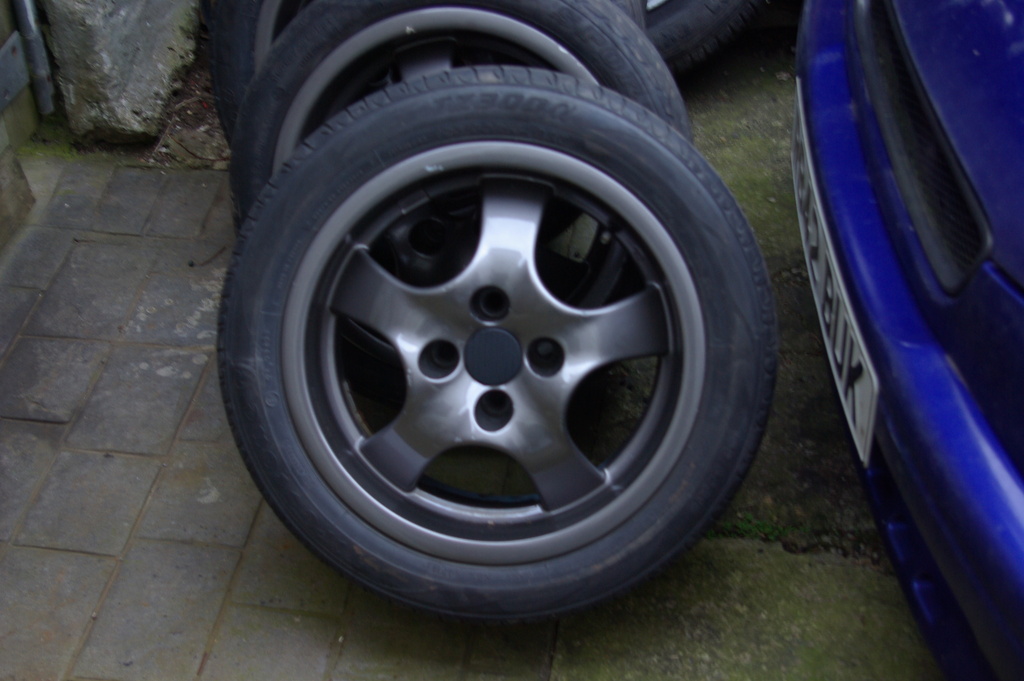
OZ Volcano in 15" by 7" flavour with a tasty offset of 30. Should be ok
Apart from that, hmmmm, lets see, what else did I actually manage to complete?
Well finally finished welding up the lips on the rear arches. Cheated in the end. Cut out all the rust, cut of the lips bit by bit and seam welded them inside the arch
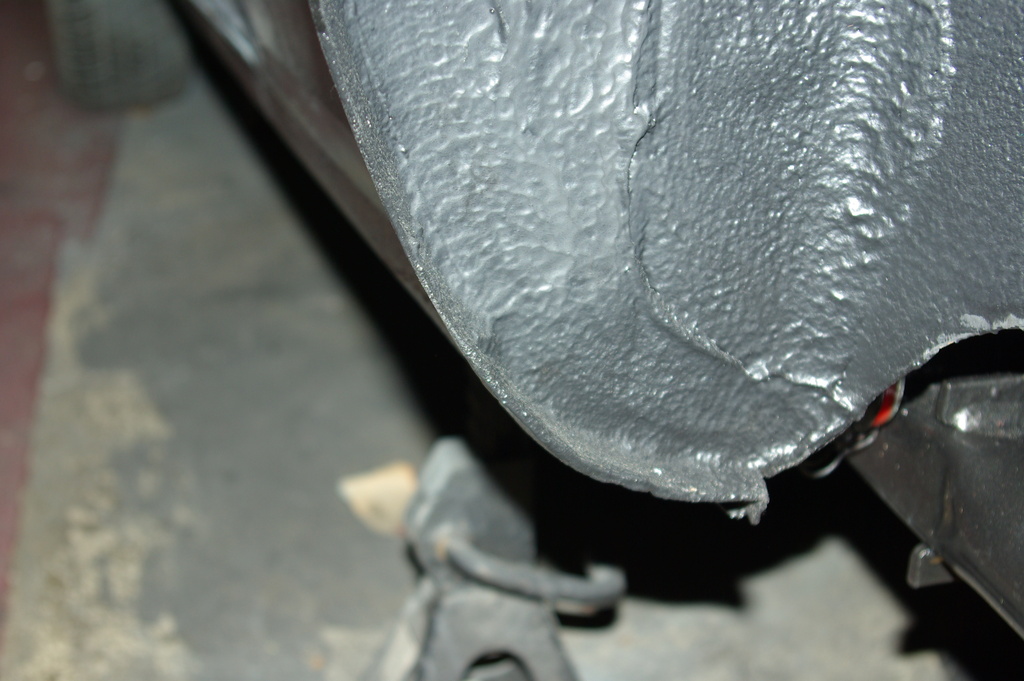
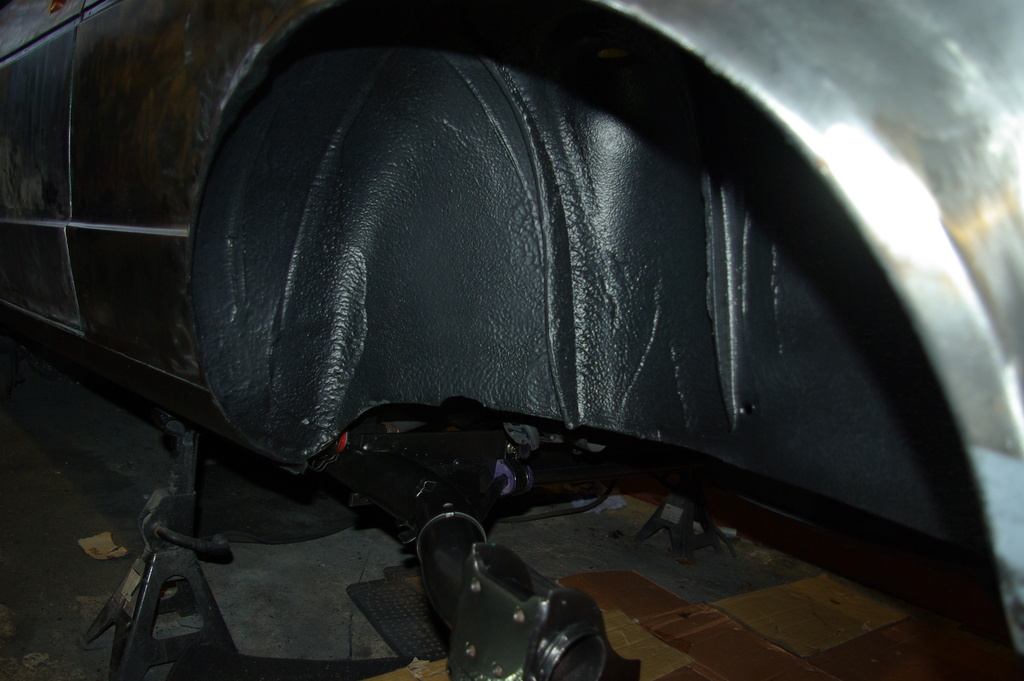
Oh yeah also finished applying Raptor to both rear arches too! Only 3 coats
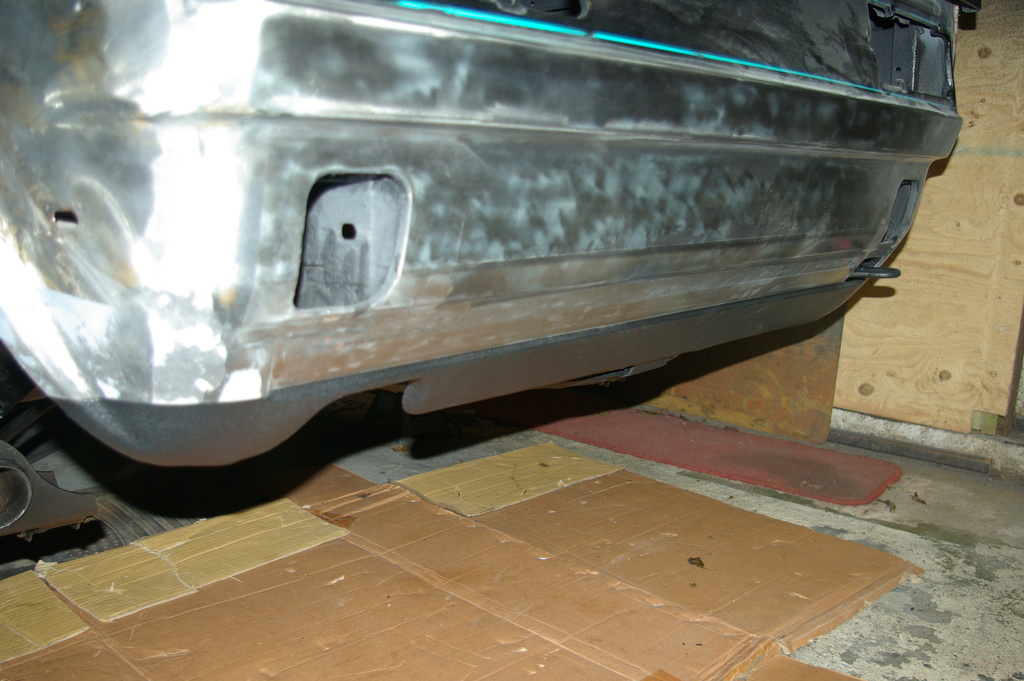
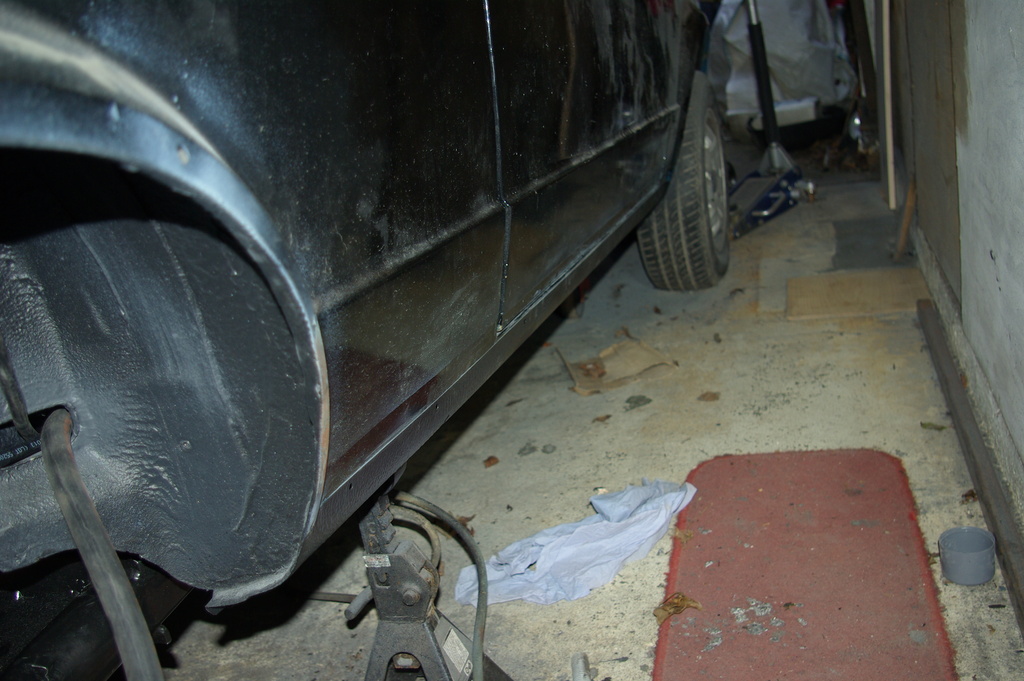
Also managed to do the cills and the bottom section of the rear panel. It was fun trying to get a line that would work on the panel and then appear to run into the cills as well. Many hours with lining tape and swearing

Lets see, erm, what else?
Oh yeah fuel filler neck fitted. Again , what is it with bits that don't fit? After about 8 hrs finally got it so the cap fits about right
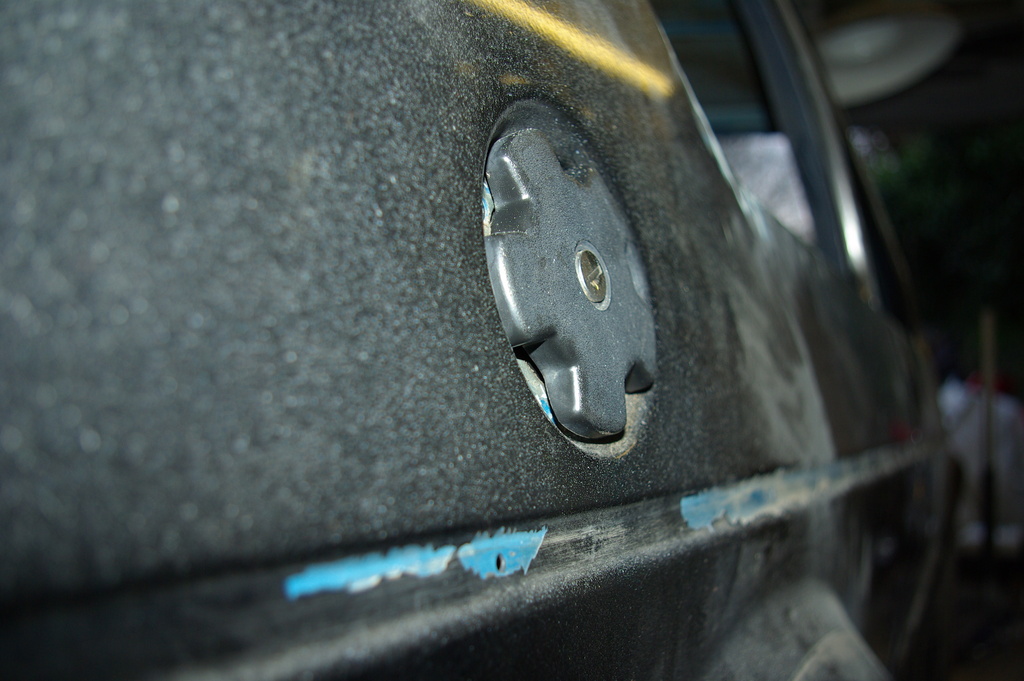
Also got the fuel tank installed, then remebered the anti vibration bits that go on the back, so took it off, installed them, then remembered the brake lines, took the tank back off, made up and installed the brake lines, put the tank back on, forgot to intsall the sender in the top of the tanl with the feed and return lines so took the tank off, installed the sender and lines, put the tank back in. What fun!
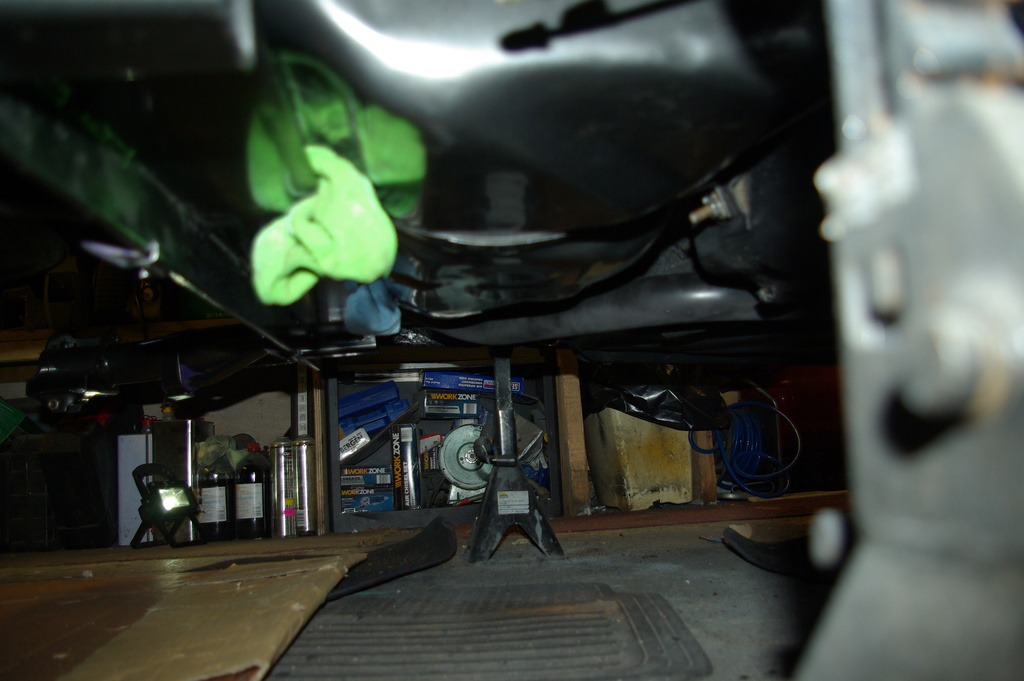
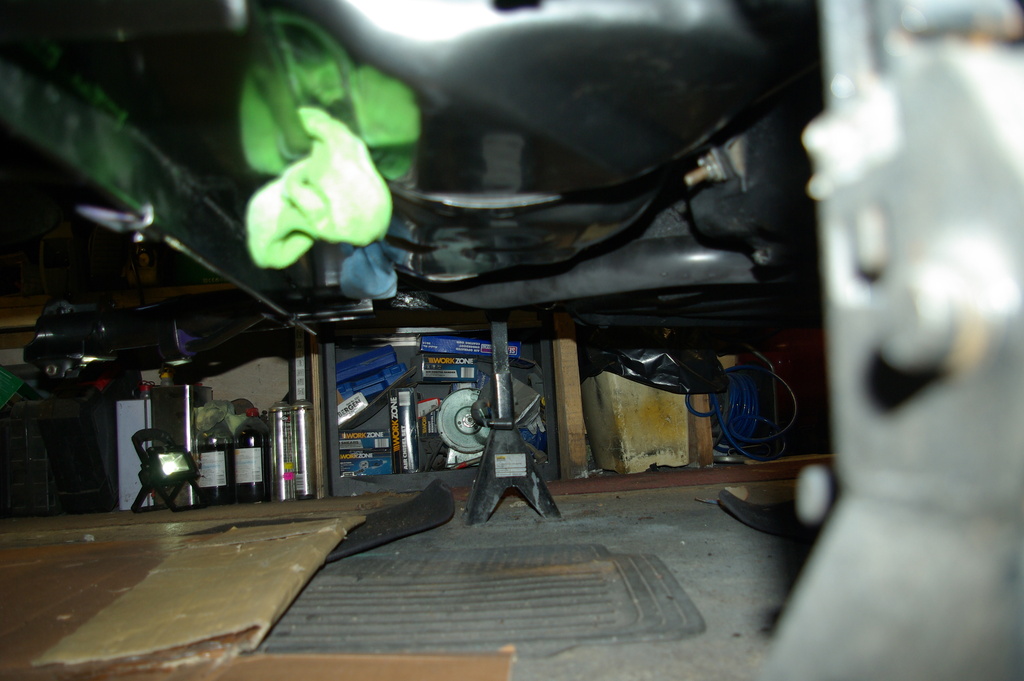
Got the exhaust manifold to stay on,
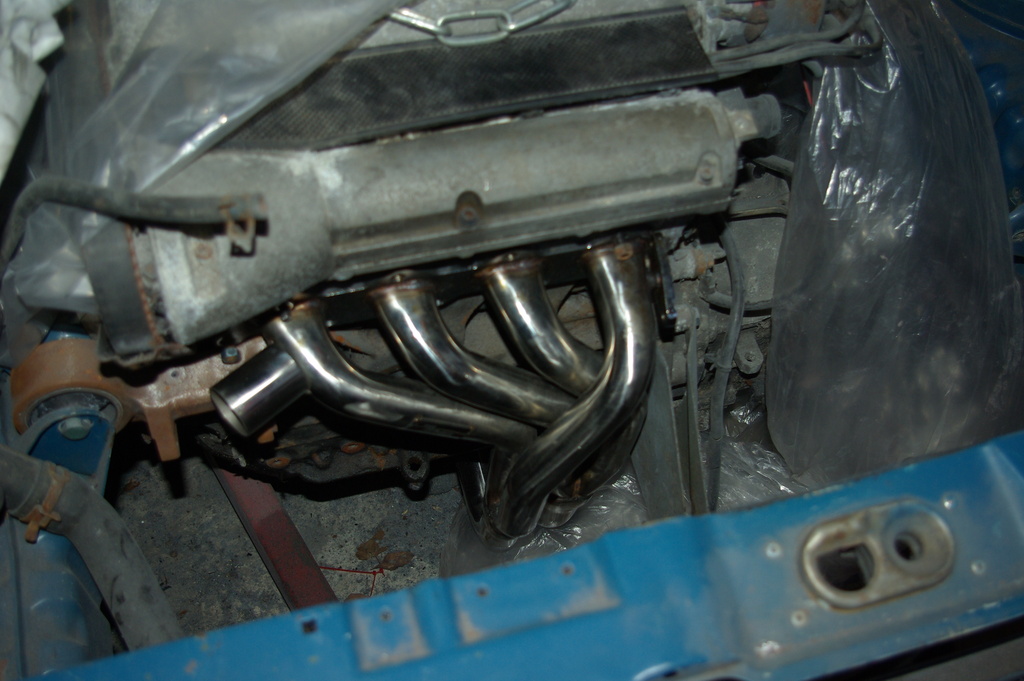
Fitted the exhaust, found I'd forgotten about a link pipe between the exhaust and manifold, Spoke to a few people, got blank looks, wandered around the local exhaust suppliers warehouse trying to find something that would work, gave up, got a stainless link pipe made up
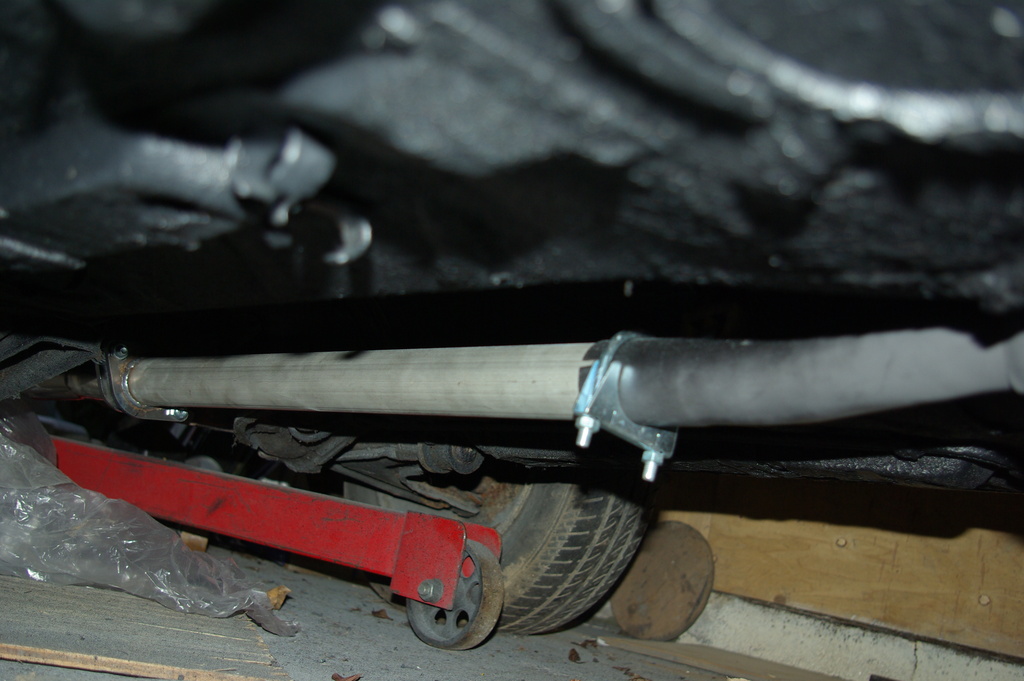
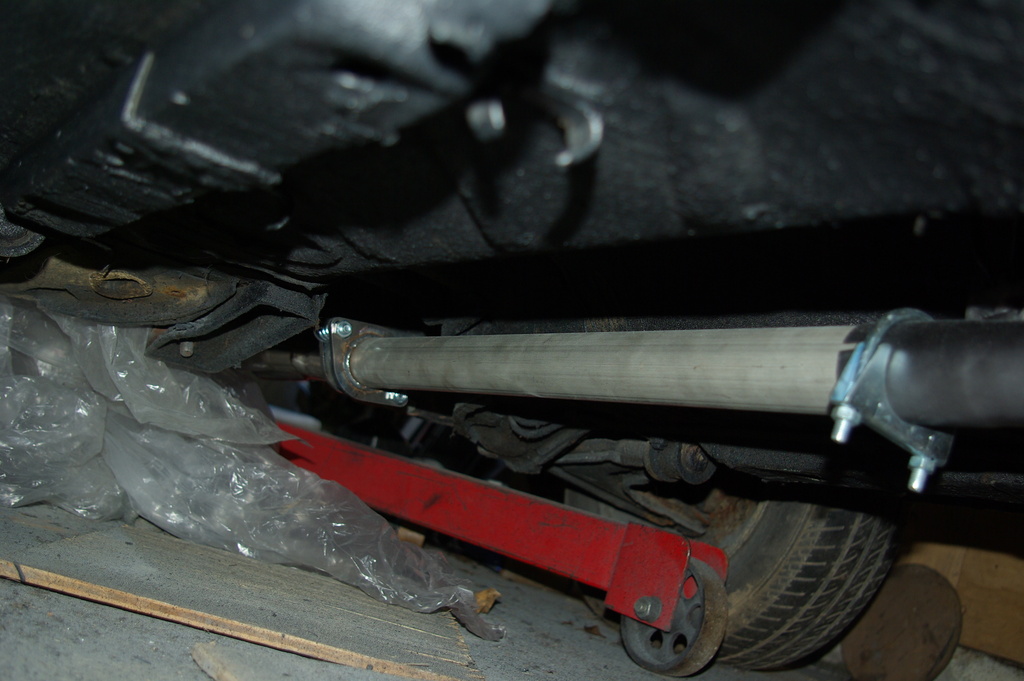
Refitted the manifold and exhaust
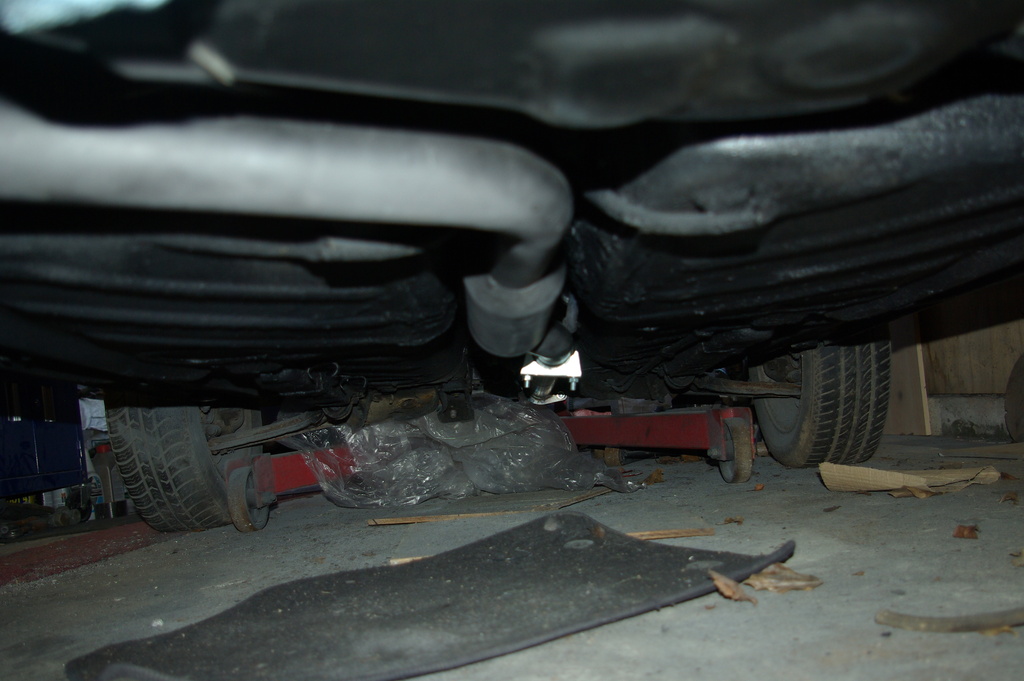
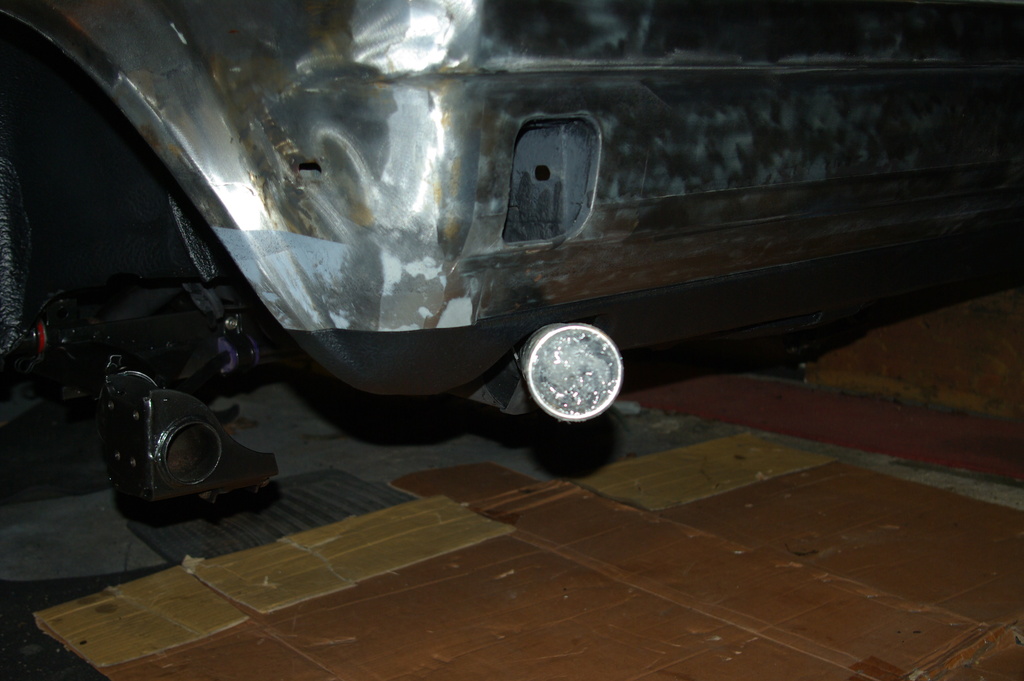
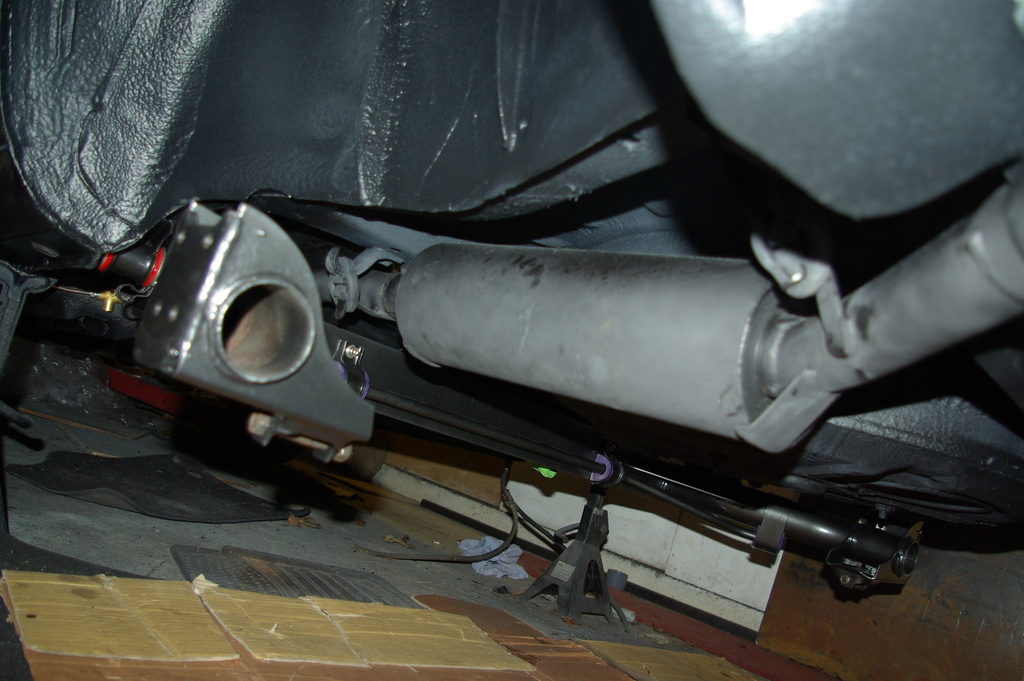
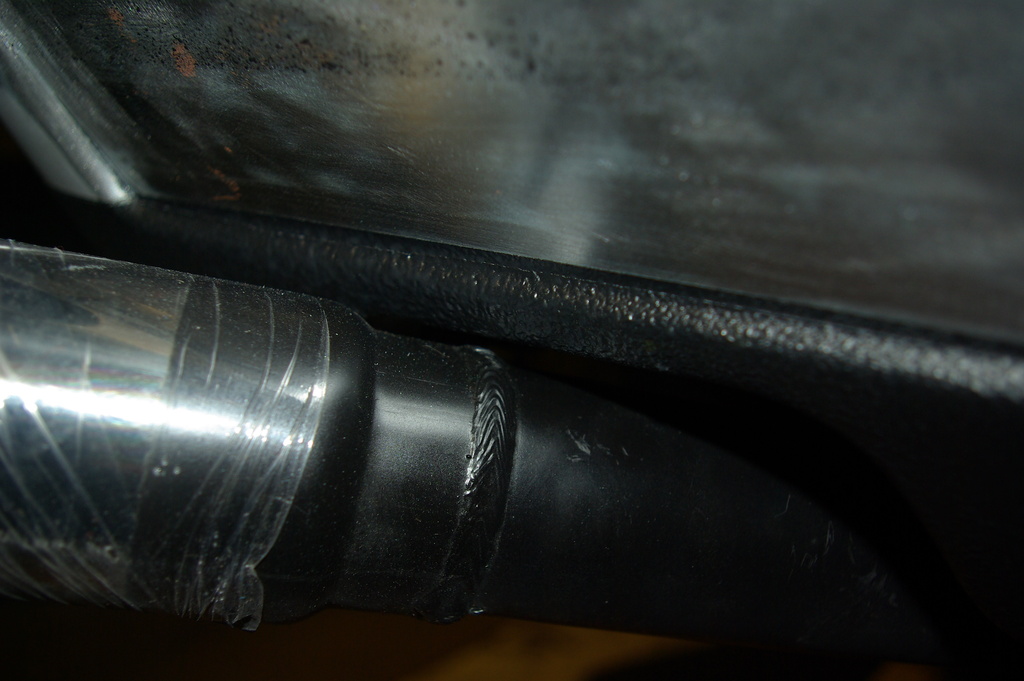
Tips a bit close but I'm not a big fan of it anyway so some chopping may occur
Misses the tank but was catching the handbrake pipe, swapped a couple of rubbers around and gave a mount a strategic whack with a hammer and everything clears!
As that lot was on seemed only right to crack on and fit the rear beam. Misses the exhaust! Which if you've ever fitted an exhaust to a golf, you will know it normally hits either the tank or beam. Or , of course, in my case usually both!
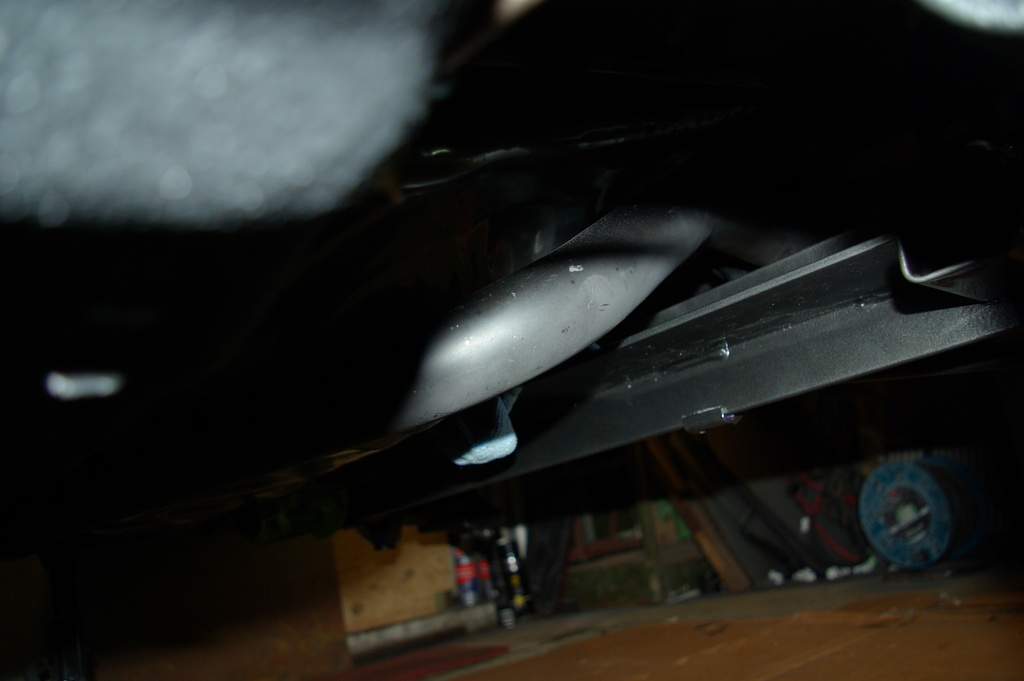
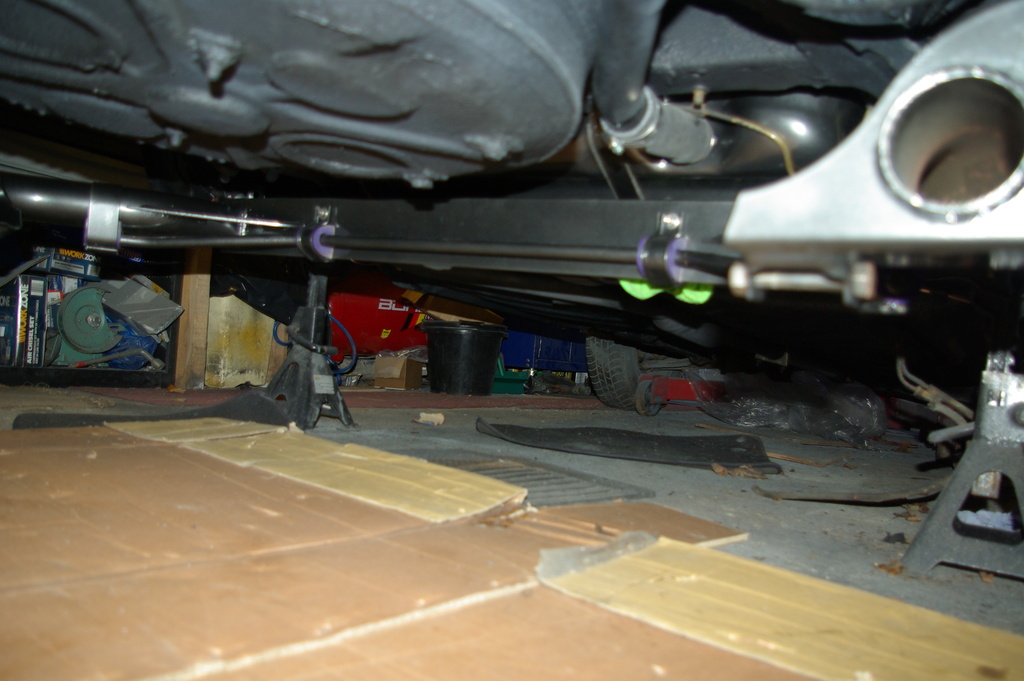
So with the rear beam fitted and everything clearing everything else, I finally remembered that I needed to drill two holes in it for the mounting of the solid to flexi lines flange, for the rear discs. So off came the beam again, (dropping it on my face in the process
So i think that's about it, all caught up and back up to date! Of course there's been loads of little bits and bobs too, moved the interior light to above the rear view mirror (another left hand drive hangover that just annoys me!), undid a bit more loom, did a bit of wiring and brake line making, mocked up the rear disc set up, painted up the refurbed calipers etc etc etc. Just seems to be loads of little bits that take ages but just get you prepped for bigger stuff!
Thanks for reading! I'll try to be better with updates from know on. Hopefully be back on it's rear wheels by the end of the week!
Cheers Ian.
Posted
Old Timer

I feel for you taking the rear beam on and off, I've done it once, it's a heavy lump to man-handle. Especially if you drop it on your face
Matt
Posted
Local Hero


Remind us never to hold a 'how quick can you remove and refit a MK1 fuel tank' competition at the AGM - you'd win it hands down!
I hope your face is ok!
I've not heard of Raptor before, who make it? Is it an epoxy coating?
Andy
LINCOLNSHIRE REGION - https://www.facebook.com/groups/467122313360002/
1983 MK1 Golf GTI Campaign Model - Under (looooong) resto!
1962 Rover P4 80
2002 BMW 745i
2008 BMW Z4 2.5Si
LINCOLNSHIRE REGION - https://www.facebook.com/groups/467122313360002/
1983 MK1 Golf GTI Campaign Model - Under (looooong) resto!
1962 Rover P4 80
2002 BMW 745i
2008 BMW Z4 2.5Si
Posted
Moderator


pazwaa said
Great progress, getting there nowI feel for you taking the rear beam on and off, I've done it once, it's a heavy lump to man-handle. Especially if you drop it on your face
Matt
Finally begining to see the light at the end of the tunnel. Might just be a train coming the other way though
Hairyarse said
Good work Ian.
Remind us never to hold a 'how quick can you remove and refit a MK1 fuel tank' competition at the AGM - you'd win it hands down!I hope your face is ok!
I've not heard of Raptor before, who make it? Is it an epoxy coating?
Nope my face isn't ok, it's a face only a mother (and for some strange reason my wife) could love, but nothing got broke
https://youtu.be/5PyAokmjsaY
Allegedly.
We'll see in a couple of years when I have holes everywhere
 Last edit: by borednow
Posted
Local Hero


Thanks for the info Ian. Now you mention pickup beds I do know the product. I can see why it's moved over to the classic scene.
It will be interesting to see how it goes long term
Andy
LINCOLNSHIRE REGION - https://www.facebook.com/groups/467122313360002/
1983 MK1 Golf GTI Campaign Model - Under (looooong) resto!
1962 Rover P4 80
2002 BMW 745i
2008 BMW Z4 2.5Si
LINCOLNSHIRE REGION - https://www.facebook.com/groups/467122313360002/
1983 MK1 Golf GTI Campaign Model - Under (looooong) resto!
1962 Rover P4 80
2002 BMW 745i
2008 BMW Z4 2.5Si
Posted
Moderator


Still I've been cracking on today.
Got a flexi installed
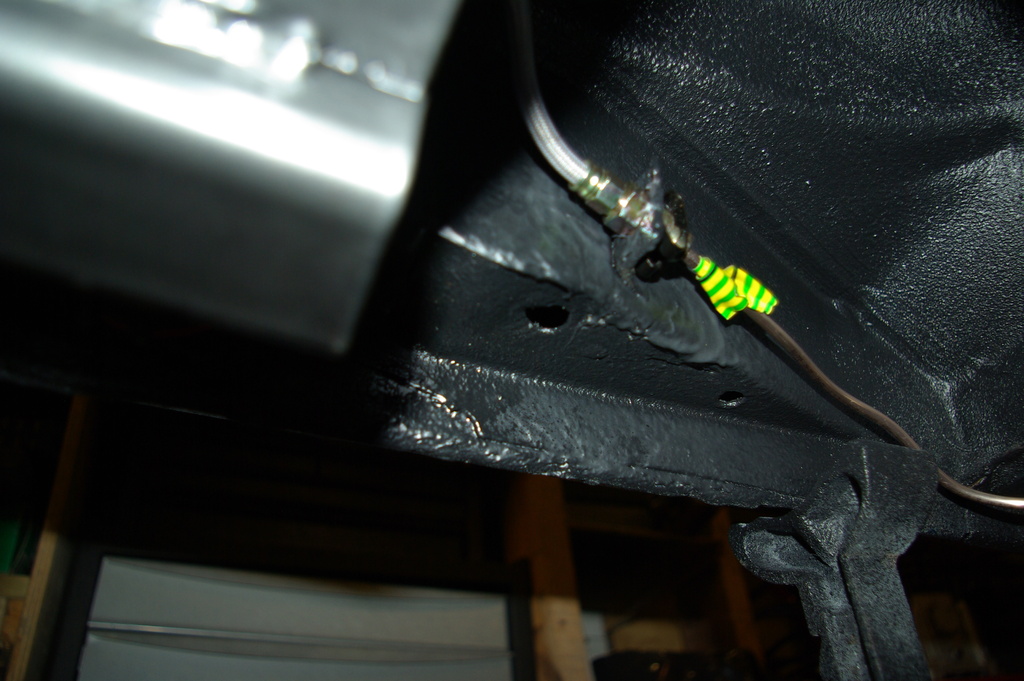
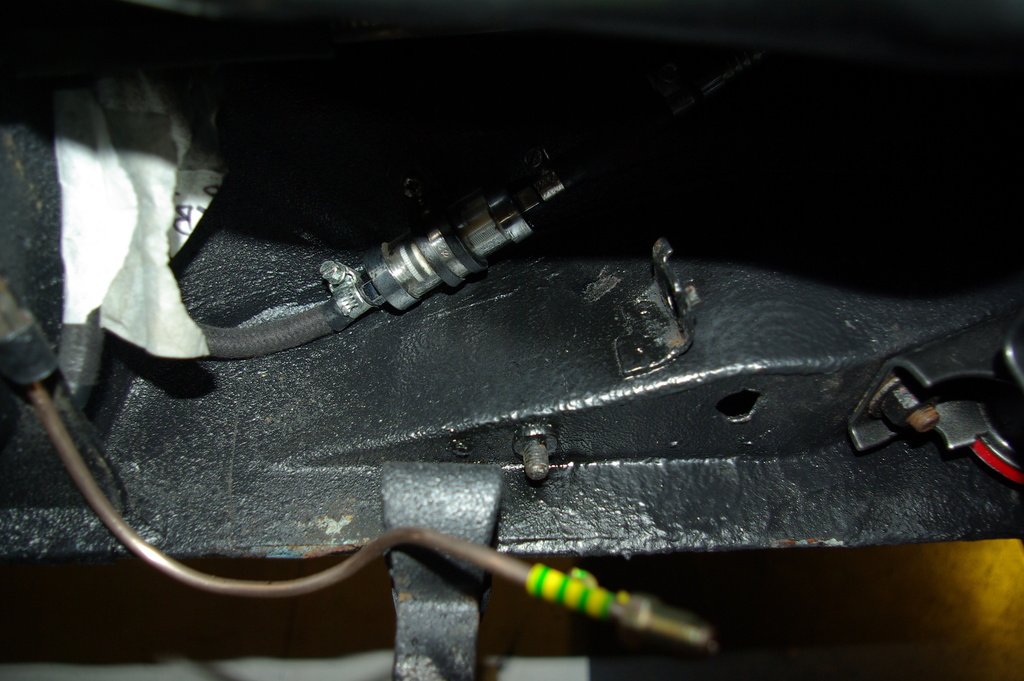
Managed to get the feed line for the fuel routed, filter installed and I now know where the pump is going to sit
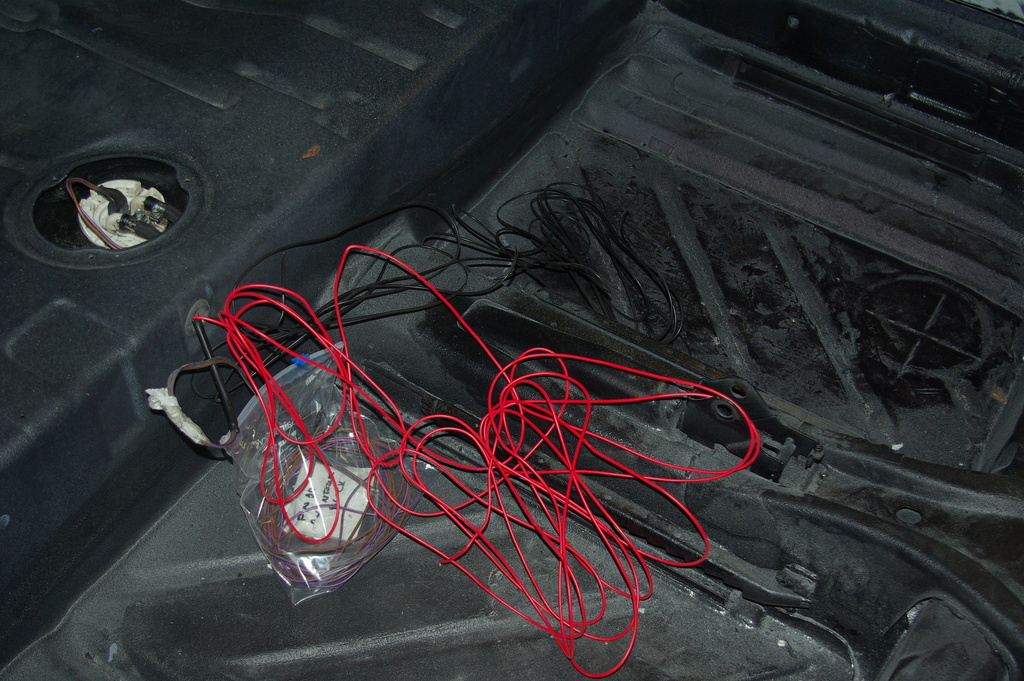
Got some wiring run for the pump too, managed to find a gap through the grommet for the tank level sensor and feed the wiring across the the top of the tank
Oh, yeah, also got the rear shocks on, stub axles, discs & bearings and installed the calipers.
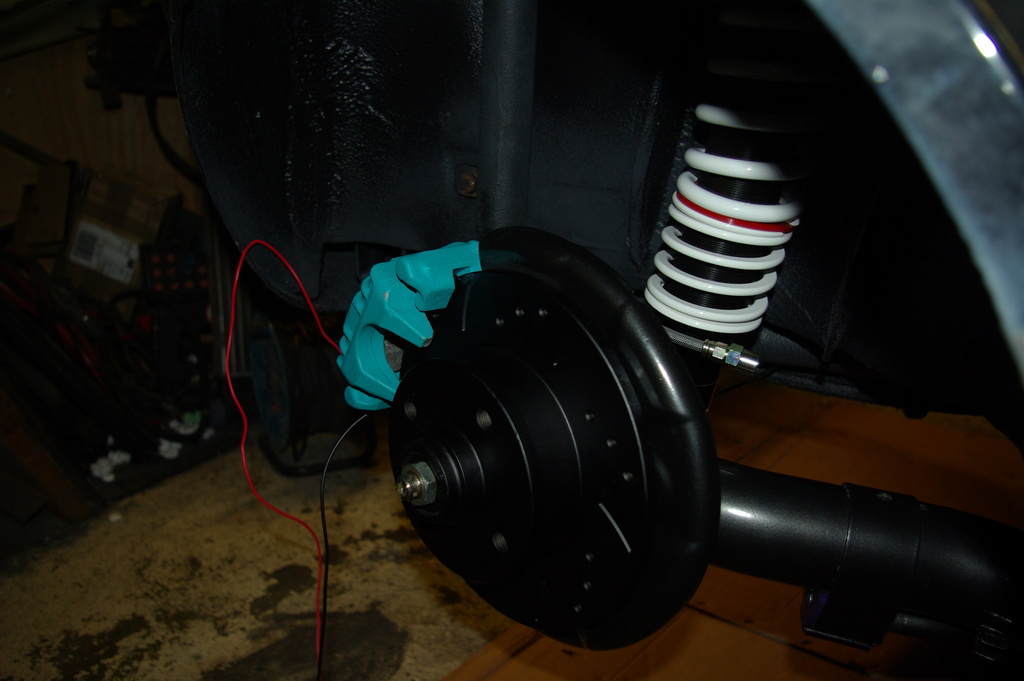
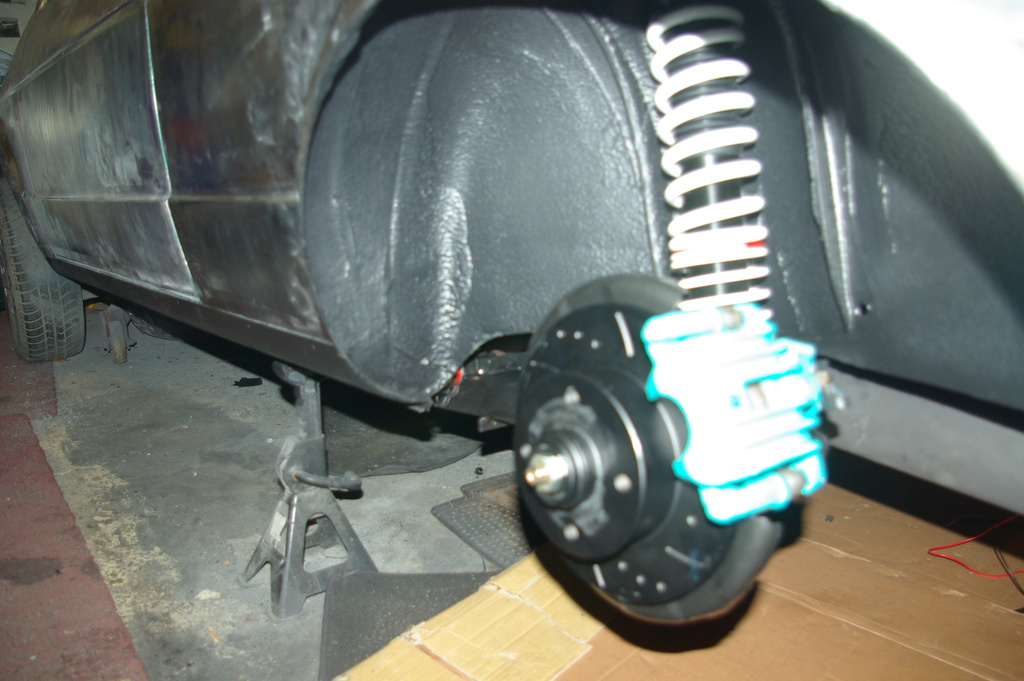
And I didn't have to remove the rear beam again! Yay for me
Just the plumbing for the brakes to do, a couple of brackets to make between the flexis out of the calipers and the hard lines on the beam and the rear end is pretty much there!
Posted
Moderator


Got the calipers re-wound (what a pain in the neck that was!) fitted the pads, torqued everything up proper, fitted the bearing lock nuts and fitted the caps.
Also painted up the brackets I made and fitted a couple more flexi's
Whislt it was this close I thought it'd be rude not to try a wheel too………
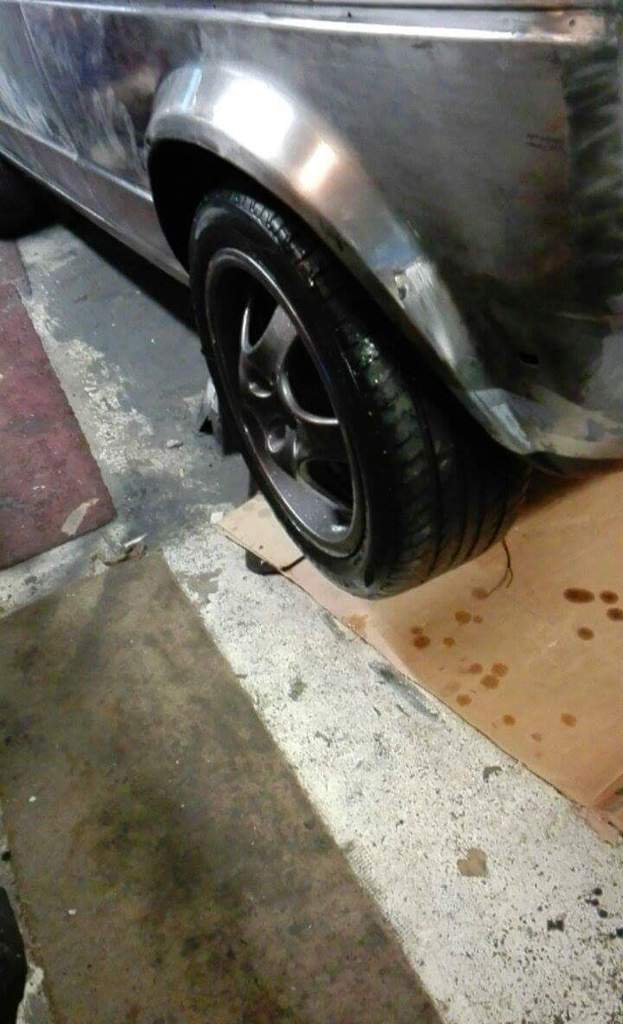
I think the green of the calipers works ok too
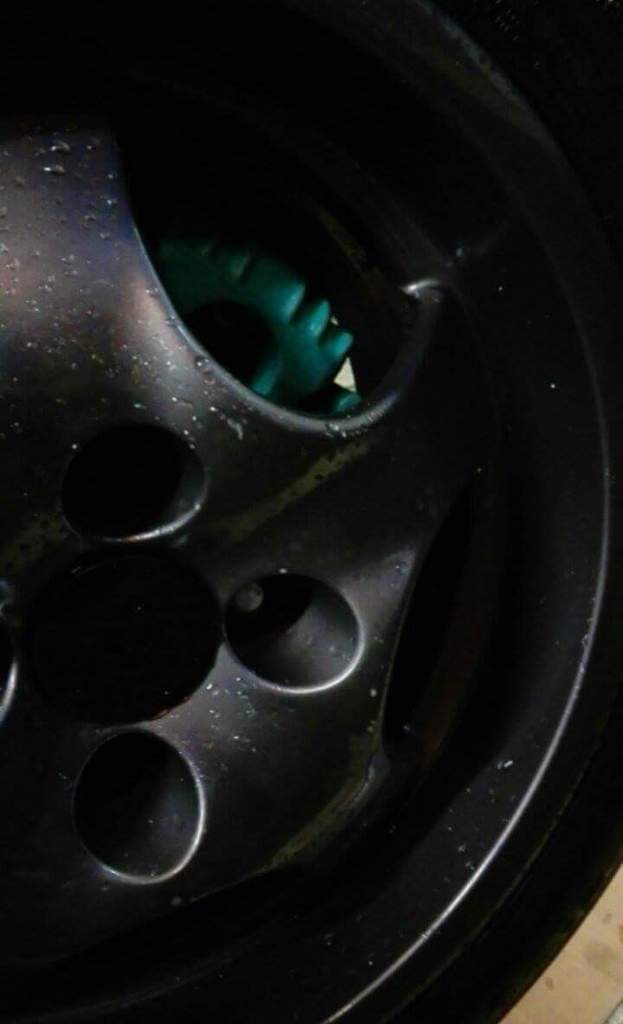
Soon be down on some wheels at the back!
Posted
Old Timer

Matt
Posted
Moderator


Wasn't sure if the green would work tbh, but I reckon with the wheels re-furbed in a dark colour, probably similar to what they are now, and with the black behind and with them being a matt finish I can get away with them. We shall see!
Ian
Posted
Moderator


Managed to get a bit more done.
Finally got the fuel lines to the pump sorted, installed the fuel pump in it's final resting place and sorted out the length pf the cabling for it.
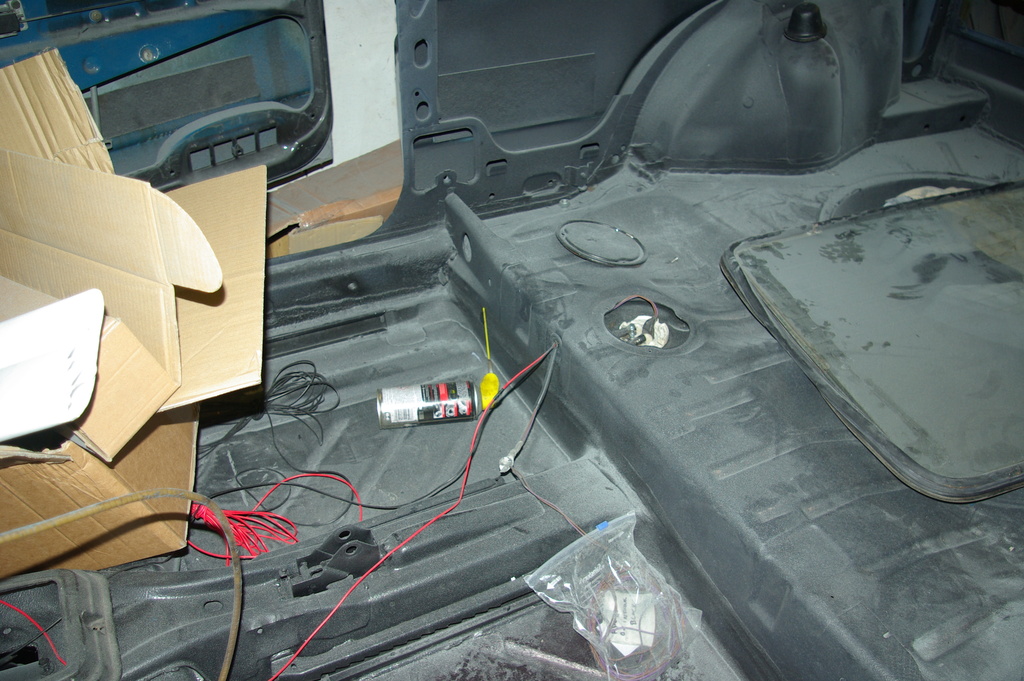
Removed the rear screen after srapping on the big boys panties and going for it with the patented 'Brother in law in the car and pushing with his feet whilst I catch' system (a bit nerve racking to say the least!)
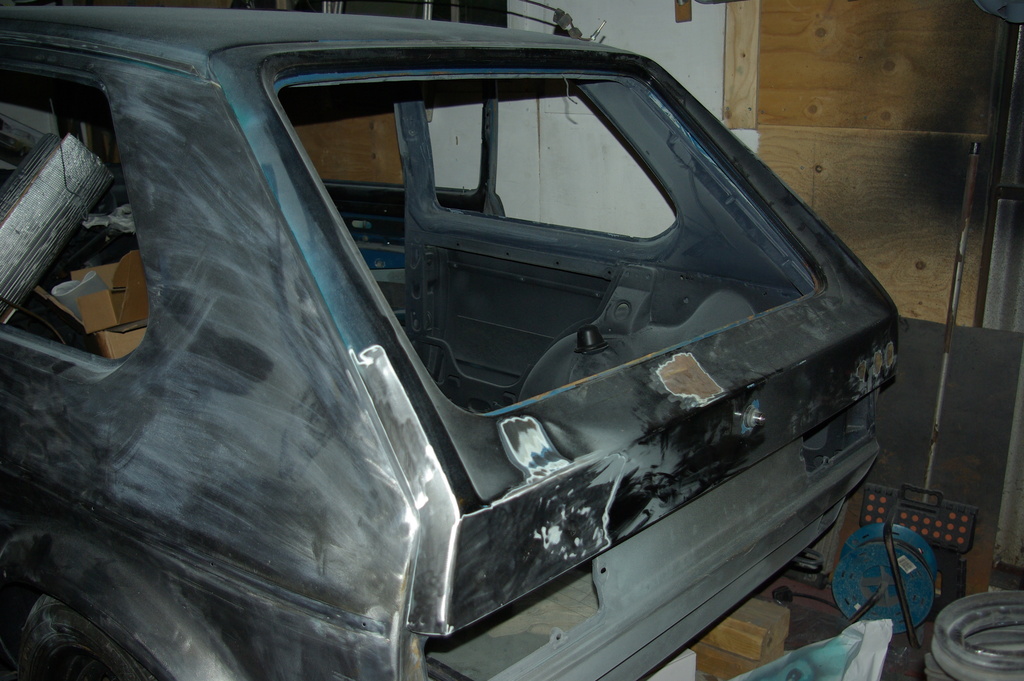
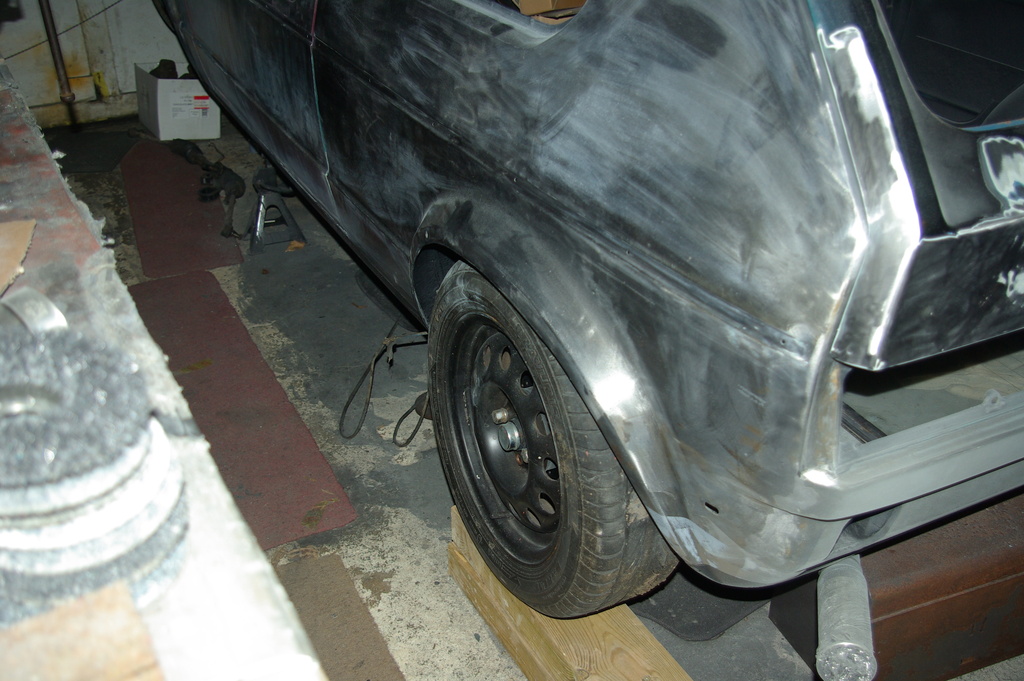
Finally I managed to get the back end on the ground, after finally finishing everything at that end (hopefully!)
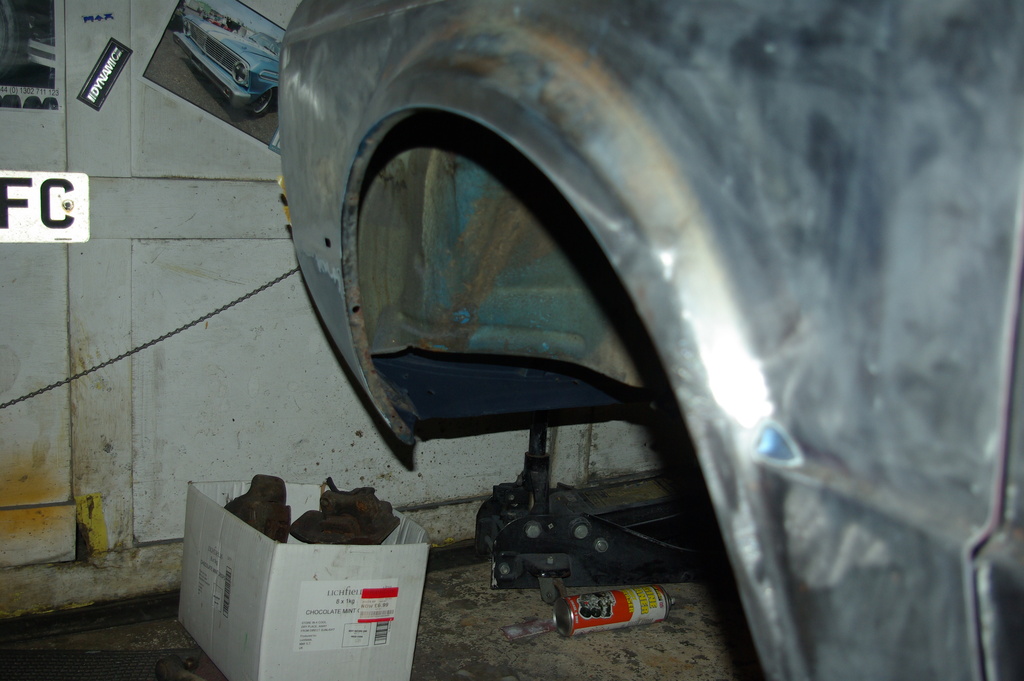
So took out the engine again, jacked up the front, axle stands installed, steering rack out and all suspension etc off! Yay
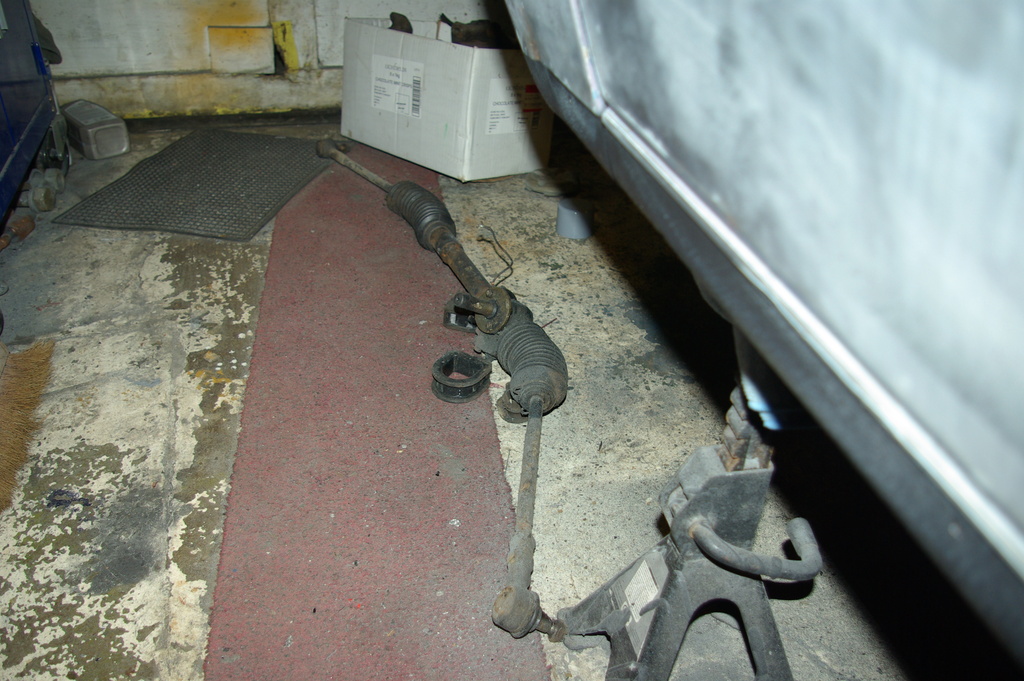
The rack needs two new ends so just got to decide the best way to go about it. New rack and two new ends or just the two ends. One of them is the fixed, non adjustable end so that may cause some issues!
suggestions welcomed!
Found out the leading edge pf the drivers side wing will need a bit of work. and there was I thinking the welding was done
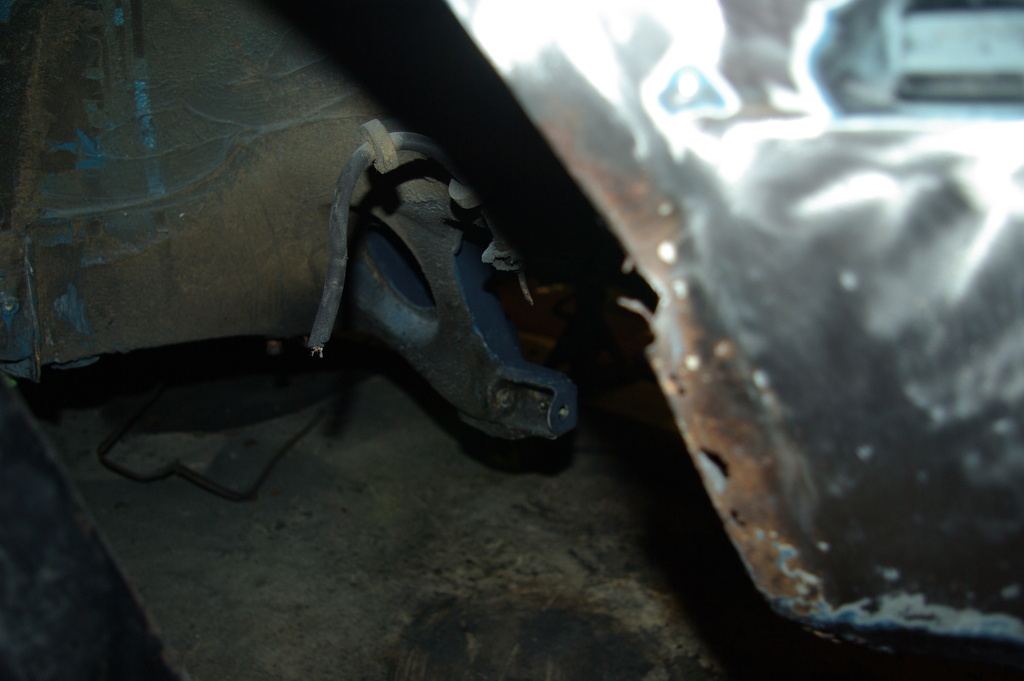
Also done a bit more tidying to the bay and managed to get it all into Etch primer, so at least that's moving along a bit now
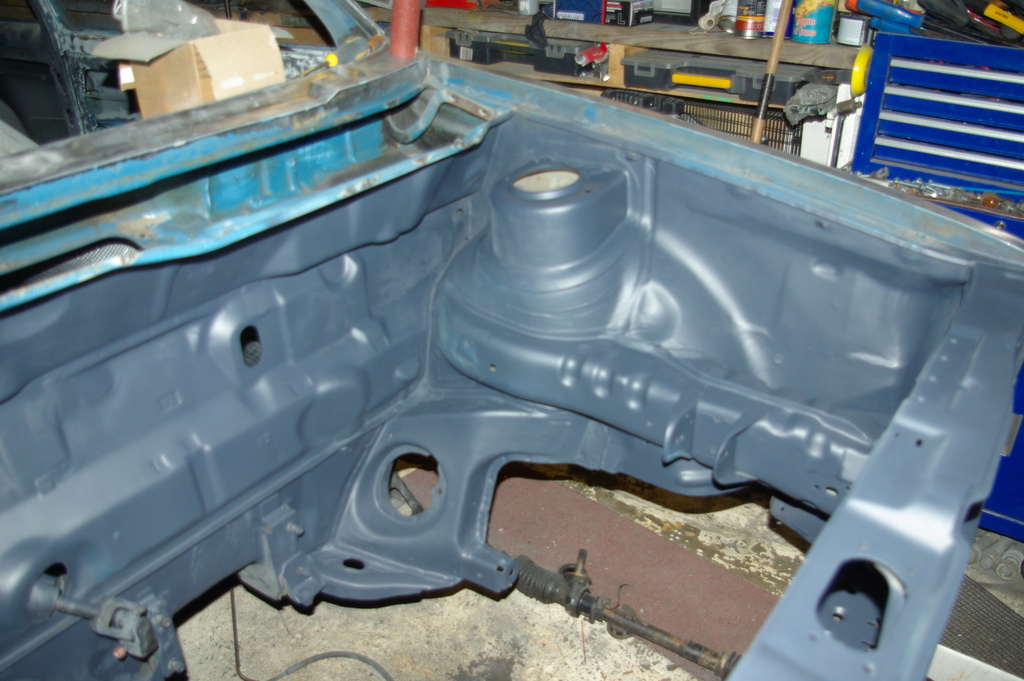
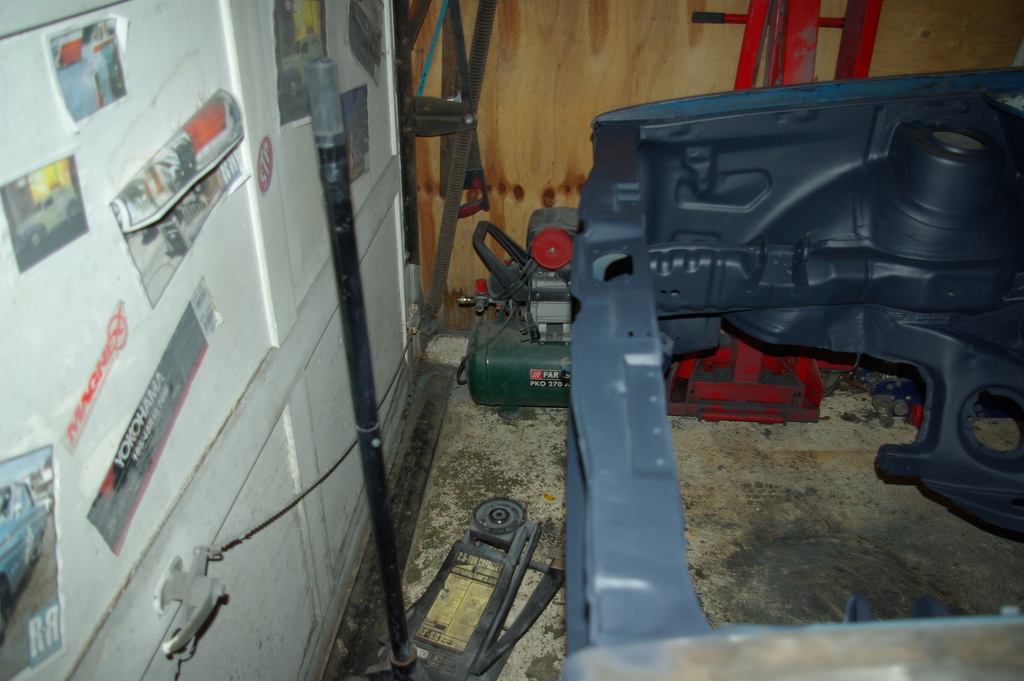
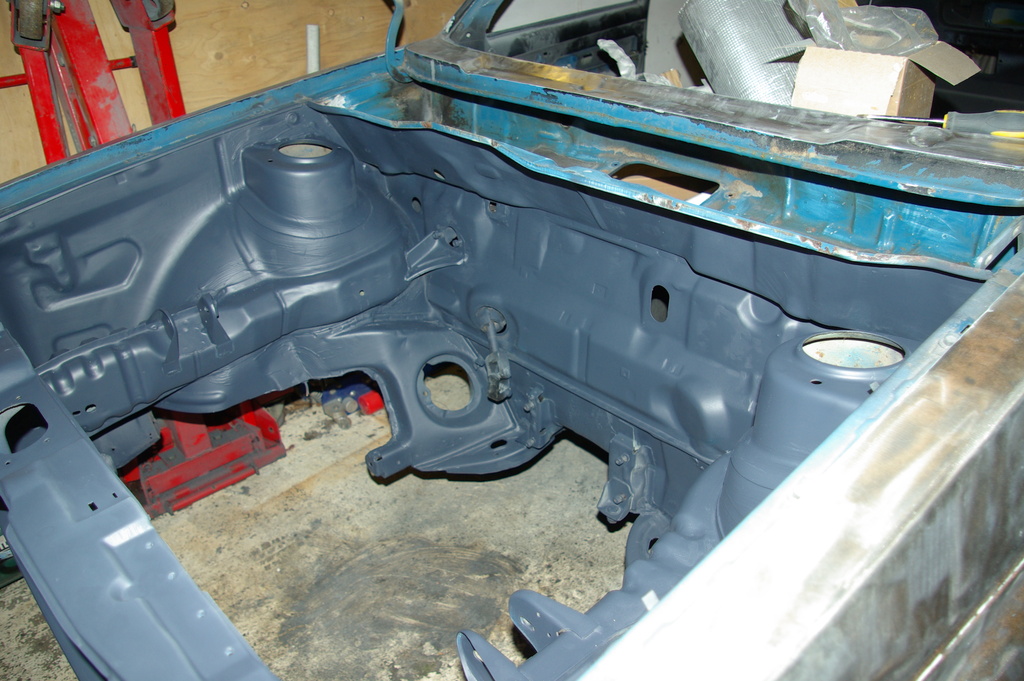
So that's about it really. Many days of hand sanding an engine bay will tend to east your time away!
Just got to come up with some clever way of fixing that wing now!
Later
Ian
Posted
Moderator


Piccies to follow
Ian
There are too many online users to list.


