


My '85 Cabby - getting closer to completion

Posted

Moderator


Posted
Settled In


Just wish I could have more time to do it. The missus keeps moaning at me for using days holiday at work so need to keep that to a minimum

Posted
Moderator
 so you did better than me
Yup my missus has been complaining too, although i can deal with that…………it's the dog staring at me and then her ball that gets to me

E
Posted
Settled In
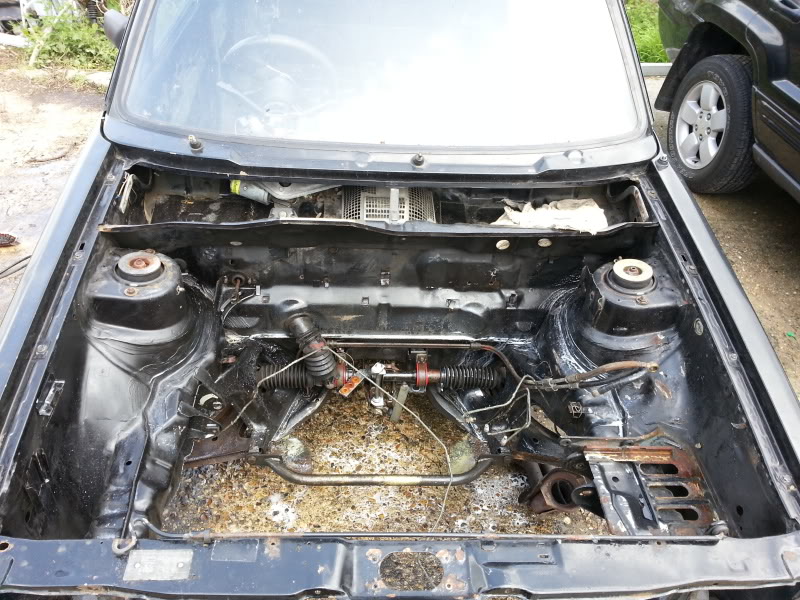
 Front arch linings off as well as the anti roll bar:
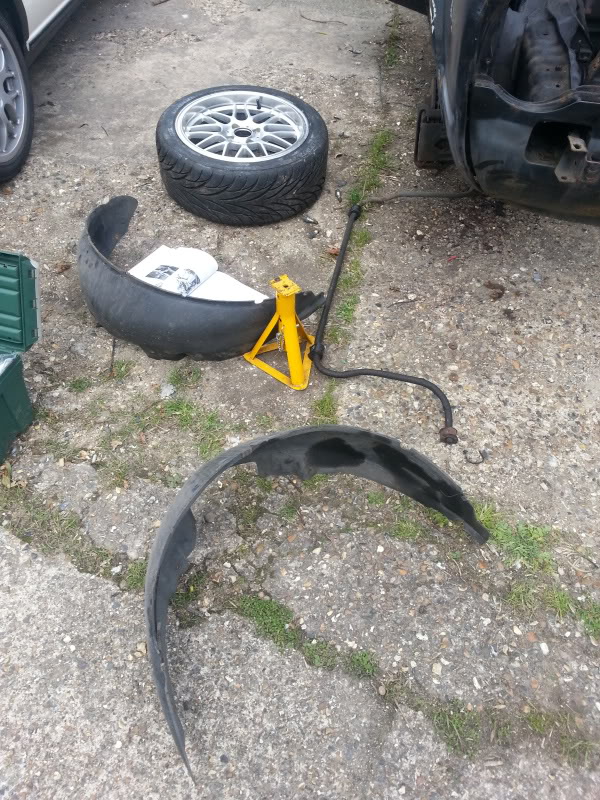
Spent hours trying to seperate the centre section of the exhaust but still couldn't do it on my own:
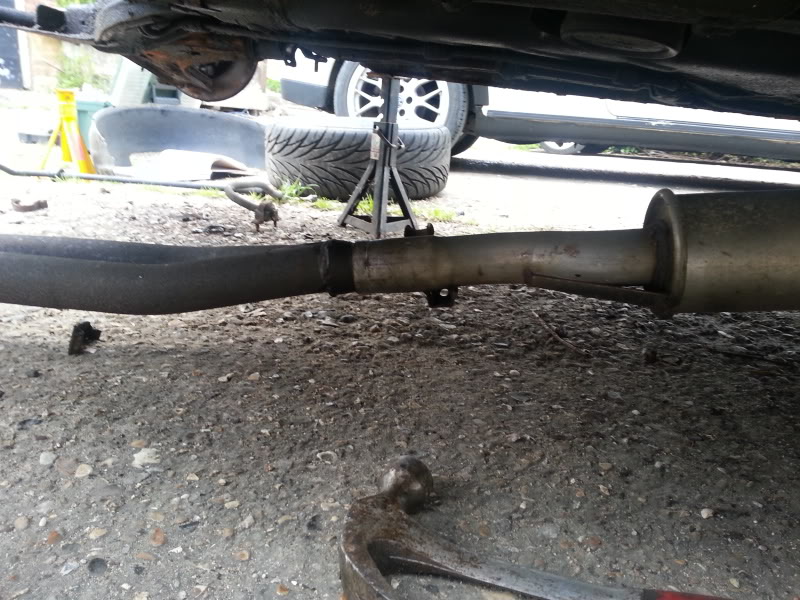
I've run out of ideas so will have to get a mate to hold the mid section while I wiggle the manifold til it comes off. Bit annoying.
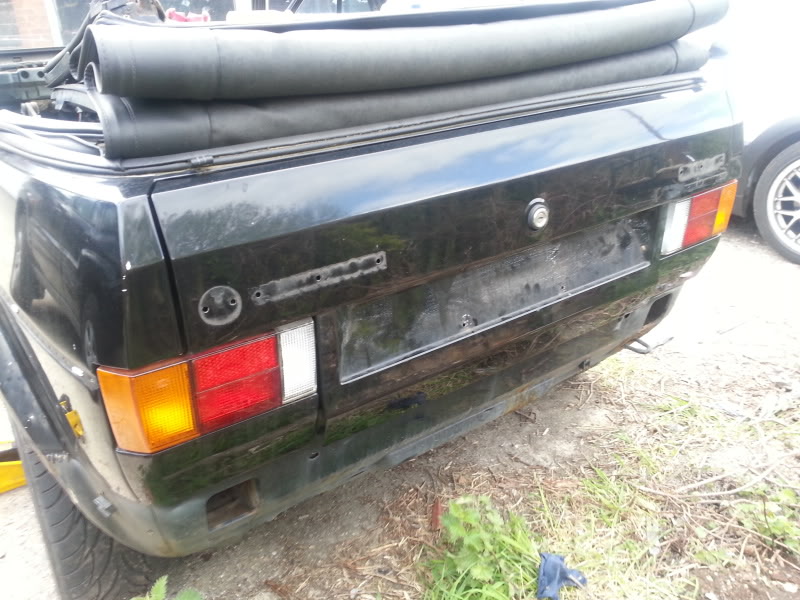
Not much hard work going on so removed the rear badges and removed the badge holder pin things. I will have these smoothed over when I get it resprayed. Thinking of removing the lock as well:
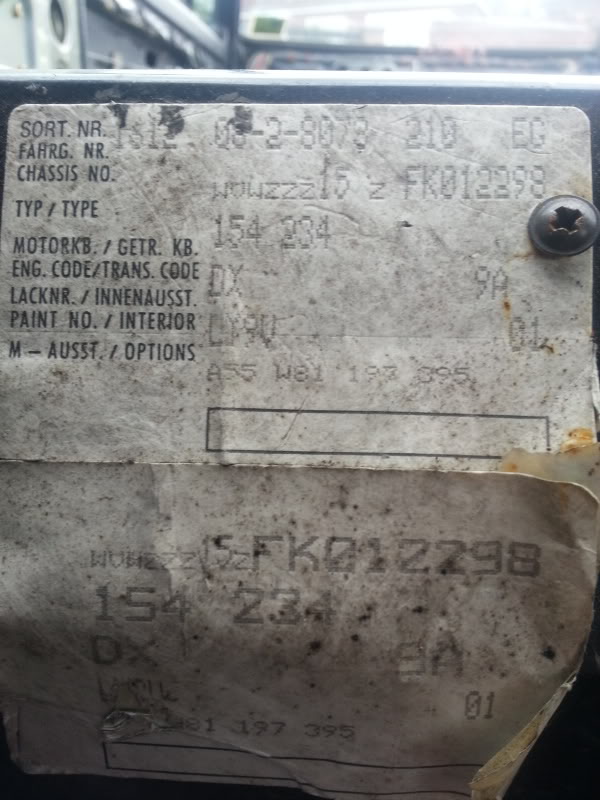
Moved on to some bits on the interior and still has the original sticker in the boot:
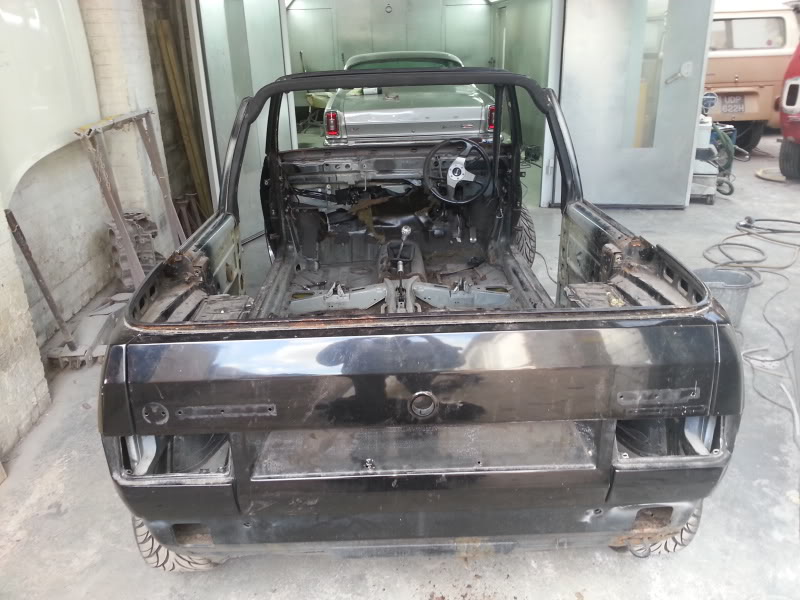
Removed all the seat belts and it's starting to look bare:
How it was left:
I'd had enough by then and was shaking a bit so sat down and never recovered!
I did go up the bodyshop and it is booked in for this coming weekend (hopefully) but he has got a lot of work on.
I still need to do a fair bit eith the main thing being to remove the exhaust and then pressure wash the bay, arches and underneath. Then so long as it's going in, remove all the glass and the roof.
Exciting times!
Posted
Settled In
Posted
Settled In
OK so on to the underneath. Started digging and creating holes on the rear valance/quarter:
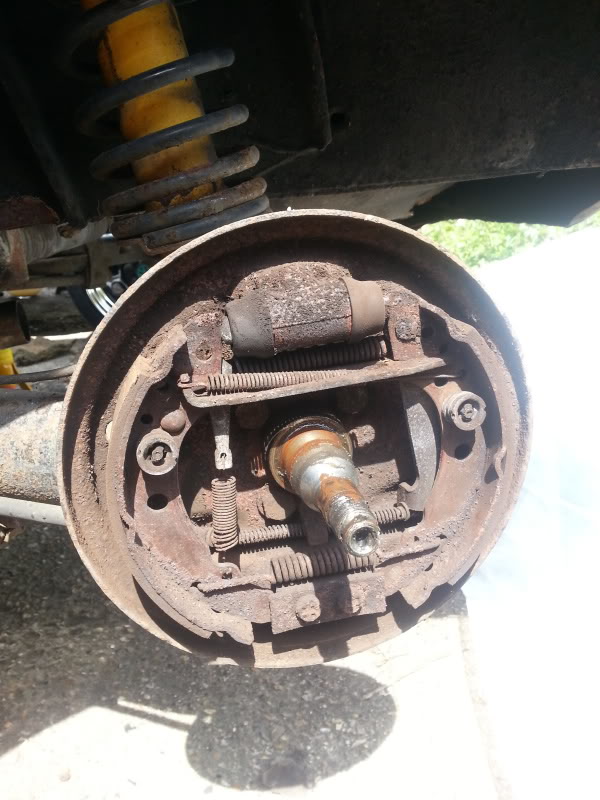
Didn't take many pictures. Started disassebling the rear brakes. Looking pretty black:
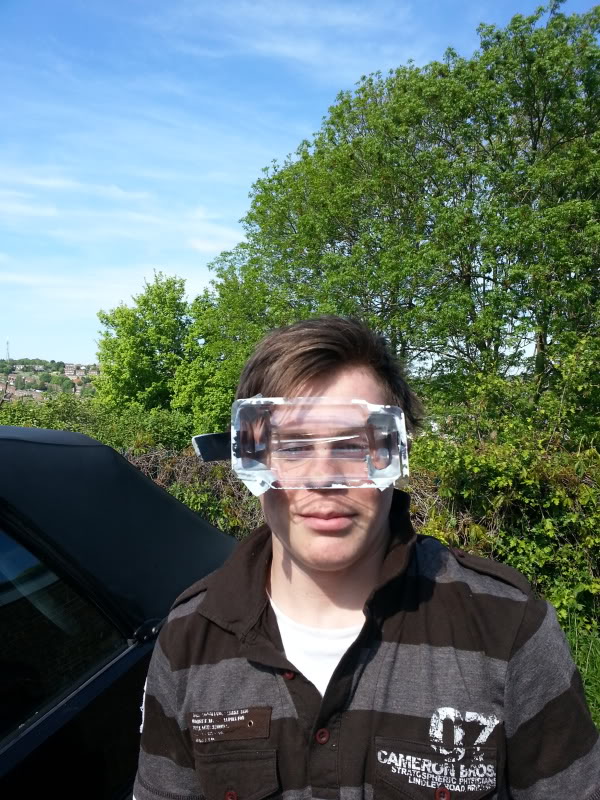
The bolts for the rear axle weren't too bad. 3 came off after a bit of a soak but the 4th needed grinding off. I accidentally left my phone under where I was grinding so melted the screen a bit :s. Also kept going in my eyes so got a mate to do it. Made him some 'safety' goggles:
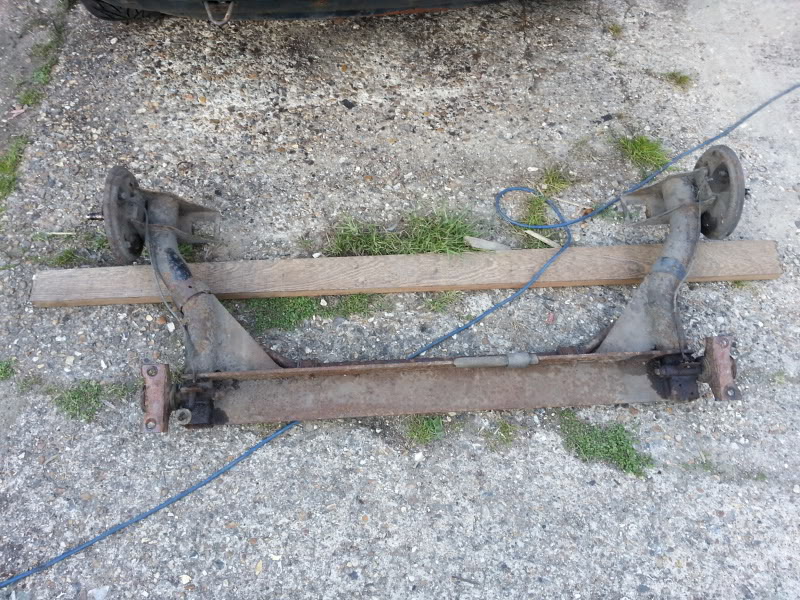
And the axle came off:
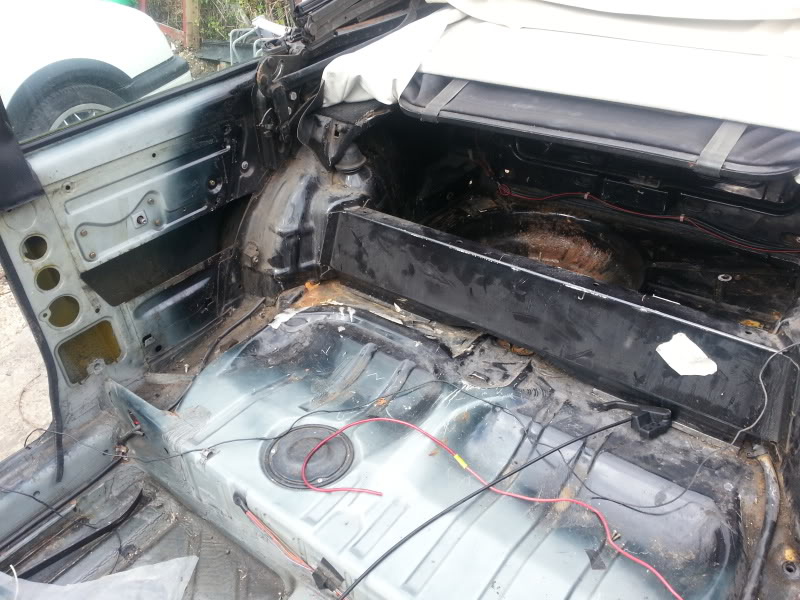
Now to get at the tank:
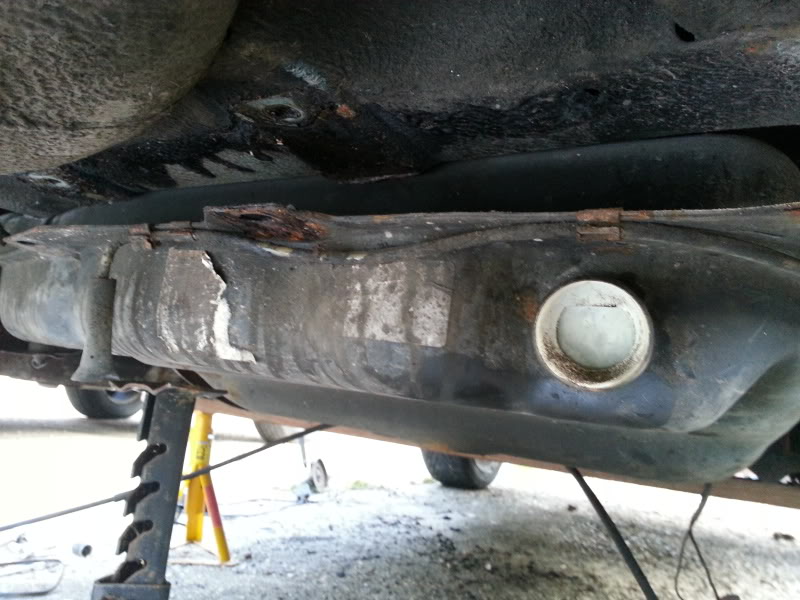
Might need to replace these:
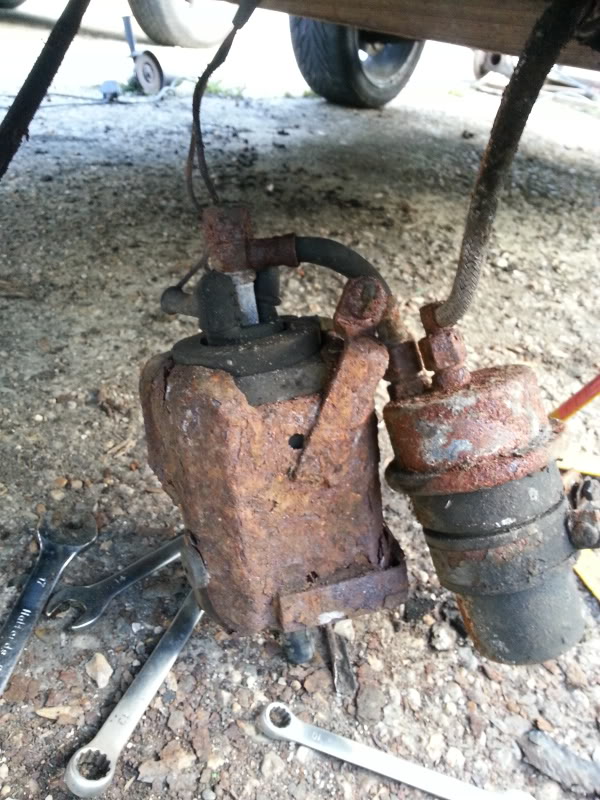
Draining the fuel before I pull it out:
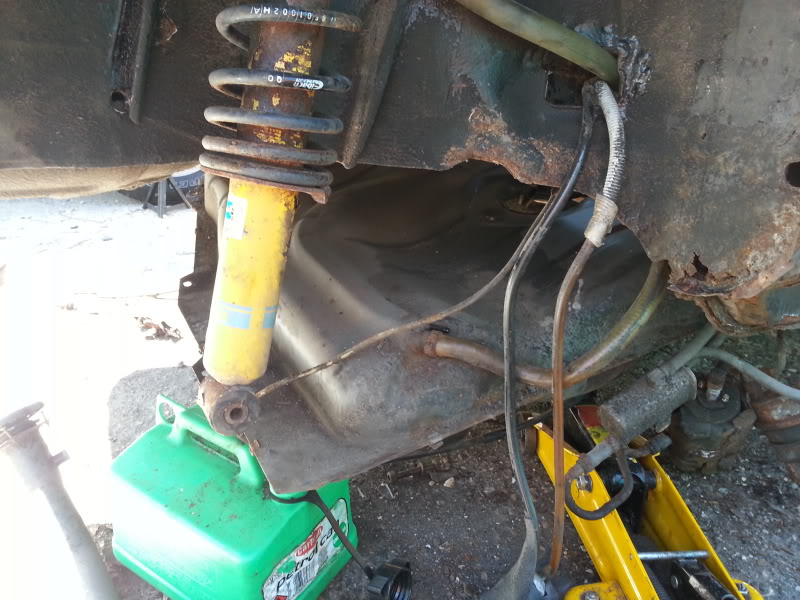
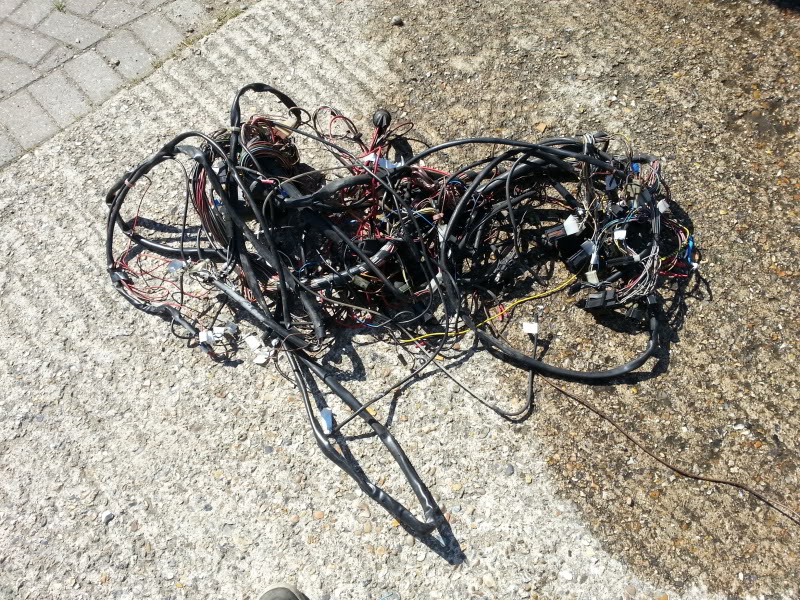
Now the tank was out I could see how to disconnecting the loom and taking it out. Removed:
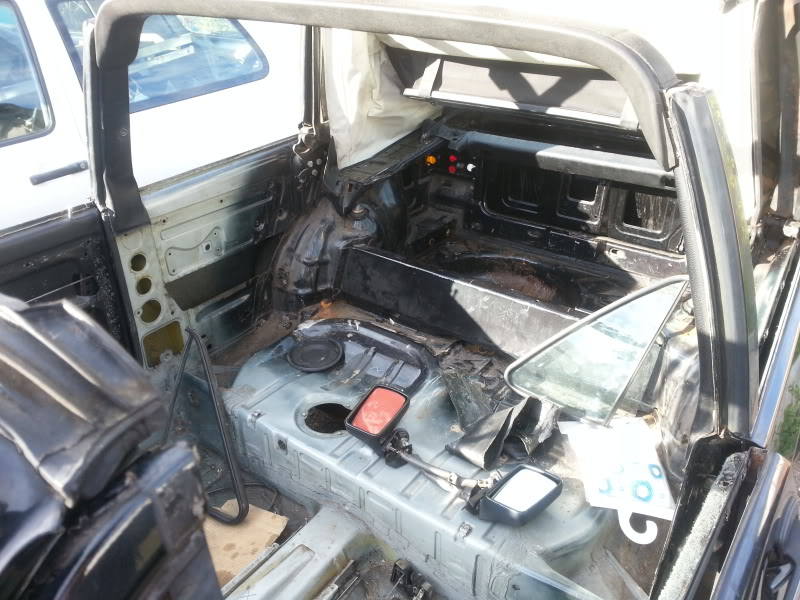
As well as the loom, I've taken all the glass and most door fittings:
One loom:
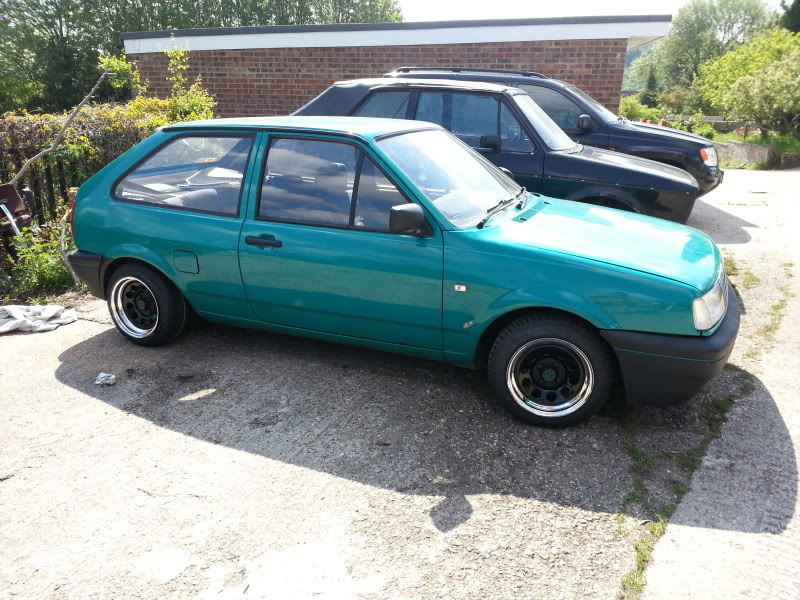
My mate recently got new rims on his Polo. Needs to drop a bit though:
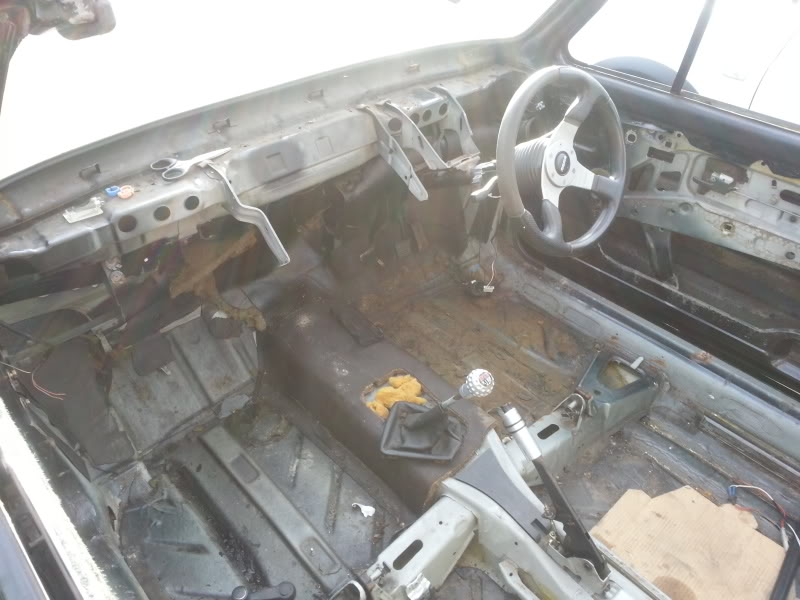
Not much left to do now before the bodyshop:
It's booked in for this Saturday!!!! wooo. Transport booked so it's definitely going in now. He was busy last week and had no room to fit it in.
Before it goes I need to:
- finish removing things from drivers door
- remove rear lights
- remove hood
- remove gear linkages.
Getting there!
Posted

Moderator


Posted
Settled In
I was thinking about gonig small bumper but I like the kit and it will go better with a more smooth look I'm gonig for. It's having the badges, boot lock, aerial and LHD wiper indents removed.
If I did change the colour I think it would be to a metallic gunmetal grey or something. Nothing too extravegant. I do however like the old school colours but again don't think it would go with the car.
Posted
Moderator
Smudger
Posted
Settled In
1. Original flat black
2. Metallic Black
3. Metallic Gunmetal Grey
4. Metallic Blue similar to M3s as they really pop in the sun
Still not sure…
Posted
Moderator
Posted
Settled In

But I'd also say small S2 bumpers haha

'87 Mk1 Cabby.
MK5 Golf Daily.
Instagram - woahnowboys
Posted

Settled In
Vw golf 1980 cab (girlfriend's)
Vw T25 1.9dg auto hi-top autohomes camper
Alfasud 1.5ti green cloverleaf
Alfa 155 2.0 16v
Alfa 155 Q4 lhd 1 for 13 in uk
Alfa 155 2.5td lhd the only 1 in uk
Vw T25 1.9dg auto hi-top autohomes camper
Alfasud 1.5ti green cloverleaf
Alfa 155 2.0 16v
Alfa 155 Q4 lhd 1 for 13 in uk
Alfa 155 2.5td lhd the only 1 in uk
Posted
Settled In
The blue probably wouldn't suit it
Posted
Settled In
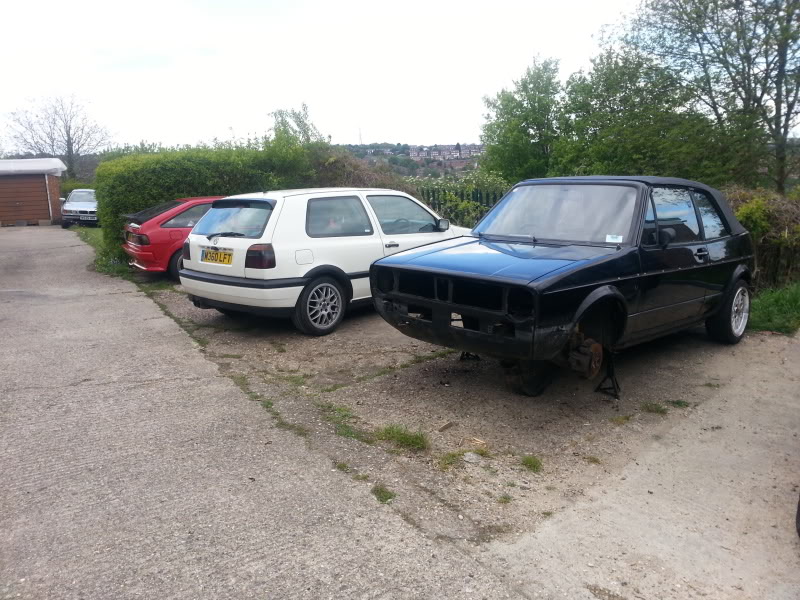
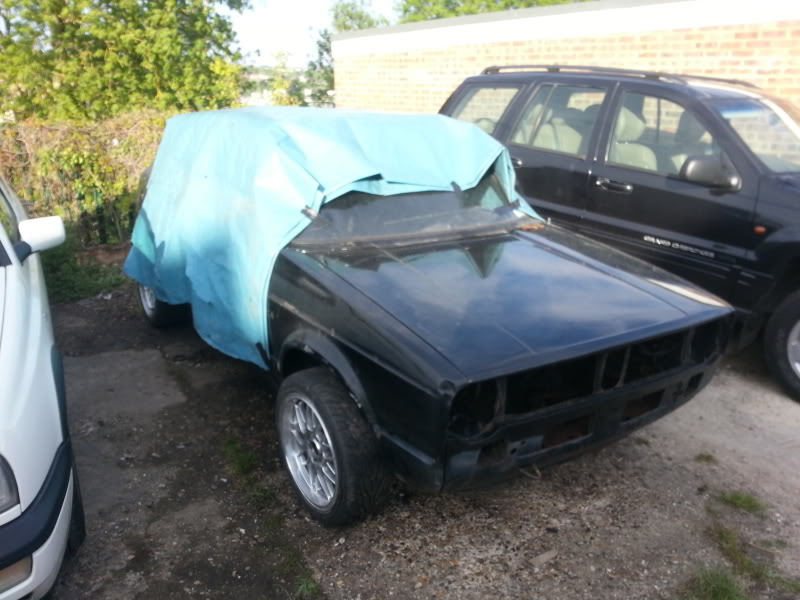
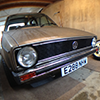
Here's our fleet:
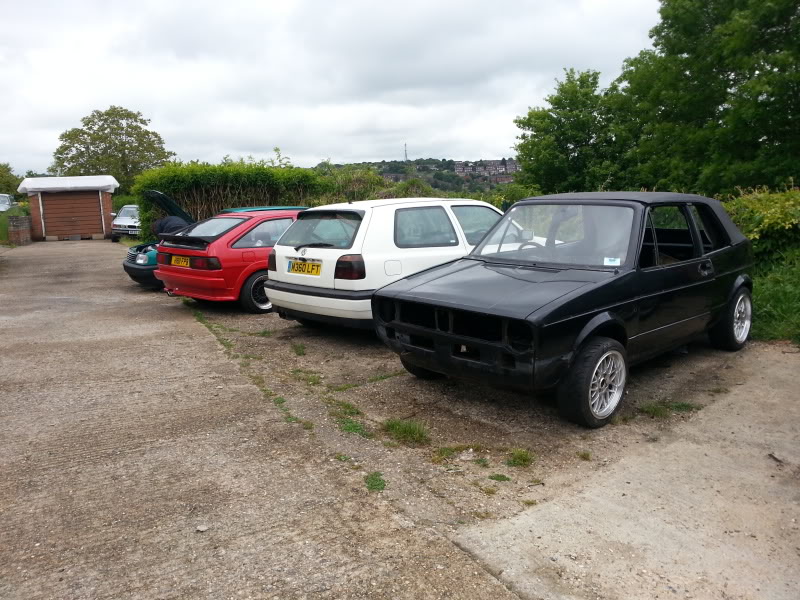
There's also a Mk1 in the garage as seen in this photo:
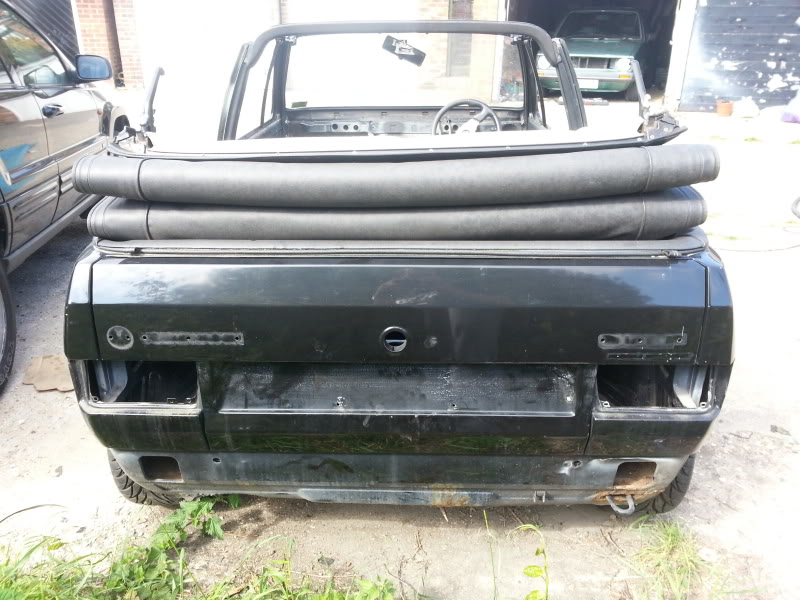
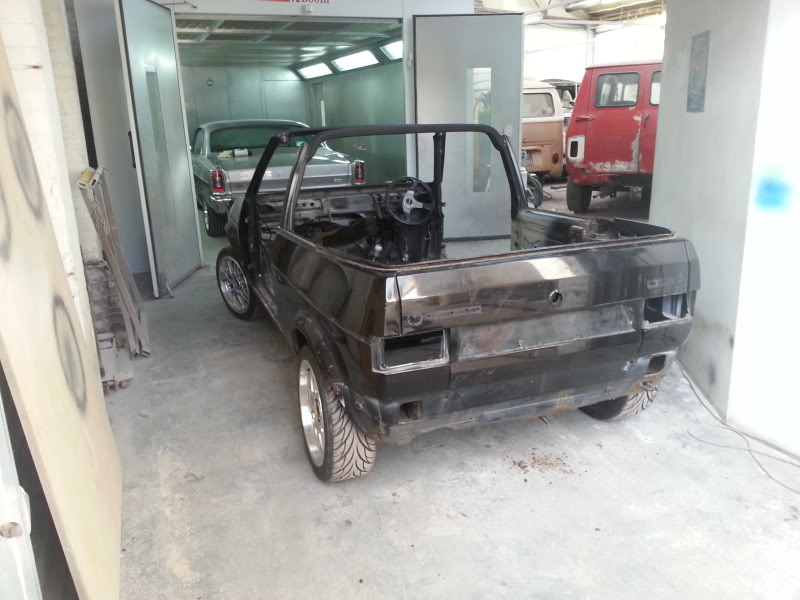
Looking bare:
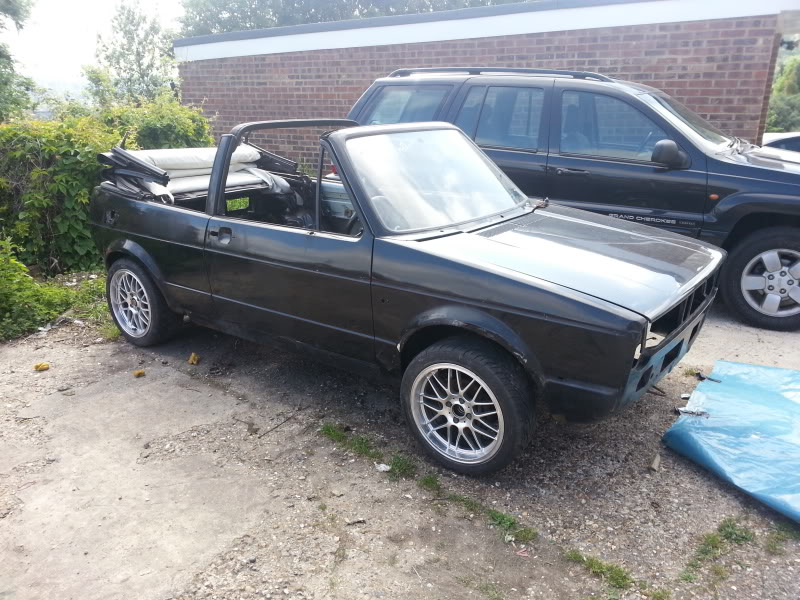
Piled a few bits in which need to go with it:

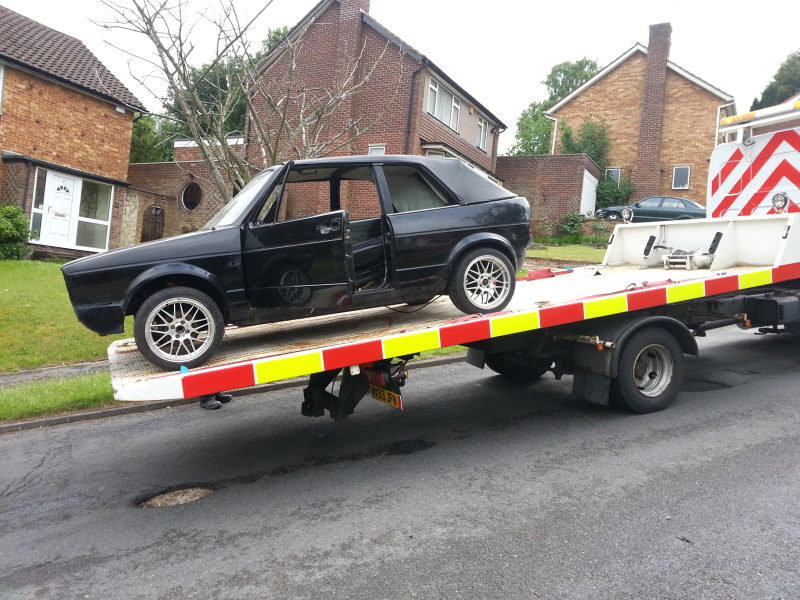
Ready and waiting for the truck to pick it up:

When they turned up, their truck couldn't fit down the service road where it was so we had to push it for almost 1/2 mile to get it there and it's not flat ground. Fair to say me and my mate were absolutely f…. knackered by the time we got it down there but it went on
So happy it's finally got in and can't wait for him to get started. Went up there to see him the next day as he likes to speak to the customer while he starts his inital prodding as he's had customers say it's ok on the phone, but when they get down there, they throw a fit coz he's found loads of holes.
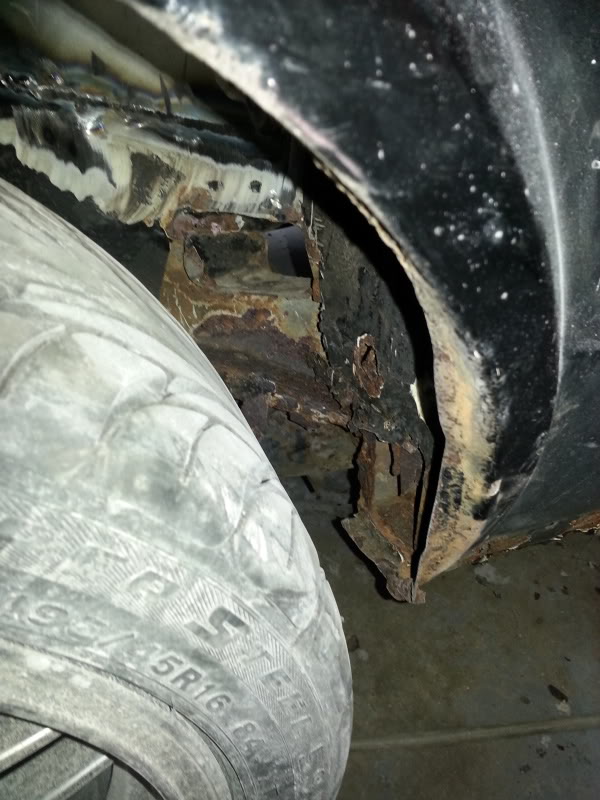
Anyway, it was brutal lol. He got his hammer out and went to town on it, finding holes I didn't know existed. Oh well.
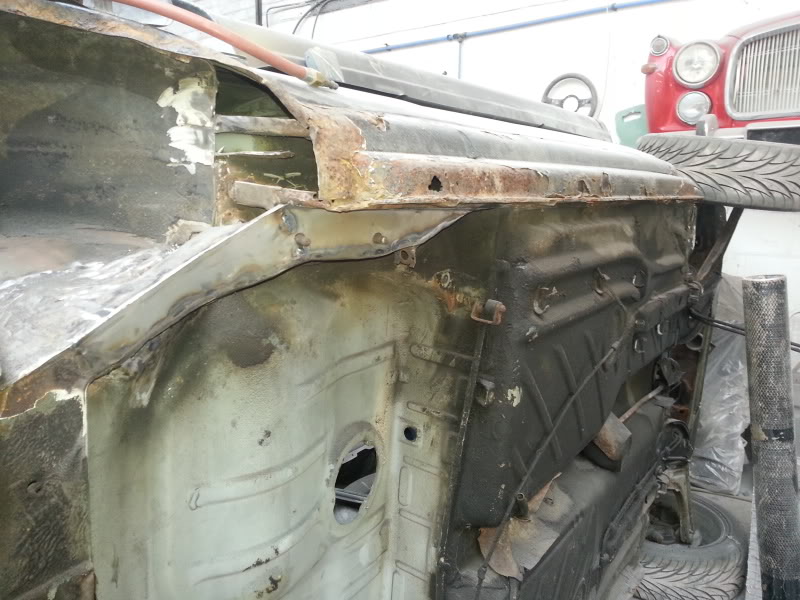
It's going to need quite a lot of panels including front panel, wing, sill, lower rear valance plus a few other little bits but all in all it wasn't so bad.
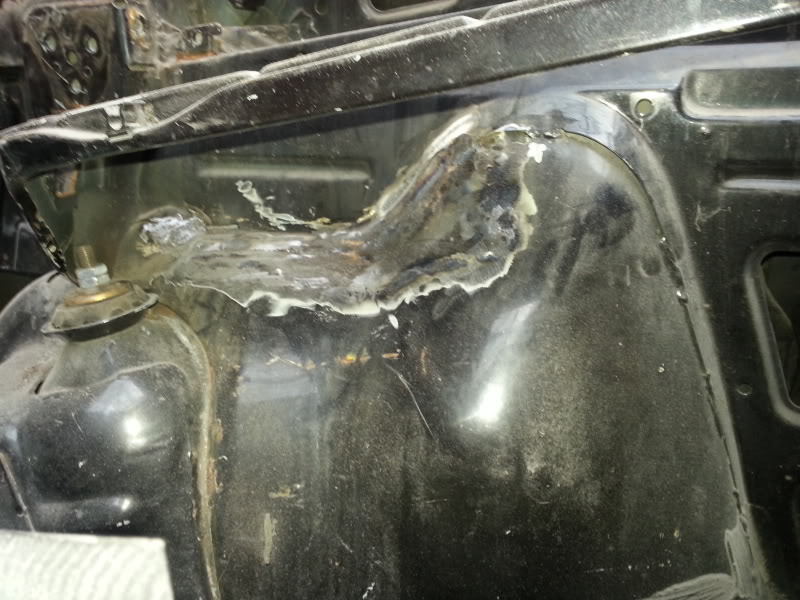
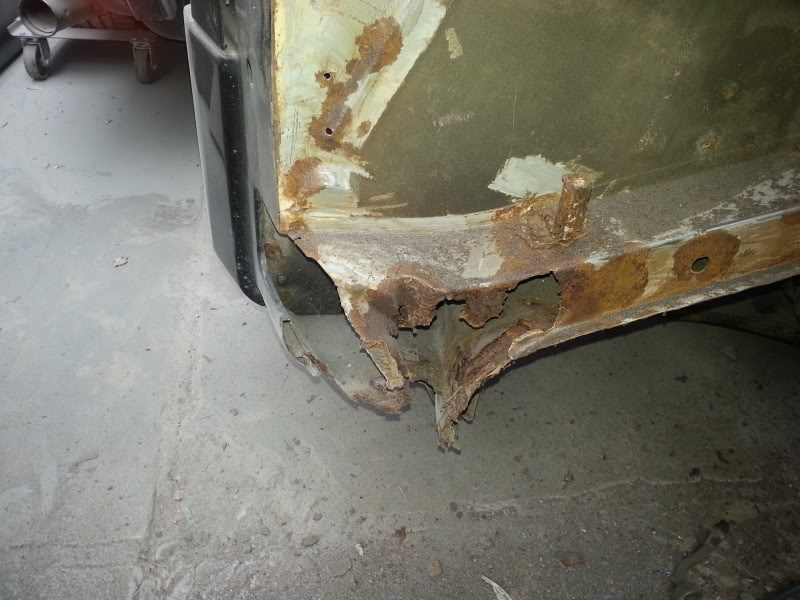
He did however work out that the car had had a front ender. Not a bad one but the repair looked like it had been done by a monkey. We took the wing off and found the worst welding ever where the front panel meets the inner wings. Also the front panel had been welded on and not treated on the engine bay side (see an earlier photo for how rusty it was) so we've decided to just cut it out and replace it.
He's going to go over it and work out exactly what needs to be done then I'll source the panels for him.
Hopefully be able to get some pictures while it's in the bodyshop so I'll update as and when I can.
Cheers for looking.
Posted
Settled In
I've been buying up some parts, mainly from funkstar, including a pair of cream leather arm rests. I took them home and started to clean them. I did this a bit too much and ruined them. So I decided to buy some leather spray dye. The pictures show them before, during and after:
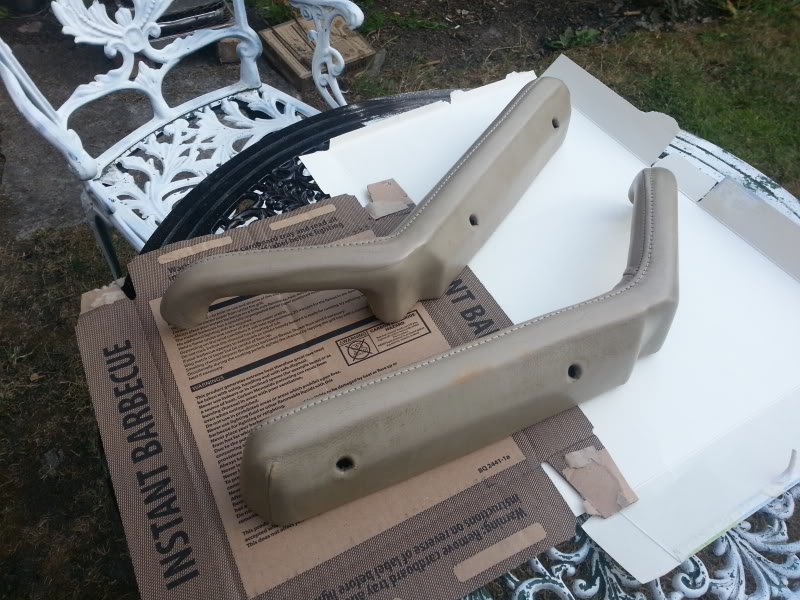
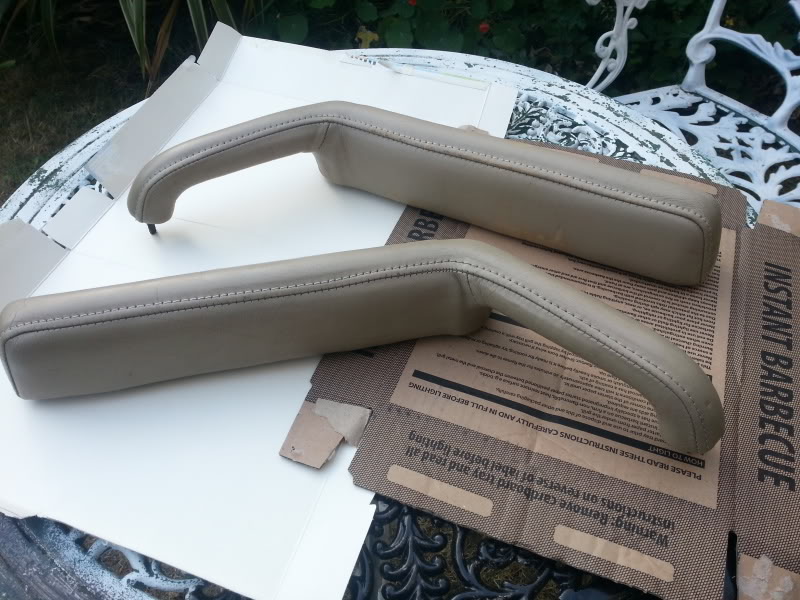
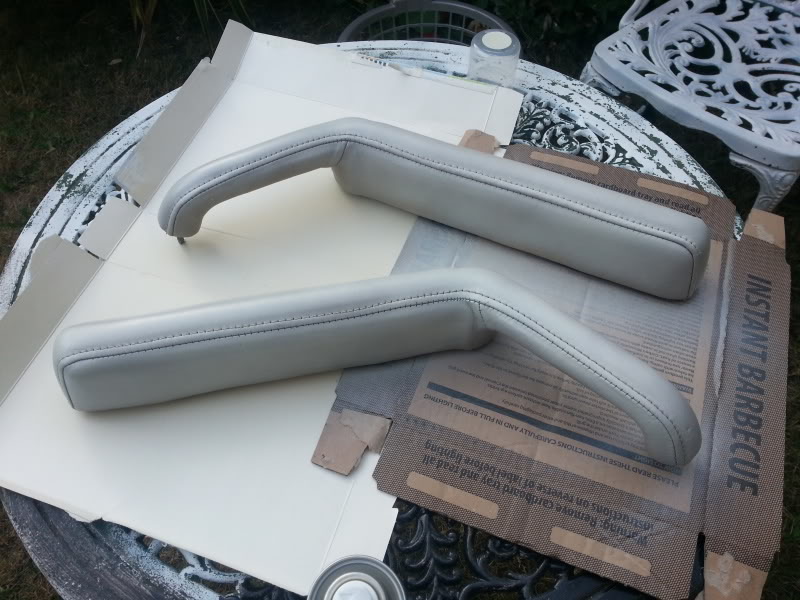
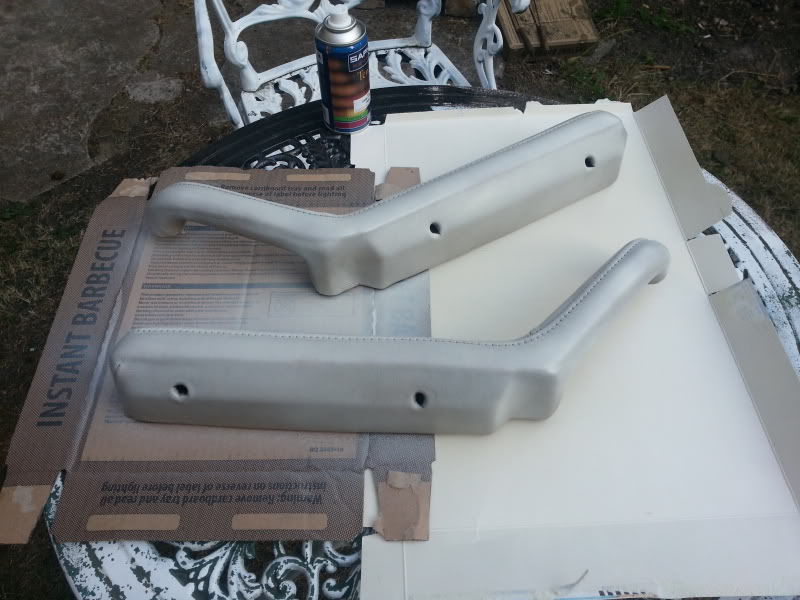
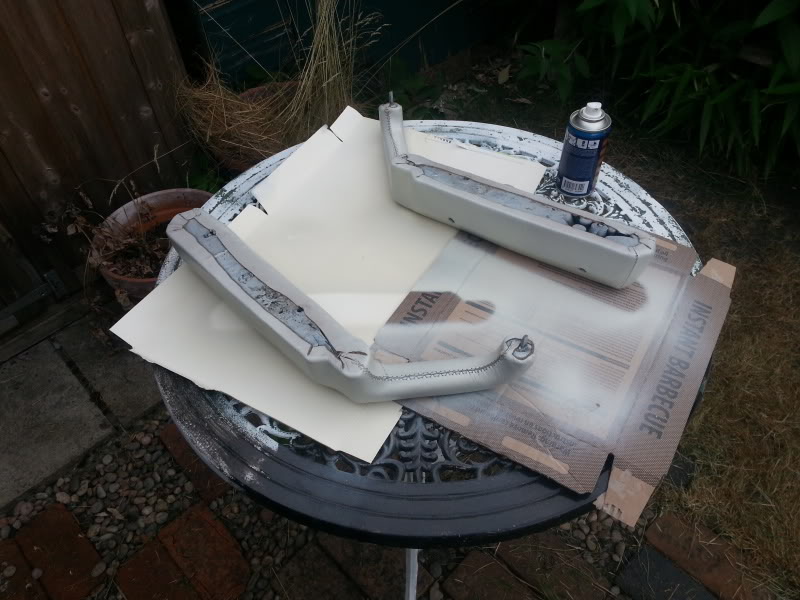
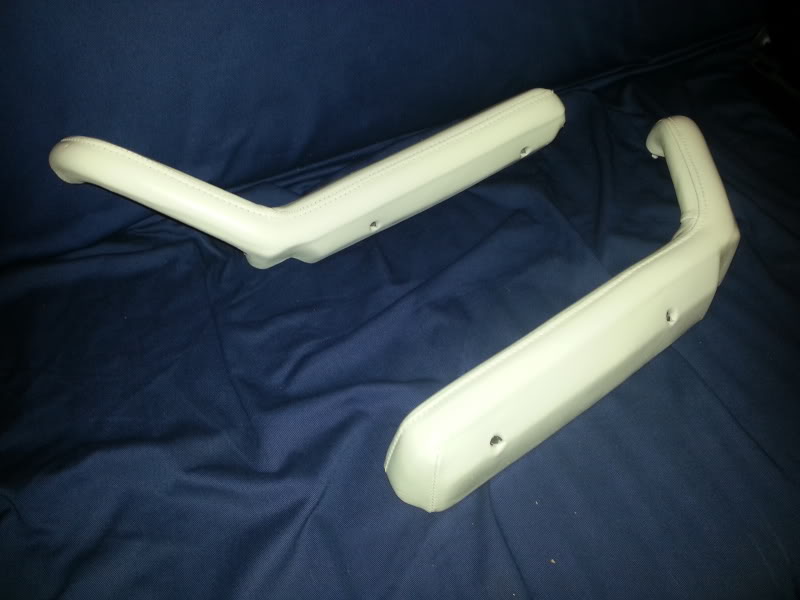
Turned out quite good I reckon
I don't live with my car so I'll see how well it matched the interior tomorrow. I think it will be pretty close though.
Posted
Settled In
Posted
Settled In
The sticker in the boot is for paint colour and trim. Useful as I found my original paint code on it which is a metallic black called Montego Black. That's the colour it's being sprayed.
Posted
Settled In
Roof off:
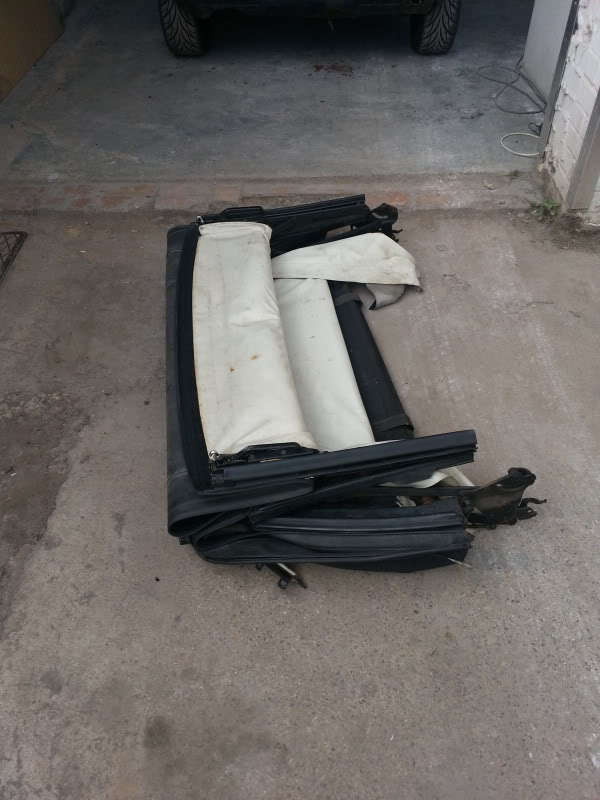
Also took the doors off and windscreen out and some little remaining bits. It's finally inside!
Roof came off really easy and it's not that scabby around the lip and he windscreen surround is not too bad either.
I will be going back up there again tonight and hope that I have some more pictures of it with some new metal.
Posted
Settled In
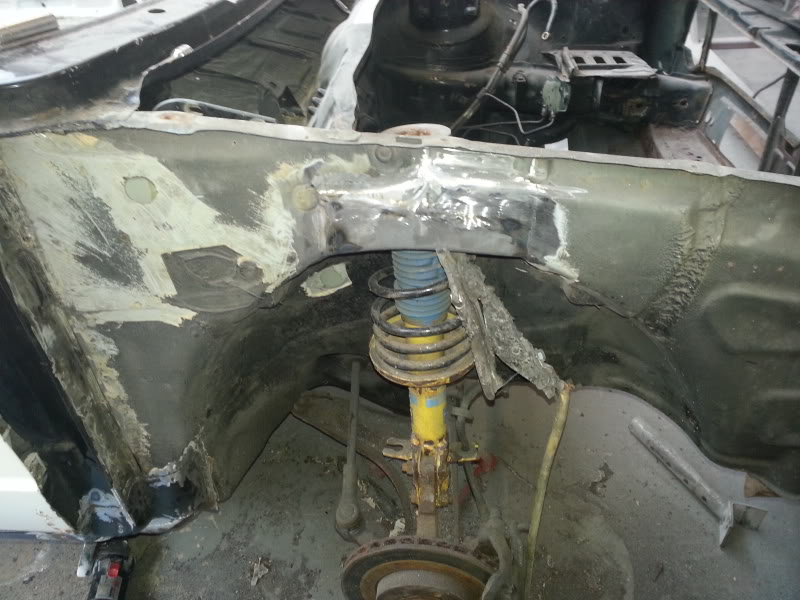
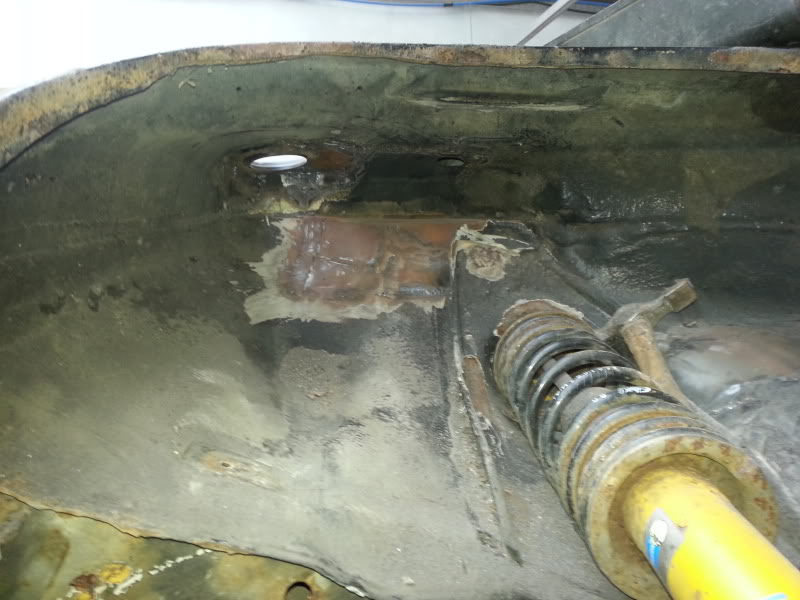
Front suspension mount rebuilt:
Repair to inner wing join, someone had chiselled holes for some reason:
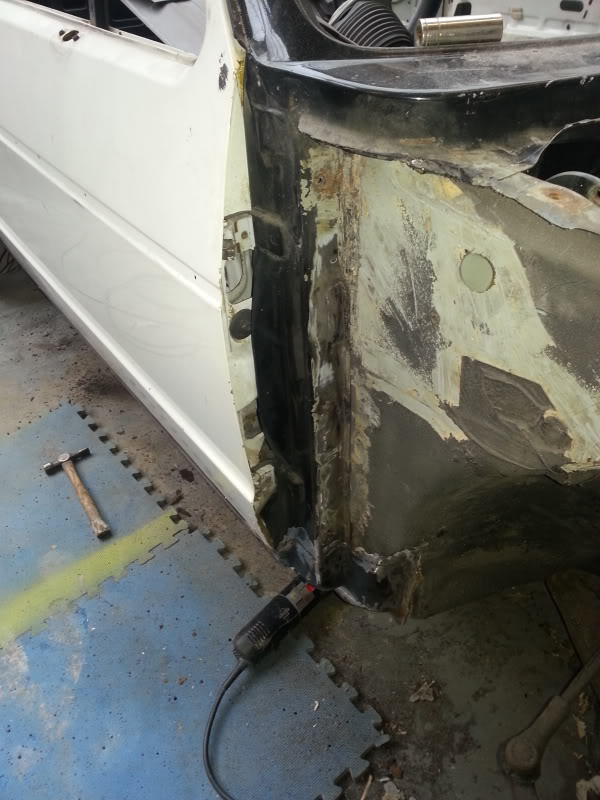
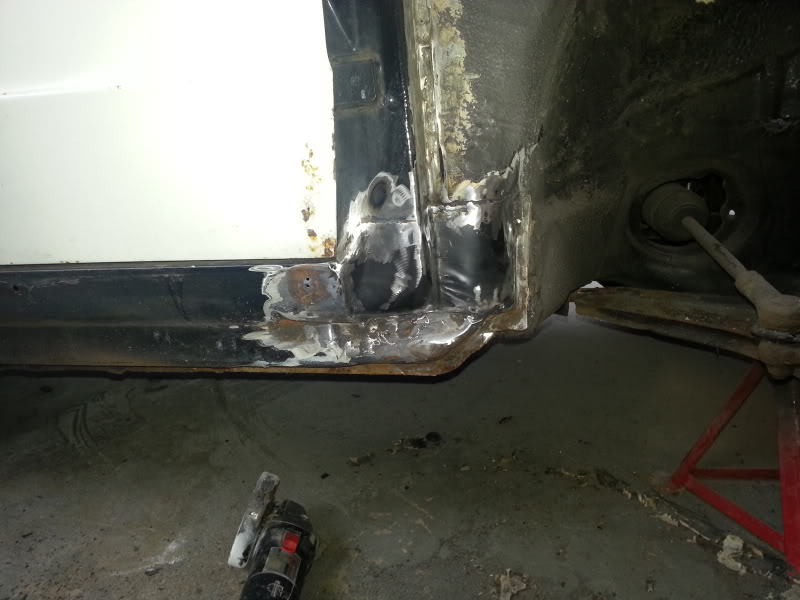
Front corner of sill repaired:
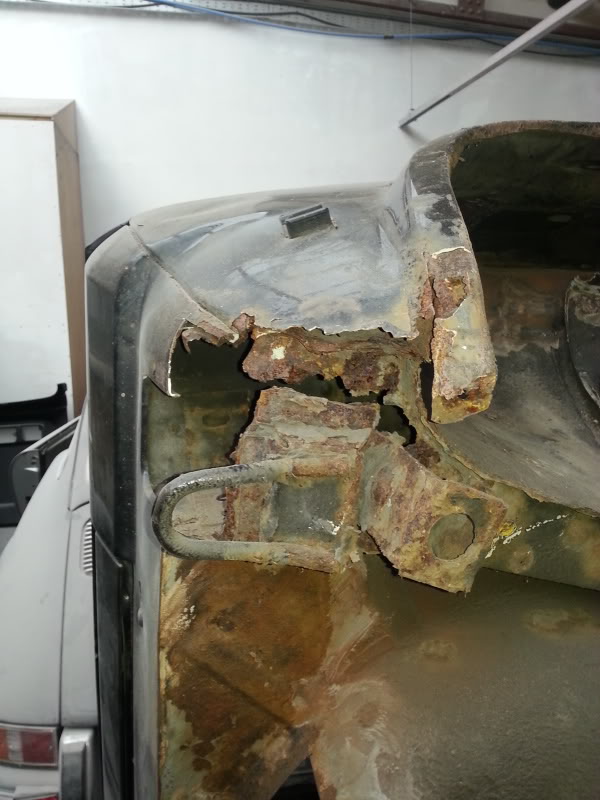
Rear valance cut out:
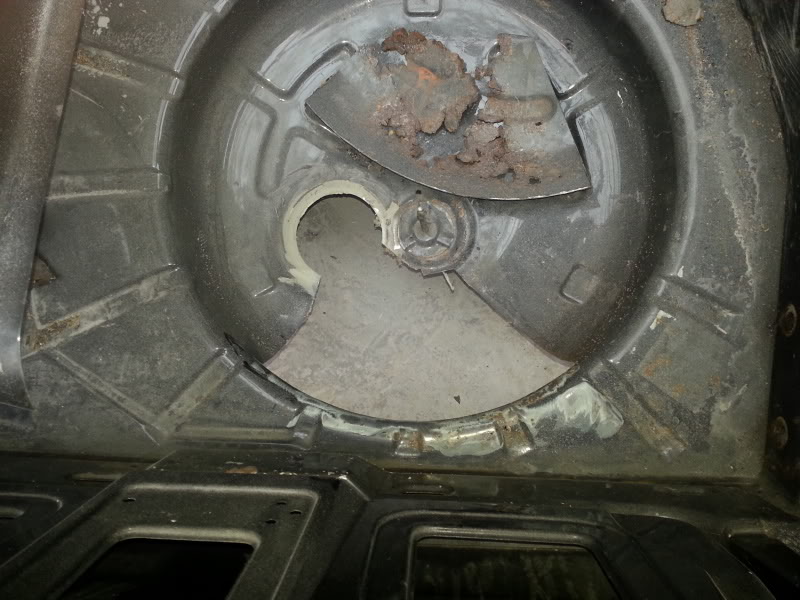
Rust cut out of boot floor:
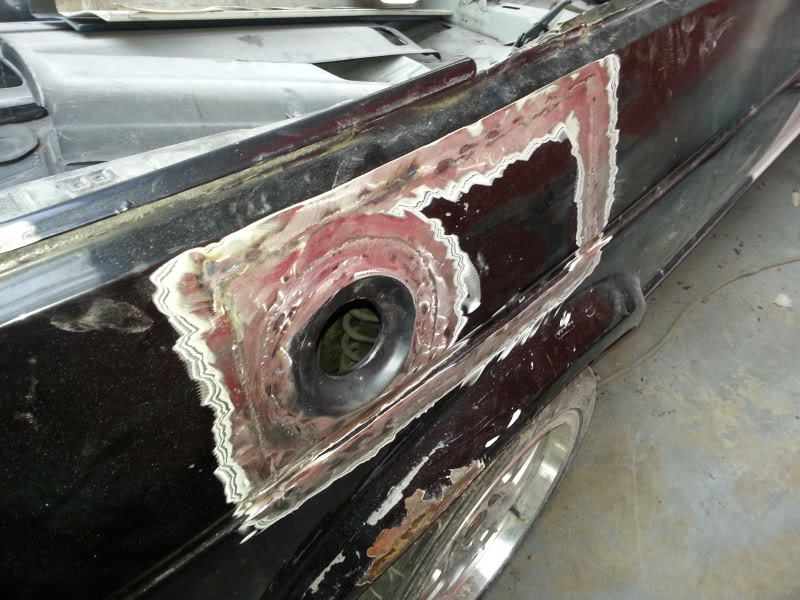
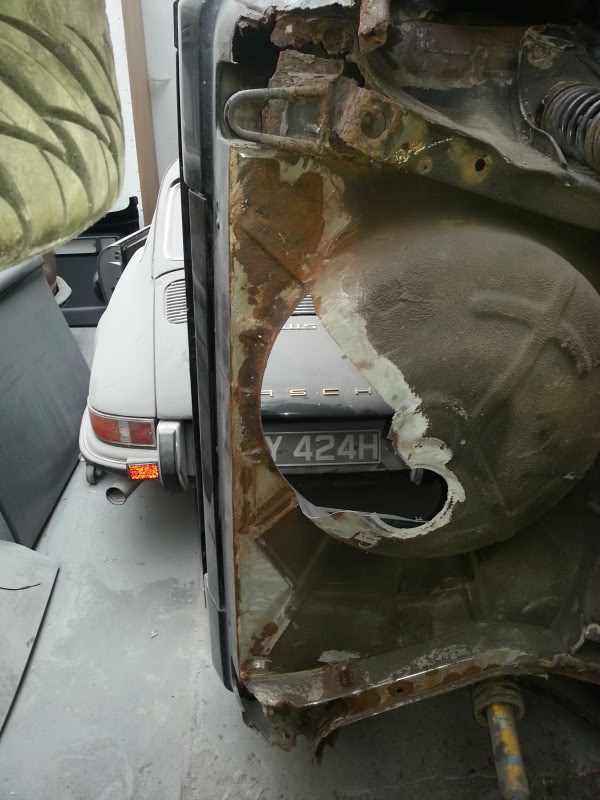
Outer petrol cap repair:
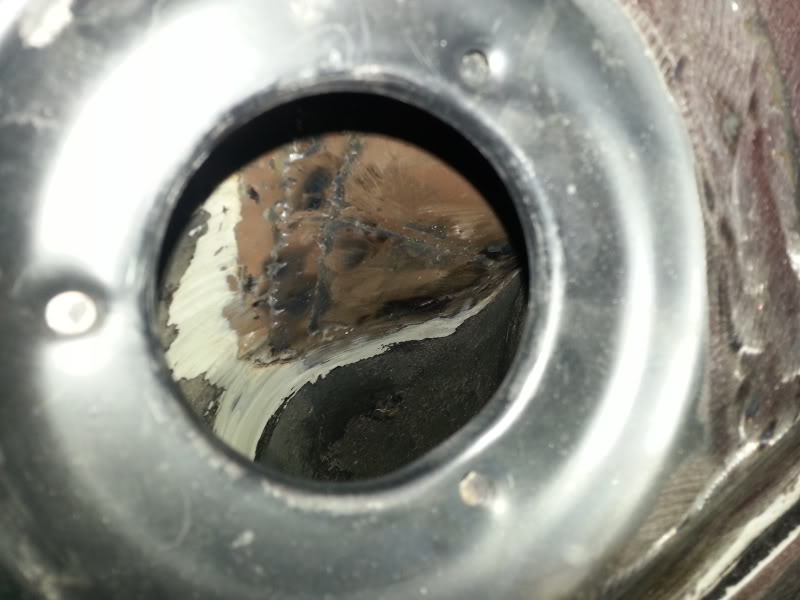
View through cap opening to repair of inner panels:
View from inside boot:
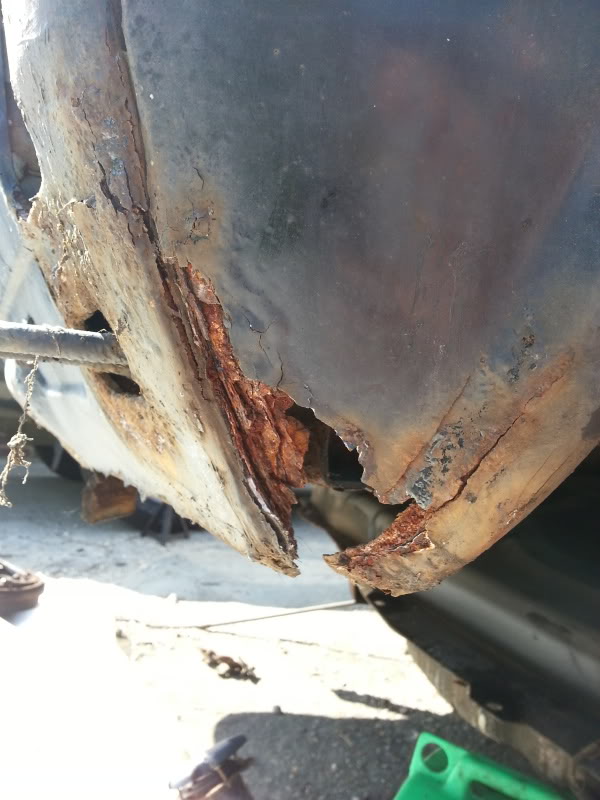
Little bit left to repair at front of d/s rear arch:
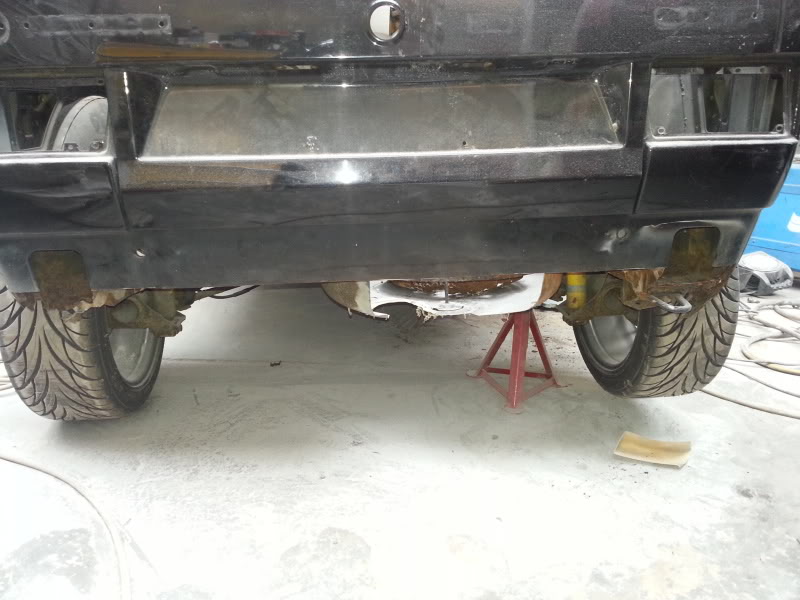
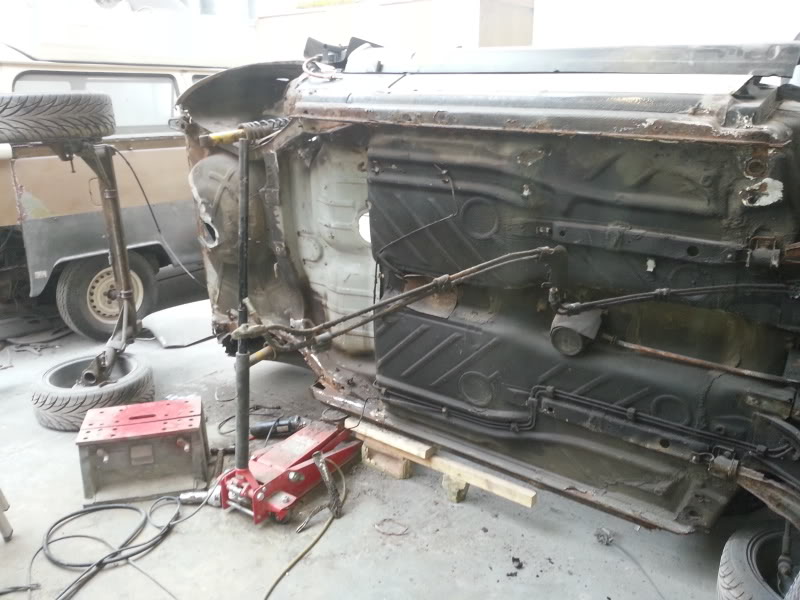
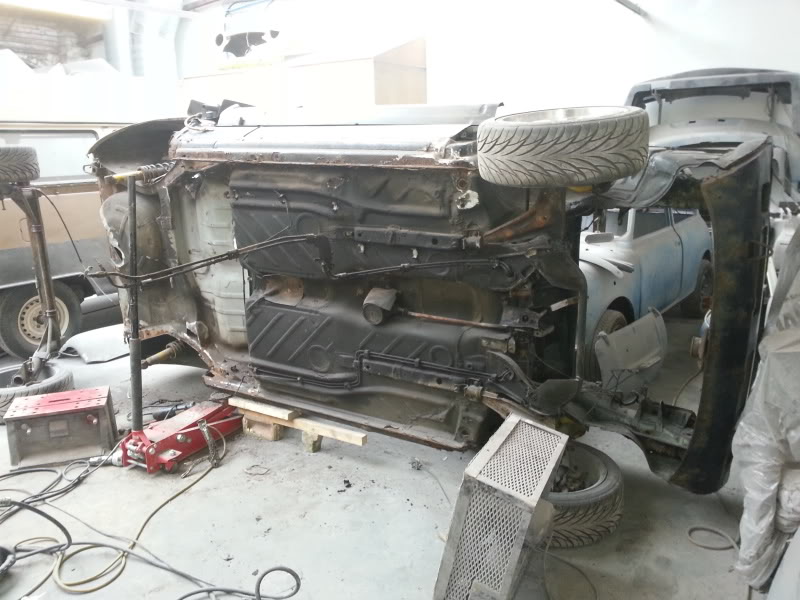
The next day I went up, it's been rolled on its side to do the underneath. Not a pretty look:
Repair to chassis leg:
View from underneath of repair done to d/s rear arch:
Still loads left to do. Should have more pics on Monday or Tuesday
0 guests and 0 members have just viewed this: None.