


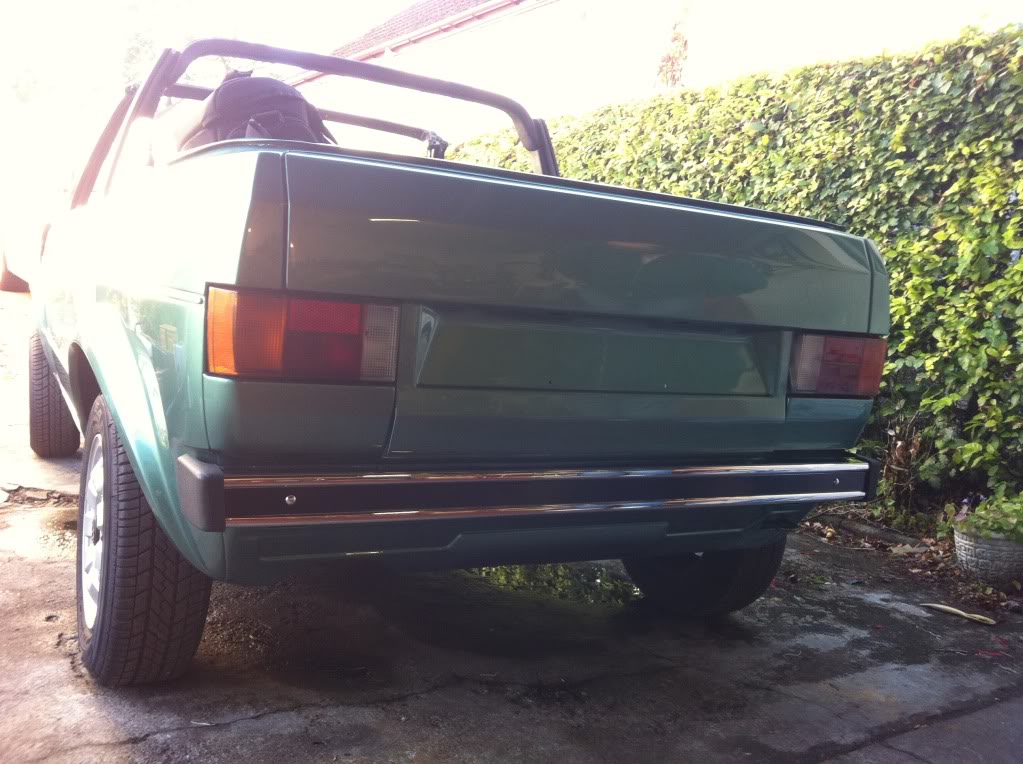
Papyrus Green Bermuda import

Posted
Old Timer


Papyrus Green Bermuda import

Posted
Settling In

Swallowtail_uk said
nice paintwork mate…..looks cool
Cheers….will hopefully look proper old school once I'm done with it

bouchay said
What colour roof are you going to put on it?
Sticking with the original black as it's a pretty new roof TBH although might change the headlining as there is a small tear in it :cry:
Posted
Settling In

Not done much as had to clear the garage to make space, but got the new chrome trim strips on the sides and fitted a rare grille cover for the front that I managed to pick up 8)
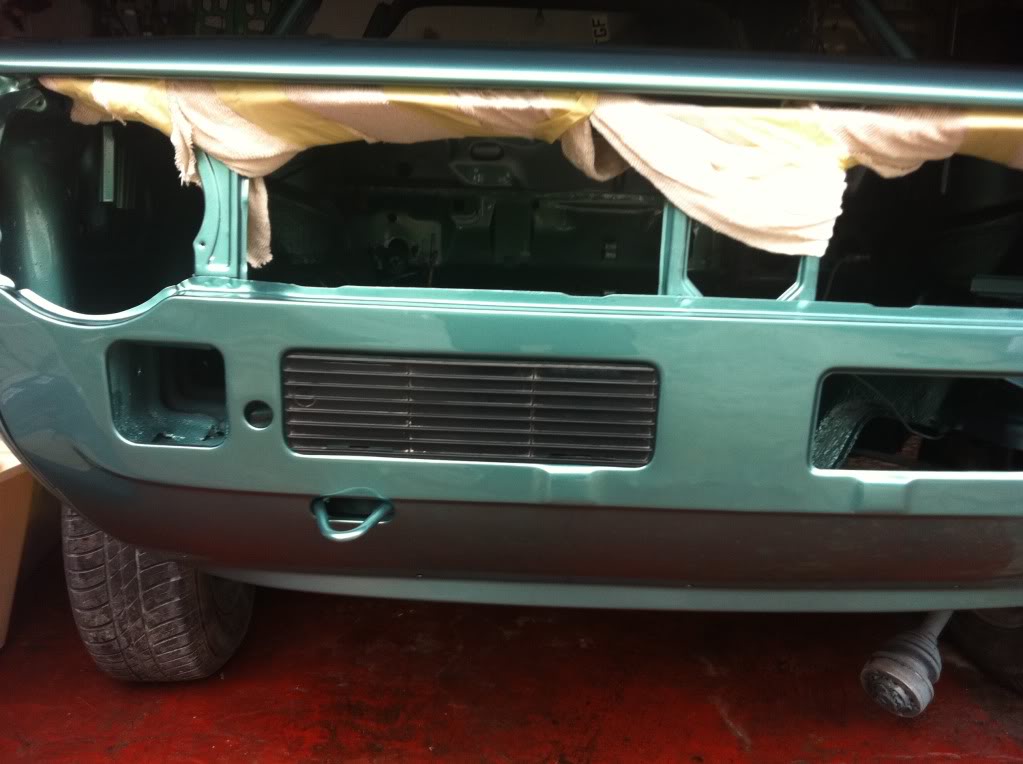
So much to do, but gonna take my time so it all gets done right
Probs get chrome bumpers on tomorrow
Posted
Settled In

My New Year's resolutions are: 1. Stop making lists. B. Be more consistent. 7. Learn to count.
Posted
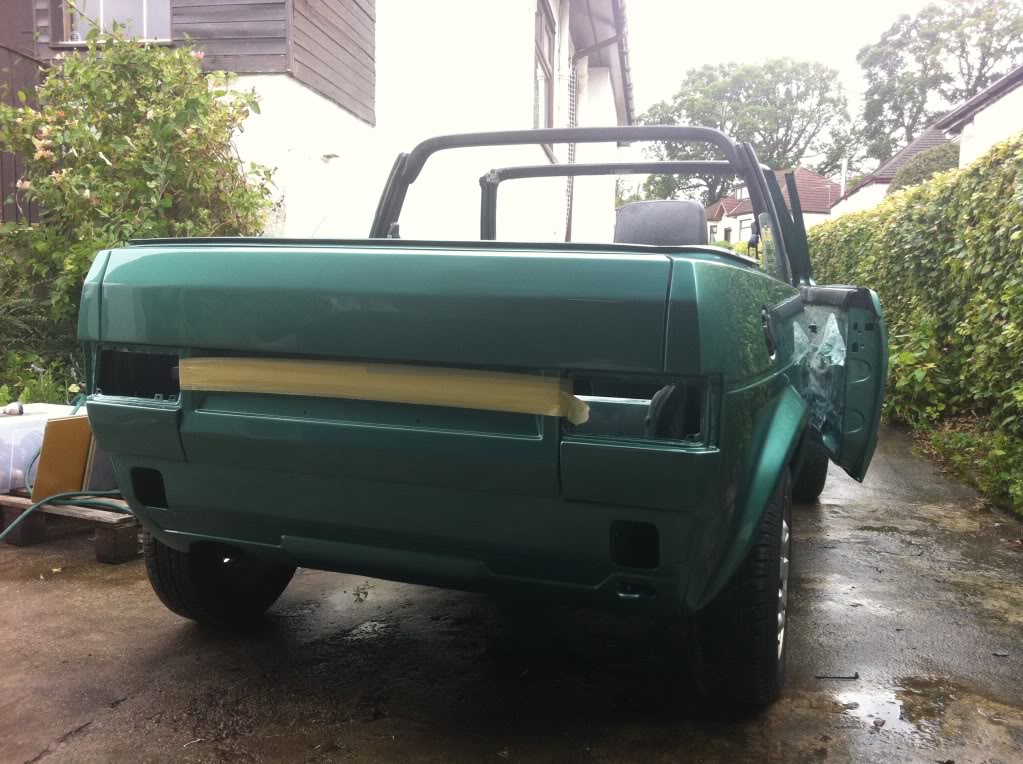
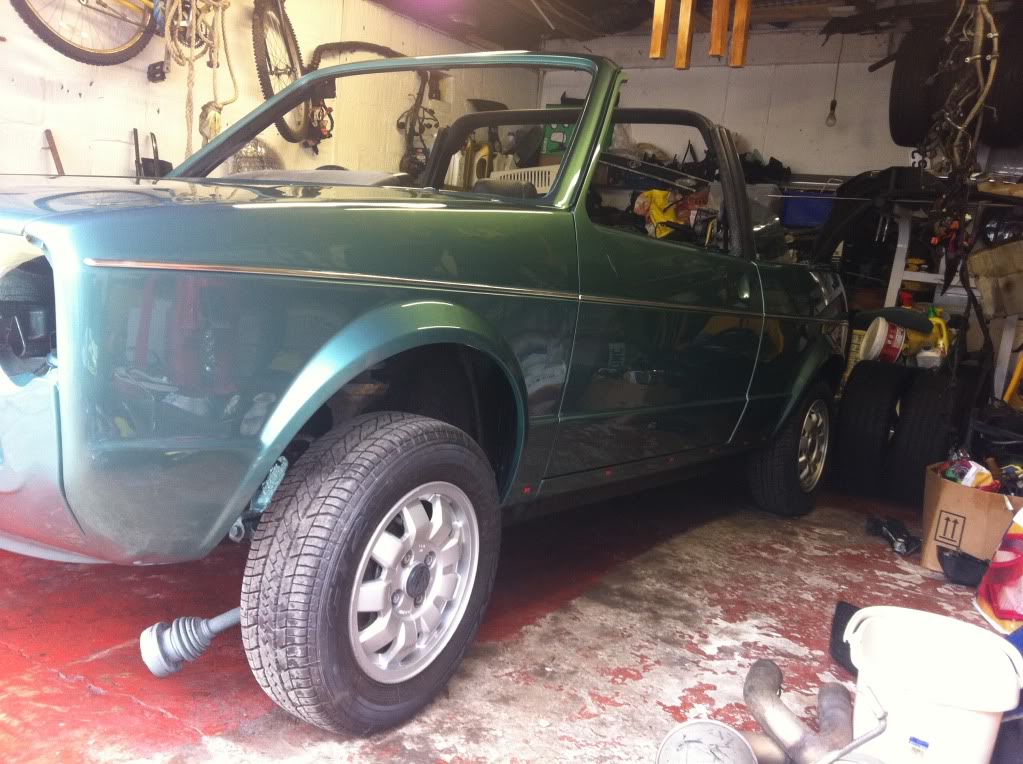
Settling In
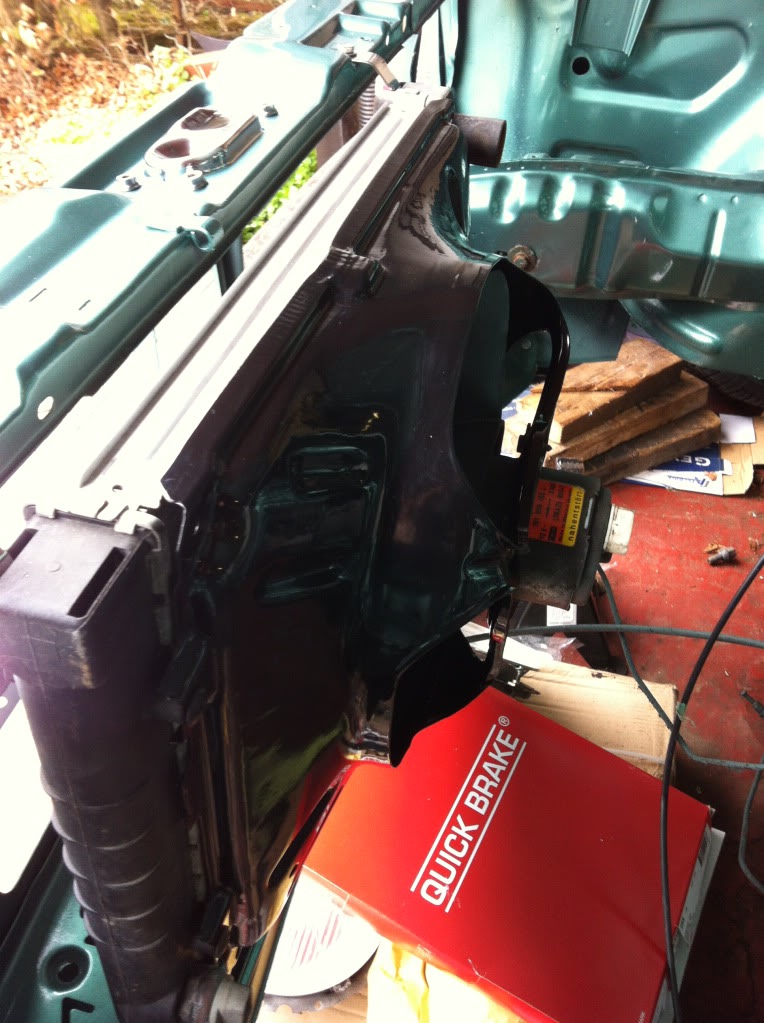
From this
To this….still got work to do

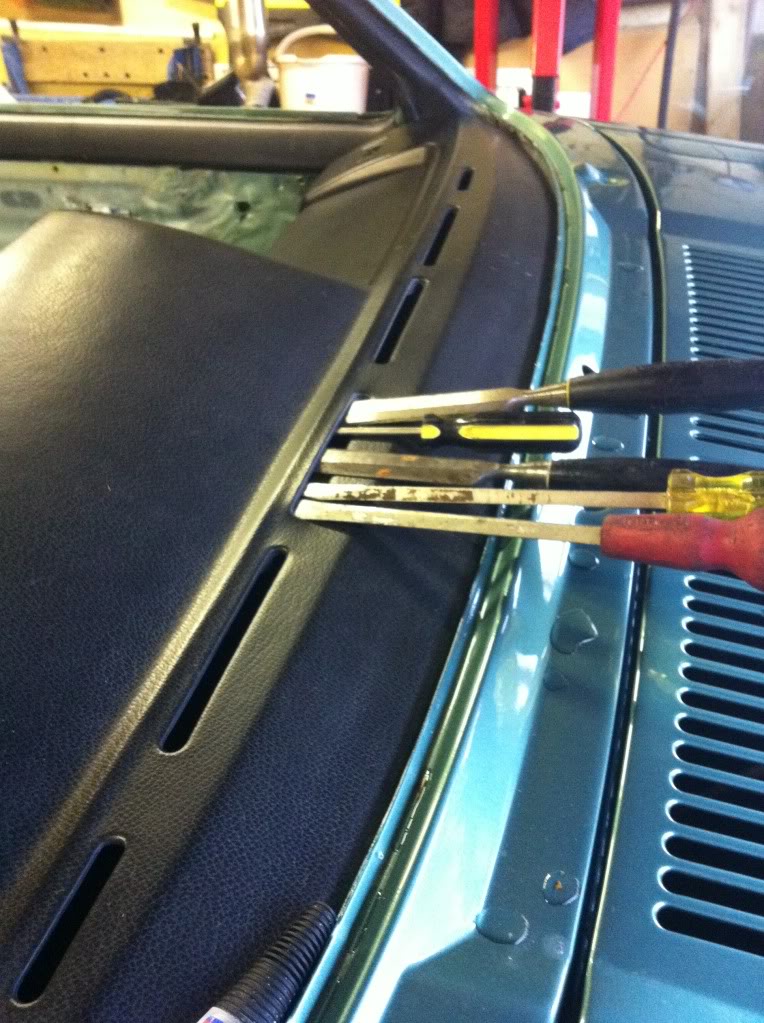
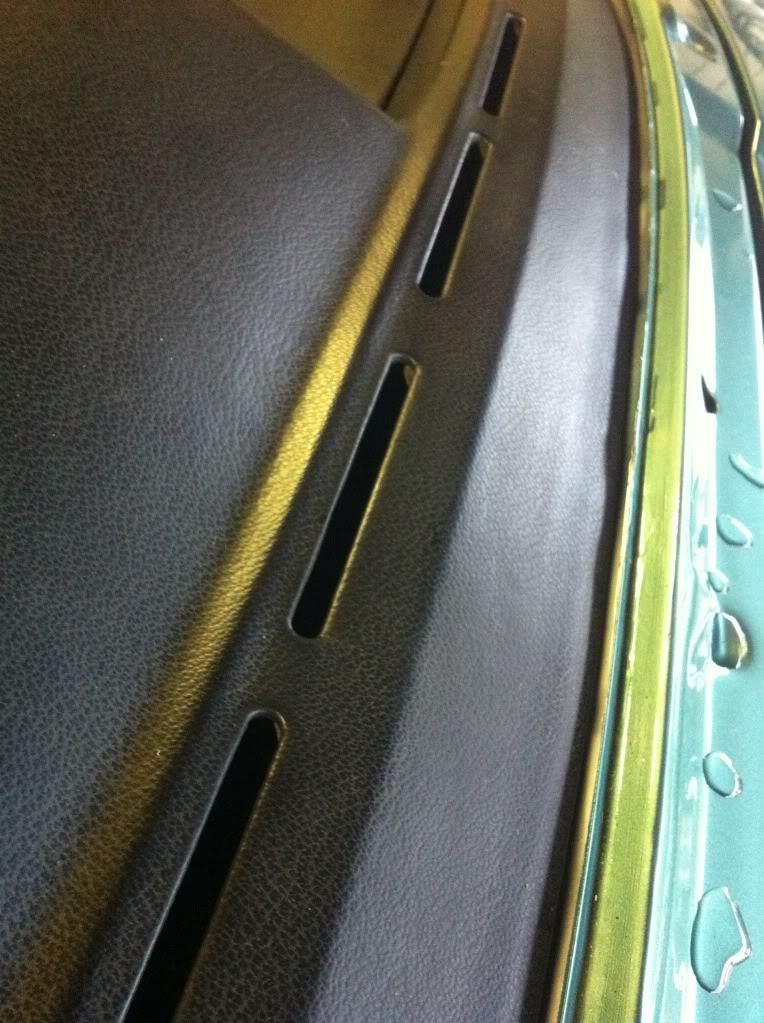
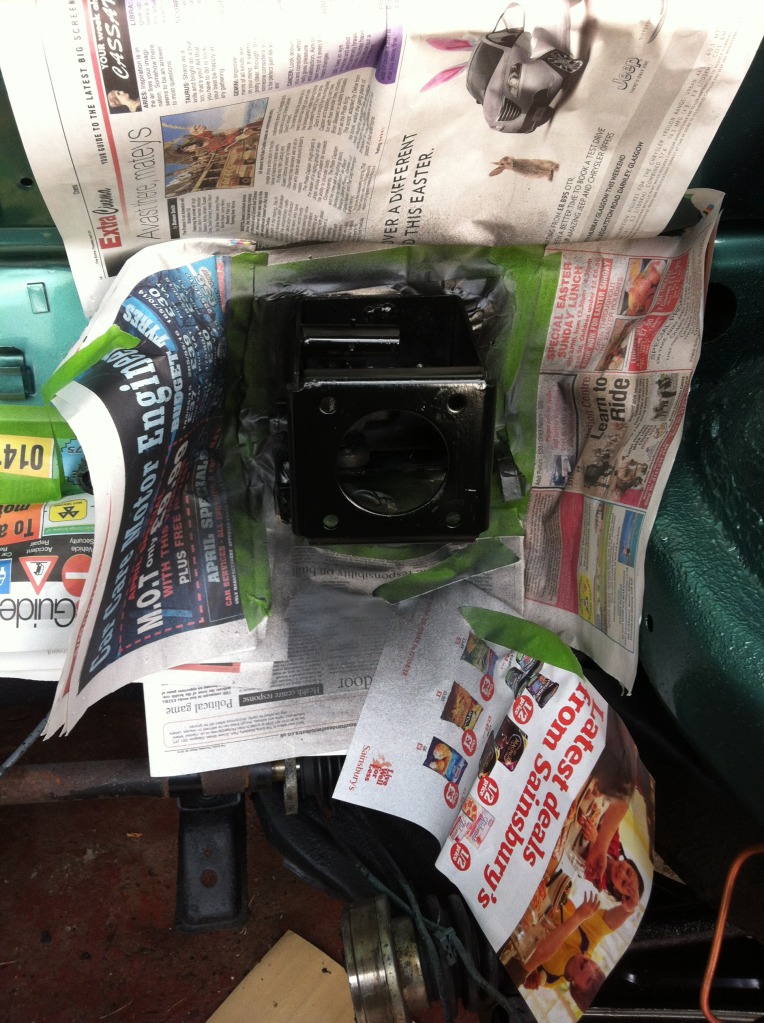
Then started on the dash as the covering at the windscreen vents where it's lifted. oot with the glue an a few tools to hold in place
And after
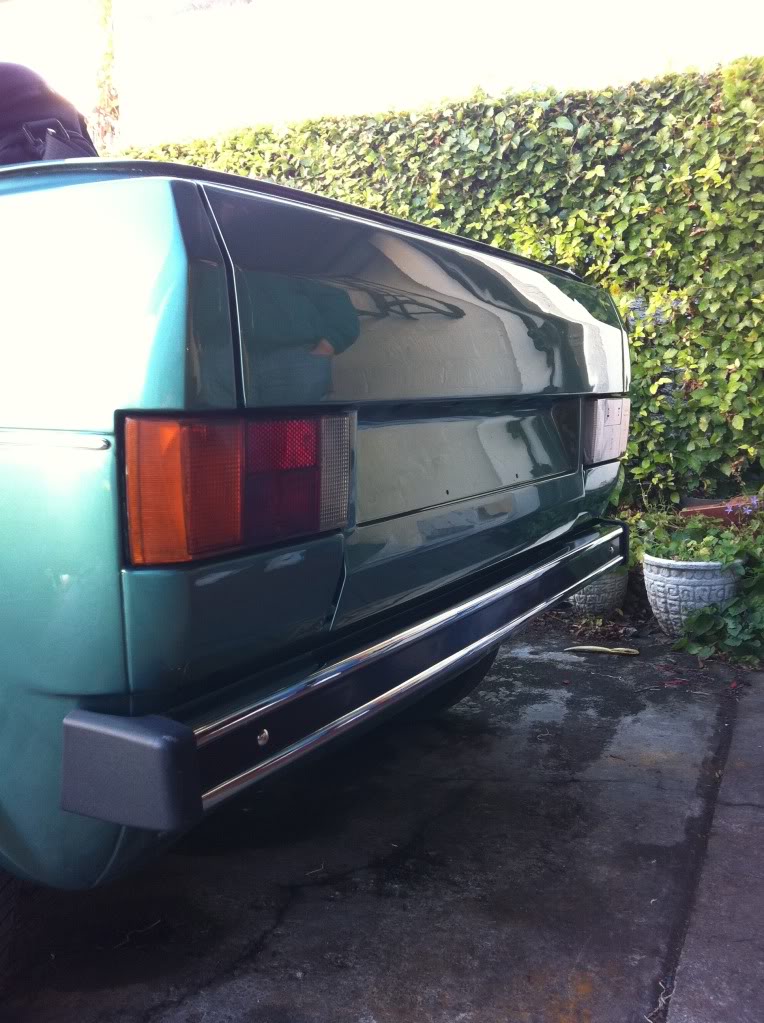
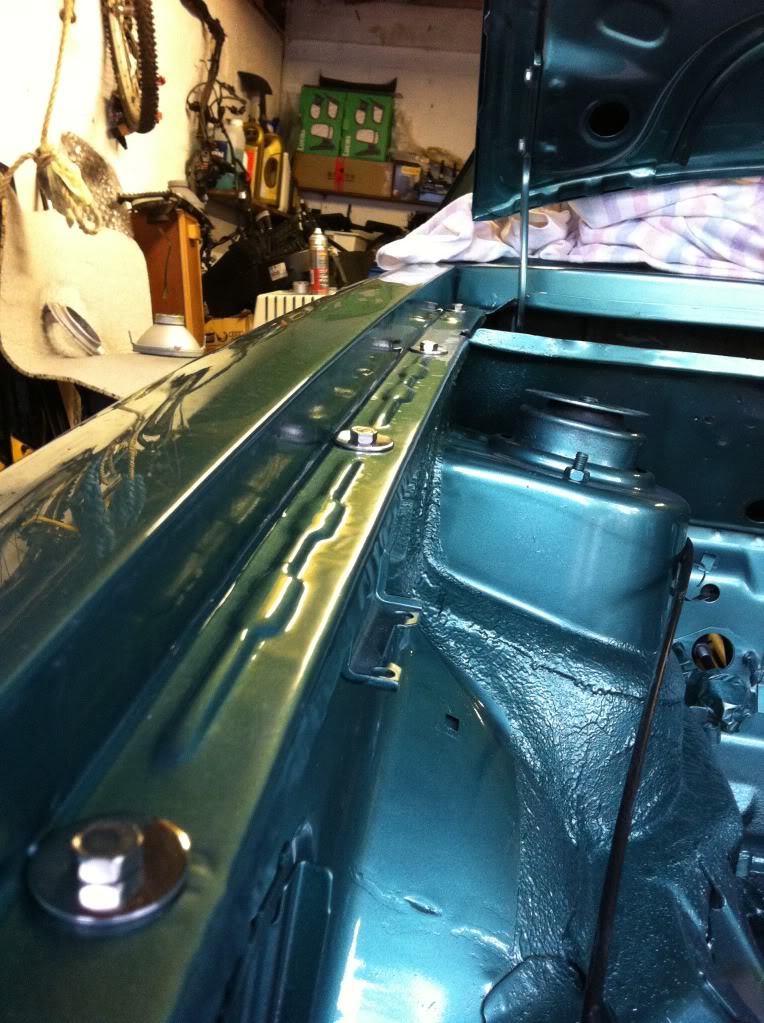
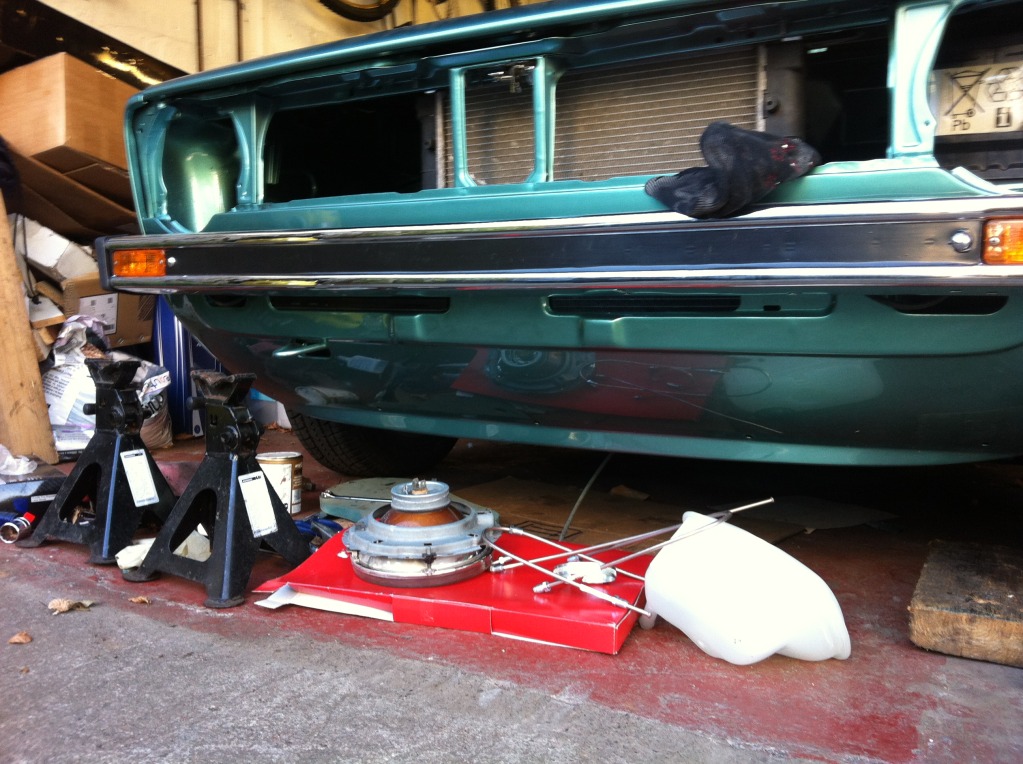
Also got the rear end together
Just need to fit the solenoid to pop the boot and it'll be done (hence boot aint shut)
Posted
Settling In
Started with a rather rusty light.
Stripped and masked

First coat of primer and ready for some silver finish coat


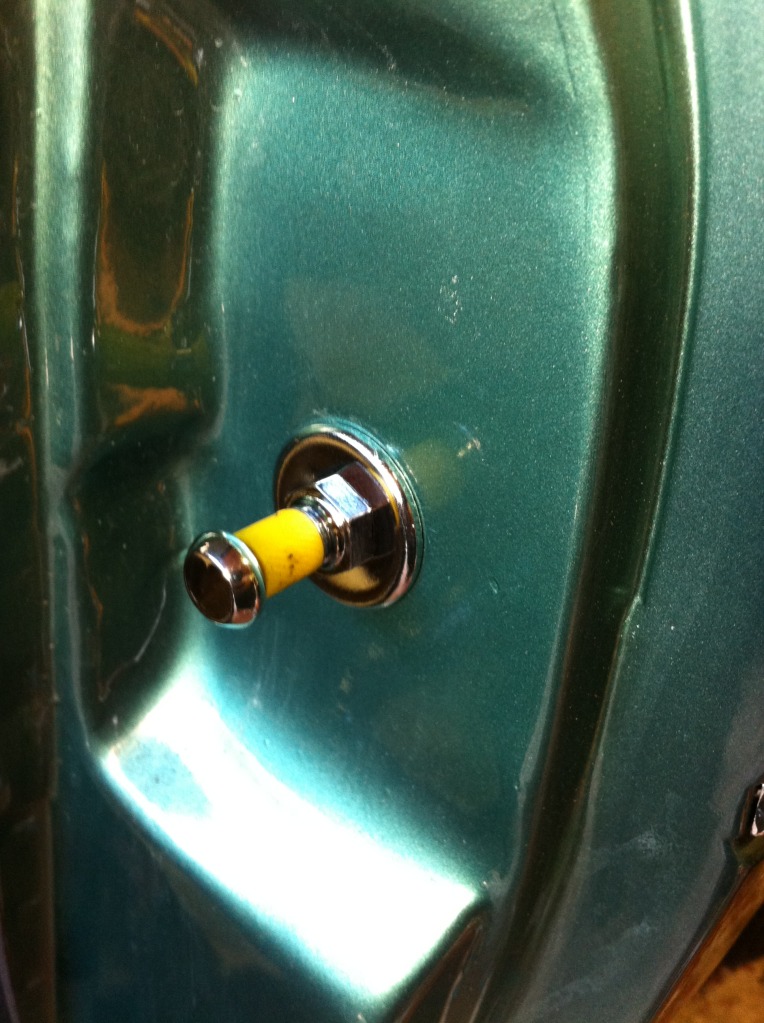
Also got time to stick the chrome wing bolts on
Posted

Settled In
1989 MK1 Golf Clipper
1999 Ford Cougar 2.5 v6 (soon the nightmare will be over and car gone)
1999 Ford Cougar 2.5 v6 (soon the nightmare will be over and car gone)
Posted
Settling In
89clipper said
The car is looking sweet bro, the chrome side trim looks much better on yours than it would have done on mine, nice paint job and colour
Cheers buddy…..slowly getting there
. Decided today that I'm gonna smooth the engine bay so have slowed down on the body work and concentrating on exterior and interior for now. Didn't realise the paint shop wouldn't smooth off the original finish in the bay so rather than be annoyed for life will get it re-done before putting the engine back in
Posted
Local Hero

You need to use High temperature glue to hold the flaps of the dashboard vent, or the heat will loosen the glue eventually.
"Making Cabbies More Beautiful One Roof at a Time"
Posted
Settling In
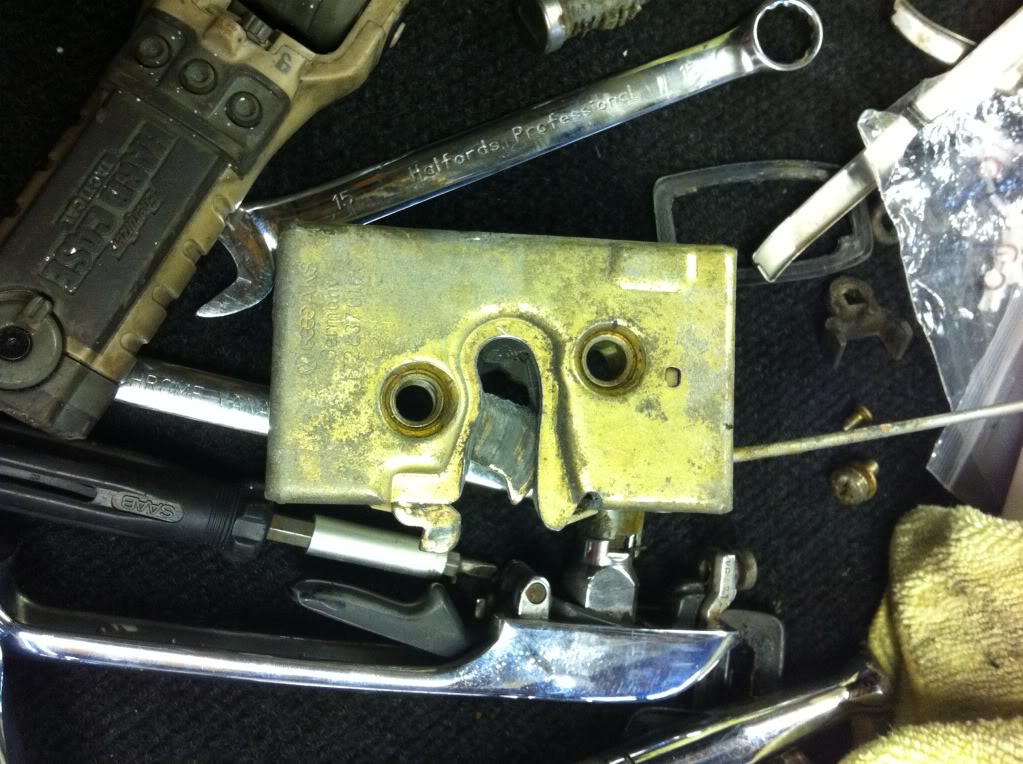
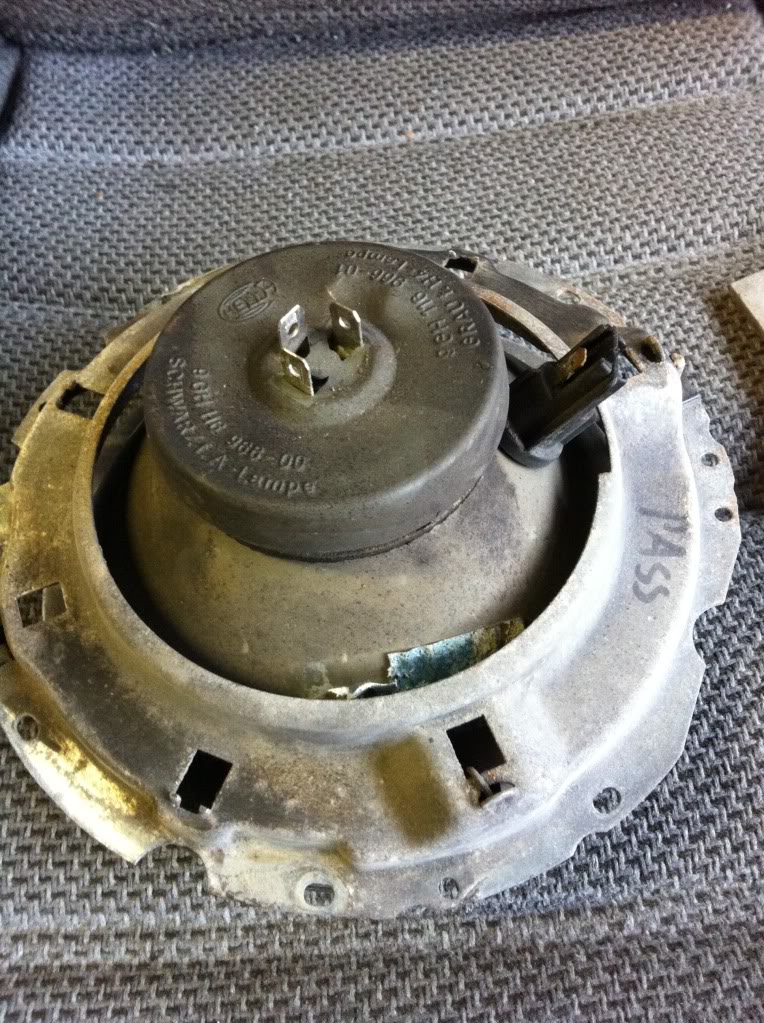
As I've smoothed the tailgate I needed a solenoid fitted to pop the lid so had a look on ebay etc for solenoid kits and remembered I've got 2 W8's that I'm breaking so took the full boot lock kit out of that in the hope I could use the solenoid there.
Full mechanism with solenoid unscrewed on the right

Solenoid that was originally for a cable operated system
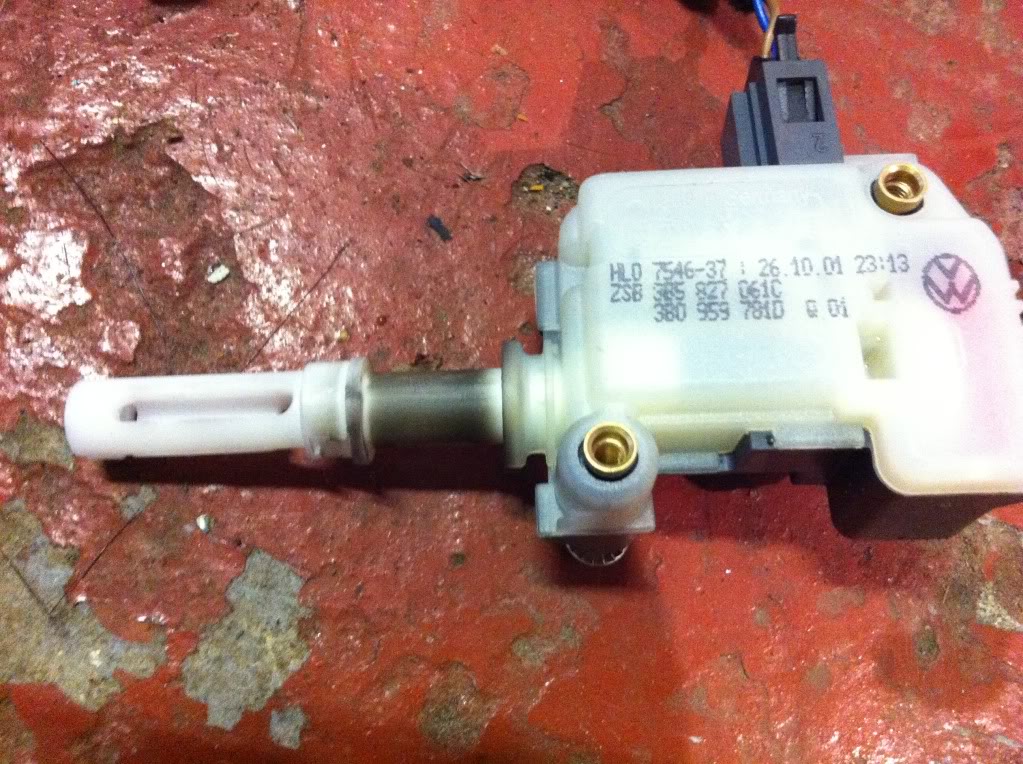
Original mk1 book lock pull rod alongside the first stage of cut down and bending
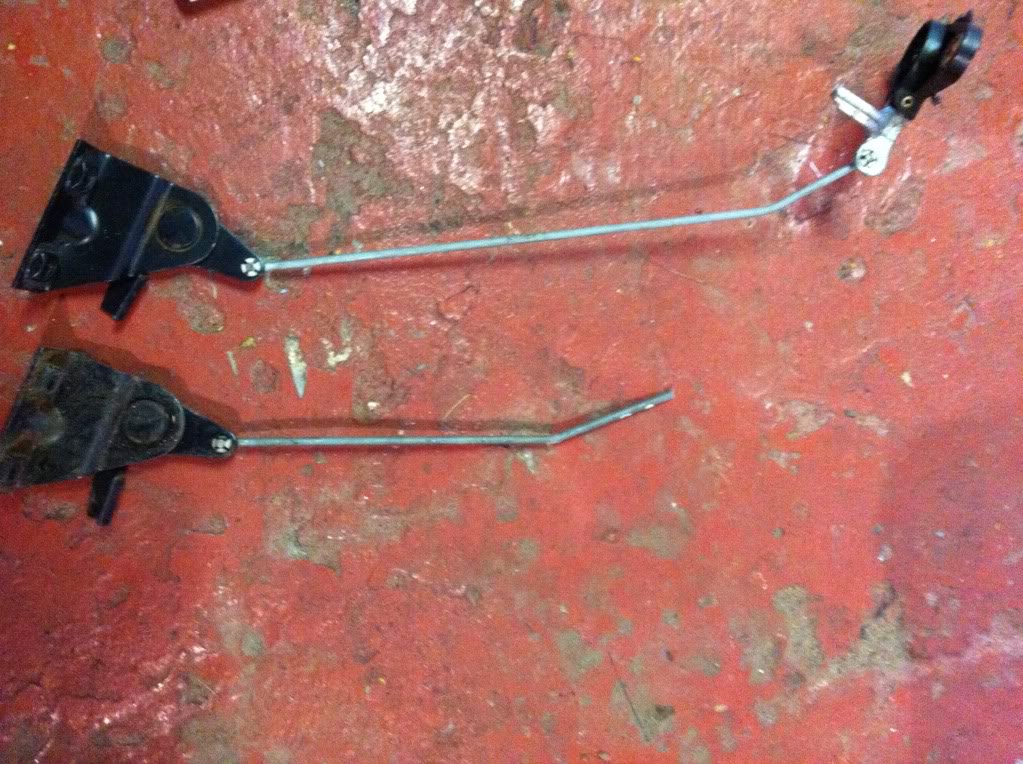
The final rod after bending etc

and lo and behold a very OEM looking solenoid fitted
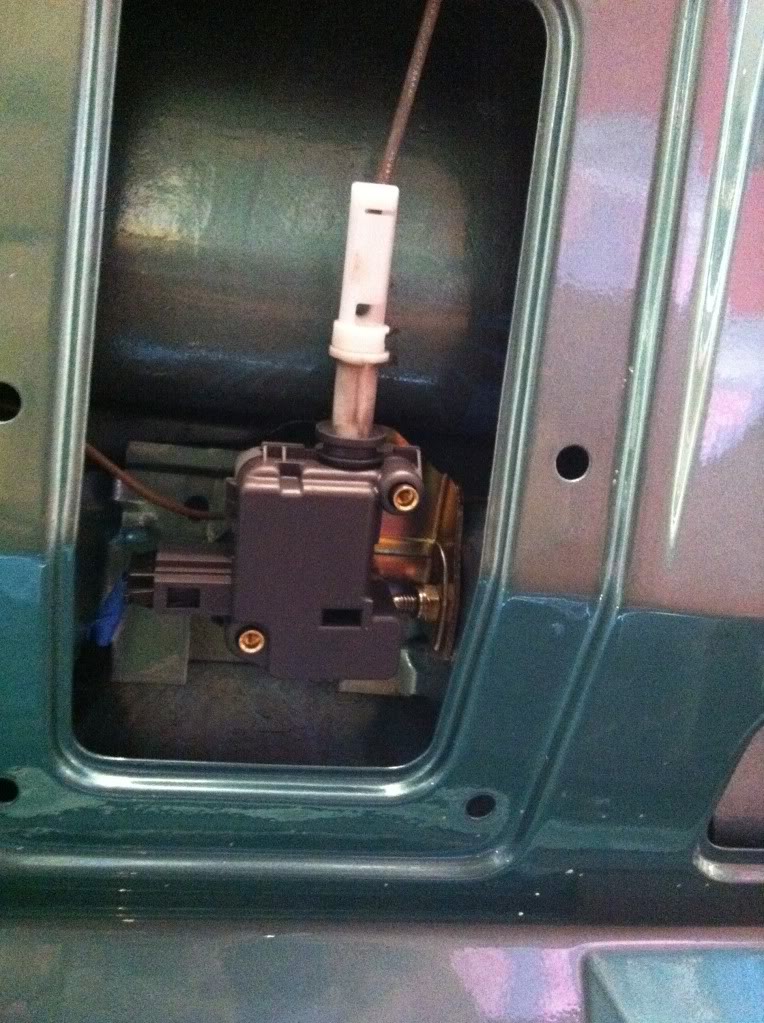
and it works!

Posted
Settling In

crackin quality for the cash
Posted
Settling In
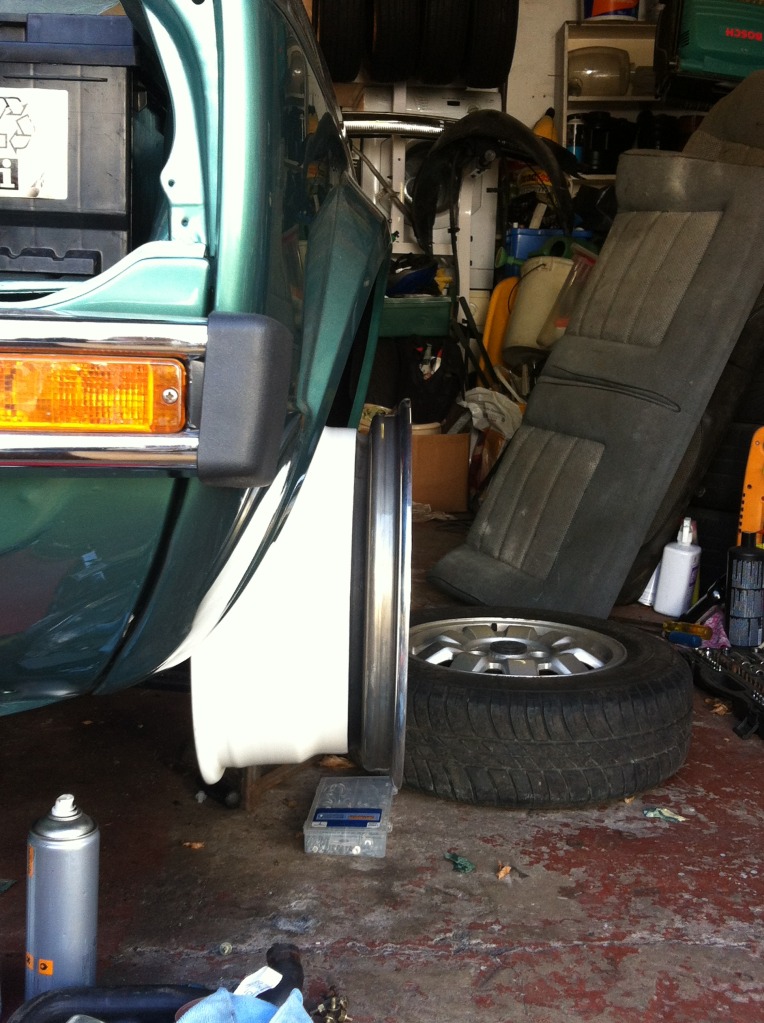
Started off with stripping the front suspension out so I can get the hubs painted along with refurbing the calipers etc. Everything else is getting replaced so new wishbones, shocks and springs, top mounts, bushes, tie rod's, track rods, brakes discs (Brembo drilled ones I picked up at ED38 last year……need the extra stopping power for the 3 speed auto
 ), brake lines and pads.
Thankfully painter prepped all the arches when he was painting it so no work to do there
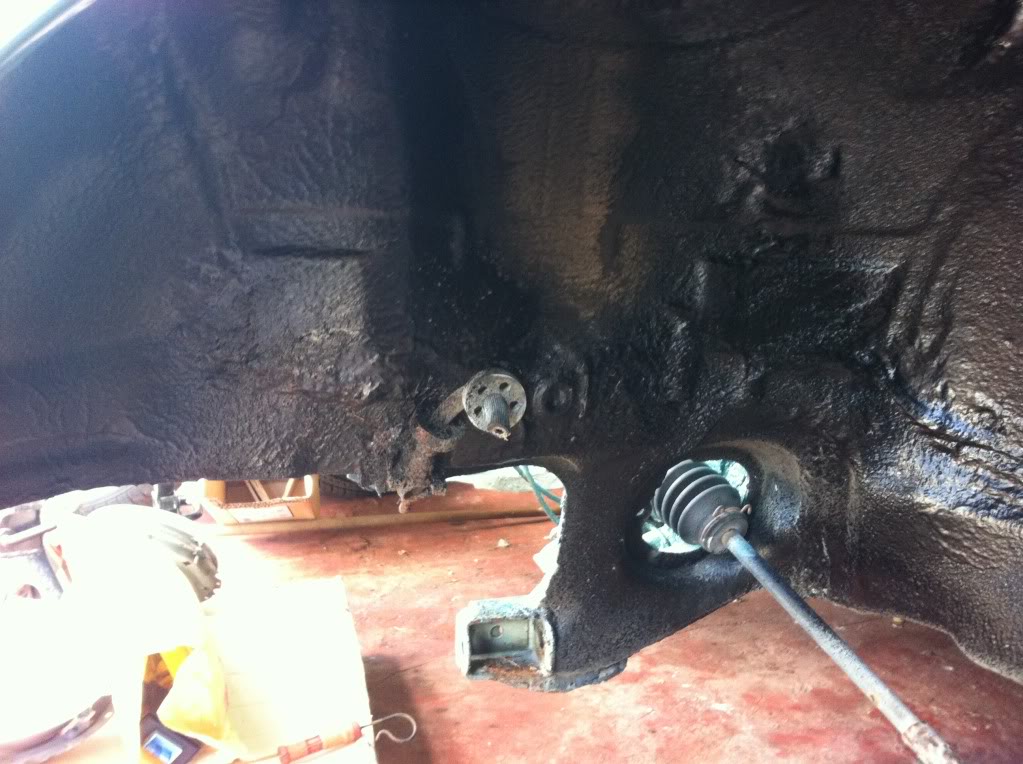
One side off. Not been touched for years I'll bet although new discs and pads have been on recently. Typically all bolts are well seized :?
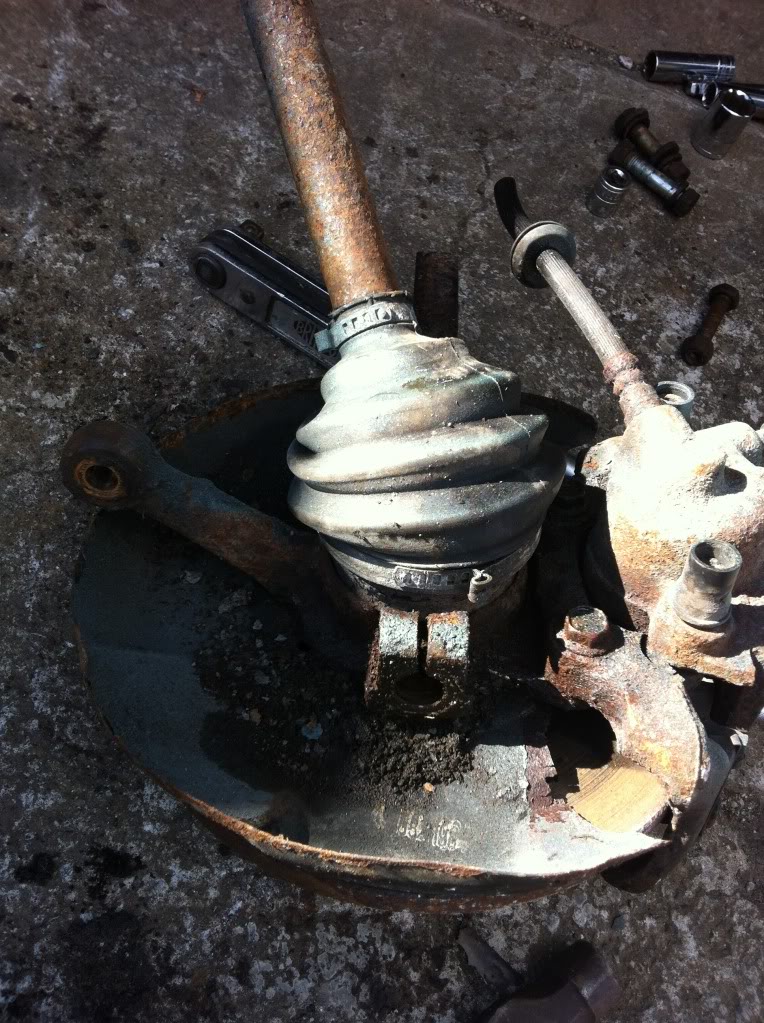
One wishbone stripped off and ready for the bin
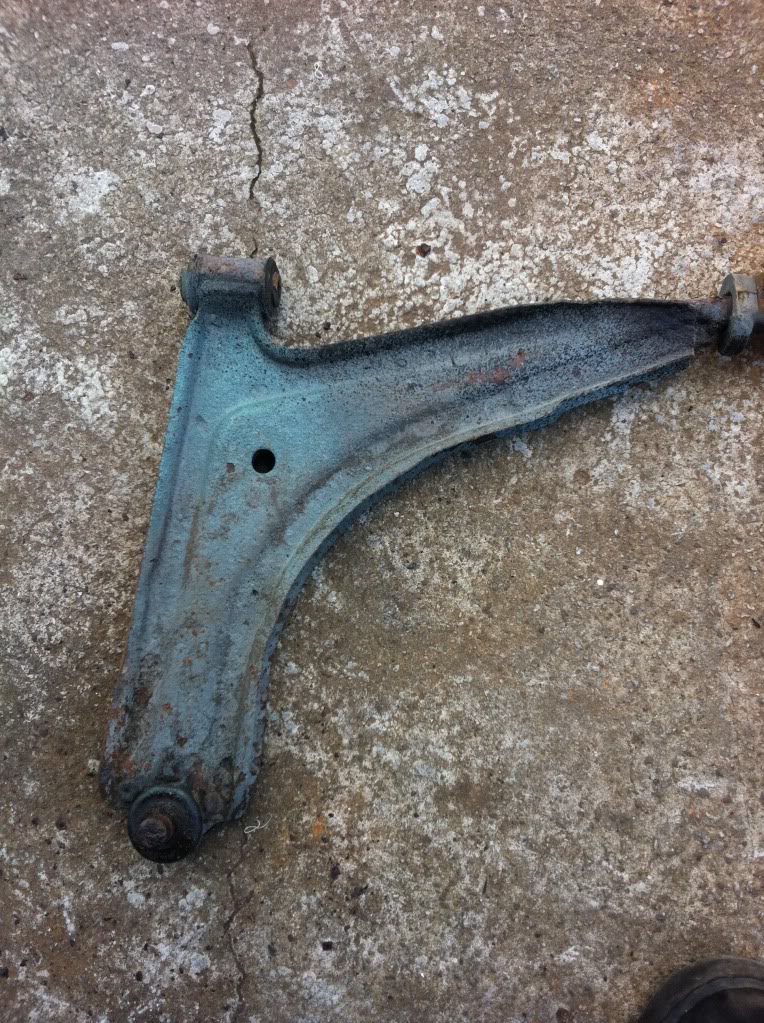
Only thing I need to decide on is whether I get the wishbones powdercoated or not as it's an extar layer of protection, but causes all sorts of issues with getting bolts through smaller holes

Posted
Settling In
While I was waiting I drilled out the holes on the front panel so I could get the bonnet catch on. This is what you find with non OEM panels nowt fits properly. Decided I would use some nice chromed bolts from a spare W8 manifold I had lying around

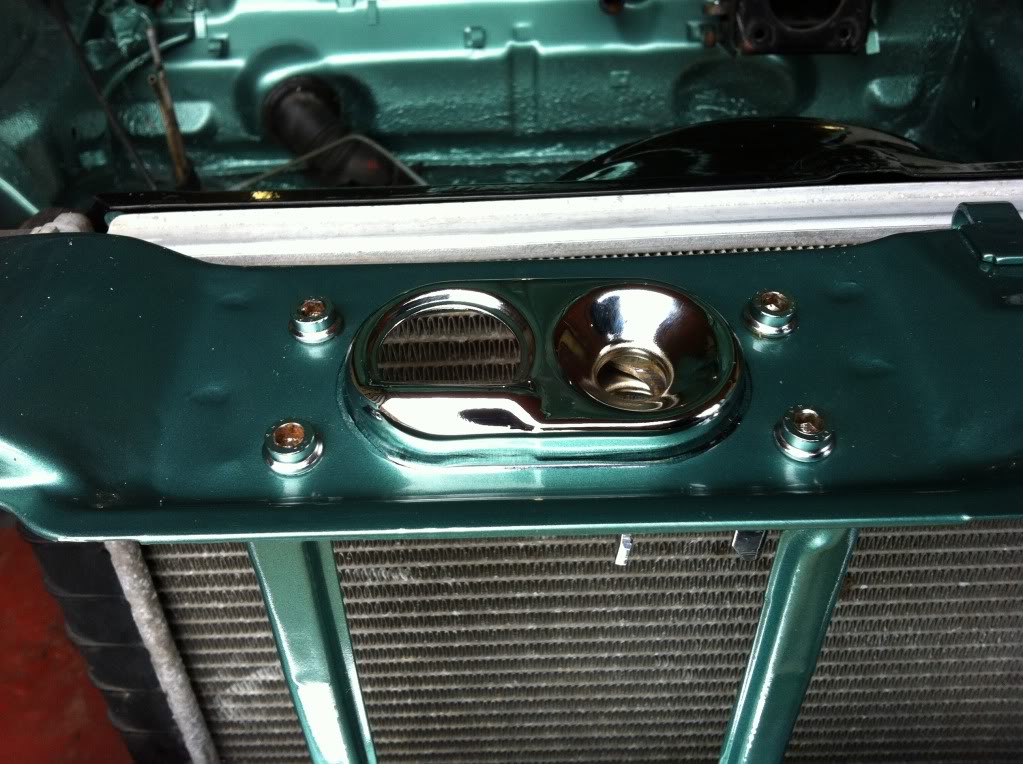
Then decided I might as well fit the rad as I had a new powder coated housing and had nice chromed holders for it
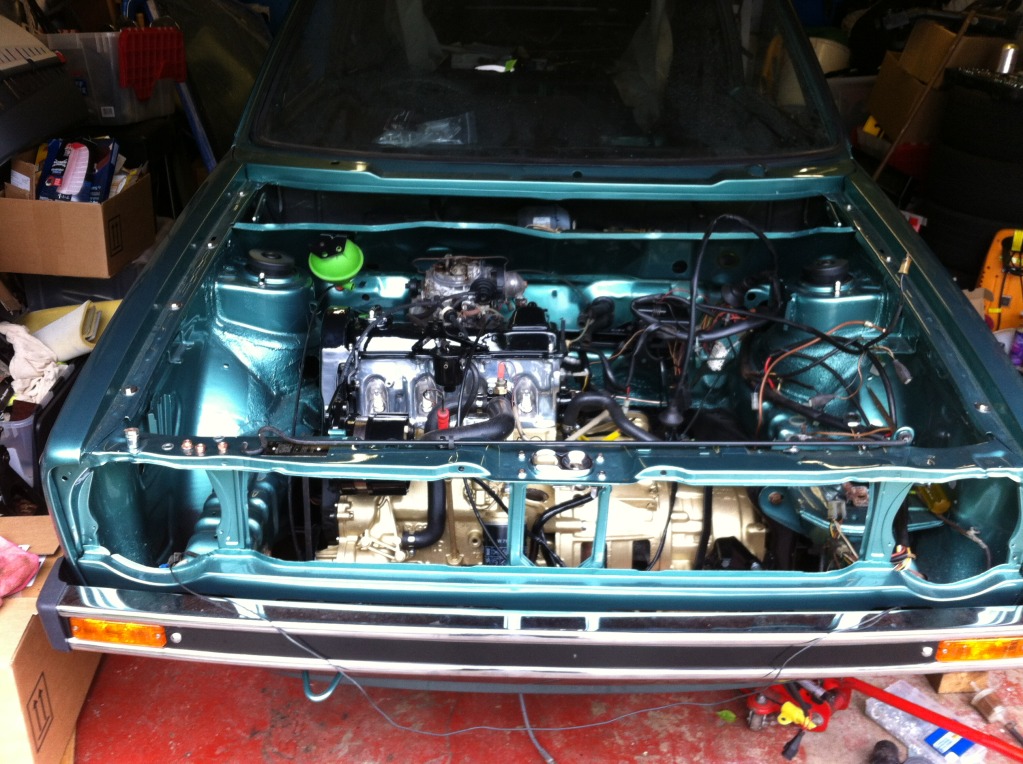
And finally finally got the engine back into the garage so I could get another coat of paint on it
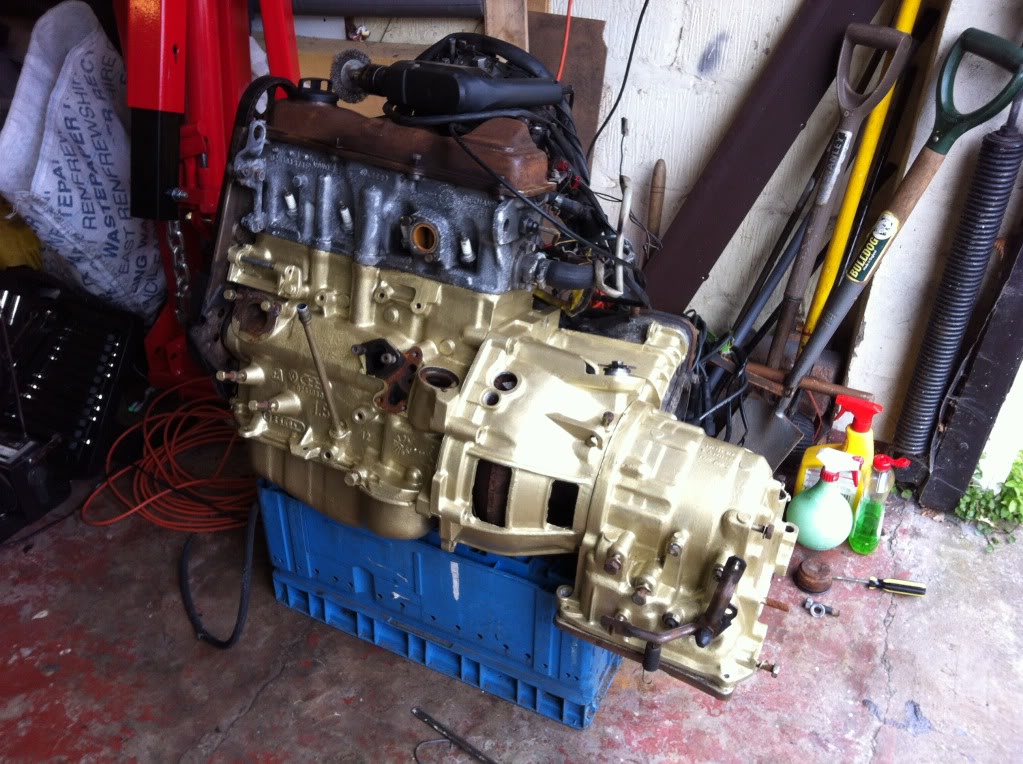
Hopefully more works tomorrow……wife allowing
Posted
Settling In
Had to colour code the water pump and clean up the pulley so took it off and into bits
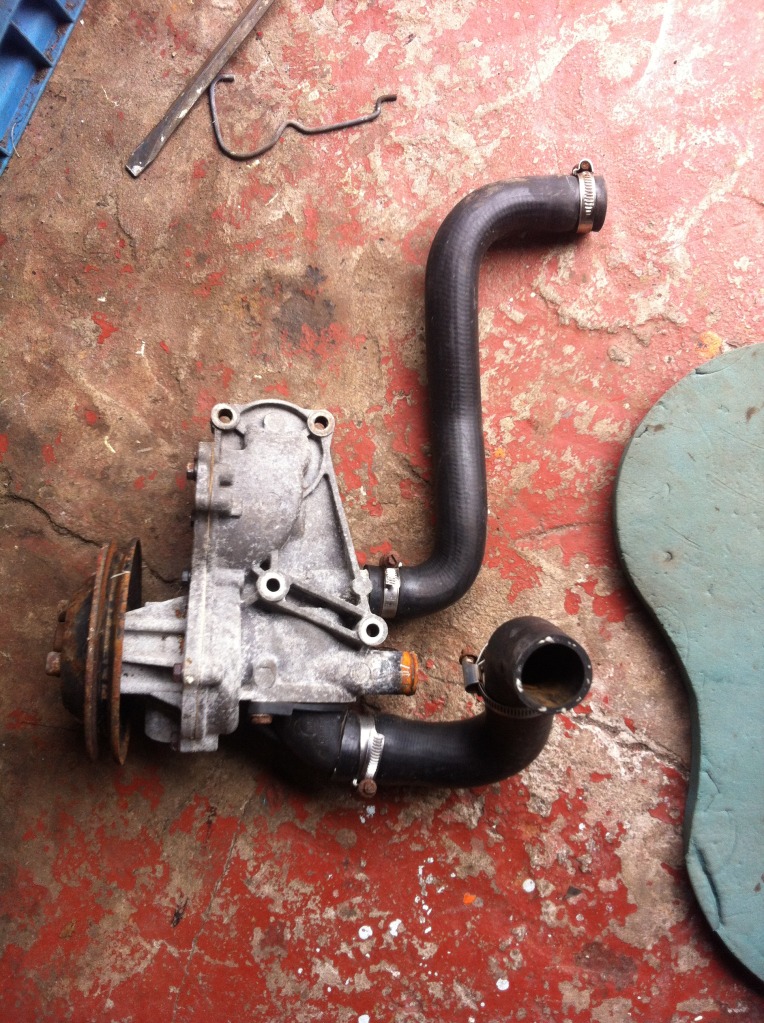


And rebuilt after paint and an internal clean and fitted
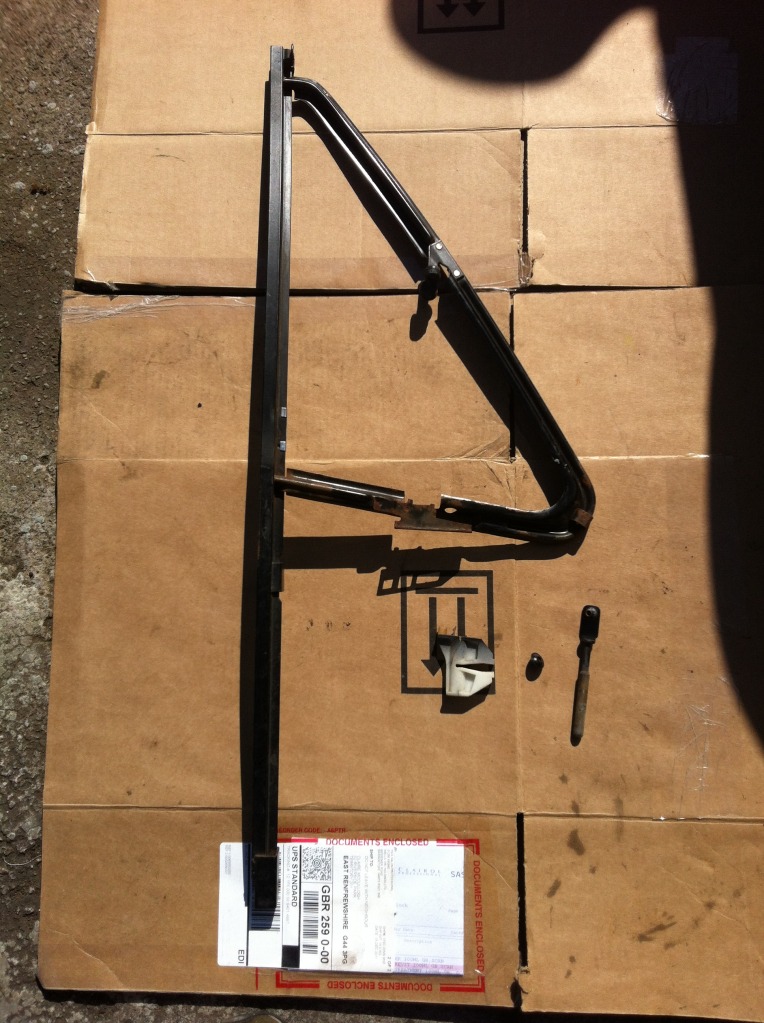
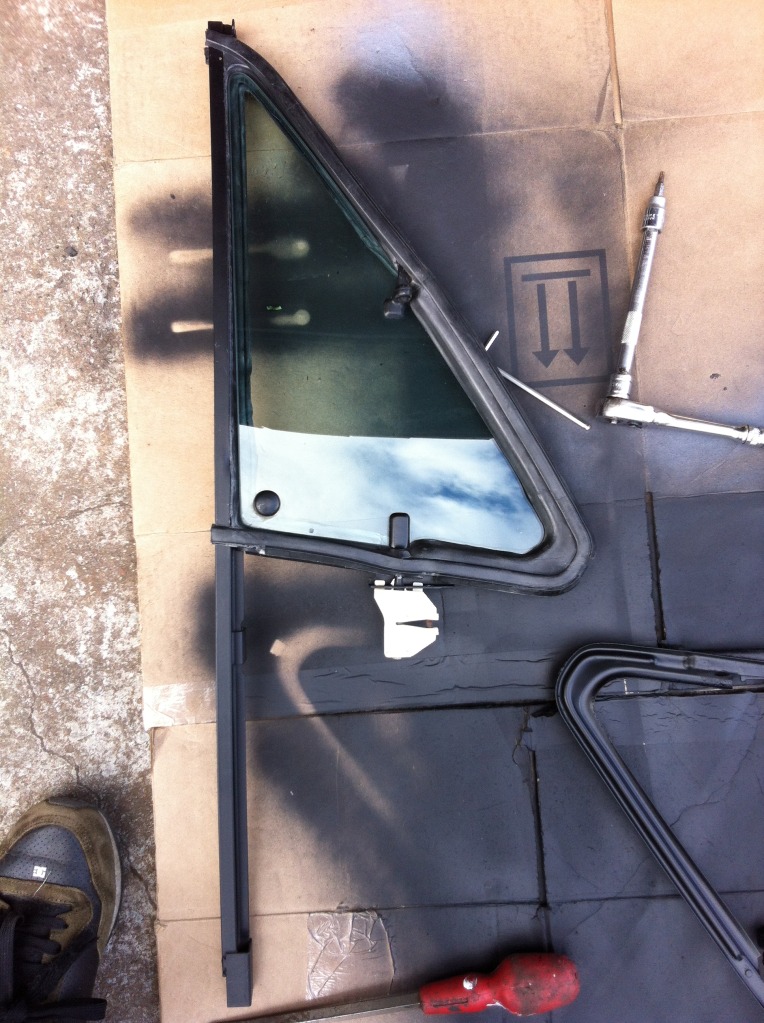
Then went onto the opening Quarterlight windows
Stripped of all the bits
and rust dealt with, painted, new seals fitted and re-built
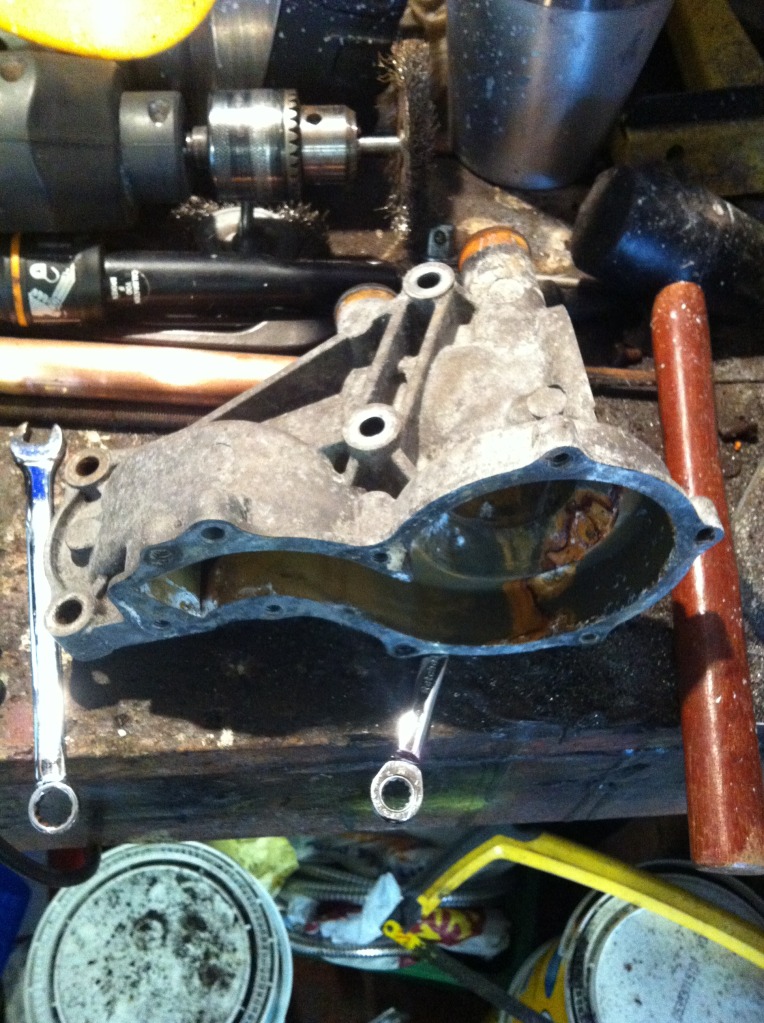
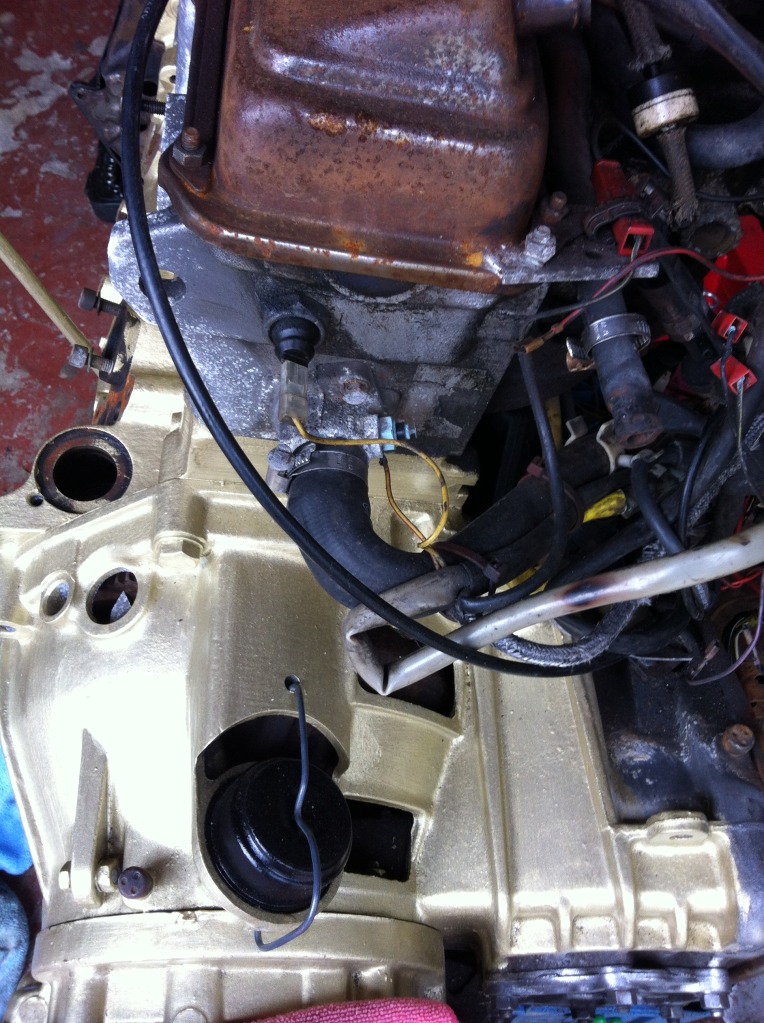
Also started to strip and paint some details like gearbox back plate etc and sump
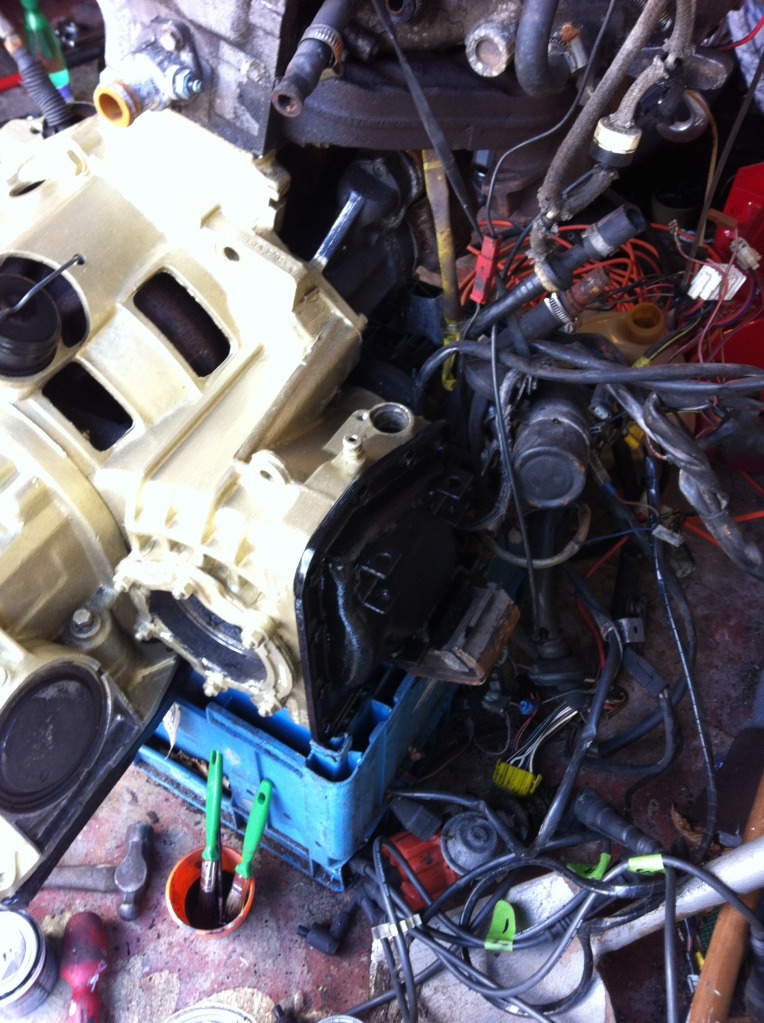

Got a few bits back from PowderTech and finish is really good given the original condition

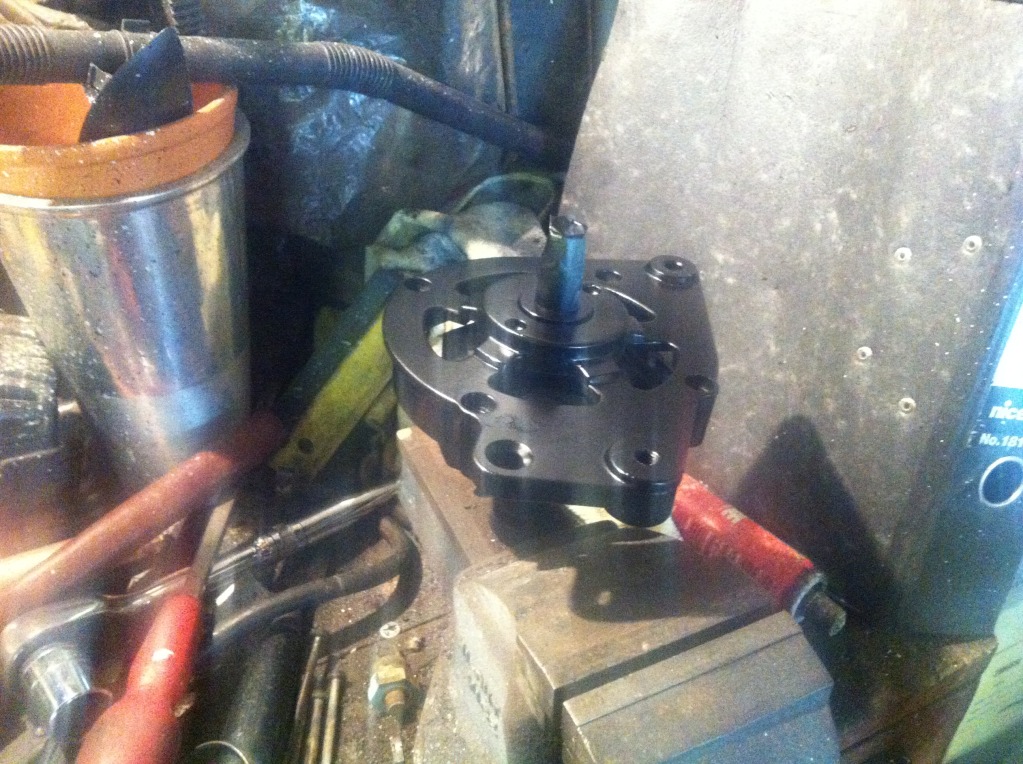
Took the steering rack to bits and replaced all the boots….will get it painted today and all back together

Painted up the servo mount so will hopefully get the brake transfer bar etc fitted today
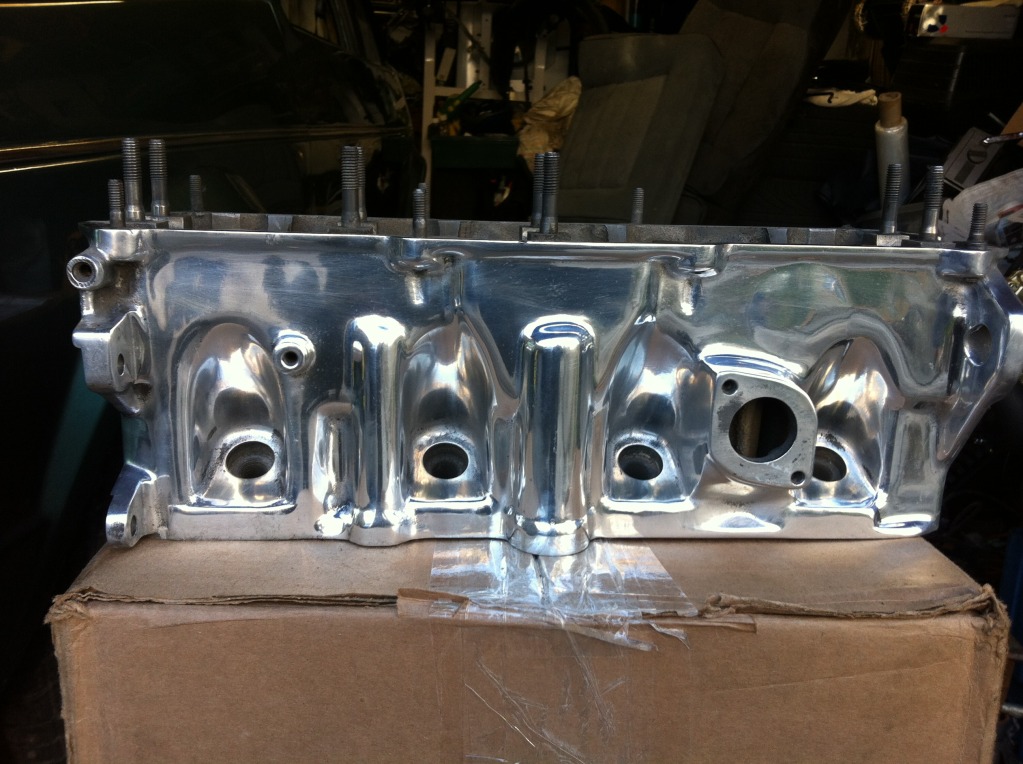
So cylinder head. Needs tidying and will swap tappets and cam from the existing engine, but should look quite good
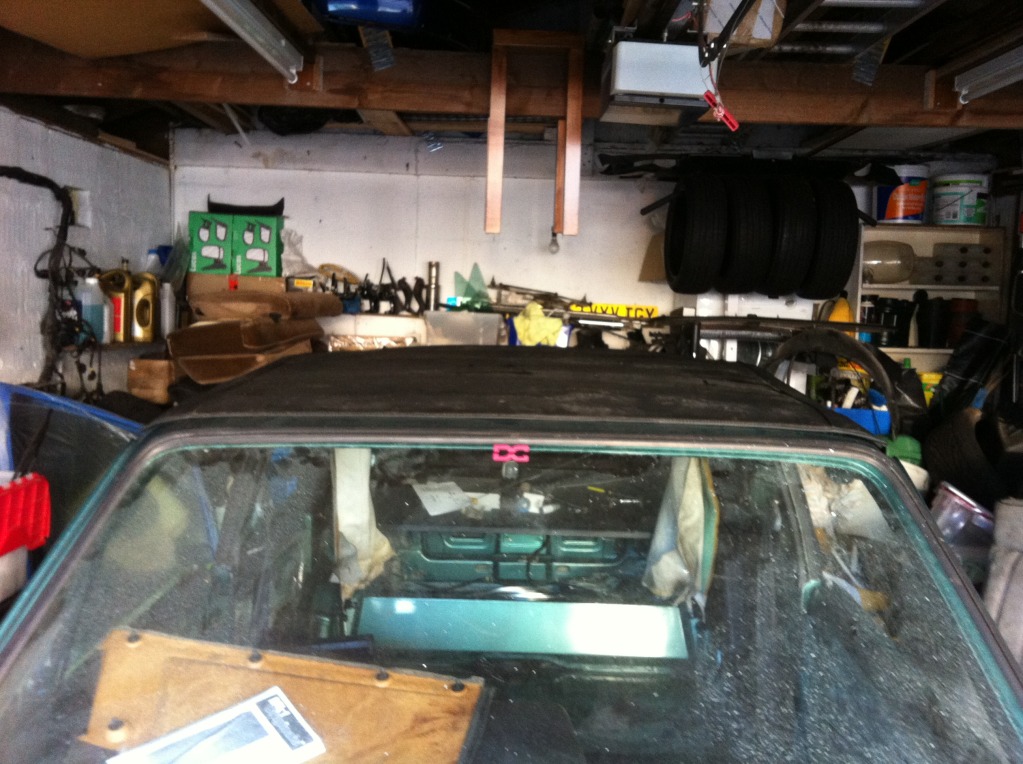
Slight updates. Got the roof all bolted up which allows me to get rear windows and door cards on.
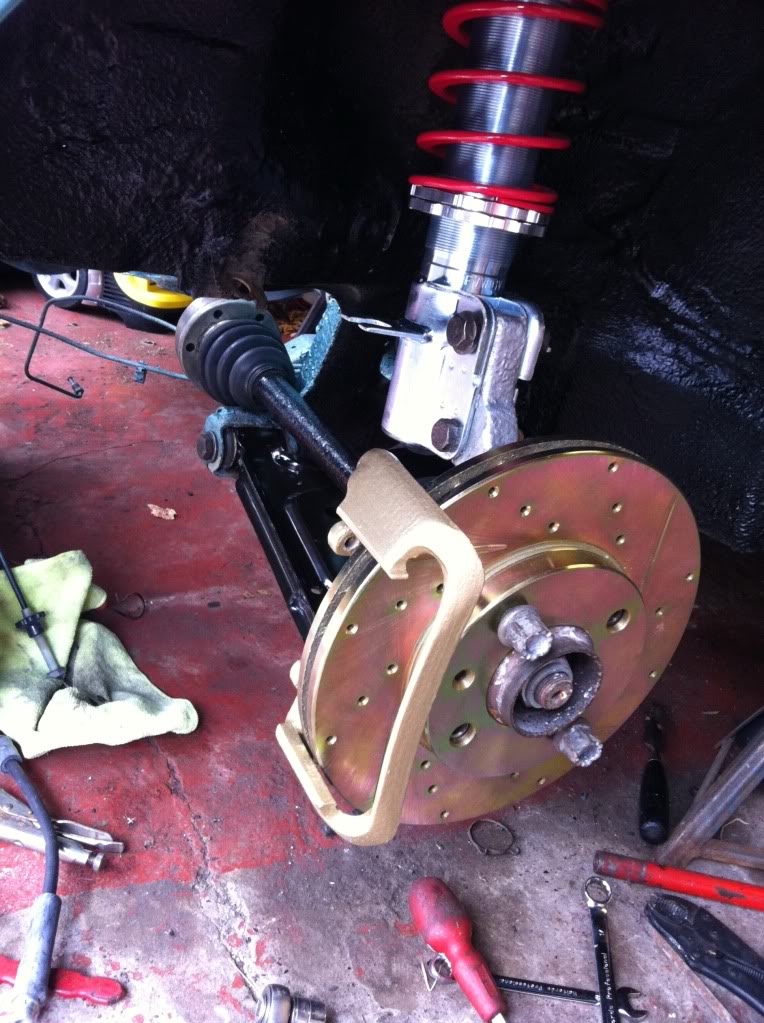
Finished with the front wishbones, hubs, brakes and suspension so tried a wheel on. They need a bit of polishing again given the caps are so new, but will get that dones nearer the time along with replacing the red BBS logos
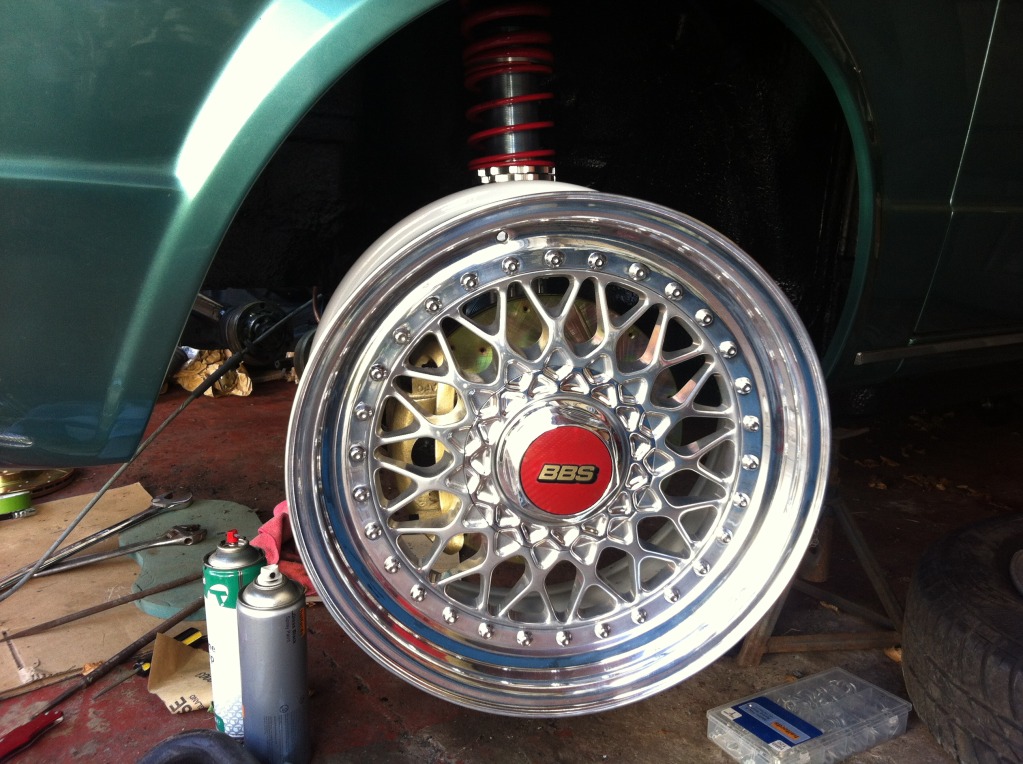

Sitting a bit wide, but hoping that once it's sat down and tyres are on they will sit in a bit
Car now sat on std wheels……….and once the engine is in is probs gonna be way too low so will need a bit of adjusting
Posted
Settling In
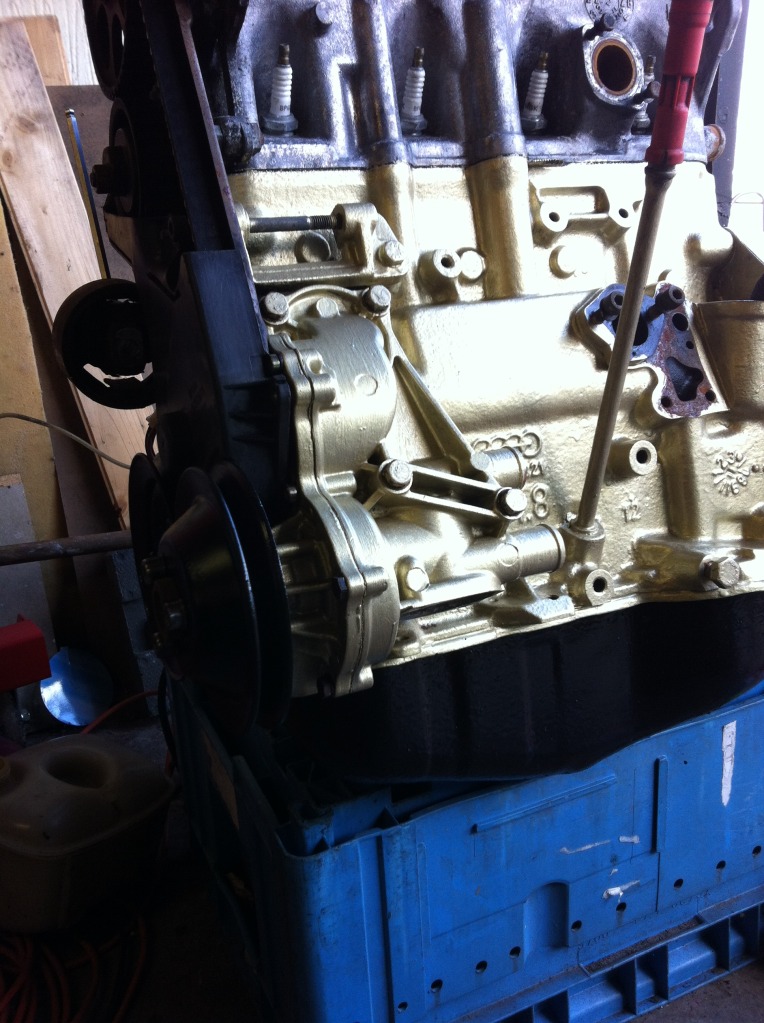
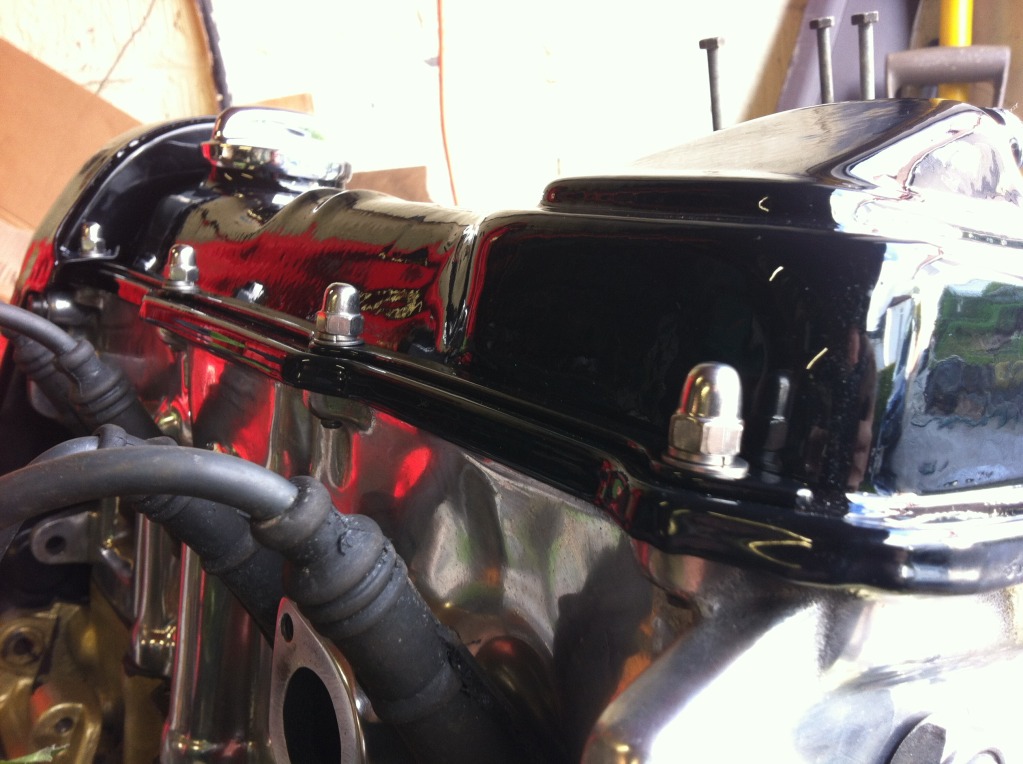
Little details completed like stripping and cleaning the inlet manifold and exhaust manifold and painting with high temp paint. Stripped the alternator and painted the top part and sent the larger casing away for powdercoat and now it's all back together it looks great alongside the rest of the black stuff.
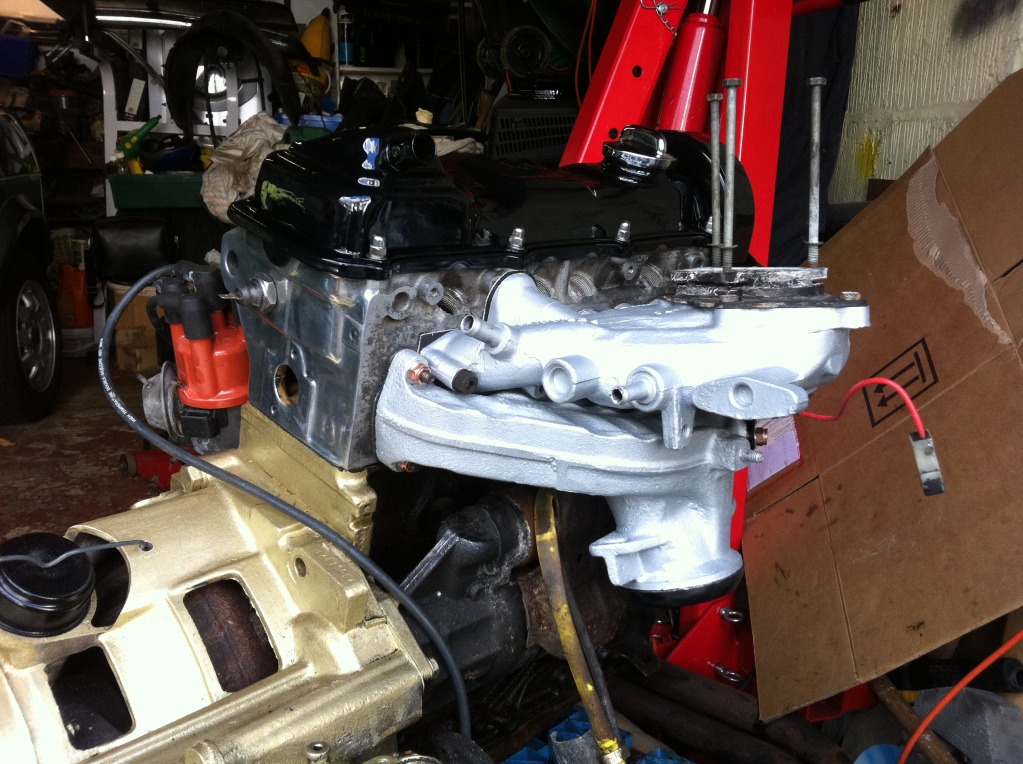
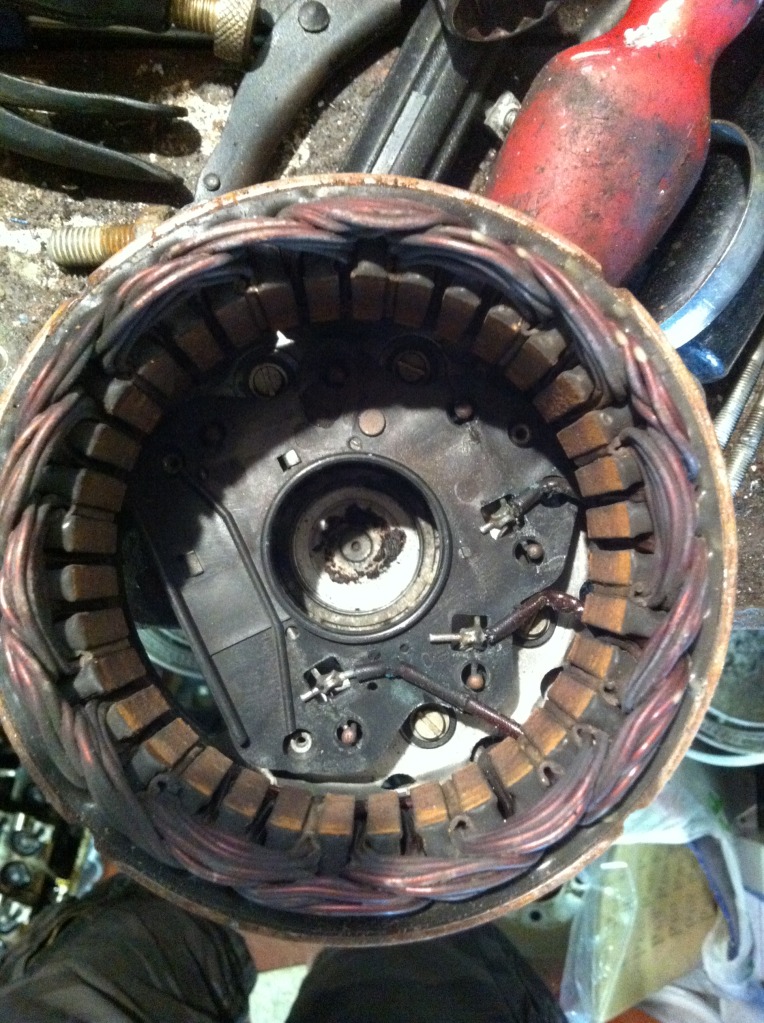
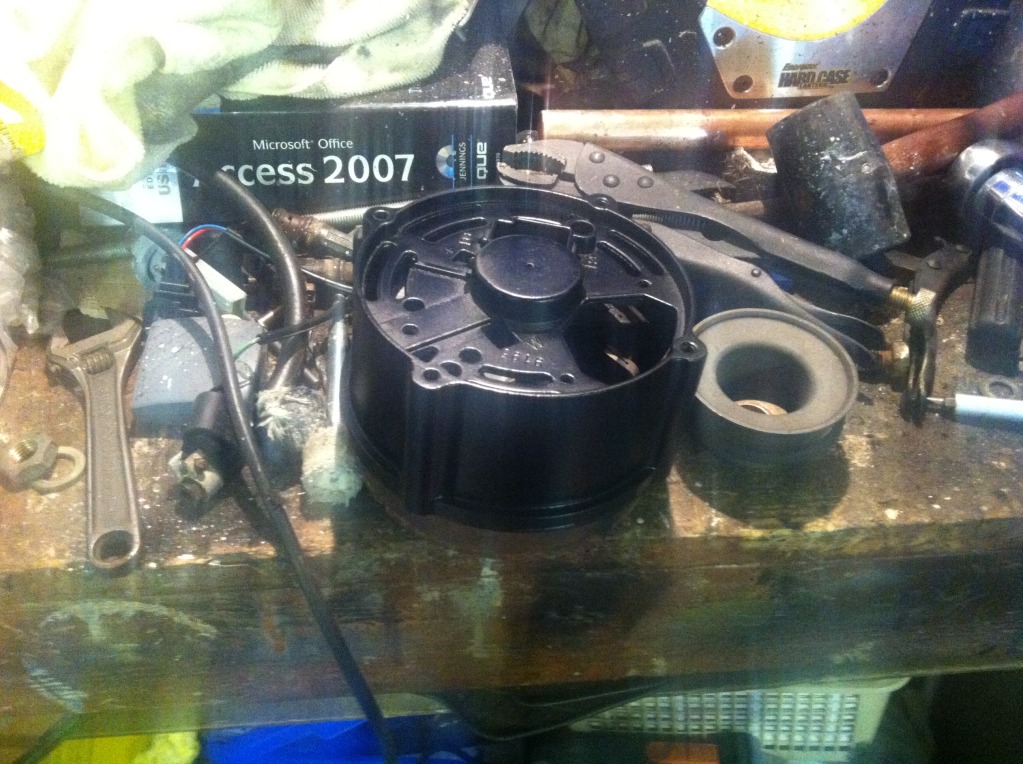
Alternator all back together after powdercoating


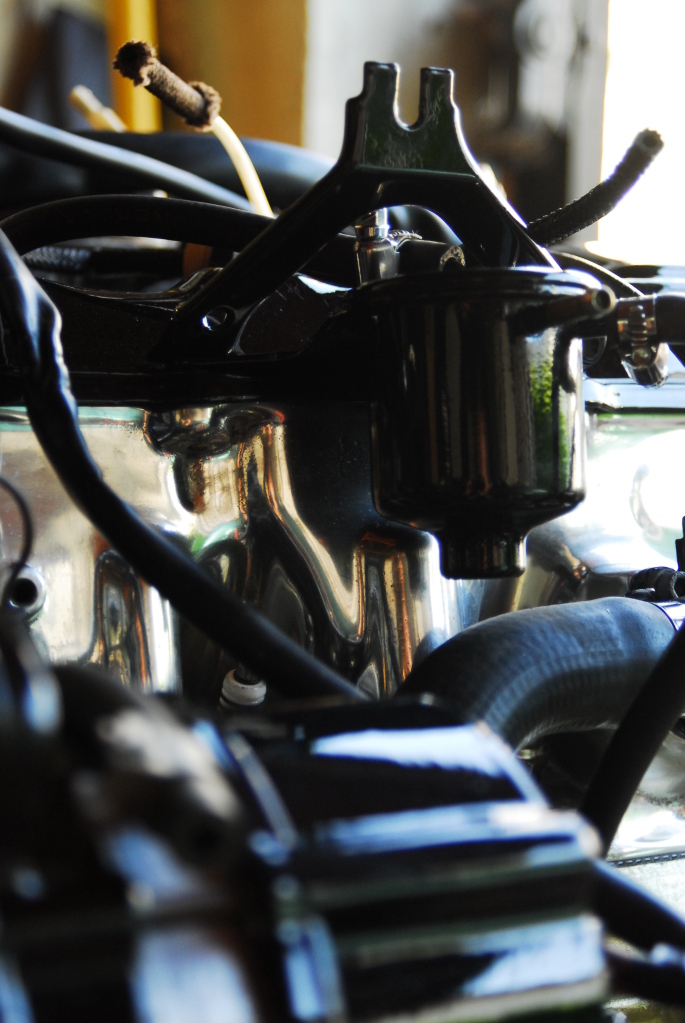
Fuel accumulator painted and on
And with it back together and back in

Given this is a mk2 injected head on this I had to block the injector ports so ordered M24 bolts, but looked at the size an weight an fecked em off in favour of a simpler idea :?
Take some of this
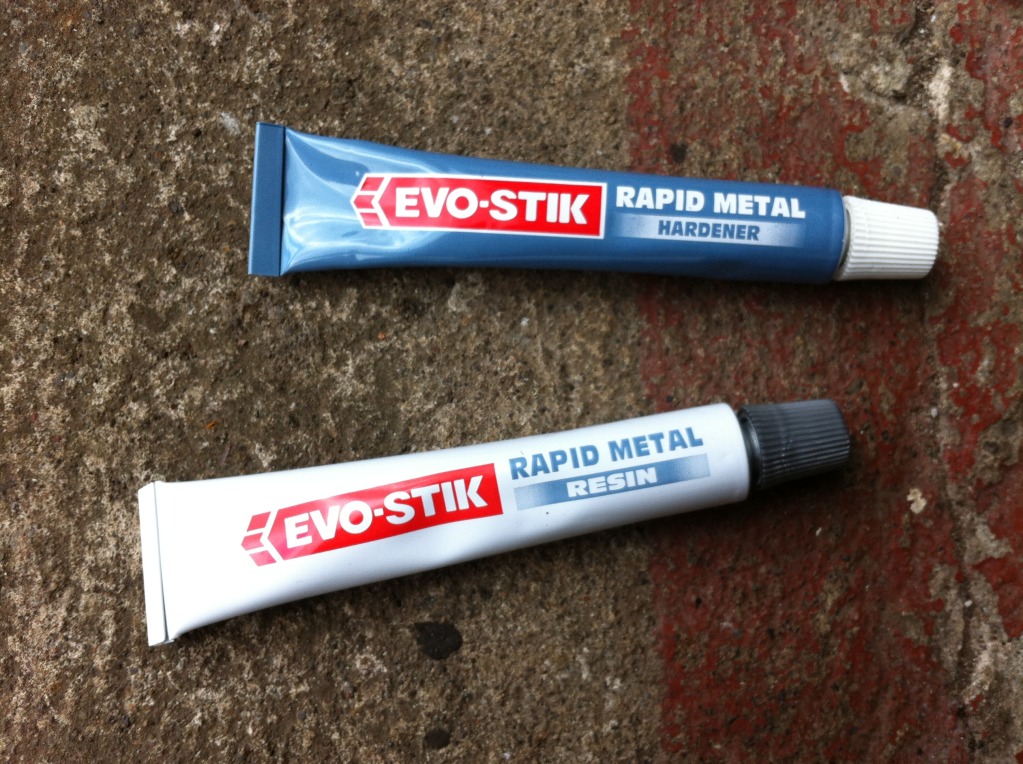
and a far simpler idea becomes this
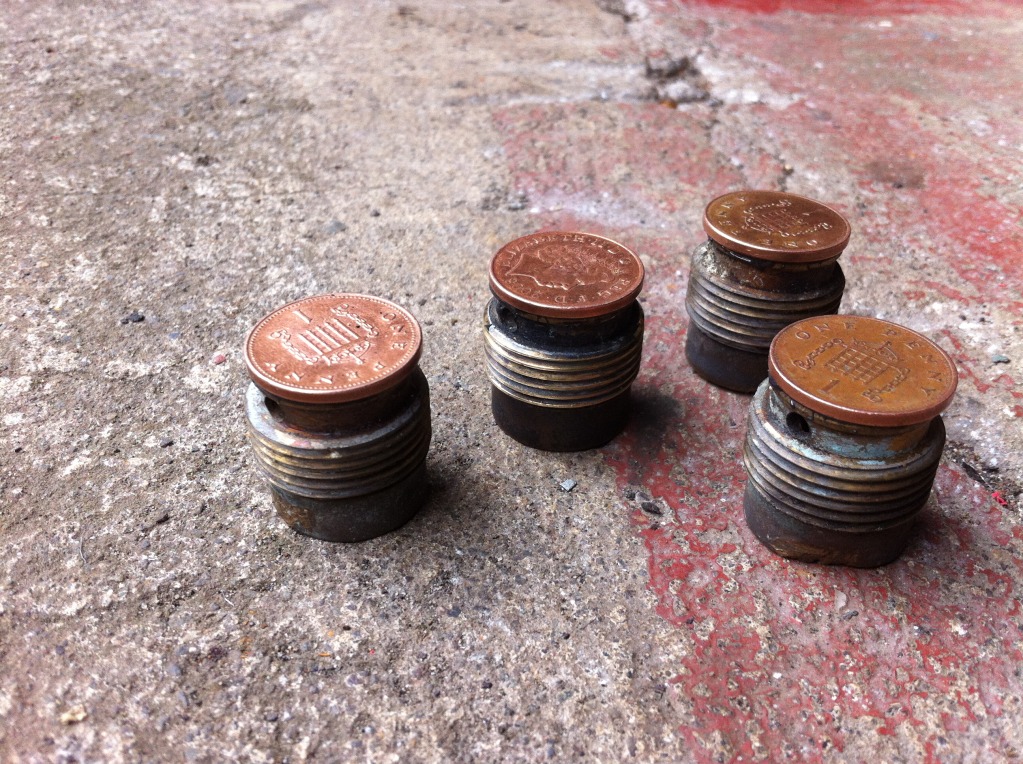
Simples take a penny and metal glue it to the injector guide an hey presto…..job done
Started to get a lil bit of paint on the distributor. Only parts of it as the rest will get polished
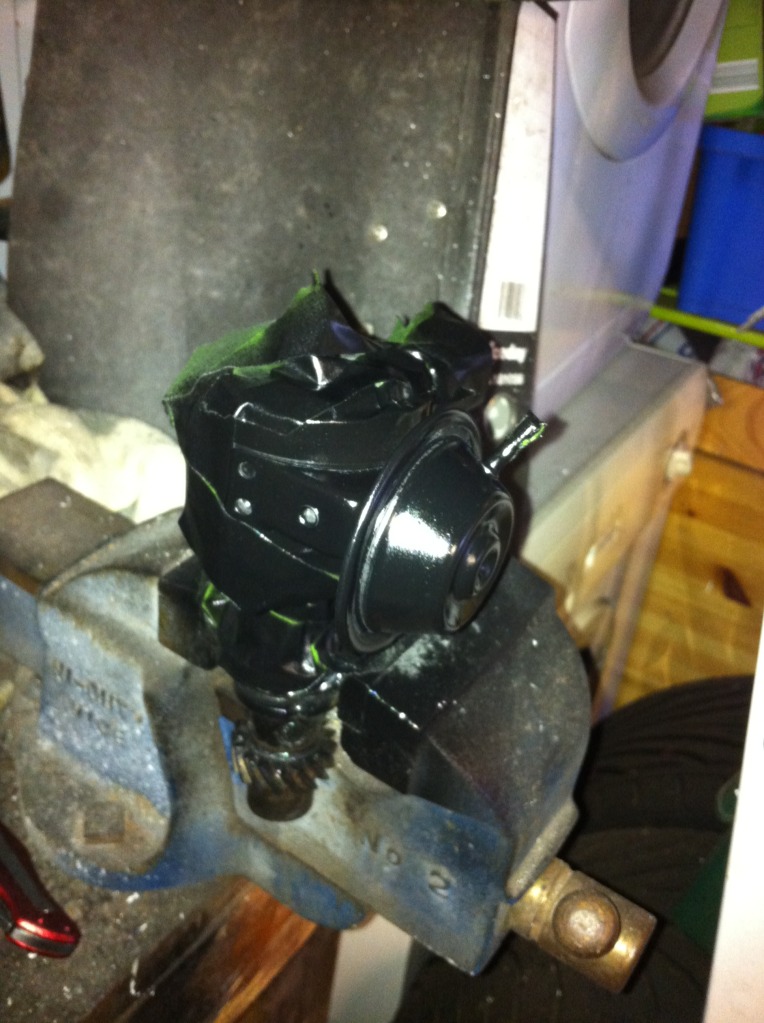
Also got a few more polished bit through so stuck em on

Posted
Moderator
Ever growing range of new mk1 golf parts www.classic-vw.co.uk
Posted
Settling In
funk-star said
if you fancy some powder coated bits to replace your rusty bits (fan housing cam belt cover etc) let me know.
All done already thanks
Posted
Settled In
Posted
Settling In
charlie-says said
Looks stunning.
Cheers fella…….slowly getting there
Posted
Settled In
There are too many online users to list.