


Chortles Project Green Rivage. New roof time....

Posted
#1200230
(In Topic #143384)
Local Hero

Chortles Project Green Rivage. New roof time.....
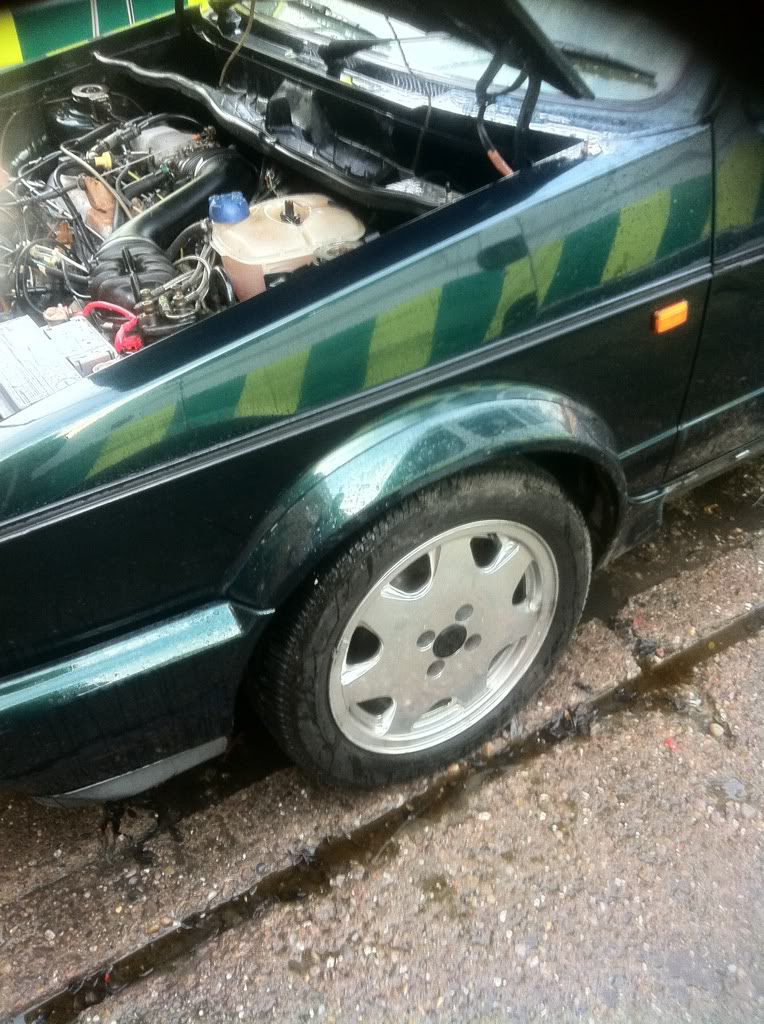
Thought it was about time I put some bits up on the project Rivage.
I picked this up last year and thanks to Jelly belly and Dek for getting me there.
Issues that were obvious was the petrol leak, we pulled in at the petrol station on the way back and I filled up, the pump just kept going until a little pool of petrol was gently rolling form under the car. Ooops time to stop.
So got home to Jelly's and he quickly diagnosed the rubber O ring seal on the in tank lift pump/sender was split and luckily he had a spare.
I had a problem with the car keep blowing fuses for the fuel pump so a few words etc exchanged with Rubjonny and a bit of investigation revealed the in tank lift pump was struggling so a new 5 pin relay and in tank lift pump fitted.
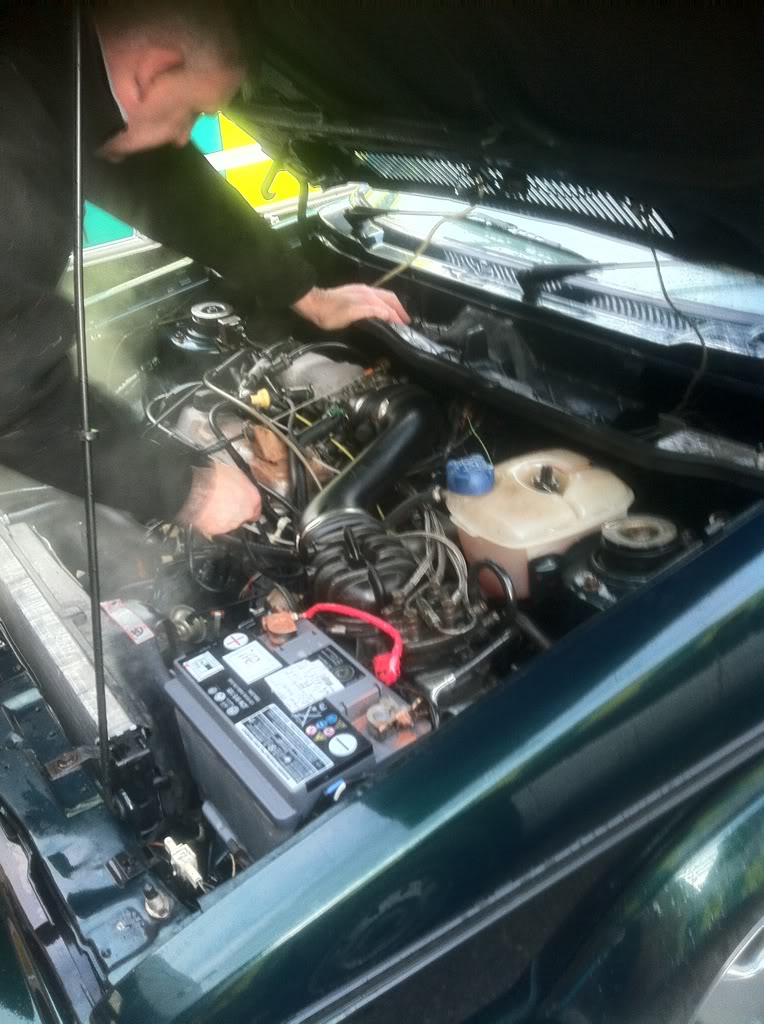
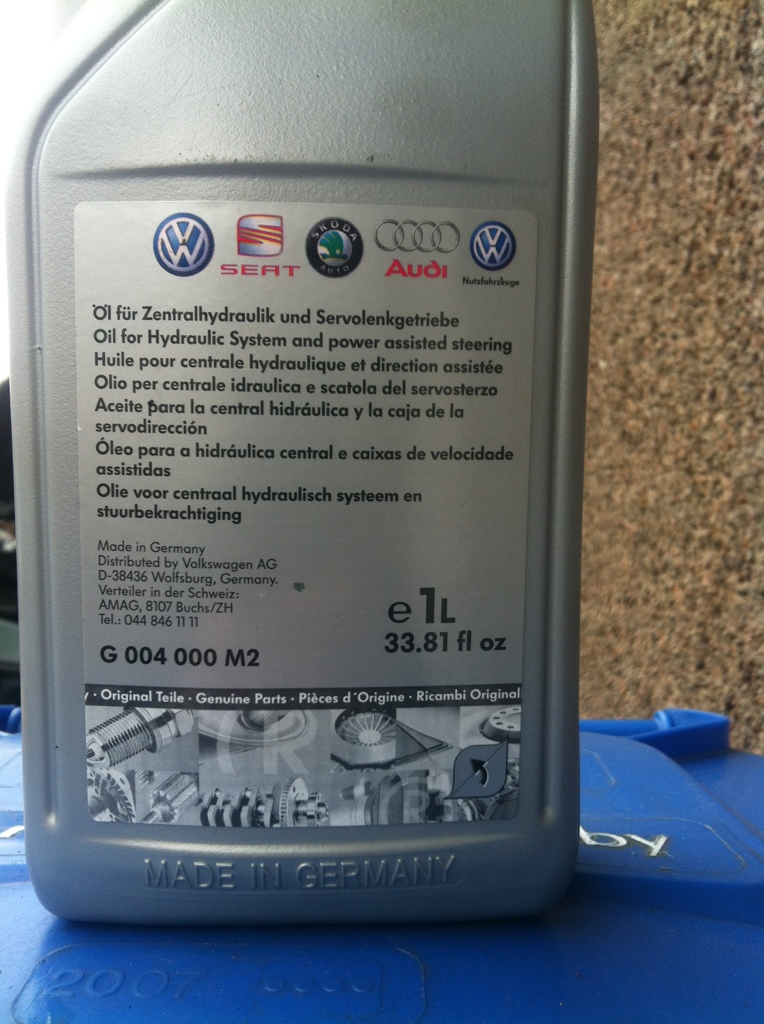
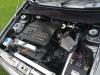
Whilst at jelly's he did a short service for me on the car, oil and filter change, rad flush and coolant
change everything was filthy. So cheers again fella.
It soon started to rain and the light was going so it was a case of pack up and get home.
Later I bought a new air filter and fuel filter. So I opened the air box and there was no Filter in there???
On changing the Fuel filter and the lift tank pump I was greeted with this..
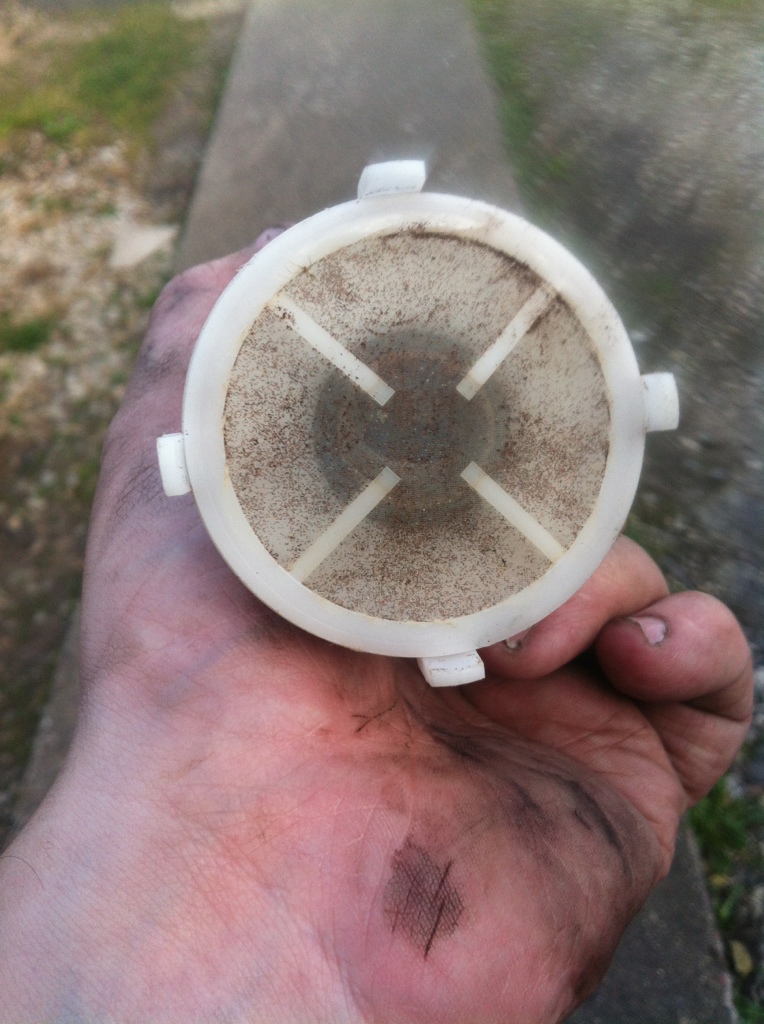

Really no need for this amount of neglect..
So a new filter fitted and she lives, no wonder the fuel pump was struggling. It's a common issue on GTI, the fuel pump relay/fuse going pop or overheating. So no more fuse blowing..happy day's.
Still need to drop the tank and flush the lines out etc. Usual problem is rust in the tank from the filler neck, but my neck seems okay and looks to have been replaced???
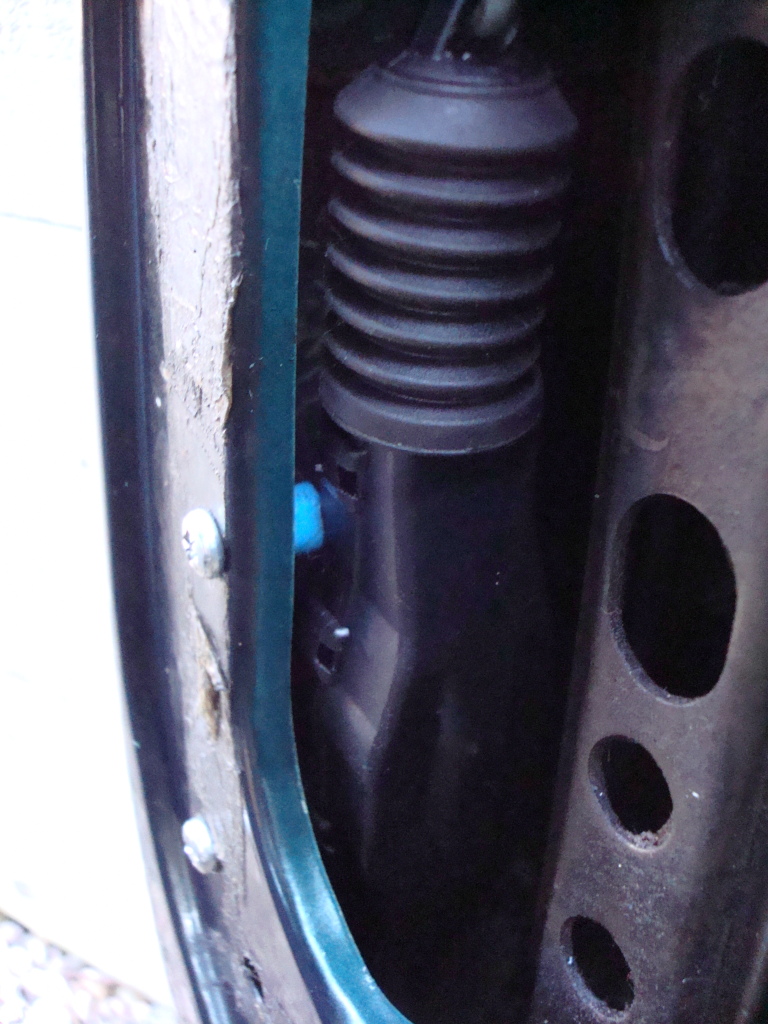
The power hood wasn't working, but the car came with a new set of relays.. a fiddle with the electrics and a fluid top up and bleed, and repair to a ram and now the hood works as it should.
Fluid for power roof..
The door solenoid on the central locking was duff on the passenger so a quick call to Spall and a new one was ordered and then replaced.
Under advisement from Rubjonny I replaced the door plastic lock levers with MK2 ones as these have 2 holes pre-made, so one for the lock pins (these were missing on mine) and one to the actuating rod from the solenoid.
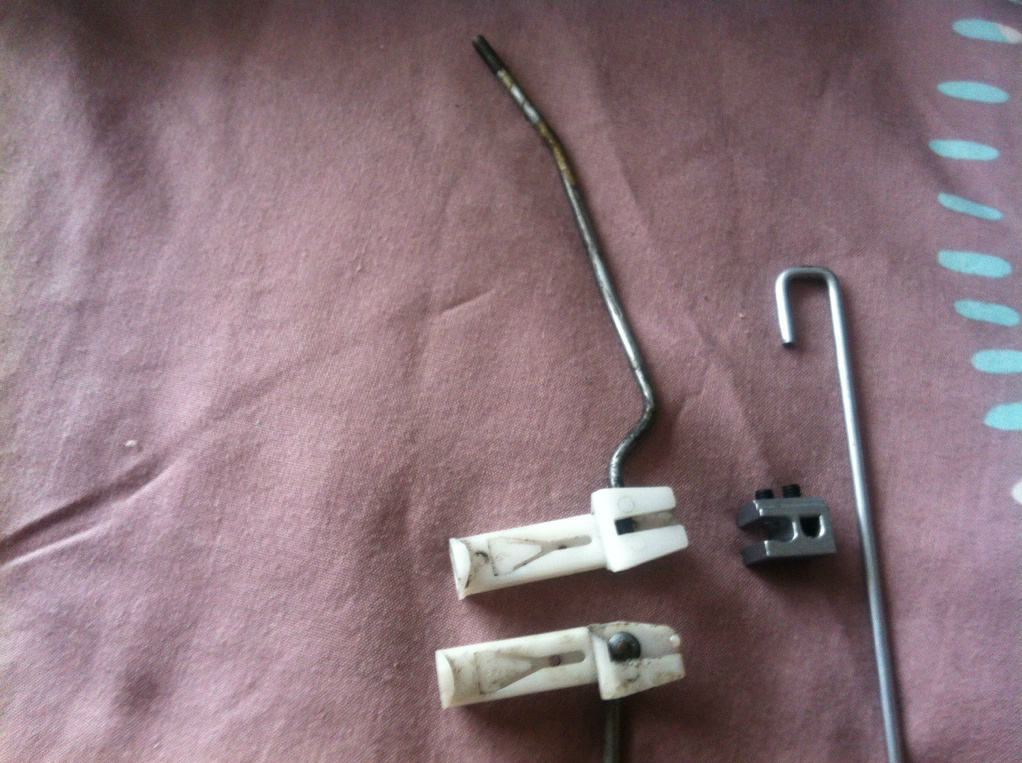
Above is a MK1, showing one hole and the rather awkward way of attaching using a connector block. Which was all swapped for a MK2 one, much simpler.
I noticed the rubber boot on the solenoid rod was rubbing against the door edge so was splitting it, allowing moisture in. So I got an old Biro and cut 2 small spacers with a hack saw from the tube and this spaced the solenoid away from the door edge just right.
Pins fitted…..
The door cappings were awful and cracked falling apart, so managed to get some from Hibbs, plus a few other bits and bobs.
So Glued these on with High Temp contact adhesive and clamped them in place till it went off.
Old and new above…

Clamped in place.
I had noticed the door handle didn't work properly on the passenger side too and a quick look and comparison showed a little spring was missing, but I had got spare locks at the same time from Hibbs.
So swapping the lock mechs over cured the problem there.
So all good with the central locking and all doors.. Result.
The Car came with a single light grille with a HID lighting kit, the lights were odd and smoked and really didn't do the car justice. So off these came and a standard twin light grille fitted.
I had odd lights for the car so a quick call to Funk on here and he sorted me with some good condition headlights, so cheers Mark.
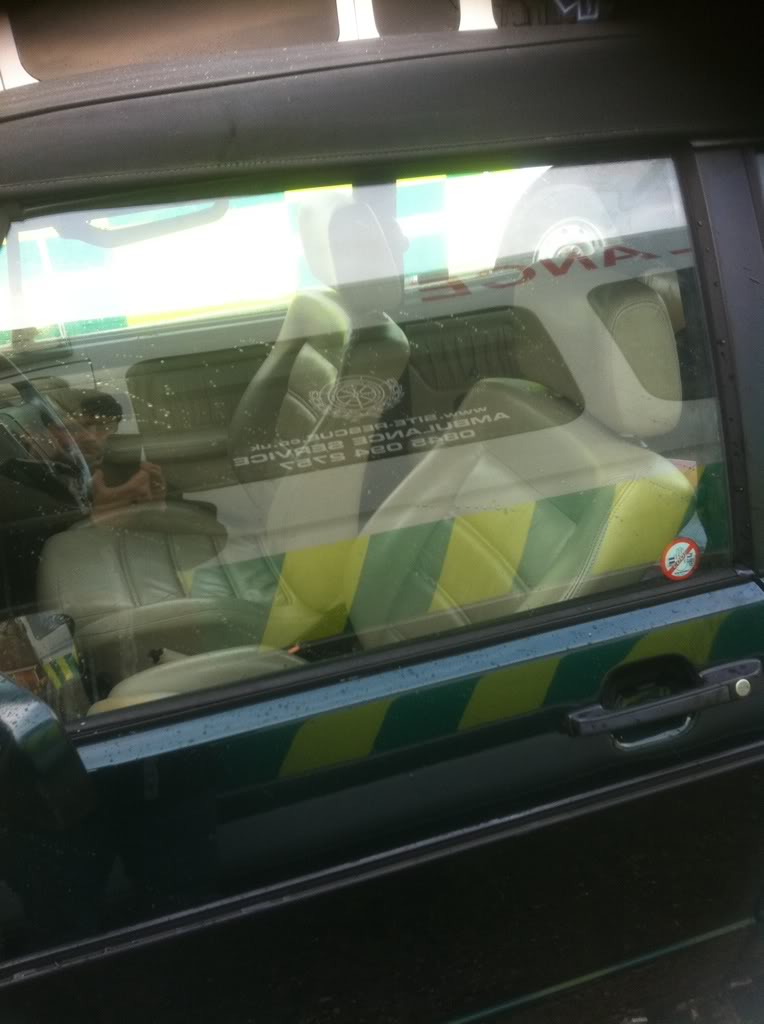
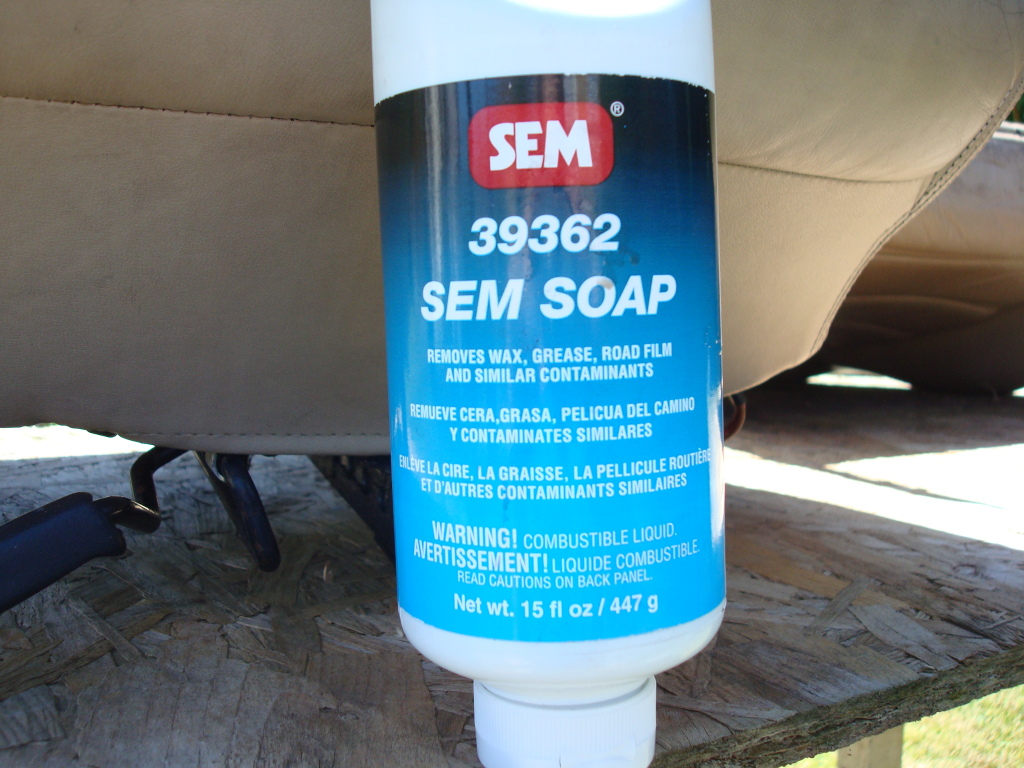
A friend of mine mentioned after I linked him up to car cleaning valeting website, that big Norm pointed me too and he offered to clean my leather interior, what he mistakenly did was not realise that using RTF cleaner needed to be diluted down, massively.
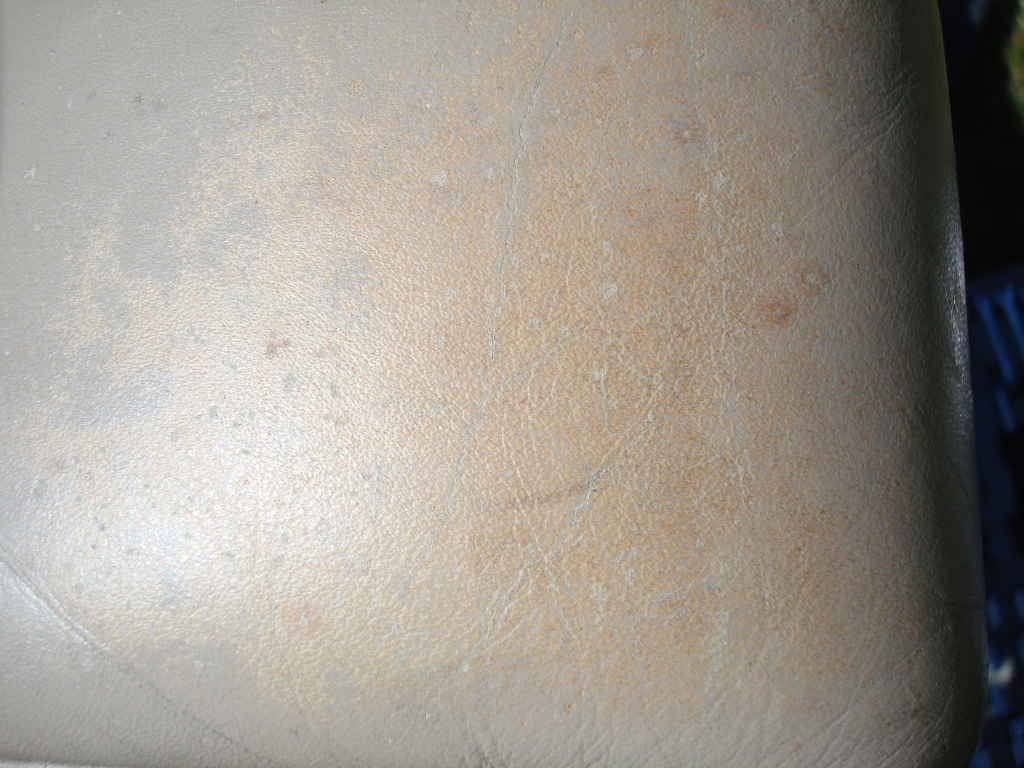
He cleaned the front passenger seat and it came up okay however a couple of stubborn marks remained so he tackled it with a scrubbing brush, taking the finish off the seat and removing the colour……Aghhh!
Nightmare…
So a bit of research concluded that VW painted the leather from the factory and then sealed them in with a top coat sealer.
So it's pointless using feeds and conditioners on these as they just sit on surface and then onto your clothes.
I went to my local paint place and they are usually pretty good.
It turns out that they do leather/vinyl paint, so a little chat and with the front seat in a mess I had nothing to lose.
The interior is grubby for sure, so it needs doing really… A re-trim would cost around a grand..ouch.
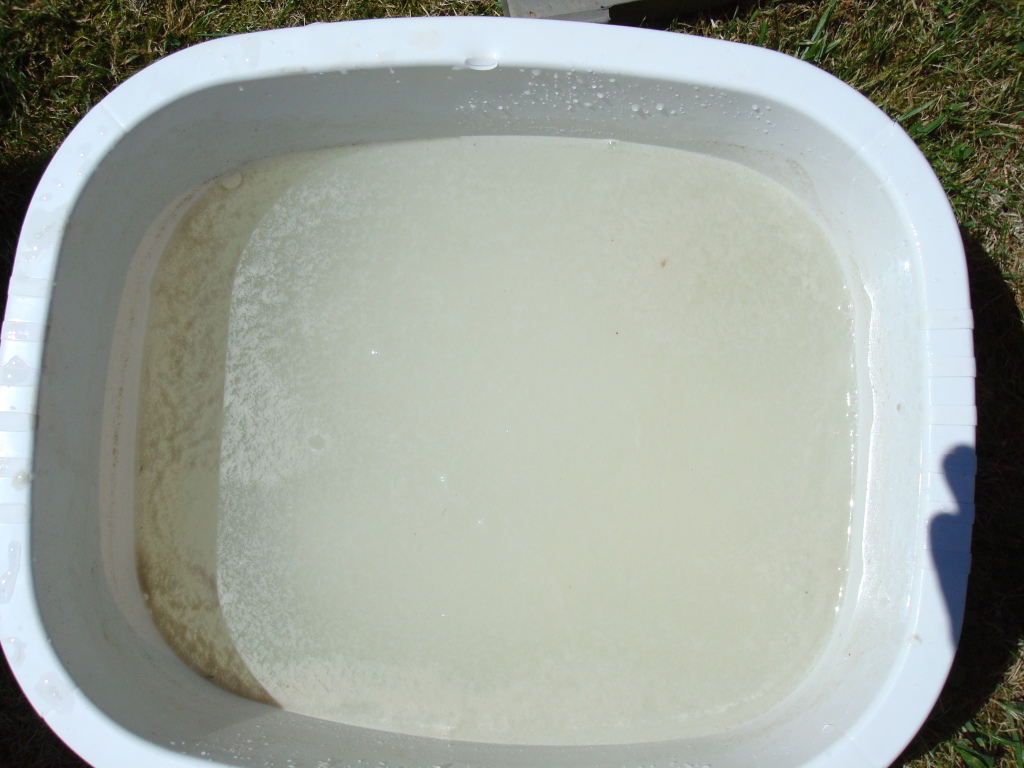
So a clean up with this stuff got the seat ready and the water was filthy despite cleaning the seat prior.
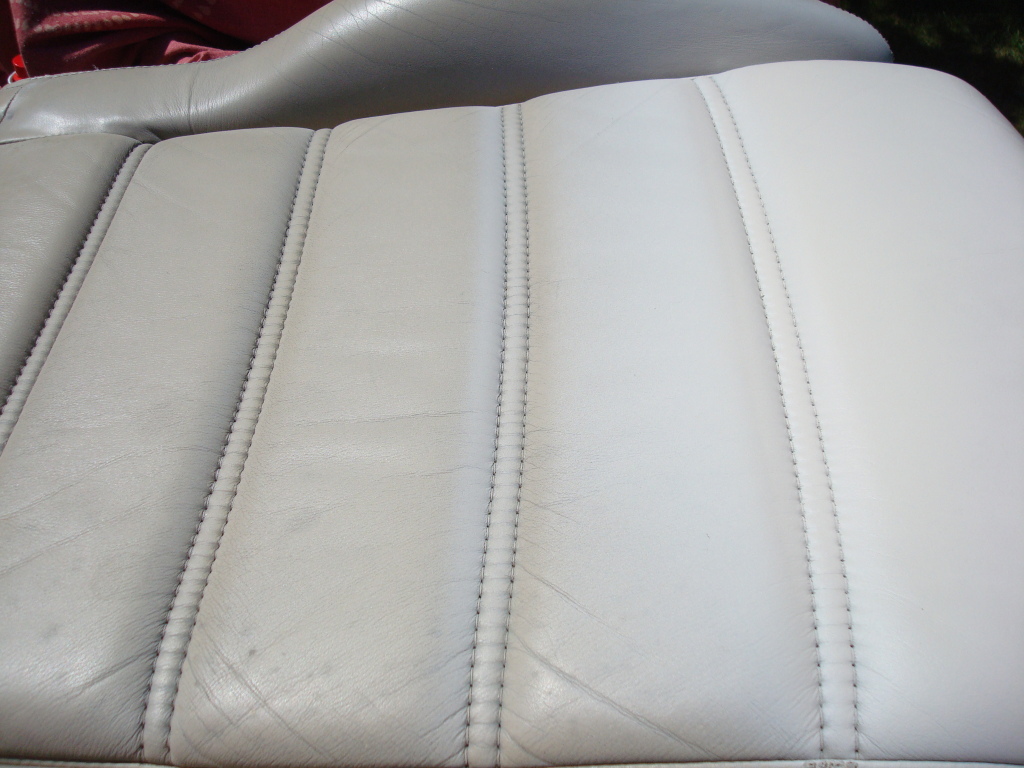
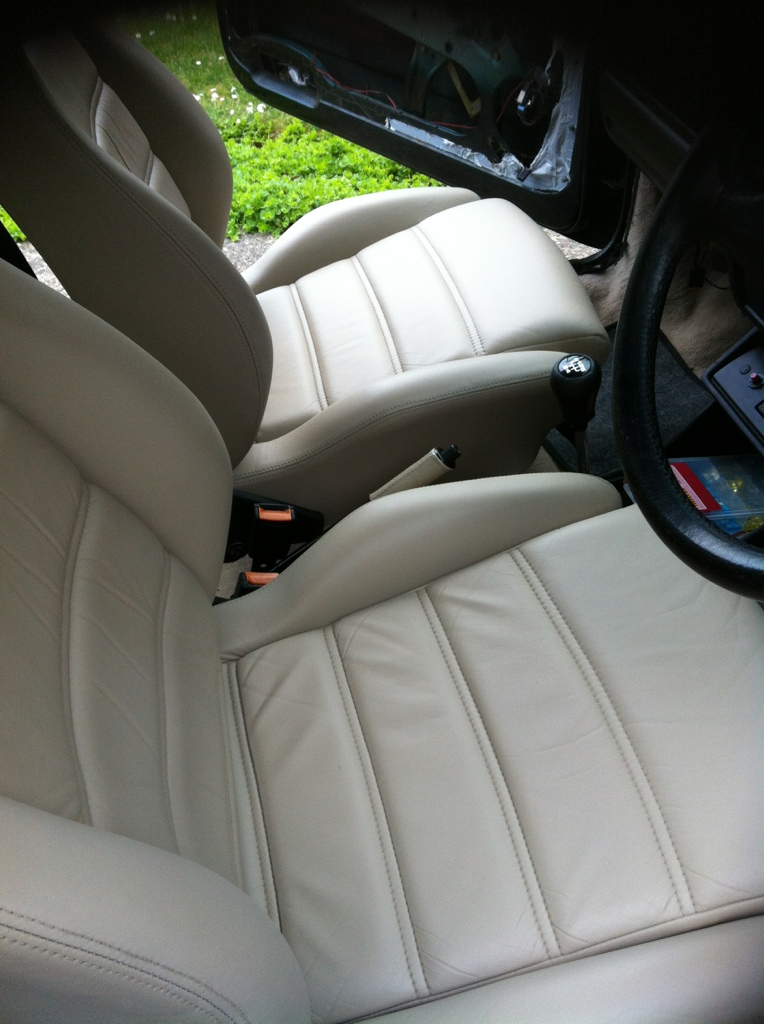
The first colour was no where near the original, so another trip back to the paint place more colour charts etc and I ended up with lMedium Camel SEM 5850 colour. Spot on match really and really transformed the seat.
Seat above with colour removed..
First colour above, way out..
Masked up and ready to go…above

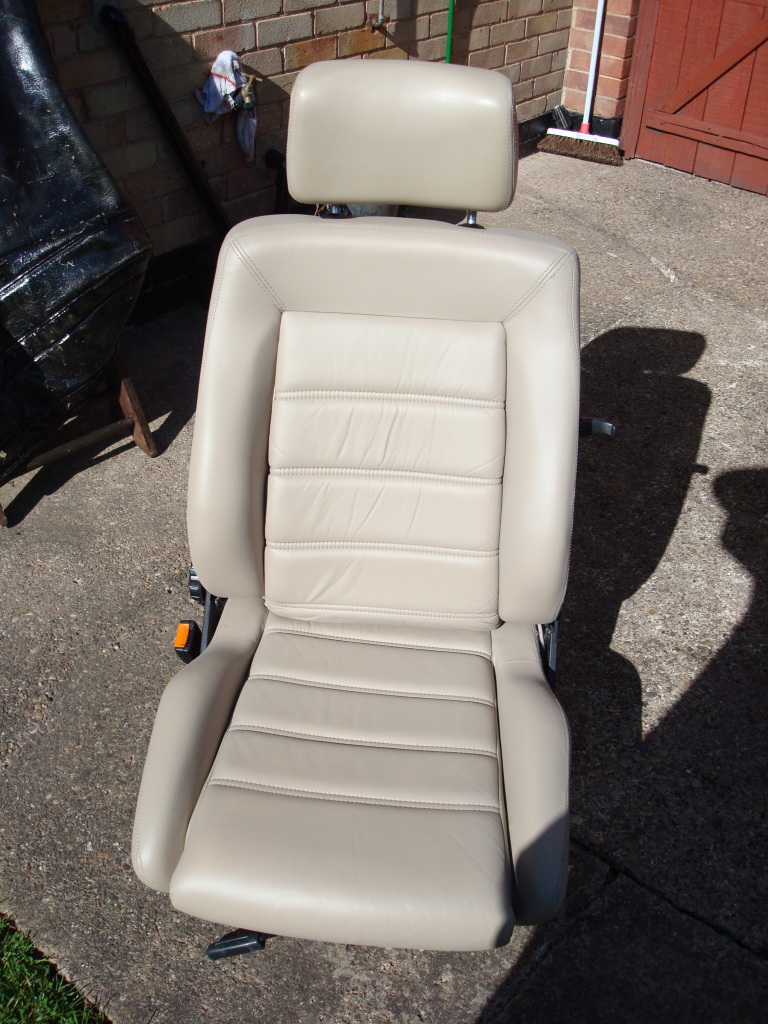
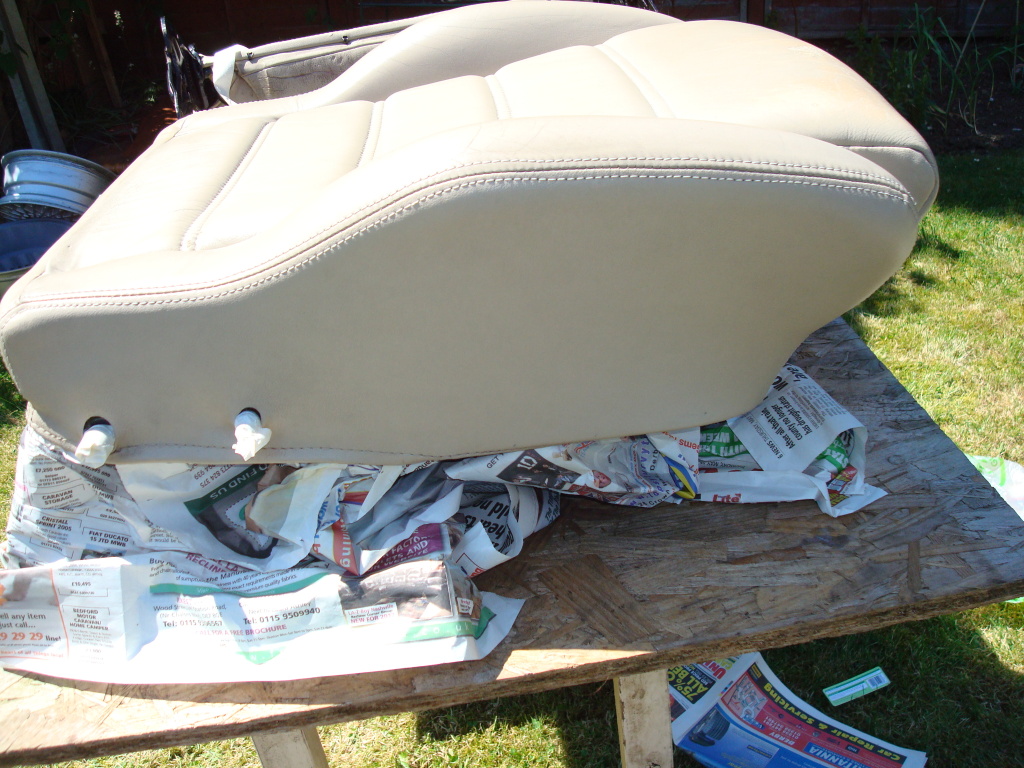
seat refinished…above.
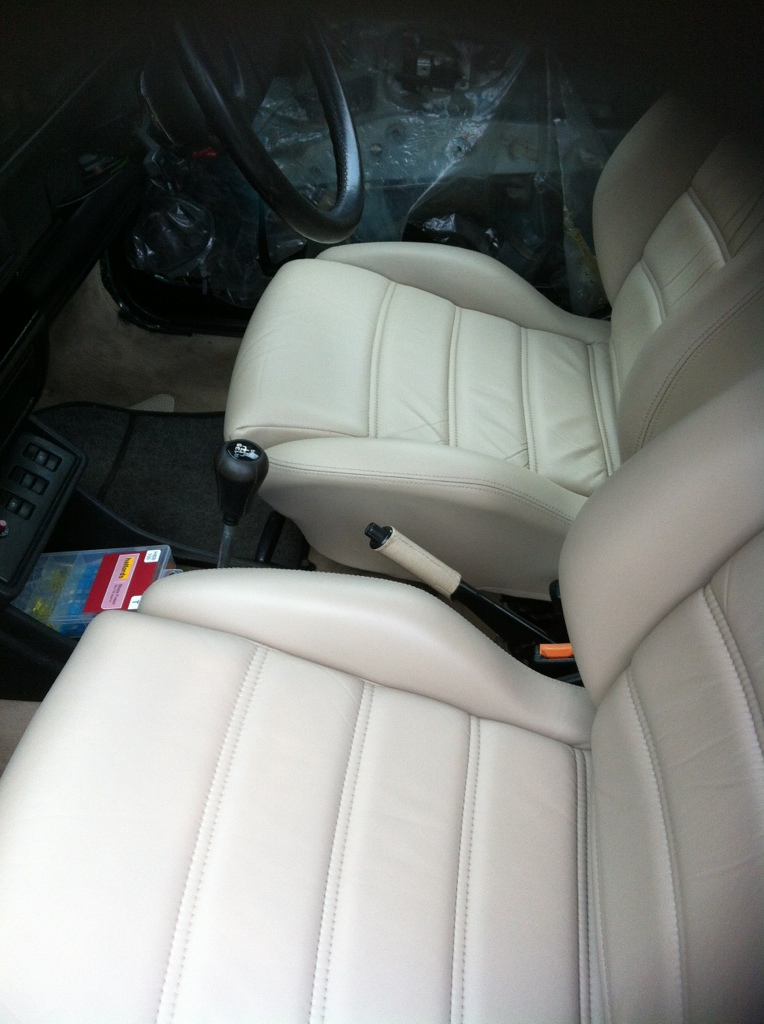
Back in the car…below
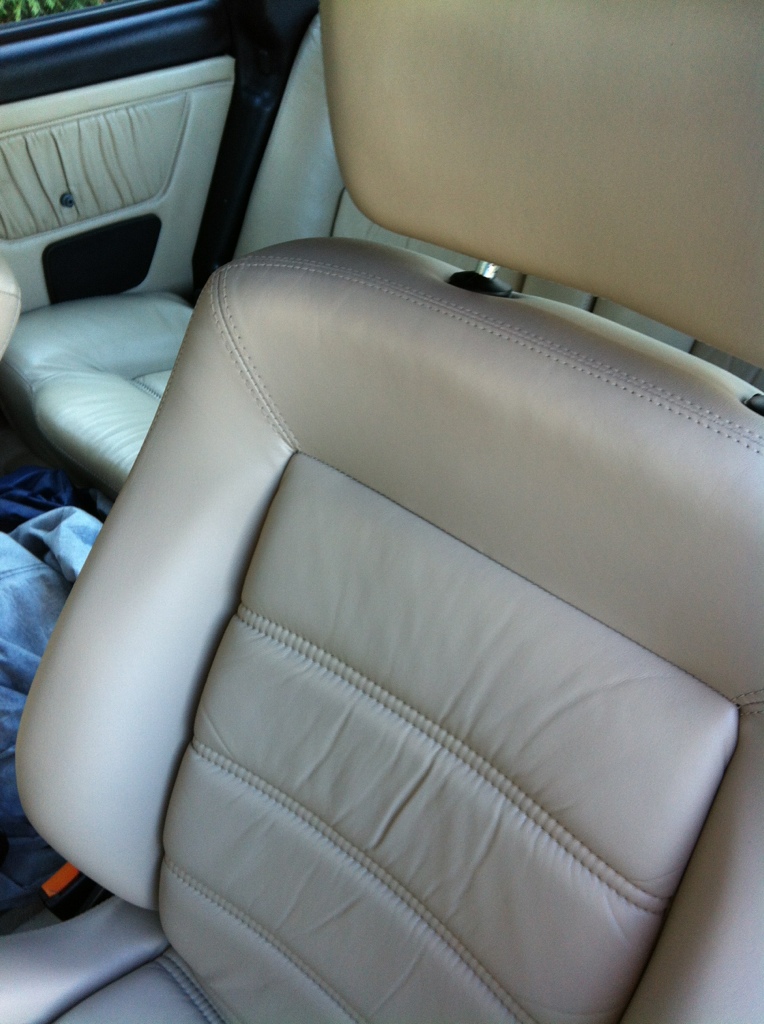

The only thing I didn't touch was the head rest, so you can see how good a match it is..
The colour is so close that I won't need to do the Door cards, so I think 2 more cans should cover the front drivers and the rear bench seats, so total cost with all the prep stuff is about £80.00. A far cry from the grand.
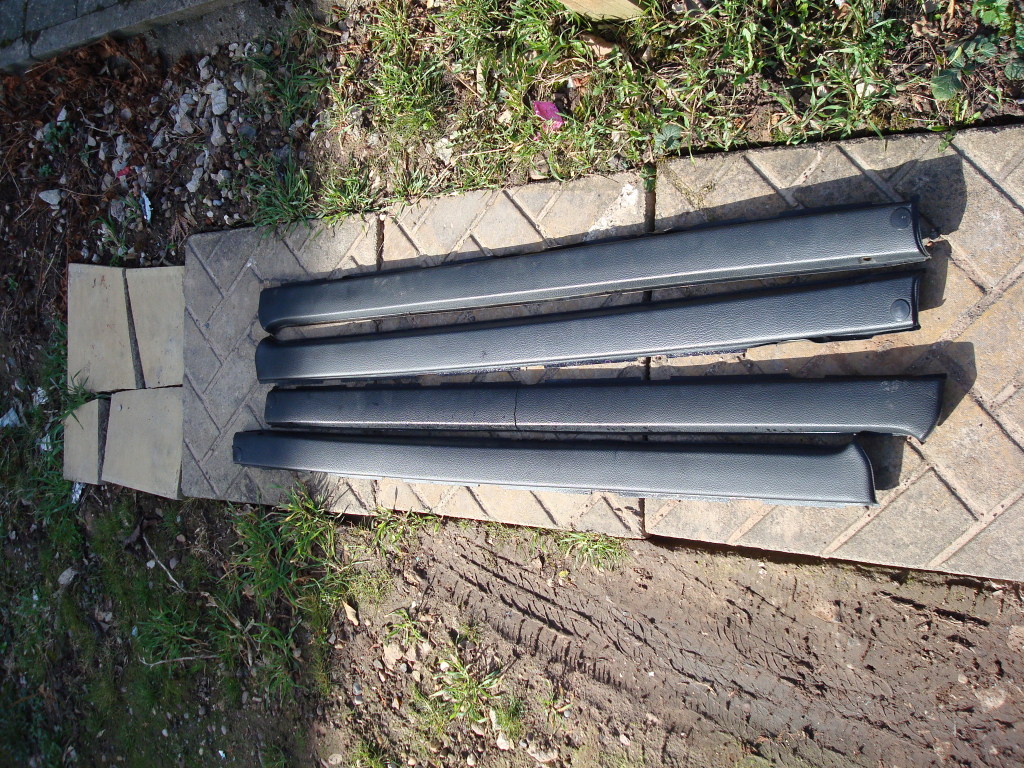
There is still more to do, such as new front indicator lenses, A pillar trims etc all courtesy of Dek, so thanks again fella.
Front Bumper and arch covers and replacement bonnet, it looks like someone has been break dancing on mine lol.
It needs a new hood, inter liner and top pad, but that's no issue to me, except I want an original finish one made from the sonnerland material, so the search continues for that.. So anyone know a UK supplier or it's Germany..
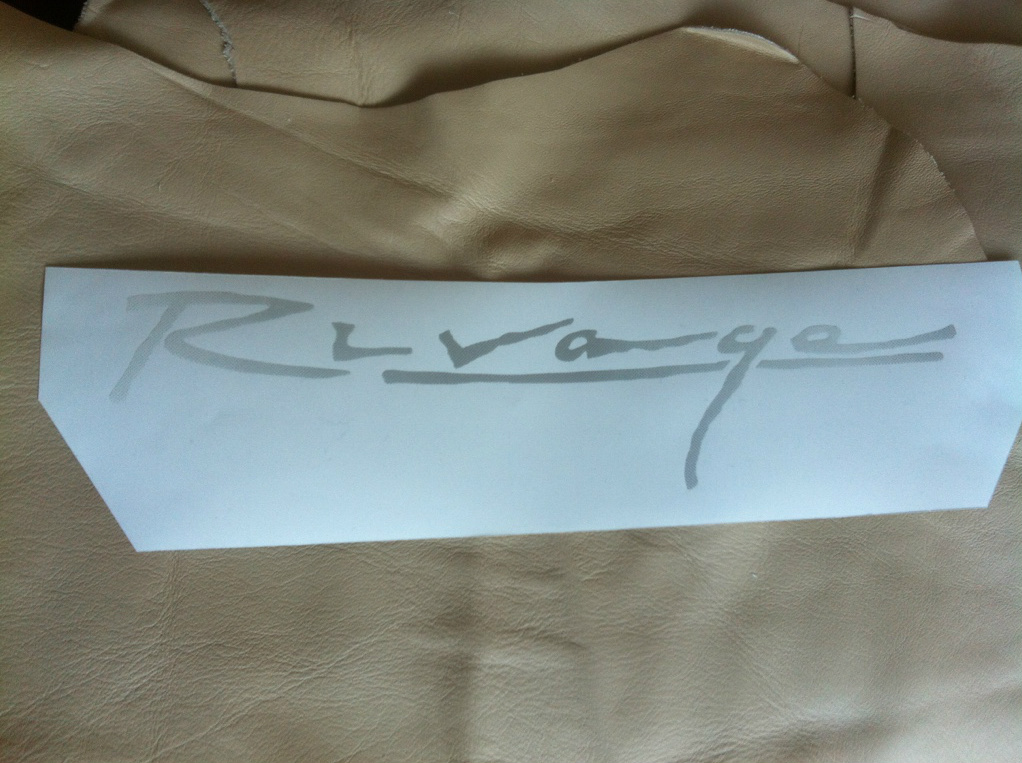
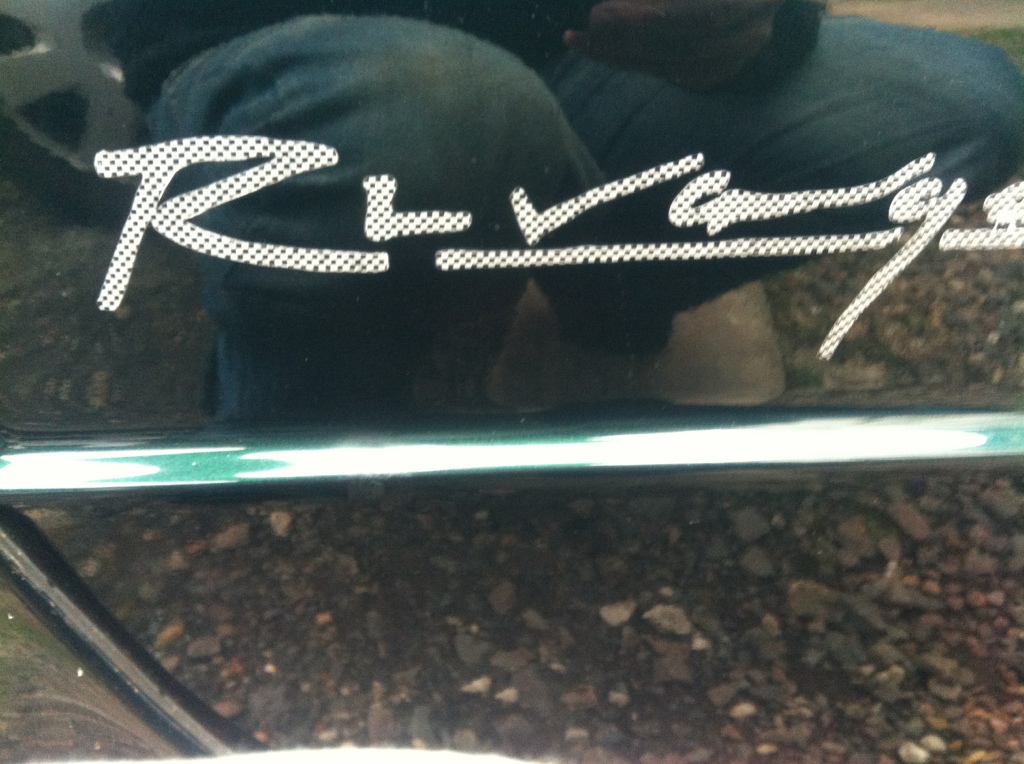
Just a case of paintwork and new anti stone chip foils and a new set of Rivage Decals (The ones on mine are a million miles away) to go on.
New Rivage decal to go on (proper).
What's on at the moment…yoiks, great if you want a game of chess..
Stone foils waiting to go on…

Door membranes, gear linkage kit, gear stick boot and refurb the steering wheel and the Gear knob, stereo to go back in, door cards to go on, etc etc..Oh and put a new courtesy light in as it fell apart…
There's bound to be bits I have missed out, so will add and edit as I go along.
Cheers
chortle
"Making Cabbies More Beautiful One Roof at a Time"
Posted

Old Timer

Posted
Settling In

Jim O Hare
Posted

Settled In

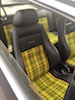
Great work on the seats…they look excellent!
Keep the updates coming.
P.s any chance of some bigger pics of the car?
P.p.s if you need a hand with your roof…I'm too busy at the mo!

Just kidding. Can't wait to see what else you have in store.
Mk1 Gti Cabby project on the go! Detailed engine, roof off, leather interior, 16's, painted, now getting put back together!
http://www.vwgolfmk1.org.uk/modules.php?name=Forums&file=viewtopic&t=103263&start=0&postdays=0&postorder=asc
http://www.vwgolfmk1.org.uk/modules.php?name=Forums&file=viewtopic&t=103263&start=0&postdays=0&postorder=asc
Posted
Local Hero
Forgot some bits that have to go on.
Hirscmann automatic ariel. Got to sort the alarm out, remove the blinking LEDs that were in the door pins.
Just trying to negotiate a deal with the body shop for a repaint.
I know the bloke very well and he had said he will take the dents out etc and respray for £800.00.
With it being a pearl metallic colour he reckons the paint can cost up to £350.00 to £400.00. I know he's very good too.
Will have to see if I can squeeze a bit more by stripping the car myself prior, that's gonna save some labour costs.
I haven't told him I want to refit the body kit myself plus take the arches to my mate who will fit the stone foils etc before they go on, plus was thinking of getting the graphics man down to put the Rivage decals on before lacquer coat for extra protection?
Cheers
Chortle
"Making Cabbies More Beautiful One Roof at a Time"
Posted

Moderator


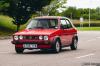
At last we get some pics of this motor? Although a little small?
Good to see you have being busy. Paint job at that money looks very reasonable.
Do you have figures for the numbers of green rivages?
Cheers Hugh.
www.vwgolf1.com - vw golf parts and genuine accessories!

www.vwgolf1.com - vw golf parts and genuine accessories!
Posted

Old Timer
If you can read this, thank a teacher,
If its in English, thank a soldier.
A soldier fights not because he hates whats in front of him, but because he loves whats behind him.
If its in English, thank a soldier.
A soldier fights not because he hates whats in front of him, but because he loves whats behind him.
Posted
Chairman
Posted
Local Hero
Not sure if it will be done by the AGM?
Hugh not sure on numbers to be fair. I should research really.
Does 250 of each colour ring a bell?
Dano I like the Blue ones. But the greens bit different etc.
Had 4 new tyres and it went through MOT okay, except for the front indicators being smoked and the yellow bulbs loosing the colour. So the guys at my local place chucked a couple of bulbs in for me. I have new indicator lenses to go on thanks to Dek.
Will keep at it…
Updates as and when. Oh and not sure why the pics are so small, will look at resizing them.
Cheers
"Making Cabbies More Beautiful One Roof at a Time"
Posted
Chairman
Posted
Local Hero
"Making Cabbies More Beautiful One Roof at a Time"
Posted
Website Manager

Cheers,
Ade
Ade
Posted
Local Hero
SOUTHWEST Regional Host. Bristol Meet - 1st Friday of the month - Toby Carvery Bradely Stoke Bristol Bristol Region Facebook Group
1.8T CABBY
TINTOP THREAD (SOLD 2016) SPORTLINE THREAD (SOLD 2015) CLIPPER THREAD (SOLD 2012)
1.8T CABBY
TINTOP THREAD (SOLD 2016) SPORTLINE THREAD (SOLD 2015) CLIPPER THREAD (SOLD 2012)
Posted
Local Hero
It looks really nice.
Loving the seats.
Look forward to seeing the progress.
Posted
Local Hero
Just need to crack on whilst the weather is good. Lots to do lol.
"Making Cabbies More Beautiful One Roof at a Time"
Posted
Local Hero
Managed to do the gear stick boot as well.
Repaired the door cards as they were coming unstuck, so some good glue and away I went.
Great weather for doing stuff.


"Making Cabbies More Beautiful One Roof at a Time"
Posted
Moderator
Ever growing range of new mk1 golf parts www.classic-vw.co.uk
Posted
Old Timer
If you can read this, thank a teacher,
If its in English, thank a soldier.
A soldier fights not because he hates whats in front of him, but because he loves whats behind him.
If its in English, thank a soldier.
A soldier fights not because he hates whats in front of him, but because he loves whats behind him.
Posted
Local Hero
Need to get the carpet out to rebind the edges, so it actual fits properly and some new underlay too.
Another job on the list..
Funk I need a window winder spacer and a longer screw for the rear window winder.
The number on the spacer is 155 837 595.
It's a lot thicker than the flimsy usual ones.
Still looking for those bits for you too. I haven't forgot.
just a few more boxes to sift through.
Cheers
Chortle
"Making Cabbies More Beautiful One Roof at a Time"
Posted
Moderator
As for your carpet, I did the one in the bogey man and soaked it with tfr and jet washed it, brought soooo much crap out! Water was thick brown.
Ever growing range of new mk1 golf parts www.classic-vw.co.uk
0 guests and 0 members have just viewed this: None.