My '85 Cabby - getting closer to completion
Posted
#1199140
(In Topic #143252)
Settled In


1985 Karmann Cabriolet
Very new to the VW world so learning as I go. Previously has Minis when I was younger and various French cars but decided to finally go German.
Found this on ebay and gonna spend the next couple of months getting it on the road and replacing everything wrong with it. Currently just needs ripping apart and refitting, servicing, sorting the bodywork out, going through the electrics and fixing various problems, then new wheels, respray sound system and alarm.
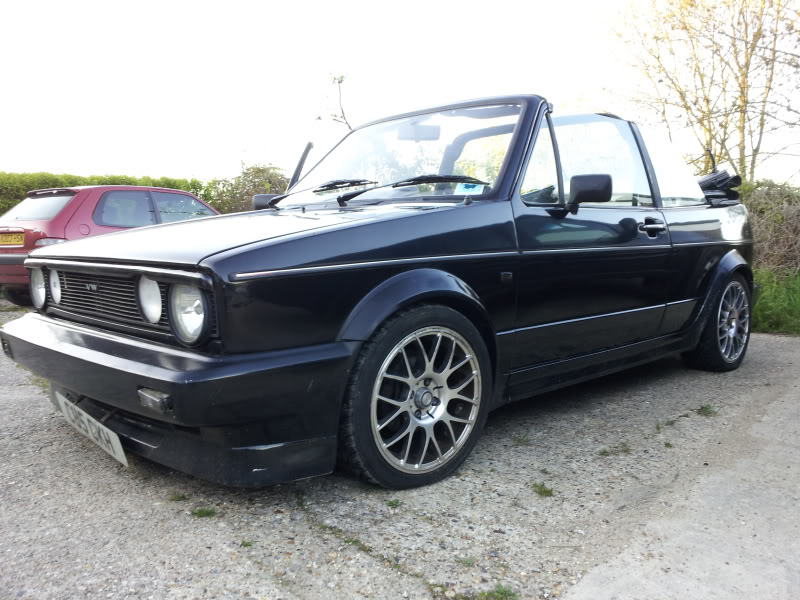
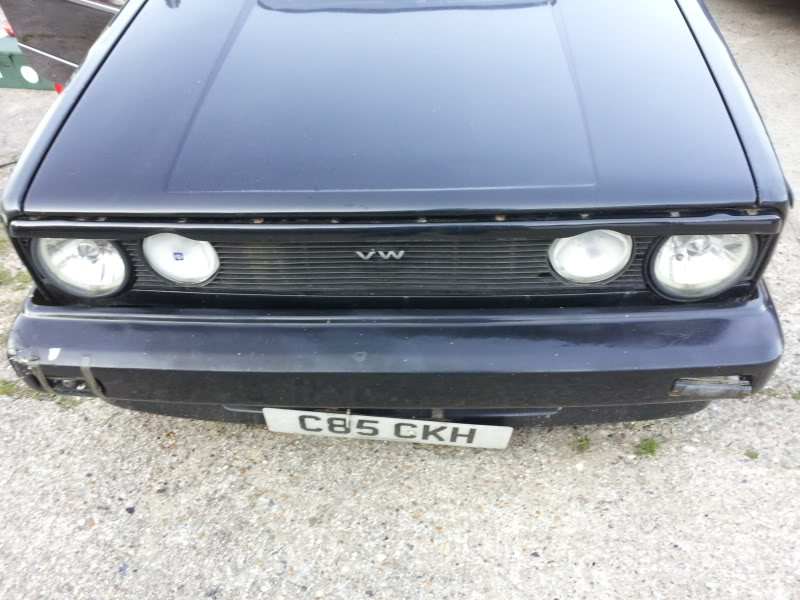
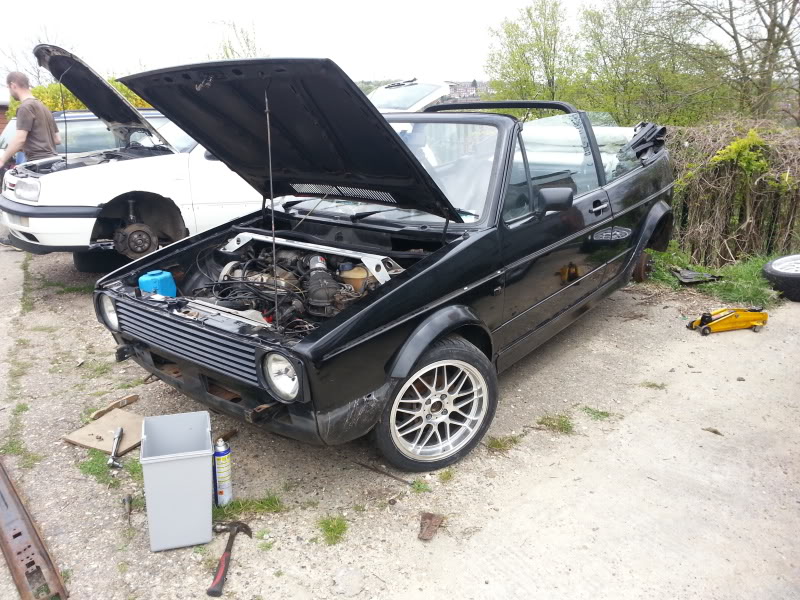
Here's when I got it. Battery was flat as it'd been sat there for a year:
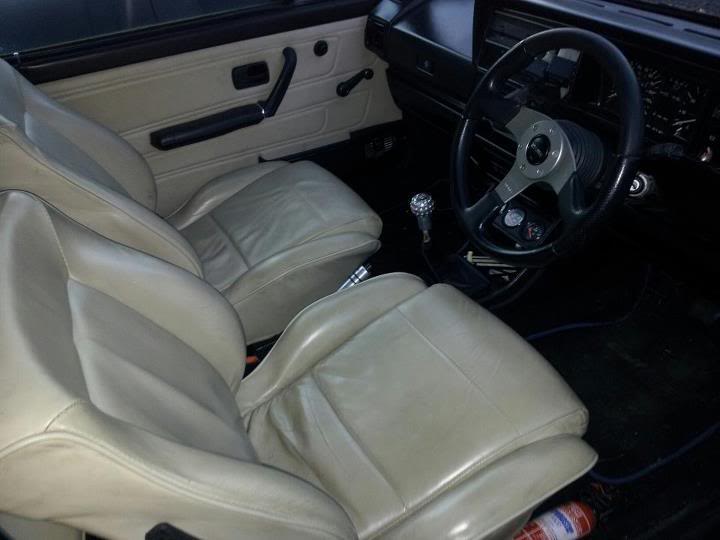
Started cleaning the leather:
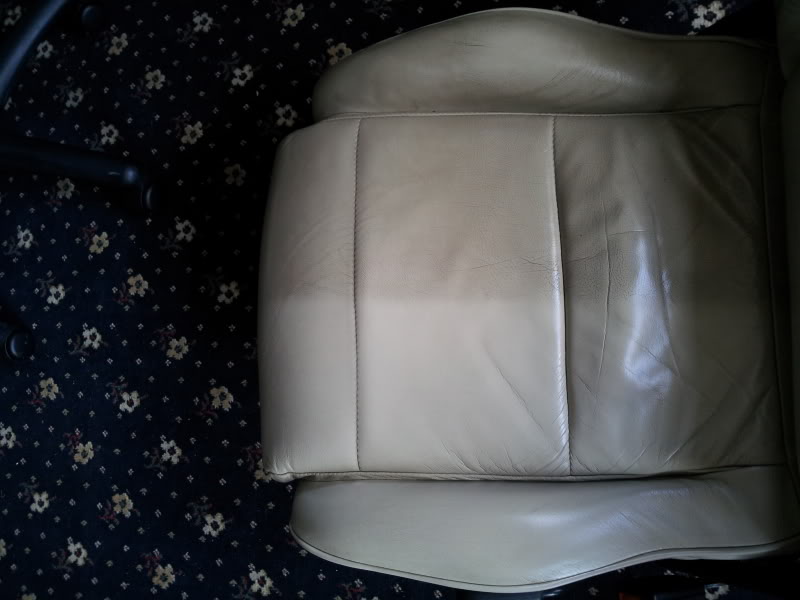
Cleaned and protected the roof:
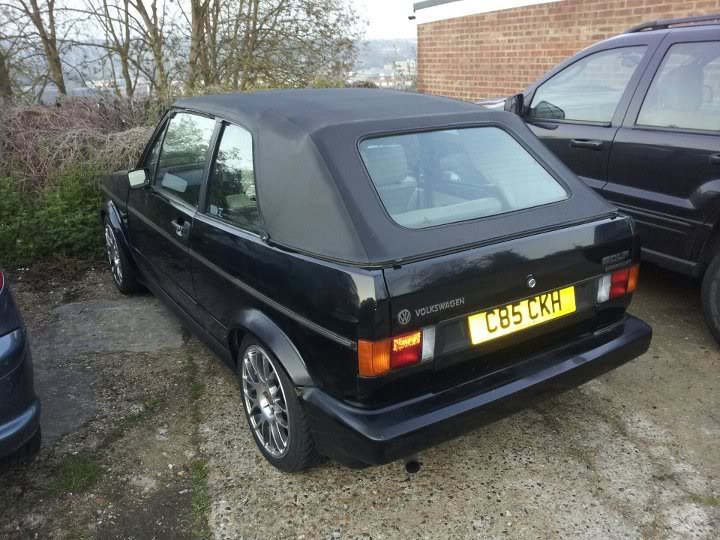
Took the seats out and gave it a quick hoover:
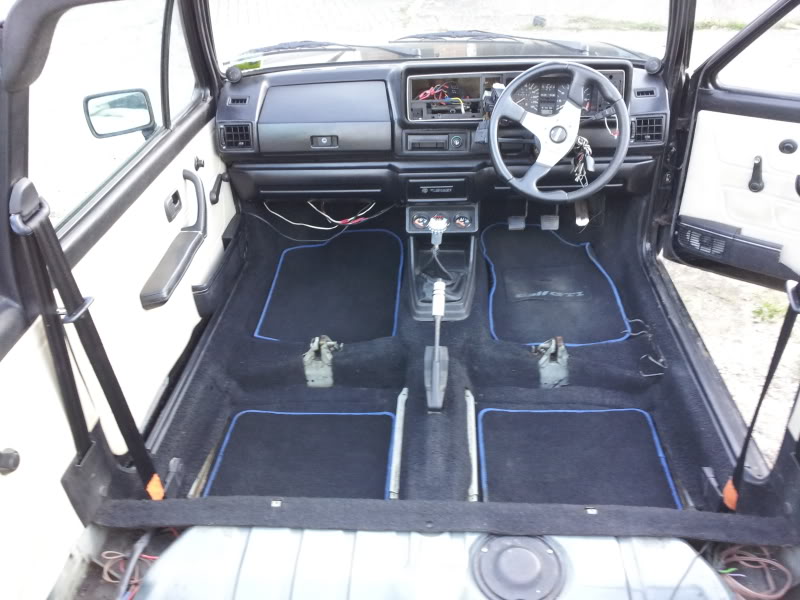
Now discovered water in the passenger footwell so need to take the front carpet out and check it out.
In a sorry state:
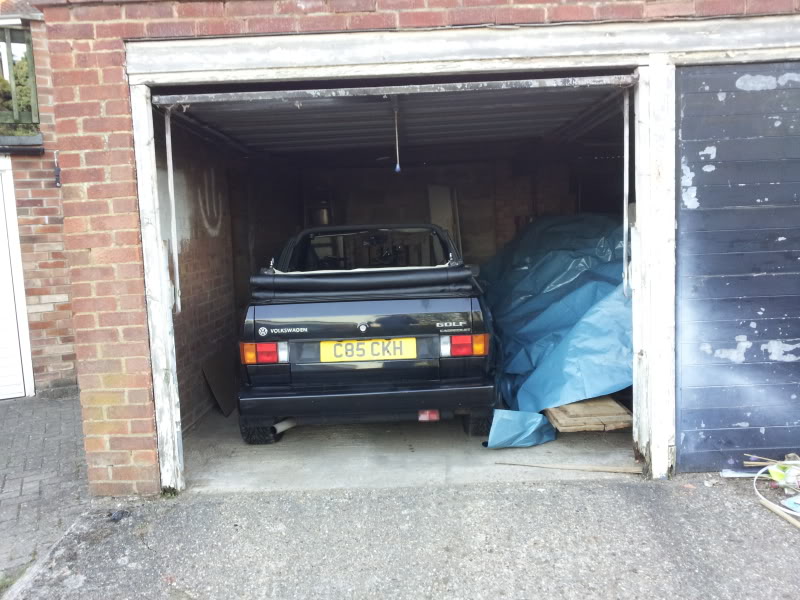
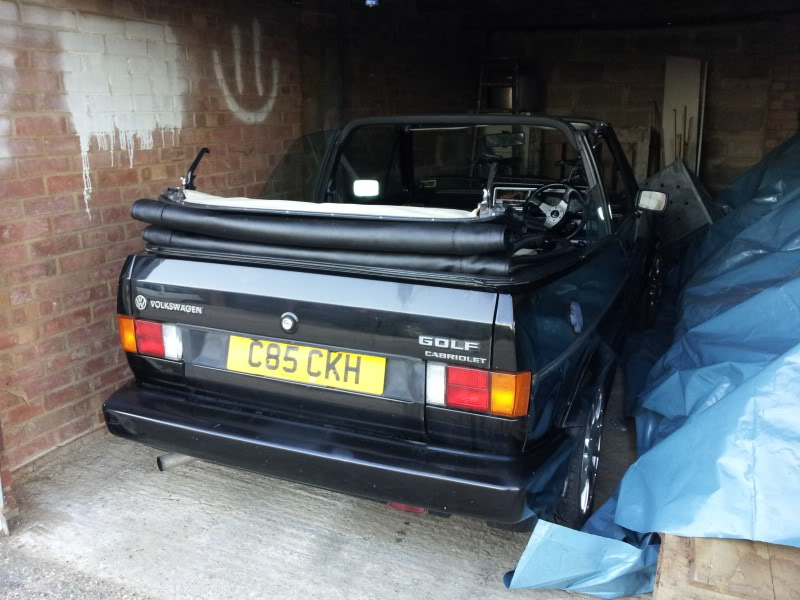
Managed to squeeze her in the garage:
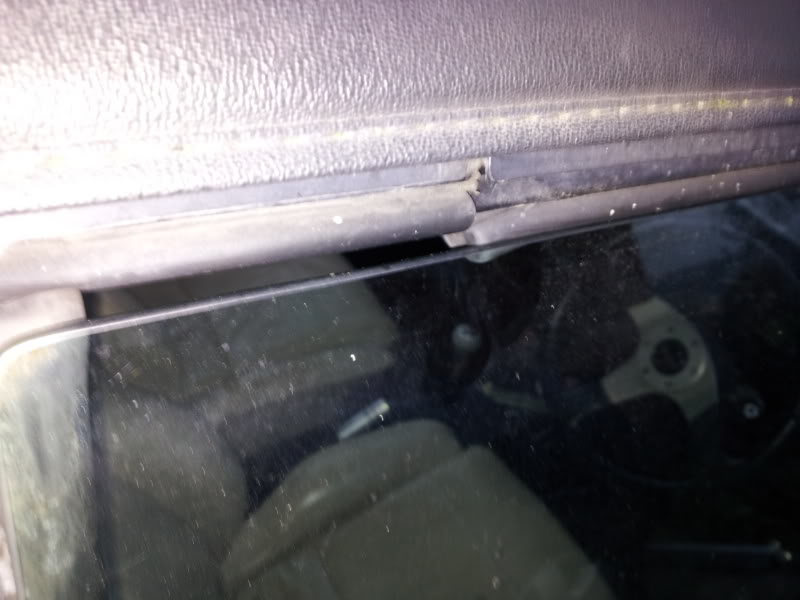
Gap along the top of the windows:
Put it away for the day coz I'm hanging. Til next time….
 Last edit: by karmannndunc
Posted
COTM Team

Posted
Settled In


As for the wheels, I do like them but was thinking I want something more Euro.
Posted
Settled In


I pick them up at the weekend so I'll hopefully get a picture of them up plus anything else I do.
Posted
Settled In


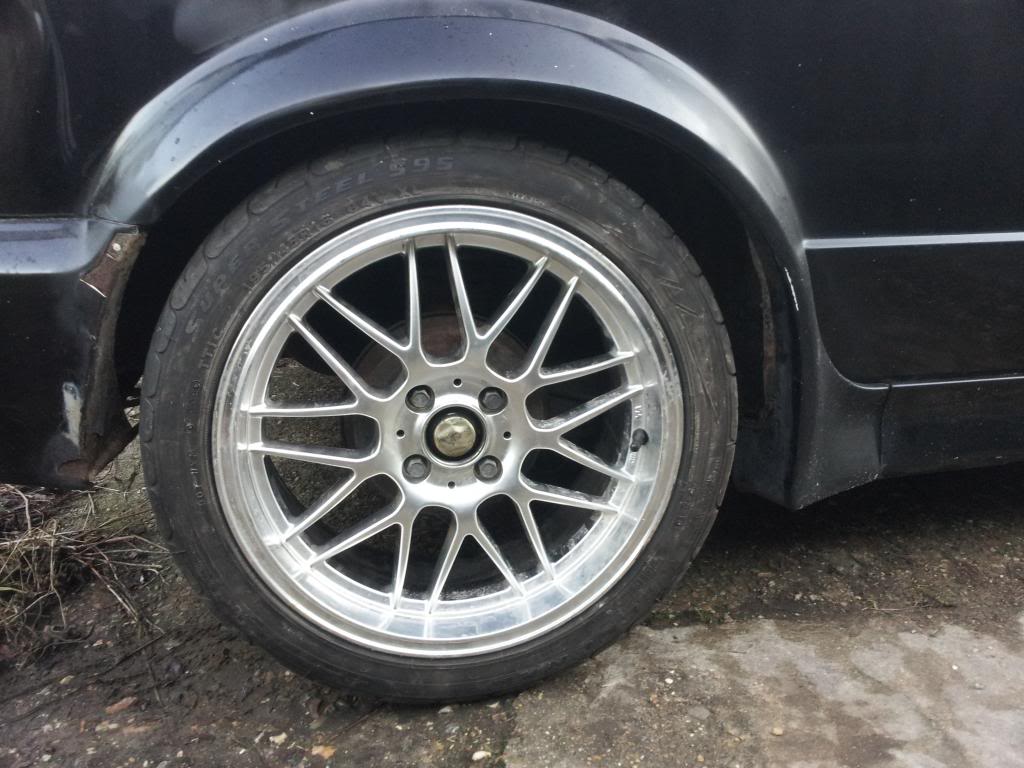
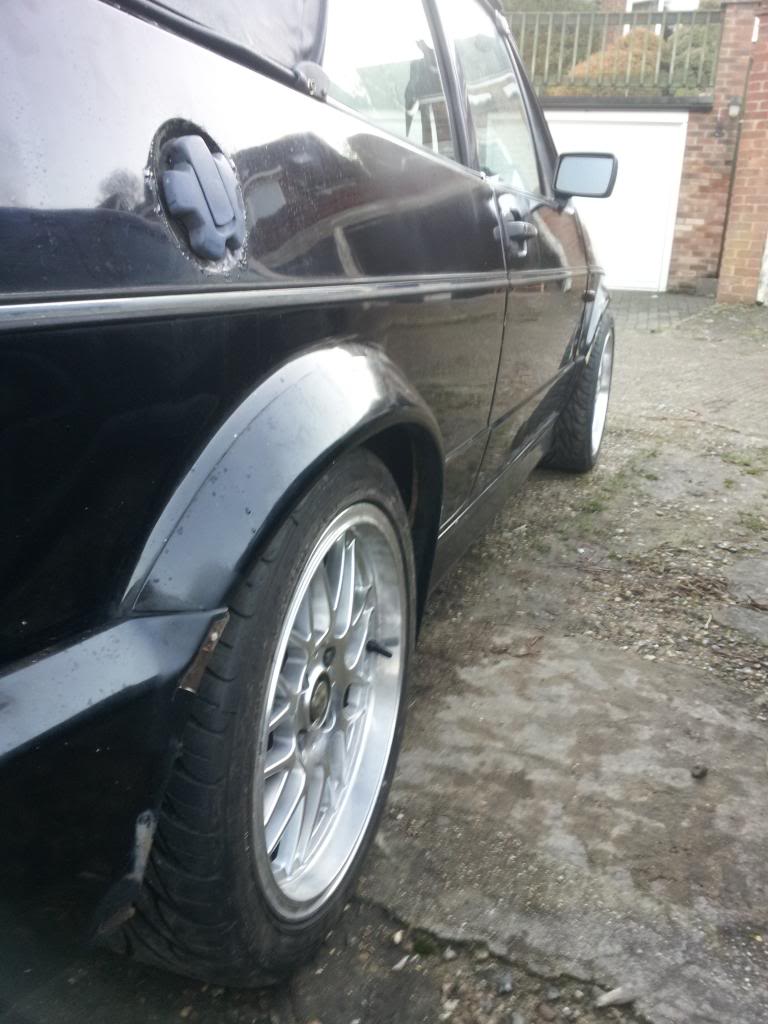
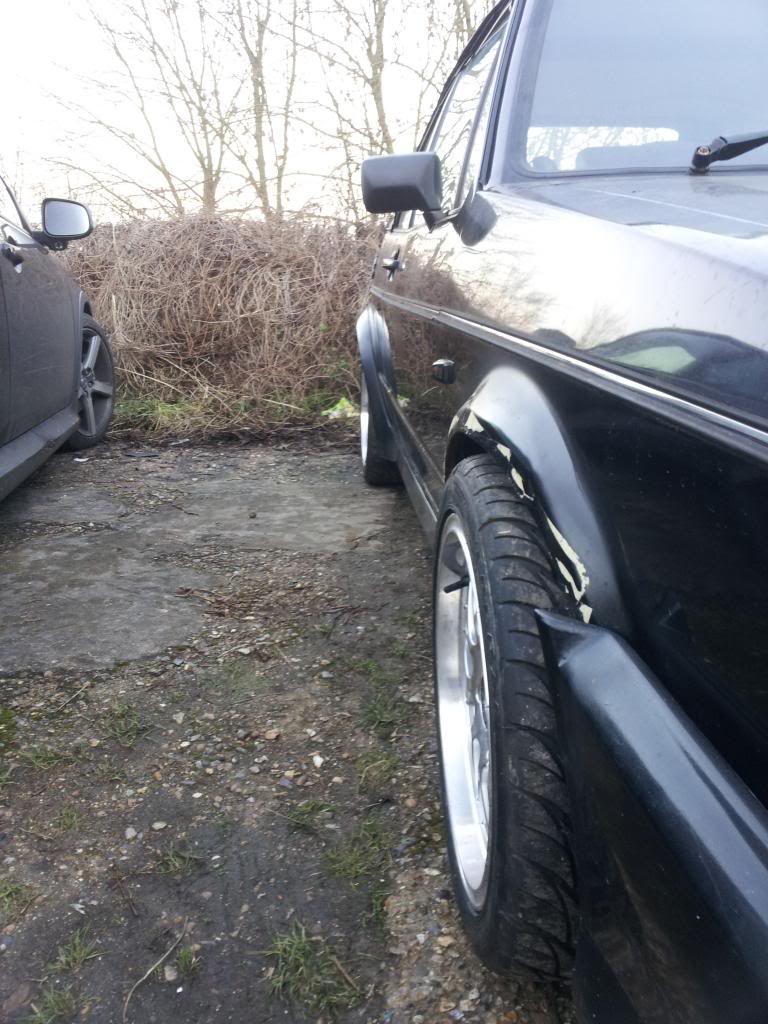
I was unsure about the wheels at first but they have grown on me. They line up perfectly on the front but I'm going to need some BIG spacers for the rear to get the right stance.
I also started removing all the carpet and have the rear section removed but the front is proving a problem. Its been really cold and working late so not had a chance to do anything else.
I bought some dehumidifying packs to try and soak up any moisture on the inside (once the carpet is out) but I still have a problem with gaps along the top of both side windows:

I'm stumped as the rubbers seem to be seated properly. I have other photos also on my phone that I'll put up when I get a chance.
Also whats the best way of making my roof open and shut easier? I'd left the roof down while it's been in my garage for the past few months so when I finally managed to roll it out the garage and get the roof up, it was a bit stiff. I used a bit of WD40 on some of the joints but it didn't make much difference.
She's looking pretty rough at the moment but the plan is to get everything working on it, interior sorted, MOTed, respray then maybe a 1.8t conversion (in that order)
Posted
Settled In

as a Mini owner and now a Cabro owner i know where you are coming from.
By the looks of your seals its like they are too LOW. try pushing them up and the windows sits in a bit more.
my roof is like this now after doing something to it the other week.
1977 Leyland Clubman
2012 BMW 3 Series Sport.
Posted
Settled In


Posted
Settled In

1977 Leyland Clubman
2012 BMW 3 Series Sport.
Posted
Settled In

Posted
Local Hero

Make sure all the hinge points are oiled properly and no cables from the sides are snagging.
How close does the roof close?
Rams can go stiff in these preventing the roof from going forward properly.
You Merc to have a look at the seals and realign them.
Closer pics of them would help also.
Behind the door card near the wonder handle is an adjuster bolt to adjust the up down of the windows us bolts under the door help eith the for and aft movement.
Make sure all the bulkhead grommets are in place and the drain tubes either end of the scuttle tray are clear plus you have the plastic tray in place over the blower motor cover.
Check the corners of the windscreen seals to make sure they aren't leaking from there.
Cheers
"Making Cabbies More Beautiful One Roof at a Time"
Posted
Settled In


"chortle" said
This would not have come with the facelift kit as its pre 88.
Make sure all the hinge points are oiled properly and no cables from the sides are snagging.
How close does the roof close? It looks flat and tight on the front
Rams can go stiff in these preventing the roof from going forward properly. Rams? It's a manual roof
You Merc to have a look at the seals and realign them.
Closer pics of them would help also. I'll get some very soon
Behind the door card near the wonder handle is an adjuster bolt to adjust the up down of the windows us bolts under the door help eith the for and aft movement.
Make sure all the bulkhead grommets are in place and the drain tubes either end of the scuttle tray are clear plus you have the plastic tray in place over the blower motor cover. ???
Check the corners of the windscreen seals to make sure they aren't leaking from there.
Cheers
Thanks for all your replies. This is my first Golf and first cbriolet so I feel like a bit of a retard
I'll see if I can get out there on Sunday but I'm going to be hanging out of my arse and I'm working tomorrow.
Cheers
Dunc
Posted

Moderator

Priorities and all that.
Posted
Local Hero

It looks like perhaps one of the deals is in the wrong way round so the curved edge is sticking out.
Yes you have gas struts on these they are to help opening and closing, they can fail so you cannot pull forward properly.
Also the rubber seals go into holders, do it could be they are not fitted properly.
Cheers
"Making Cabbies More Beautiful One Roof at a Time"
Posted
Settled In


I posted the other day trying to figure out why my windows had gaps between them and the roof. It looks as though the rubbers were fitted on the wrong side:
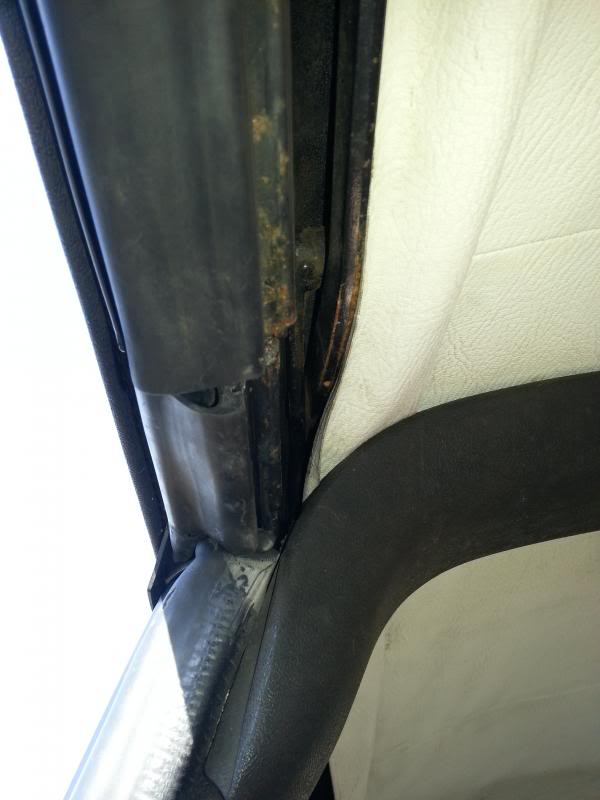
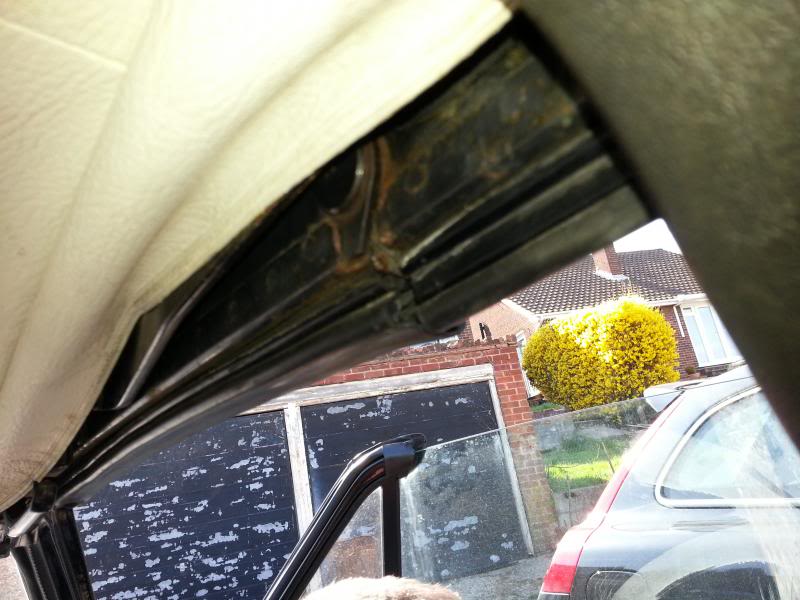
I then took ages lining up the seals at the top of the door windows. The windows now close nice and tightly but I forgot to take a picture.
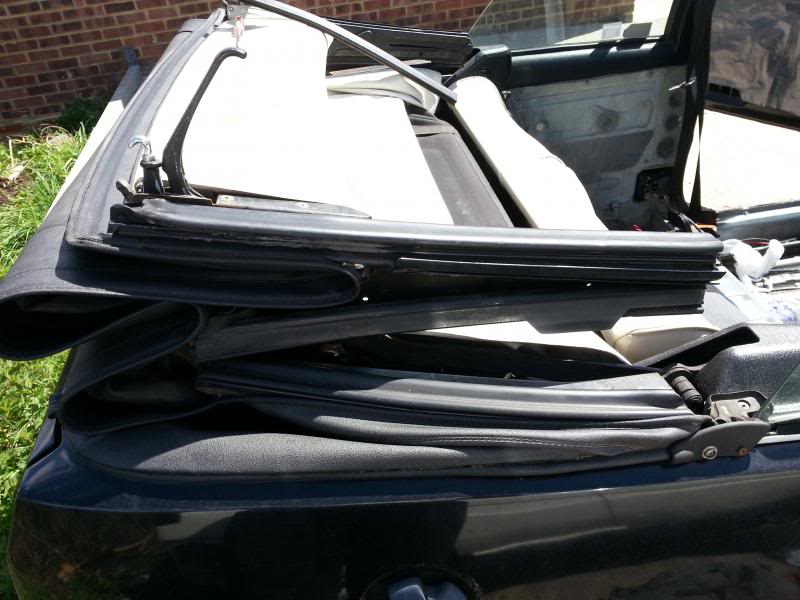
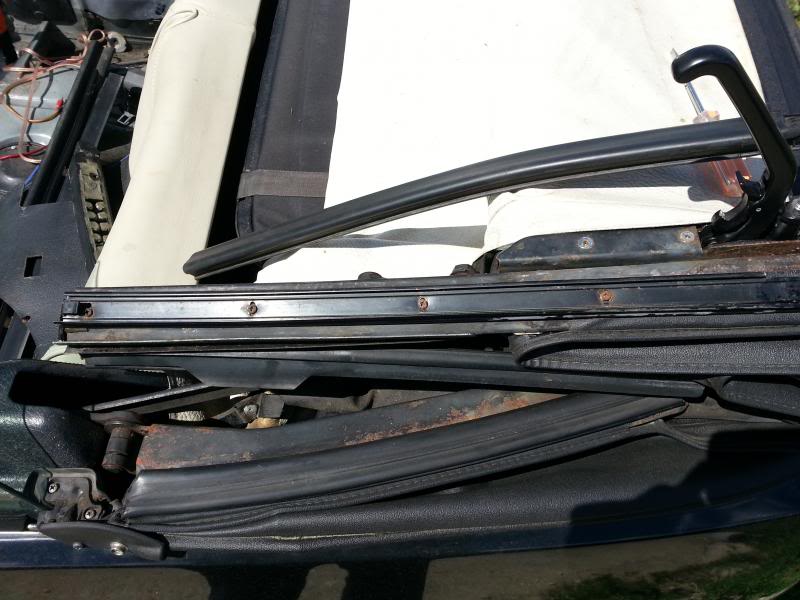
As I had finished the windows fairly early I started to strip out the rear bench and interior and uncovered a few nasties:
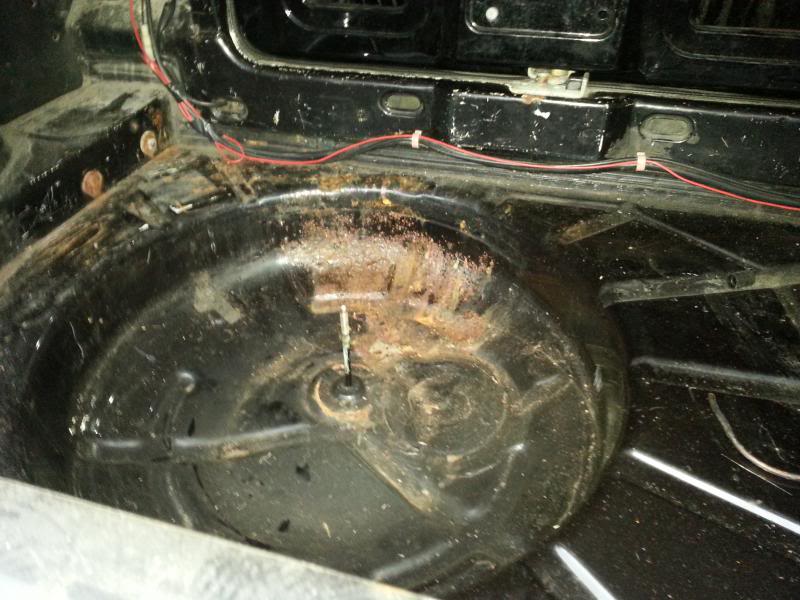
Hole in boot floor that is rotten through:
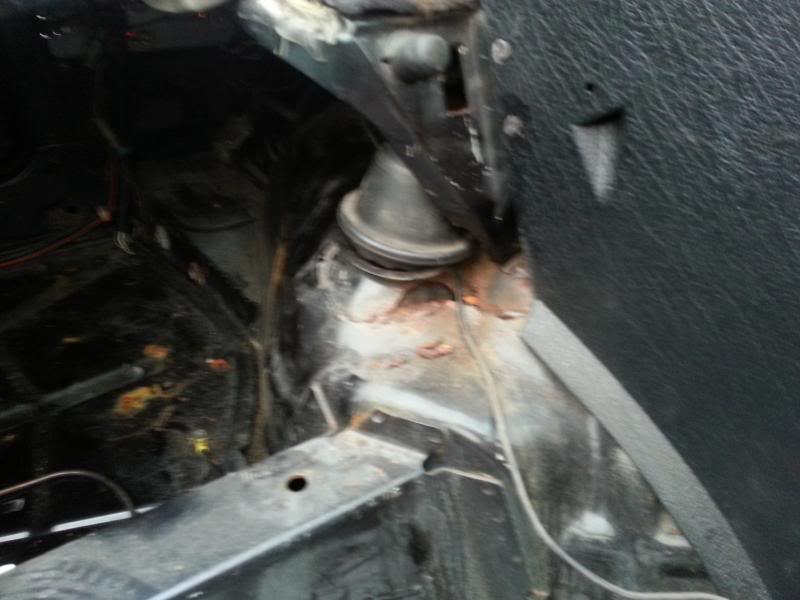
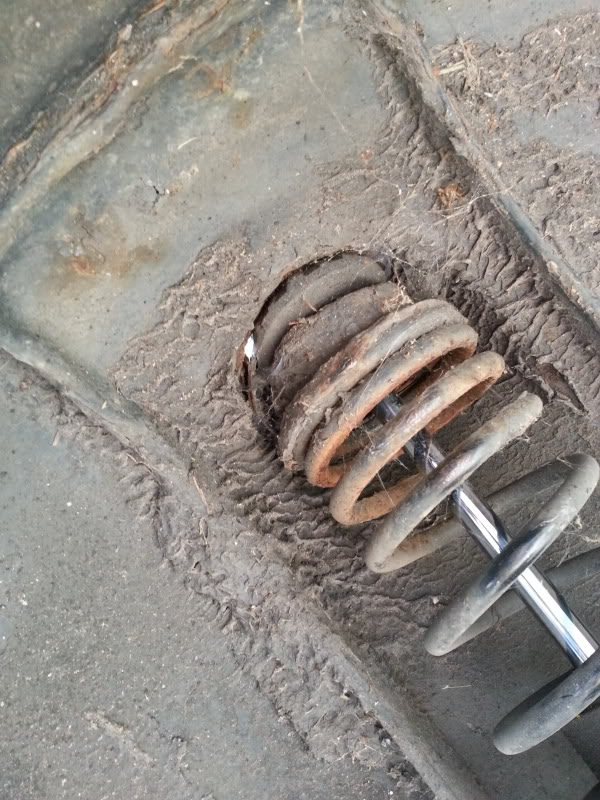
Hole in rear suspension turret:
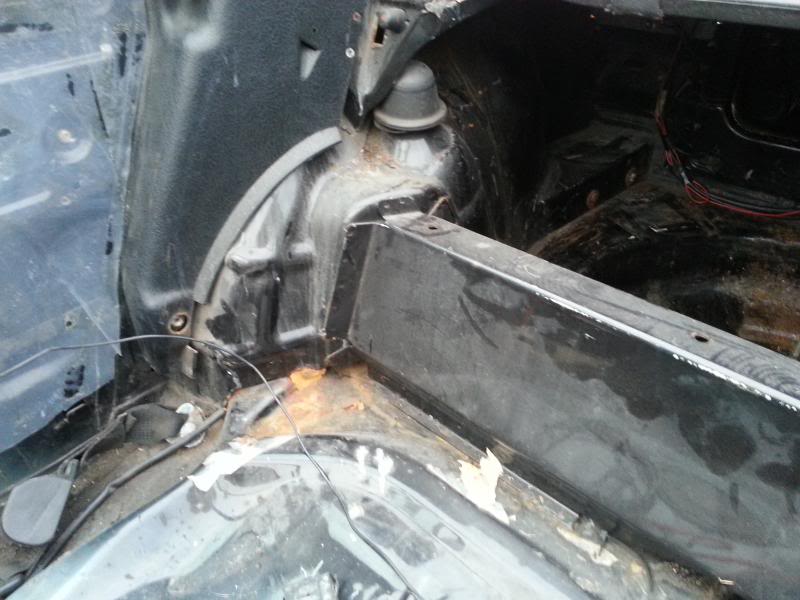
Bit of surface rust:
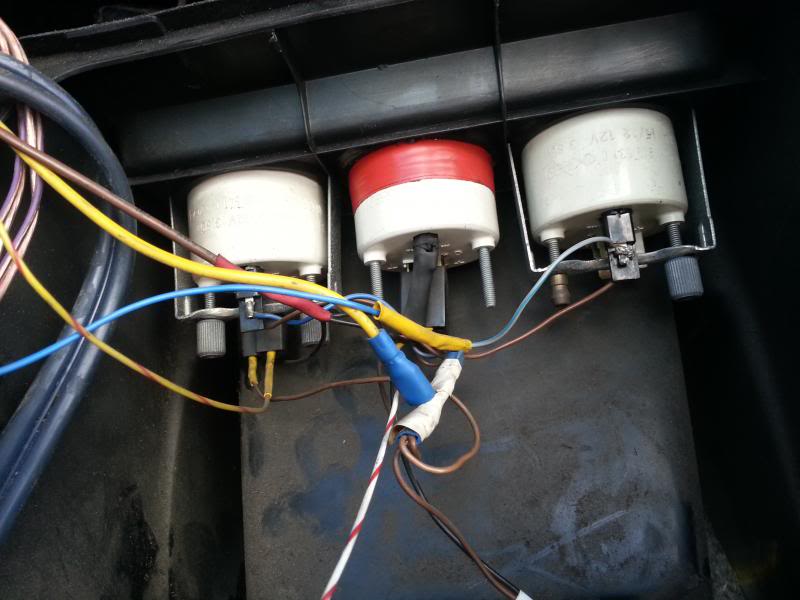
Now I had to tackle getting the dash etc out, first by disconnecting the centre console gauges:
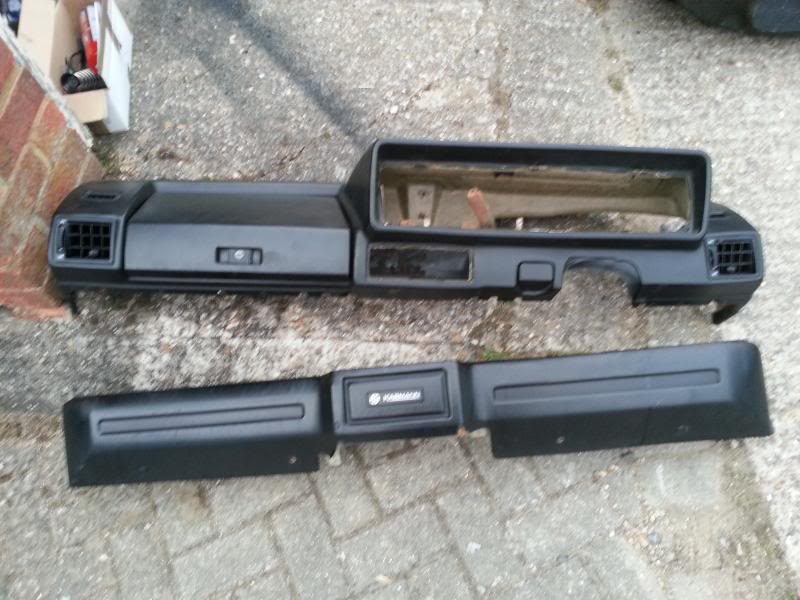
Th dash and knee bar removed:
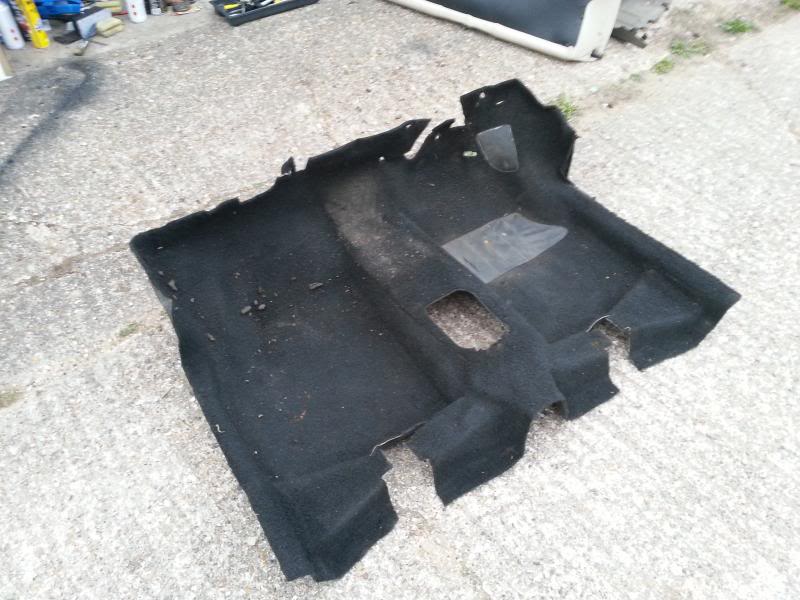
Front carpet removed:
The loom was a mess and had a Sigma alarm/immobiliser with wires falling off.
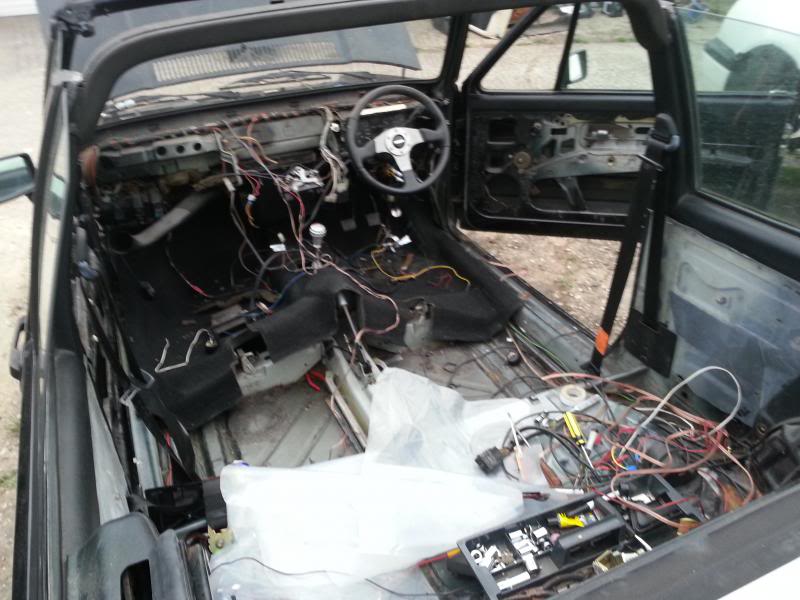
After a quick tidy:
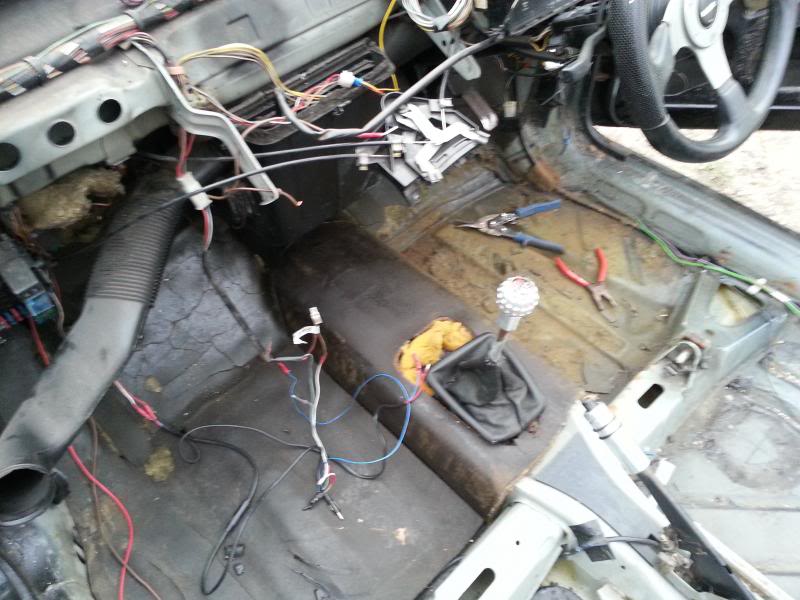
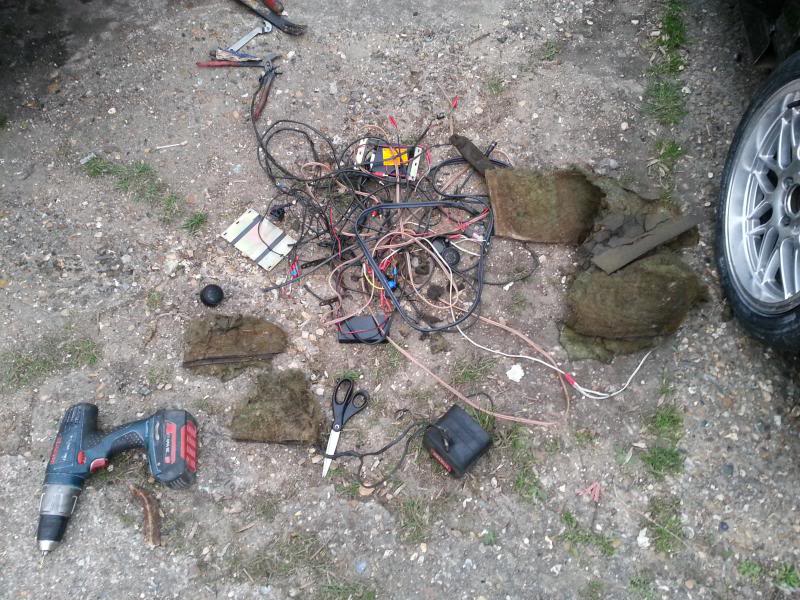
And all the redundant wiring that came out:
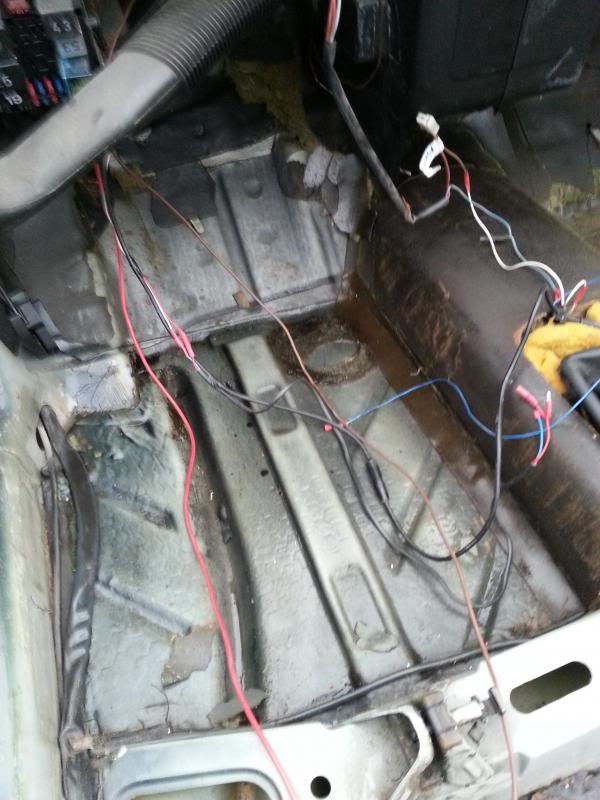
The passenger footwell was full of water and the sound deadening had soaked it all up so stank. That had to go:
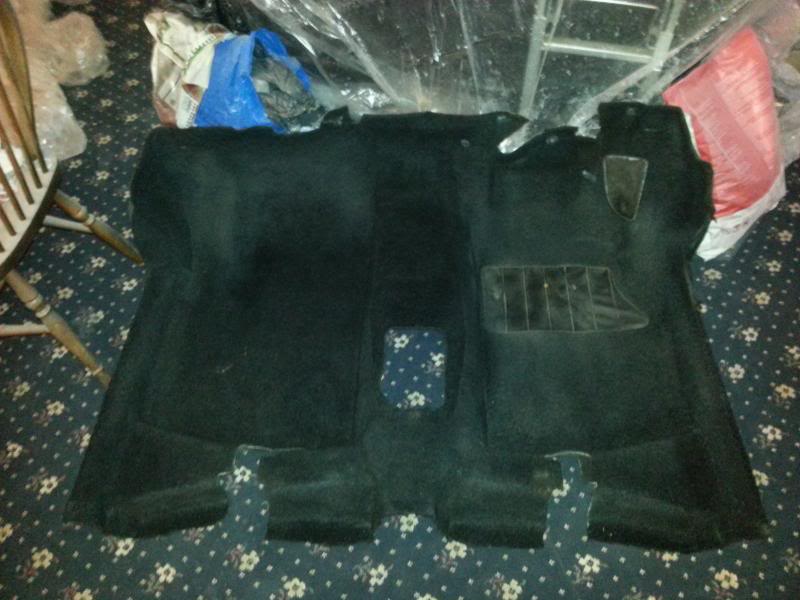
Carpet after a quick hoover:
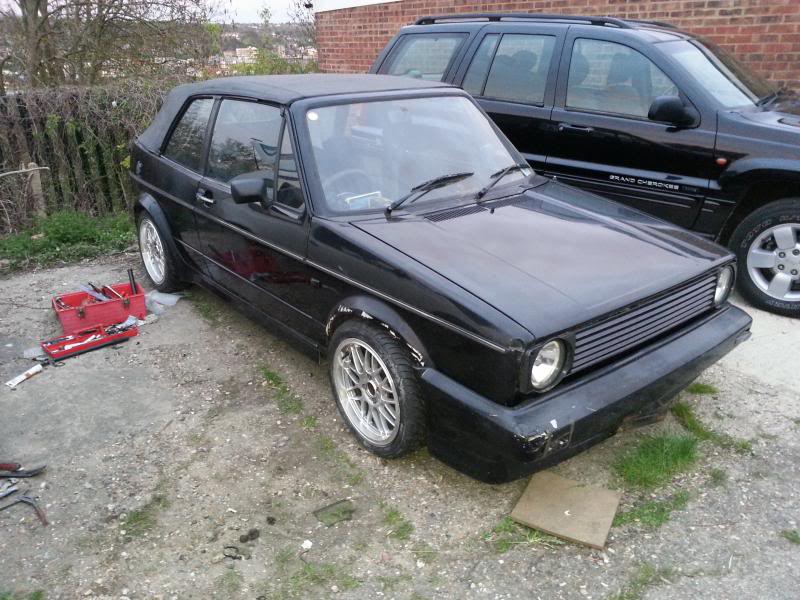
And how she sits now:
Tomorrow I will be continuing with the wiring as I have a fair bit of soldering to do. After that I'm going to tear off the bodykit to see what it looks like underneath.
Also should be having someone around from the bodyshop to see when it can get fitted in. I should have it ready to go in over the coming weeks.
It's all happened all of a sudden. Very exciting!
Posted
Old Timer

It's all shits and giggles until someone giggles and shits
Posted
Moderator


Be very careful with removing the arch trims! Chances are they've been bonded on with some really sticky stuff. When I took mine off a lot of the paint came off too. Try warming it all up with a haridrier as this will help to make the glue a bit softer, or use a heat gun if you're brave, just watch you don't damage the paint of the arches.
that wiring looks like spaghetti. A few more wires than in a mini
E
Posted
Settled In


Posted
Settled In


OK, I've been a busy boy since the other day and started to strip the rest of the car.
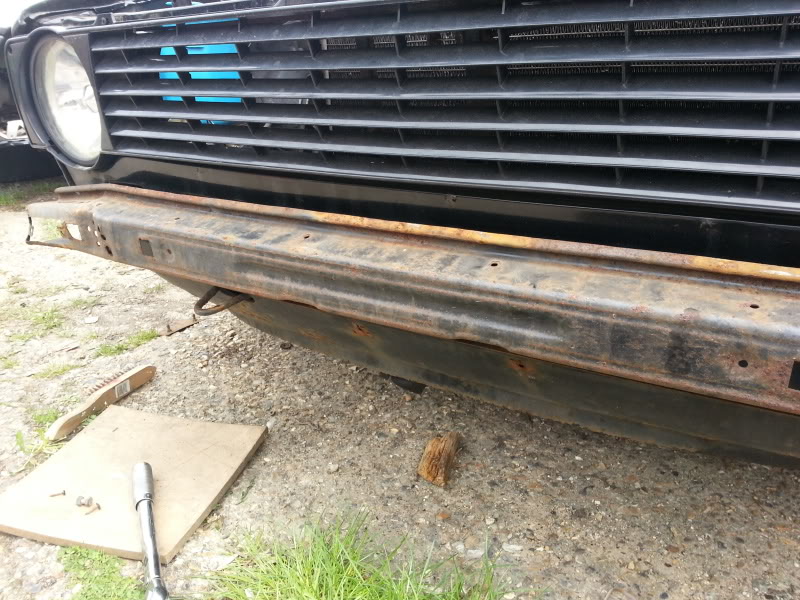
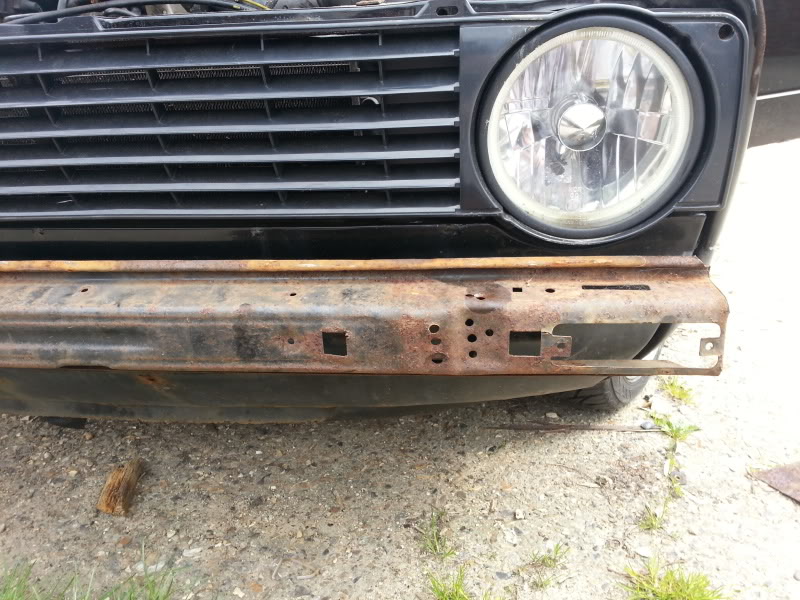
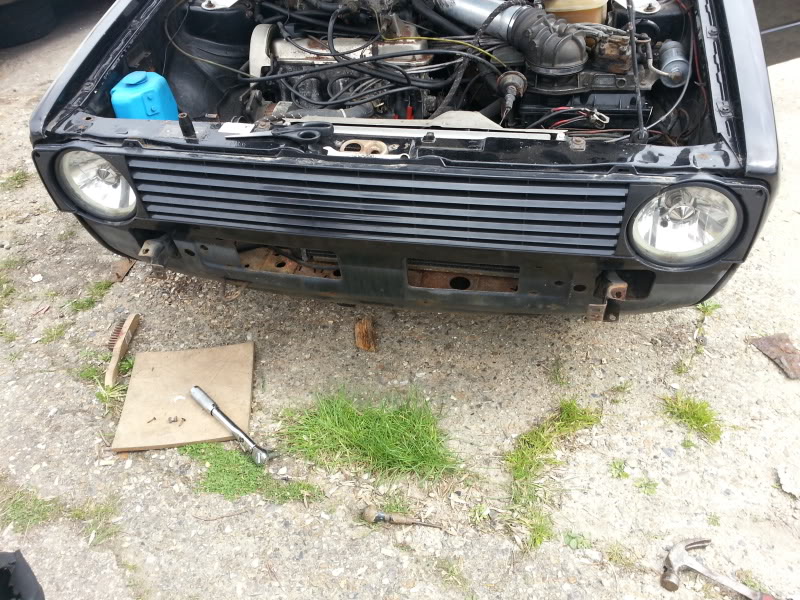
First I had to take the bumpers off. The screws had corroded so much, they were a b***h to get off so had to grind one off.
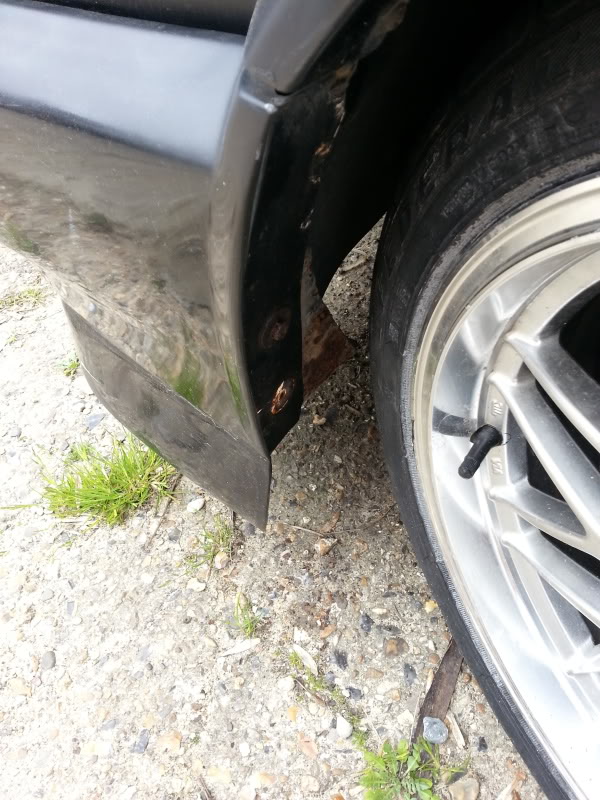
Upon removal of the front bumper, I found the metal support bent out of shape at one end. I will probably just replace them as the rear is unsalvageable. Forgot to take a pic though.
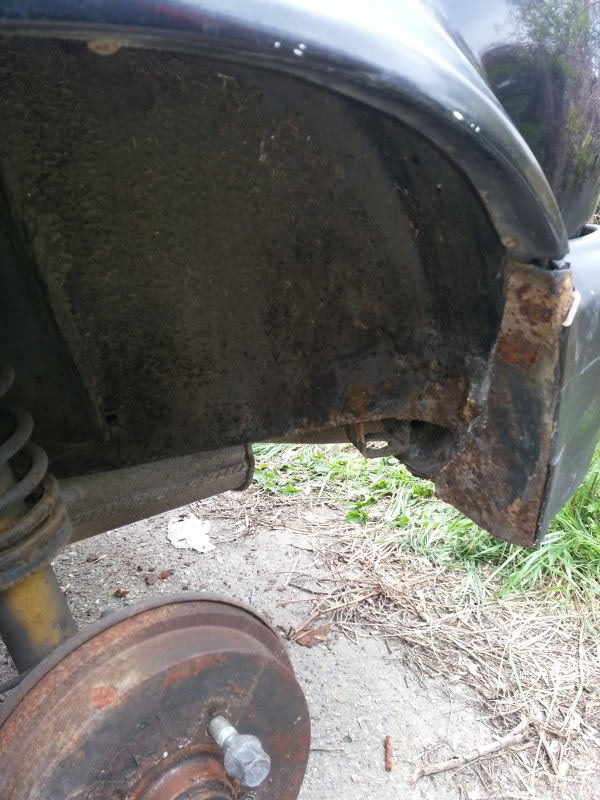
View of daylight through the suspension turret.
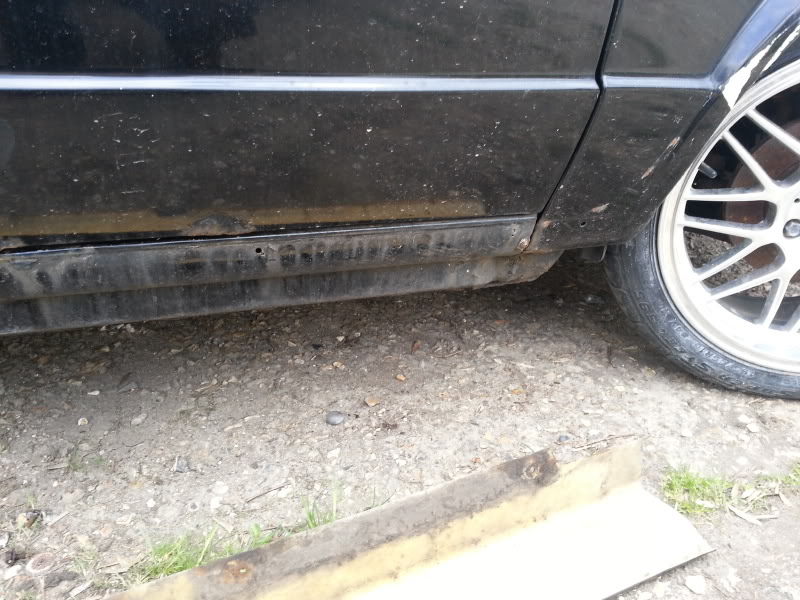
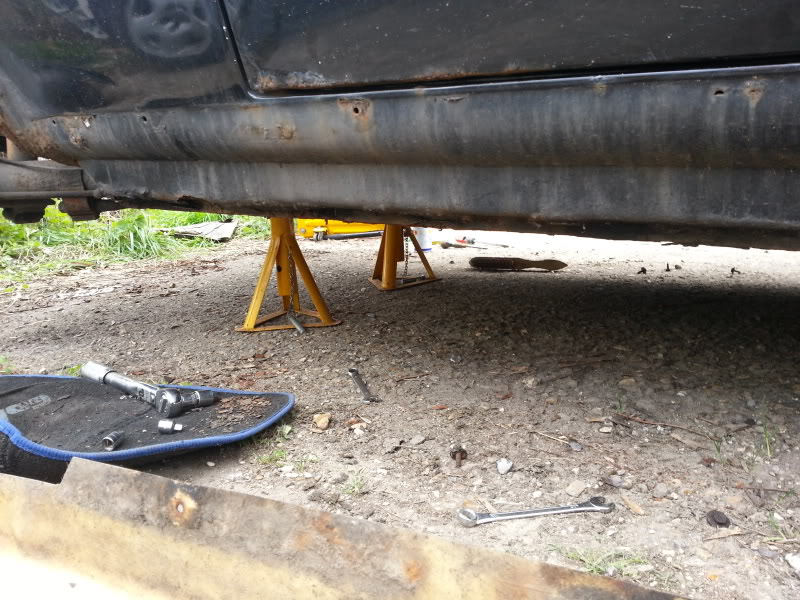
Side skirt off
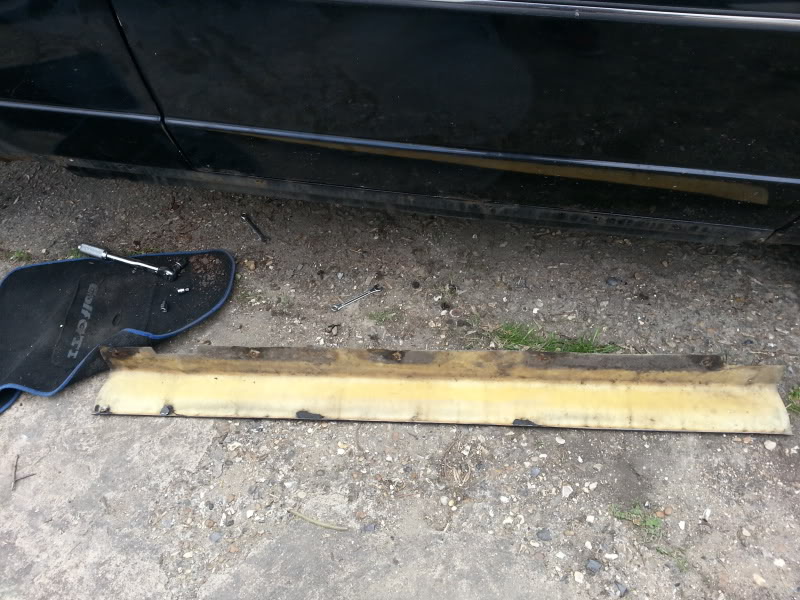
Sills not looking too bad
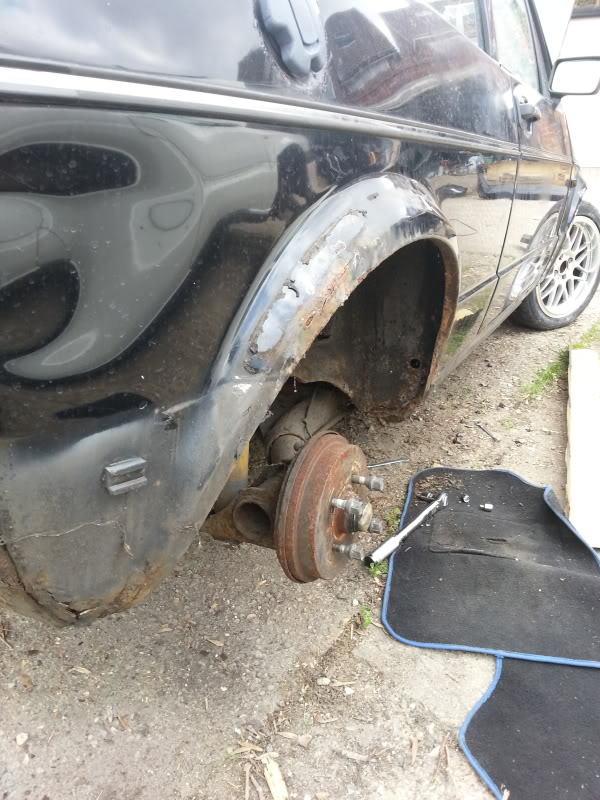
Rear arch in need of repair
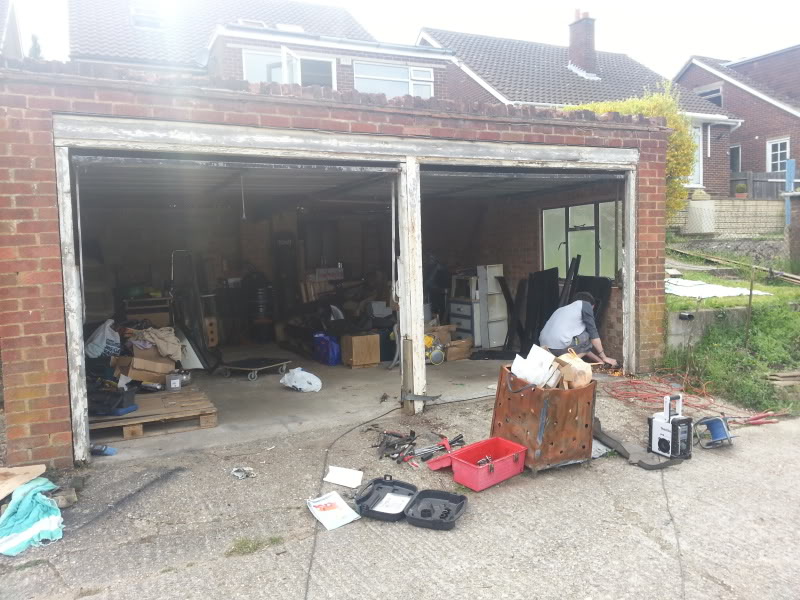
It can go in here when needs be. Not needed with this weather though.
After the Clipper kit was removed, I started cleaning up the wiring mess left by the immobiliser.
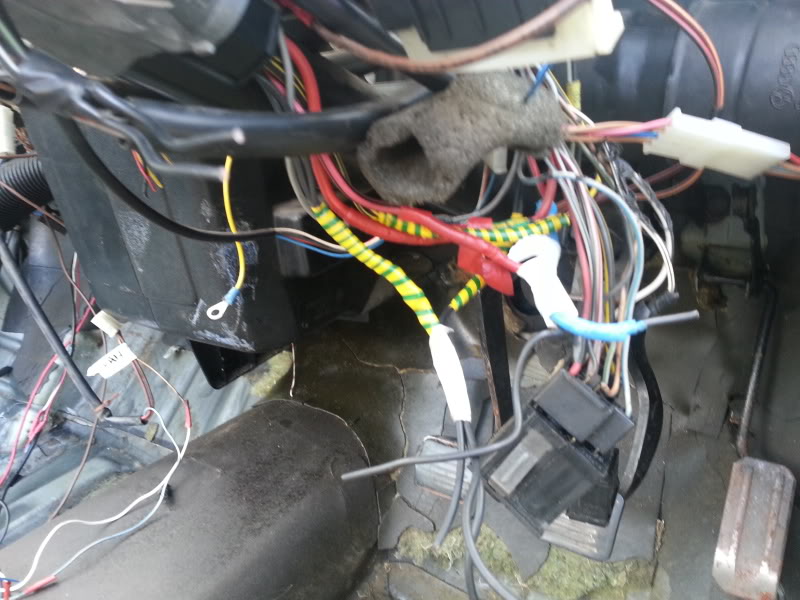
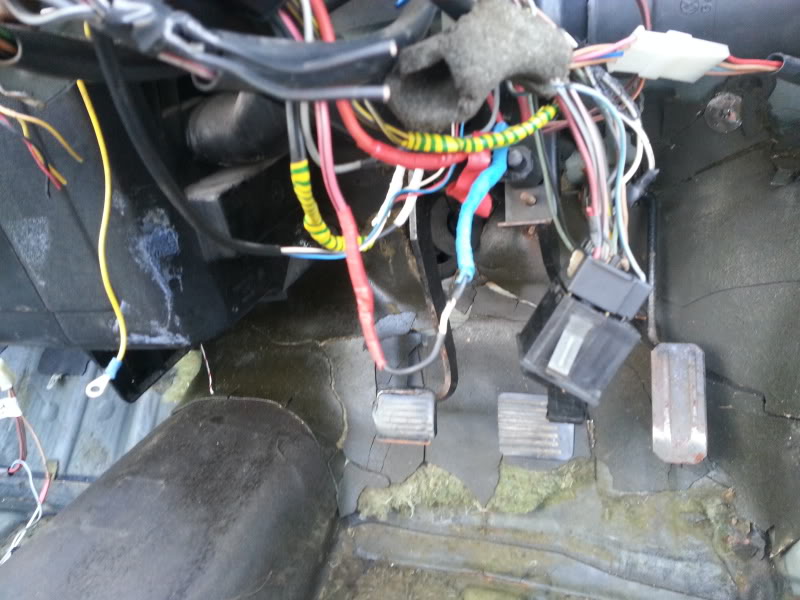
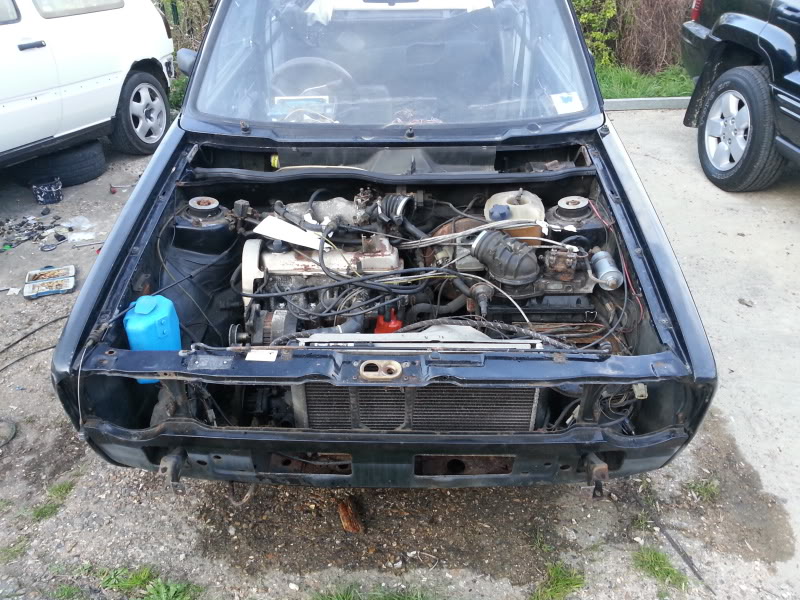
Started disconnecting things from the engine ready for removal
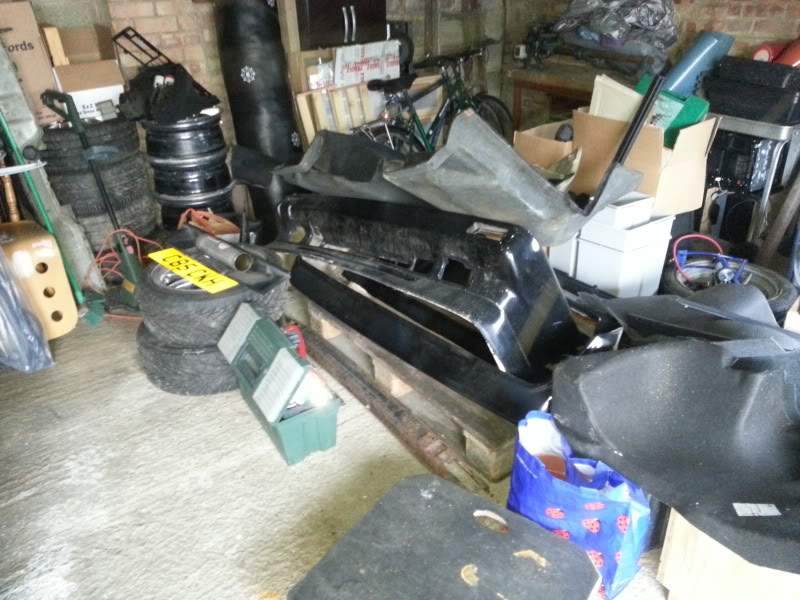
Parts Collecting
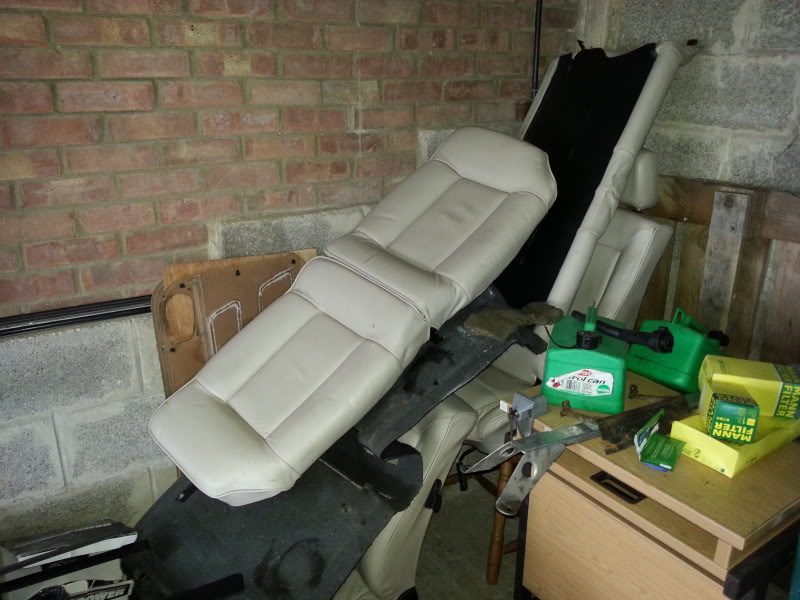
How she was left Sunday evening (before i put the roof up)
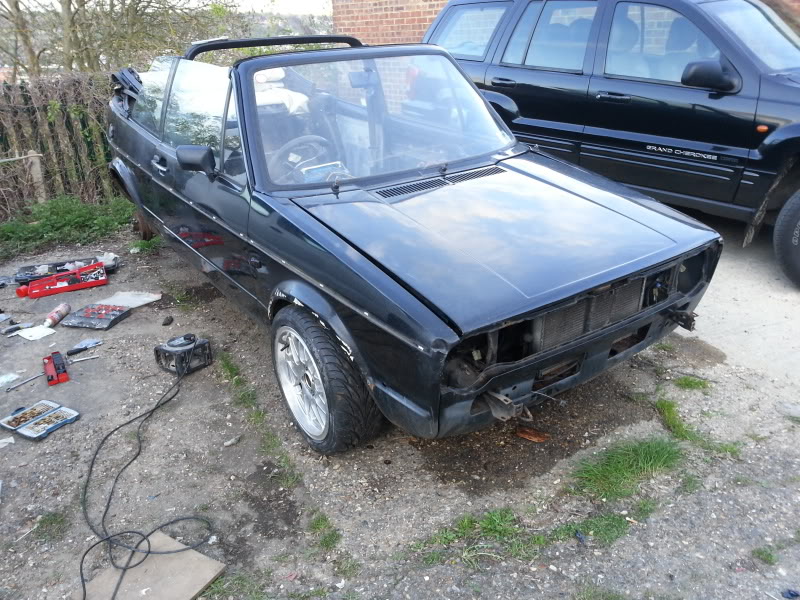
MONDAY
Back to engine removal (not many pics)
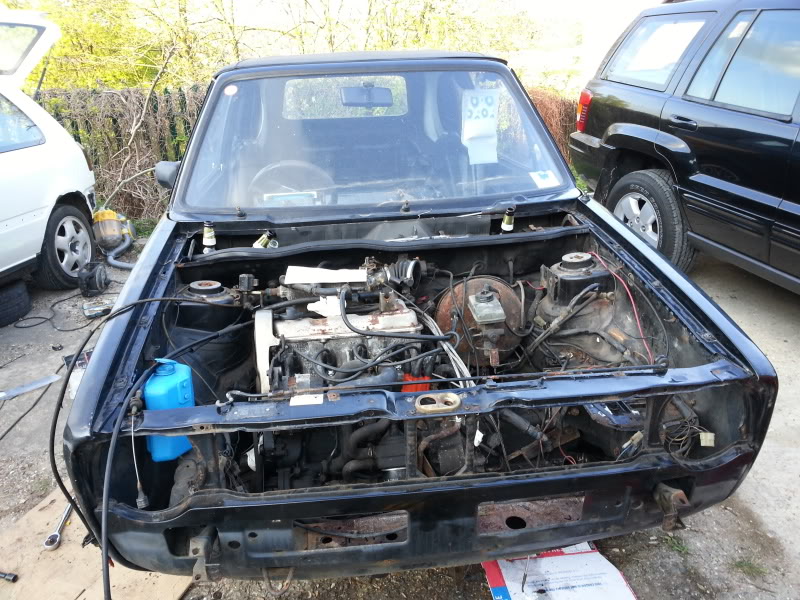
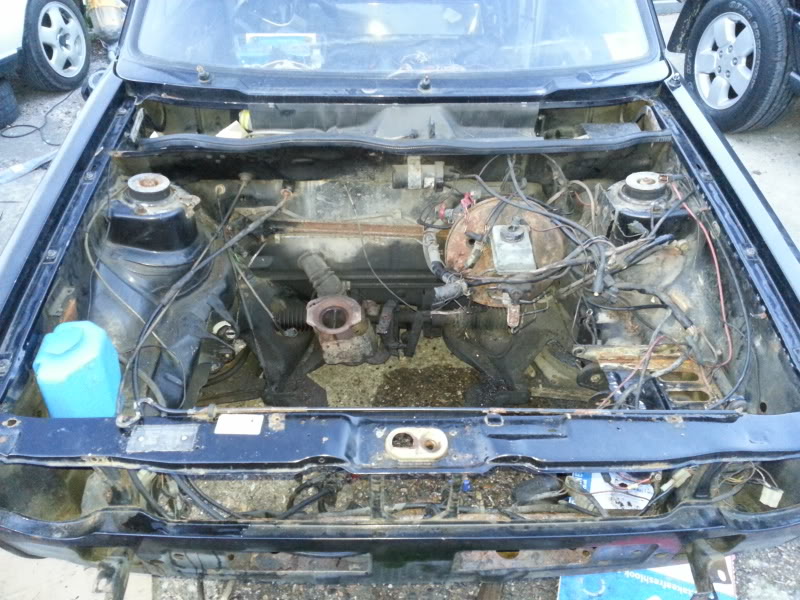
Engine Out!
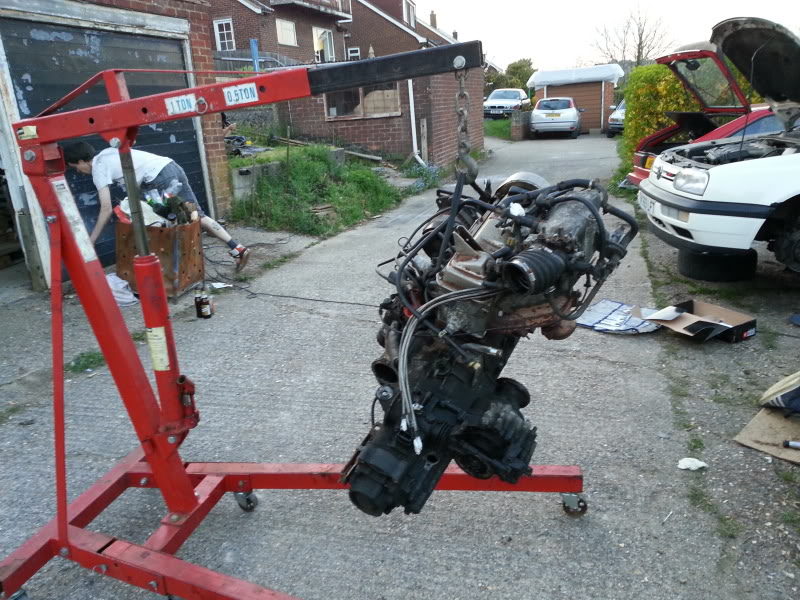
Needs a good clean and a lick of paint!
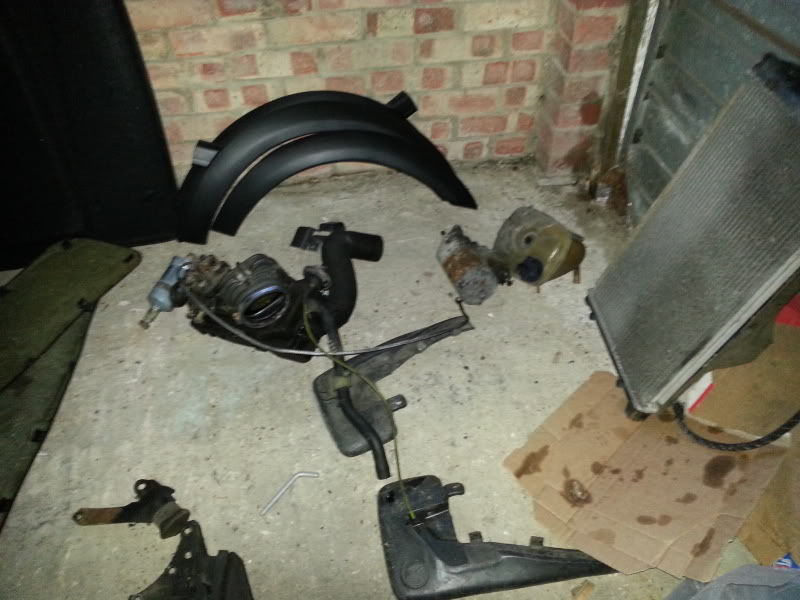
More parts collecting (minus the Mk3 bits)
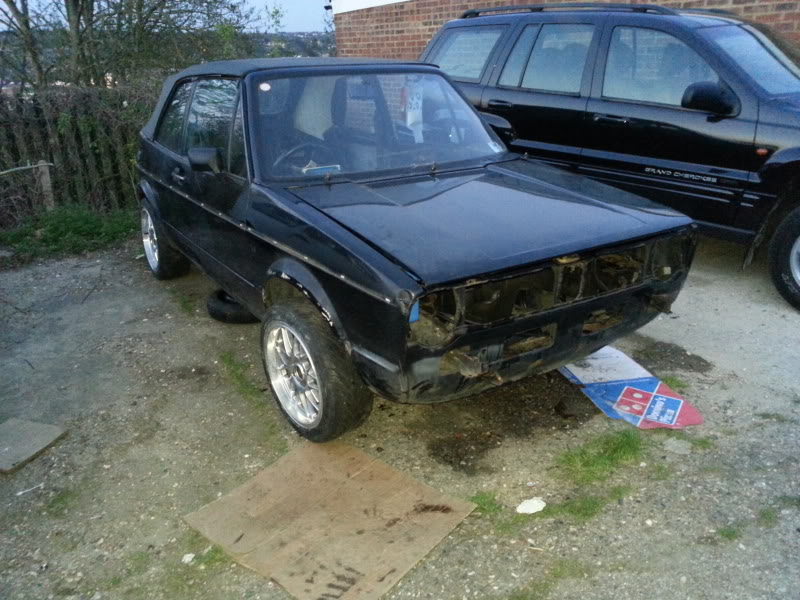
How she was left last night
I managed to get this afternoon off work and did a bit more. Just need to get the photos up.
Getting there though
Posted
Settled In


Didnt have long to do much but basically finished off removing things from the engine bay. Also stood and looked at my front panel for a while before deciding it'll be fine
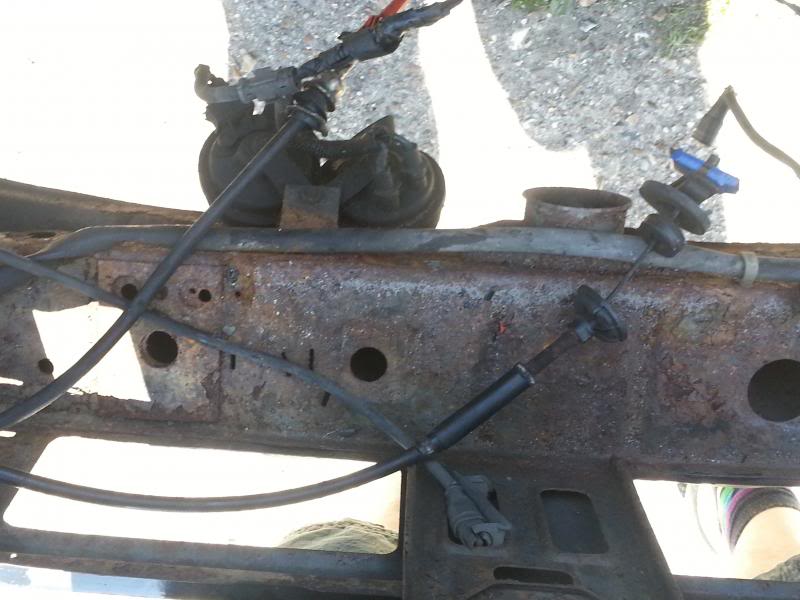
Engine bay as it stands now
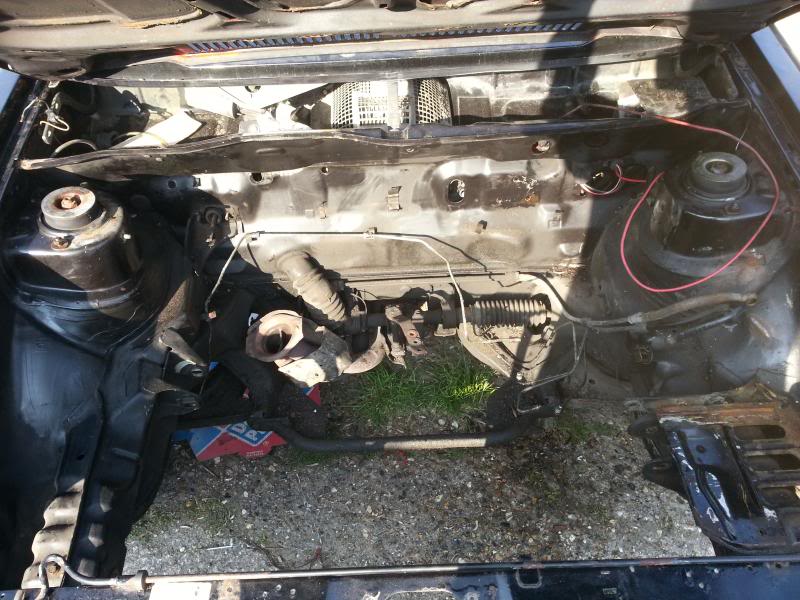
Still need to remove the gear linkages and the exhaust. Got the back box off but need to remove the anti-roll bar to drop the rest out. Also need to disconnect the electric aerial wiring but need to take the arch liners out.
Took the rear fog light off. At the rear its only badges and lights to come off but thats minor so can wait.
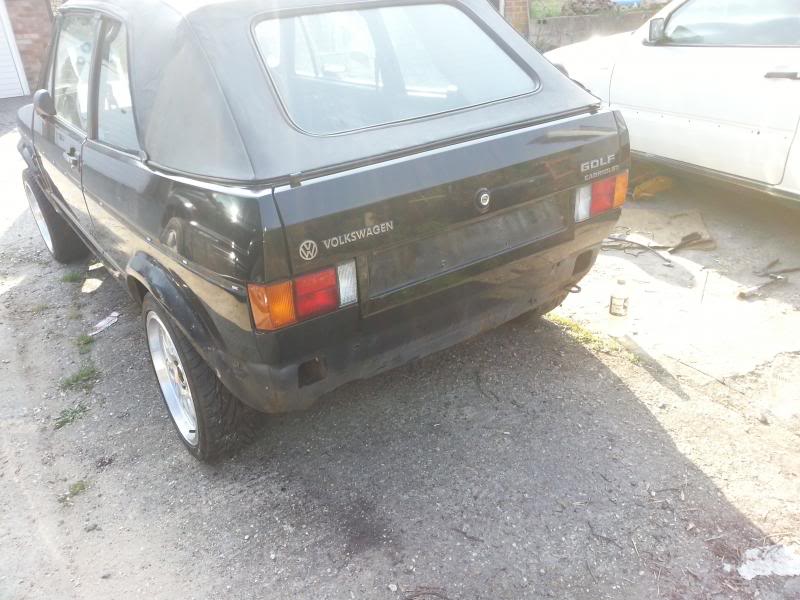
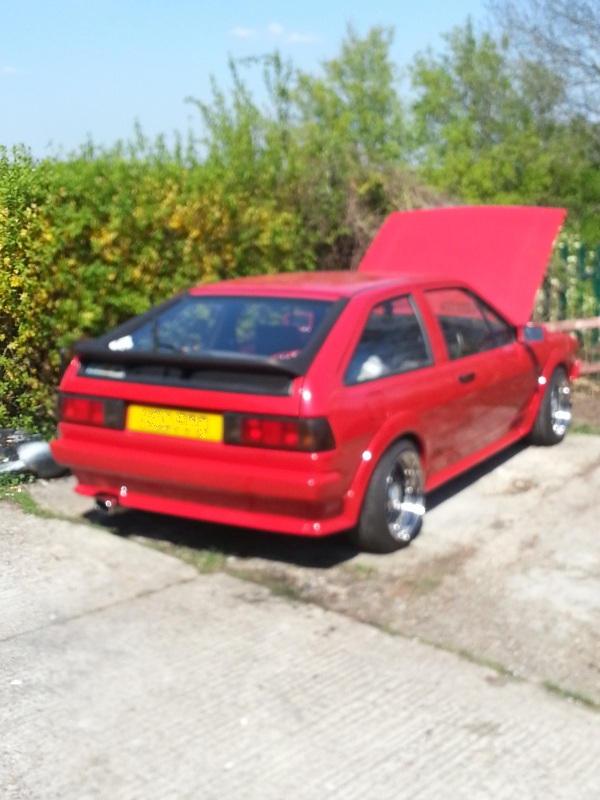
Cleaned up after this and had a beer while watchign a mate polish his Scirocco. Pic is very blurry but you get the idea. I'll get a better one at some point
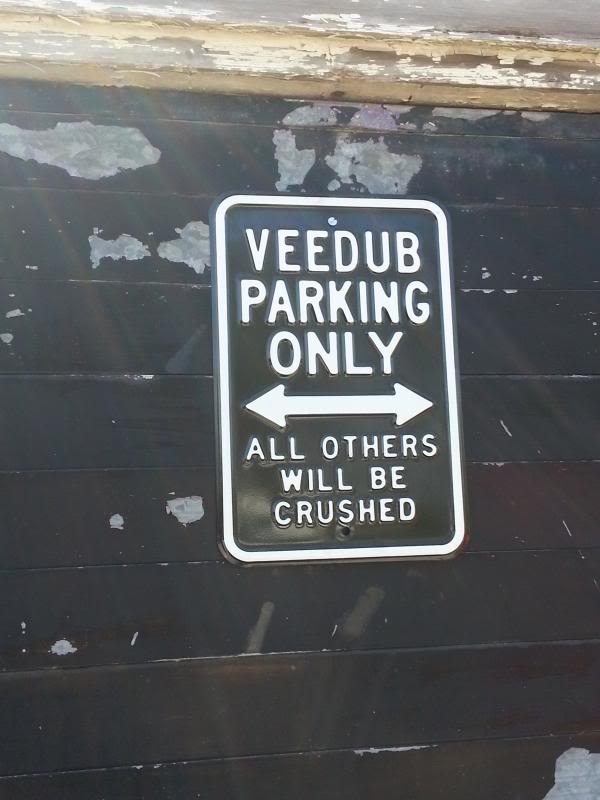
And fitted a new sign to our garage
Spoke to the bodyshop guy and they can't take it in for another 6 weeks!!!
Next on the agenda is to remove the anti-roll bar and exhaust, then degrease and pressure wash the engine bay, inner arches and underneath.
A good weekends progress though, so happy!
What do you guys think? What should I be looking to replace while it's stripped down?
Im thinking all new bushes and brakes at the moment and then just clean everything else up and get parts like engine mounts. Probably won't get any more done until the weekend now unless I feel the need to do more. The only thing is, the car is about 40 mins from home at a mates house so I can't do little bits here and there.
Posted

Moderator

Good luck getting her ready for the bodyshop
0 guests and 0 members have just viewed this: None.


