


1600 GTi re-build

Posted
Settled In

1600 GTi re-build

Posted

Local Hero

Good luck
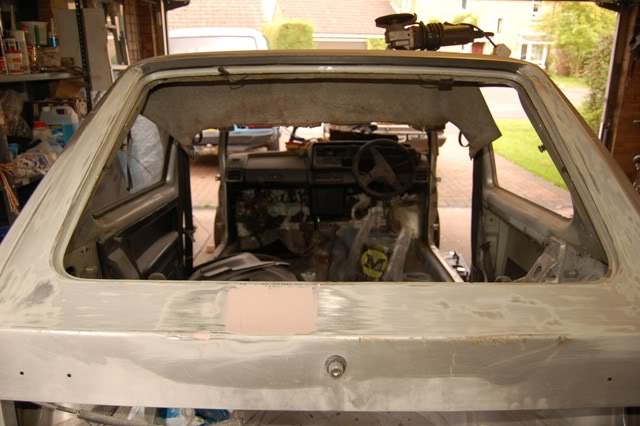
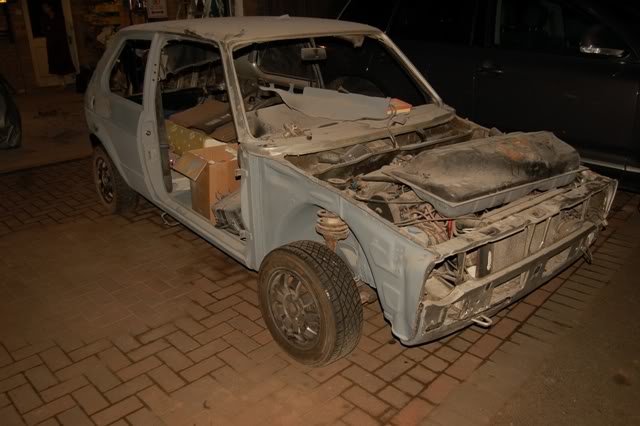
1981 1600 GTI (coming to a road near you soon…)
1983 1100 C
1983 1100 C
Posted
Settled In
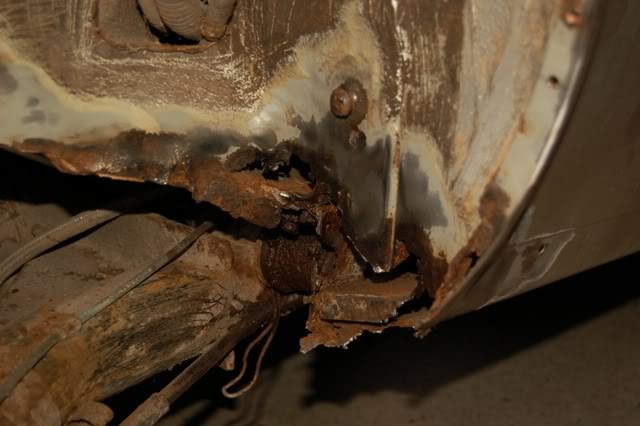
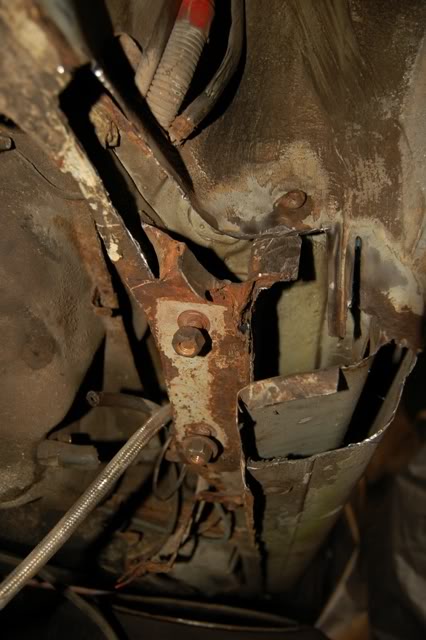
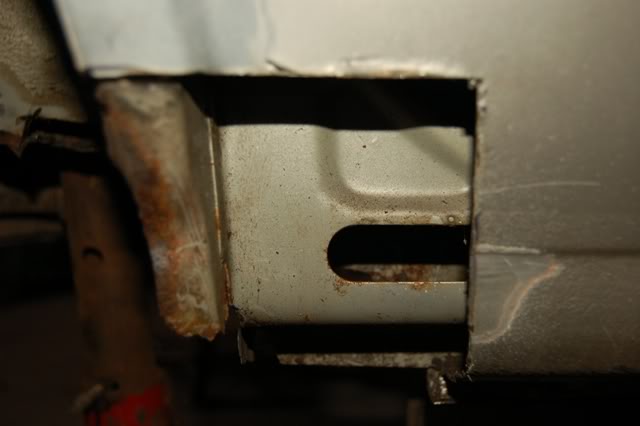
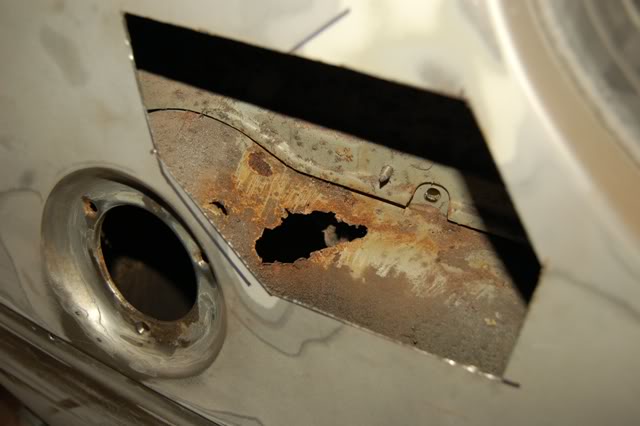
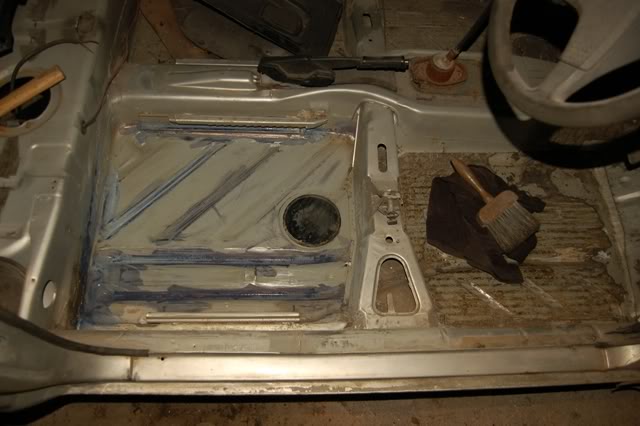
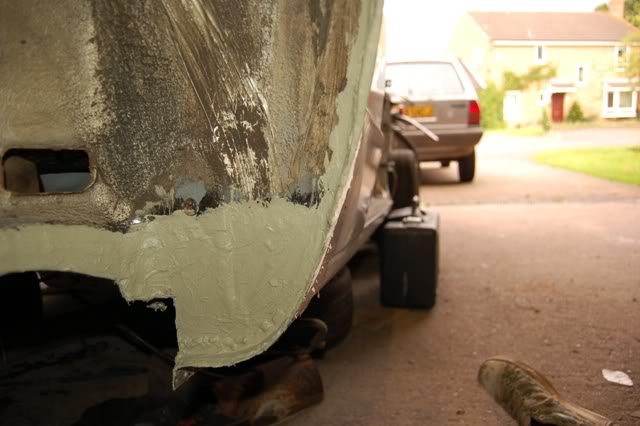
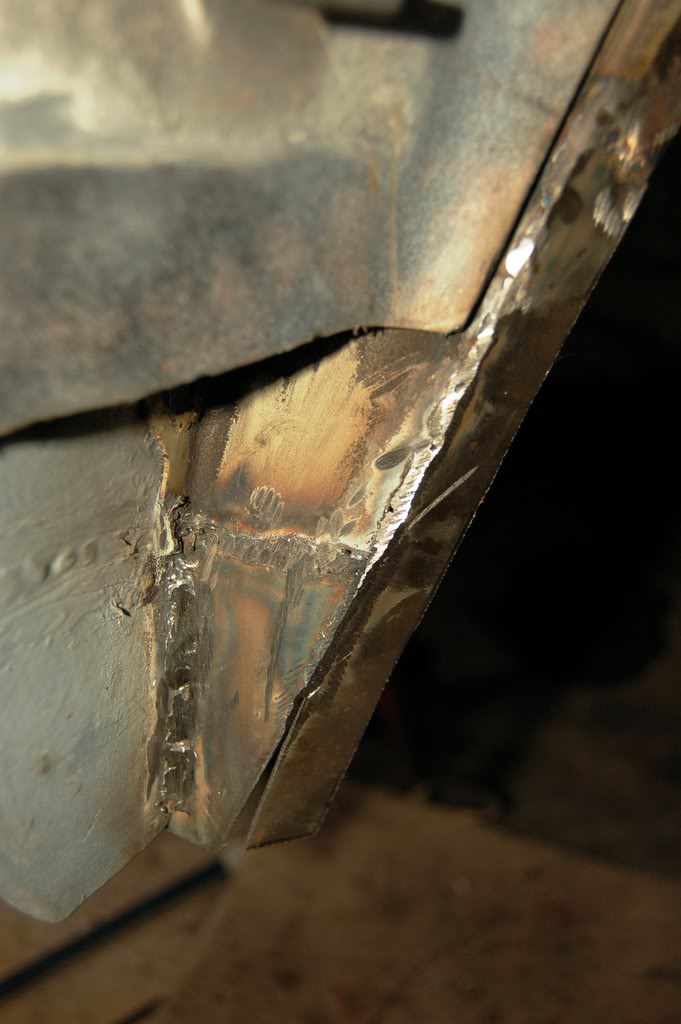
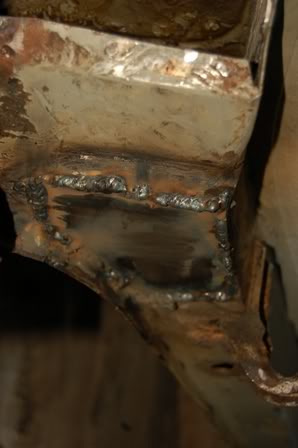
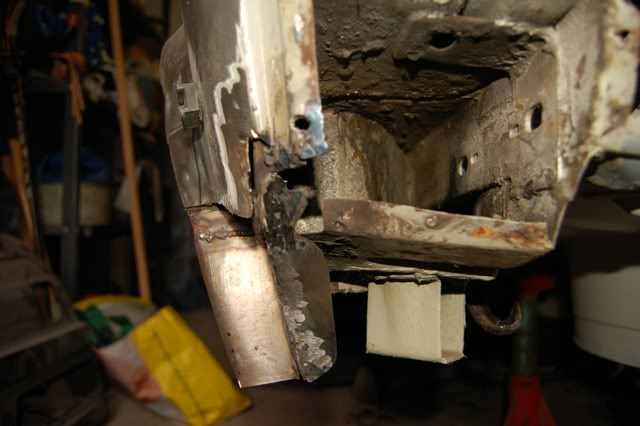
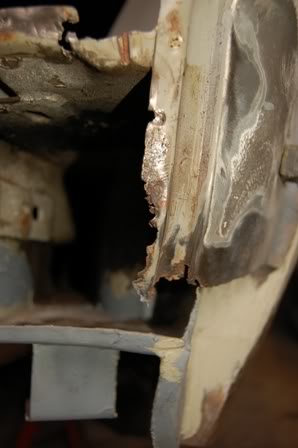
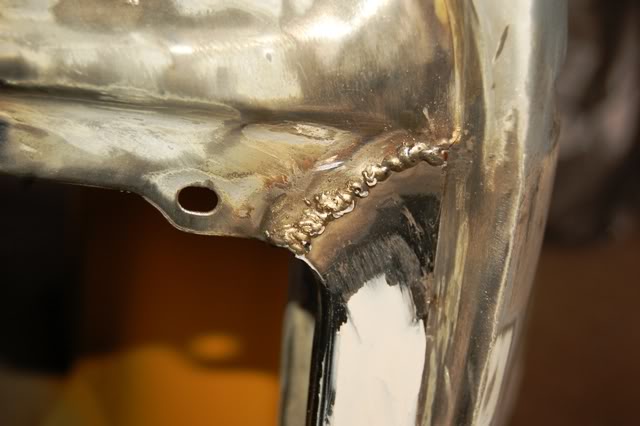
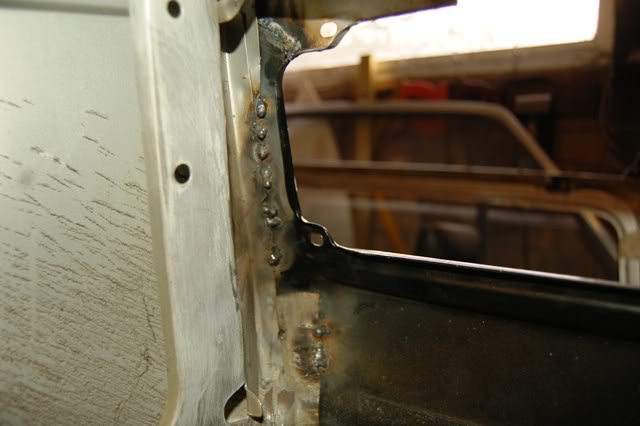
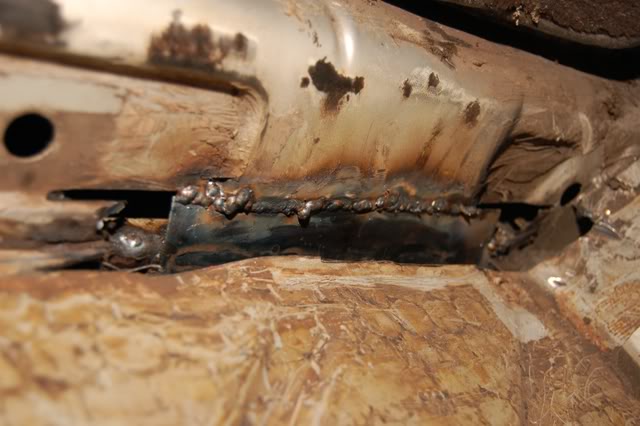
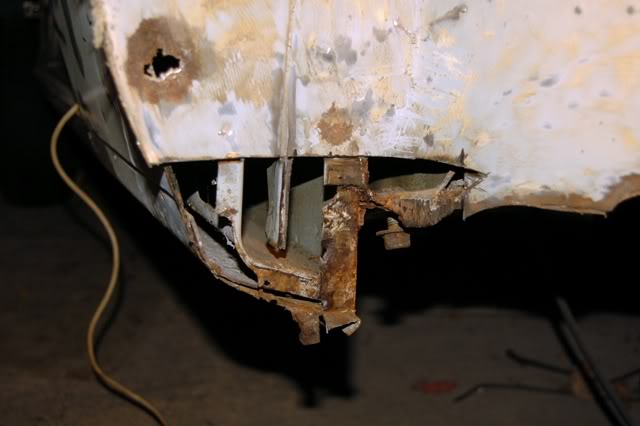
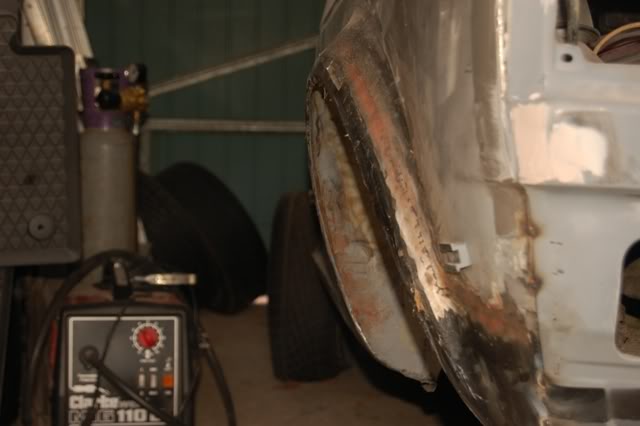
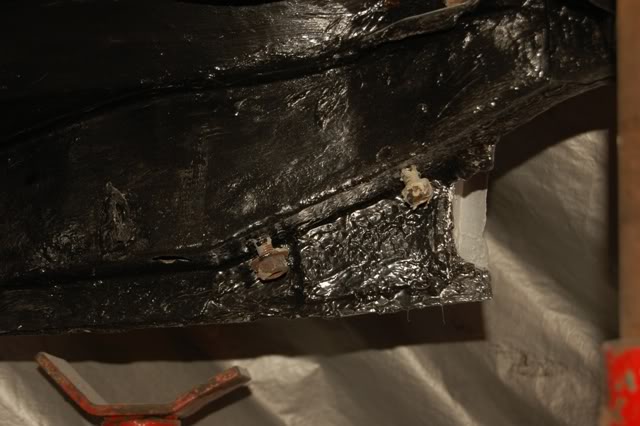
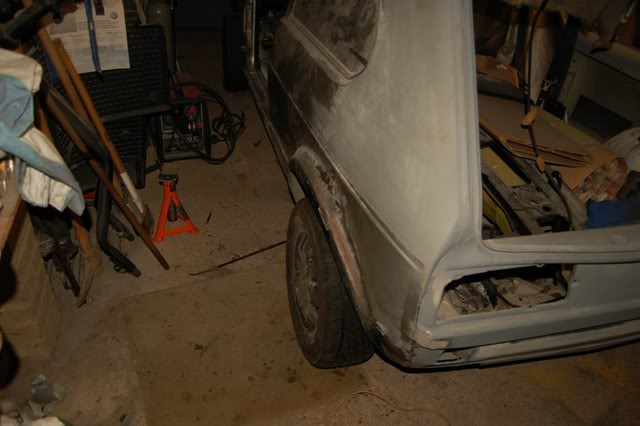
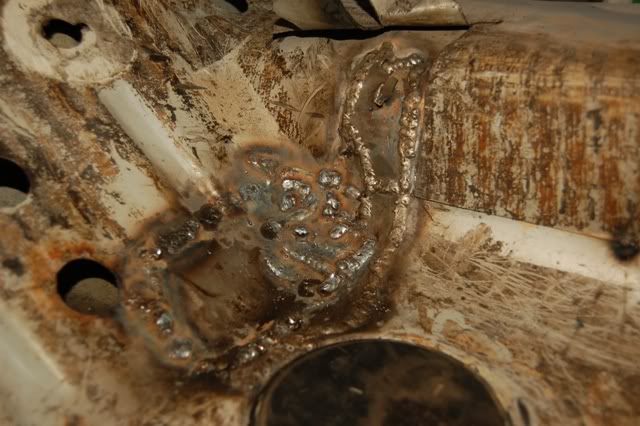
once this was out i could have a look at the mounting areas and there not acctually too bad :?. its just everything around them that has rotten
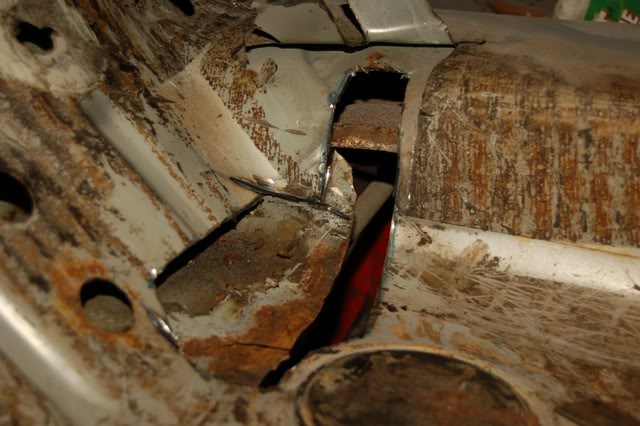
thankfully the inner sill is ok so at least i have something to work around. i chopped out a bit of the outer sill and inbetween this and the inner sill was this…
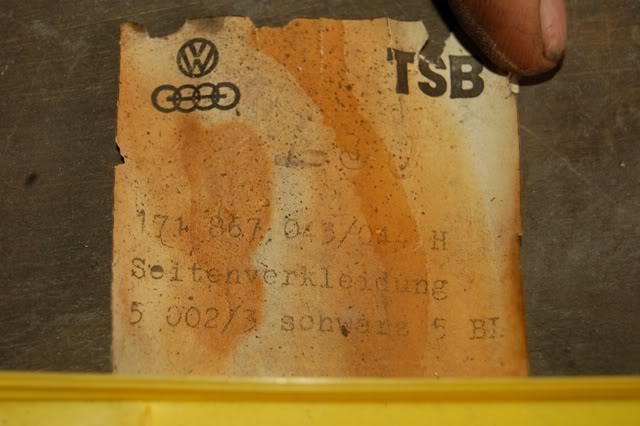
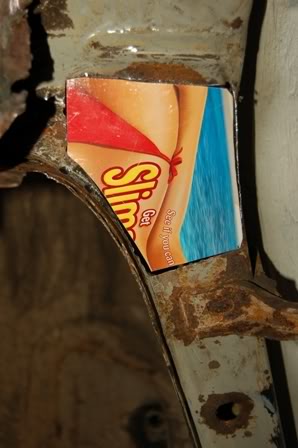
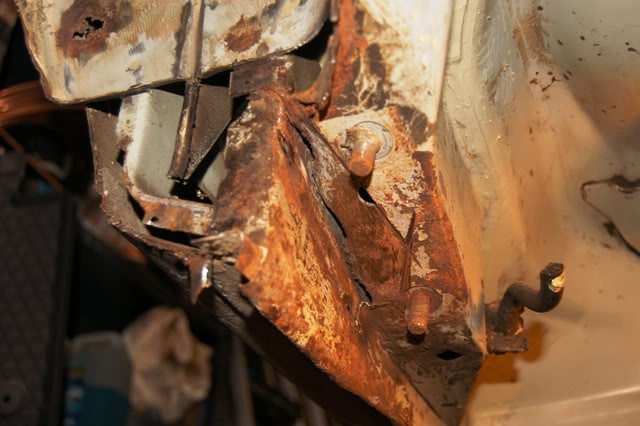
must be an origional sticker of one of the panels which must make it 25 years old! its in better condition than the car

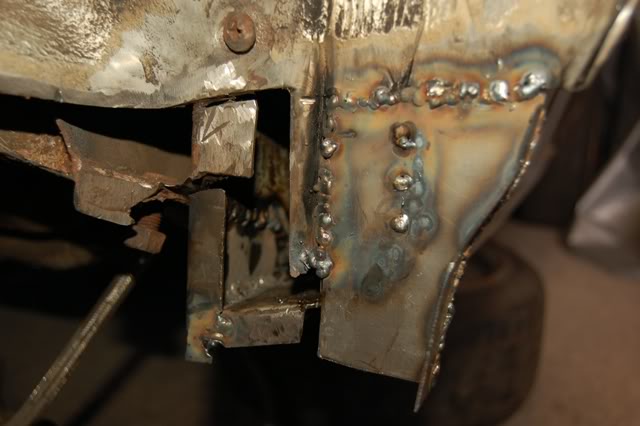
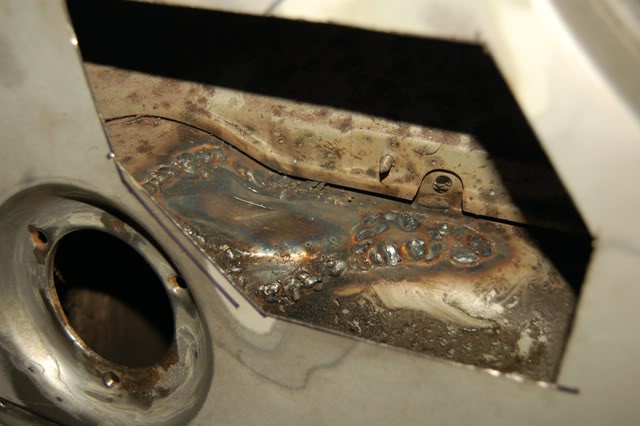
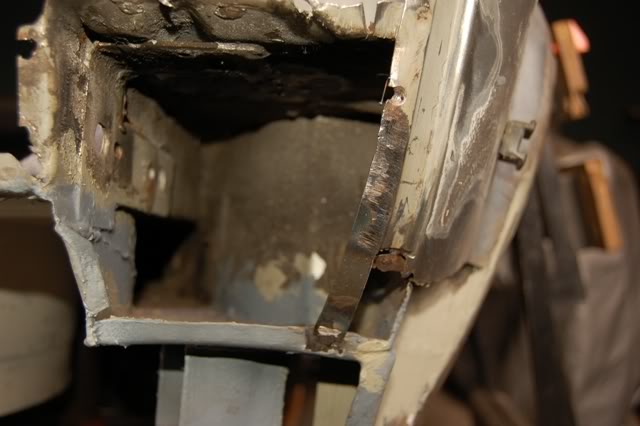
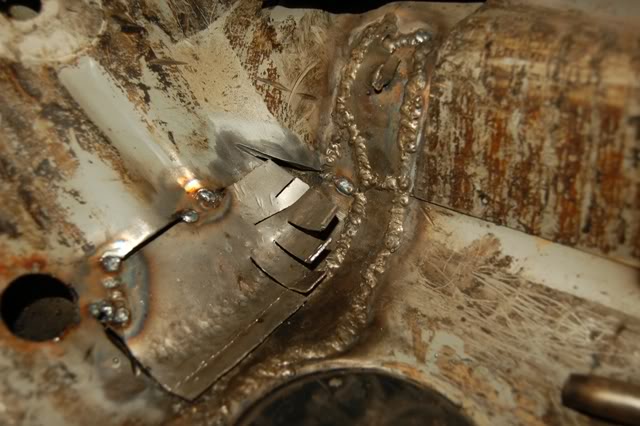
anyway afterwards i cut out some more of the rot so that i can hopefully start to put some new metal back in tomorow.
more tomorrow hopefully
Tom
Posted
Settled In
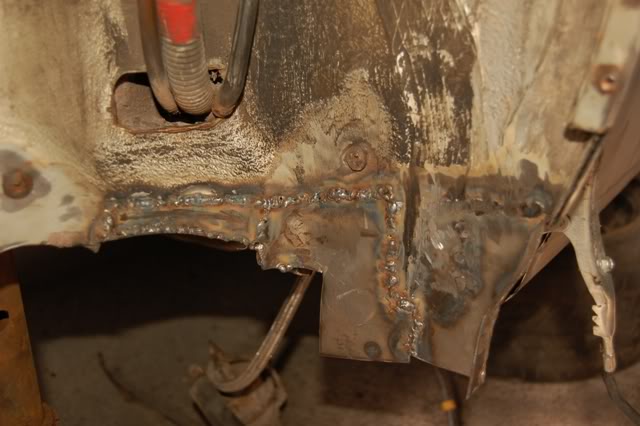
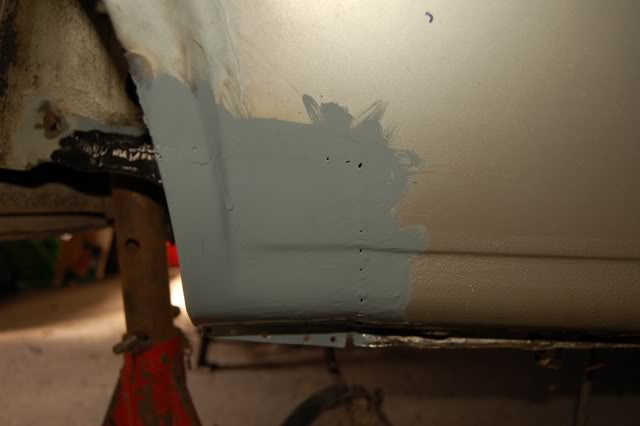
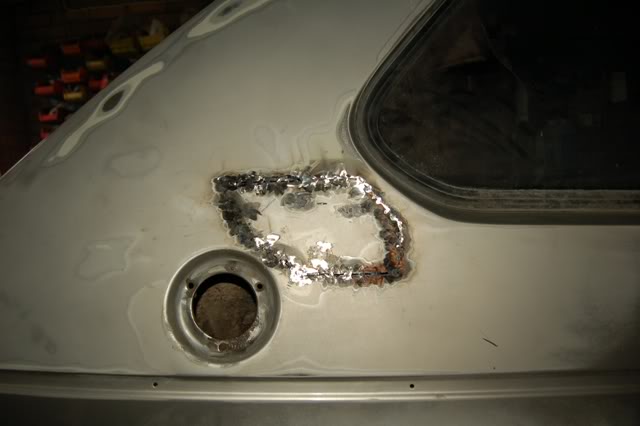
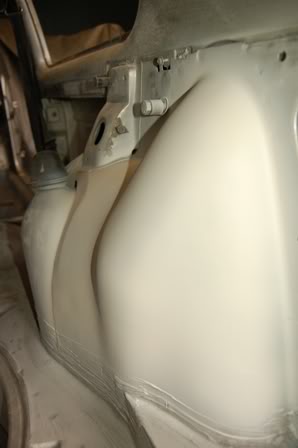
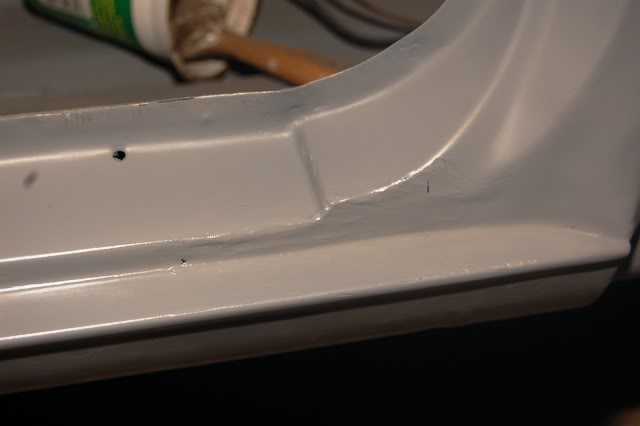
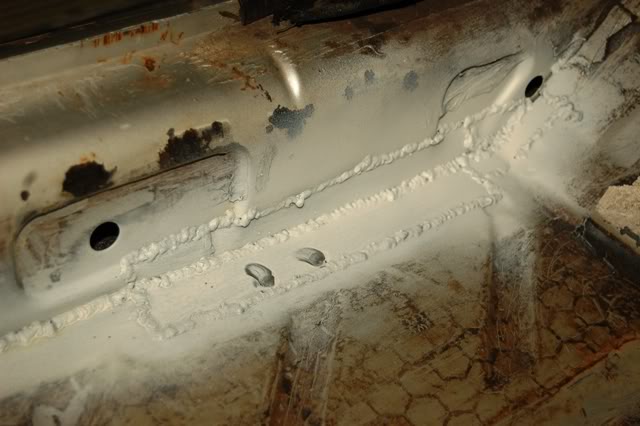
primed and painted for now
Tom
Posted
Settled In
before
after
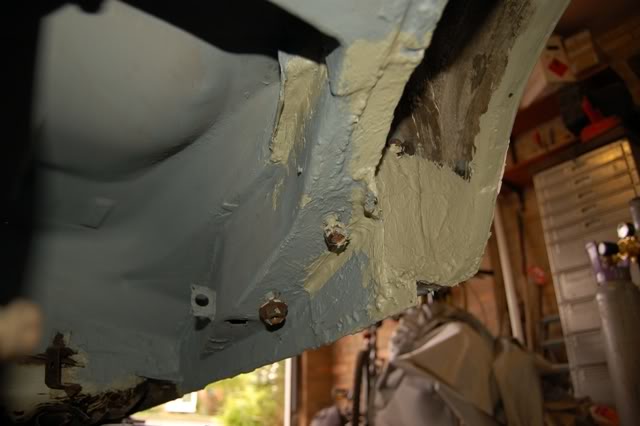
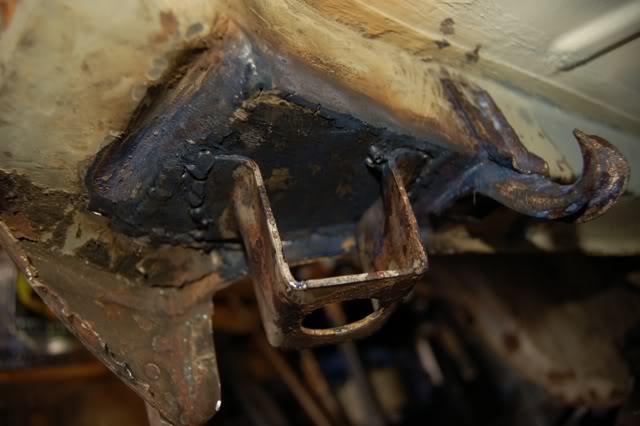
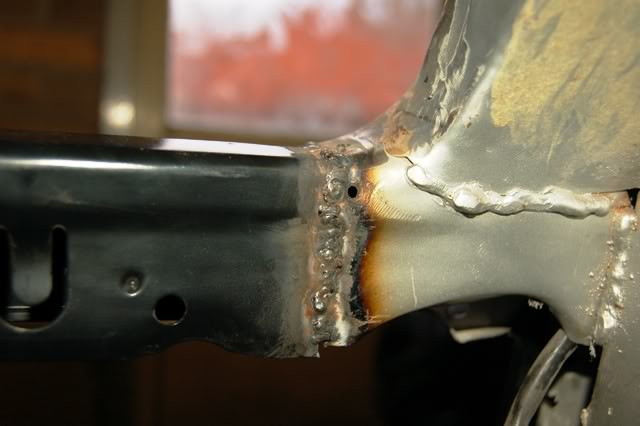
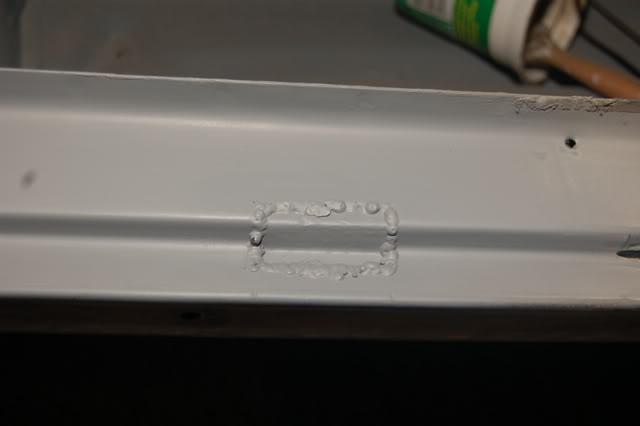
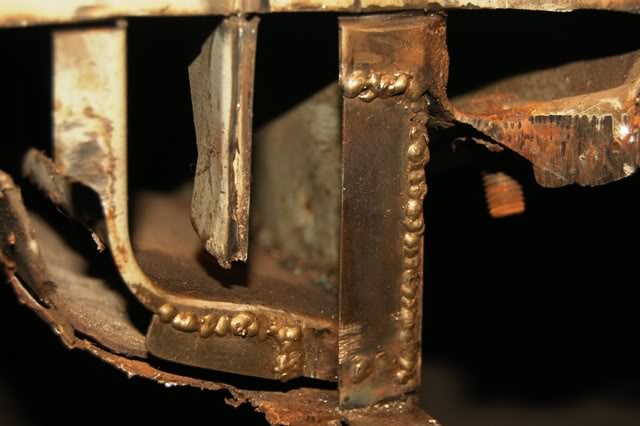
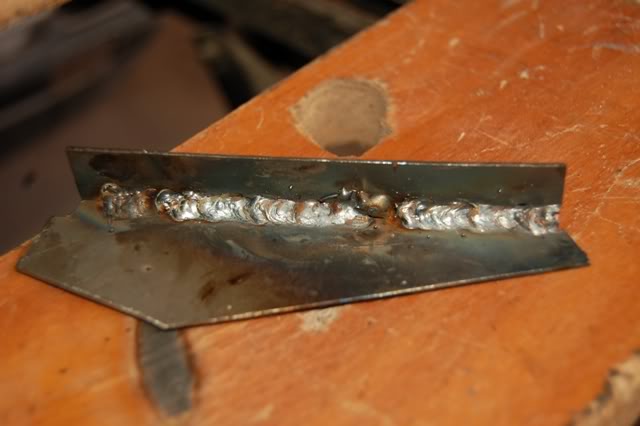
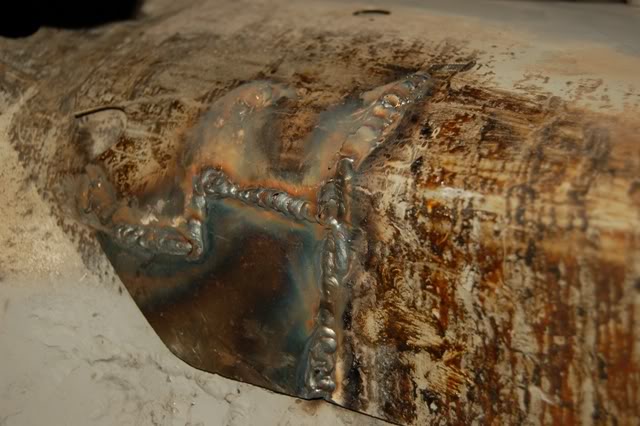
jacking point welded back on to the repairs that i made.
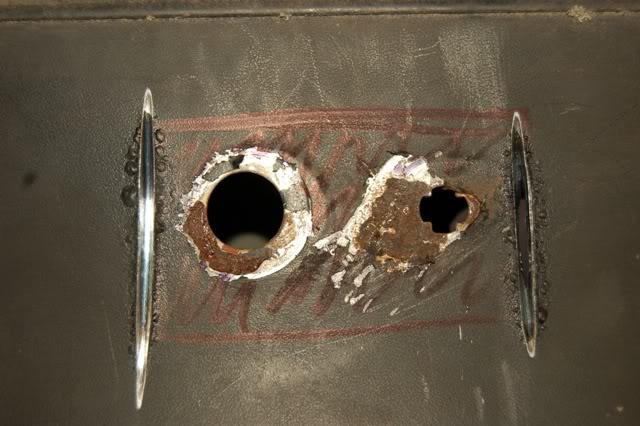
then i had to do this 8O
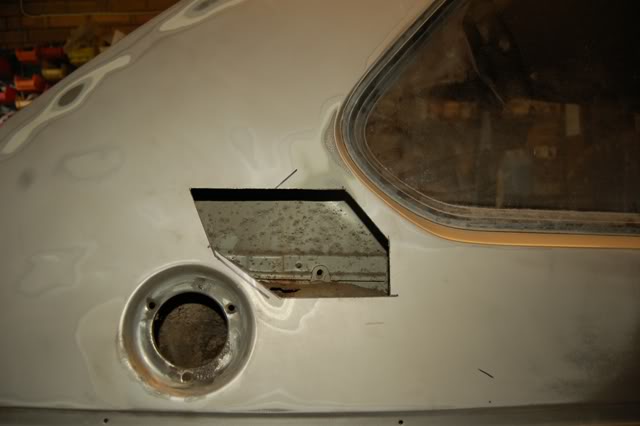
so that i could get at this…
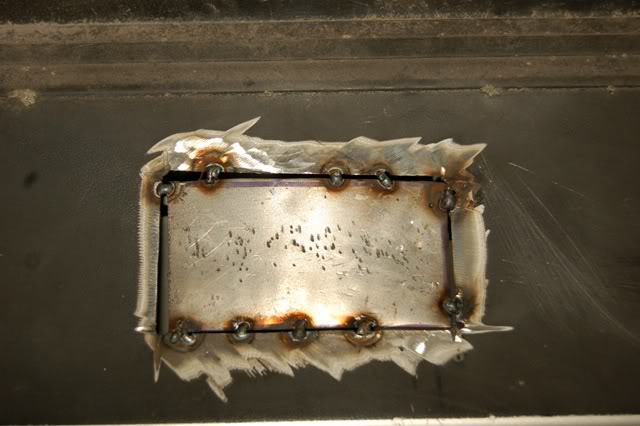
after
then the quater slowley welded back into place.
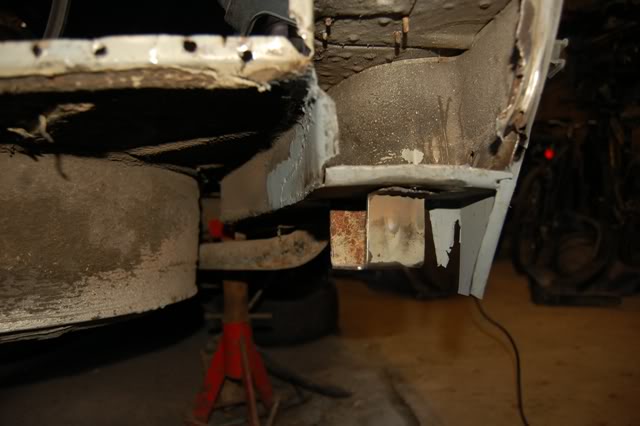
cut out and repaired some rot in the rear foot wells.
and finally started to clean and treat some of the floor.
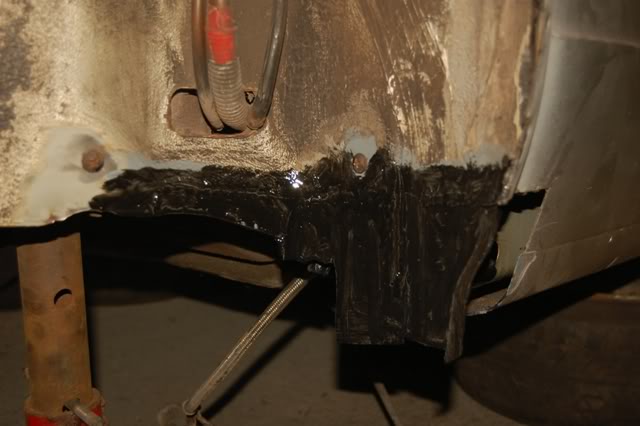
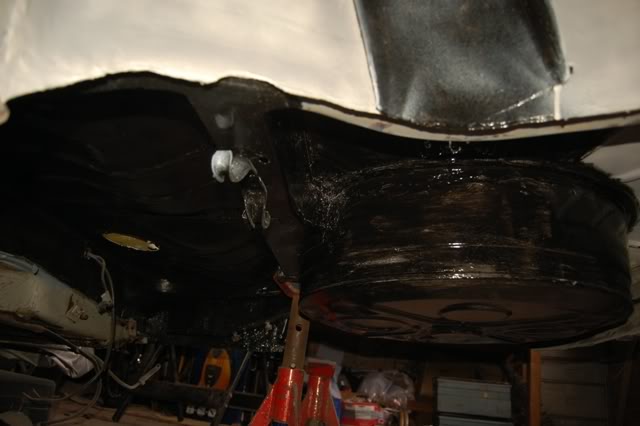
thats as far as i have got for now. plans are to clean, paint and protect the rear underside of the car, behind the tank, beam etc (i took the tank out and found a nice aray of holes in that as well
).then to get the rear panel on, finish the arch on the drivers side, get the drivers side in primer. then turn it around and start on the next side. will keep you posted
Tom
Posted
Local Hero
1983 Polo CL - daily
1984 Golf G60 Syncro - sold
1989 Rallye Golf - sold
1992 Corrado G60 - crushed
1989 Polo C - chopped and crushed
1991 309 Style - crushed
1984 Golf G60 Syncro - sold
1989 Rallye Golf - sold
1992 Corrado G60 - crushed
1989 Polo C - chopped and crushed
1991 309 Style - crushed
Posted
Settled In
vw_tees
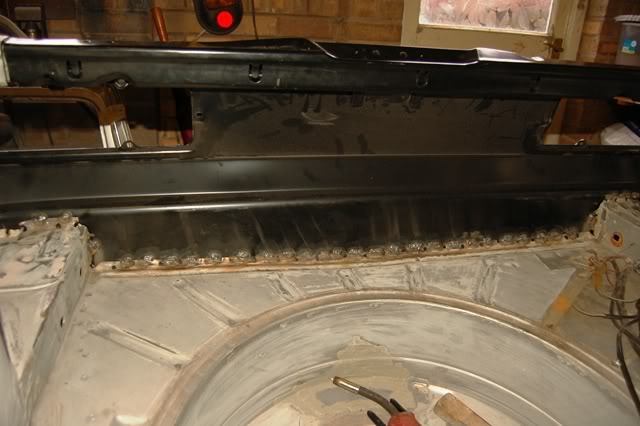
Posted
Settled In
time for the piccys
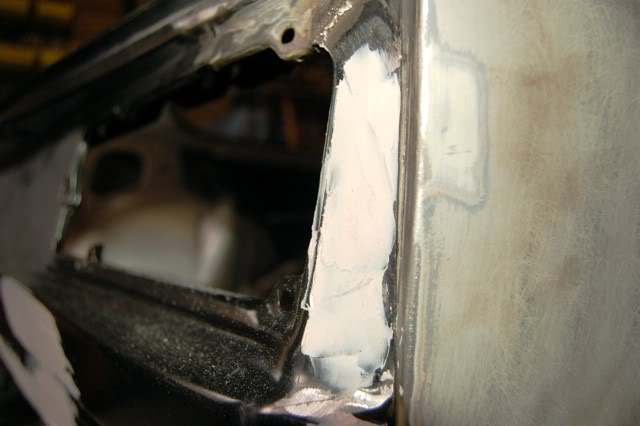
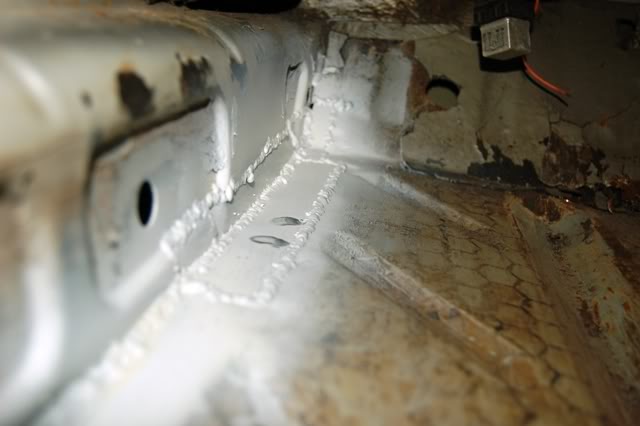
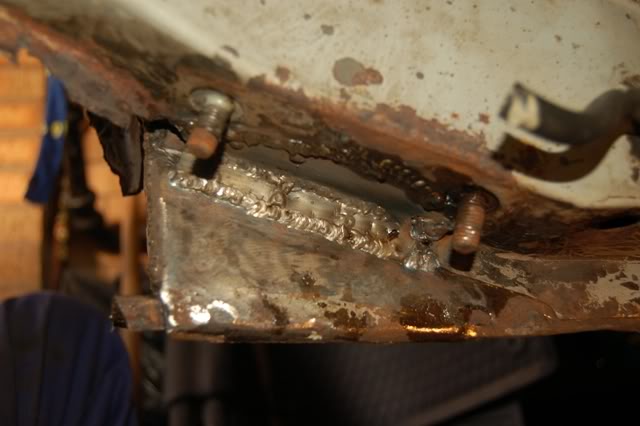
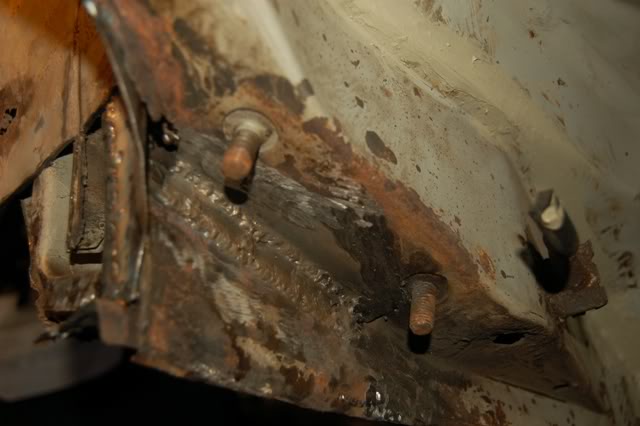
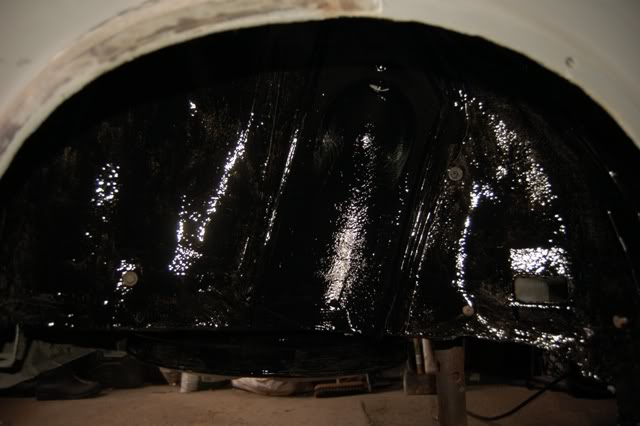
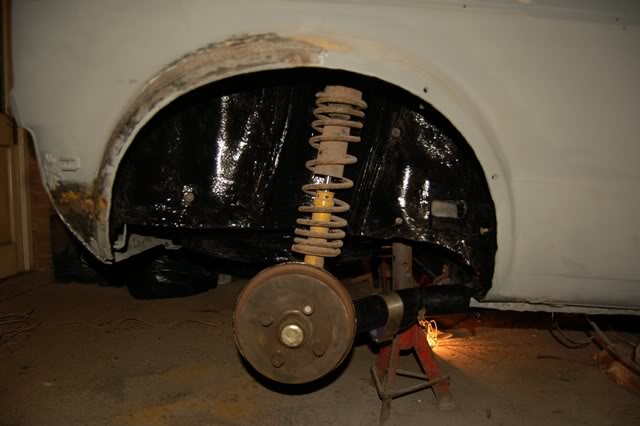
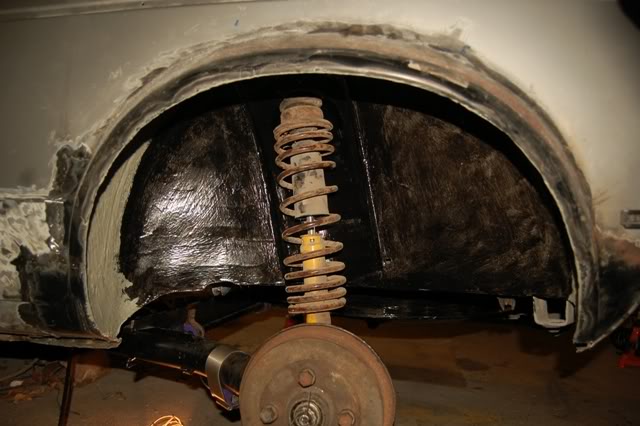
drivers side beam mounting area sorted, sealed and mostly primed awaiting stone chip and a top coat
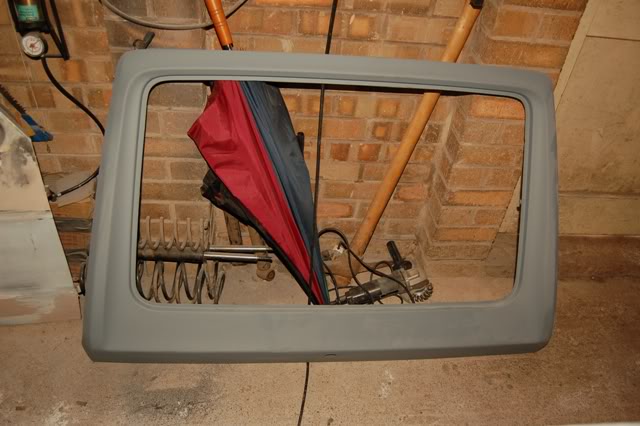
started to smooth the rear wiper
still need to do the holes for the badges as i have an alternative badge planned for the rear.
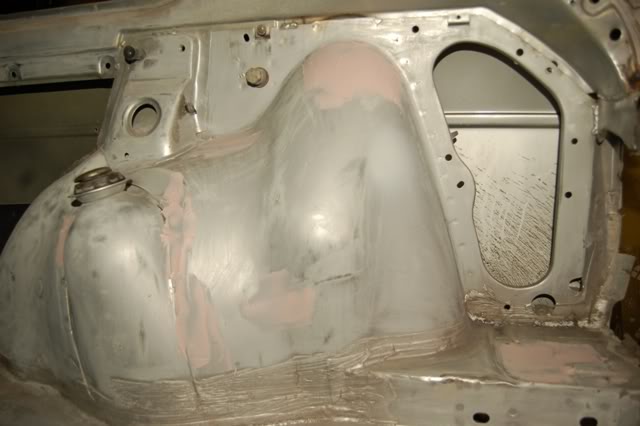
started sanding the inside ready for some paint

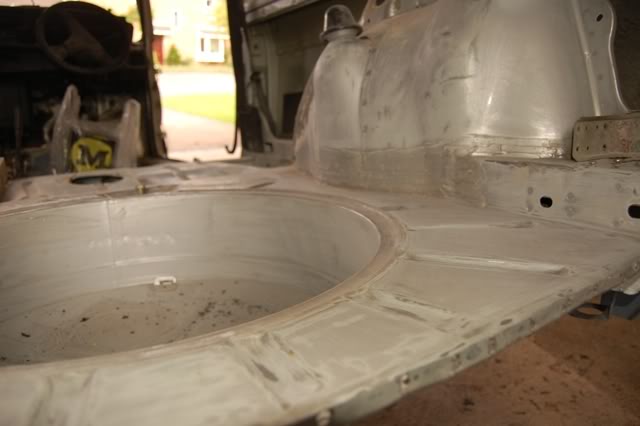
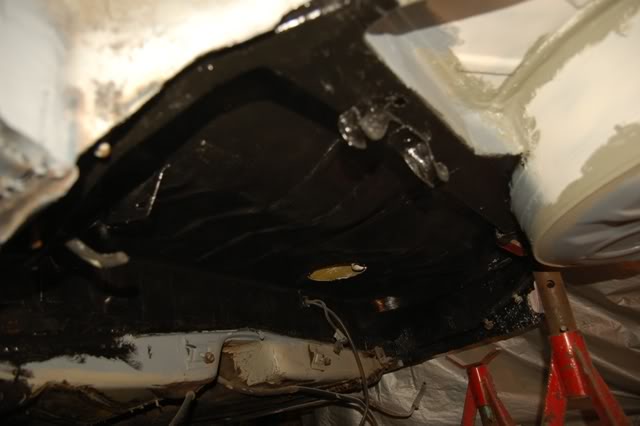
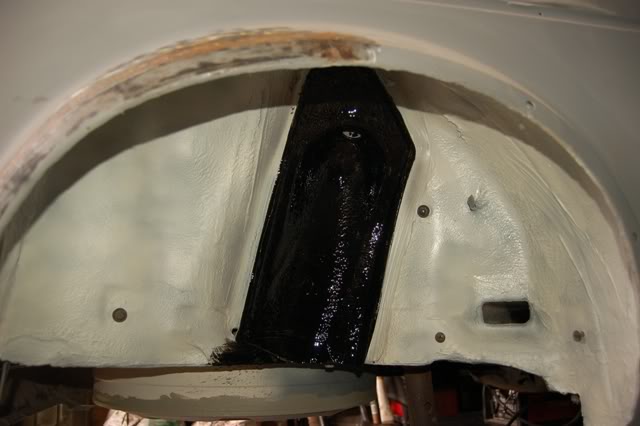
got the area behind the fuel tank mostly primed however i still need to do the area around the brake regulator.

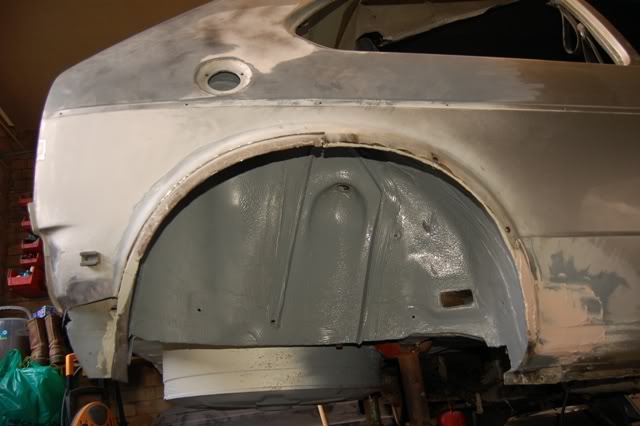
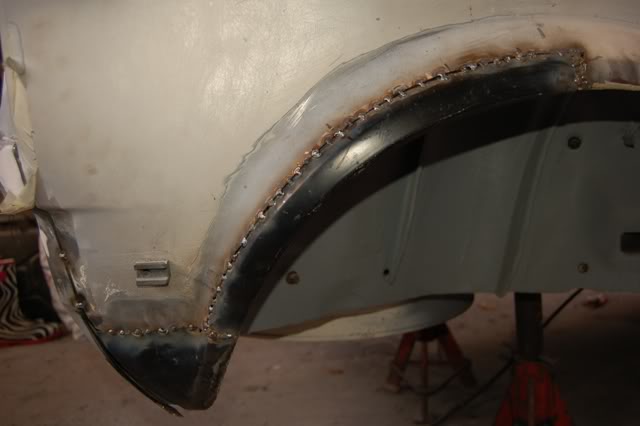
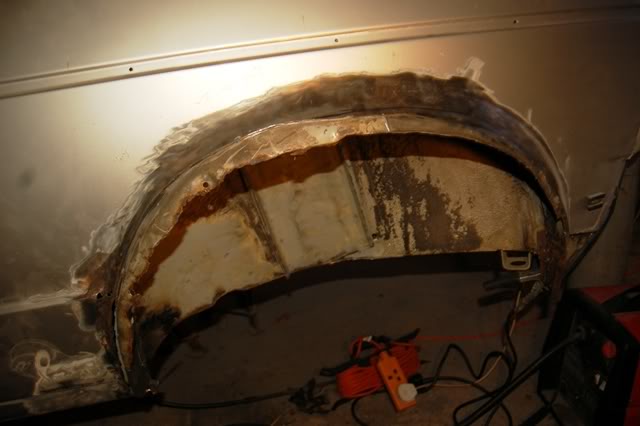
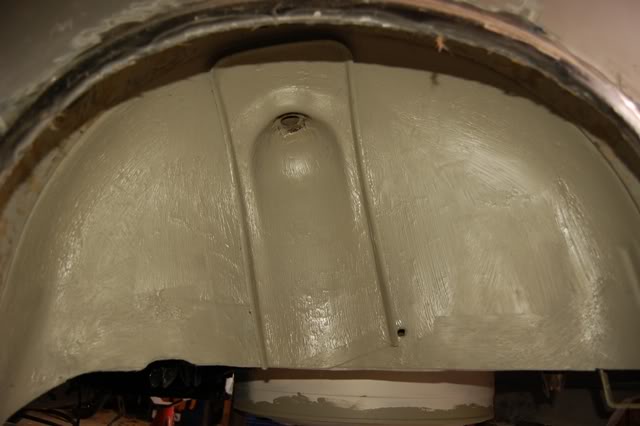
i have also cut the lip off the arches and welded the iner and outer arches together rather than getting them rolled. this way there is nowhere for water to get trapped. hopefully this picture gives you an idea.
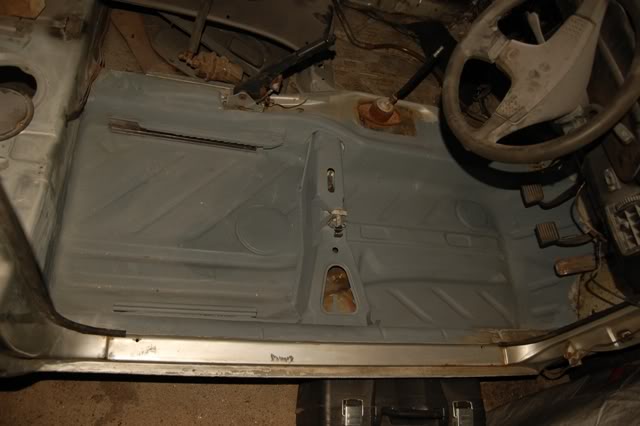
finally i have cleaned and primed the entire drivers side floor but i forgot to take a picture of this
will get one soon.thats all for now
Tom
Posted

Old Timer

good skills mate, bet you can't wait to get it painted!!

1983 mars red gti
1984 mars red gti
1994 golf vr6 - gone but not forgotten
2005 mk5 gti family wagen
�
Posted
Settled In
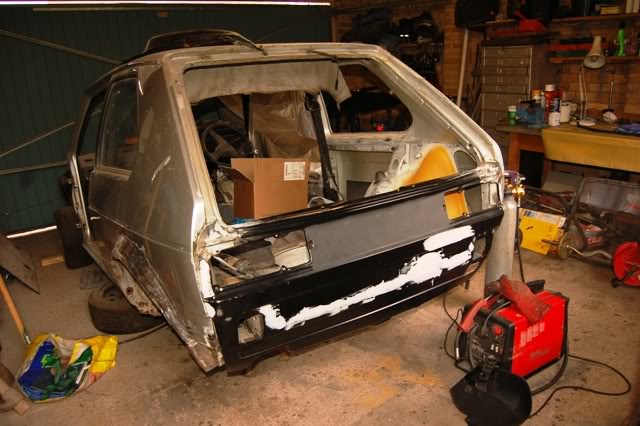
more progress,
drivers side pans…
final bit of welding done to this arch untill the new rear panel is on.
bit of filler on the inside of the arch to hide creases from the pressing and some of the spot welds, however i ran out half way through. :roll:
finally i got some primer ready for some stone chip and then a top coat.
more soon.
Tom
Posted
Settling In

I did the same with my rear arches ,
cut off lip of the repair panels and welded inner to outer
Stu
Posted
Settled In
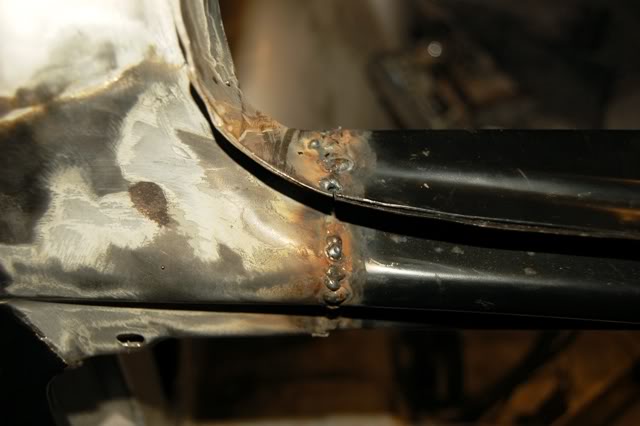
anyway i have got a bit more done this week…
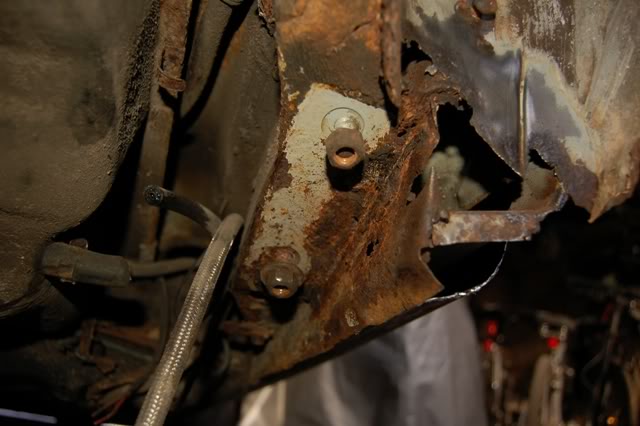
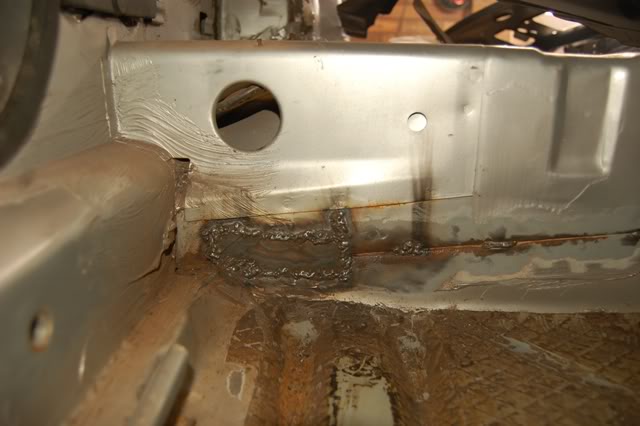
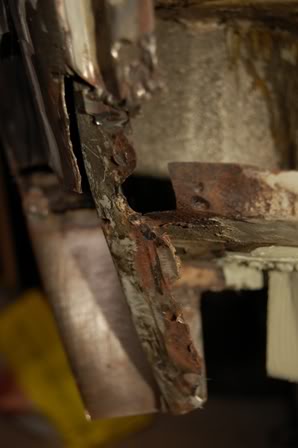
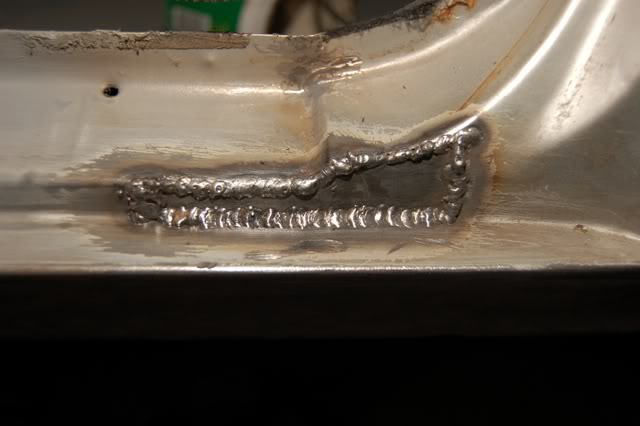
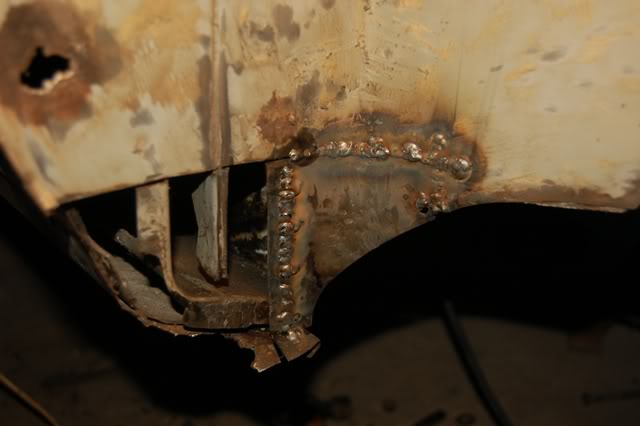
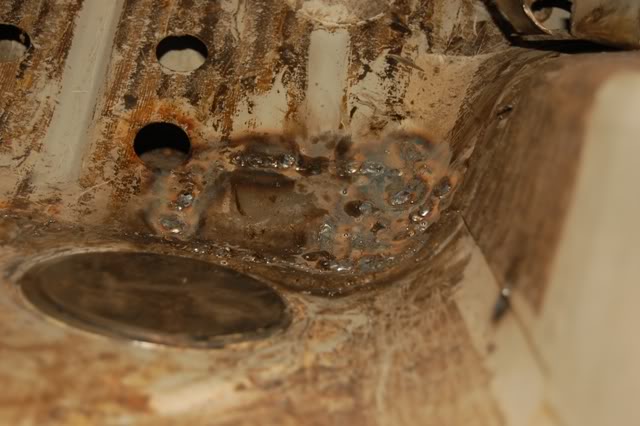
rear pasanger jacking point had a bit of rot around it so i cut it out, made a template for a new piece,
welded it in,
got the jacking point back on and treated it all with some rust remover just in case,
i have also rubbed the filler down on the inner arches and they are looking much better now.
just need to get the rear of both inner arches sorted so that i have something to weld the new rear pannel on. once that is done i can get that in place and get the outer arches sorted. getting there slowley.
more soon…
Tom
Posted
Settled In
before
after
before
after
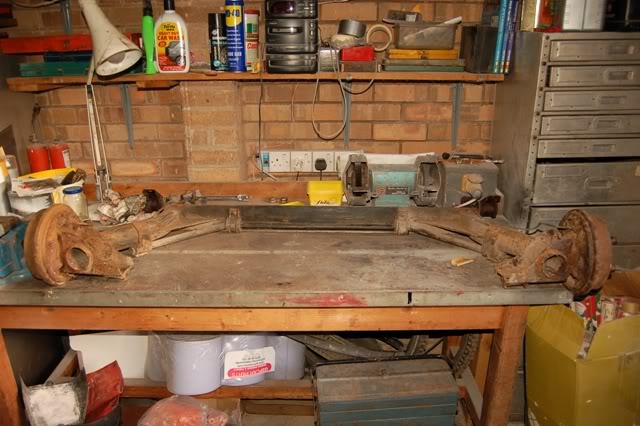
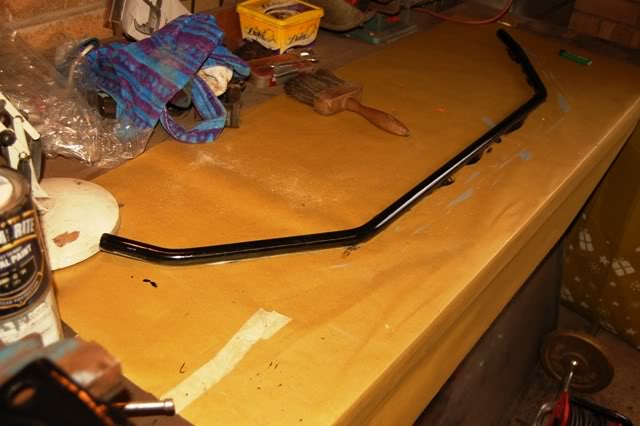
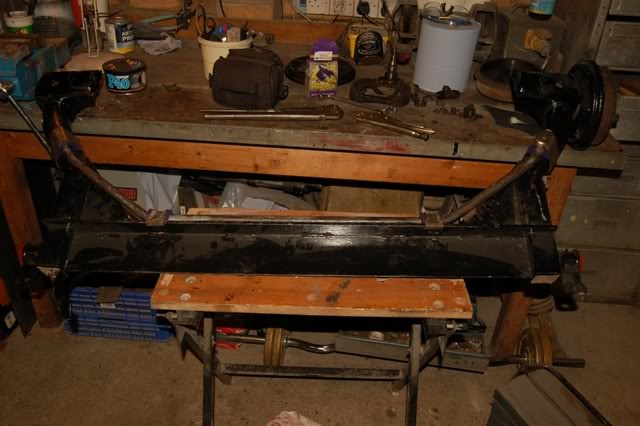
started to tidy up parts of the rear beam

because i got some new bits in the post today waiting to go on…
thats all for now but there will be more to follow soon..
Tom
Posted
Settled In
now for the pics
i'm pretty pleased with the overall fit but there is still a lot of welding that needs doing to it. the lower half of the panel is not secure at the moment as i'm giong to wait until i have the rear corners on so that i can get everything lined up nicely.
more later in the week hopefuly
Tom
Posted
Settled In

tried to get this part as tight as i possibly could. they are brazed on from the factory to seal them from water etc. i havn't got the kit needed for this but was thinking of using solder/lead or something of that sort. does anyone know of the best way of doing this?
as i got the panel on the cheap, there were a few dings in it so i have filled them and will get it sanded back tomorow. also ground back where the welds had penetrated through and skimed over these.
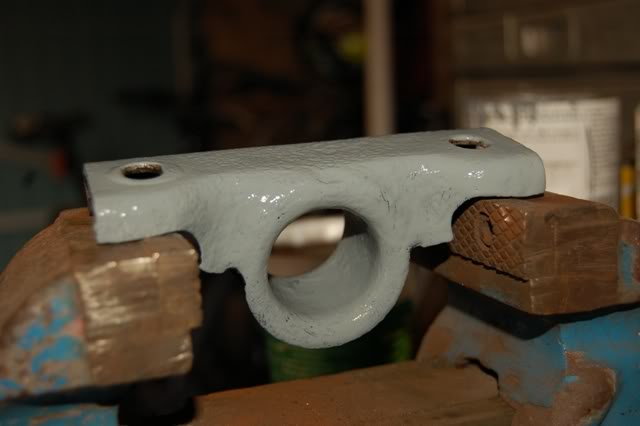
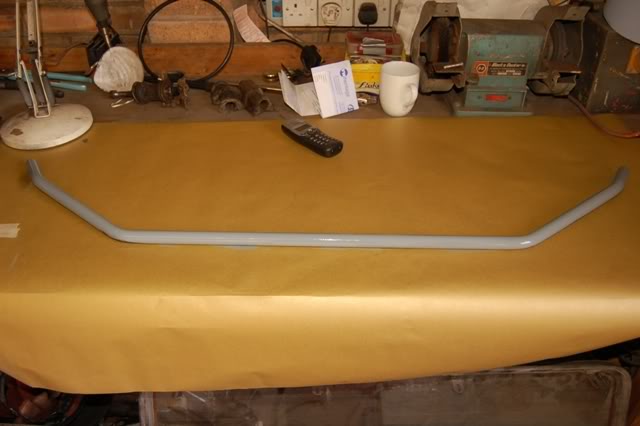
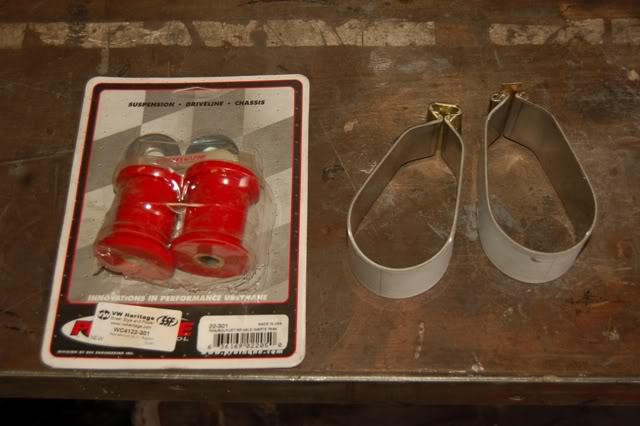
finaly got the arb half painted and also the one mounting bracket. will be able to get the bushes in and am hopefully getting some stainless bolts foe it later on in the week.
more tomorow…
Tom
Posted

Local Hero


Posted

Old Timer
, looks you've been cracking on with it! Something i need to do :roll:
Posted
Settled In
notice how high the polo on the right is (my daily run around)
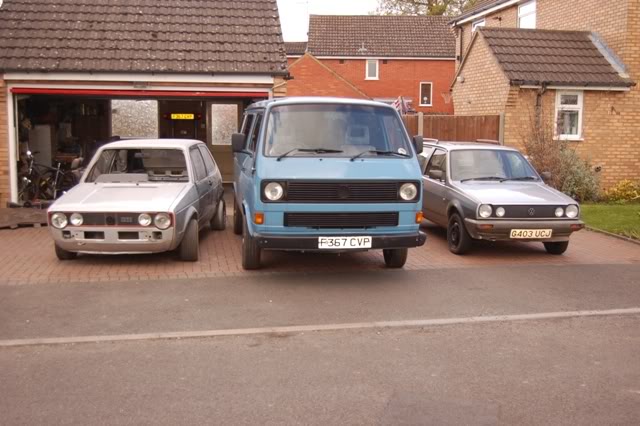
and then after a good ol' battering with the lowering stick…..
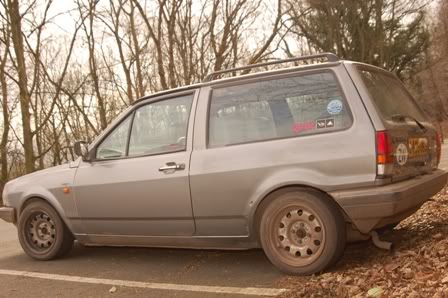
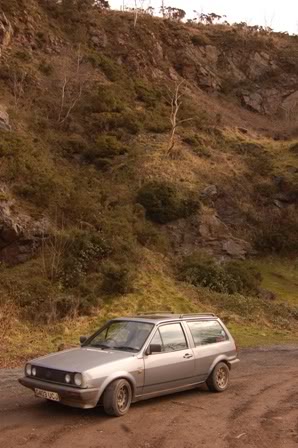
ready for vanfest!!! :mrgreen:
Posted
Settled In


this is how i have left the car sitting today. hope you agree that i have been cracking on with it and now i hope that all these pics will upload without killing my PC lol.
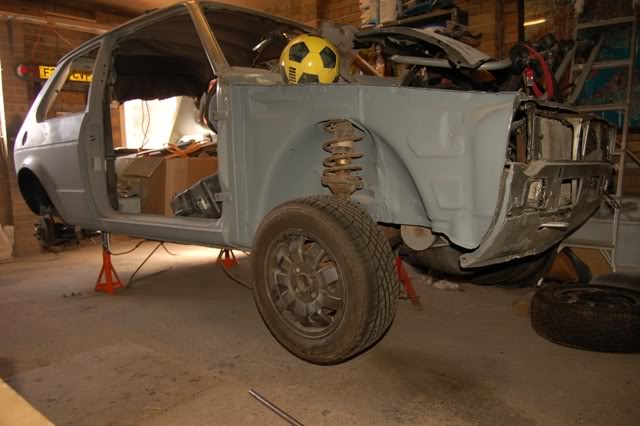
coments and advice welcomed
Tom
Posted

Local Hero


Andy
Andy
LINCOLNSHIRE REGION -�https://www.facebook.com/groups/467122313360002/
1983 MK1 Golf GTI Campaign Model - Under (looooong) resto!
1962 Rover P4 80
2002 BMW 745i
2008 BMW Z4 2.5Si
LINCOLNSHIRE REGION -�https://www.facebook.com/groups/467122313360002/
1983 MK1 Golf GTI Campaign Model - Under (looooong) resto!
1962 Rover P4 80
2002 BMW 745i
2008 BMW Z4 2.5Si
0 guests and 0 members have just viewed this: None.