


1980 Mars Red GTI BRMotorsport 142

Posted
Settled In


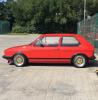
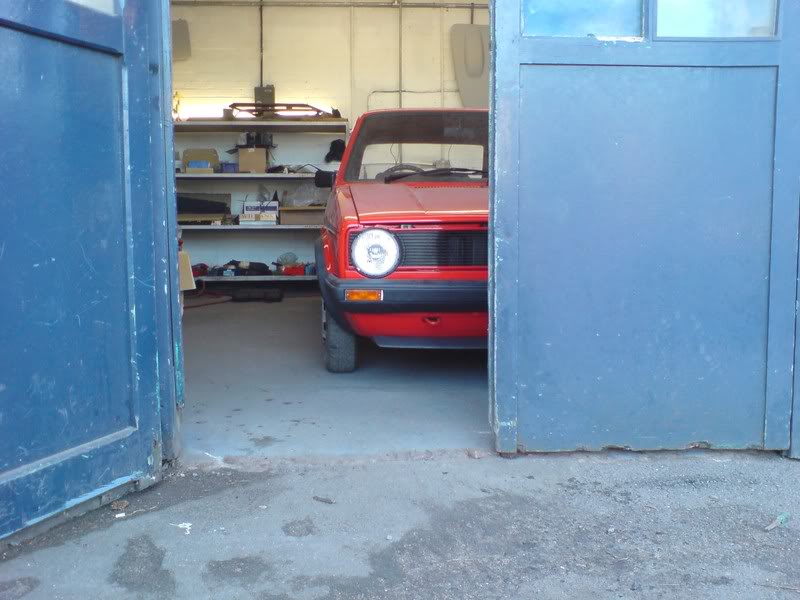
1980 GTI
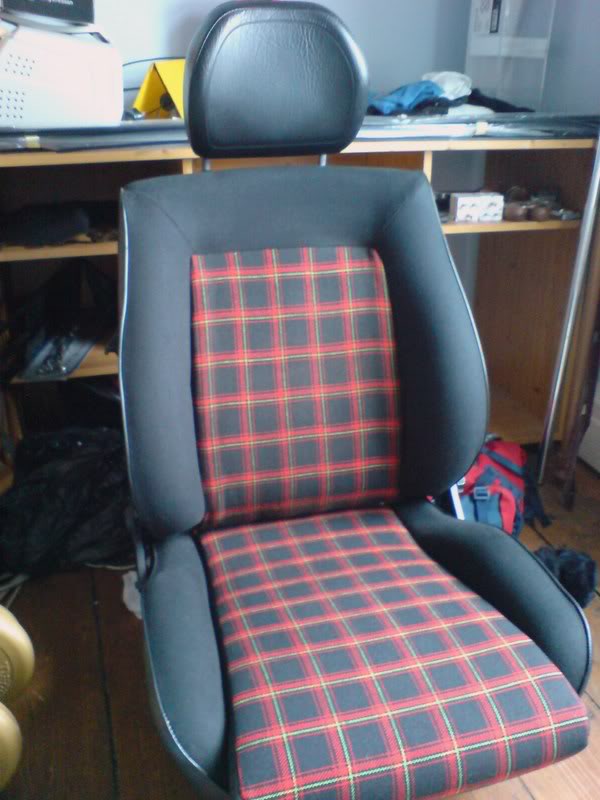
I have had the seats restored which involved buying 2 other cars to get enough correct early striped Black cloth. I had to turn over the tartan as they were badly sun faded, but the good side was totally covered in glue. It took about 6 hours of cleaning per seat to remove the glue!!
Panel wipe and a cloth, with some use of a soft brush. I was only another hour away from being institutionalised.
Anyway, they just need a steam valet now and they're ready to install.
At �100 approx per metre for the tartan, I guess it was worth it.
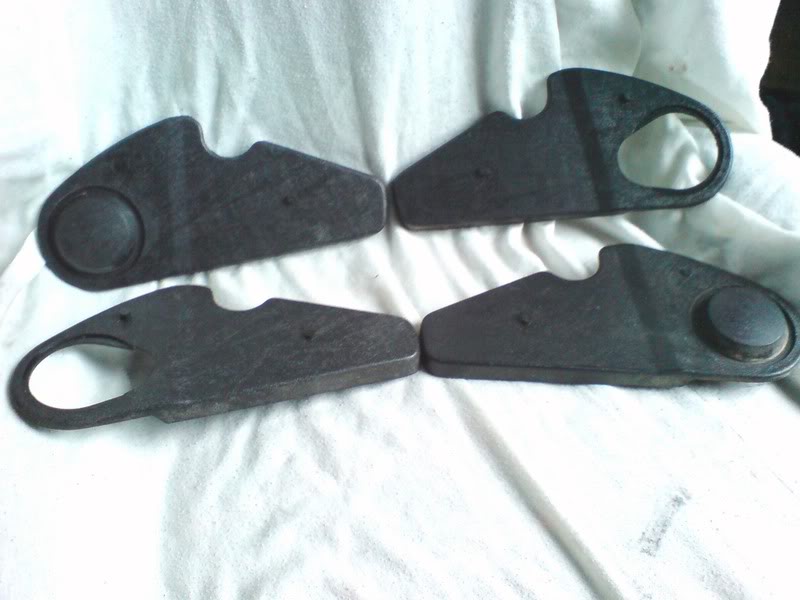
I should also mention that I almost bought another car simply to get these earlier seat hinge covers, as mine were cracked, missing or in half!
In the end, my mate and I stripped the car between us. It will help restore 4 early mk1's in total, so I don't feel too guilty. I hate stripping mk1's now, but when they're too far gone, I guess they have a higher purpose, and i really must stress the cars I strip are total wreckers. I never harm one with hope.
I'll get some pics up next, of how to make a door panel when yours are warped from years of damp weather. Another 6 hour job!
Panel wipe and a cloth, with some use of a soft brush. I was only another hour away from being institutionalised.
Anyway, they just need a steam valet now and they're ready to install.
At �100 approx per metre for the tartan, I guess it was worth it.
I should also mention that I almost bought another car simply to get these earlier seat hinge covers, as mine were cracked, missing or in half!
In the end, my mate and I stripped the car between us. It will help restore 4 early mk1's in total, so I don't feel too guilty. I hate stripping mk1's now, but when they're too far gone, I guess they have a higher purpose, and i really must stress the cars I strip are total wreckers. I never harm one with hope.
I'll get some pics up next, of how to make a door panel when yours are warped from years of damp weather. Another 6 hour job!
1980 Mars Red GTI BRMotorsport 142
1983 Black GTI
1983 Black GTI
Posted
Settled In
Time to start putting the interior back in.
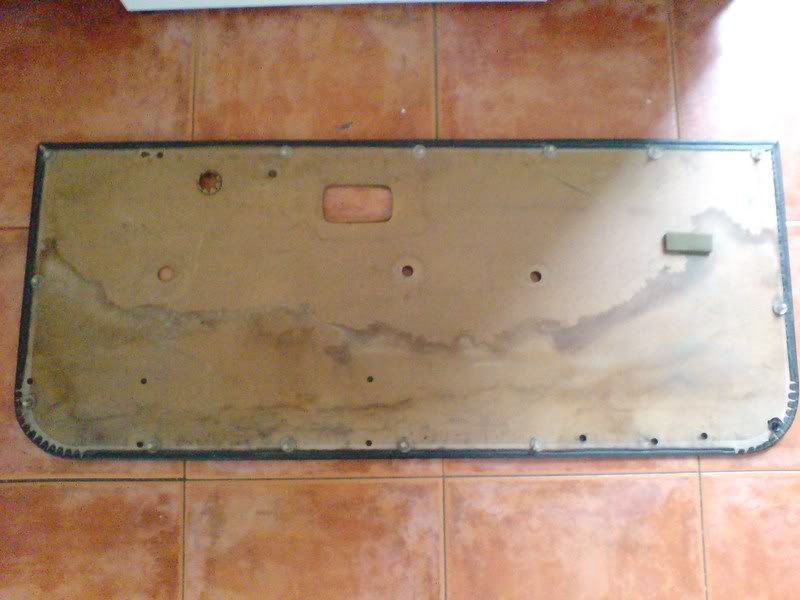
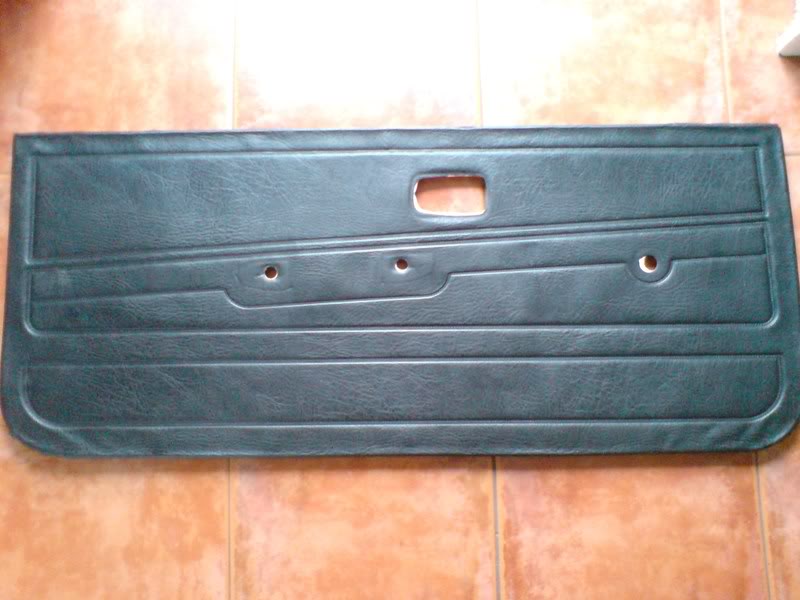
Both door panels were badly warped with time and water. A previous owner had discarded the plastic door membranes. Not a wise move!!
I had to carefully strip the outer vinyl from their hardboard and start again.
Sounds easy, but accuracy is essential. Trust me.
Shows one of the original door cards. Well warped.
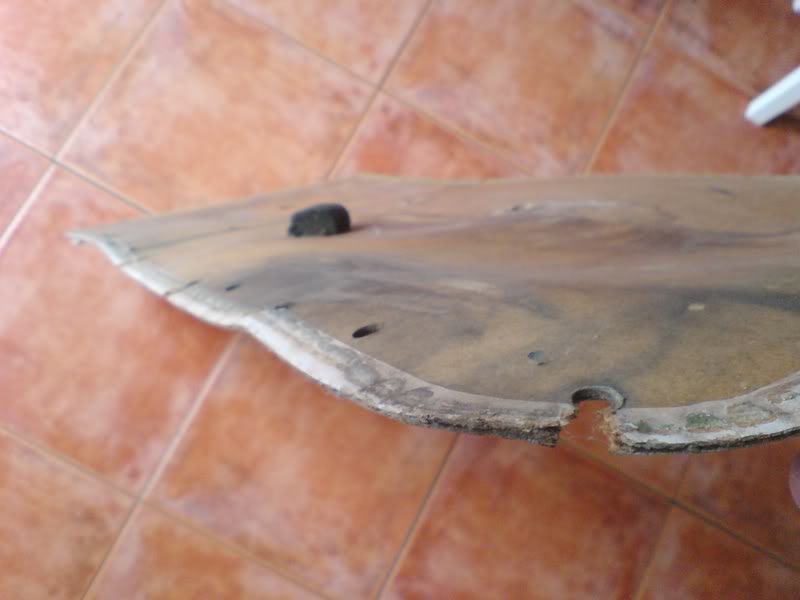
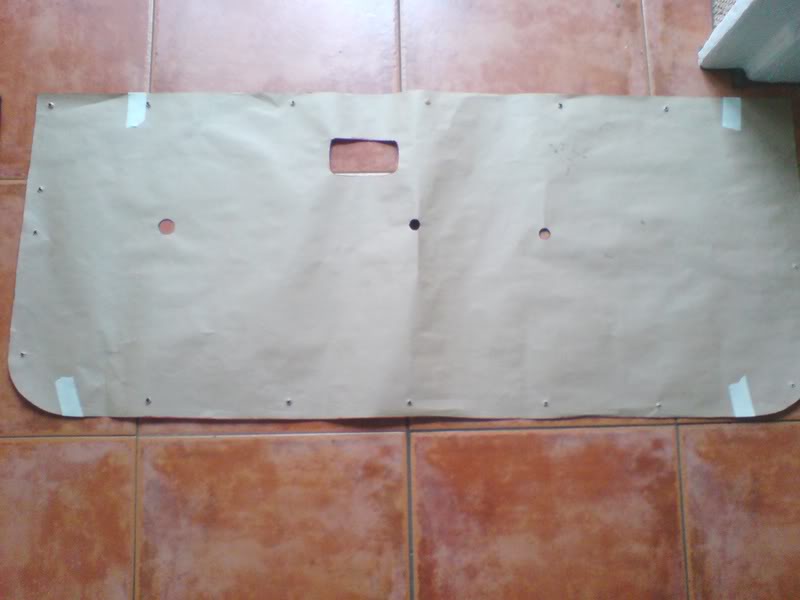
Had to find a template from my spares. It looks bad, but is very straight.
Once a suitable template was made in paper, I then had to offer it up to the car and tape into position. There were no holes punched in at this time. When I was happy with the shape, then I could poke the mounting holes through.
Then, cut out a piece of similar MDF hardboard using a jigsaw and bench drill. This is where it gets tough, as you have to carefully stretch the sometimes brittle vinyl over the template. It should be a tight fit.
I've not yet glued it, as I want a final offer up to the door for fit quality.
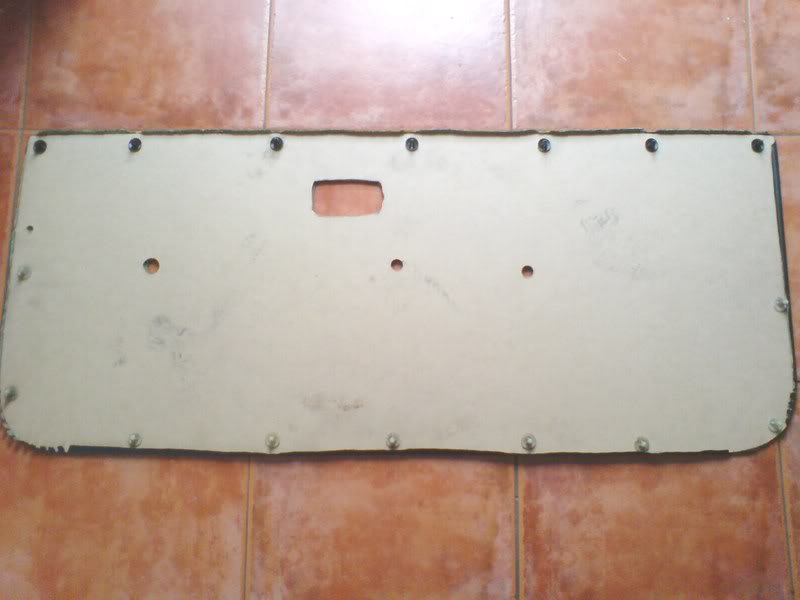
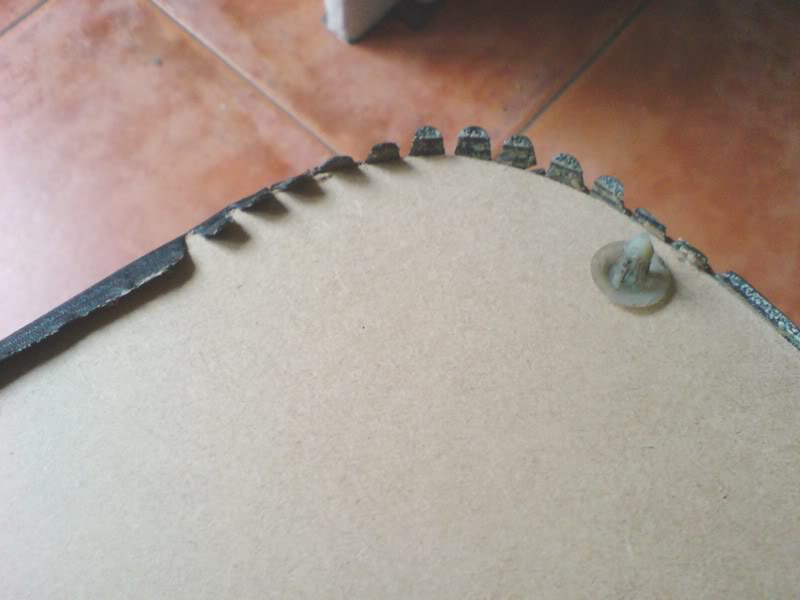
It will look like this when finished, but with sharper edges as the glue holds it down underneath.
Updates will appear as I go through…
Both door panels were badly warped with time and water. A previous owner had discarded the plastic door membranes. Not a wise move!!
I had to carefully strip the outer vinyl from their hardboard and start again.
Sounds easy, but accuracy is essential. Trust me.
Shows one of the original door cards. Well warped.
Had to find a template from my spares. It looks bad, but is very straight.
Once a suitable template was made in paper, I then had to offer it up to the car and tape into position. There were no holes punched in at this time. When I was happy with the shape, then I could poke the mounting holes through.
Then, cut out a piece of similar MDF hardboard using a jigsaw and bench drill. This is where it gets tough, as you have to carefully stretch the sometimes brittle vinyl over the template. It should be a tight fit.
I've not yet glued it, as I want a final offer up to the door for fit quality.
It will look like this when finished, but with sharper edges as the glue holds it down underneath.
Updates will appear as I go through…
1980 Mars Red GTI BRMotorsport 142
1983 Black GTI
1983 Black GTI
Posted
Settled In
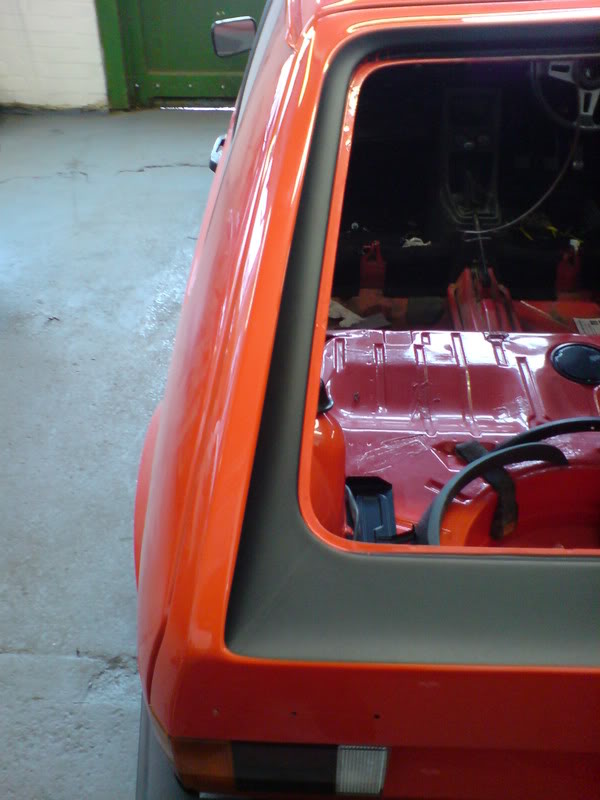
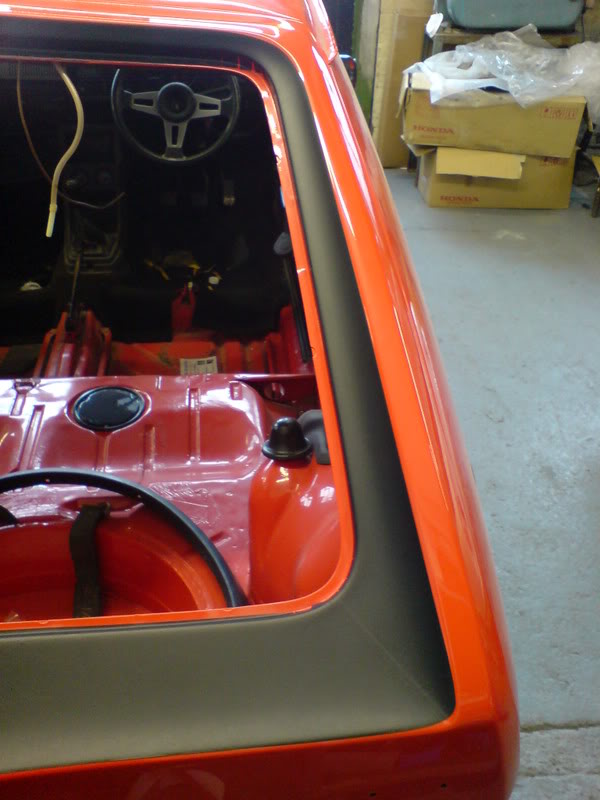
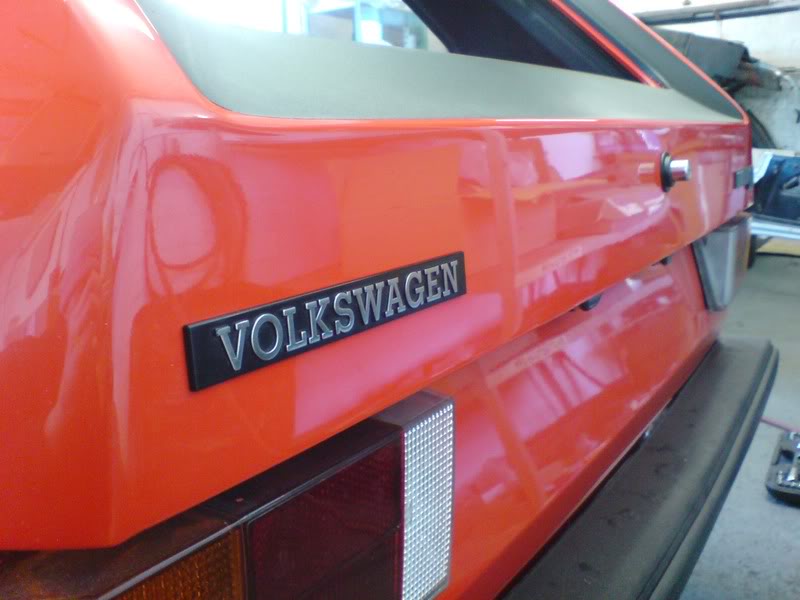
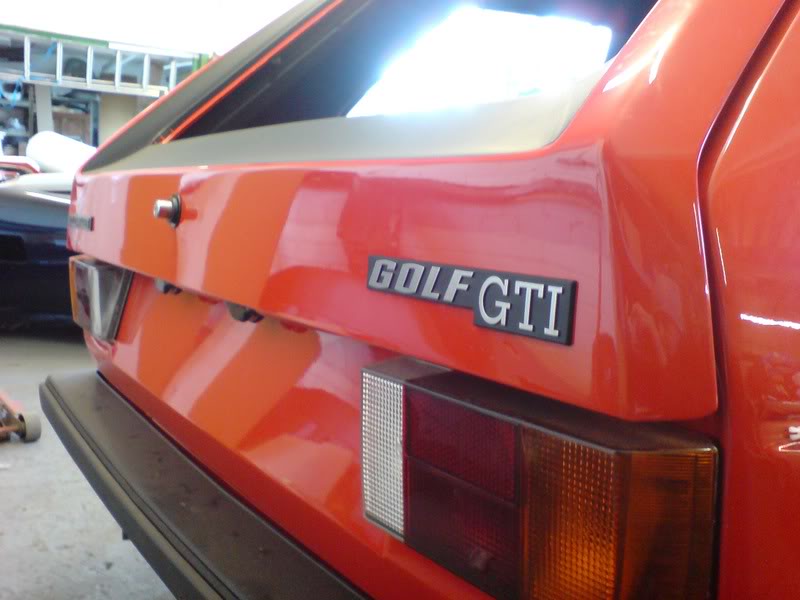
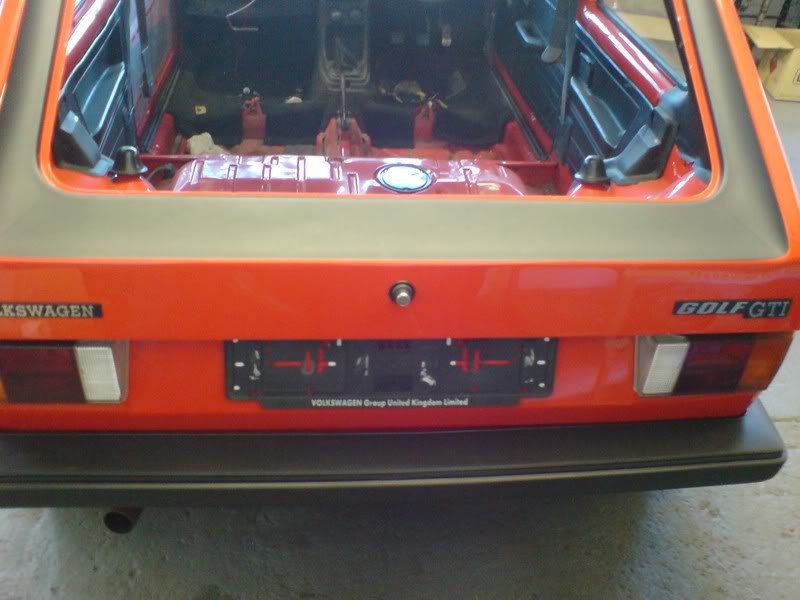
Todays work was to fit the rear tailgate decal.
Took a couple of hours to get it right. Gentle persuasion with a heat gun worked a treat in the corners. Lots of little cuts on the edges to get it to sit flush against the body.
I've not cut the holes for the rear wiper just yet, as I wanted to leave it overnight to settle.
Quite pleased with the end results.
A couple of tips for anyone else doing this.
1. Put some clear lacquer on the tops on the cuts you make to stop them spreading.
2. Lube up the inside edge with waxoil before fitting the glass, as it prevents the vinyl from being pulled by the rubber.
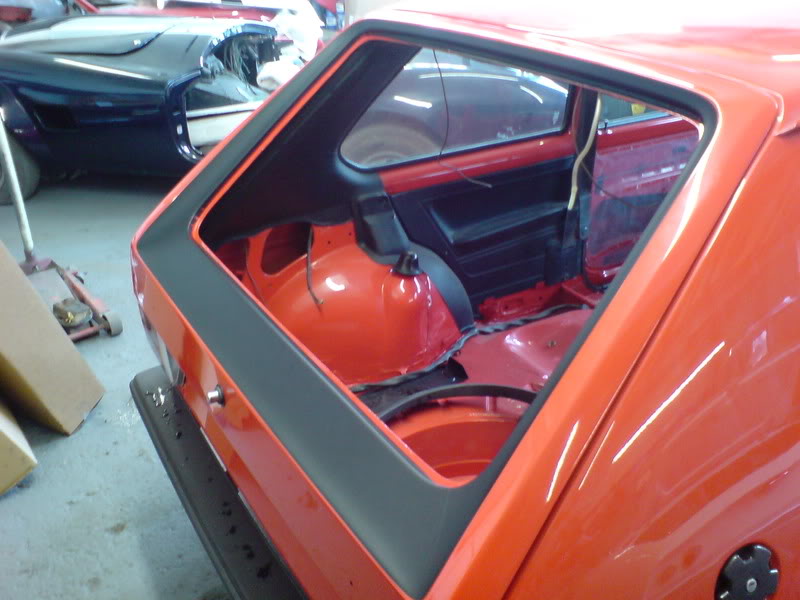
Don't know why the inside parts of the car look pink. It's not!! Camera's fault.
All the rear end electrics can now be finished after I put the glass in tomorrow (provided the decal stays in place!).
Side trim, Rear arches and new badges are next to go on.
Took a couple of hours to get it right. Gentle persuasion with a heat gun worked a treat in the corners. Lots of little cuts on the edges to get it to sit flush against the body.
I've not cut the holes for the rear wiper just yet, as I wanted to leave it overnight to settle.
Quite pleased with the end results.
A couple of tips for anyone else doing this.
1. Put some clear lacquer on the tops on the cuts you make to stop them spreading.
2. Lube up the inside edge with waxoil before fitting the glass, as it prevents the vinyl from being pulled by the rubber.
Don't know why the inside parts of the car look pink. It's not!! Camera's fault.
All the rear end electrics can now be finished after I put the glass in tomorrow (provided the decal stays in place!).
Side trim, Rear arches and new badges are next to go on.
1980 Mars Red GTI BRMotorsport 142
1983 Black GTI
1983 Black GTI
Posted
Settled In
Looking very nice mate which one did you fit in the end…? think i might pop over this week and have a look.. looks a bit standard though when you dropping a 20v turbo in it… 
Posted

Local Hero

Yummy, well done so far :wink:
1983 Mars Red 1.8 Golf GTI
1987 Alpine White 1.8 Clipper Cabriolet
The trouble with doing nothing is that you never know when you are finished.
1987 Alpine White 1.8 Clipper Cabriolet
The trouble with doing nothing is that you never know when you are finished.
Posted
Settled In
Early-1800 said
Yummy, well done so far :wink:
Thanks for the encouragement.
1980 Mars Red GTI BRMotorsport 142
1983 Black GTI
1983 Black GTI
Posted

Settled In
quality job
How easy was it to position correctly.Did you use water to slide decal into position
Any more tips as I have got to fit my gti side decals and need to get them on straight.
How easy was it to position correctly.Did you use water to slide decal into position
Any more tips as I have got to fit my gti side decals and need to get them on straight.
76 ?
78 gls
83 gti 5v
78 gls
83 gti 5v
Posted

Local Hero
mark83 said
quality job
How easy was it to position correctly.Did you use water to slide decal into position
Any more tips as I have got to fit my gti side decals and need to get them on straight.
if you're putting the side decals on the the best way to do it is draw a straight line (use chalk or similar, it rubs straight off :mrgreen
 just use a simple spirit level to do it… maybe, it sounds like the simplest plan 8)
1983 Golf 1.3 Driver:

Posted
Settled In
Yes, water is required.
A trigger spray to apply water to both the body work and the adhesive side of the decal.
Trial and error to line up correctly!
Correct order is bottom, then sides and finally top. So that they overlap one another downwards (like roof slates).
Once you're happy, then use a squidgy tool to carefully scrape the surface flat to the body and push the water out.
You will need a razor blade to cut sections around the corners as the vinyl won't bend!
Gentle heat from a heat gun, will warm the vinyl and help the adhesive, whilst slowly evaporating the water.
1980 Mars Red GTI BRMotorsport 142
1983 Black GTI
1983 Black GTI
Posted

Old Timer

at is looking awsome fella!!! :wink:
dont tell Gurv "Dojodubber" about your E30's though!!!
He is likely to prematurely ejaculate!!!!!! :roll:
dont tell Gurv "Dojodubber" about your E30's though!!!
He is likely to prematurely ejaculate!!!!!! :roll:
1983 MK1 PIRELLI EDITION
Alpine White LHD ("SOLD")
Alpine White LHD ("SOLD")
Posted
Settled In
Yes, water is required.
A trigger spray to apply water to both the body work and the adhesive side of the decal.
Trial and error to line up correctly!
Correct order is bottom, then sides and finally top. So that they overlap one another downwards (like roof slates).
Once you're happy, then use a squidgy tool to carefully scrape the surface flat to the body and push the water out.
You will need a razor blade to cut sections around the corners as the vinyl won't bend!
Gentle heat from a heat gun, will warm the vinyl and help the adhesive, whilst slowly evaporating the water.
Thanks for the advise ,I was going to get a signwriter to fit them ,think I will have a go.What sort of squidgy tool did you use ?
Thanks good idea the chalk ,I think I will measure them rather than use a spirit level.if you're putting the side decals on the the best way to do it is draw a straight line (use chalk or similar, it rubs straight off Cheesy Grin) just use a simple spirit level to do it… maybe, it sounds like the simplest plan Cool
76 ?
78 gls
83 gti 5v
78 gls
83 gti 5v
Posted
Settled In
Looking good but I think more pics are needed 8)
Posted
Settled In
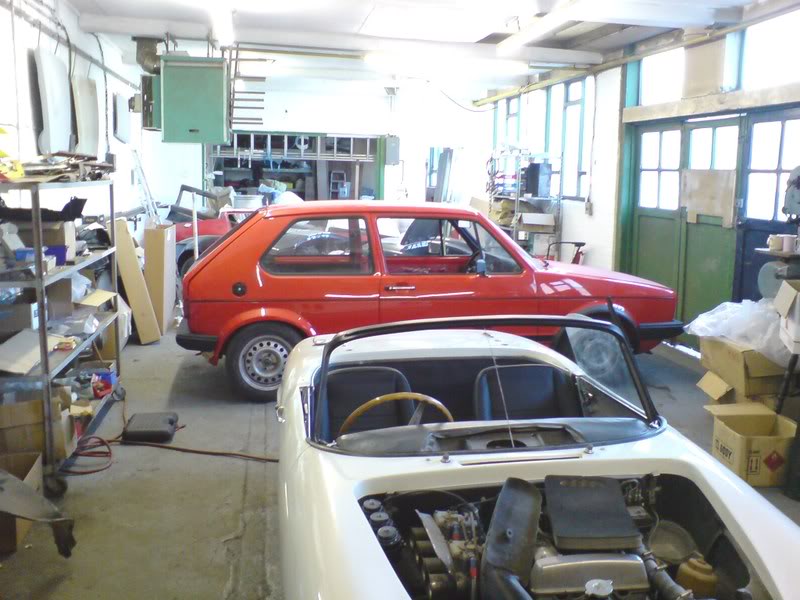
The progress made has been in the side trim and new badges.
I have also started putting the interior bits of trim in, like the shelf supports and sunvisors.
It appears as if I've done very little, but there is an afternoon's work of tiny little bits and pieces that take an age, so I don't scratch the paint or put a hole through the wrong part of the brand new headlining!!
The shell needs a final polish on the paint to remove the waxoyl residue and bring the paint into life again. I don't clear the dust off because it scratches the paint and only comes back the following day!
Oh, and I've lost the lower tailgate stripe somewhere, so need to get another!
Also worth noting is that I'm using a small lower front spoiler. That's because it's going much lower and the standard GTI one will last no longer than a mile.
1980 Mars Red GTI BRMotorsport 142
1983 Black GTI
1983 Black GTI
Posted
Life Member

Nice to see another S1 GTi saved - well done!

Posted
Settled In
looking good mate cant wait to see the wheels...!
Posted
Old Timer
Looks like a top job. 8)
What is the intended use once completed?
What is the intended use once completed?

Posted

Local Hero

Wow, as always!
Andy
LINCOLNSHIRE REGION -�https://www.facebook.com/groups/467122313360002/
1983 MK1 Golf GTI Campaign Model - Under (looooong) resto!
1962 Rover P4 80
2002 BMW 745i
2008 BMW Z4 2.5Si
LINCOLNSHIRE REGION -�https://www.facebook.com/groups/467122313360002/
1983 MK1 Golf GTI Campaign Model - Under (looooong) resto!
1962 Rover P4 80
2002 BMW 745i
2008 BMW Z4 2.5Si
Posted
Settled In
Top job!! looking great
<a href="Pictures by jonnymk1 - Photobucket"><img src="http://i264.photobucket.com/albums/ii188/jonnymk1/illiza8-3.jpg" border="0" alt="Photobucket"></a>
Posted
Old Timer
What is the intended use once completed?
Car?
1980 1600 GTI, daily driver.
Posted
Local Hero
:lmao:tallpete said
What is the intended use once completed?
Car?
Andy
LINCOLNSHIRE REGION -�https://www.facebook.com/groups/467122313360002/
1983 MK1 Golf GTI Campaign Model - Under (looooong) resto!
1962 Rover P4 80
2002 BMW 745i
2008 BMW Z4 2.5Si
LINCOLNSHIRE REGION -�https://www.facebook.com/groups/467122313360002/
1983 MK1 Golf GTI Campaign Model - Under (looooong) resto!
1962 Rover P4 80
2002 BMW 745i
2008 BMW Z4 2.5Si
0 guests and 0 members have just viewed this: None.