


83 gti full rebuild

Posted
Settling In

83 gti full rebuild
Posted
Settling In
 started the prep work
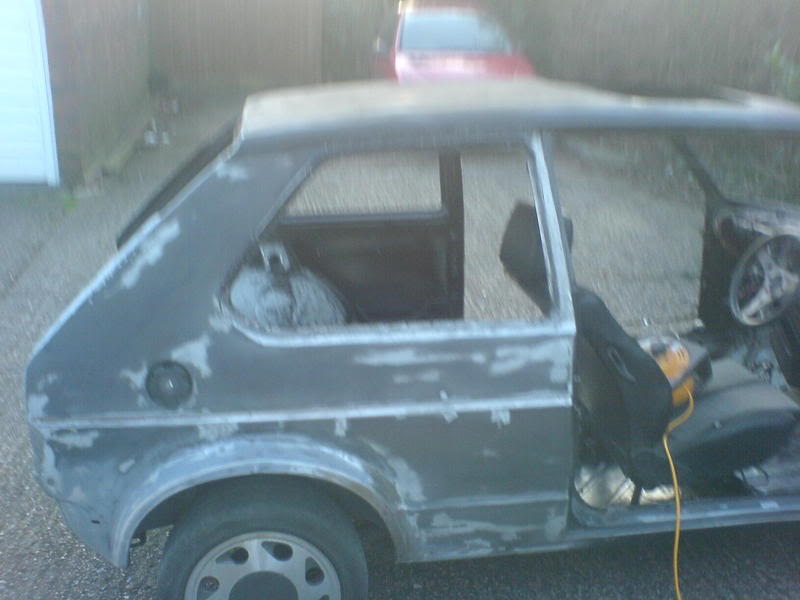

hopefully primer soon
Posted
Old Timer

Posted
Settling In
Dunc
Posted
Settling In
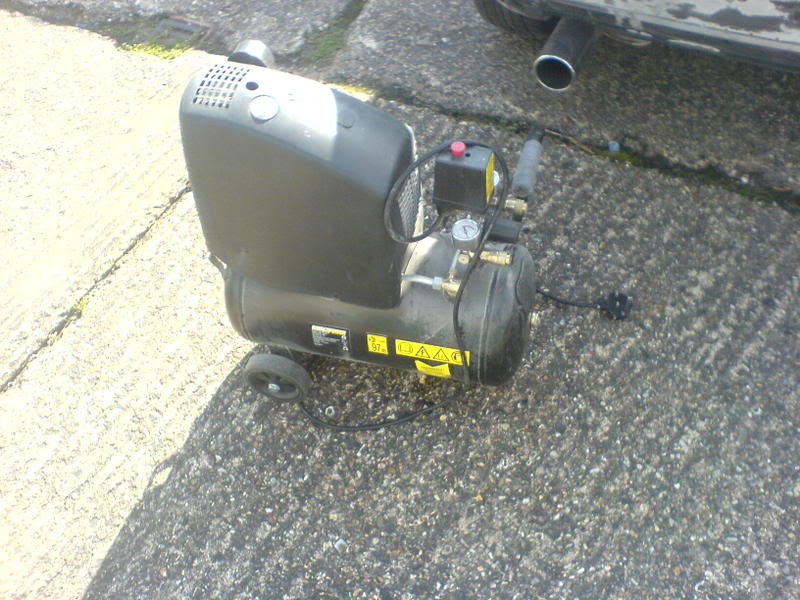
Got this little fella from machine mart along with a spraygun air gun and paraffin gun for ?70, not bad at all for little spray jobs and that only gonna use it for priming as i have found a guy who lives a mile or so away who's gonna spray the whole car with doors etc off and he's gonna pick it up on a flat bed


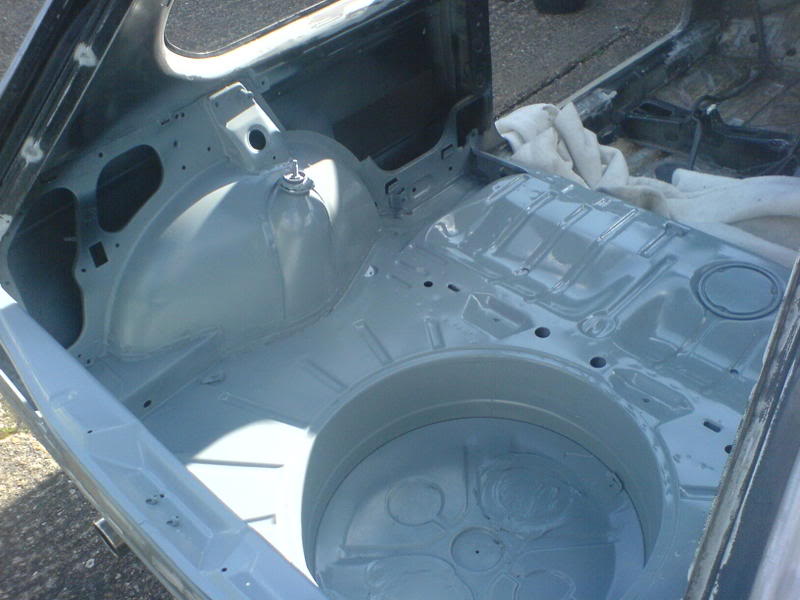
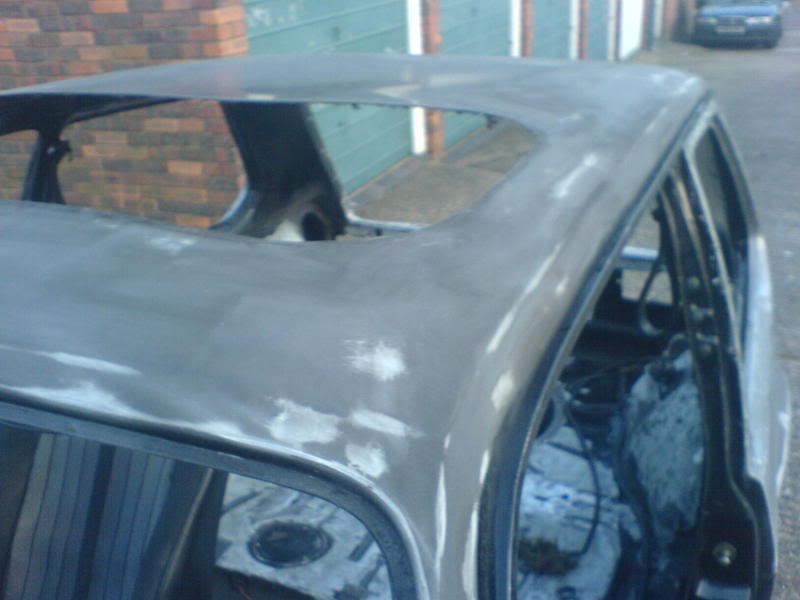
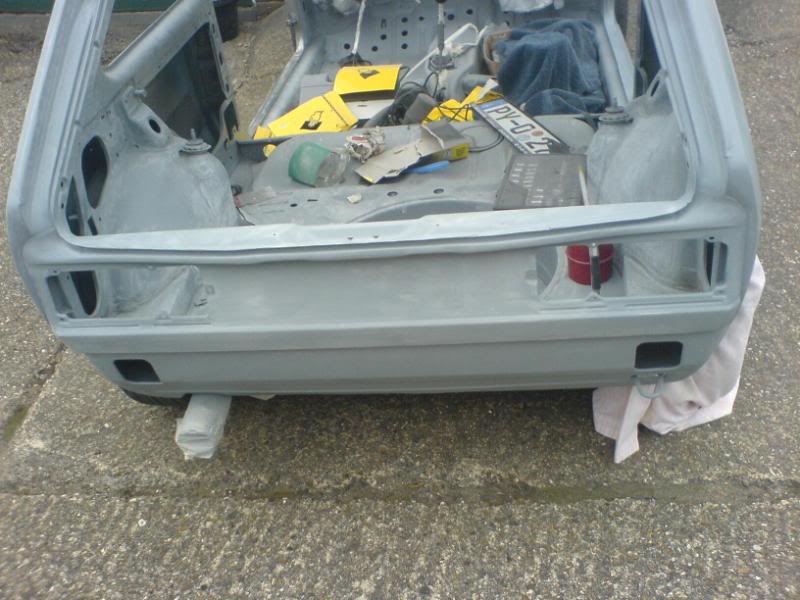
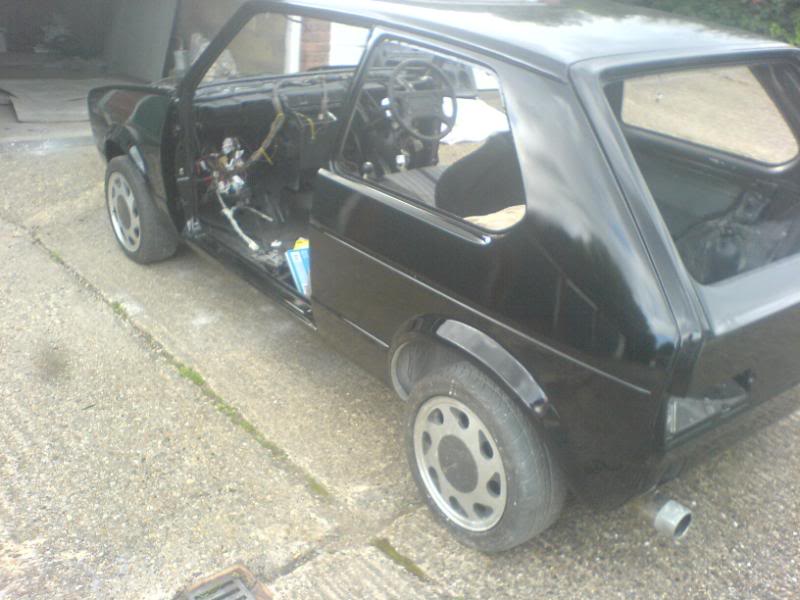
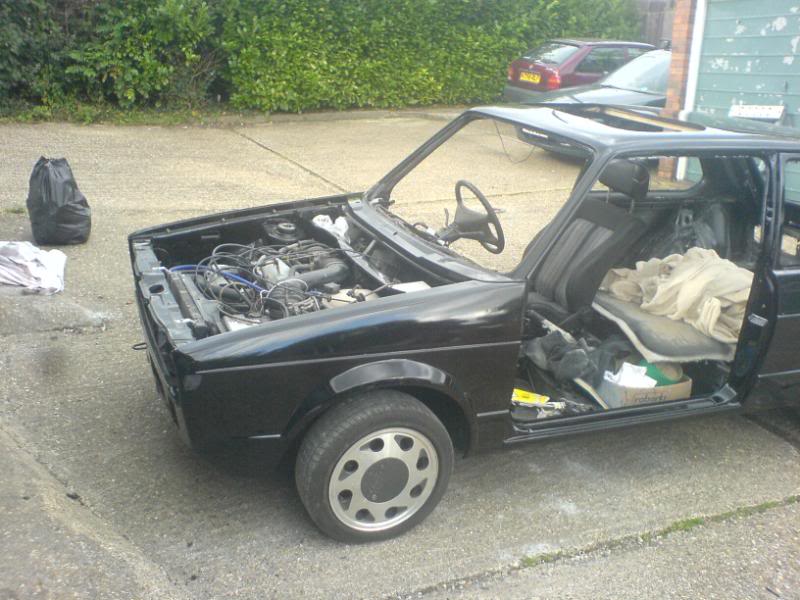
got the inside sprayed up in rust proof primer just got to flat back a few area's then im gonna give it a few coats of high build primer. Also got the new bonnet and one wing sprayed in primer as well, if it stays nice tomorrow i'll get another coat down and spray the floor pans then all i have to do is prime the outside of the car flat back and get the topcoat done cant't wait
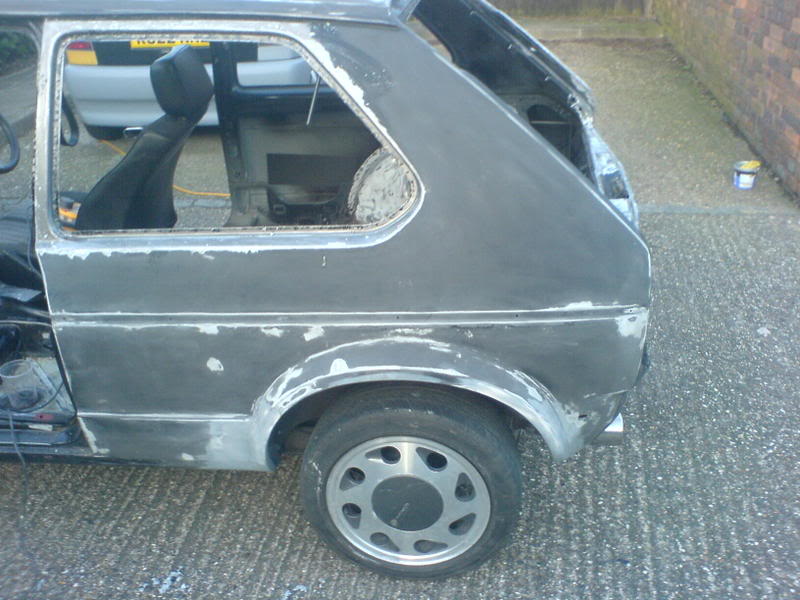
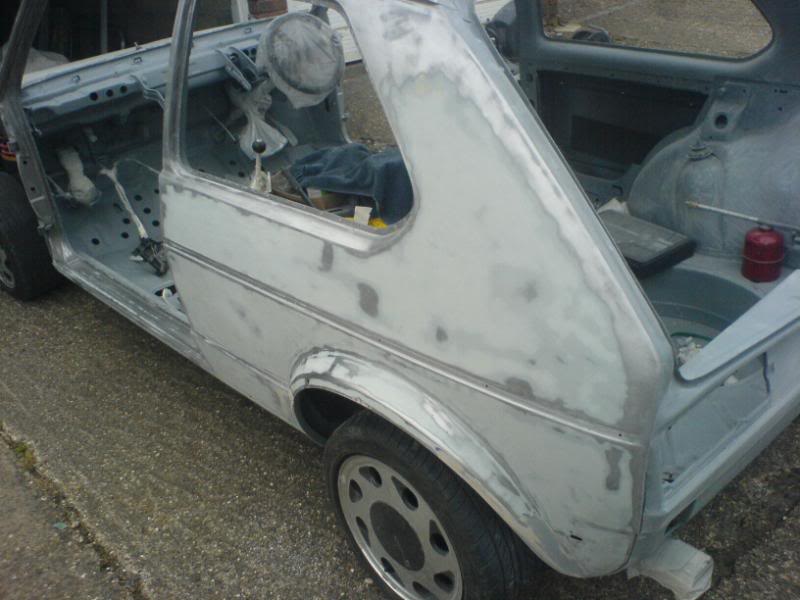
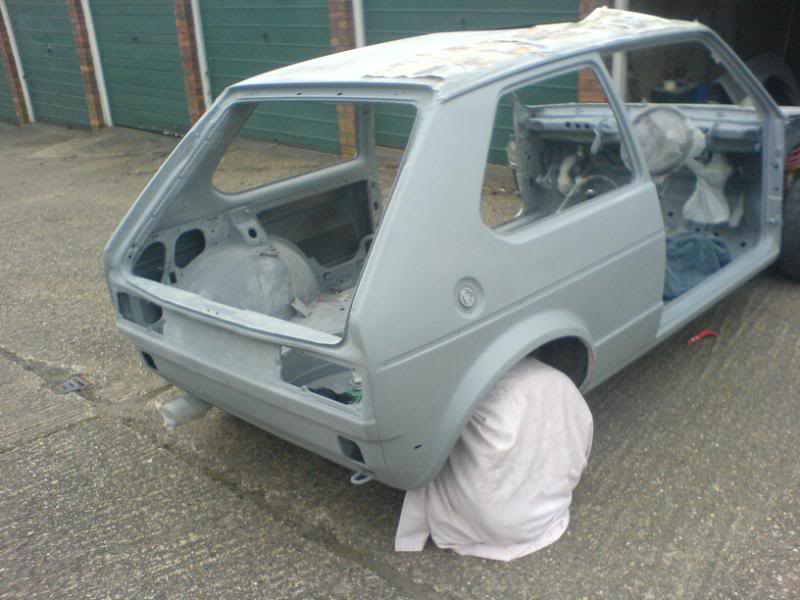
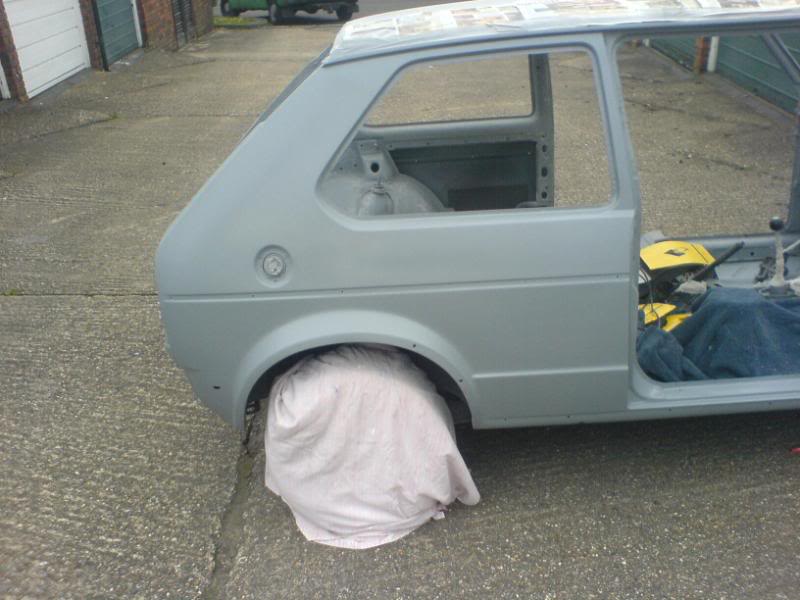
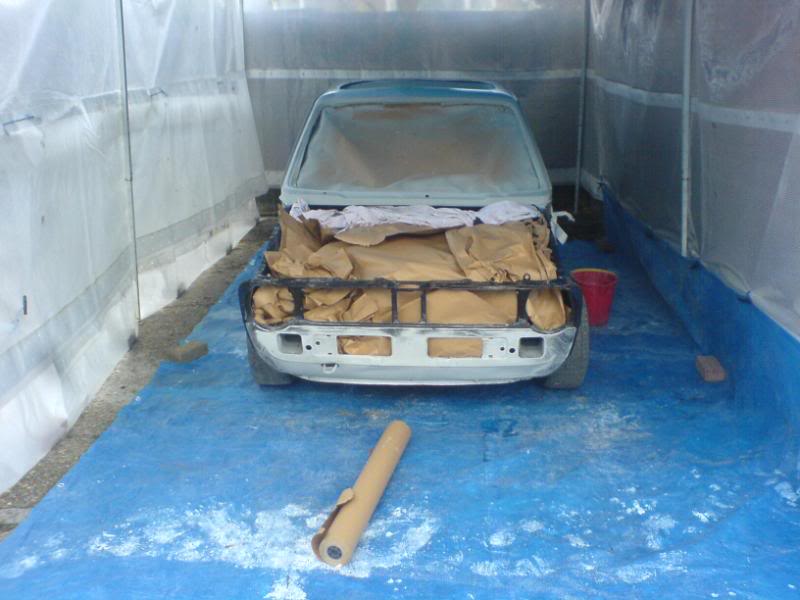
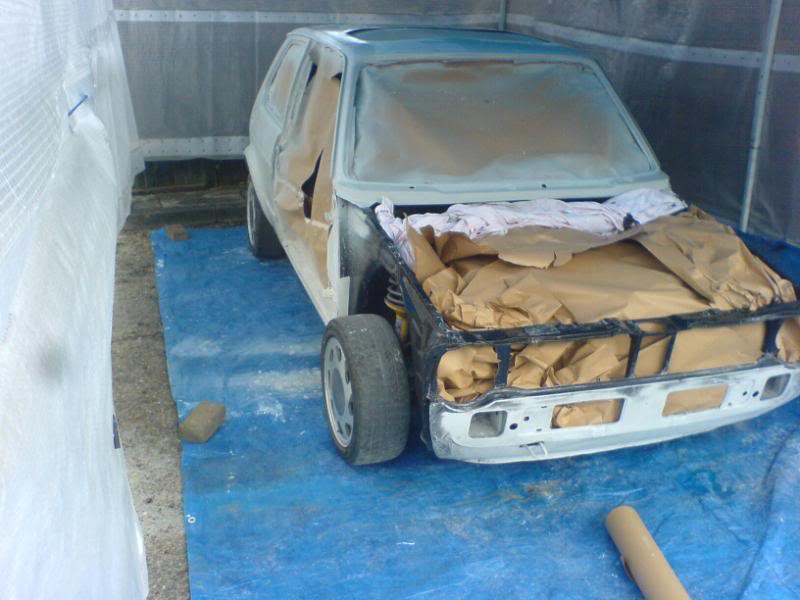
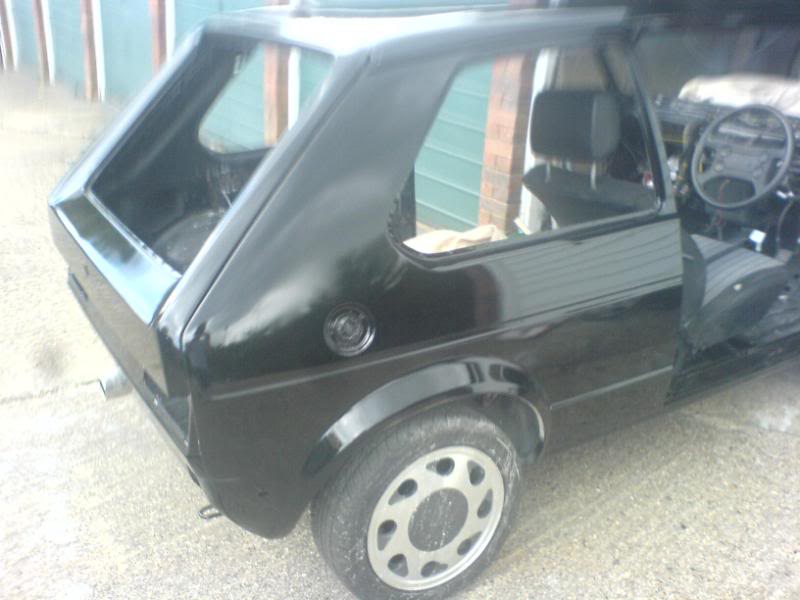
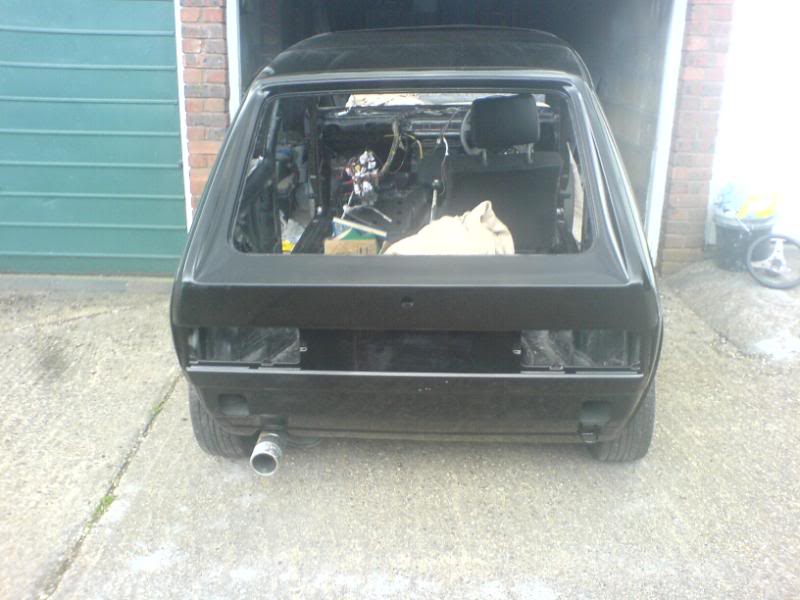
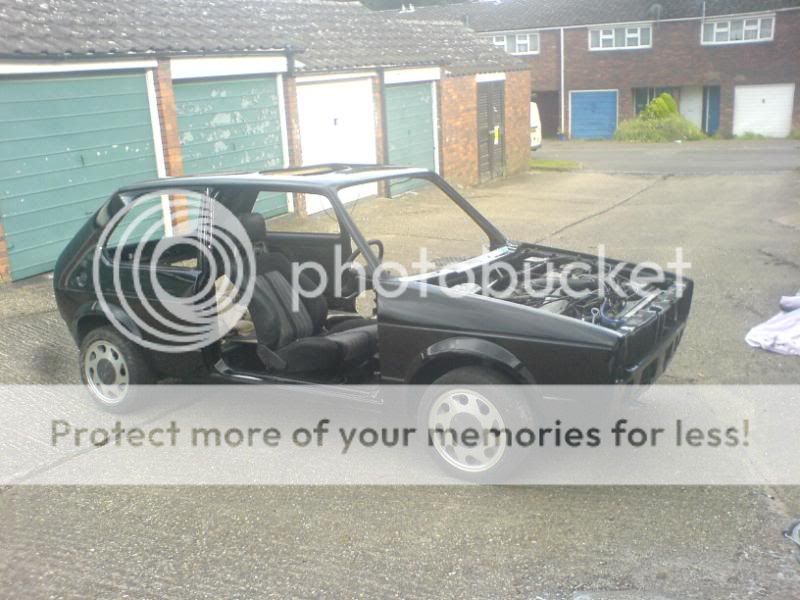
this is how the outside is looking including the doors, all paint sanded back to original primer then it gets a few coats of high build.
All bare metal is getting zinc oxide primed befor high build to stop rust
Posted
Settling In
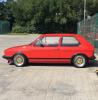
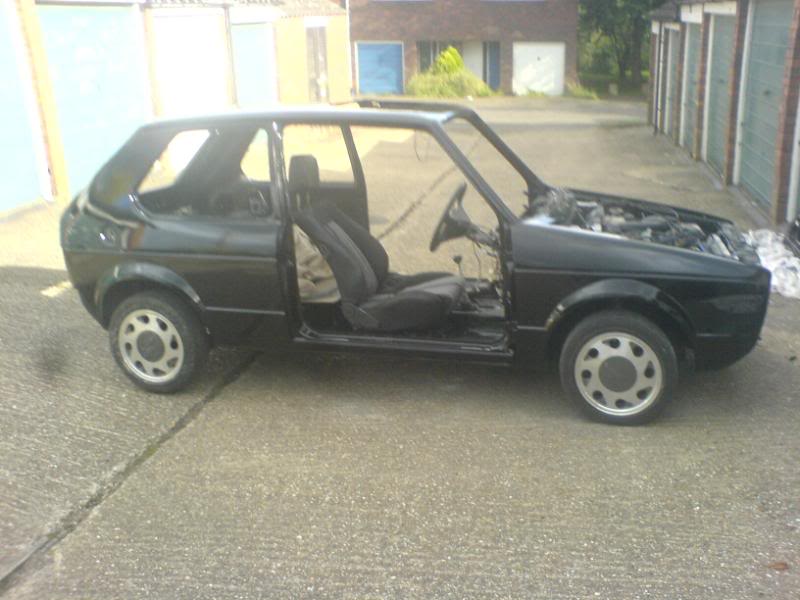
really happy with the way it came out not bad for a weekends work. Also got my brand new headlining and carpet set from newton comercial and cleaned up my original seats with a steam cleaner and a lot of elbow grease, i'll get pics of these when i fit them after the paint is done now for the picshope u guys enjoy
Befor paint
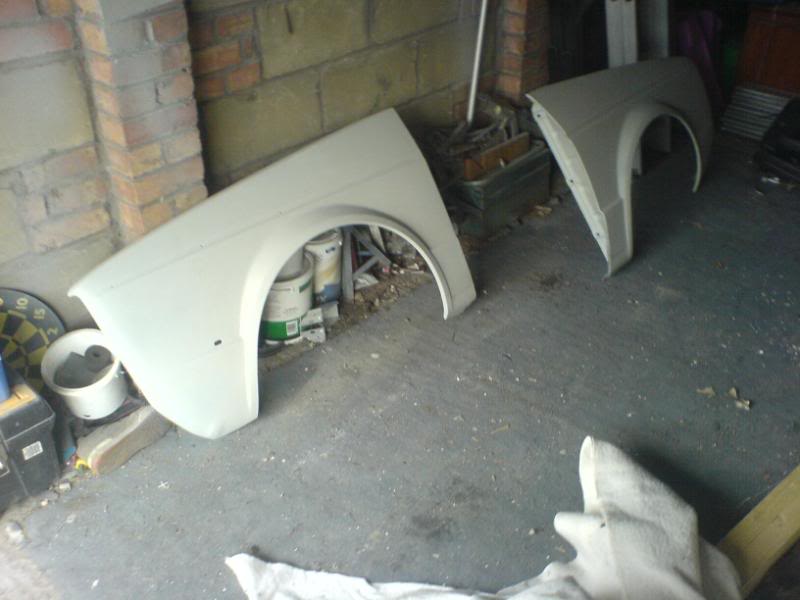
new bonnet test fit and primed

New wings also primed needed a bit of work to fit flush with the shell
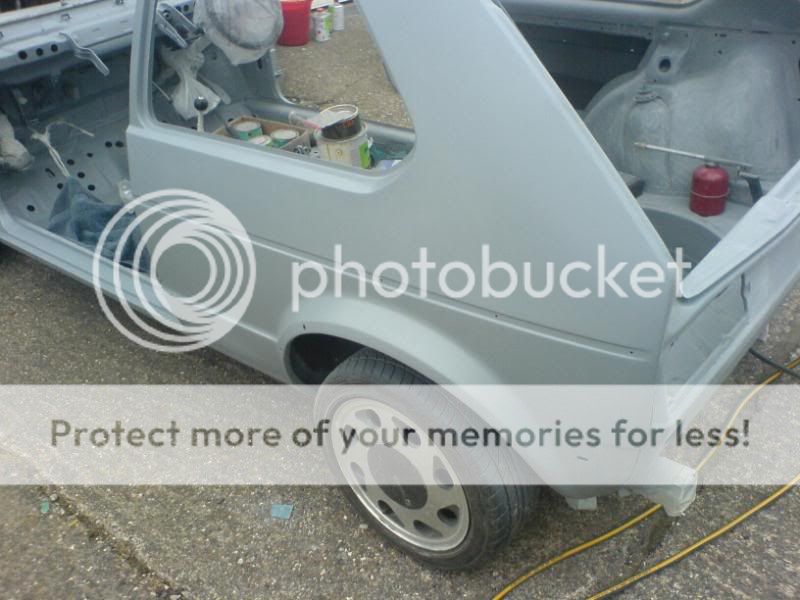
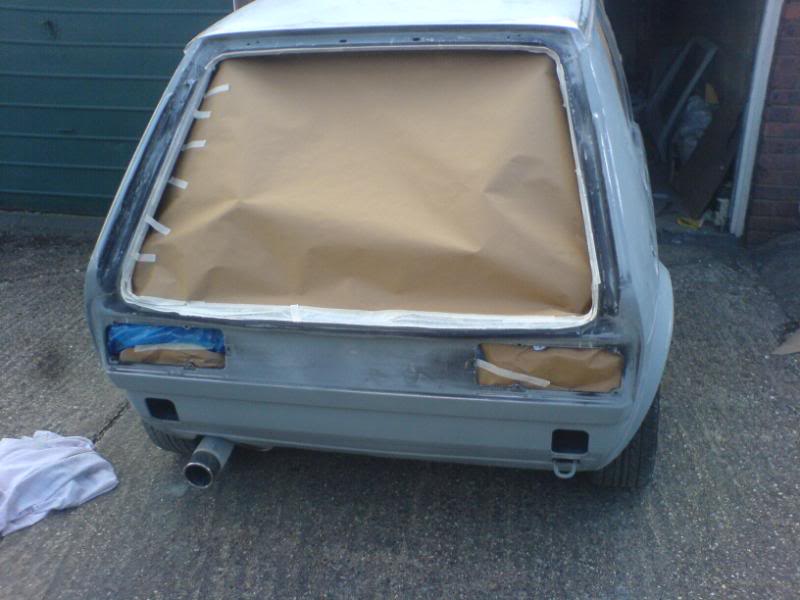
And the rest of the shell

ohh and a pic of my old polo i found this weekend

Again sorry for the bad pics still using my phone :?
Posted
Settled In


Praise well deserved for your hard efforts.
The aftermarket sunroof situation is a terrible one, and should really be rectified.
One thing I've learnt is, that if a job's worth doing, then it's worth doing right!
You would have to unpick the roof skin from the drip rails and then drill through the spot welds on the inside. Then replace the roof skin and the missing support bracket from inside. The outside corners are best brazed in place rather than welded. A tough job, but well worth the results.
I should know as it was the first task on my own car!
I'll be watching your progress with interest.
1980 Mars Red GTI BRMotorsport 142
1983 Black GTI
1983 Black GTI
Posted
Settled In
Posted
Settling In
 looking for a set of bbs rm's to refurb as well i know they've been done alot but i need something to fill the arches a little bit and not look chavy, maybe some 15" minilites not sure yet, i think getting it running is the priority lol, i'll keep you updated on the progress.
Dunc
Posted
Settling In
im more than exited about putting it back together with new carpets and headlining and other bits i've collected over the months. The wiring looms also been refitted and i fired her up for the first time in about 6 months yesterday. The only thing i still can't figure out is the fan wiring i have the temperature sensor with no wire's coming from it and no wires connected up to the fan motor either :cry: just 2 stray wires in the engine bay should the motor and the senson be conected some how?? they both have 3 pins in them, i need to have a look at another gti engine bay but there are none local to me and the one person i asked if i could have a look didn't seem to happy to help, ohh well once this is sorted i can tune the engine up without fear of it over heating as i would like to be able to have it running reliably. pics tomorrowDunk
Posted
Settling In
the golf in the booth
all masked up
i don't have any pics during the spraying but it came out pretty good there are 3 runs that need flatting back and spraying in, i also brought an orbital sander/polisher so i can wet flat the paint back and polish it up the doors are also sprayed and i will be fitting them today if it stops raining :roll:
anyways pics

excuse the shorts in the reflection lol
had a bit of luck at the scrap yard i got some wiper arms indicator lenses and this steering wheel from a mk2 golf almost the same as the original.
I also saw a pair of mint old recaro buckets from a rover t bar with adjustable lumber suport etc so asked the guy but he wanted to sell the as a set with doorcards and everything so i told him i wasn't interested then he offered me them for ?50 per seat so i got a set of recaros for 100 quid bargain
 im just gonna run harnesses and no back seats i think so its nice and simple. Im keeping all the original gti bits for future when i come to sell it so it can be put back to original.
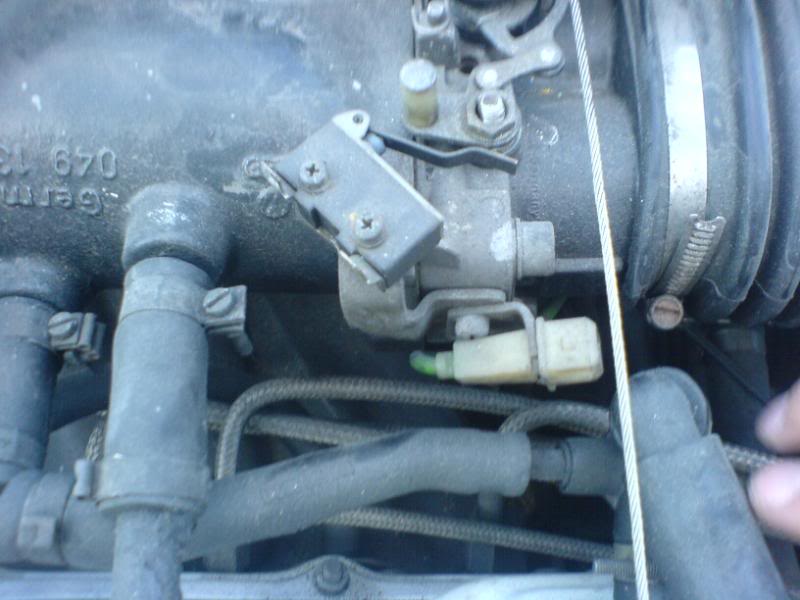
Just a quick question i've asked in the electrical forum as well, what is this white electrical conector on my inlet it doesn't have anything pluged into it??
so thats my progress so far next up is to put the doors back together fit headlining and spray the inside again so it looks good with the back area striped out, the pick up seats get runners and put it all back together.
should be driving her soon
dunc
Posted
Settling In
Just want to say well done on your project, looks a good quality job, looking forward to seeing the final pics
Not sure what the connector is, will have a look on mine
Ade
Posted
Settling In

Dunc
Posted
Settling In
Tie rods and tie rod ends
steering rack boots
ball joints
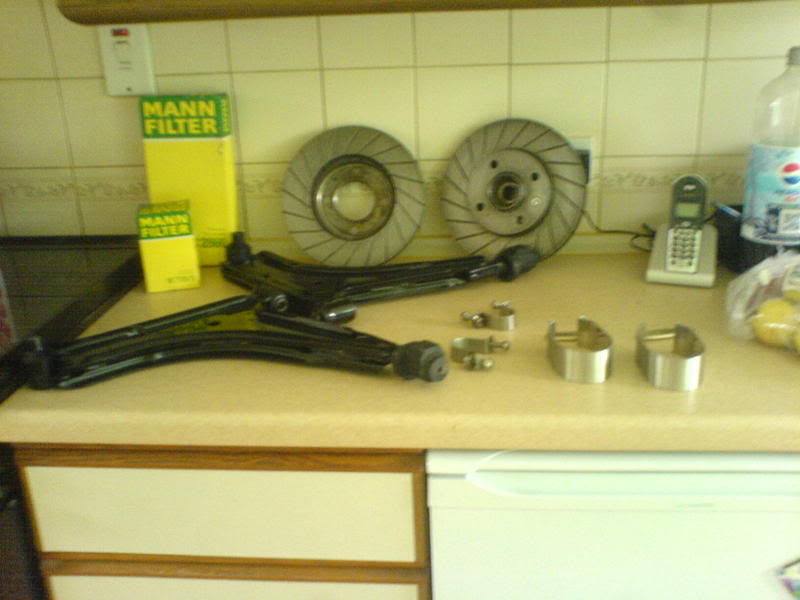
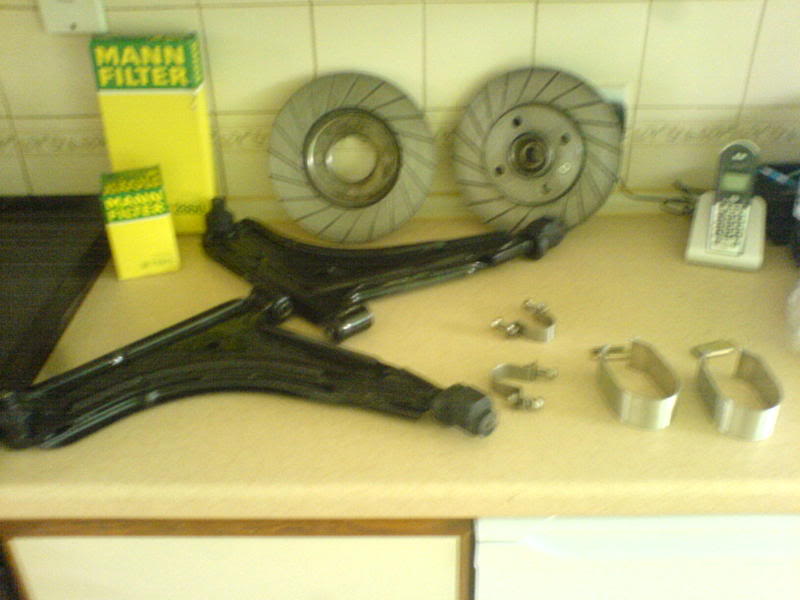
wishbones & bushes- these have been laqured as i had a lot spare lol
wheel bearings front and rear
cv boots - sanded down and resprayed the cv's befor fully rebuilding
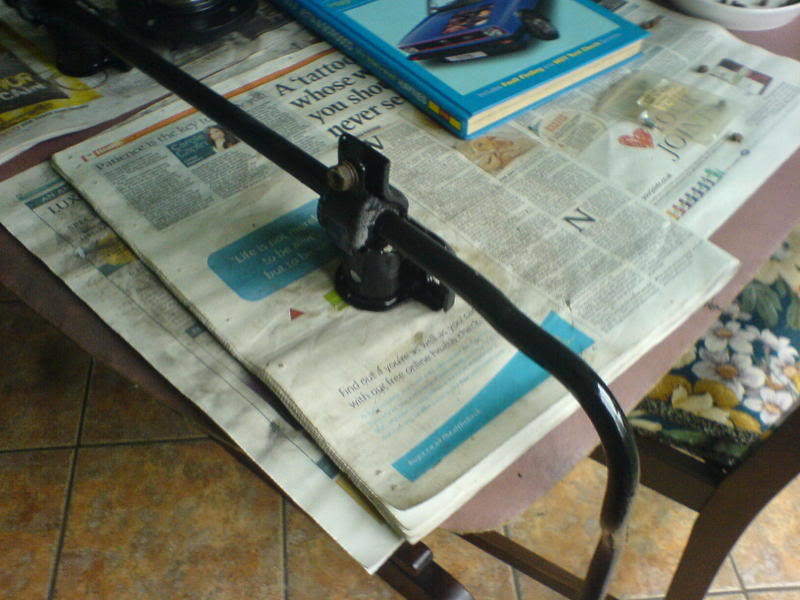
new arb mounts and bushes
engine mounts & gearbox mounts
new rear drums and pads
Strut top mounts
upper and lower suspension bushes - i wanted all bushes replaced when i fit the coilovers
sump gasket - there was a bolt snaped in the block which needs to be removed causing a leak
oil filter
air filter
Theres probably more but i can't remember it all lol, i now just need to get stuck in and re fit all the front components then put it back on the floor and start on the rear bits. I also refurbed and painted the front calipers to make them a bit neater and removed my exhaust system to make it more accesable to waxoyle the underside, the exhaust didn't even have a clamp from the down pipe, and when i was removing the hubs the hub nuts they wern't even torque'd up came of very easy, same thing happened with all the suspension bolts….. the previous owner made a real good job of this car …… lots of shiny pics coming soon i promise
:roll:
Posted
Settling In
windscreen
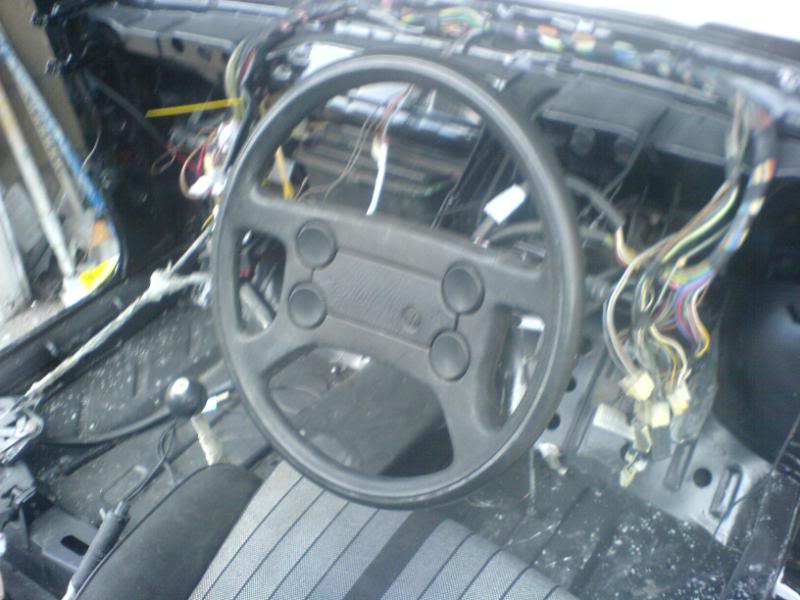
wiring loom for inside car my ones screwed
headlights
single headlight red grill
all side trim in black and clips
tailgate lock rubber grommit
and that circular bit behind the steering wheel that makes a conection to the horn as its snaped
Posted
Settling In
ARB painted and new bushes fitted mounts have been wire brushed and repainted as well
New oil and air filters the discs that came with the car after a good clean up arb brackets from crazy quiff and new wishbones and balljoints all fitted
the wishbones were laqured as well as i had 5l left over from the previous paint i brought so i might as well use it.
i went for a drive to crazy quiff and picked up a few bits as well a new interior light, rear lamp wireing and a windscreen i only need side trim and a grill then i have all the bits to put it back on the road hopefully….
I had to remove the exhaust mnifold this weekend to get he steering rack back in place and adjusted up and found that it was bolted up hand tight and some of the gaskets were instaled the wrong way round so more jobs to do
but at least all the major parts are fited just gotta bolt on the coilovers and remove a snaped sump bolt befor it can be put on the ground.More updates soon
Dunc
Posted
Settling In


and thats basically where its at as off today. new arches and side decals went on, now all i need to do is fit my double headlight grill and hella lamps a new red grill trim, and the rear seats and parcel shelf. I will also be changing the exhaust tip for something a bit smaller and subtle and then enjoy driving it. Its taken a long time to get it this stage and i've enjoyed the whole build process. coments welcome.
Posted

Local Hero


Golf GTI Campaign 1983 Mars Red, Ford S-Max 2015, Audi TT 180 quattro 2003, Fiat 500C 2013, Golf GTE MK7.5

�
�
Posted

Moderator


Posted
Old Timer

Matt
0 guests and 0 members have just viewed this: None.