


Cabrio hood replacement

Posted
#651043
(In Topic #78479)
Old Timer

Cabrio hood replacement
Wish me luck!
I'm about to go outside and start to rip my old roof off!!! :twisted:
I'm about to go outside and start to rip my old roof off!!! :twisted:
Posted
Settling In

Good luck on the new roof.
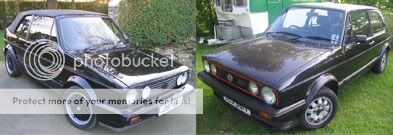
What wheels are on that black cabby in the pic.
Adam
What wheels are on that black cabby in the pic.
Adam
Posted
Old Timer
Thanks! The wheels are the original 15" BBS that come on Sportlines.
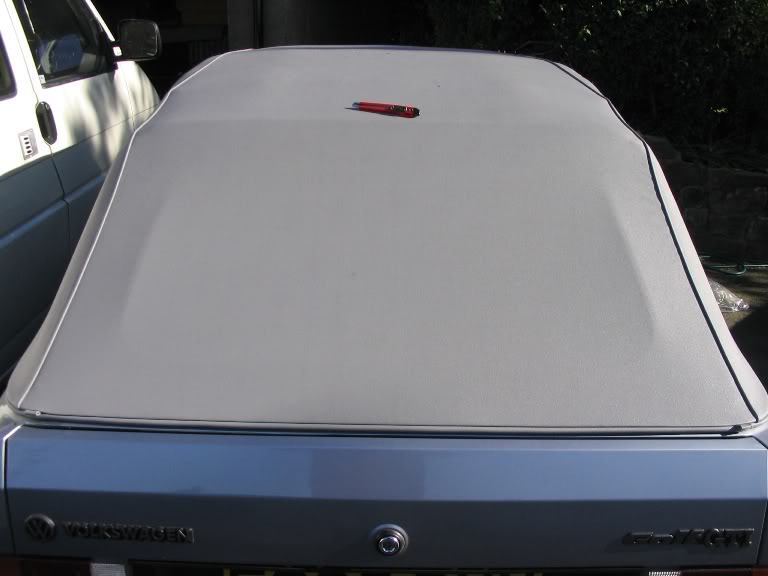
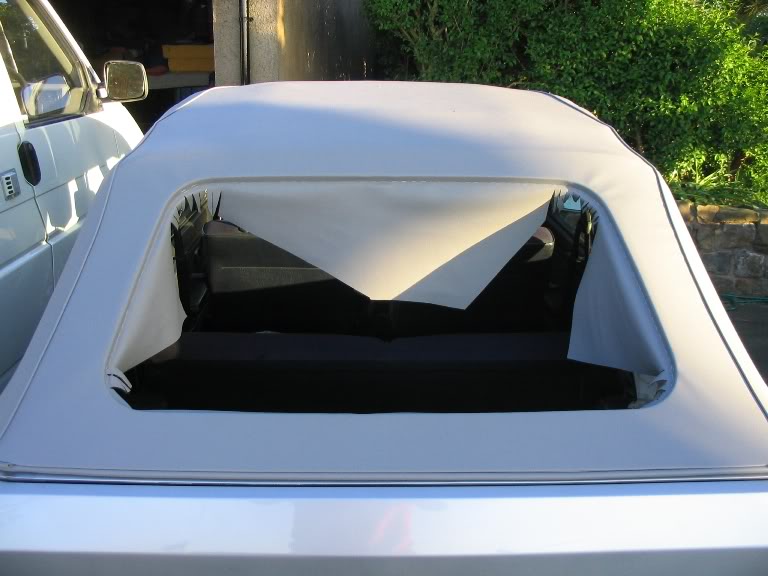
Here are some pice of my work so far.
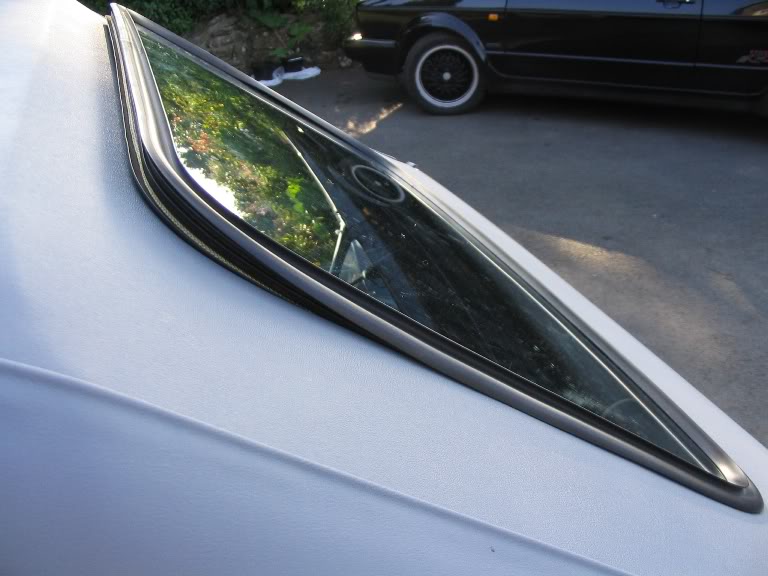
Before! Hood was bowing due to no side cables and also cracking up in a fair few places.

After!

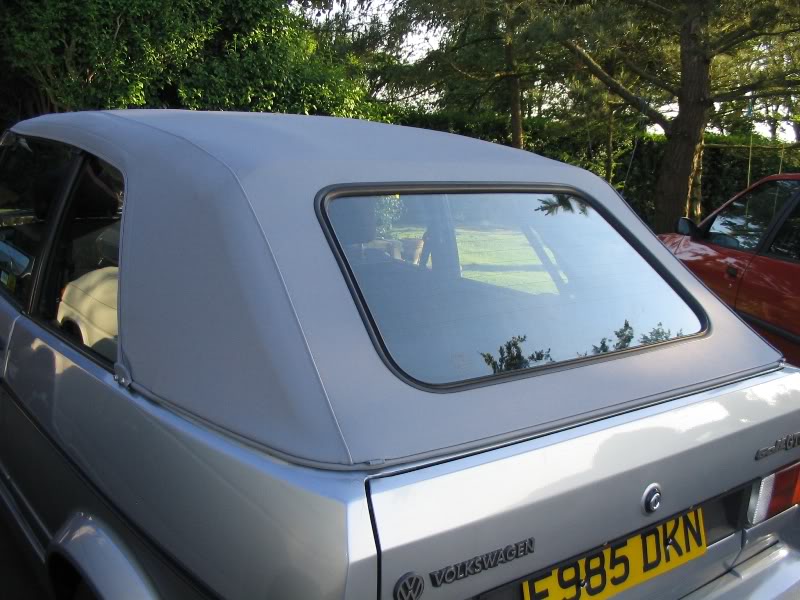
There ain't much rear window frame left!

There's lots of cleaning up to do of the frame and rust on the rear lip before I can fit the new one. I've got alot of other pics to hopefully do a "how to" but some didnt come out as well as I'd hoped.
Here are some pice of my work so far.
Before! Hood was bowing due to no side cables and also cracking up in a fair few places.
After!
There ain't much rear window frame left!
There's lots of cleaning up to do of the frame and rust on the rear lip before I can fit the new one. I've got alot of other pics to hopefully do a "how to" but some didnt come out as well as I'd hoped.
Posted

Local Hero

This is a job I've got to tackle soon so I look fwd to the extra pics. Is that just the inner lining left on the frame then ?
DubPartz
Posted
Old Timer
I've just removed the outer lining. You can see the insulation layer and the headliner at the back. I'm not going to be replacing the headliner as the one that on there isn't too bad. It is a bit grubby but does clean up fairly well.
Here's a pic of the front end. You can see there was water trapped under the outer layer! Maybe this hood was porus like Prowler said his was :dontknow:

Here's a pic of the front end. You can see there was water trapped under the outer layer! Maybe this hood was porus like Prowler said his was :dontknow:
Posted
Local Hero
So was the insulation layer bonded/stitched to the outer skin ?
And the rear window frame….the outer skin is stapled to it but what do the staples actually press into….is the a wooden frame, 'framing' the metal, like the Cabrio Beetles have ?
And the rear window frame….the outer skin is stapled to it but what do the staples actually press into….is the a wooden frame, 'framing' the metal, like the Cabrio Beetles have ?
DubPartz
Posted
Old Timer
Looks like you will need a new frame, the outer skin material will never be stapled onto THAT !!
The plastic insert is fairly soft, easily stapled with a power stapler…

The plastic insert is fairly soft, easily stapled with a power stapler…
Owning a Mk1 cabby is a vertical learning curve…
1989 Mk1 Clipper 1.8 automatic - Sadly now up for sale - medical issues dictate)
1999 (Nov) Passat S Saloon 1.9 TDI (AFN) - TUG 1 (Remap by CCC ( - **** …..change pants !!) with cruise control
2000 (Mar) Passat Sport Estate 1.9 TDI (ATJ) 5 speed automatic with Tiptronic - TUG 2�(Remap and cruise control by CCC)
Posted
Old Timer
There was nothing bonding the insulating later to the outer skin. The outer skin is only attached at the edges.
The rear frame is part metal, part something else! I dont think its wood as I mine would have probably rotted away. I think its a plastic but I'll investigate further sometime.
I won't be working on it today as I have the GF round
 but I'll be working on it during the evenings this week weather permitting.
The rear frame is part metal, part something else! I dont think its wood as I mine would have probably rotted away. I think its a plastic but I'll investigate further sometime.
I won't be working on it today as I have the GF round
but I'll be working on it during the evenings this week weather permitting.
Posted
Local Hero
the window frame that you staple too is pretty tough, i doubt its wood. i had to hammer down each of my staples but then i did use a hand stapler.
mine was rusty in the same spot down by the bracket. but not as bad i was dreading opening it up tbh. the roof frame looks pretty good tho.
best of luck fitting it, i wouldnt have done mine without another pair of hands there to help it was alot easier that way.
cheers
mine was rusty in the same spot down by the bracket. but not as bad i was dreading opening it up tbh. the roof frame looks pretty good tho.
best of luck fitting it, i wouldnt have done mine without another pair of hands there to help it was alot easier that way.
cheers
rebuild in progress....
Posted
Old Timer
Thanks, I'll hopefully get fitting it this weekend. Its taken a fair bit of time treating the rust and getting old glue off etc.
I've tried out the stapler I have on the old frame and it seems to work ok, might need to help them in all the way though.
The frame is sooo rusty, its all the way along the bottom and up the sides a bit too. Its definately not wood, but plastic like it says in prowlers diagram.
I've tried out the stapler I have on the old frame and it seems to work ok, might need to help them in all the way though.
The frame is sooo rusty, its all the way along the bottom and up the sides a bit too. Its definately not wood, but plastic like it says in prowlers diagram.
Posted
Local Hero
how did you get on , any more piccies
rebuild in progress....
Posted
Old Timer
I'm almost finished, if only the weather would sort itself out :evil:
I've still got the rear side flaps to glue, refit the rear side seals, fit the rear window and trim the excess hood material away. Not far to go though. Its been pretty easy to do really… so far! Could still come across a problem yet so I'm not counting chickens!
Here's a pic of the header, you can see one of the clips where one of the screws for the side seal bracket goes. I think these are often fitted under the hood fabric by trimmers. I think they would have been above it originally like this…

I've fitted new genuine VW gaskets to the side seal brackets, before there was only silicone there, a possible cause for leaks by the roof handles perhaps?

I'll try and do a decient 'how to' after its complete and add links to suppliers of hoods etc. One for the knowledge base hopefully. I'm not sure how I'm going to host all the pics though, there are quite a few. 8)
I've still got the rear side flaps to glue, refit the rear side seals, fit the rear window and trim the excess hood material away. Not far to go though. Its been pretty easy to do really… so far! Could still come across a problem yet so I'm not counting chickens!
Here's a pic of the header, you can see one of the clips where one of the screws for the side seal bracket goes. I think these are often fitted under the hood fabric by trimmers. I think they would have been above it originally like this…
I've fitted new genuine VW gaskets to the side seal brackets, before there was only silicone there, a possible cause for leaks by the roof handles perhaps?
I'll try and do a decient 'how to' after its complete and add links to suppliers of hoods etc. One for the knowledge base hopefully. I'm not sure how I'm going to host all the pics though, there are quite a few. 8)
Posted
Old Timer
where did you get the new genuine VW gaskets to the side seal brackets?
Madone with the two Cabs 82 (UK RHD) and 85 (US LHD) (92 sold)
�
�
Posted
Old Timer
Those gaskets came from VW, they're not that dear.
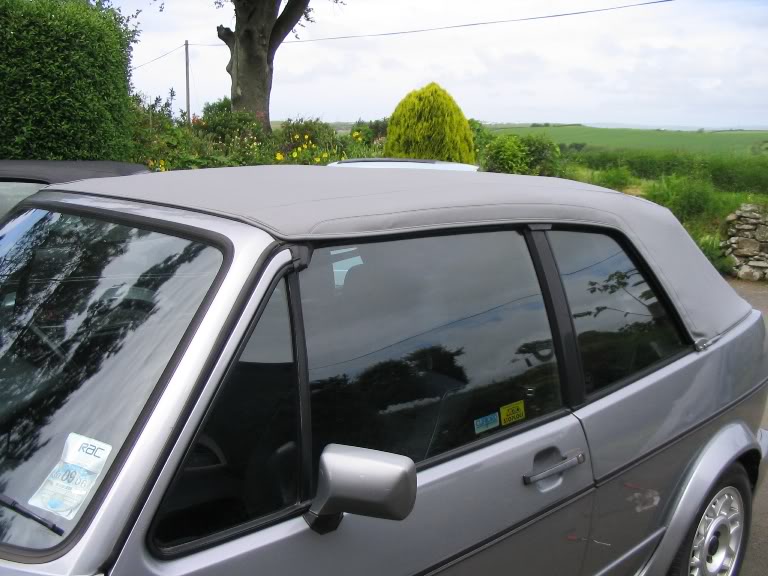
Finally finished :cheer:
Now to write up a how to guide and get this car MOTed and sold :cry: I'm quite torn between this car and the sportline.
Finally finished :cheer:
Now to write up a how to guide and get this car MOTed and sold :cry: I'm quite torn between this car and the sportline.
Posted
Local Hero
That looks excellent. :clap: :clap: :clap:
I especially like the shot with the knife? on the roof, prior to making the incision !
I especially like the shot with the knife? on the roof, prior to making the incision !
DubPartz
Posted
Local Hero
thats a really tidy job mate, well doneand to think someone out there would of charged u?250+ to fit it, :clap:
rebuild in progress....
Posted

Settled In

Well done Ross,top job.
Have you decided which one you are keeping?
Will you be bringing it to the south west meet ,I will try to make the next meet to check it out.
Mark
Have you decided which one you are keeping?
Will you be bringing it to the south west meet ,I will try to make the next meet to check it out.
Mark
76 ?
78 gls
83 gti 5v
78 gls
83 gti 5v
Posted
Old Timer
Cheers guys…
I've decided to keep the Sportline as I've got pretty attached to it now! Its still a bit scruffy but will look ok in the end.
I need to MOT the '88 soon, so if I get it sorted soon enough, I'll bring it to the meet for sure. It's got a full tank of gas that needs using before I sell. :wink:
Hows your project going?
Posted
Local Hero
im about to try and drop the front, piccies to follow, if it works.
rebuild in progress....
Posted
Old Timer
ross is there any chance you could post a kit/tool list you reckon will be needed to do it all??
what kind of glue etc you used?
i'm goin to have a go at mine and want to make sure i'm prepared before i start
cheers
TG
what kind of glue etc you used?
i'm goin to have a go at mine and want to make sure i'm prepared before i start
cheers
TG
Need your console repaired or mods done? drop me a pm
0 guests and 0 members have just viewed this: None.