new to me 1992 golf Cabriolet
Posted
Settled In

I changed the oil and the pressure came up to 5 bar with cold engine (no more engine oil light). I used 20w50 with a mobil 1 filter. Ill soon change the engine oil again. I dont know how well that was taken care of before.
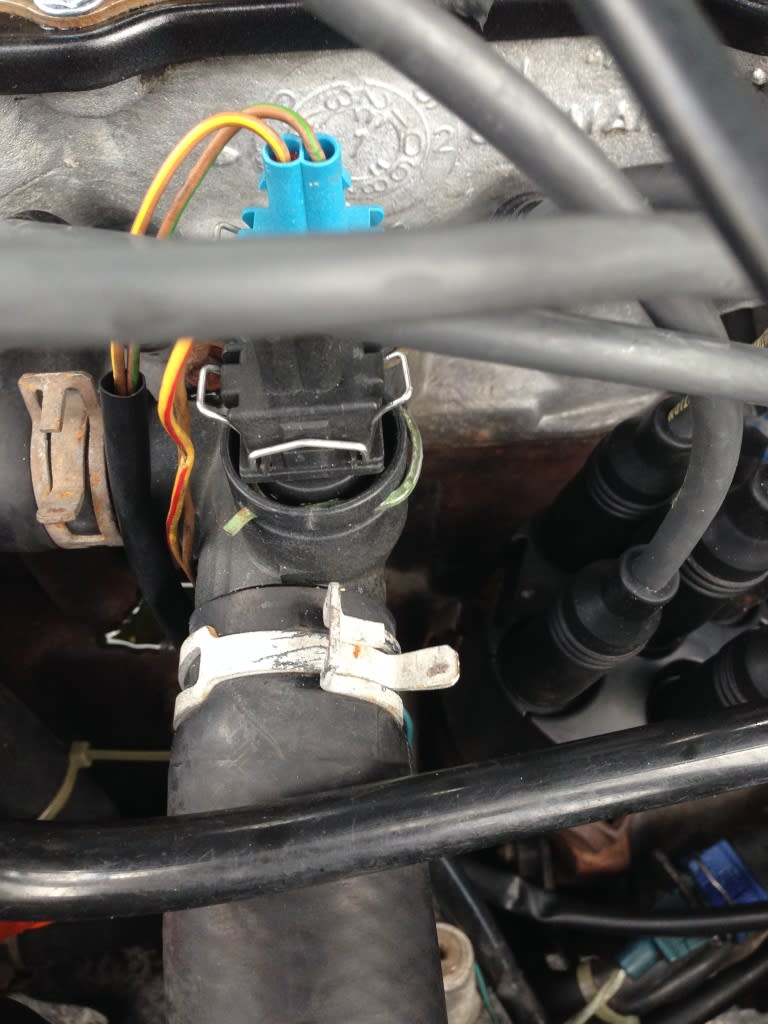
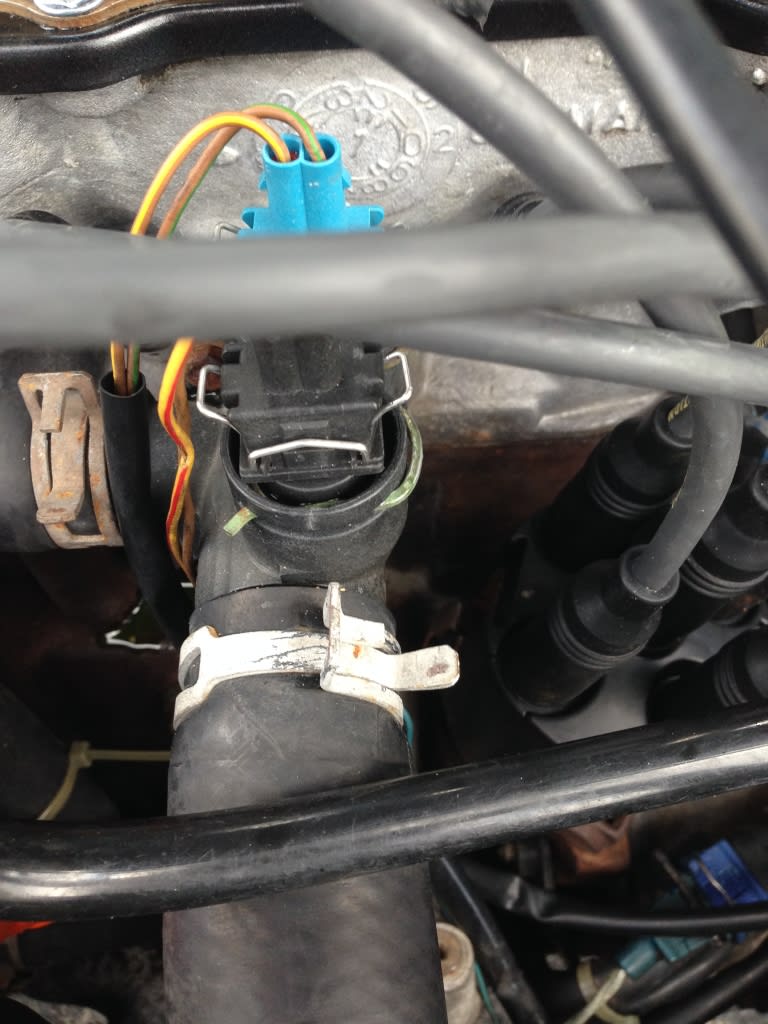
Now i noticed a leak at the plastic (?! Plastic really?) inlet manifold. Ill change that out ASAP for an older style. Couldnt find one , yet.
Posted
Settled In

I changed the oil and the pressure came up to 5 bar with cold engine (no more engine oil light). I used 20w50 with a mobil 1 filter. Ill soon change the engine oil again. I dont know how well that was taken care of before.
Now i noticed a leak at the plastic (?! Plastic really?) inlet manifold. Ill change that out ASAP for an older style. Couldnt find one , yet.
Posted
Local Hero

AllMacs said
Yes , so i cleaned the throttle buttlerfly and linkages and lubed them a bit. The action is a lot smoother now.
I changed the oil and the pressure came up to 5 bar with cold engine (no more engine oil light). I used 20w50 with a mobil 1 filter. Ill soon change the engine oil again. I dont know how well that was taken care of before.
Now i noticed a leak at the plastic (?! Plastic really?) inlet manifold. Ill change that out ASAP for an older style. Couldnt find one , yet.

Yep I hate those frigging fargin daffodil plastic flanges with a passion,,,,,,,,,, The sooner the better as if they leak they are a nuclear reactor meltdown at a moments notice as all the strain is on the other bolt and plastic under pressure is similar to Moby Dick,,,," There She Blows."
What do Divorces, Great Coffee, and Car Electrics all have in common?
They all start with GOOD Grounds.
Where are my DIY Links?
They all start with GOOD Grounds.
Where are my DIY Links?
Posted
Settled In

Posted
Local Hero

Nope, you have to remove the Bracket, but it isn't that hard as you can remove the 2 10mm bolts off the back of the pump to bracket.AllMacs said
Retrofitted the plastic manifold to an old style aluminum one. I also wantes to replace… or better verify that the thermostat is present and then replace with a new one. It seems that it more elaborate. Since the power steering bracked is right there. I suppose that all has to come off first? Or is there a way around that?
Remove the long pivot bolt the adjuster and the 2 bolts on the pan, and it can swing out of your way.
If you ever run across an older Diesel Golf as in 79-82 they all had the same metal t-stat covers.
With those plastic parts it is best to buy a spare and carry it in the boot….Better to have available and on hand than to be stranded till daybreak.
Here is a how do I flush my Radiator thread where I have pictures of taking that bracket off.
How I change out my Water Pump | Volkswagen Owners Club Forum
What do Divorces, Great Coffee, and Car Electrics all have in common?
They all start with GOOD Grounds.
Where are my DIY Links?
They all start with GOOD Grounds.
Where are my DIY Links?
Posted
Settled In

Posted
Local Hero

AllMacs said
Great info , thank youim working myself slowly through the issues. ( didnt think there were so many)
The joy's and surprises of ownership that and POS
Previous Owners Screw-ups.
The Red Badge of Courage with stitch cluster is next.

What do Divorces, Great Coffee, and Car Electrics all have in common?
They all start with GOOD Grounds.
Where are my DIY Links?
They all start with GOOD Grounds.
Where are my DIY Links?
Posted
Settled In

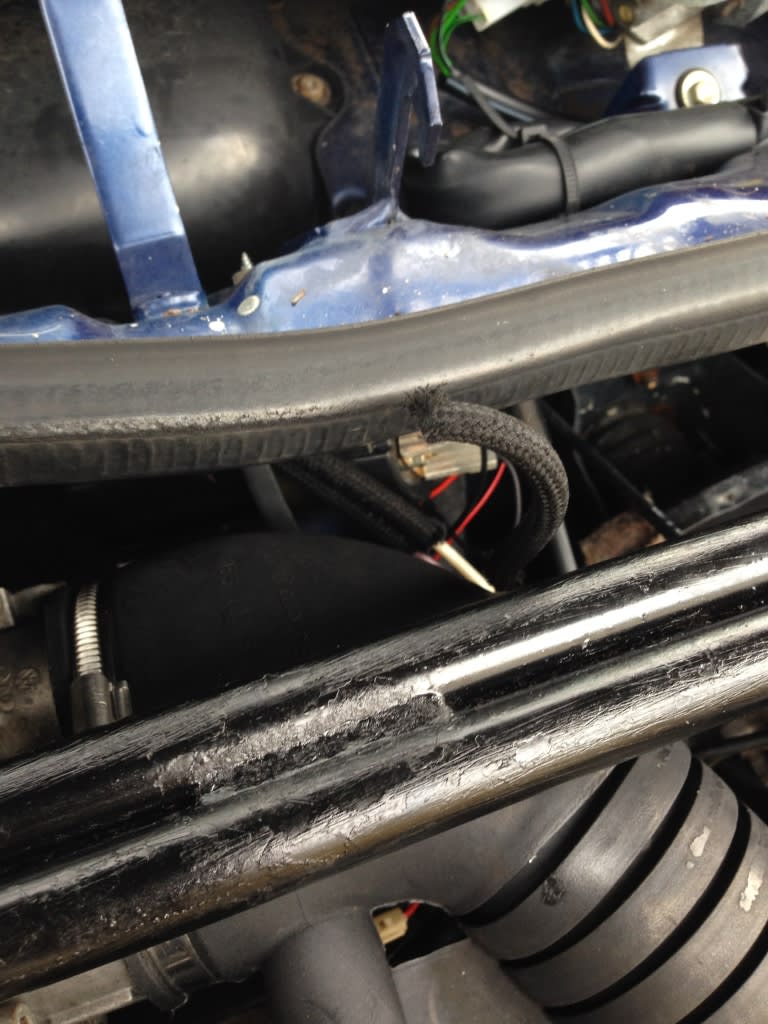
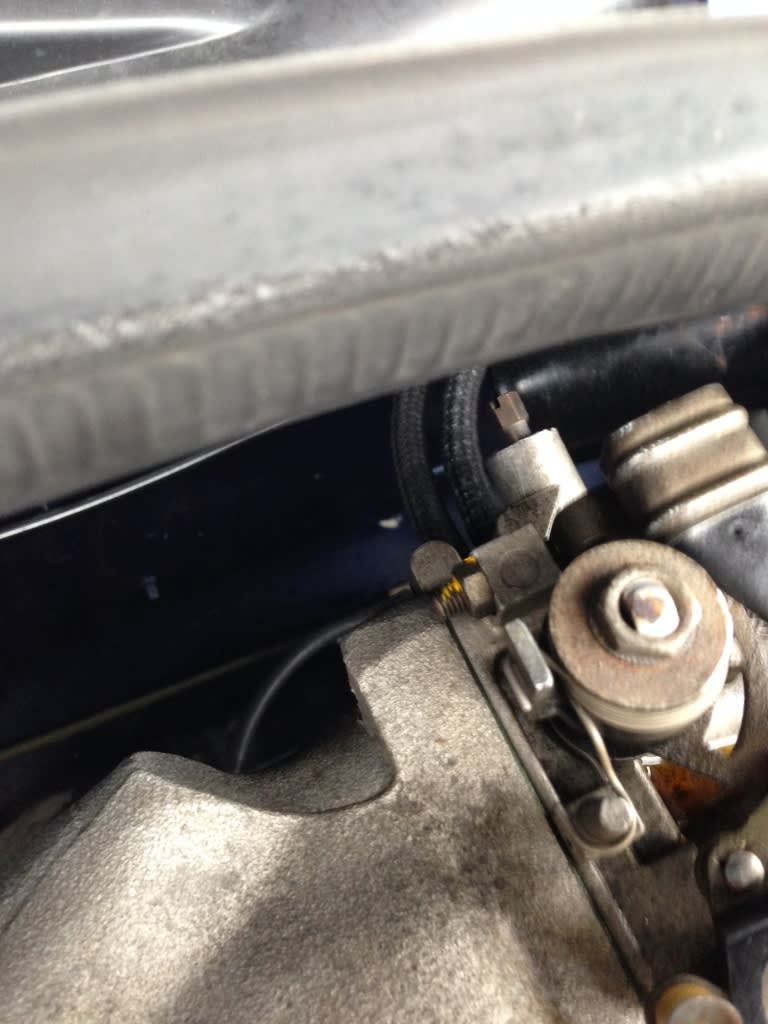
Do you guys know maybe?

Posted
Local Hero


Kammy's site is a wealth of information… She's a really nice person…
Get to know….. WWW.CABBY-INFO.Com
What do Divorces, Great Coffee, and Car Electrics all have in common?
They all start with GOOD Grounds.
Where are my DIY Links?
They all start with GOOD Grounds.
Where are my DIY Links?
Posted
Settled In

Posted
Local Hero

If you have cruise control don't get those hoses confused with your engine vacuum hoses.
You also need to peruse the HVAC as they have a separate hose for those servos.
If they moved the Vacuum off the check valve that attaches to the Throttlebody front as there is a line that goes from there over to a "t" with a check valve, then up to the Vacuum Balls and over to the feed through to the HVAC fresh air vent.
then are you missing the hose that runs from the windscreen washer bottle to the nozzles, as that could be your 3rd hose.
What do Divorces, Great Coffee, and Car Electrics all have in common?
They all start with GOOD Grounds.
Where are my DIY Links?
They all start with GOOD Grounds.
Where are my DIY Links?
Posted
Settled In

Today I actually had to fix the alternator. When I checked the temp gauge in the cluster I cleaned the contacts of the plug with my fiberglass pen. I noticed that there are some instrument lights not working. When I put the cluster back in I also noticed that the speedo gauge was first bouncing and then stopped working all together.
 Last edit: by AllMacs
Posted
Local Hero

The bouncing the speedo, be sure that your cable is clipped to the back of the cluster.
Carefully take the left or right side vent out.
see: Cold Hands\ Whistleing Vents? | Volkswagen Owners Club Forum
On removing them with out breakage.
Worm your arm carefully behind the cluster and verify that your cable is fully seated and clipped.
I have how to repair your flaky water temp gauge see the link in my signature.
What do Divorces, Great Coffee, and Car Electrics all have in common?
They all start with GOOD Grounds.
Where are my DIY Links?
They all start with GOOD Grounds.
Where are my DIY Links?
Posted
Settled In

Update: knowing that pin 2 of the voltage stabilizer is ground helped me to figure out which pin of the lights is plus.
The cluater cable was securely in . Ill take the cluster out again today and verify the cable is nor rounded and that the gauge gear works.
 Last edit: by AllMacs
Posted
Local Hero

While I went the LED route in 2004 with make my own, I would buy them off the interweb. The Biasing resistor is Crucial use what is recommended IIRC it was 640Ohm 1/4 watt. But what I noticed is that they all burned out within a week of each other and I said the heck with it and went back to Long Life 3watt incandescent bulbs but I used sockets for them out of a Saturn, Honda, or Isuzu. You can pick them up at the Breakers, then look up that cars instrument warning lamps…(higher wattage). That was about 2006 and I haven't had issues with them since…. besides, with LEDS you can't dim them….They stay bright even at lower dimmer settings….IMHO
What do Divorces, Great Coffee, and Car Electrics all have in common?
They all start with GOOD Grounds.
Where are my DIY Links?
They all start with GOOD Grounds.
Where are my DIY Links?
Posted
Settled In

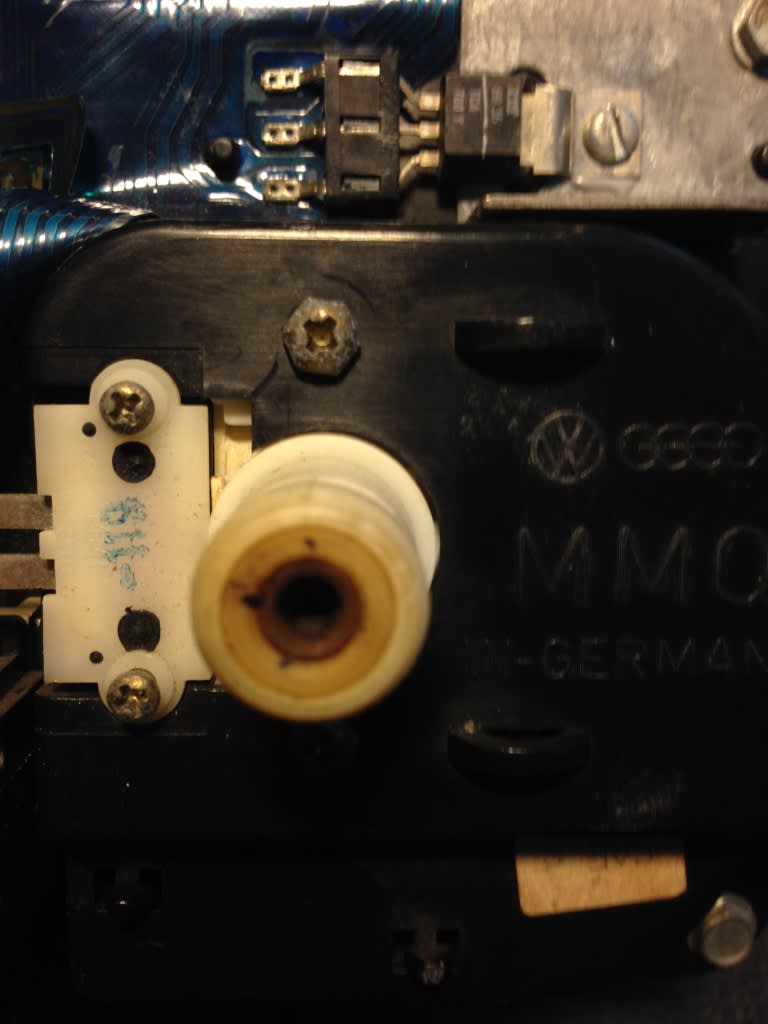
As far a the speedo cable is concerned, I found out that the shaft of the cable broke inside the speedo receiver. It looks like someone tried to glue it. I think Ill try that again.
I have a spare cluster, but no spare speedo cable.
Something to fix down the road
Posted
Local Hero

The 10V stabilizer powers only the Fuel and Water guage, and if it goes wonky can cause the tach to read about 500rpm low.
What do Divorces, Great Coffee, and Car Electrics all have in common?
They all start with GOOD Grounds.
Where are my DIY Links?
They all start with GOOD Grounds.
Where are my DIY Links?
Posted
Settled In

Posted
Local Hero

I suspect a photo of it would be better for us to see.
What do Divorces, Great Coffee, and Car Electrics all have in common?
They all start with GOOD Grounds.
Where are my DIY Links?
They all start with GOOD Grounds.
Where are my DIY Links?
Posted
Settled In

I am talking about the hexagon shaft that goes into the odometer receiver (see photo of my spare part)
0 guests and 0 members have just viewed this: None.


